
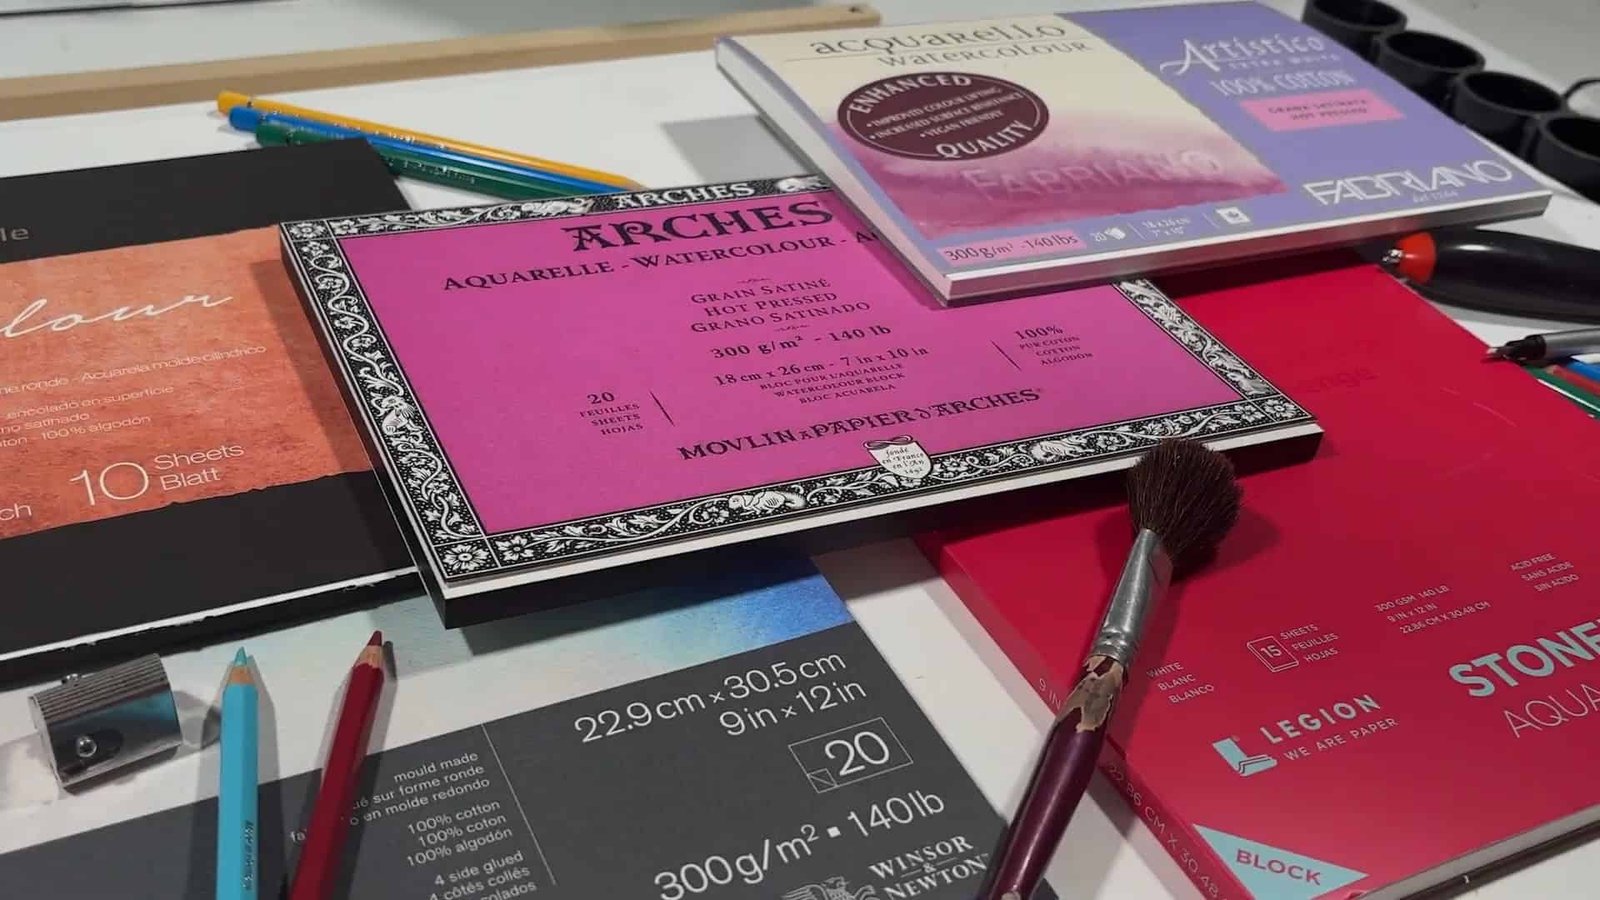
Choosing paper can change everything in colored pencil art. That’s why I’m sharing my personal test of five hot-press watercolor papers that could make your drawings shine.
These papers each bring something different. By the end, you’ll know exactly which one suits your style. Let’s explore them together and help you find the perfect surface for your next masterpiece.
Contents
- 1 Why Paper Choice Matters in Colored Pencil Art
- 2 Paper 1: Hahnemühle Aquarelle Hot Press Watercolor Paper
- 3 Paper 2: Stonehenge Aqua Hot Press Watercolor Paper
- 4 Paper 3: Winsor & Newton Professional Hot Press Watercolor Paper
- 5 Paper 4: Fabriano Artistico Hot Press Watercolor Paper
- 6 Paper 5: Arches Hot Press Watercolor Paper
- 7 Final Comparison & Ranking of All Papers
- 8 Closing Words
Why Paper Choice Matters in Colored Pencil Art
I’ve learned that paper matters more than most people think. Texture, durability, and color vibrancy all change depending on the paper you use.
That’s why I handpick these five hot-press watercolor papers and test them side by side. I want to see which one performs best.
Let’s get started and see how they compare.
Paper 1: Hahnemühle Aquarelle Hot Press Watercolor Paper
Let’s dive into the first paper I’m testing—the Hahnemühle Aquarelle Hot Press Watercolor Paper. I have a lot to share about how it performs with colored pencils.
Paper Characteristics and First Impressions
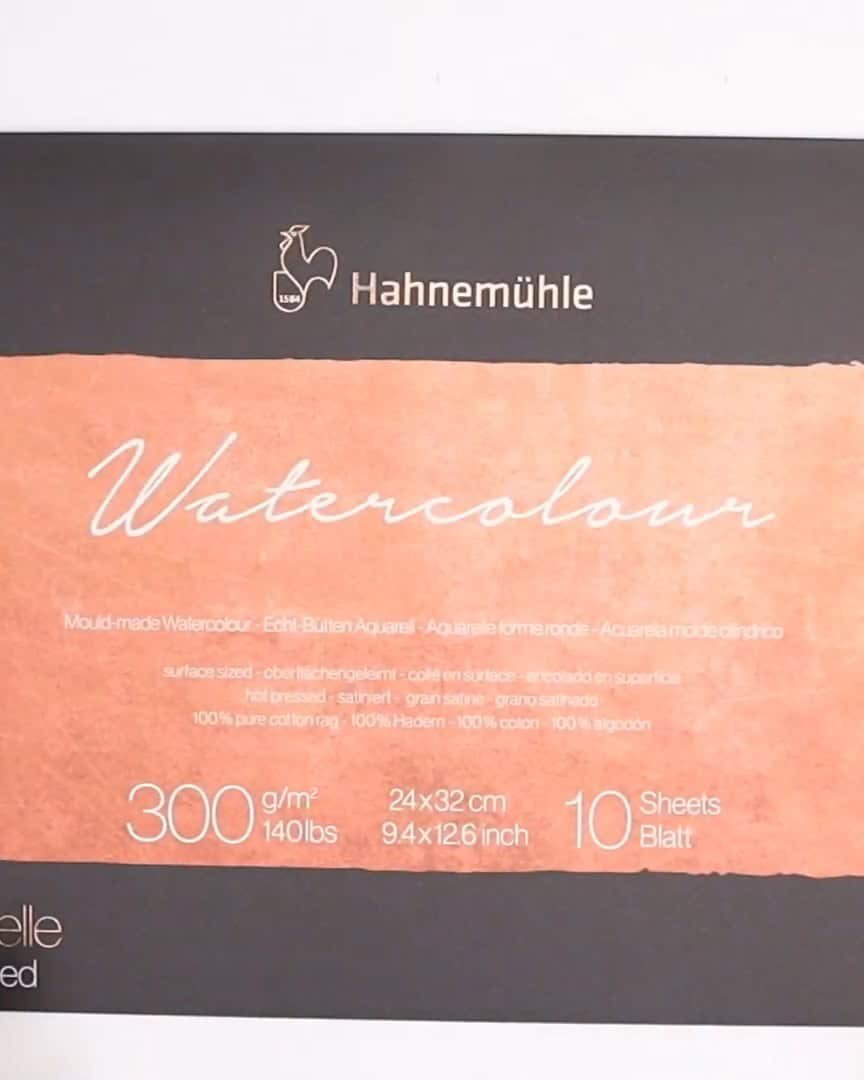
Hahnemühle Aquarelle Watercolor Paper is made in Germany using carefully chosen cotton fibers. It’s acid-free and has a bright white color. You can get it in two weights and sizes on a pad.
When I open the cover, I notice a clean, beautiful cover sheet that protects the watercolor paper inside. This keeps the paper clean and ready to use.
I often see this paper in art stores and online. It’s sold at a good price, especially for the quality you get. But here’s something I’ve learned. When you work on a paper pad, it creates a softer surface.
That’s great for watercolor, but it might not be firm enough for colored pencil art.
So here’s my first tip: whenever you buy watercolor paper pads like this, do a quick test. Try leaving the paper on the pad or removing it to see what works best for you.
Performance Tests
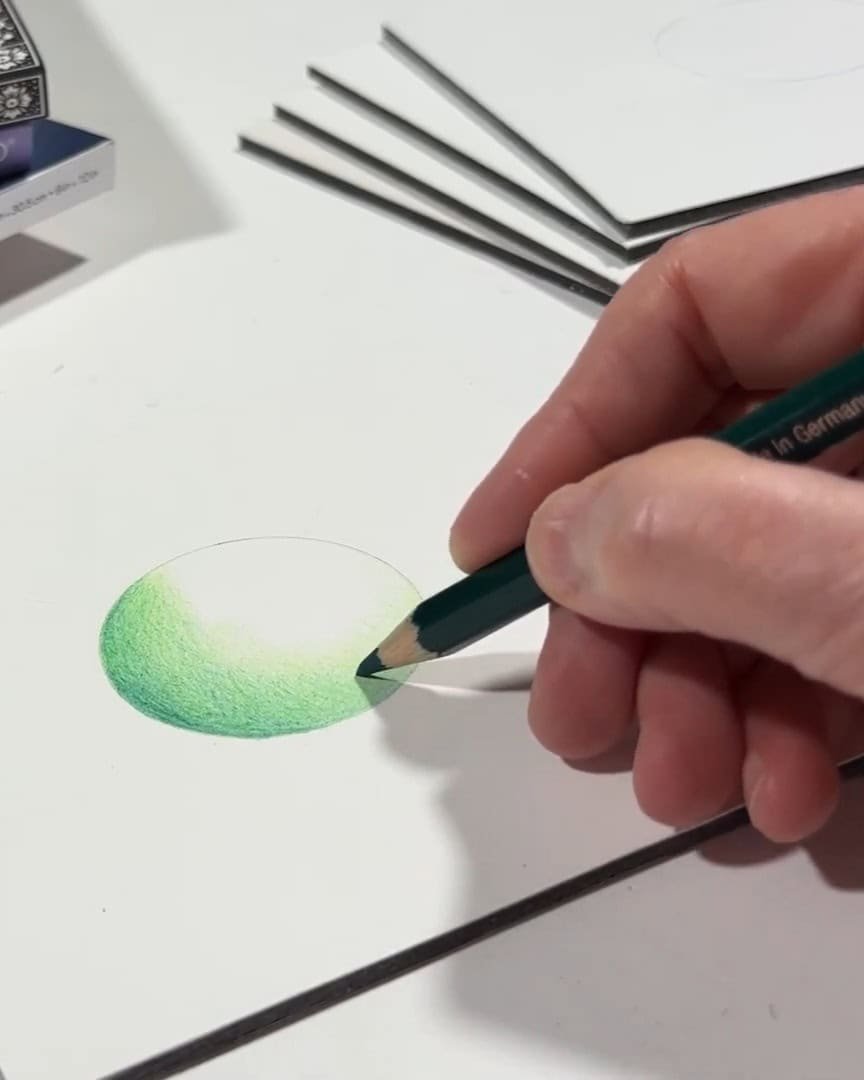
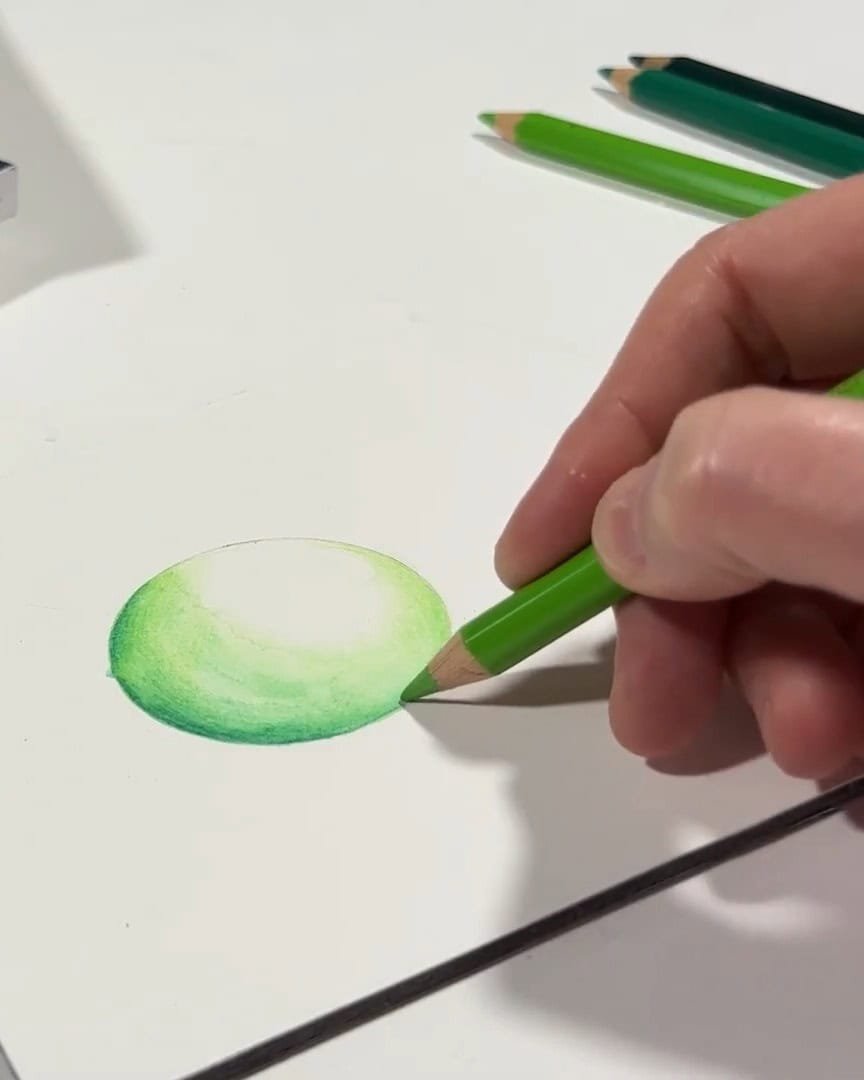
Now, let’s see how it performs. I start by checking the tooth of the paper as I lay down the first layer of watercolor pencils. The hot press surface is smooth. It holds the pencil point well and lets me work on fine details easily.
When I build up a layer of medium green, the paper handles it well. Adding darker green shows no buildup or resistance. That’s a sign of good quality paper.
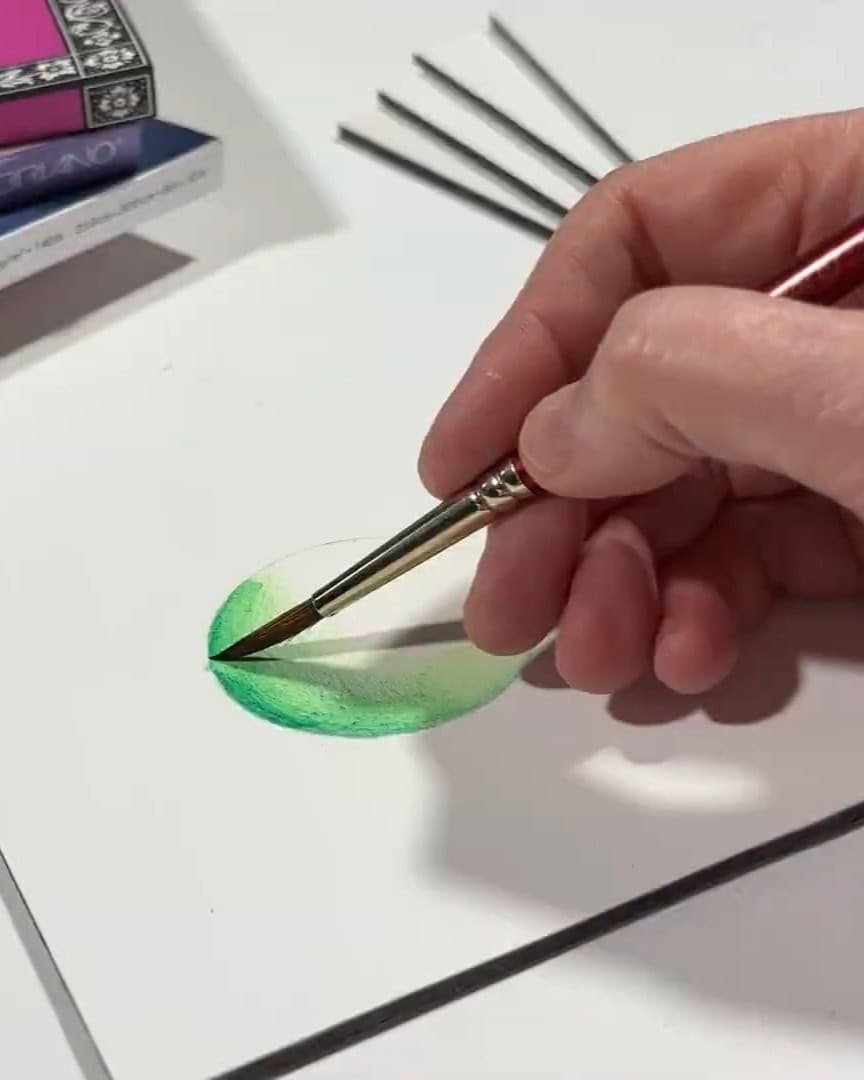
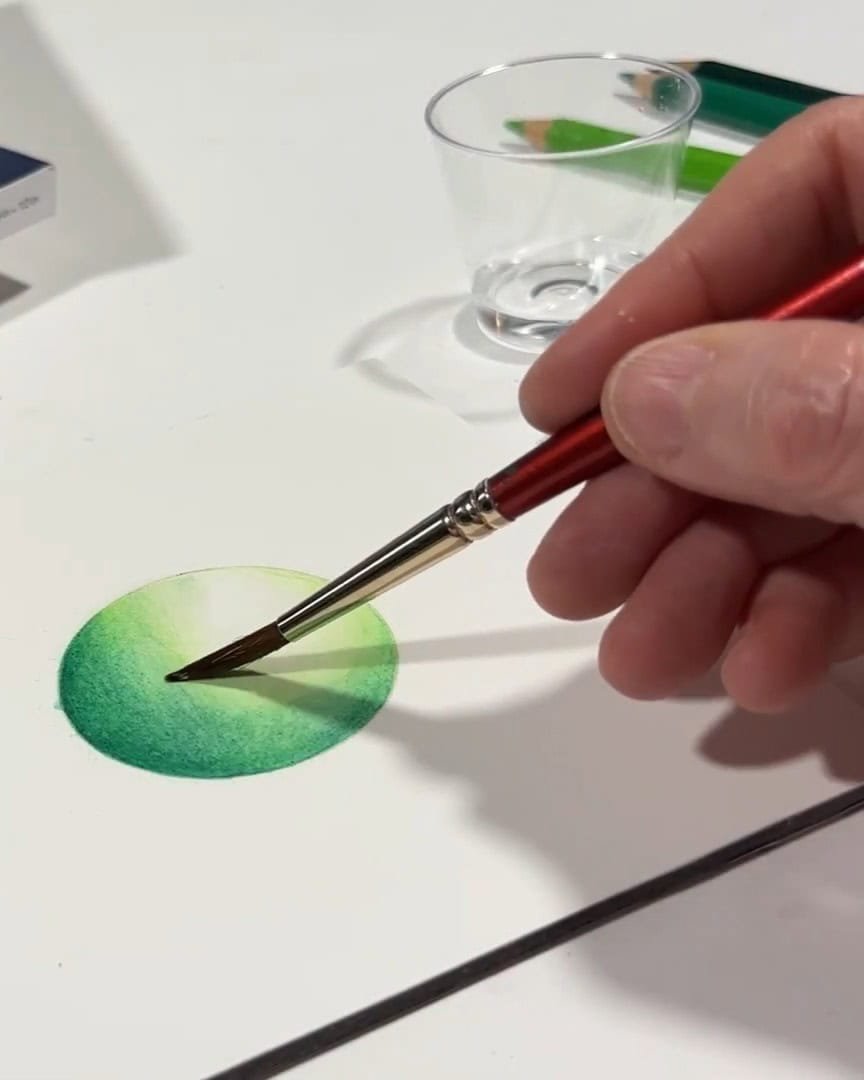
Now comes the fun part. I activate the watercolor pencil layers with water, starting from the light areas and moving to the dark.
I make sure not to blend into the highlights. The paper takes water well, after all, it’s made for watercolor. It does its job nicely.
I clean my brush between each area. This makes blending smooth. Even though I work in layers here, you can also layer one color at a time and let it dry between applications.
The watercolor looks vibrant and saturated. It blends well with water and gives a clean finish. The paper stays strong through it all.
After drying, I move on to Polychromos pencils over the watercolor. The layering feels smooth and nice. The paper takes the pencil easily and holds the point well. That’s a good sign.
But as I add more layers, I notice something. I need to press harder than I usually do to get a deep color.
This could mean the paper is too soft. Or maybe there’s some resistance. I’m not exactly sure. Still, the smooth texture is excellent for oil-based colored pencils. Some fibers start lifting from the paper, though.
That could mean the durability isn’t perfect. Even so, it’s a smooth surface where I can get fine details. The fibers showing up might be from the watercolor pencils.
As I add a third layer, I keep going because I want to give you the clearest view possible.

Next, I blend the pencil layers with solvent. I use Zest-it Pencil Blend, but any odorless mineral spirits (OMS) will work too.
I start from the highlights and move toward the dark areas. The blending turns out smooth and beautiful. The colors stay bright and rich.
Pros and Cons
Pros
- Smooth surface holds pencil points well
- Great for fine detail work
- Handles watercolor and wet media easily
- High color vibrancy and clean blending
- Affordable for the quality
Cons
- Paper fibers can lift after multiple layers
- May require more pressure to get rich pigments
- Durability might not be as strong for heavy layering
Paper 2: Stonehenge Aqua Hot Press Watercolor Paper
Now, it’s time to test the second paper. I follow the same process here, so we can compare it clearly.
Paper Characteristics and First Impressions
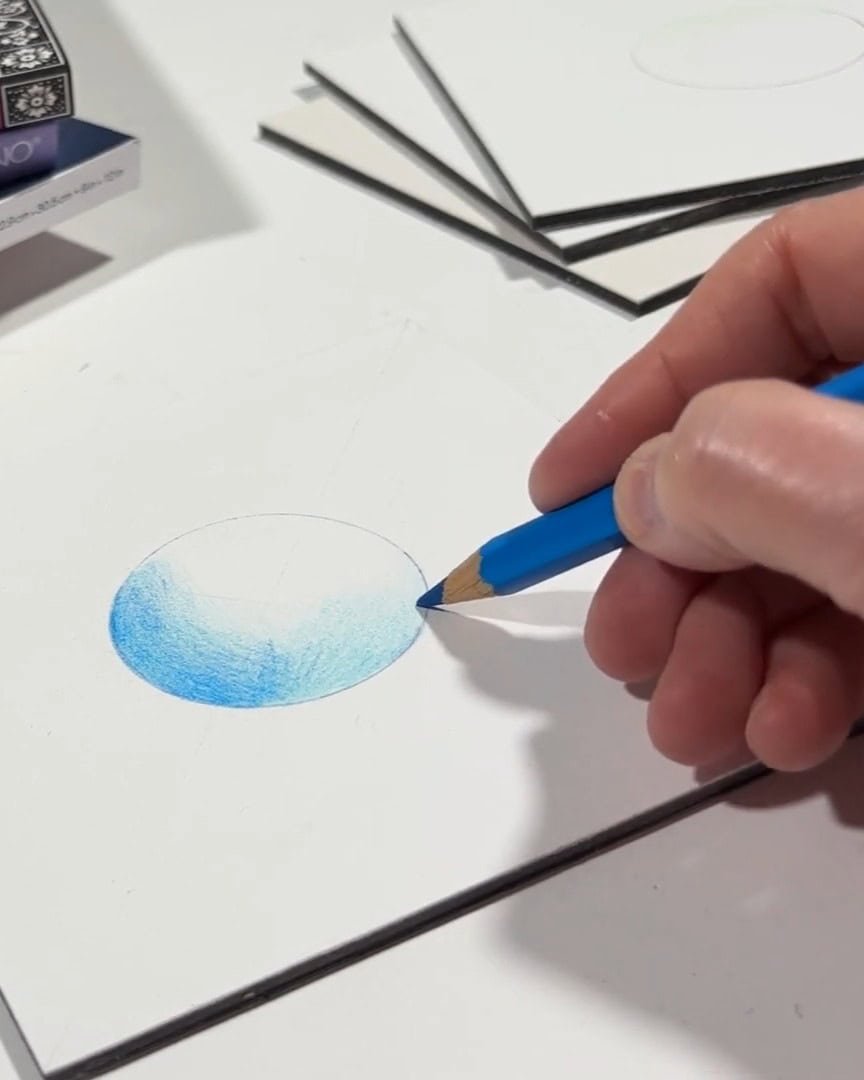
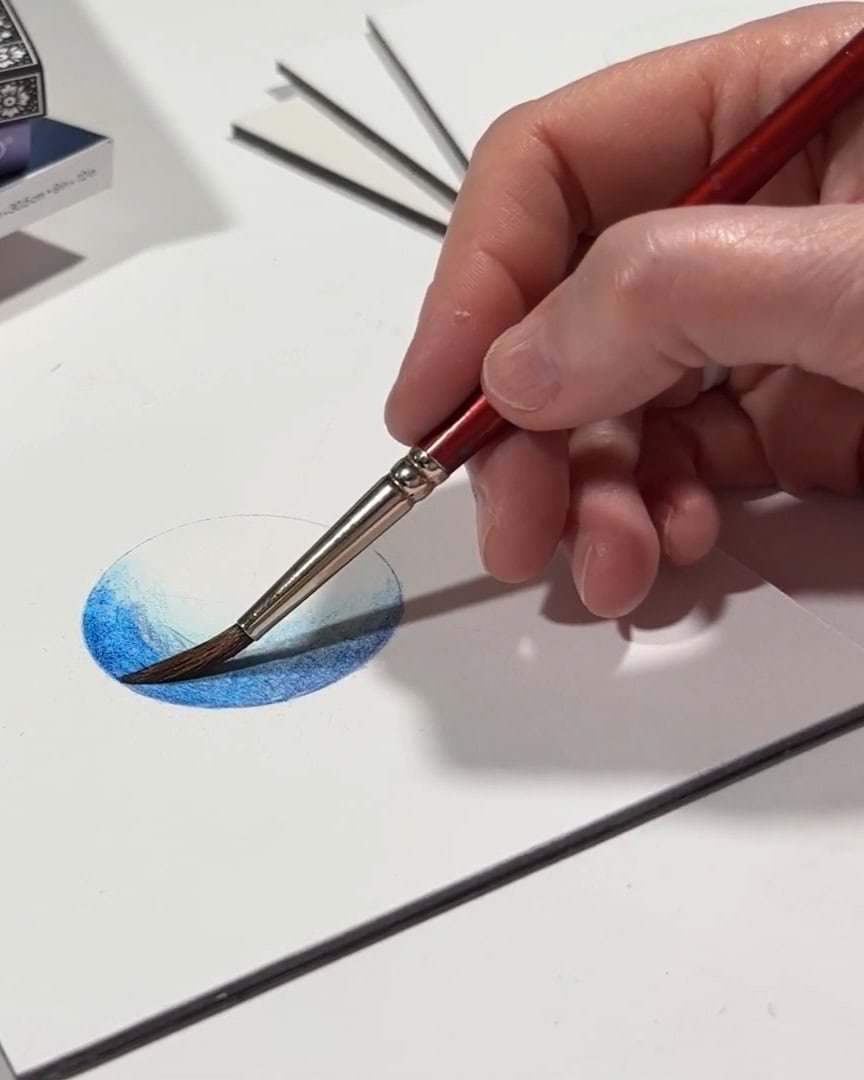
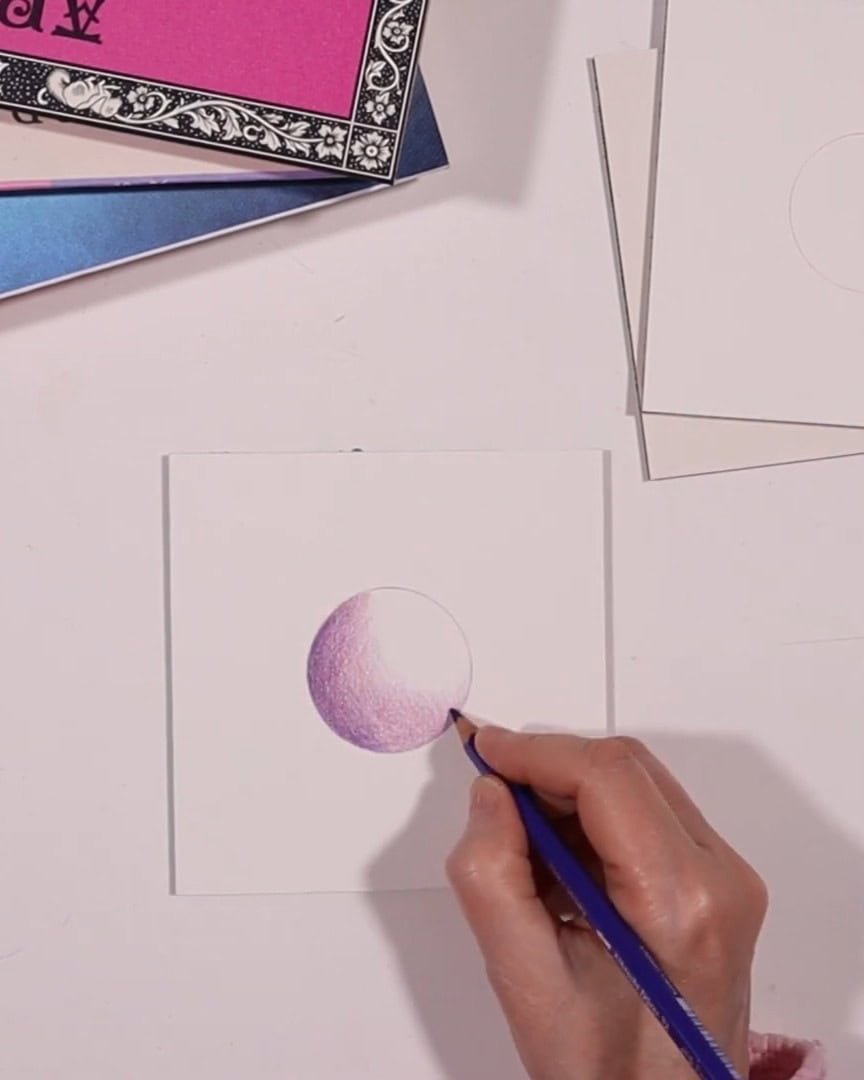
Stonehenge Aqua Hot Press Watercolor Paper is next on my list. I’m doing a blue sphere on this one.
This paper is 300 gsm (140 lb), made from 100% cotton, and acid-free. It has a bright white color, which I like. I can feel a soft tooth on the surface when I touch it. That slight texture might help with grip.
It’s made in the USA and comes in eight different pad sizes. That’s very handy. The price is fair for a professional-grade paper, and it’s easy to find in art stores or online.

Performance Tests
Let’s see how this paper handles the work. When I apply the watercolor pencil, I notice a bit more resistance than the first paper. The surface feels soft, and the smooth, low tooth works well for detail and taking the pencil.
As I build the layers, the second layer goes down better. It allows for layering and picks up pigment nicely. When I add the final layer, though, I feel some resistance. It takes a little more effort to add that extra color.
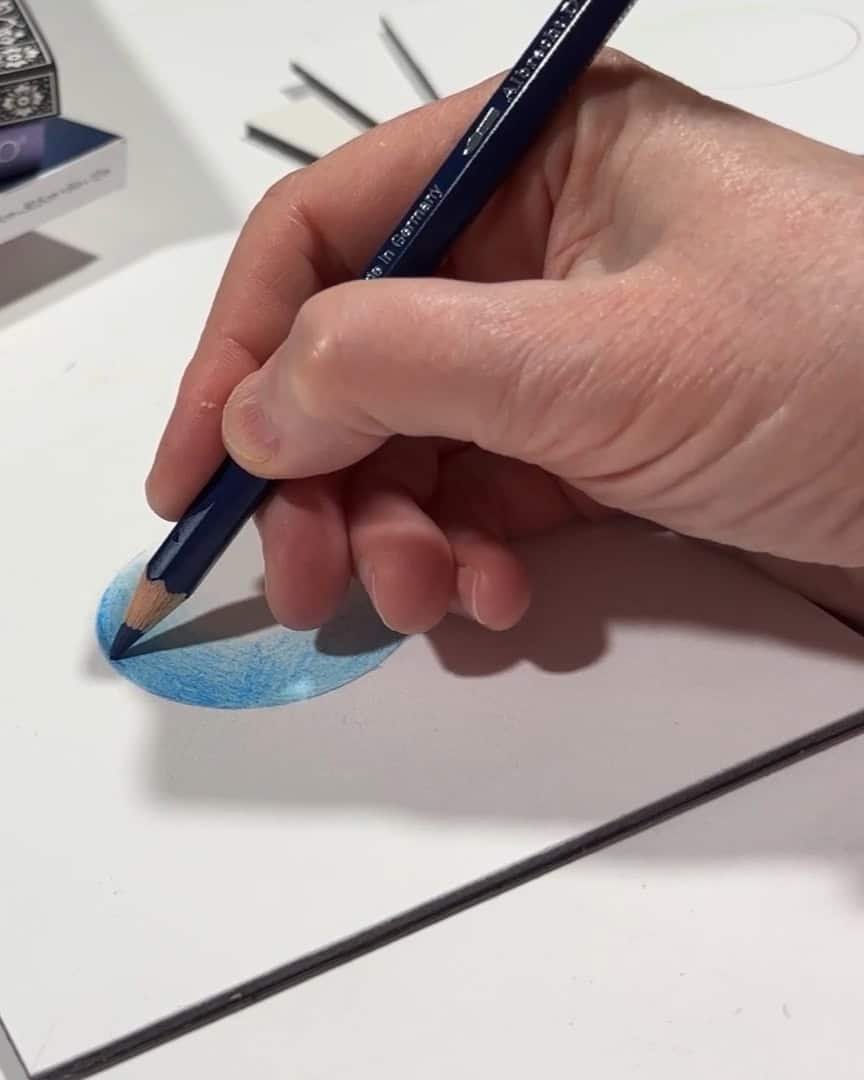
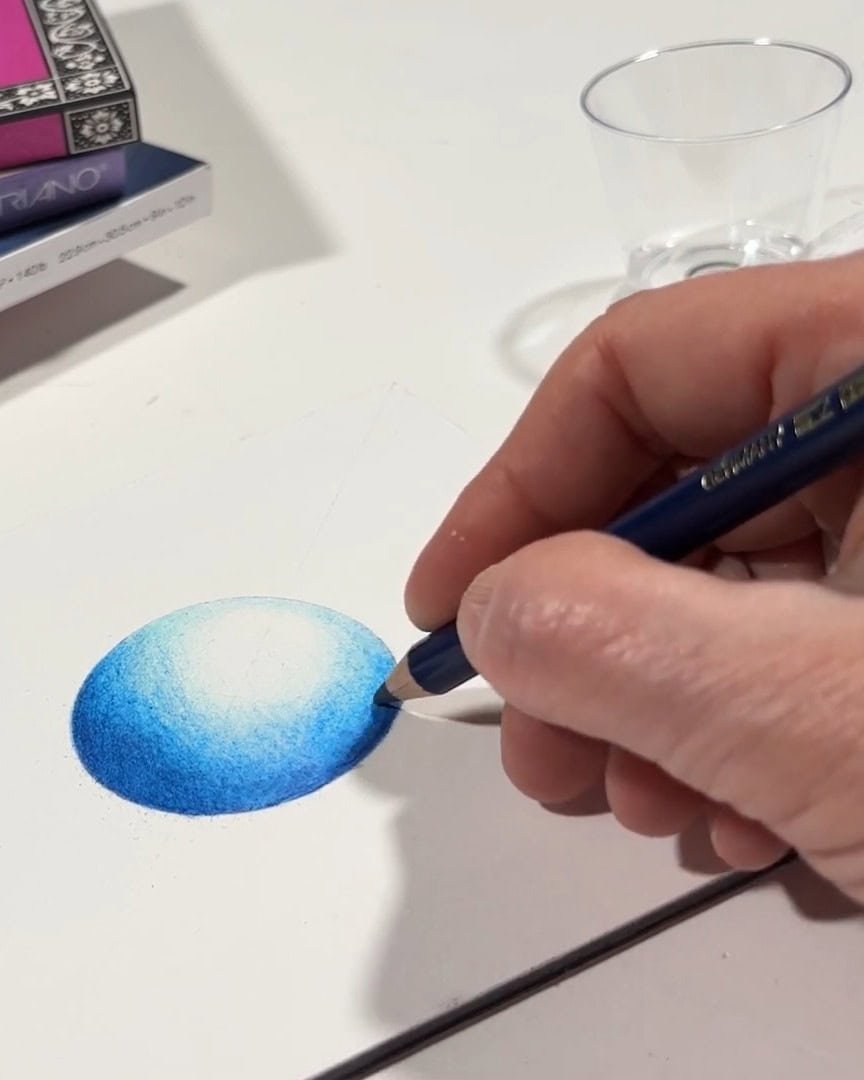
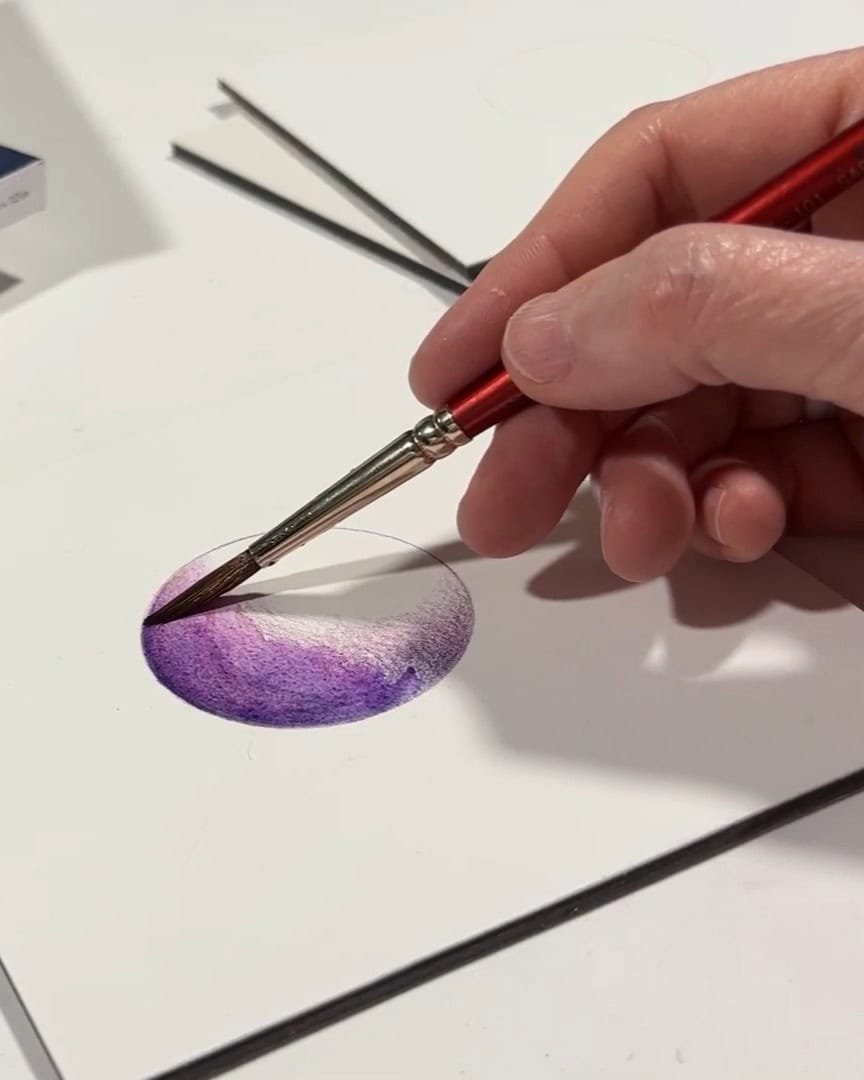
Now I wet the media. As I do this, small fibers start lifting from the paper. I’m not exactly sure why that happens. Maybe it’s how the pencil interacts with the paper or how the fibers respond. Still, the water blends the colors well. They stay rich and deep.
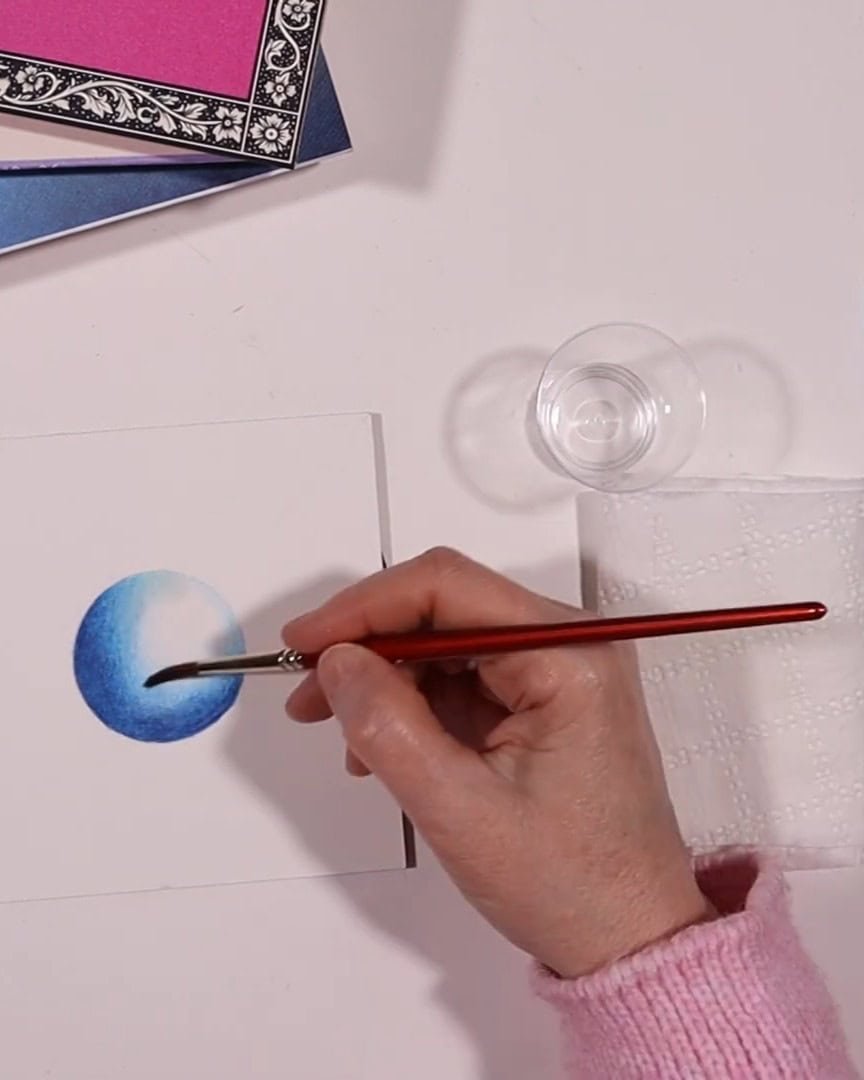
After drying, I move on to colored pencils. I notice some resistance again, and I need to press harder to make the colors bright and strong.
This paper is related to Stonehenge White, popular among colored pencil artists. But since this is watercolor paper, it feels different.
As I add more layers, some fibers get picked up, causing light and dark spots in places.
When I blend it with solvent, it works well. The blending is smooth even though some fibers lift. Overall, it gives me a good experience.
Pros and Cons
Pros
- Bright white color
- Soft surface with a slight tooth for detail
- Layers build nicely at first
- Water blends colors well
- Easy to find and well-priced
Cons
- Some resistance when adding final layers
- Paper fibers can lift during wet work and layering
- Requires more pressure for bright colored pencil layers
Paper 3: Winsor & Newton Professional Hot Press Watercolor Paper
Now, let’s move on to paper number three. I’m following the same testing method to keep things clear and fair.
Paper Characteristics and First Impressions
I’m next working with the Winsor & Newton Professional Hot Press Watercolor Paper. This paper is 300 gsm (140 lb), but you can also find it in 640 gsm. It’s made from 100% cotton in Italy and has four block sizes.
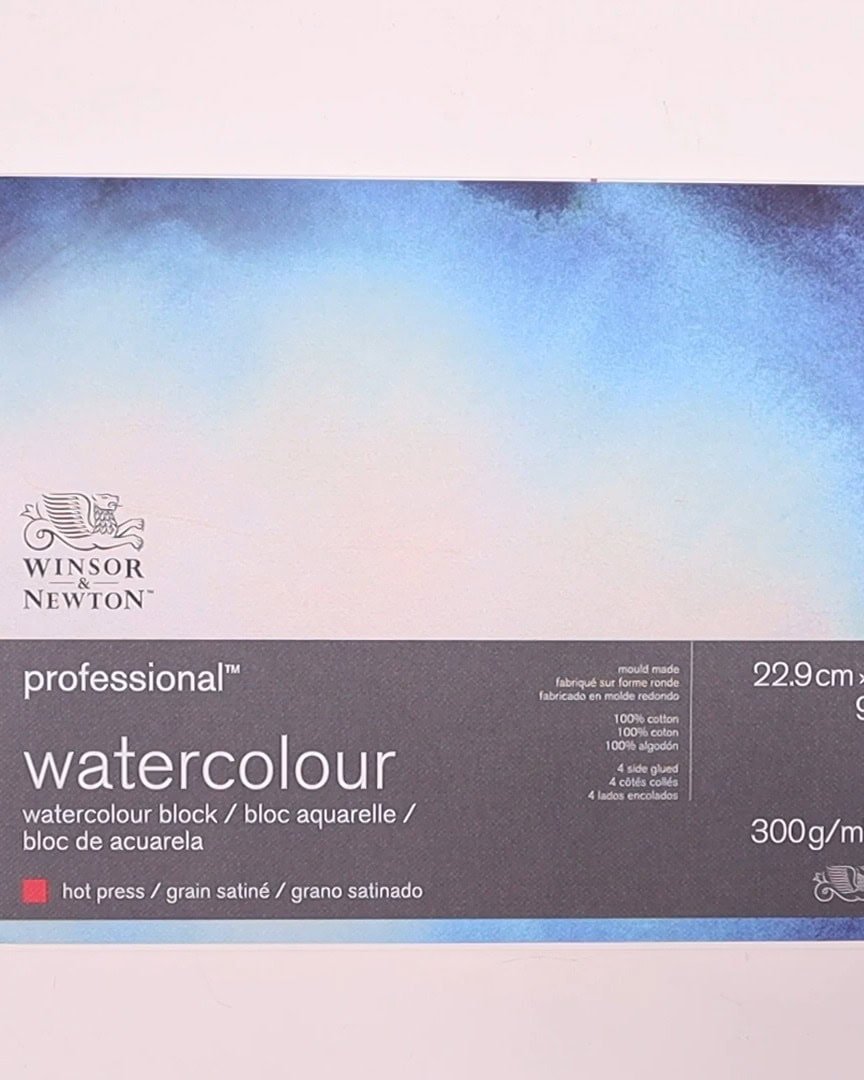
For me, the price is excellent for a professional watercolor paper. When I open the pad, the surface feels smooth and soft.
Performance Tests
It’s time to build up the layers and see how it handles more color.
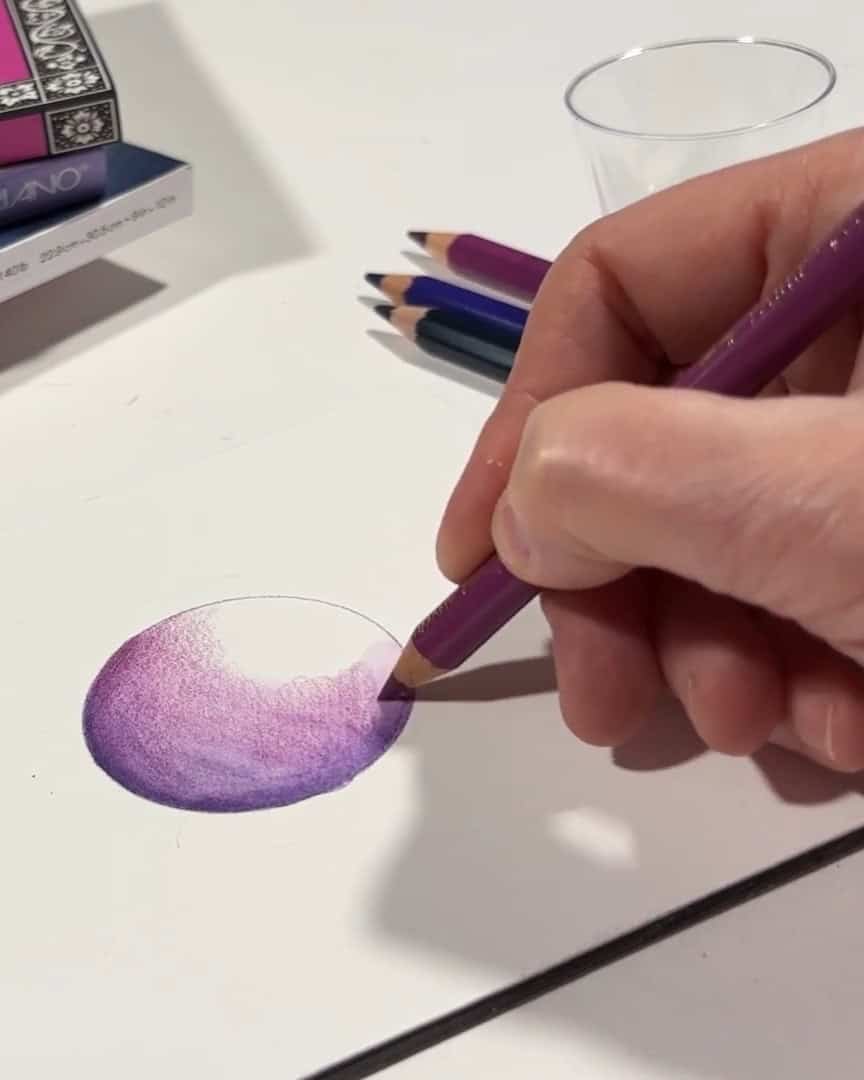
I start with a light purple on this one. As I begin applying pencils, I notice it accepts color very well. The paper has a flat tooth, which helps with precision and detail work.
While there are some larger crevices, the height of the tooth stays consistent. This allows the pencil to keep a sharp point longer.

I layer medium to dark purple. The paper still takes the pencil nicely. It holds up well and keeps the colors vibrant. Blending at this stage is easy.
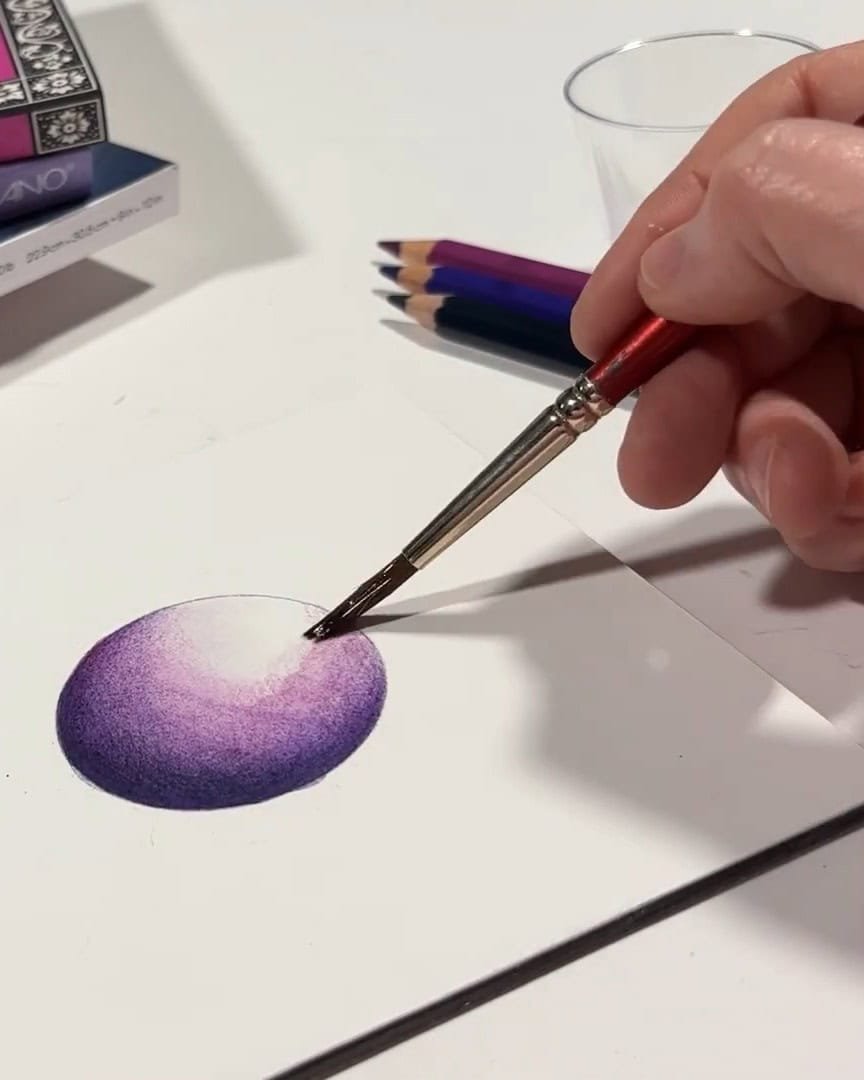
When I add water, the paper blends beautifully. The colors stay rich and saturated. The surface remains smooth with fewer bumps and handles the layers well. As a watercolor paper, this is what it’s made to do.
Moving on to Polychromos pencils, the low but wide tooth doesn’t cause any problems. I get clean edges and can add fine details.
The pencil keeps a sharp point, and layering feels smooth with almost no resistance.
As I apply light to dark shades, the paper takes many layers easily. Blending is excellent. When I add solvent, there’s very little resistance. The pigments stay bright, and the mixing is smooth and strong.
Pros and Cons
Pros
- Excellent for detail and precision work
- Smooth texture with minimal tooth variation
- Intense color vibrancy and easy blending
- Holds up well under wet media
- Suitable for layering and blending with pencils
Cons
- The soft texture might not suit everyone’s style
- Not as textured as some other papers, limiting variety
Paper 4: Fabriano Artistico Hot Press Watercolor Paper
Let’s look at the Fabriano Artistico Hot Press paper, a favorite of many colored pencil artists, including me.
Paper Characteristics and First Impressions
Fabriano Artistico is 300 GSM (140 lb) and comes in a block format. It’s made in Italy, 100% cotton, and acid-free. This paper is bright white and has a smooth tooth with small dips.
It’s available in eight sizes, and it’s often found at art stores and online at a reasonable price, considering the quality. I like to use it in the 640 GSM weight for more durability.

Performance Tests
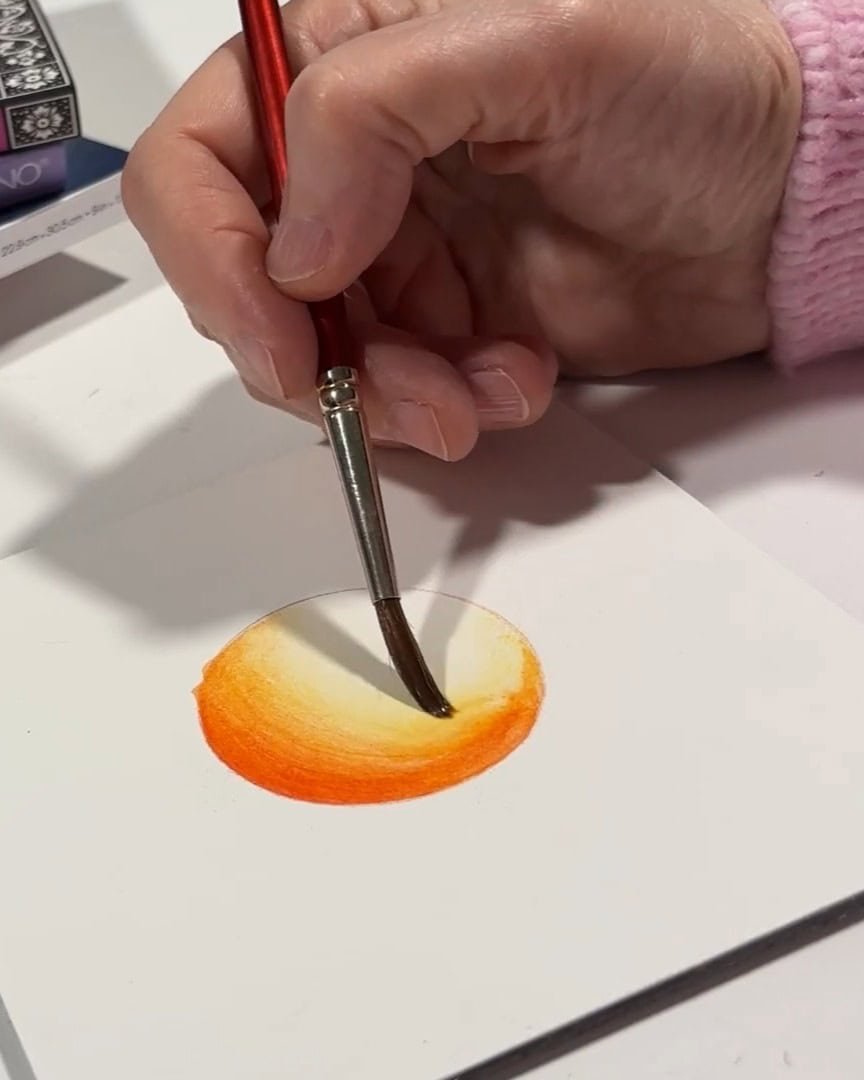
I use oranges and yellows for this test to see how it handles. The paper accepts layers of color well. The smooth tooth allows for easy coverage.

As I build the layers, the watercolor pigment layers smoothly without resistance.

When I add water to activate the watercolor pencils, the yellow jumps off the page. The colors are vibrant, blending well into the paper.
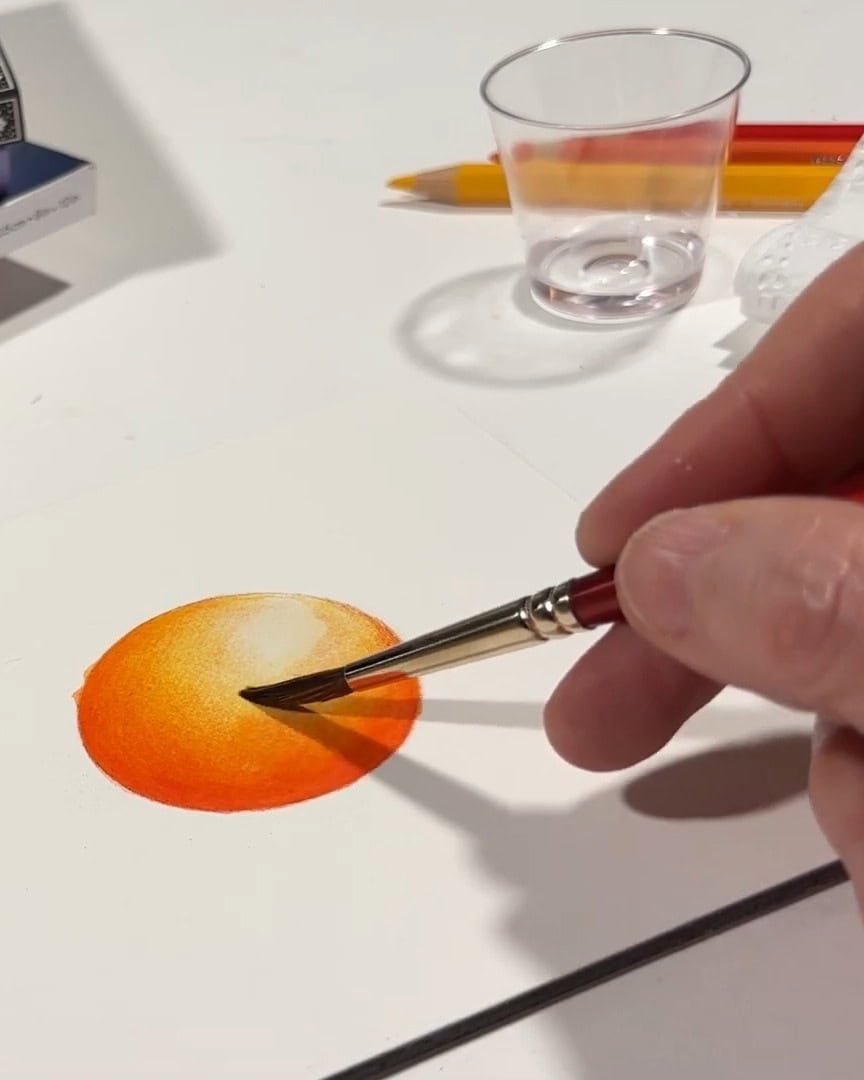
Once the paper dries, I add the Polychromos colored pencils on top. Layering is a breeze, and the colors go from light to dark without any issues.
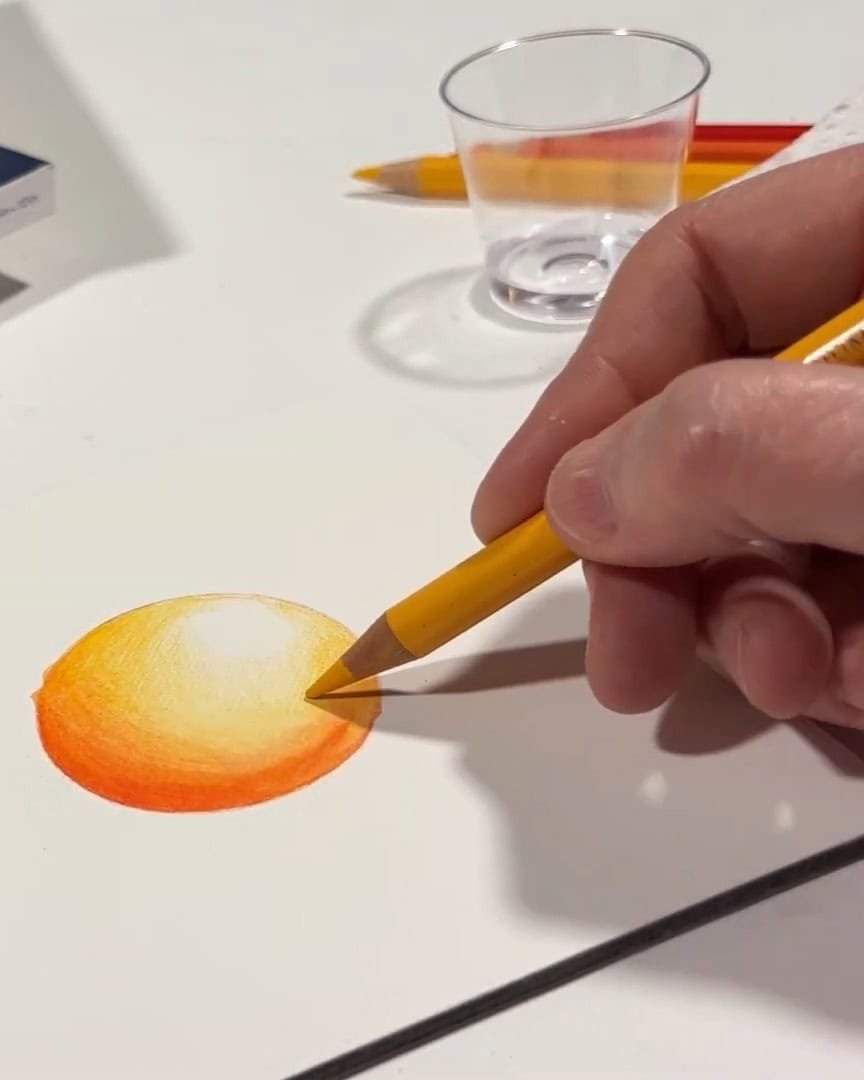
The blending with solvents is fantastic, creating a seamless transition from watercolor to pencil.
Pros and Cons
Pros
- Smooth texture with small dips for detail work
- Excellent color saturation and blending
- Takes layers easily without resistance
- Great for use with solvents
Cons
- May not have enough texture for artists who prefer more tooth
Paper 5: Arches Hot Press Watercolor Paper
Finally, let’s take a look at Arches Hot Press Watercolor Paper. It’s one of the most respected names in watercolor papers, and here’s what I think about it.
Paper Characteristics and First Impressions
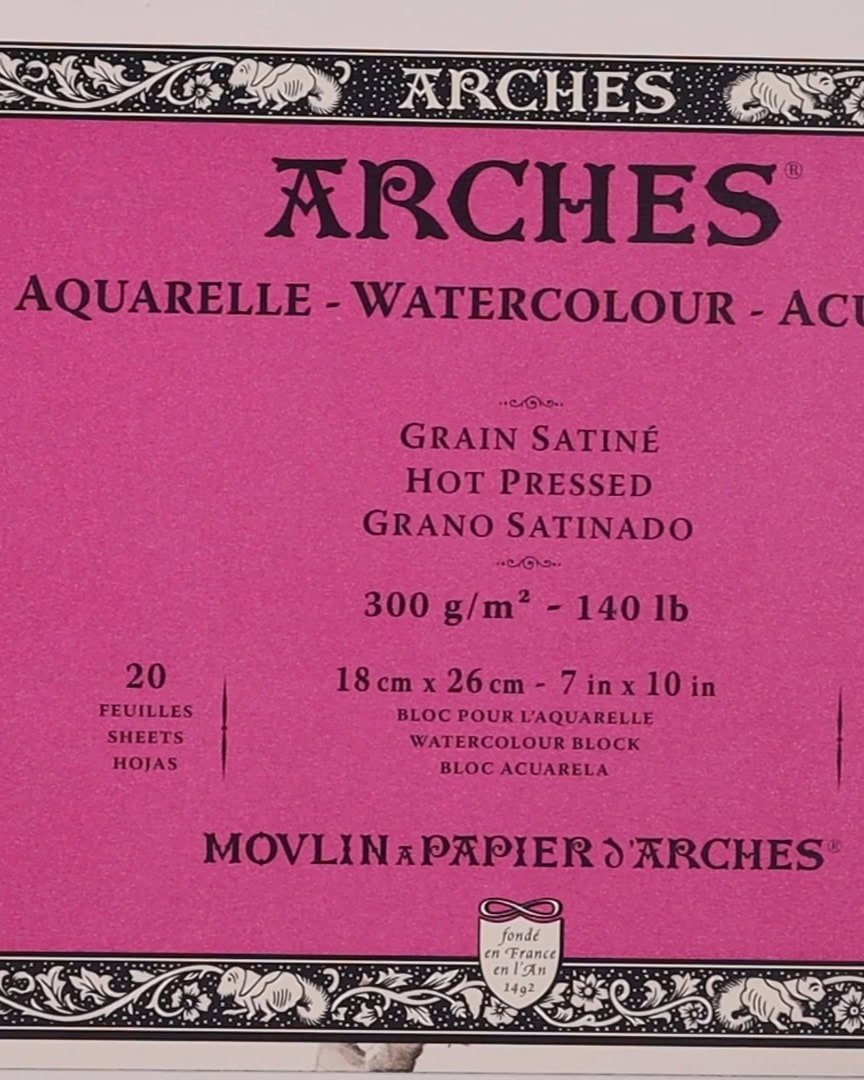
Arches is made in France, 100% cotton, and available in a soft white color. I’m using the 300 GSM (140 lb) weight, which is ideal for watercolor and colored pencil work.
The paper is readily available at many art stores and online.
When unwrapping it, I was excited to see the layer of black protecting the paper underneath. This paper is silky smooth and feels great for detailed work.
Performance Tests
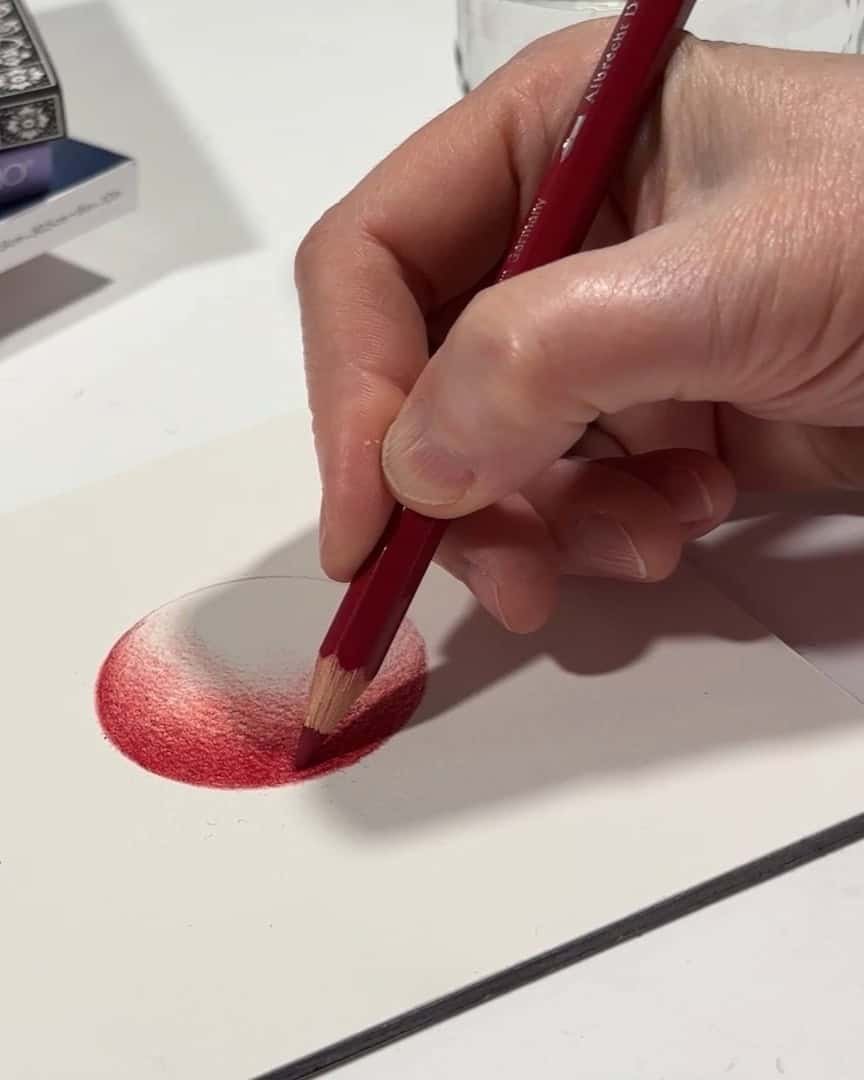
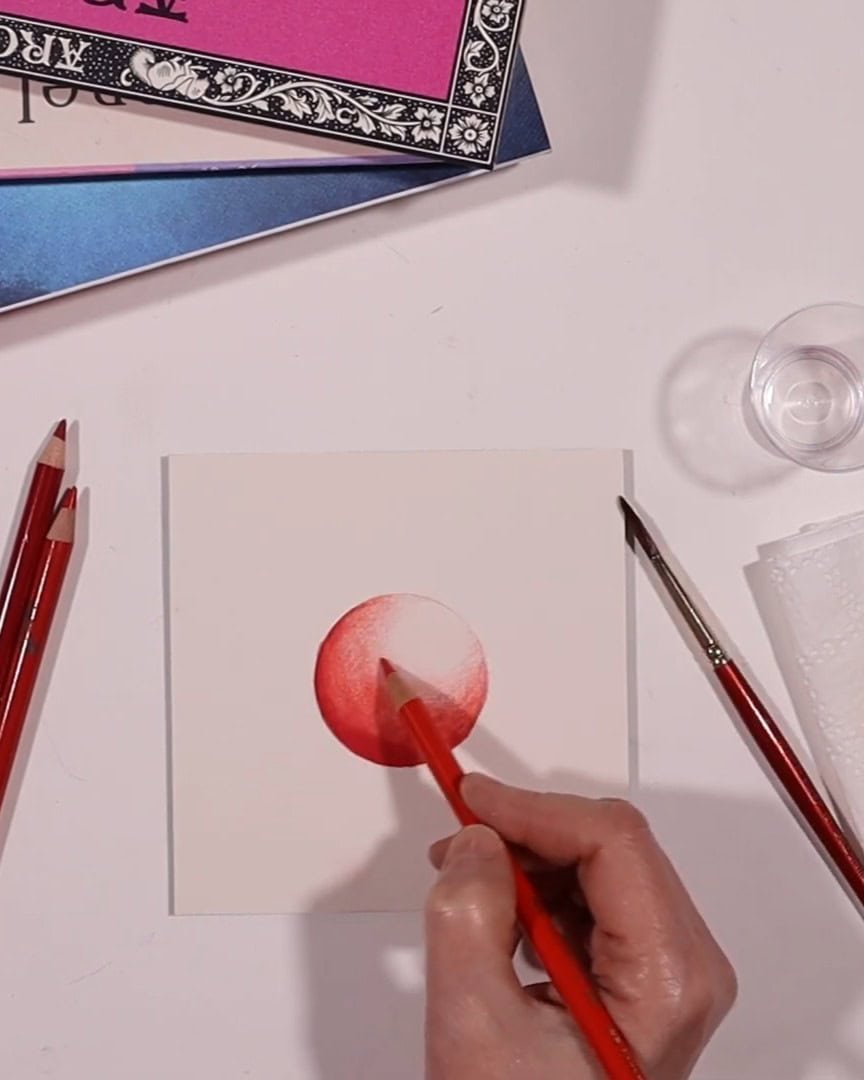
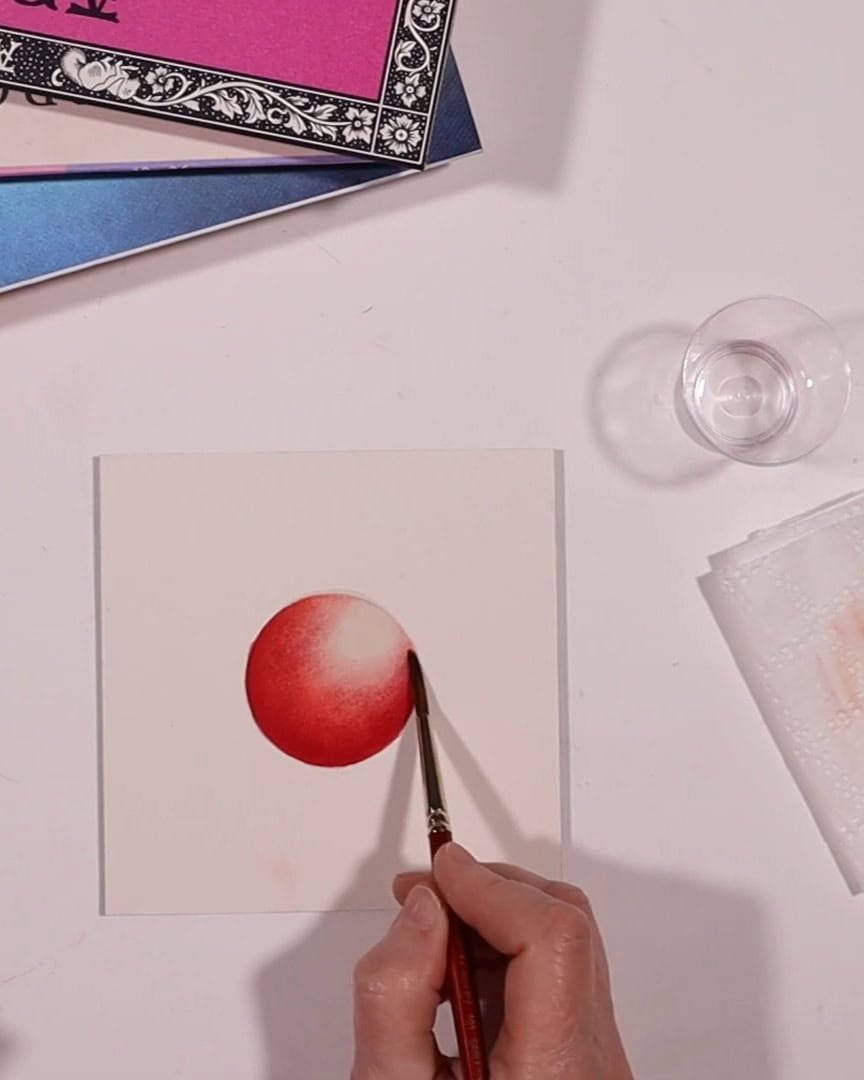
I’m using reds for this test to see how it handles layering and blending. The paper accepts layers easily with little to no resistance.
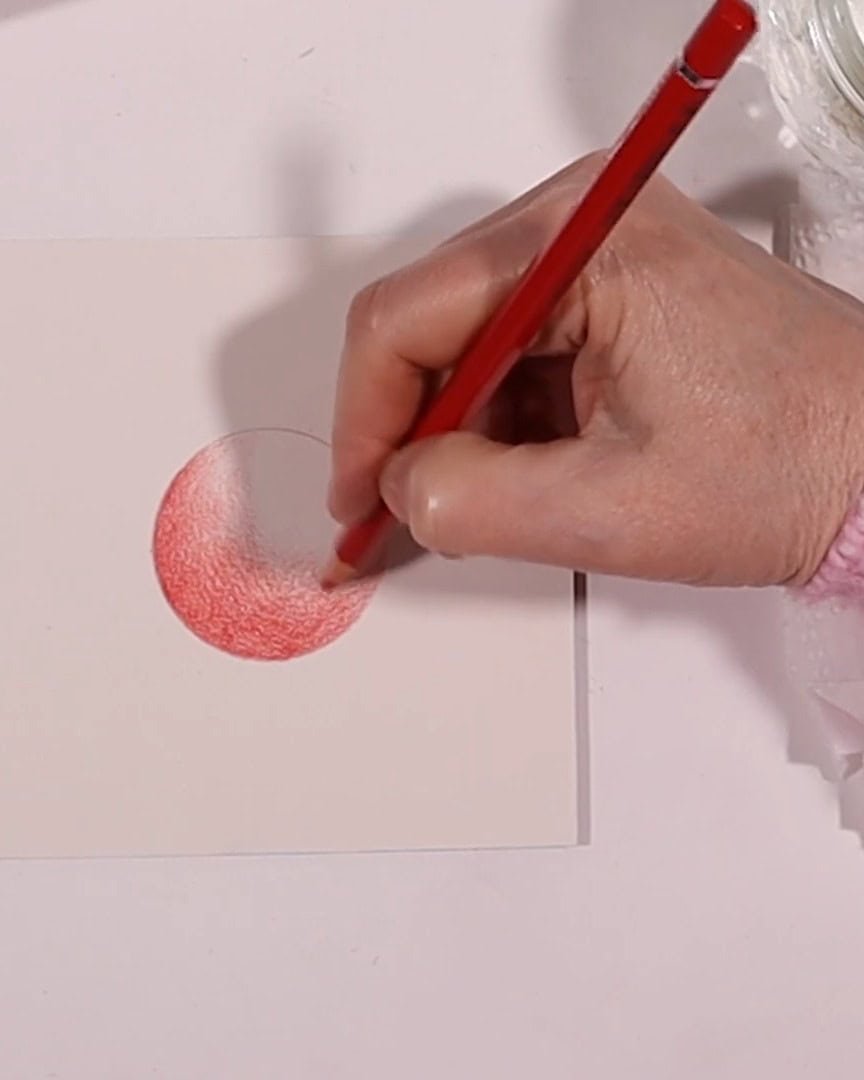
As I layer the colors, it holds the pencil’s point well and stays sharp longer.
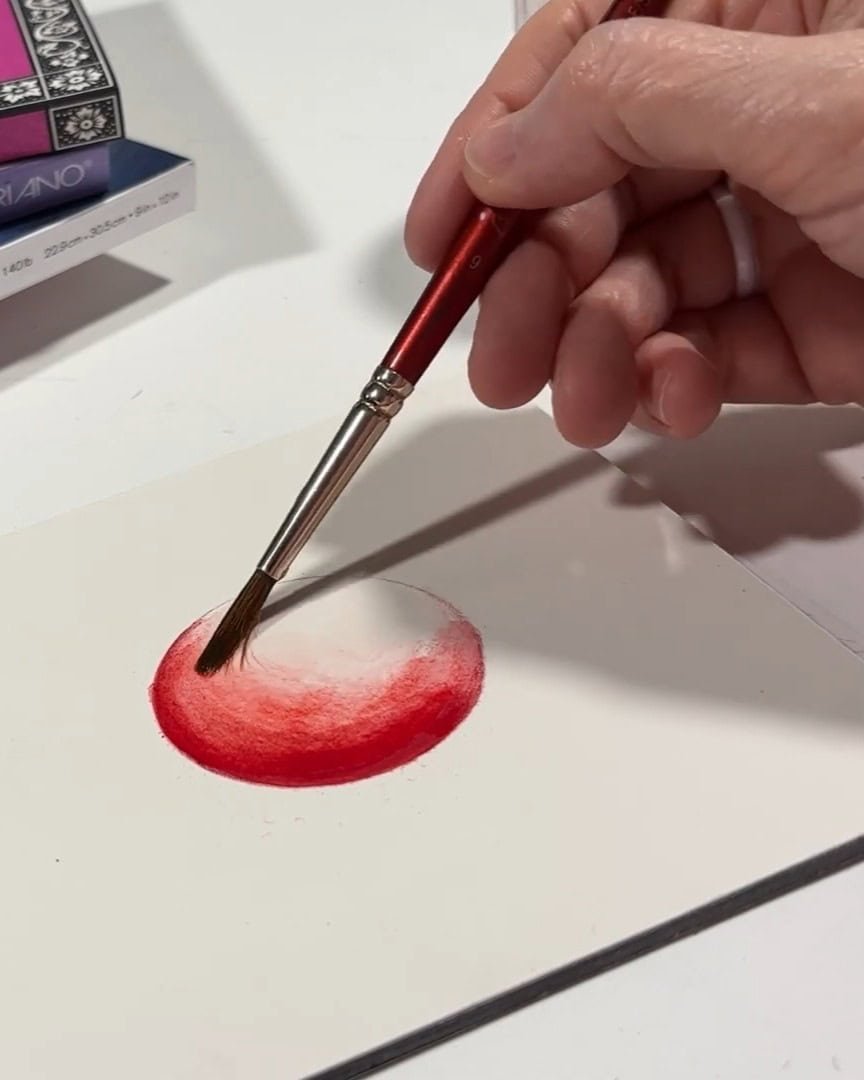
Once activated with water, the colors blend beautifully, coming out rich and highly saturated.
After drying, I add Polychromos pencils, and the layering process continues smoothly. There’s no noticeable pickup from the fibers, making it excellent for fine detail work.
When I add blending solvent, it starts off really well. However, I do notice that blending the colors together becomes a little tricky after a bit. Even so, I like the final look.
Pros and Cons
Pros
- Silky smooth texture, perfect for detailed work
- Takes color well with minimal resistance
- Excellent color vibrancy after blending with water
- Great for layering and precision
Cons
- Slight trouble blending with solvent
Final Comparison & Ranking of All Papers
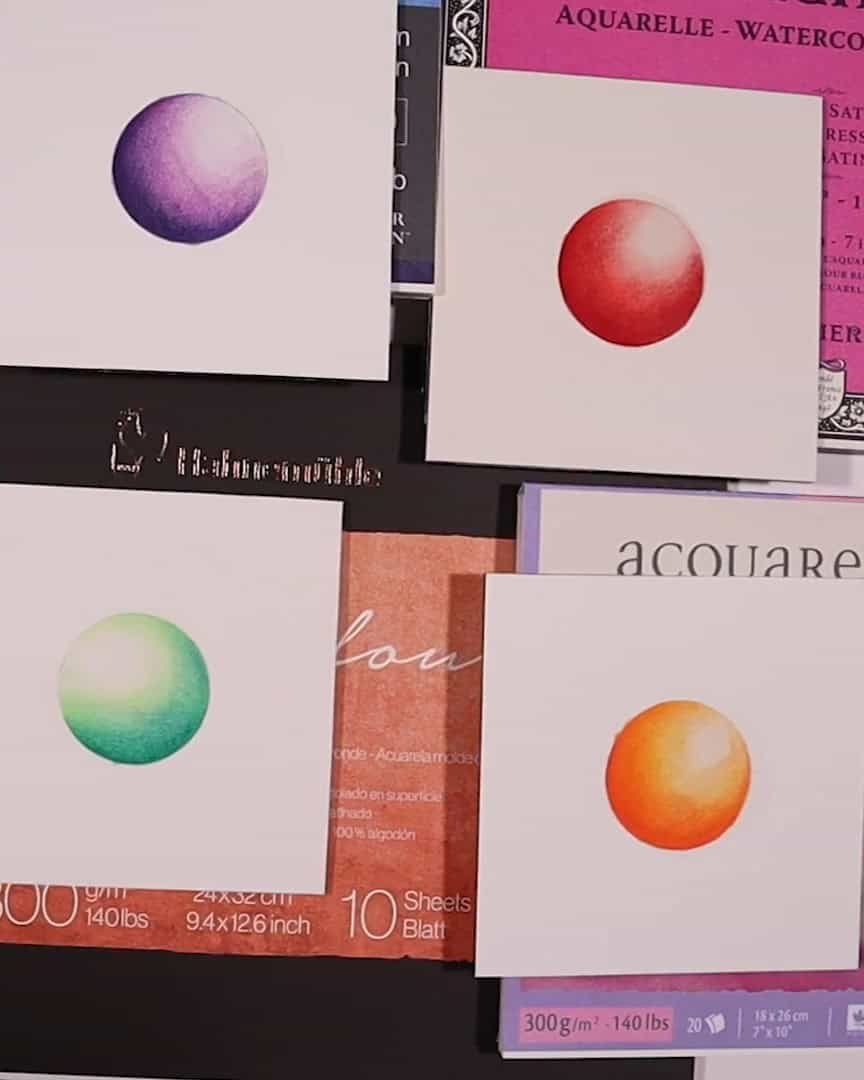
After testing each paper with various techniques, from delicate shading to bold blending, it’s clear that some papers shine in certain areas.
Here’s how they rank overall based on their performance for colored pencil artists.
- Fabriano Artistico tops the list for its vibrant colors, smooth blending, and durability. It’s a fantastic option for artists who want both richness and longevity in their artwork.
- Arches follows closely behind with its versatility. It’s solid for everyday use and does a great job with various techniques.
- Hahnemühle comes in third, offering excellent detail work and smooth blends, making it perfect for intricate, refined pieces.
- Winsor & Newton stands out for its durability. It holds up well under intense coloring but is slightly resistant to layering.
- Stonehenge Aqua ranks last, not because of poor quality, but because its soft texture causes some fiber pickup, which can create inconsistent results.
Closing Words
Choosing the right paper truly transforms your colored pencil art. As you’ve seen, each watercolor paper offers something unique—some shine in detail, others in blending or durability. Which one matches your style? Don’t be afraid to test for yourself.
The perfect paper is out there—ready to bring your next masterpiece to life. Why not try one today and see the difference?