
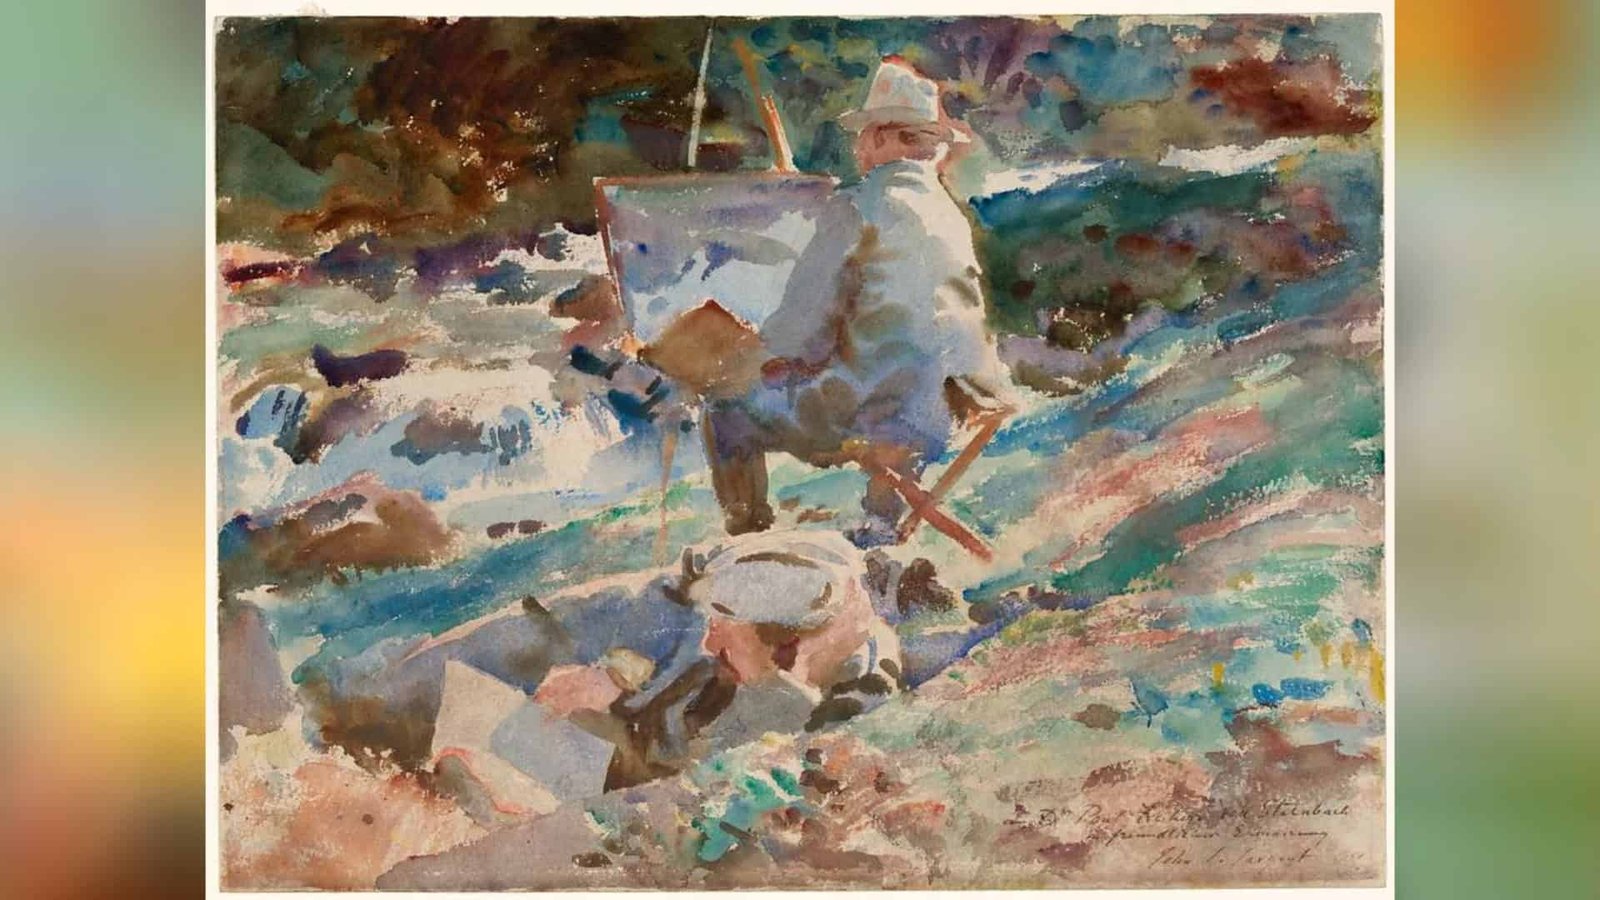
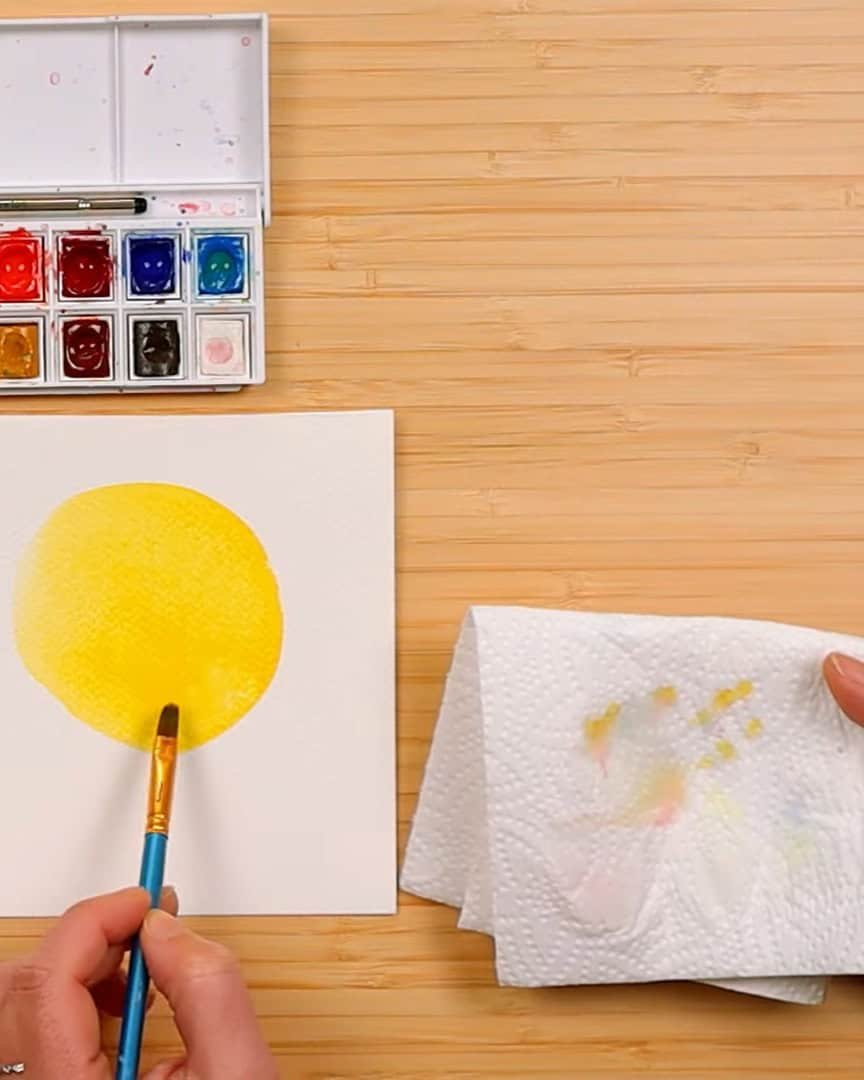
Watercolor can be magical, right? One moment it’s flowing across your paper, and the next, it dries into a shape that tells a story.
But as Sandy Own Crafts often explains, what truly makes watercolor captivating are the edges—the soft ones, the sharp ones, and even the unpredictable ones.
In this guide, Sandy Own Crafts shows you how to confidently control watercolor edges—yes, even those tricky ones!
Let’s break it down and master a skill that usually takes years to learn, all in just a few minutes.
Why Edge Control Matters in Watercolor
Edge control isn’t just a fancy skill—it’s the heart of watercolor painting.
The viewer might not notice it initially, but great watercolor artists know how to control their edges. The way one color meets another, or how a shape blends into the background, creates the magic of watercolor.
Edges make a painting look soft, dreamy, and alive. And once the viewer starts seeing how edges work, the viewer will realize they’re everywhere.
But why do so many people struggle with it? It’s simple. Edge control is one of those things no one teaches when artists are starting.
And it takes years to figure out unless someone breaks it down. Luckily, the artist is here to do just that.
Understanding the 3 Main Types of Watercolor Edges
Let’s break down the three main types of edges in watercolor. Each one has a special effect and purpose.
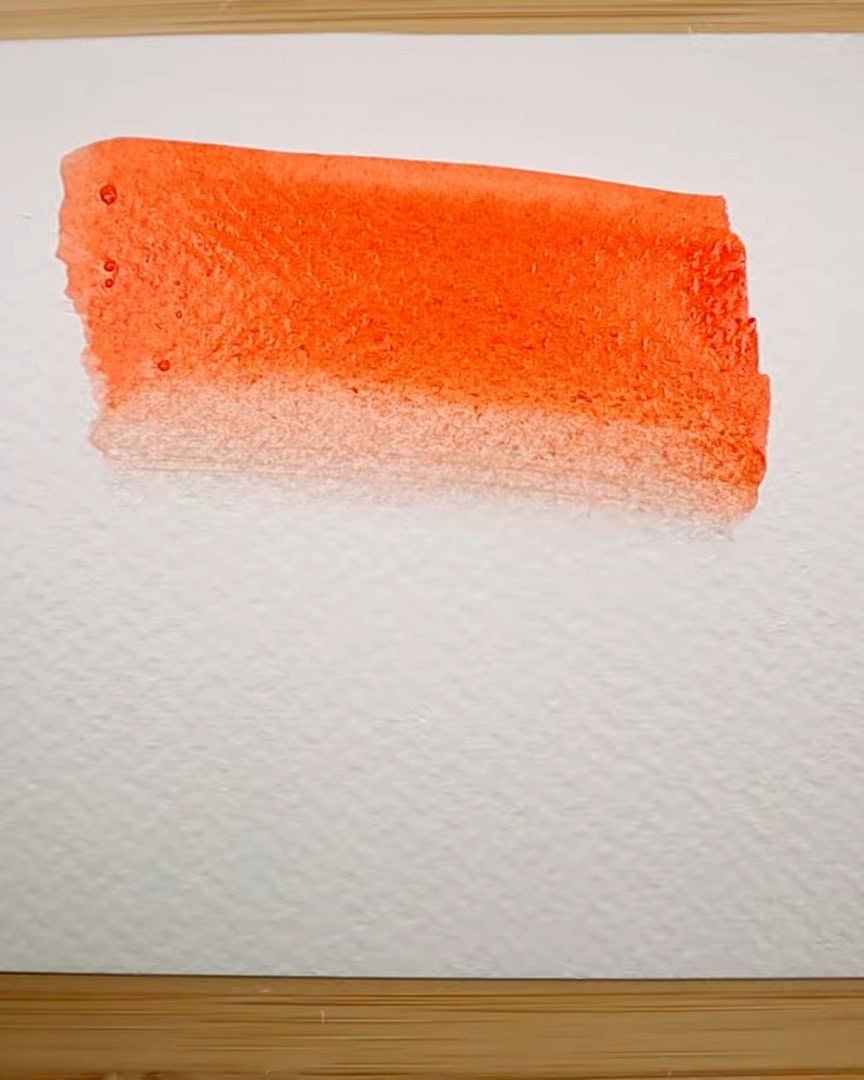
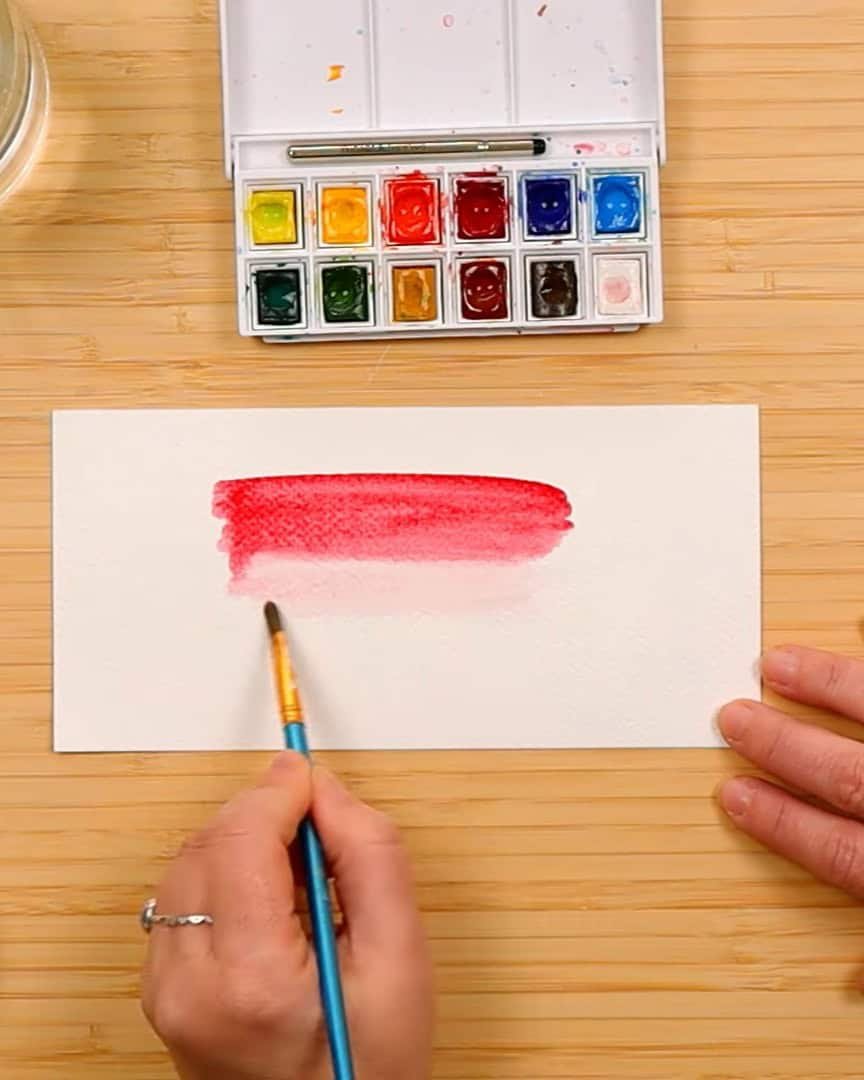
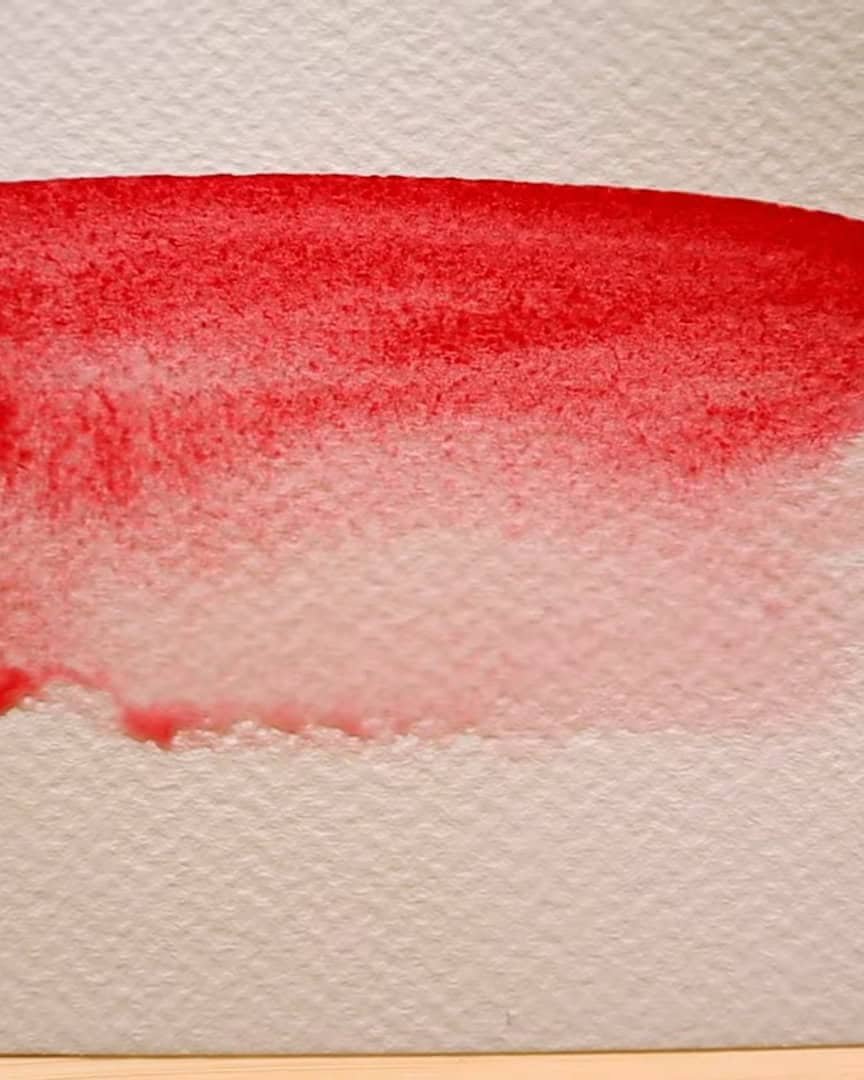
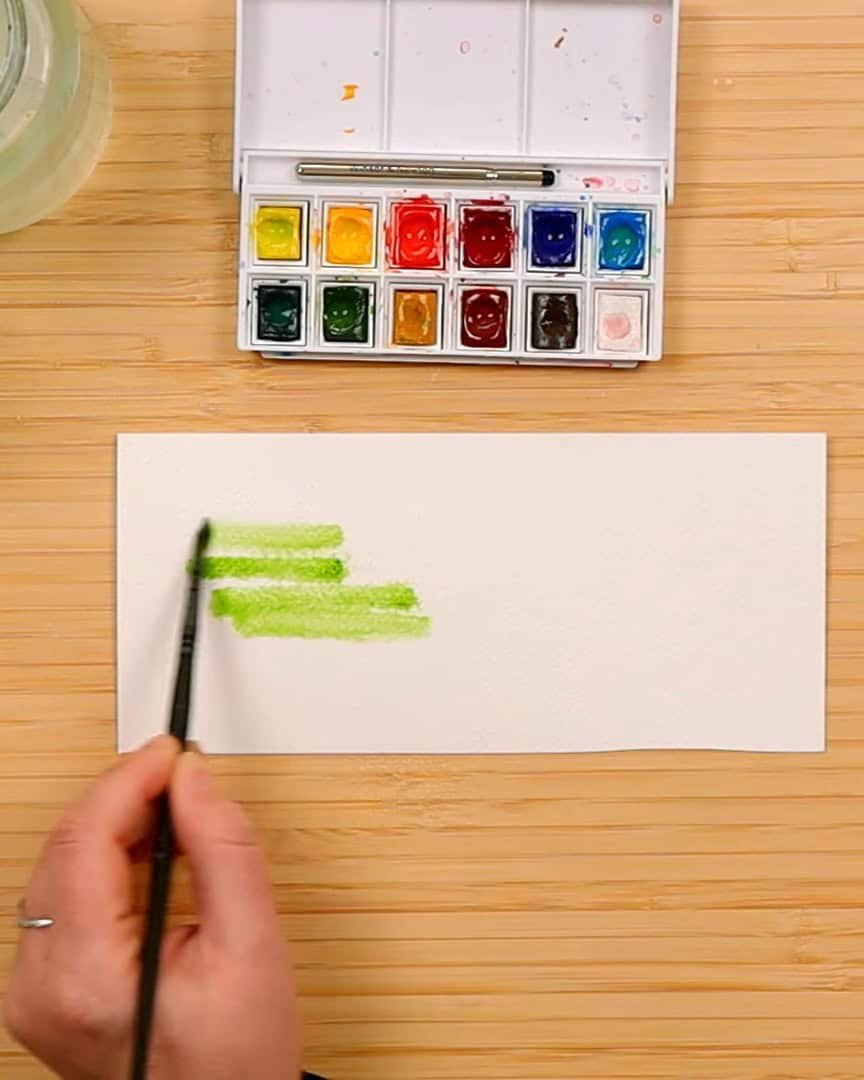
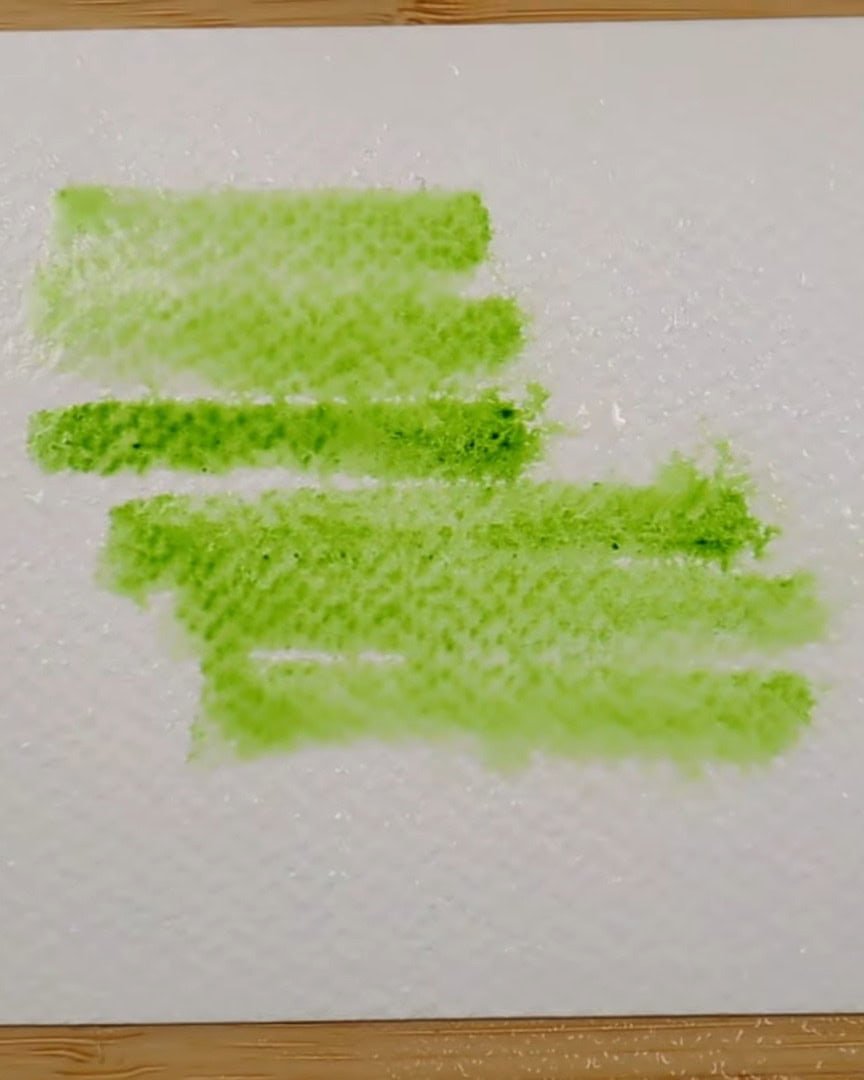
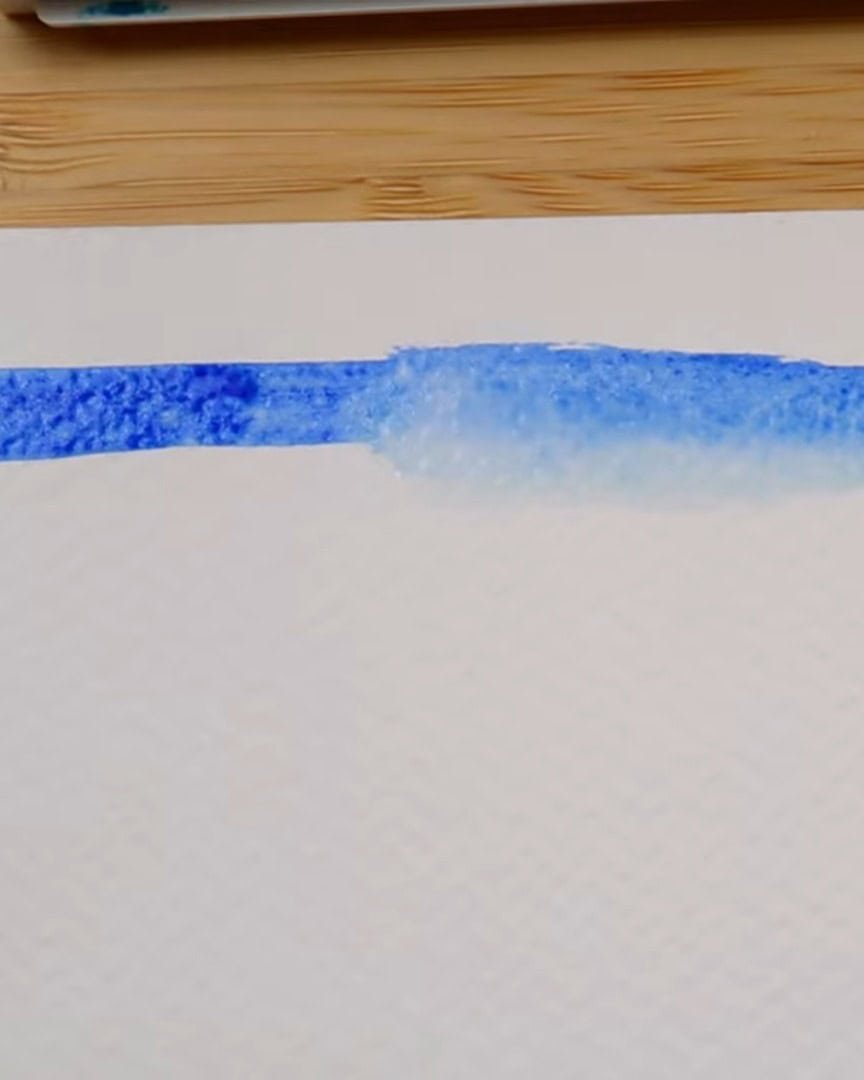
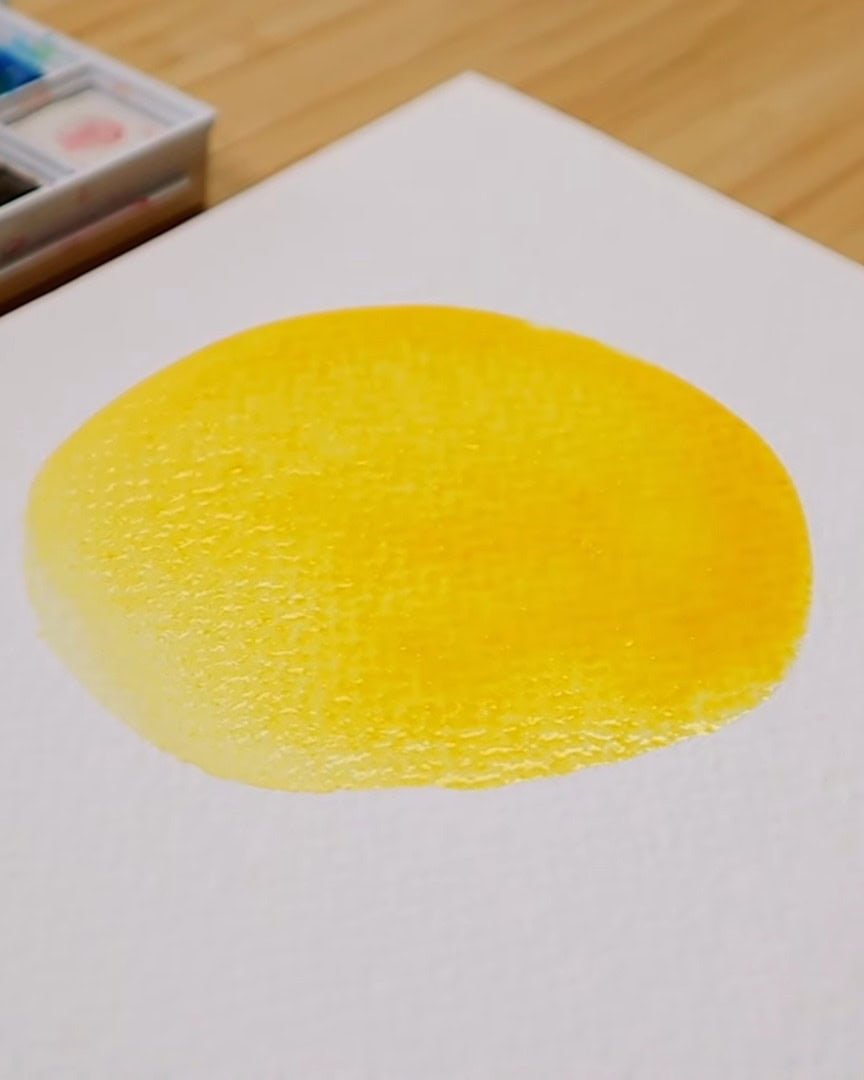
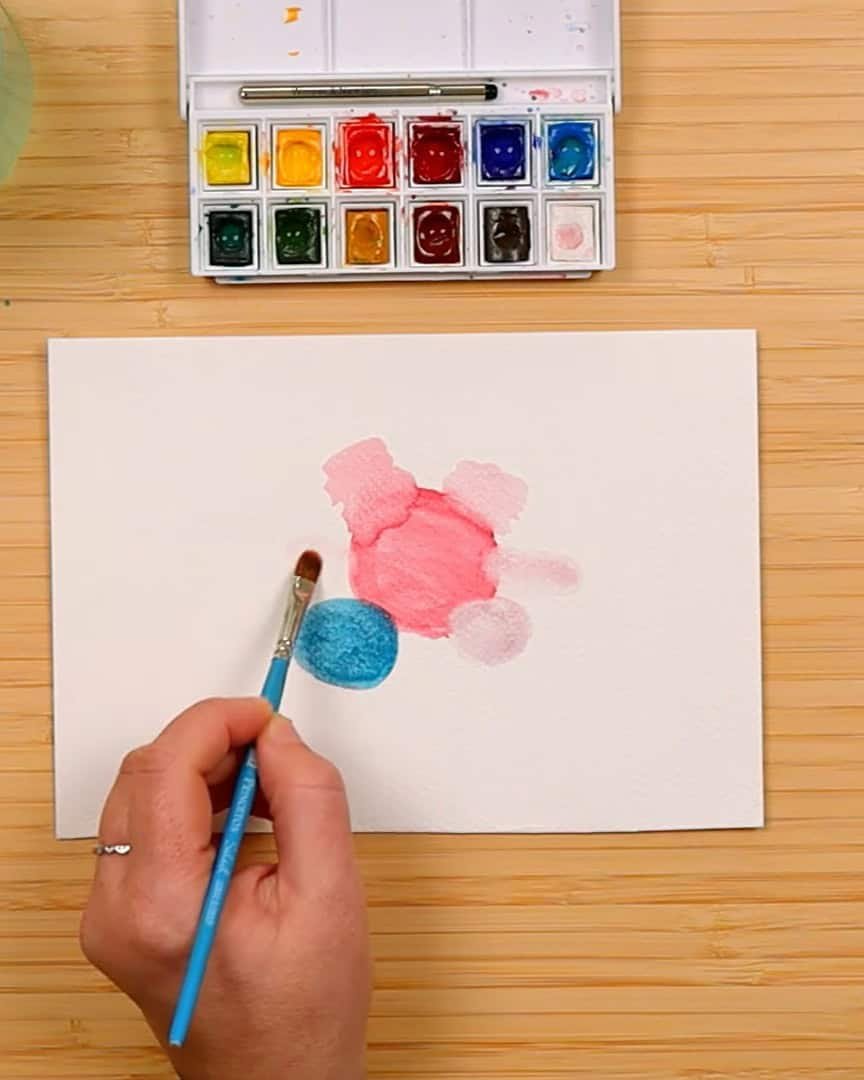
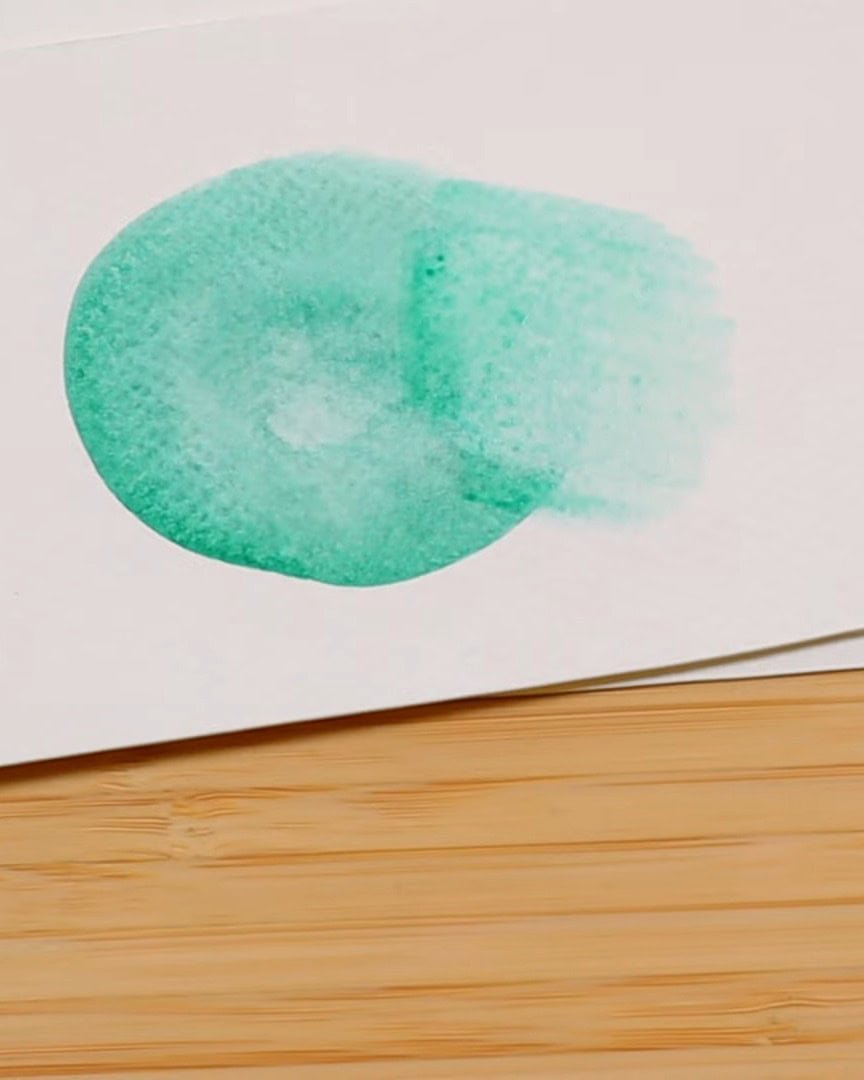
Hard Edges: The Bold Ones
Let’s start with the most common type of edge in watercolor—the hard edge. This happens when the artist puts wet paint on dry paper, also called wet-on-dry.
It’s super helpful when the artist wants to add detail or texture or draw attention to a focal point. Unlike soft, blurry watercolor effects, hard edges are sharp and clear.
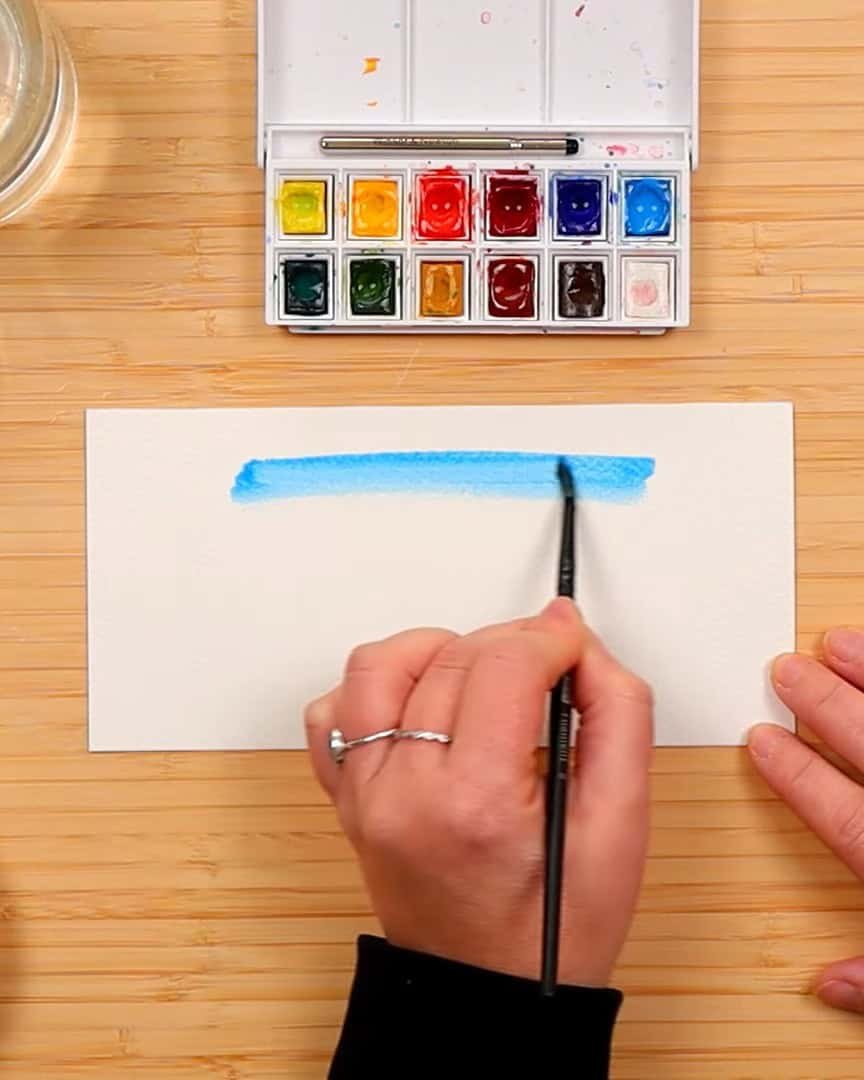
They’re easy to create. The only thing that can go wrong is not having the brush wet enough.

Even then, the artist sometimes enjoys that dry, scratchy look. It adds great texture. Honestly, with watercolor, it can feel like anything goes—and somehow, it still looks cool.
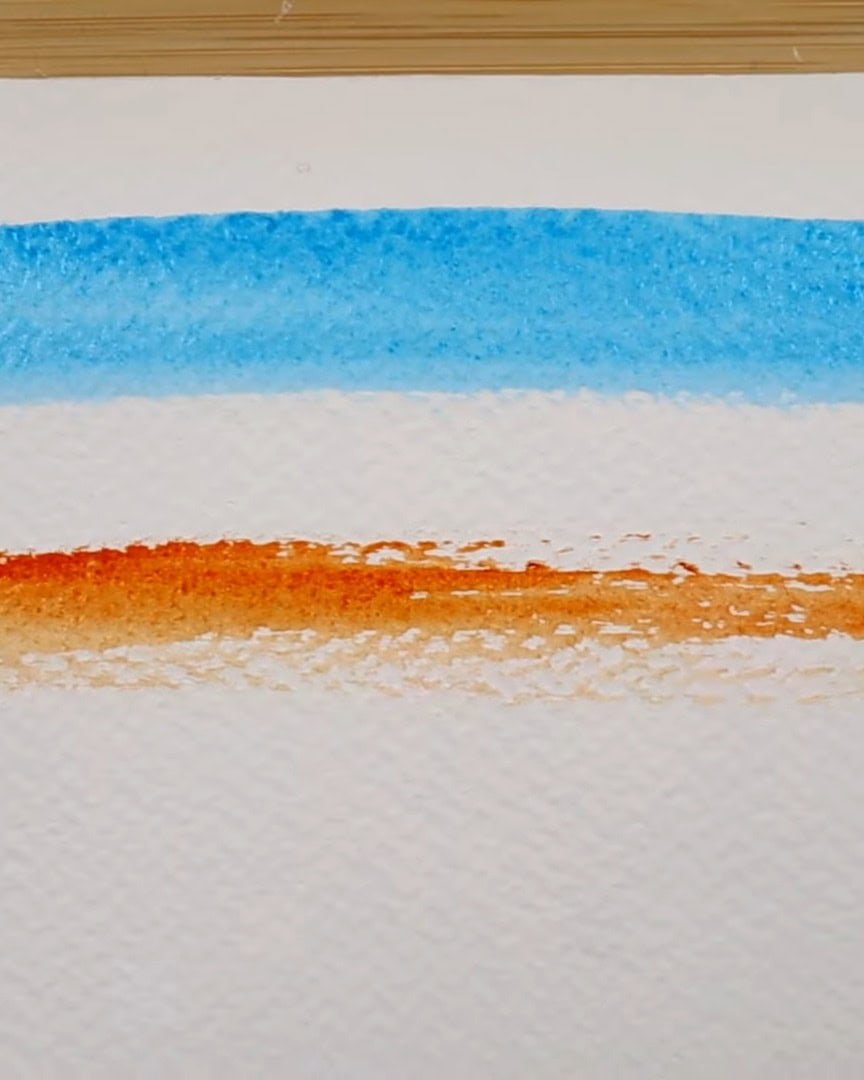
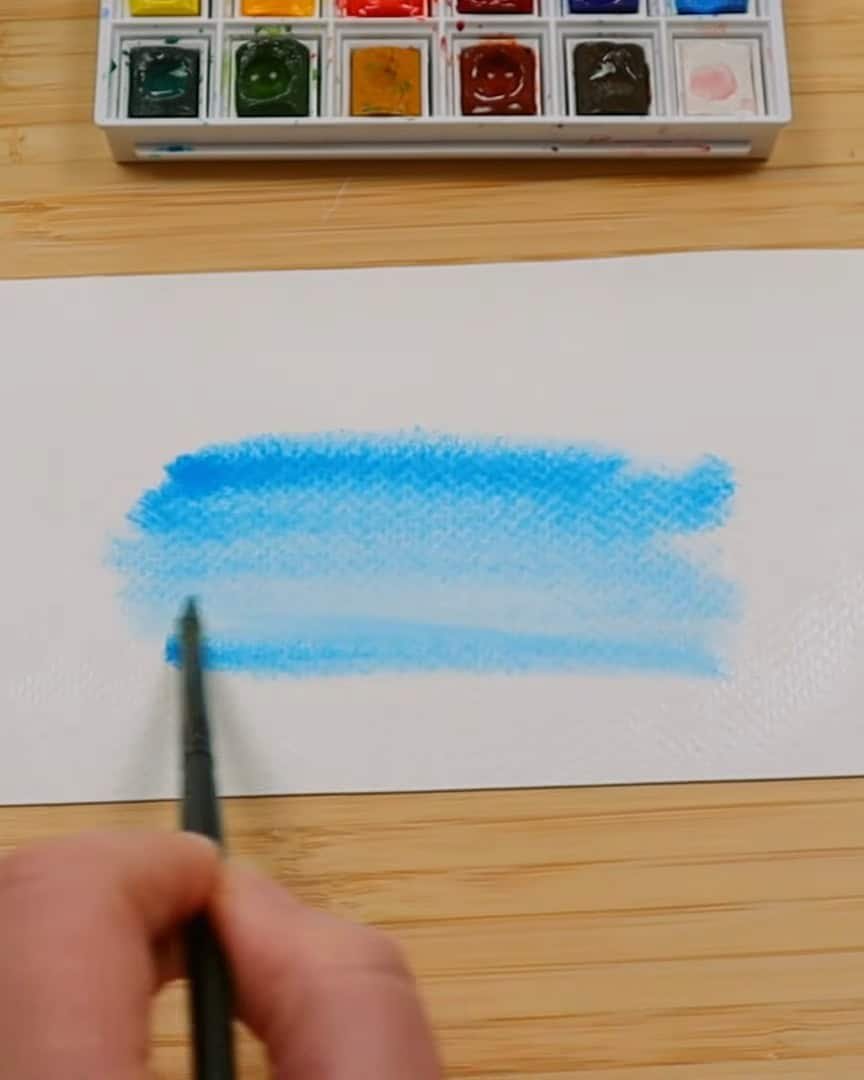
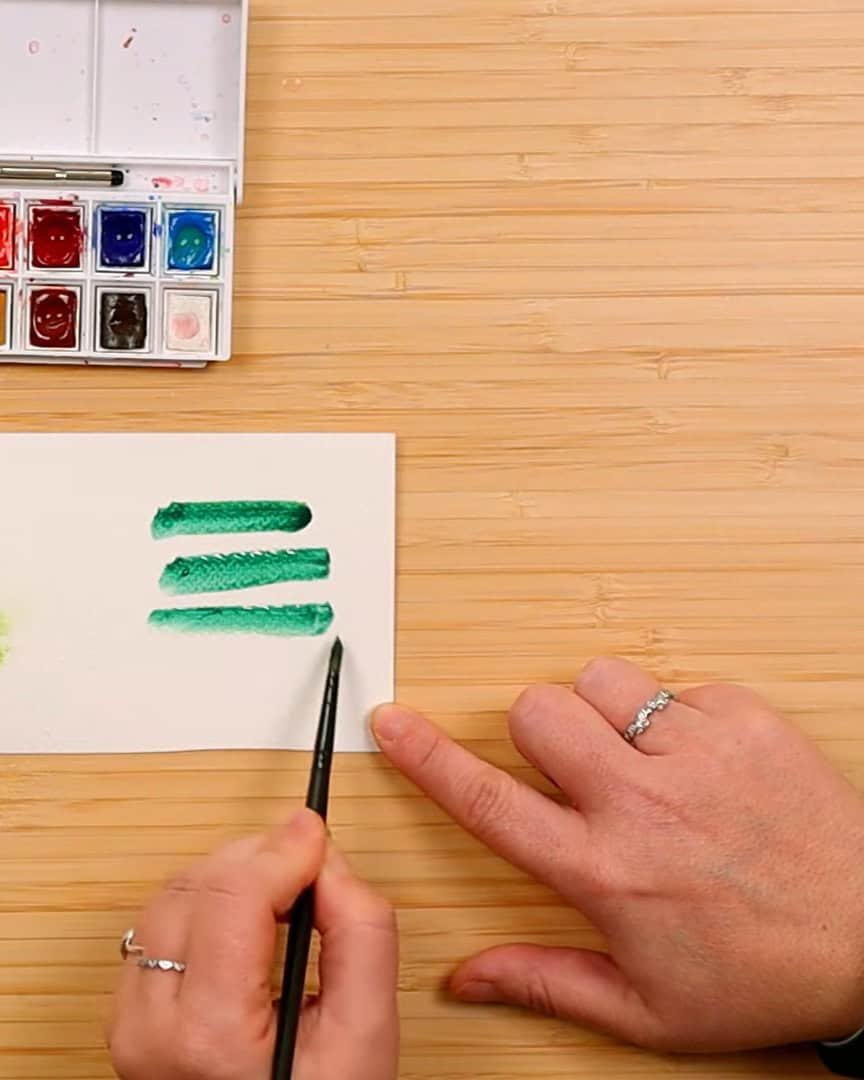
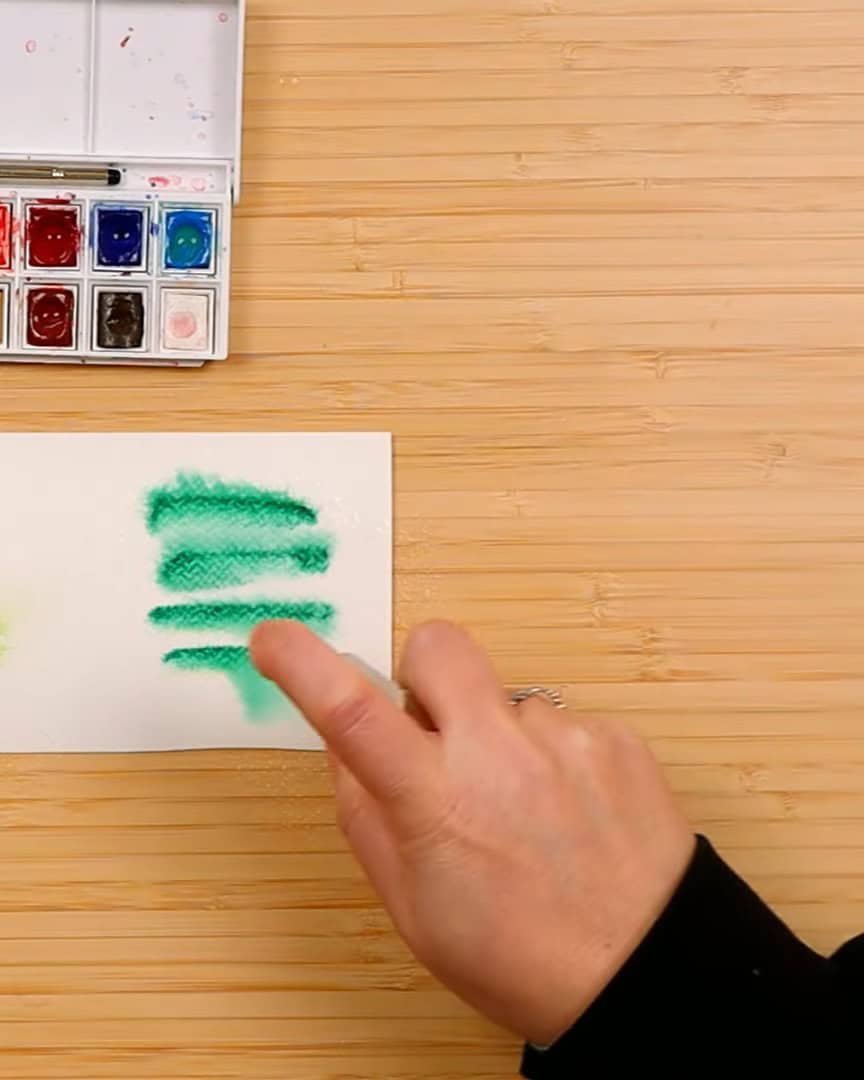
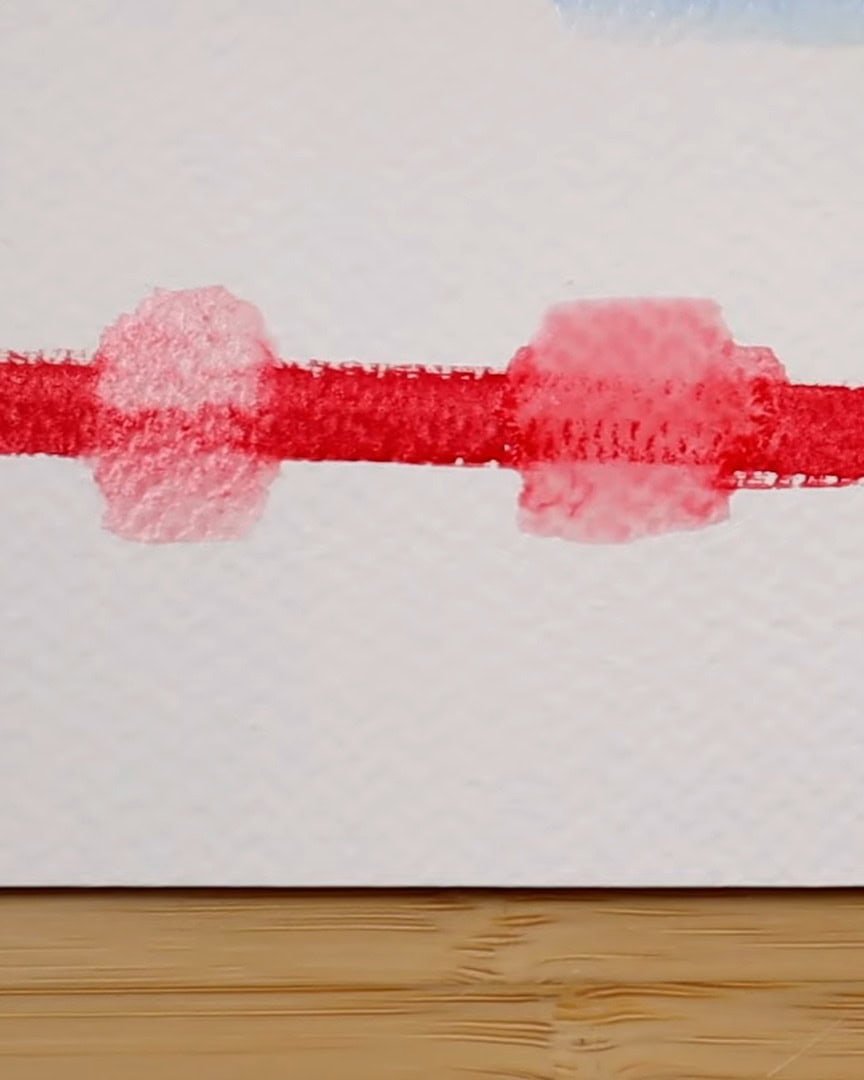
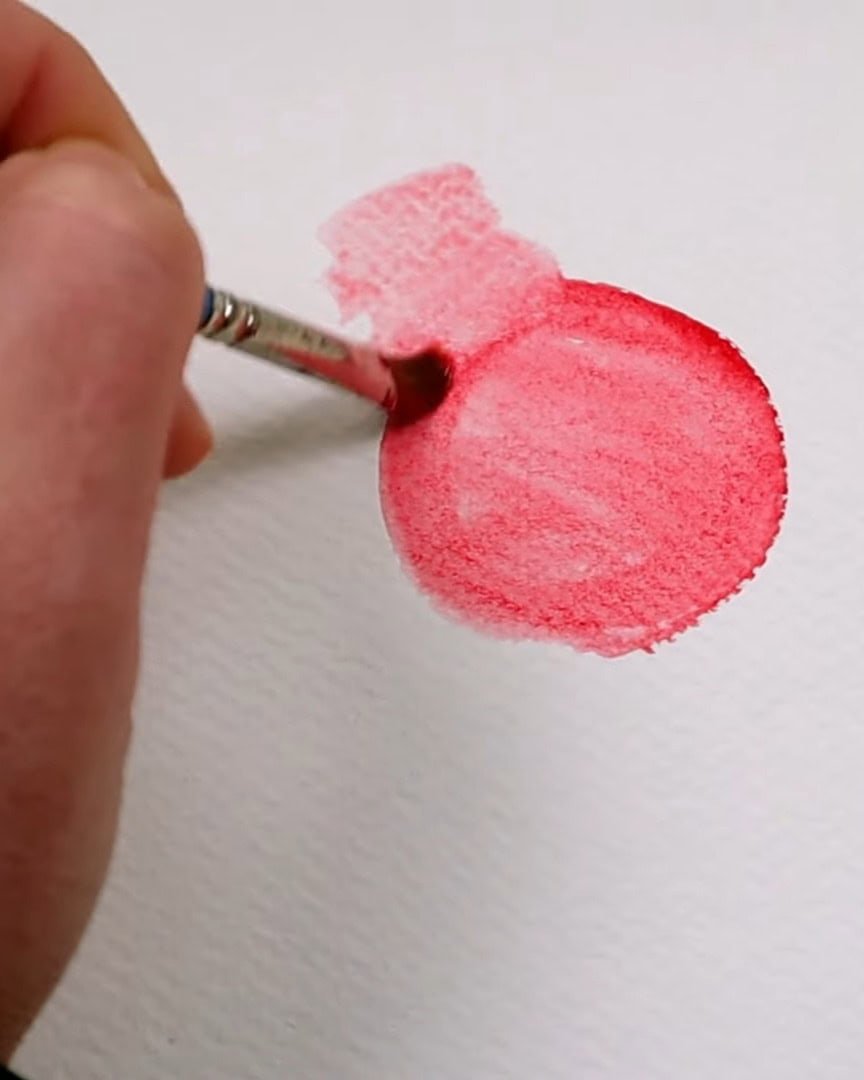
Semi-Soft Edges: A Gentle Blend
Now, let’s talk about semi-soft edges—the ones that sit right between hard and soft. These edges are slightly blurred, not fully soft, but gently fading into the background.
The artist uses this type of edge when a subtle transition is needed without going full blur.
To get it right, brush wetness is everything.
- If the brush is too wet, the result is a hard edge.
- If it’s too dry, the paint is lifted instead of blended.
So, the artist aims for a damp brush, not too wet or too dry. Sometimes, it takes a few tries, but once it works, it’s worth it.
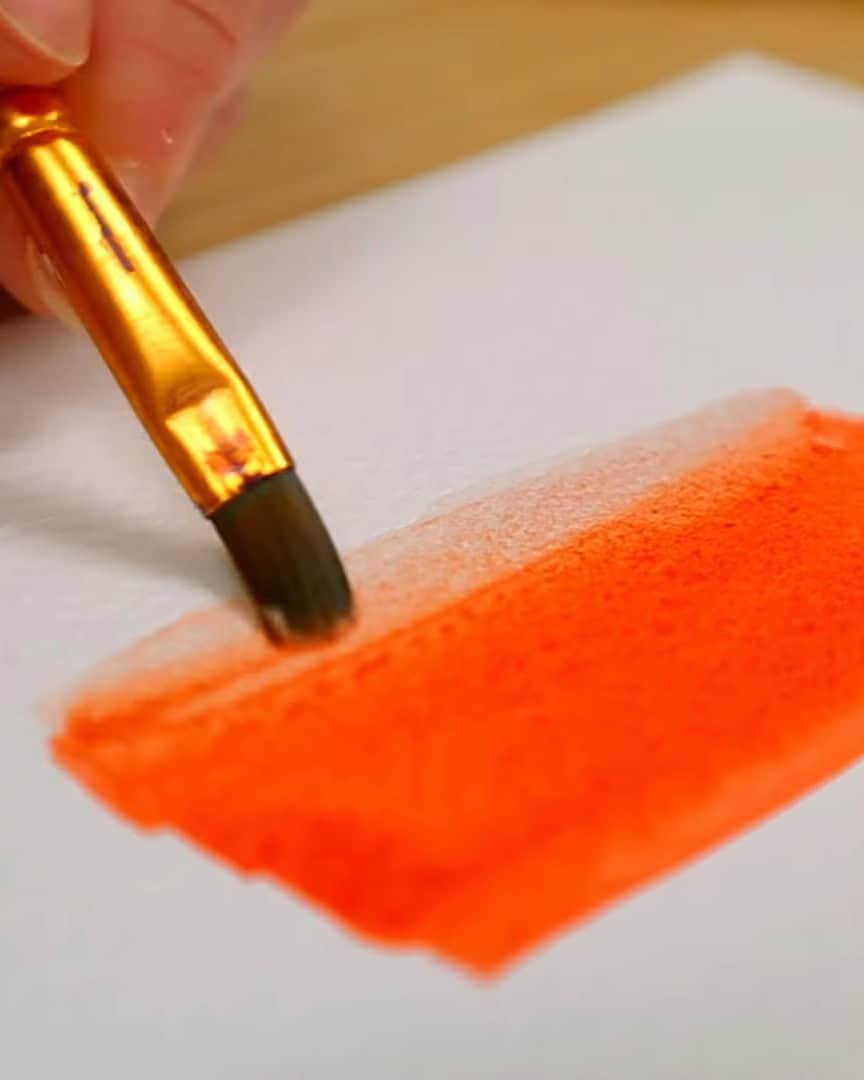
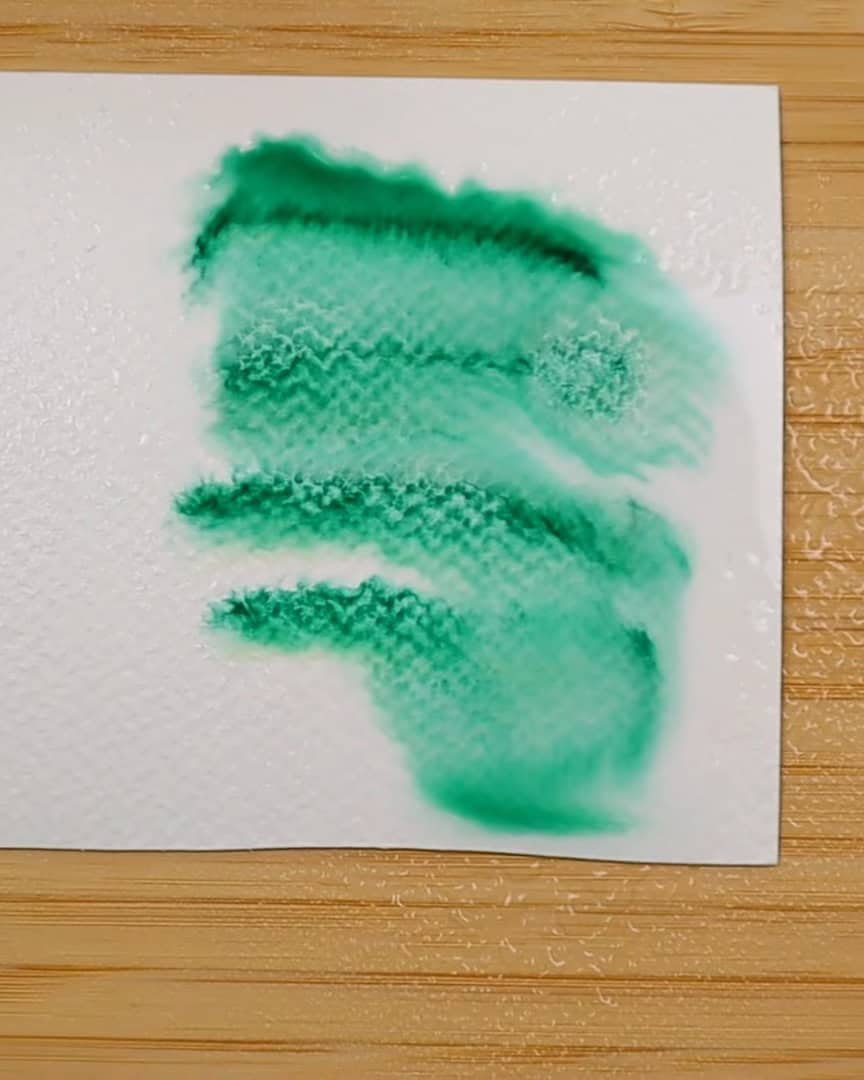
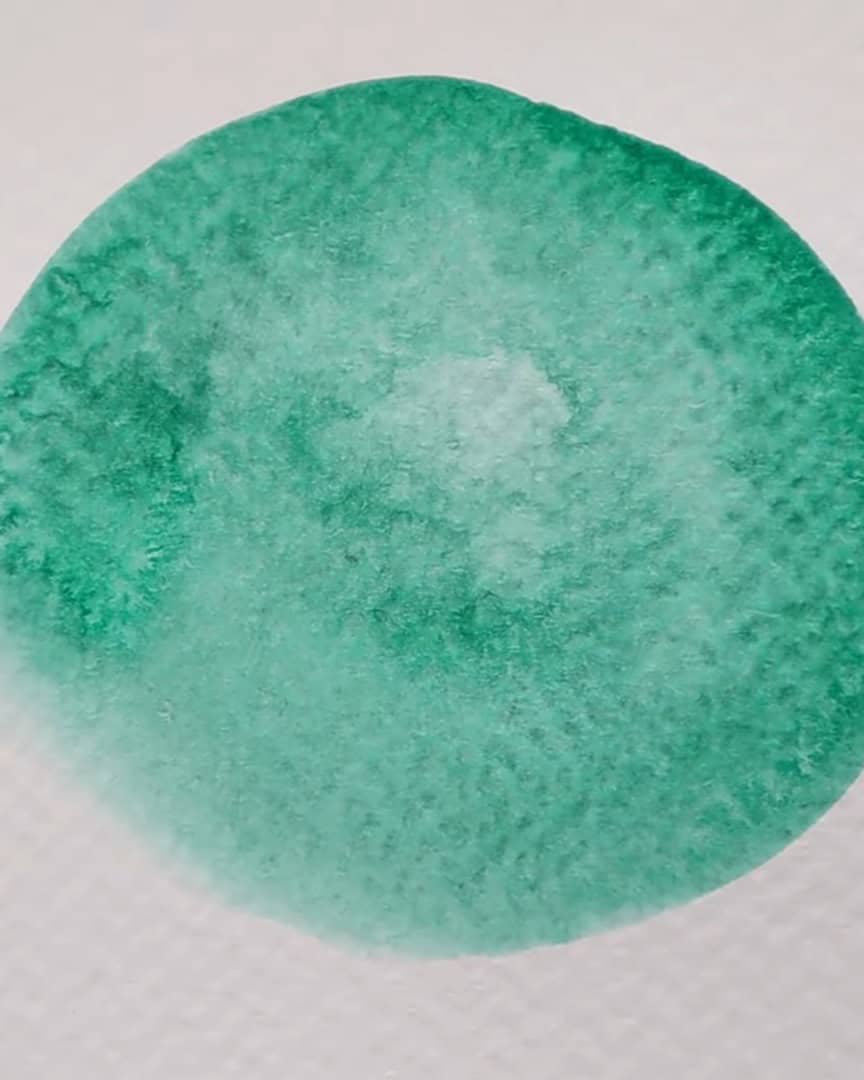
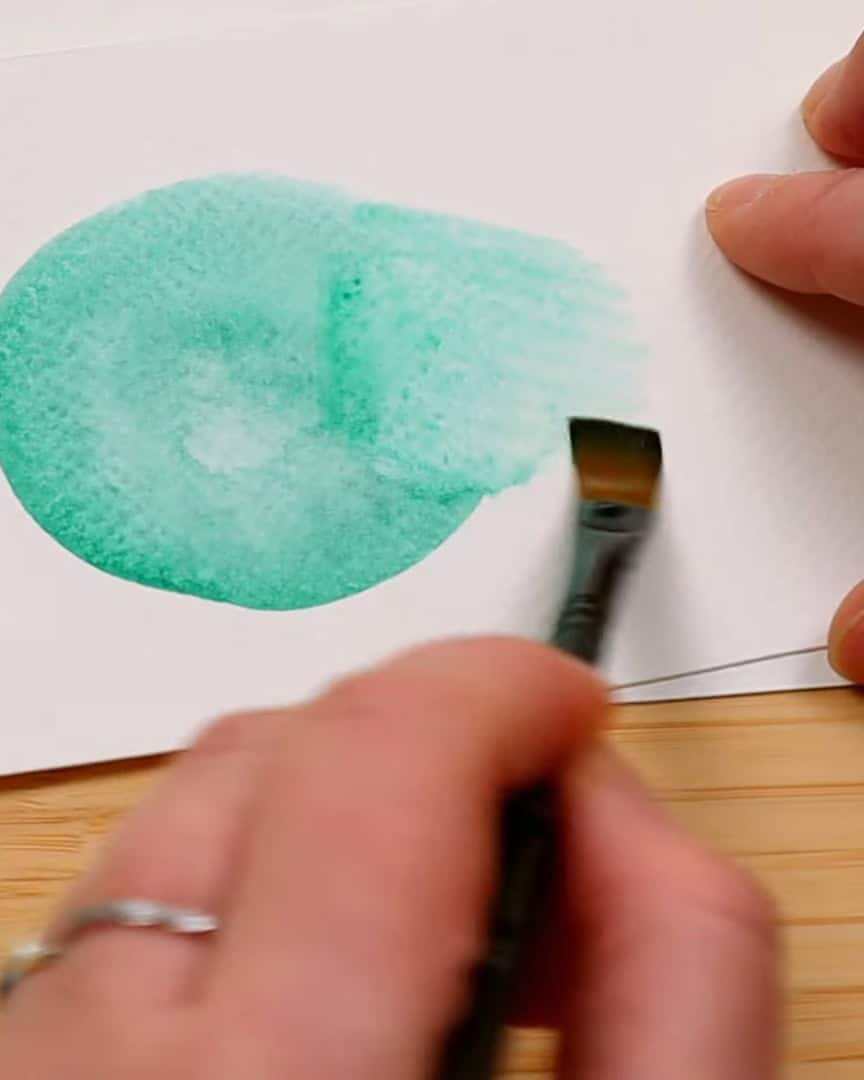
Lost Edges: The Dreamy Ones
Sometimes, the artist wants watercolor edges to feel extra soft, so soft that they almost disappear. That’s when lost edges come in. There’s nothing subtle here. These edges are completely blurry, and the artist loves how dreamy they look.
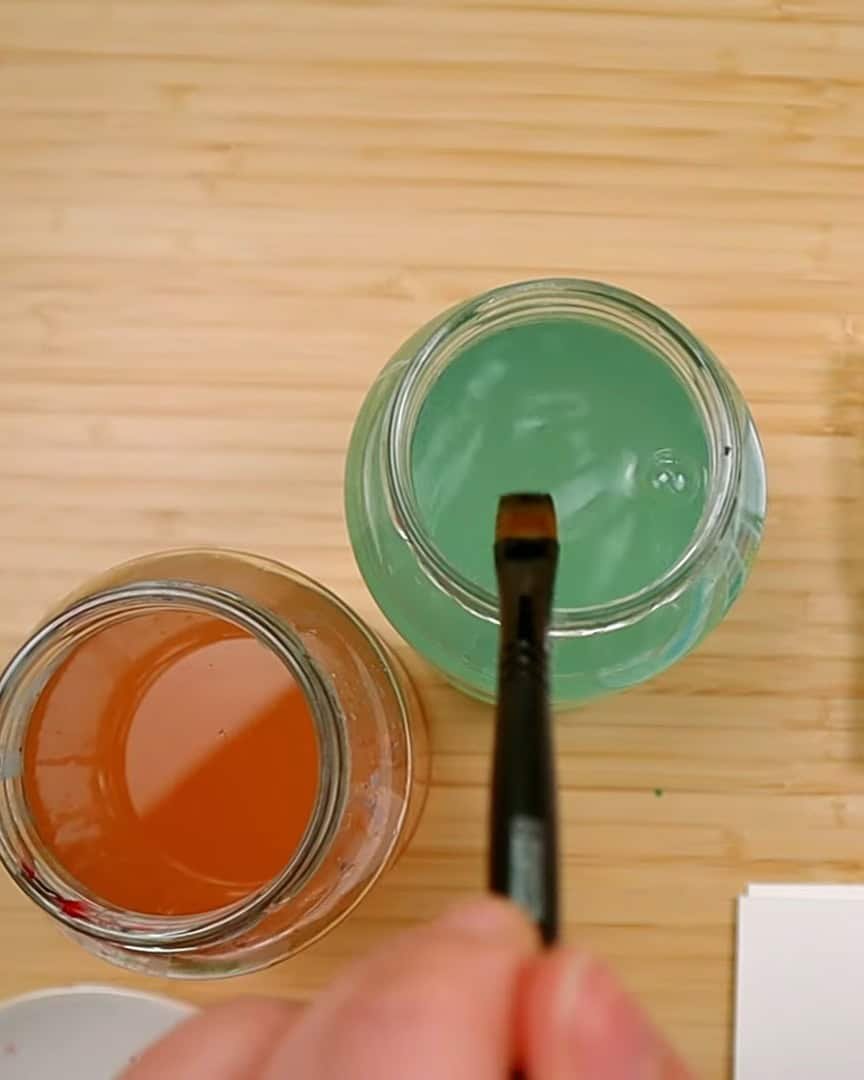
The artist usually uses two ways to create lost edges; both involve a lot of water.
Method 1: Like a Semi-Soft Edge, But Wetter
This one starts just like making a semi-soft edge. But instead of using a damp brush, the artist switches to a wet brush. Then, the edge is worked repeatedly, gently spreading the paint until it looks right.
One important thing: Don’t stop too soon. If the artist stops before being satisfied and the paper dries from wet to damp, a hard edge will appear. And once that happens, it can’t be fixed.
So, the paint is kept moving. This method works best in larger areas where there’s more room to blend.
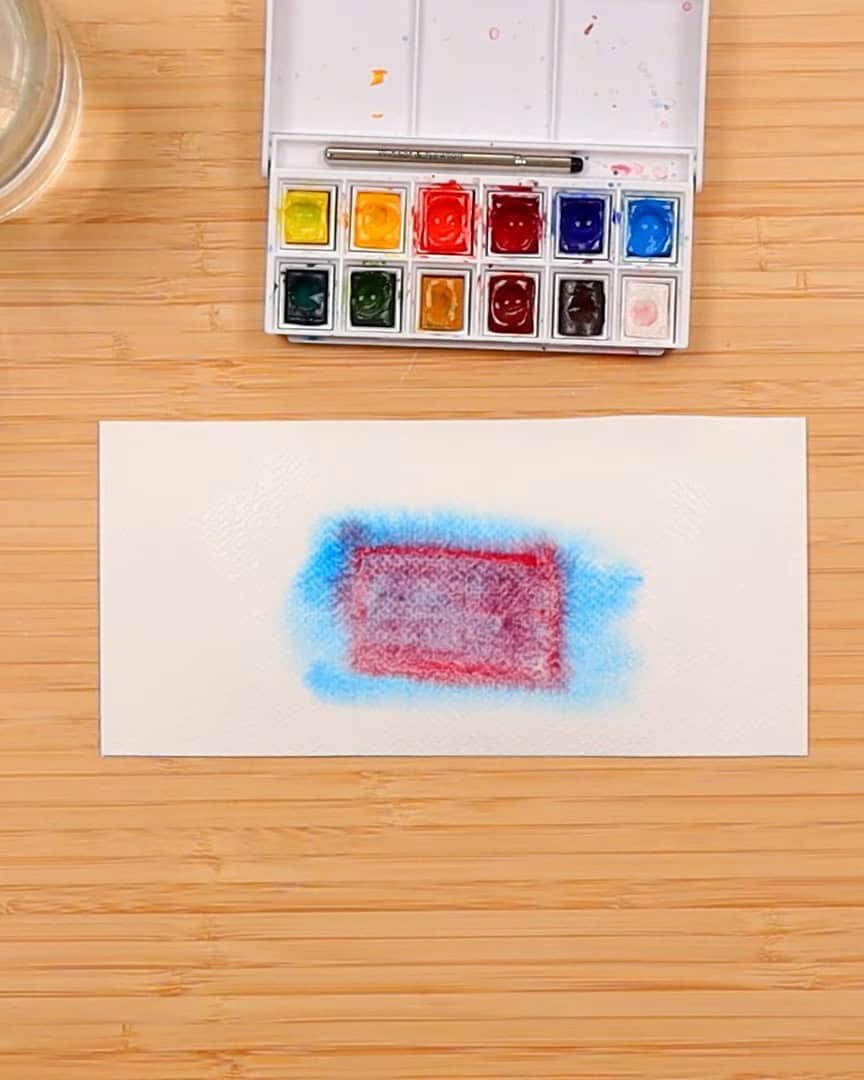
Method 2: Wet-on-Wet
This one’s even softer. The artist wets the paper first, then adds color. The result? All the edges melt into each other. It’s pure softness.
And it doesn’t just have to be paint on water. The artist also loves using paint on wet paint. It creates amazing effects.
This is often used for shadows or to add beautiful color accents, especially on petals.
But the artist keeps two things in mind:
- The base layer must stay wet, not damp.
- The second layer needs more pigment than the base.
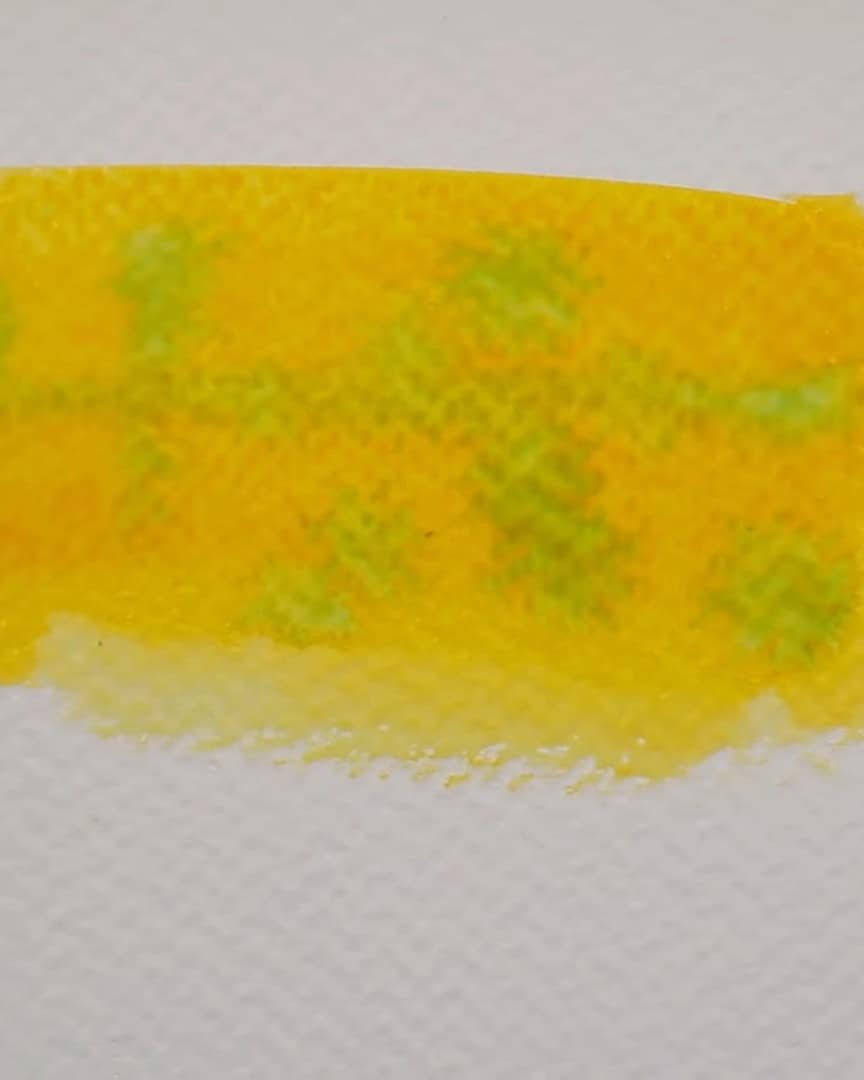
If that is reversed, blooms appear everywhere. So, the artist makes sure there is more water in the base layer and stronger pigment in the second layer. And when it all comes together?
It looks so soft and cute—the artist loves it.
Creative Ways to Make Watercolor Edges More Interesting
Sometimes, the artist doesn’t want a watercolor painting to look neat. A wild, loose, energetic look is preferred. That’s when playing with edges in more creative ways becomes exciting.
Let’s talk about how the artist intentionally makes things fun and chaotic.
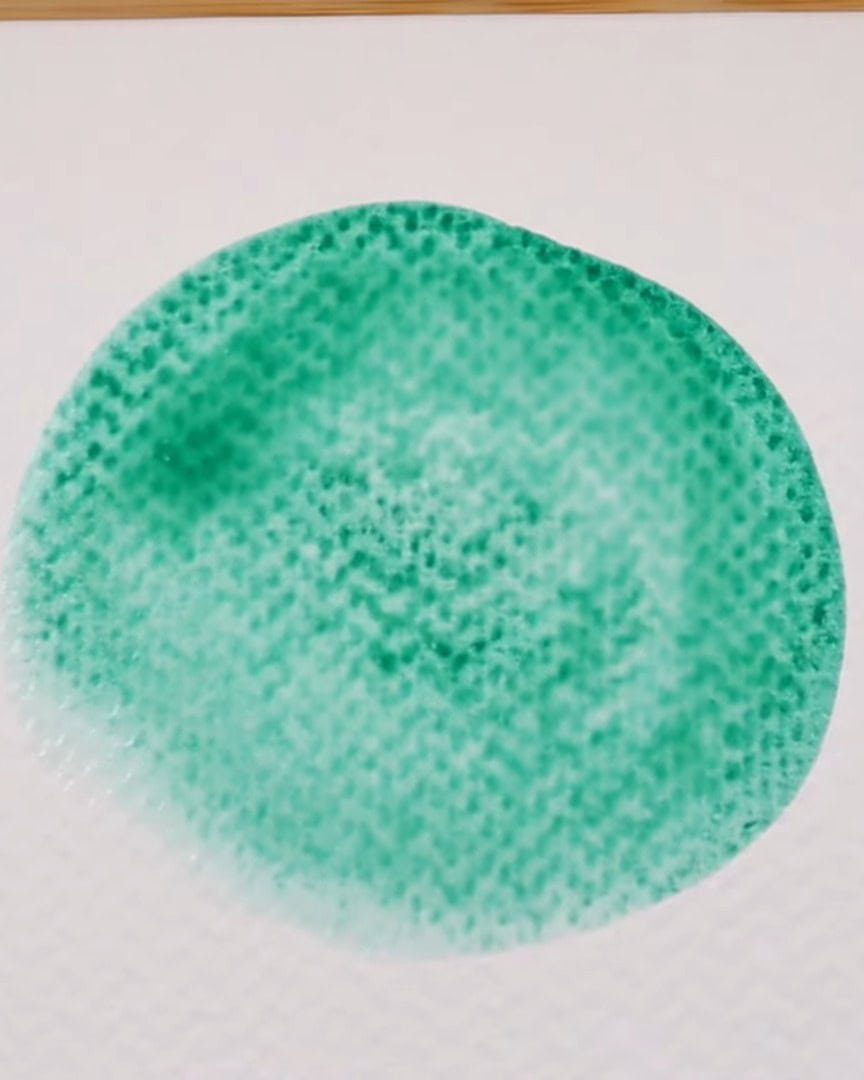
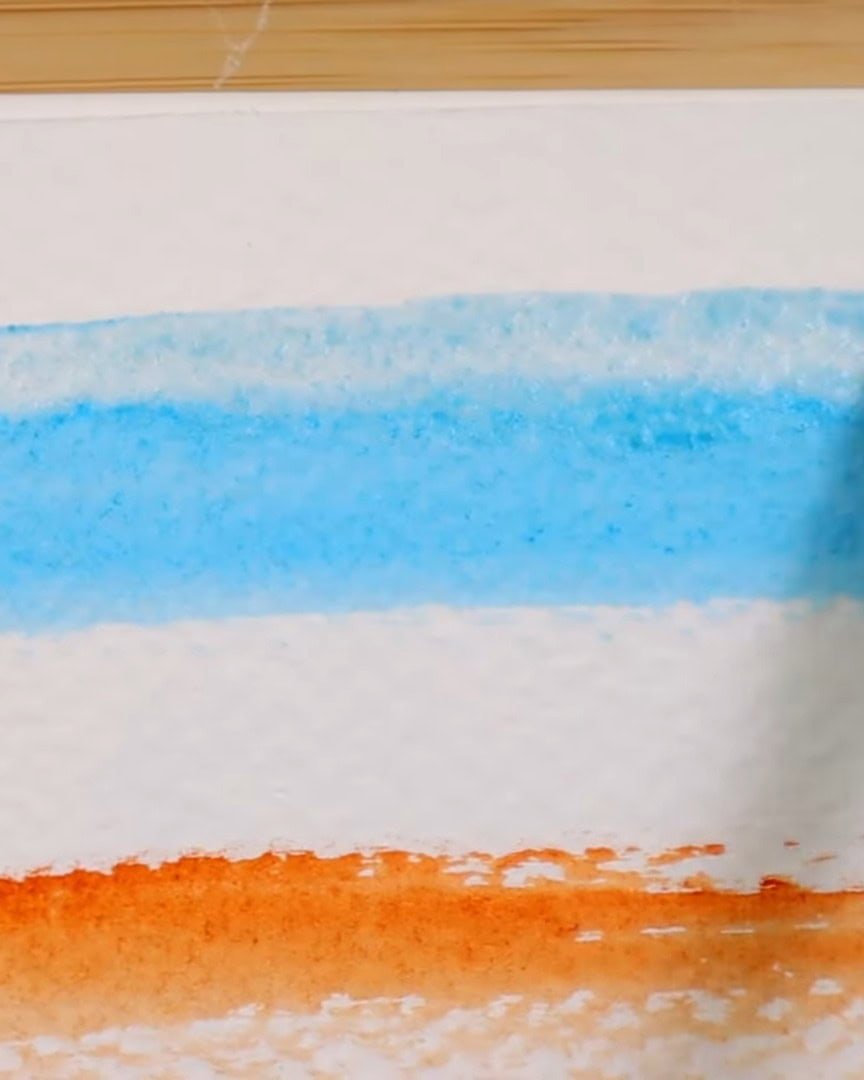
The Spray Bottle Trick
When the artist wants that dreamy, mirage-like blur, a spray bottle comes out. It’s the go-to tool for soft, unpredictable edges.
But size matters—this isn’t great for small details. It works best on larger shapes.
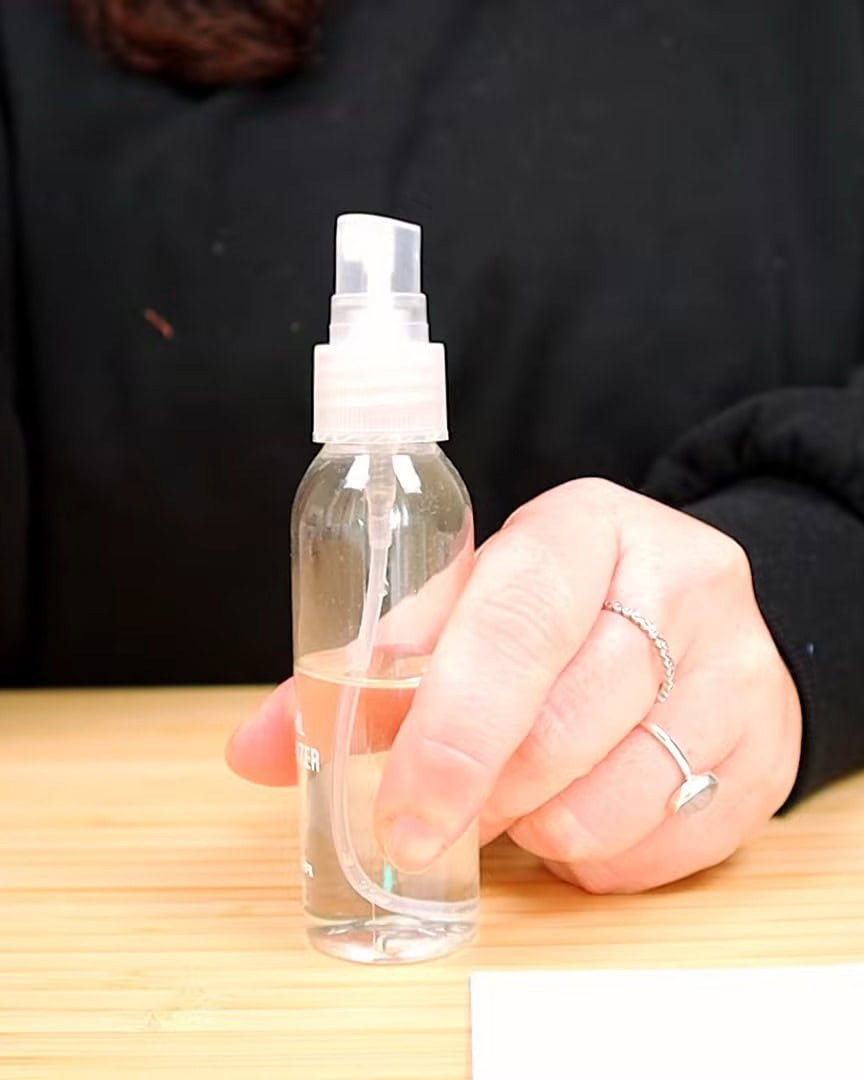
The artist uses it in two different ways:
Way 1:
- Spray first
- Then paint
This gives a more controlled result. The artist knows roughly where the water is, so the paint reacts in a slightly contained way.
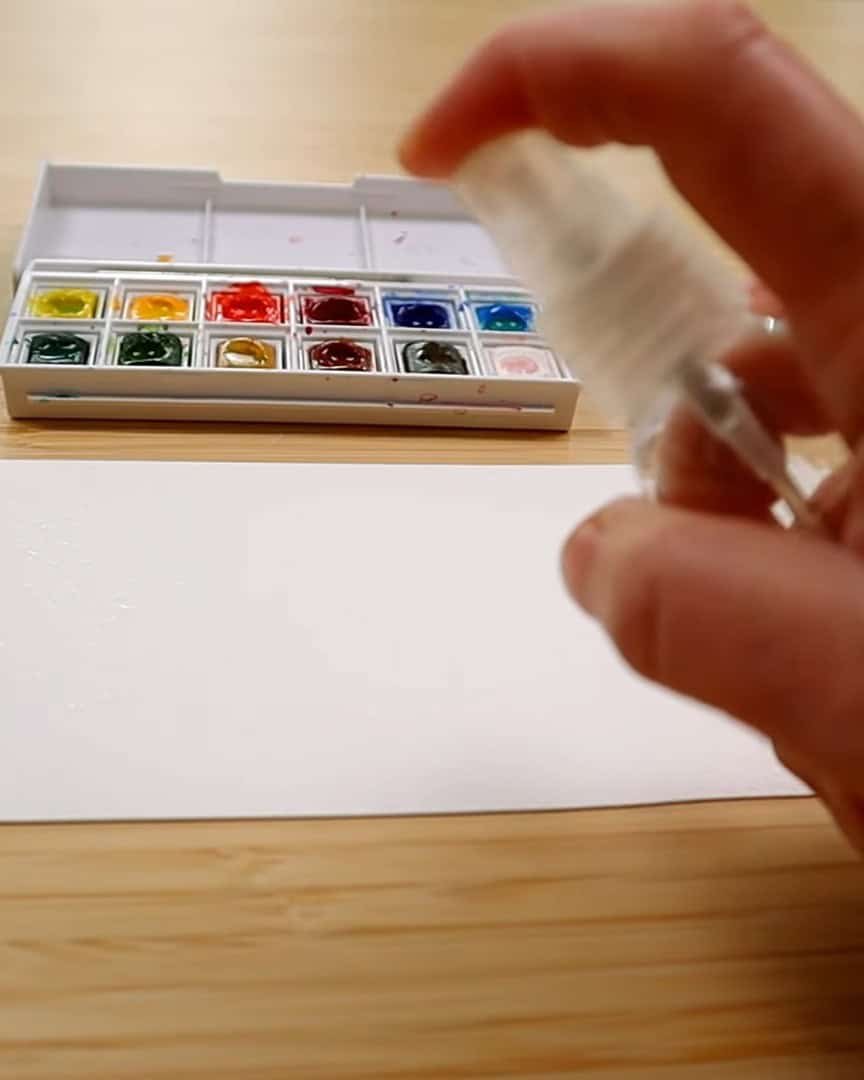
Way 2:
- Paint first
- Then spray
This is the artist’s favorite. The colors are allowed to go crazy. The paint starts running, blending, and forming amazing patterns. It’s messy—but so beautiful.
Soften Just a Section
Not every edge needs to be fully hard or entirely soft. Sometimes, the artist wants to draw attention to one part of a mark, so a damp brush is used to soften just that one section.
It’s a small touch, but it makes a big difference.
Break the Edge with a Variegated Look
When a hard edge grabs too much attention, the artist breaks it up. Little spots along the line are softened to make it blend better. The size and spacing of those softened areas are varied.
The more random it looks, the better it blends into the painting.
This might seem like a lot, but it’s not. The artist just takes it step by step, and it gets easier with practice.
Fixing Unwanted Hard Edges in Watercolor
Unwanted hard edges can sometimes appear in watercolor paintings, and knowing how to fix them can save a work from looking stiff or awkward.
The artist has noticed these edges usually show up for two reasons: uneven water on the paper or drying too quickly.
Here is what the artist has learned about dealing with these tricky edges.
Why Do Unwanted Hard Edges Happen?
The first cause the artist sees is uneven water content on the paper. Sometimes, water pools in one spot, or the paper buckles, creating dents that hold extra water.
This causes paint to gather unevenly and dry with hard lines. Another cause is using too much water on the brush, creating the harsh edges that are best avoided.
The second main reason is that the paper dries too fast. This is especially true for cellulose paper, which doesn’t absorb water as well as cotton paper.
Cellulose paper puddles easily and dries quicker, making hard edges more common.
Also, adding wet paint directly to a dry layer without blending will create a hard edge that stands out.
How To Prevent Hard Edges
Preventing unwanted hard edges starts with managing water carefully. Here’s what the artist does:
- Avoid puddles on the paper. If the artist sees any water pooling, the artist dries the brush before painting.
- If there is a puddle, the artist uses a dry brush to lift the excess water instead of a paper towel, which can leave marks.
- The artist paints fast enough to keep the edges soft before the paper dries.
Paint fast
Of course, environmental factors like temperature affect drying times. So, the artist recommends a quick experiment: paint a shape or line on a scrap piece of the viewer’s paper.
Immediately try to soften the edge, then wait and try again. Keep repeating until the viewer sees hard edges form. This way, the viewer learns how long their paper stays workable in that environment.
Can Hard Edges Be Fixed After They Dry?
Fixing a hard edge once it’s dry can be tricky, but the artist has some tips:
- Use a small, damp brush with clean water.
- Gently reactivate the paint on the hard edge by brushing over it lightly.

- Use a dry brush to lift the paint carefully and soften the edge.
Keep repeating this process until the viewer likes the result. But a word of caution: if the viewer’s paper isn’t very durable or the paint stains strongly, this method might not work well and could damage the paper.
Still, smudging those harsh lines and bringing back softness is worth trying.
With patience and practice, the artist can control and fix hard edges to get smooth, beautiful transitions in watercolor paintings.
Final Thoughts
Watercolor edge control isn’t something the viewer learns in one go. But when it is broken down and each type is practiced, it becomes easier.
Whether a bold, hard edge or a blurry, lost edge, each has its place in a painting. The artist hopes this helps the viewer see how edges work and how to fix the ones that aren’t appealing.
Got a tip of your own or something the artist missed? Drop a comment below, and keep the conversation going!