
What ruins a colored pencil drawing faster than bad paper? Drawing on it while it’s wet. I’ve made that mistake—and a few others—so you don’t have to.
In this post, I share what I’ve learned the hard way: why timing matters, why tools matter, and how even a simple scrape can mess things up. If you care about your drawing surface, these tips will save your work.
Contents
Avoid Drawing on Wet Paper
Let me be honest—drawing on wet paper is a big no. I’ve seen artists do it, and every time, I cringe. You might think it’s harmless, but it can ruin your drawing surface for good.
Wet paper is super delicate. It’s so easy to:
- Tear it
- Make deep impressions
- Flatten the tooth of the paper
And if you’re using thin paper, like 80 lb or less, it’s even worse. Please let it dry first before adding more pencils!
Avoid Adding Layers Right After Using Solvent
This might sound small, but it can make or break your colored pencil work. I’ve made this mistake before; trust me—it’s not worth it.
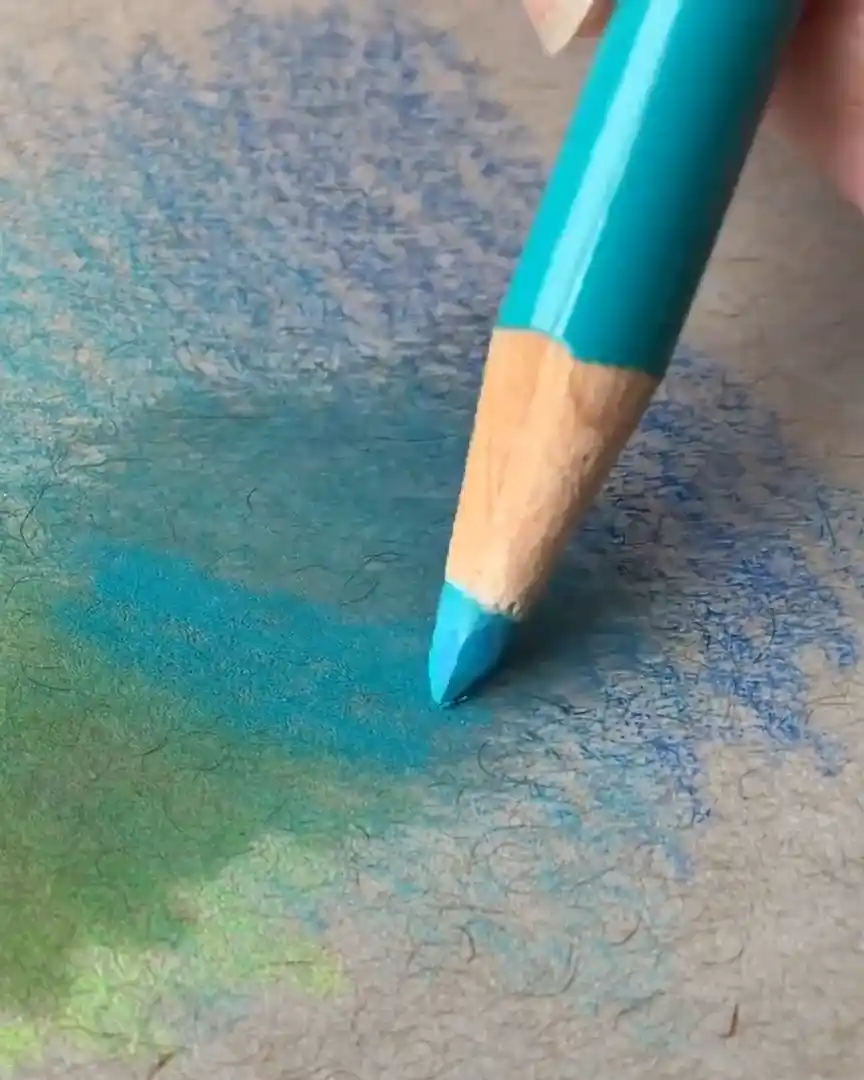
Wet Paper Won’t Take Layers Well
If you try adding layers right after using solvent, your paper won’t grab the pencil. I find I have to press harder to make the color stick.
And that pressure damages the tooth of the paper. Once the tooth is gone, forget about smooth layers. They just won’t build up the same way anymore.
Layers are everything in colored pencil art. So, I never want to do anything that ruins the surface.
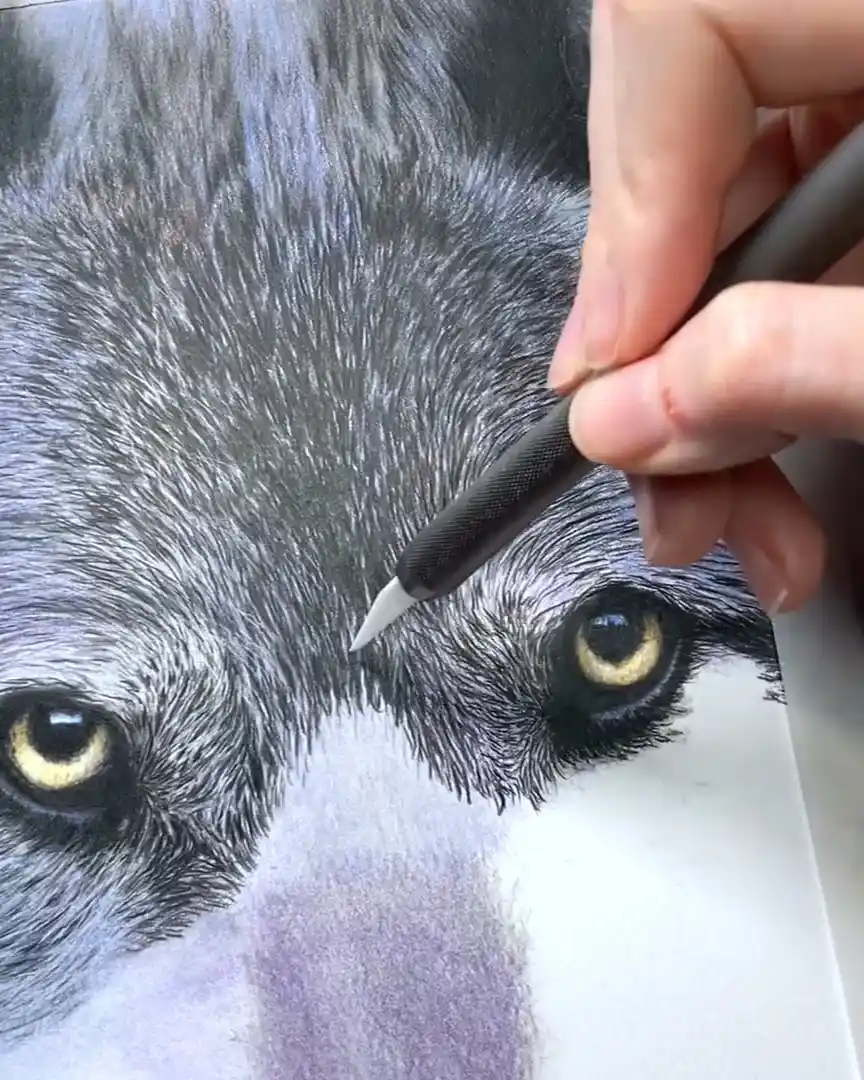
Damage Happens Fast and Quietly
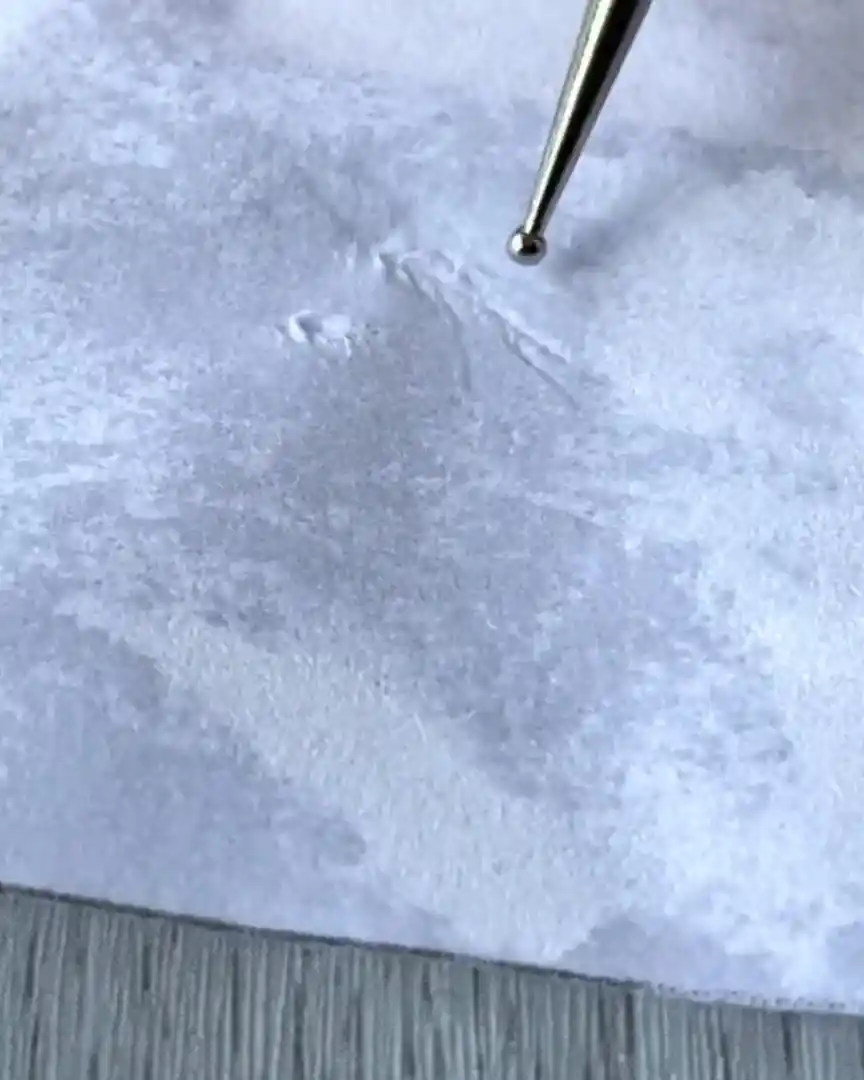
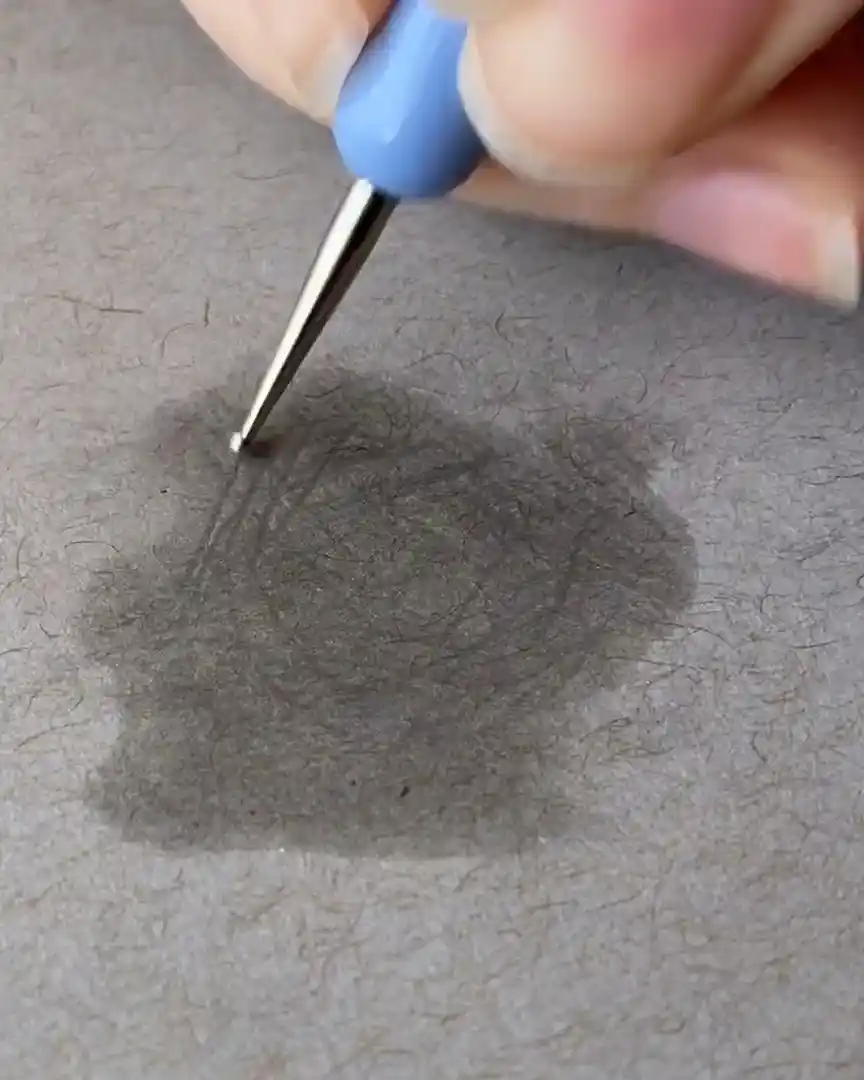
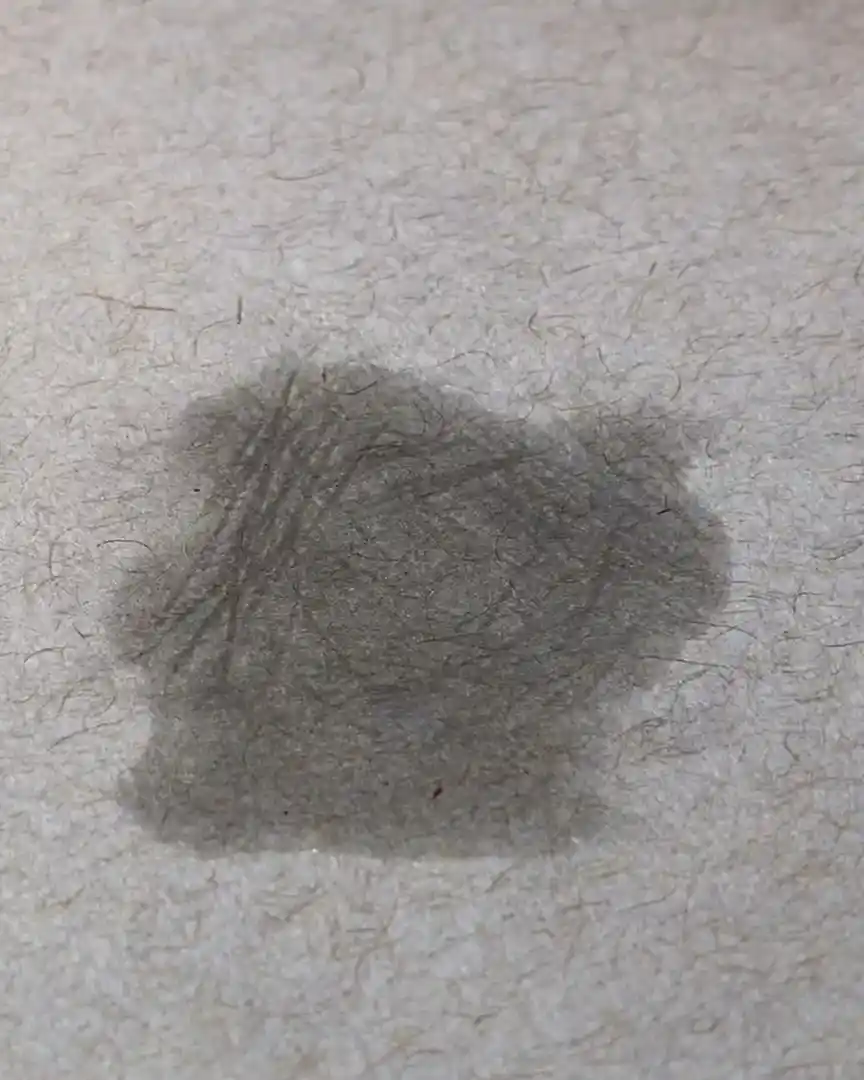
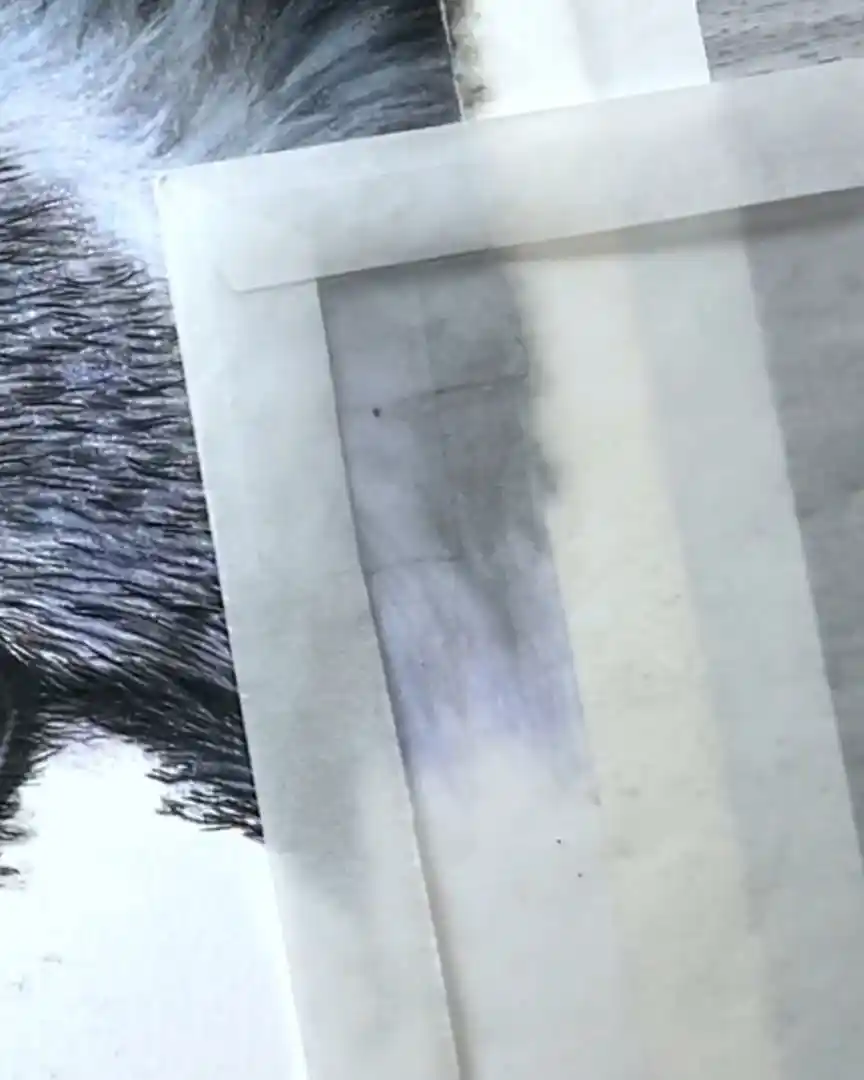
Even if I’m gentle, drawing over wet areas still makes dents and marks. I’ve tested this using an embossing tool mimicking a pencil tip.
It leaves strong indentations, even though it’s rounded and softer than a real pencil.
And when I do use a colored pencil, that damage is still there. You don’t see it immediately because it’s hidden under the pigment.
But it’s there and shows up later when blending or adding detail.
If I press harder, like when drawing fur, the paper suffers. It tears or gets rough patches. And it’s even worse if you use thin paper, like 80 lb or less.
Let It Dry—It Doesn’t Take Long
Here’s the good news: solvent dries fast. I usually wait just 10 to 15 minutes. That’s it.
While it dries, I simply move to another part of my drawing. That way, I don’t waste time and protect the surface. So, if you’ve just used solvent—take a break from that spot. Your drawing will thank you.
Never Use Hairspray as a Fixative
I’ve heard this tip passed around before, and maybe you have, too. Someone once told me to use hairspray to set my colored pencil drawings.
Yes, technically, it works—but I strongly suggest you don’t.
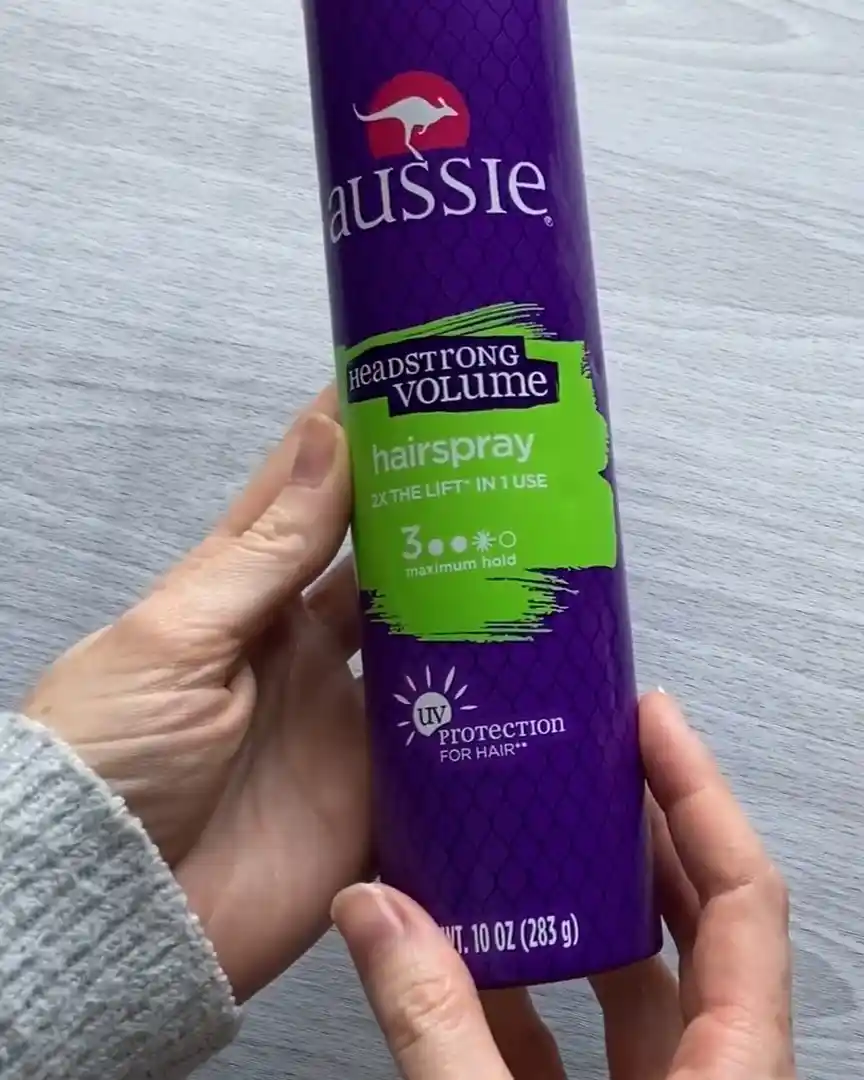
It’s Not Made for Art
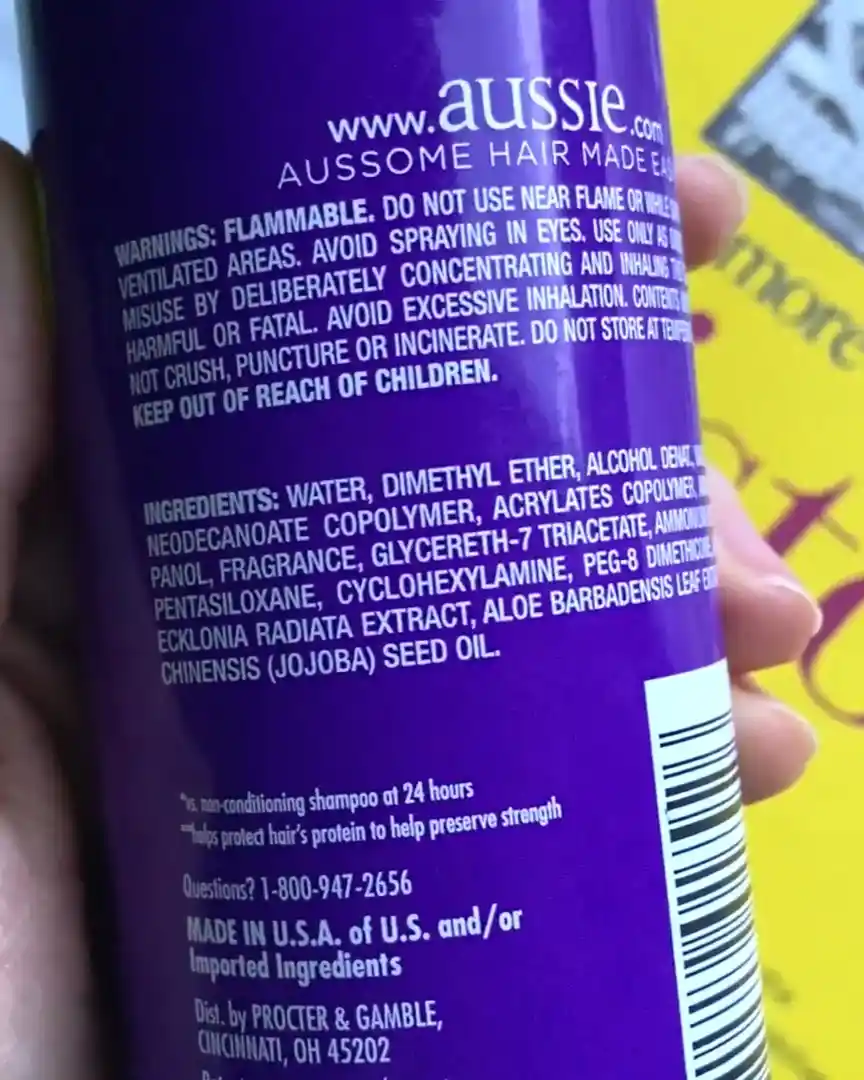
The first problem is what’s inside the hairspray. Have you ever looked at the ingredients? These products are made for hair, not paper.
- Many hairsprays contain silicones and other hair care chemicals.
- Even the unscented ones are full of stuff I don’t want on my drawings.
- Most importantly, they are not archival. That means they won’t help your art last long-term.
I avoid anything that could harm my work in the future. I just don’t feel good about spraying silicones over hours of effort.
It Leaves Sticky Results
Even worse, hairspray is sticky. I tested it once on printer paper just to see what would happen. The result? A tacky surface that didn’t feel right at all.
Use a Real Fixative Instead
Art fixatives are made for artwork. They:
- Help preserve your drawing
- Don’t leave a sticky residue
- Only costs a little more than hairspray
The brand I use costs only about $7. So why risk your drawing with a product not made for it? I always stick with sprays made for art—and I recommend you do, too.

Be Careful When Scraping Layers
Scraping colored pencil layers can create beautiful textures, but only if you do it right. I’ve learned the hard way that using a craft knife the wrong way can seriously damage your drawing.
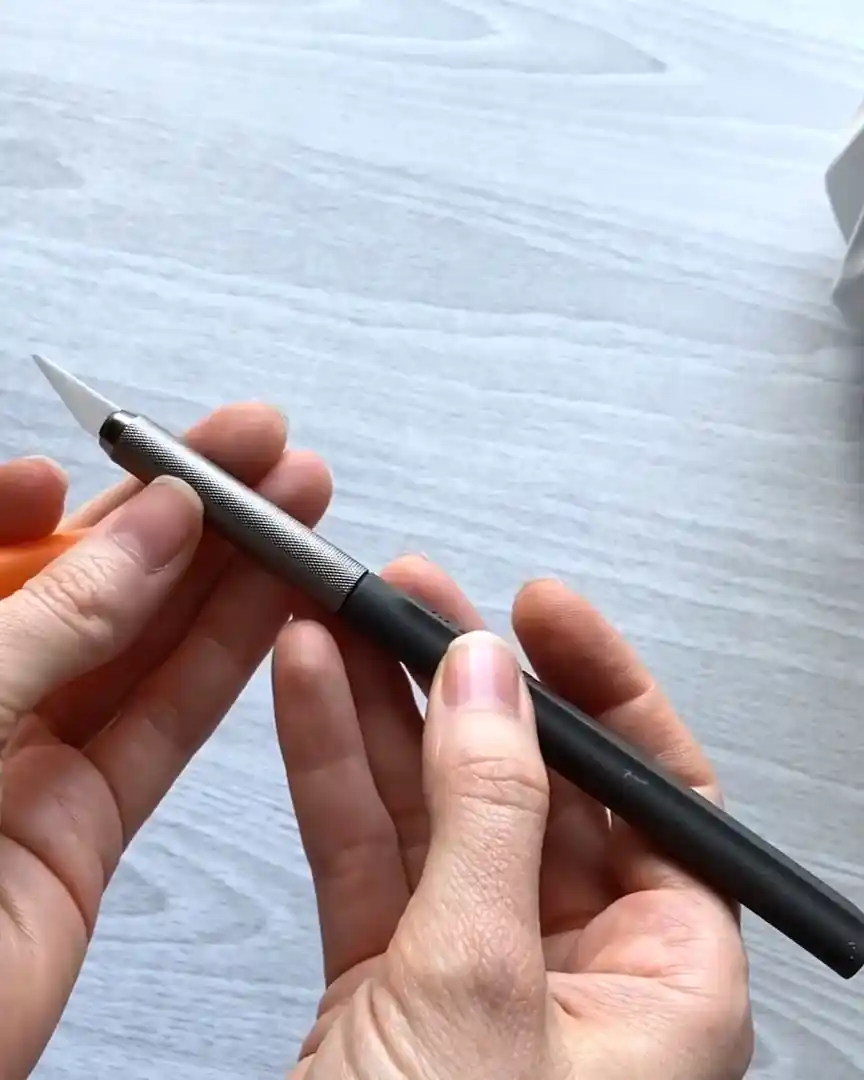
Use the Right Tool the Right Way
I prefer a slice craft knife over an Exacto knife. It has a curved edge that makes scraping the top layer super easy. But you have to be gentle.
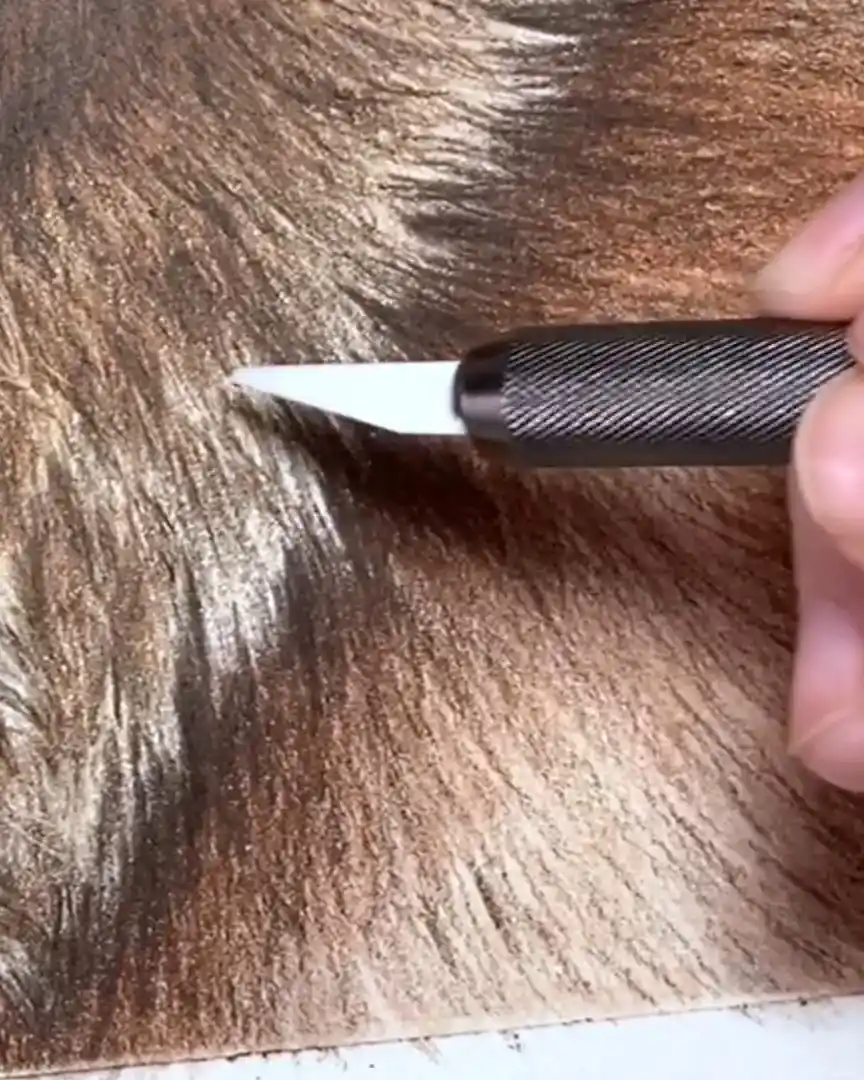
- If you use it like cutting paper, you’ll end up slicing into it.
- Always keep the knife at the right angle—straight up and down works best.
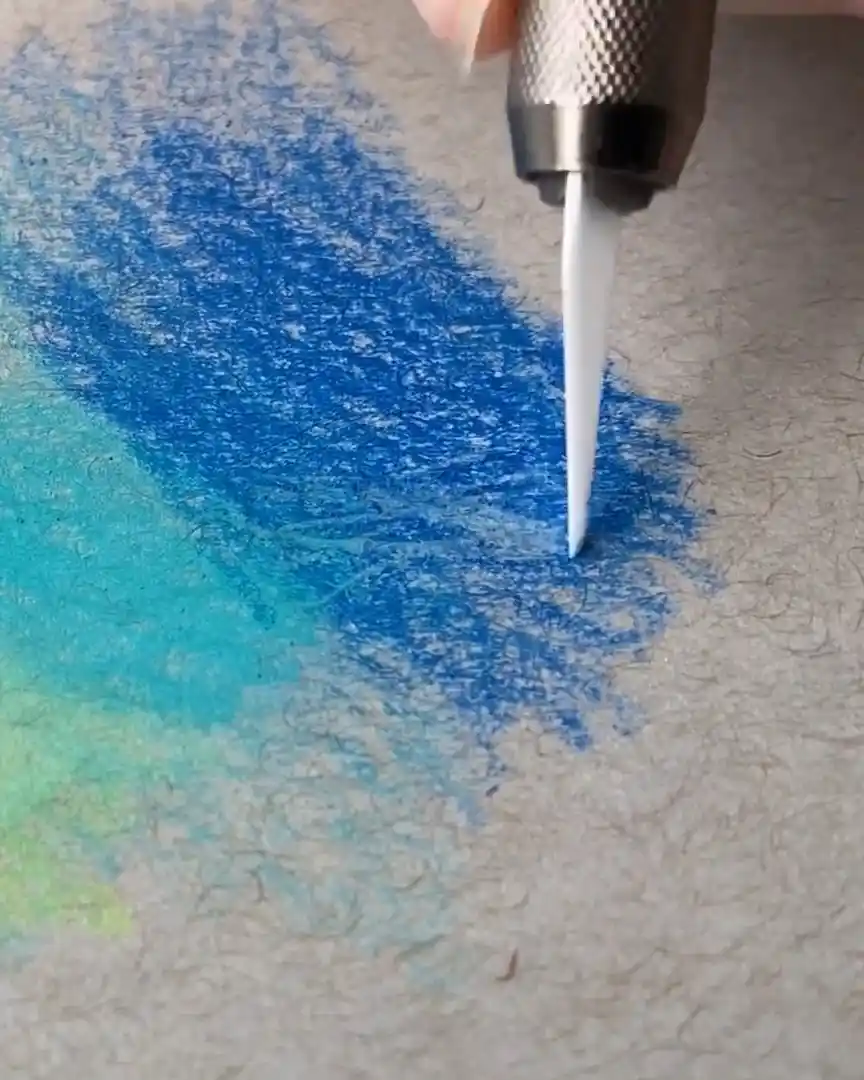
Don’t Press Too Hard
This is a common mistake, and I’ve done it too. The harder you press, the more you scrape away.
- Light pressure gives you a soft, subtle effect.
- Heavy pressure can remove too much color, and even reach the paper.
Sometimes, it’s tempting to press harder for a more dramatic result. But trust me, it’s not worth the risk.
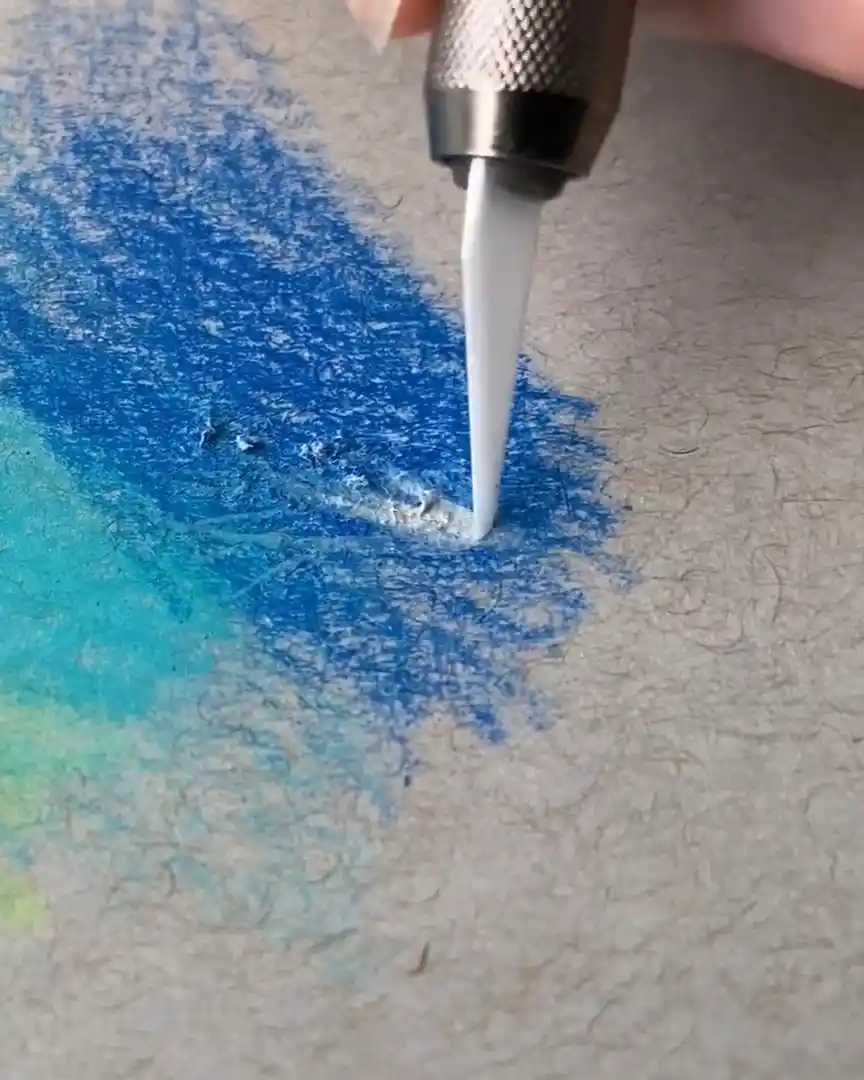
Avoid Repeated Scraping
Another mistake I’ve made is scraping the same area twice. I’ve returned to an area after working elsewhere and scraped again, only to remove part of the paper.
It happens easier than you think, especially if:
- You scrape at a slightly different angle
- You press harder the second time
- The paper is already weakened from the first scrape
So take it slow. Scraping can be a great technique, but only when done with care.
How to Handle Paper Flaps from Over-Scraping
Over-scraping can leave you with a loose flap of paper. I’ve had this happen before, and it’s not the end of the world. Here’s how I fix it without ruining the drawing.
Gently Remove the Flap
In one drawing, I had a piece of paper sticking up after scraping too hard. I thought, “Great… now what?”
So I:
- Gently pulled the flap off
- Twisted the paper slightly while removing it
- Made sure it didn’t spread or tear more
The flap came off clean, staying in that small spot.
Draw Right Over It
Since I was doing a heavy layer drawing, I just drew right over it. And honestly? You couldn’t even tell anything had happened. I can’t even remember which drawing it was now.
Another time, a smaller bit of paper came off. I just drew over that, too.
It laid down nicely, with no problems at all.
So if this happens to you, don’t panic. Just handle it carefully and keep going.
Tips to Prevent Scraping Damage
After damaging my paper once, I’ve learned to be extra careful. Now, I always keep these tips in mind when I scrape. To avoid tearing the surface again, I:
- Don’t press hard with the slice craft knife
- Limit how many times I scrape in one area
- Pay attention to where I’ve already scraped
Any damage shows more if I work in a spot with fewer layers or lighter colors. So, I stay mindful and use a gentle touch.

Wrapping Up
Protecting your drawing surface is key to creating beautiful colored pencil art. By avoiding wet paper, using the right tools gently, and knowing how to handle mistakes like paper flaps, you keep your work looking its best.
Ready to take better care of your drawings? Start with these simple steps and watch your art improve every time.