
How does a simple pen sketch turn into a glowing autumn farmhouse with just a few watercolor washes?
In his channel, Peter Sheeler Art, Peter Sheeler demonstrates how pen and wash can capture structure and atmosphere at the same time. His Fall Farmhouse tutorial blends confident ink lines with soft, loose watercolor layers.
Follow his step-by-step approach and learn how to recreate the same warm seasonal charm today.
Contents
Essential Tools and Materials
Before starting, Peter Sheeler prepares his tools. Each one has a purpose, and he explains why they matter.
Waterproof Pen
Peter uses a waterproof pen so the lines stay sharp even after paint is added. He suggests Uni-ball Deluxe or Micron pens. These pens allow him to draw confidently without worrying about smudges when he applies washes.
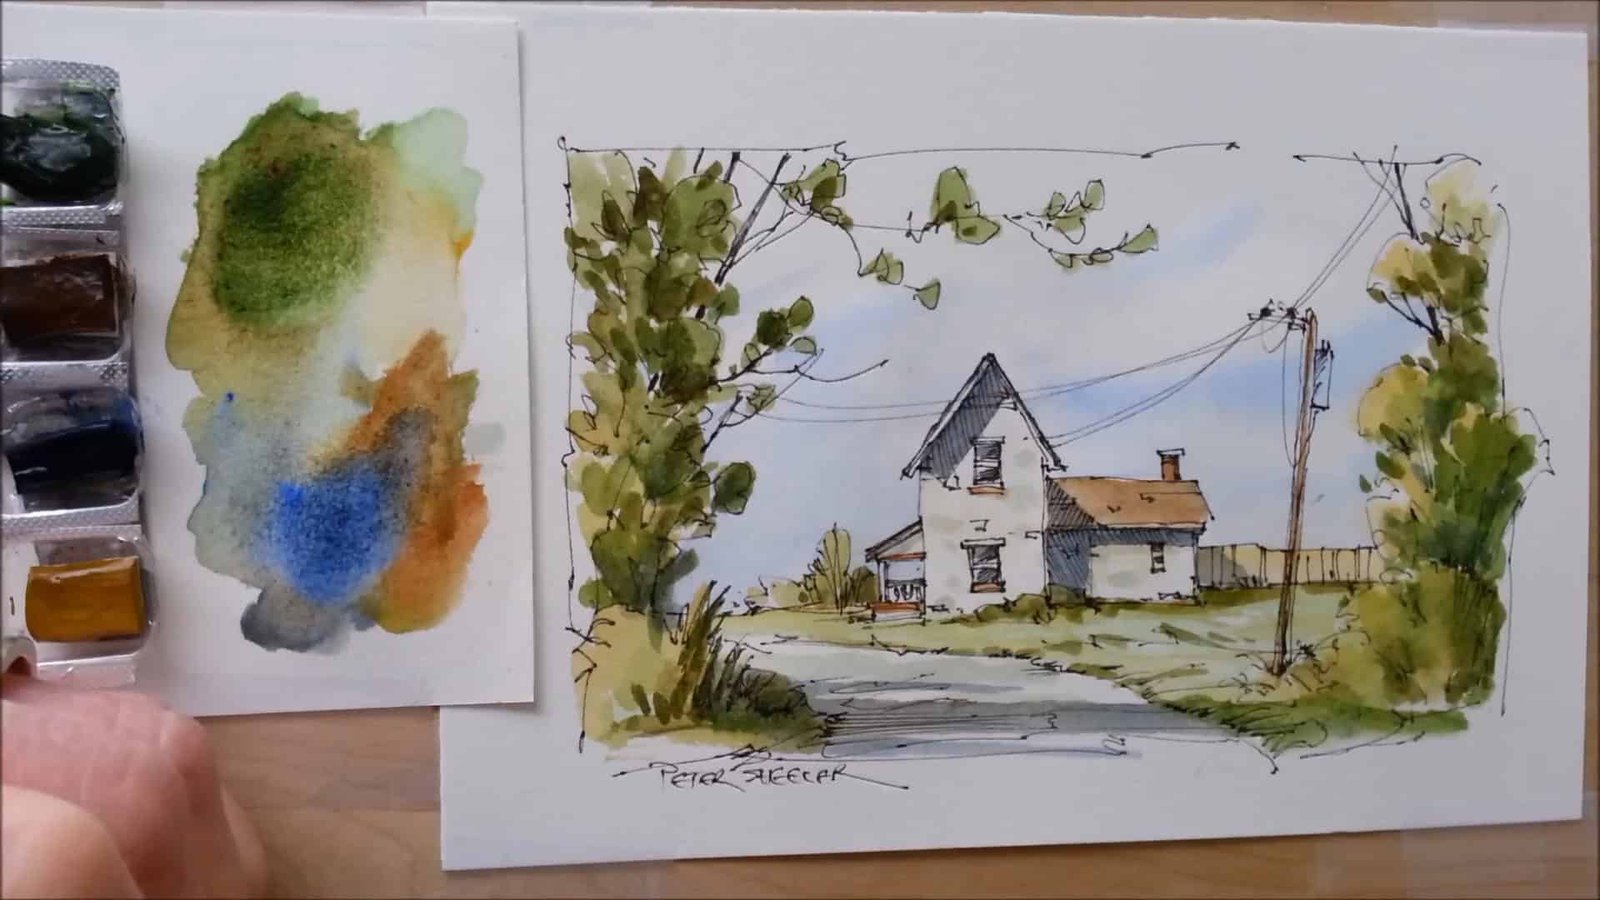
Watercolor Palette
Peter limits his colors but uses them with confidence. His palette includes:
- Ultramarine
- Sap Green
- Burnt Sienna
- Yellow Ochre
Peter shares that these colors blend well to create natural fall tones. They also make it easier to build depth in layers.
Waterbrush
To keep the process fluid, Peter uses a Sakura medium waterbrush. It is practical and easy to control. With a waterbrush, he adjusts the flow of water smoothly. This control helps create both soft washes and stronger color layers when needed.
Step 1: Drawing the Fall Farmhouse with Pen
The first step is sketching. Peter begins with pen work to build a strong framework. This stage gives the farmhouse its structure before any color is added.
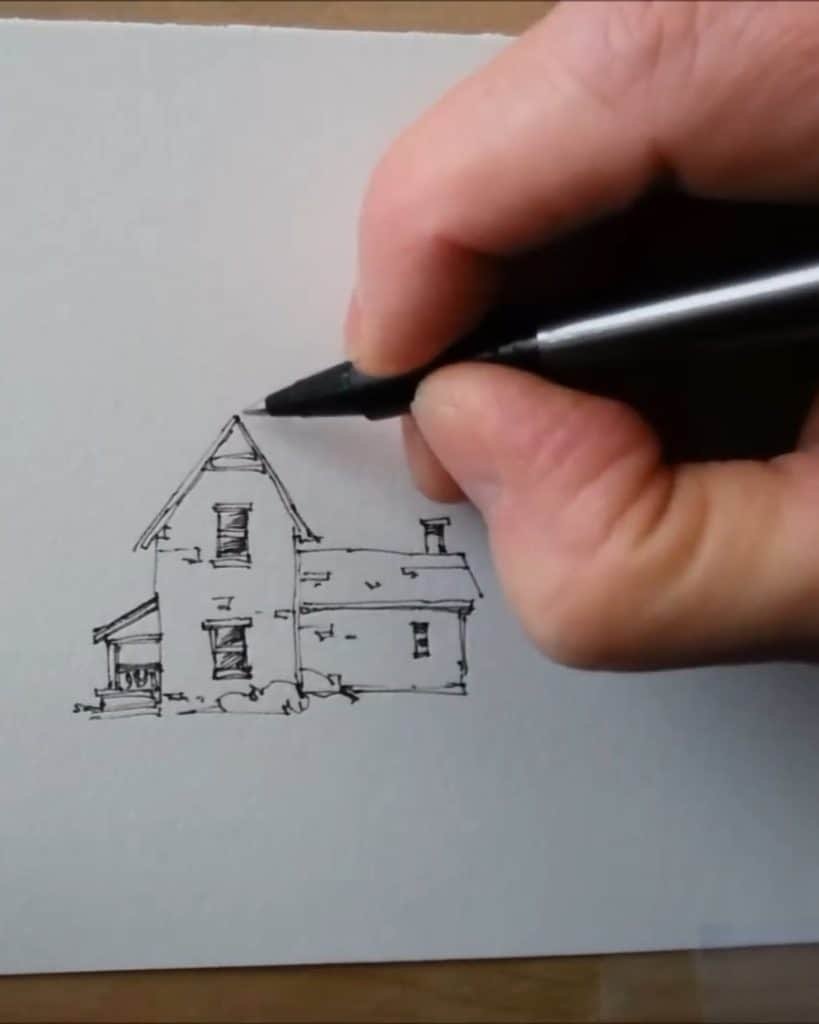
Outlining the Farmhouse Structure and Rooflines
He starts with simple lines to capture the farmhouse walls and roof. The strokes are confident but not rigid. By keeping the drawing loose, the later watercolor washes can bring life and softness to the scene.
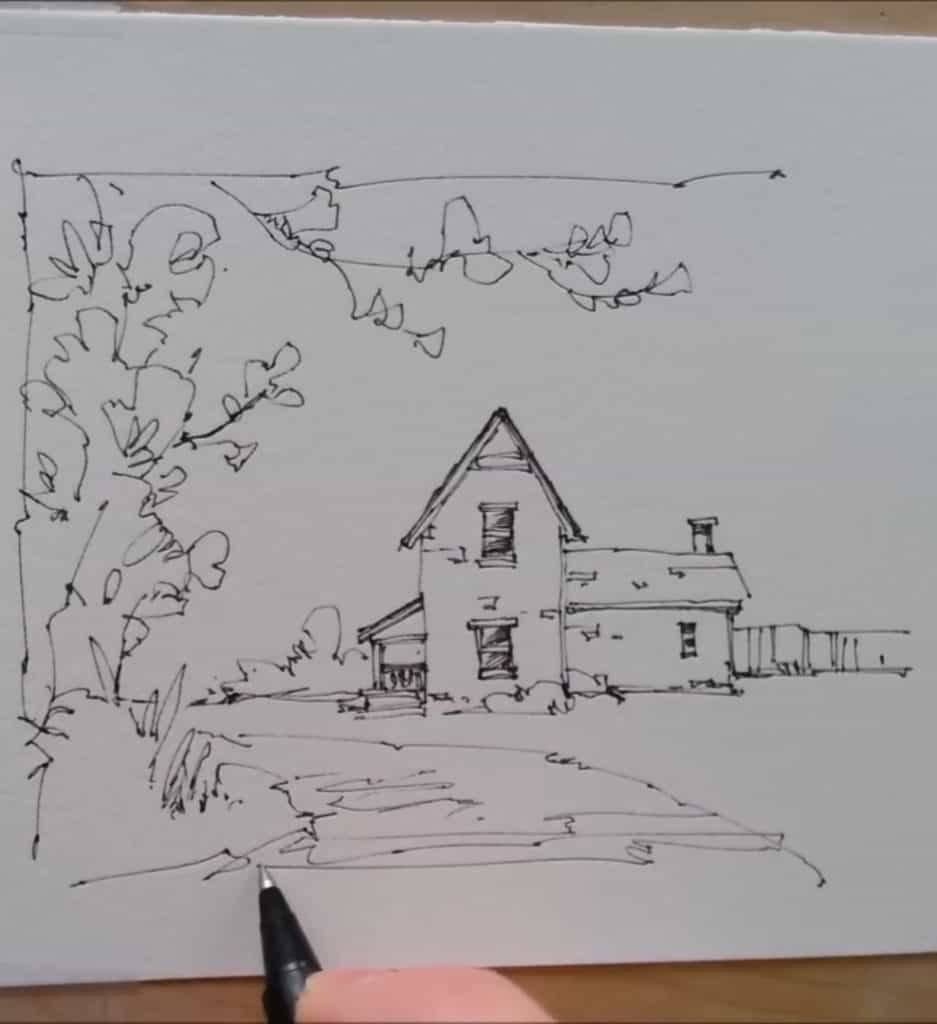
Sketching the Farmhouse Landscape Elements
Next, Peter adds the surrounding elements. He maps trees, bushes, and the path that leads to the farmhouse.
These features frame the building and make the landscape feel more natural. The lines stay light, only suggesting forms instead of overloading the sketch with detail.
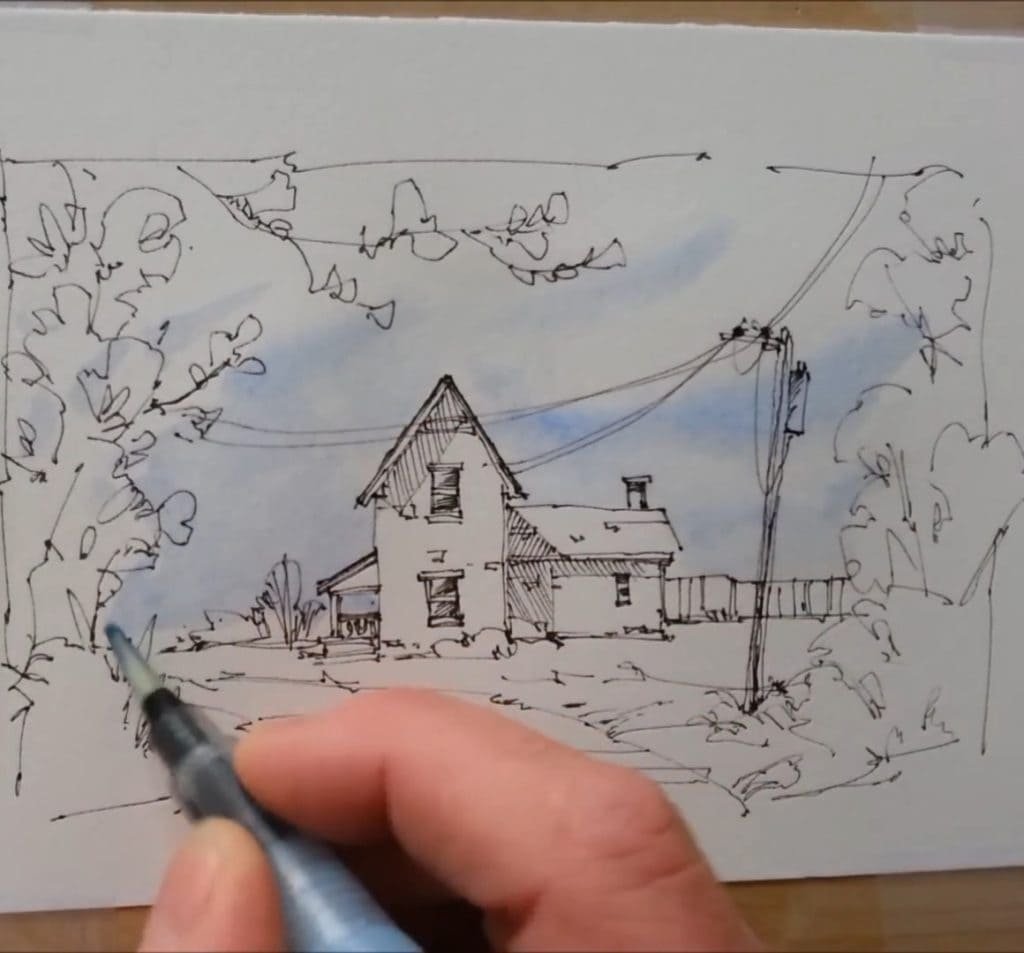
Adding Utility Details to the Farmhouse Scene
For extra realism, Peter includes utility poles and wires. The details bring character to the rural scene. Small touches like these make the farmhouse feel lived in.

Indicating Shadows and Texture with Pen
Shadows help guide the painting. Peter uses cross-hatching and denser pen strokes to show shaded areas.
By doing this early, he knows where darker watercolor washes will later fall. Texture added with pen also enhances the rustic farmhouse mood.

Step 2: Painting the Farmhouse Scene with Watercolor Washes
With the drawing complete, Peter moves to watercolor. He works in layers, starting light and gradually adding depth. It’s where the farmhouse truly comes to life.
Painting the Sky
He starts with the sky. A light Ultramarine wash fills the top of the paper. He applies it wet-in-wet so the sky looks soft and natural. The gentle wash sets the background tone.
Adding Groundwork and Base Tones Around the Farmhouse
Next, he paints the ground. Using Sap Green, Ultramarine, and Yellow Ochre, he creates uneven washes. The mix suggests natural ground textures. Peter keeps the first tones light for layering later.
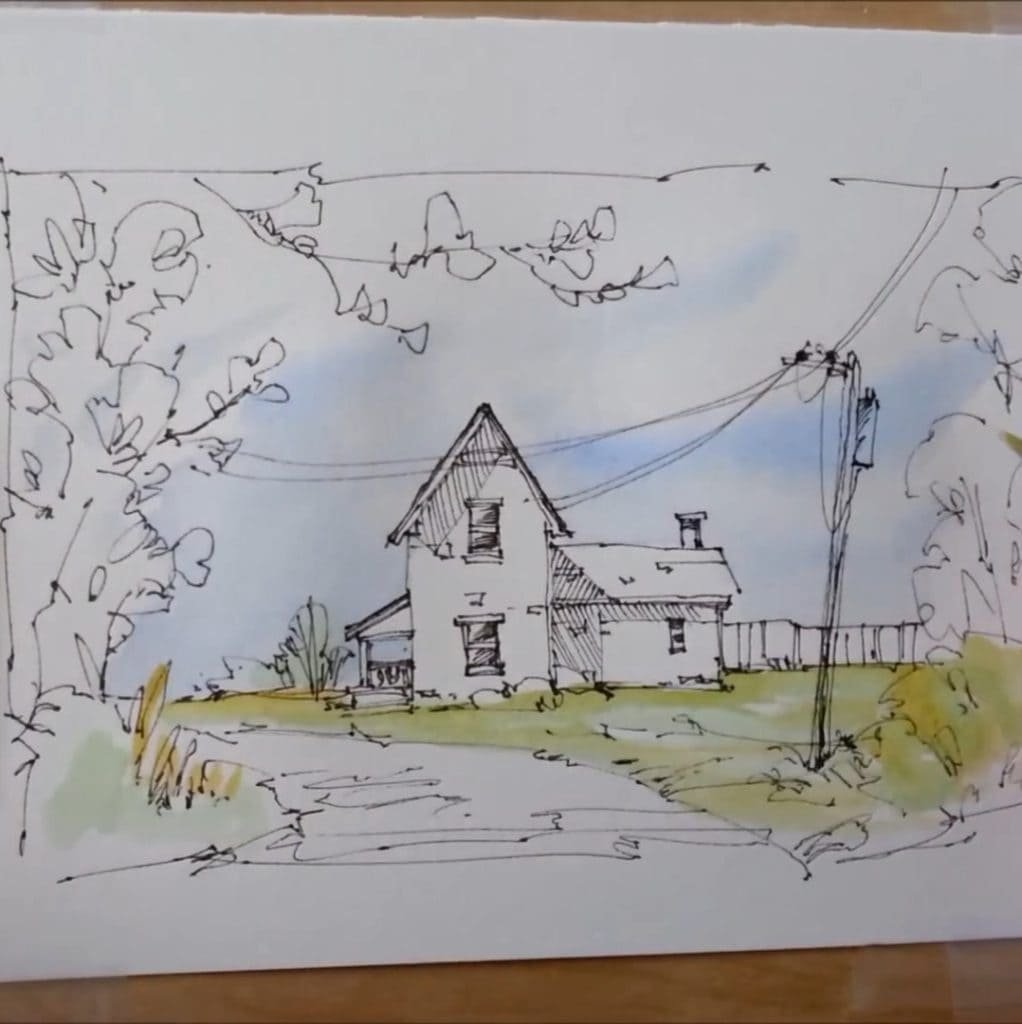
Painting the Farmhouse Walls and Fence
For the farmhouse walls, he applies a light Yellow Ochre wash. He leaves small areas of paper white for highlights. This makes the walls look sunlit and bright.
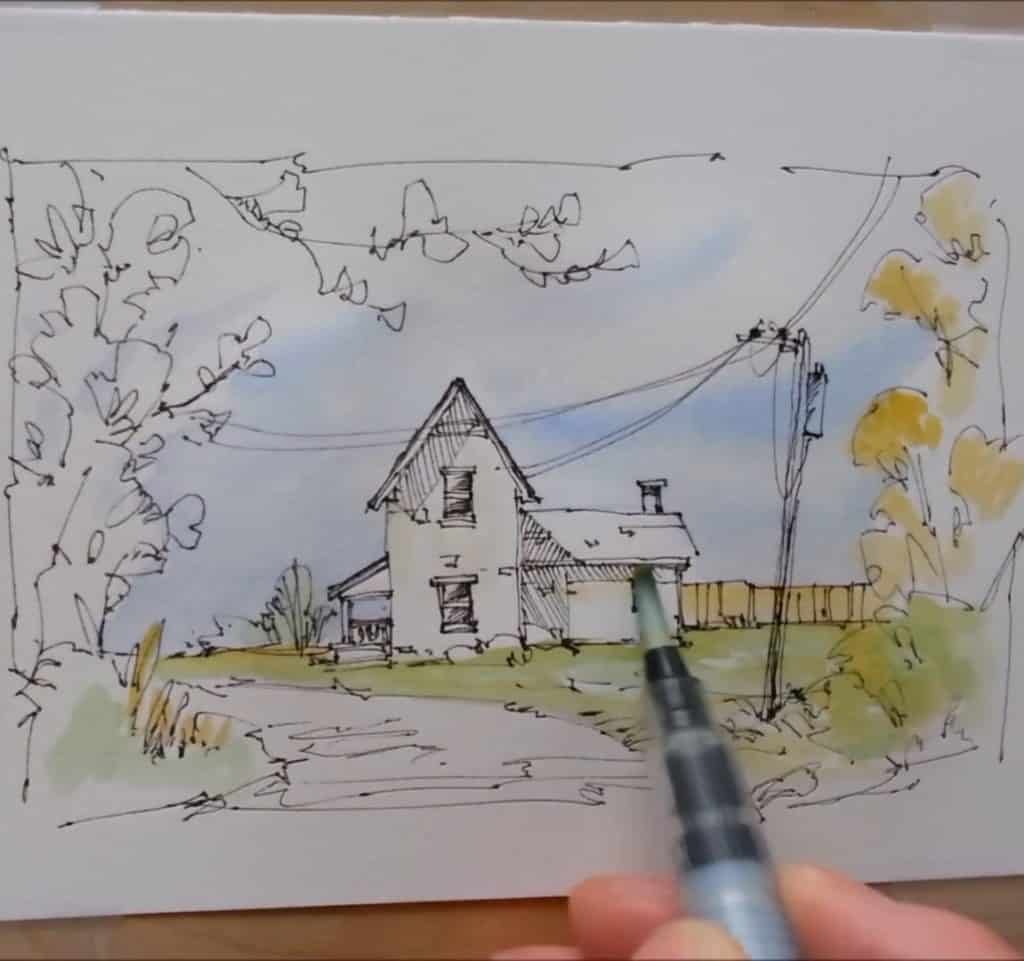
Building Autumn Foliage
Peter layers foliage with Sap Green and Burnt Sienna. The green shows fresh growth and Burnt Sienna adds autumn warmth. Peter shares that layering creates depth and variation in the trees and bushes.
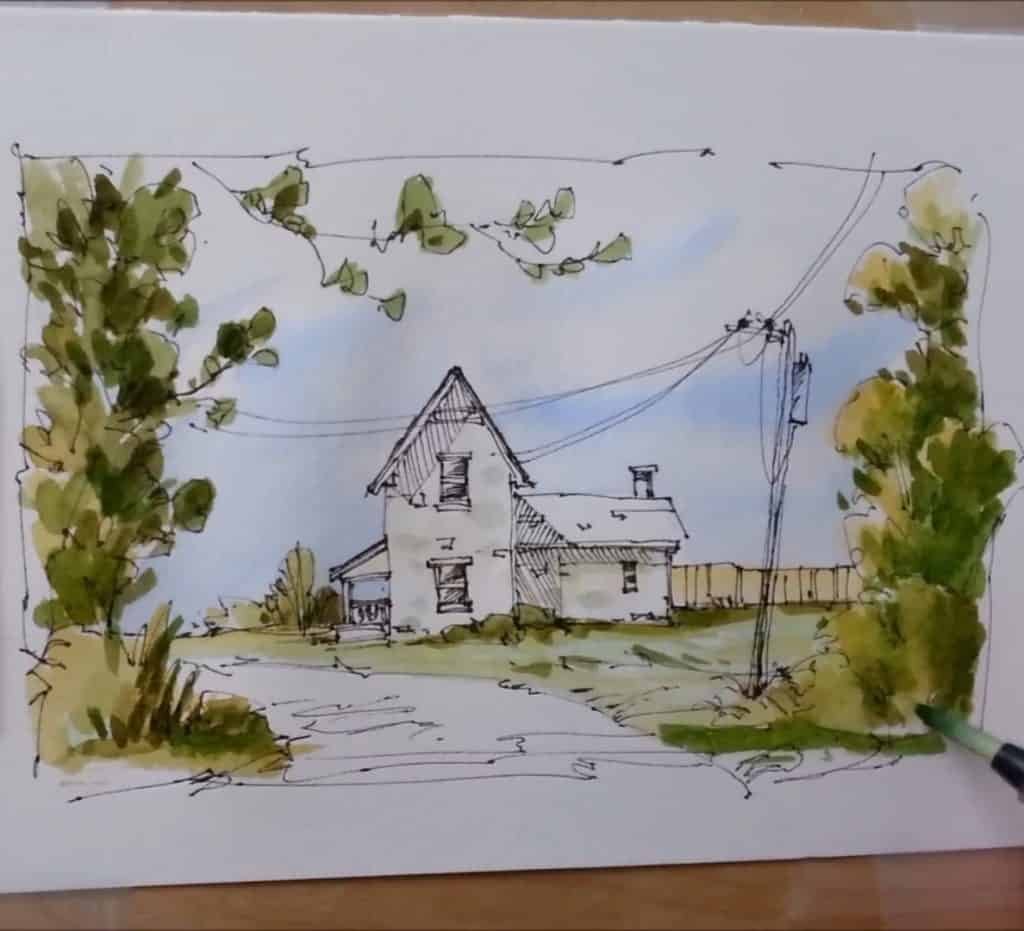
Detailing the Roof, Chimney, and Porch
Next, Peter paints the farmhouse roof and chimney. He uses Burnt Sienna to define these areas. The warm tones give a rustic autumn feeling. He also touches the porch with the same color for balance.

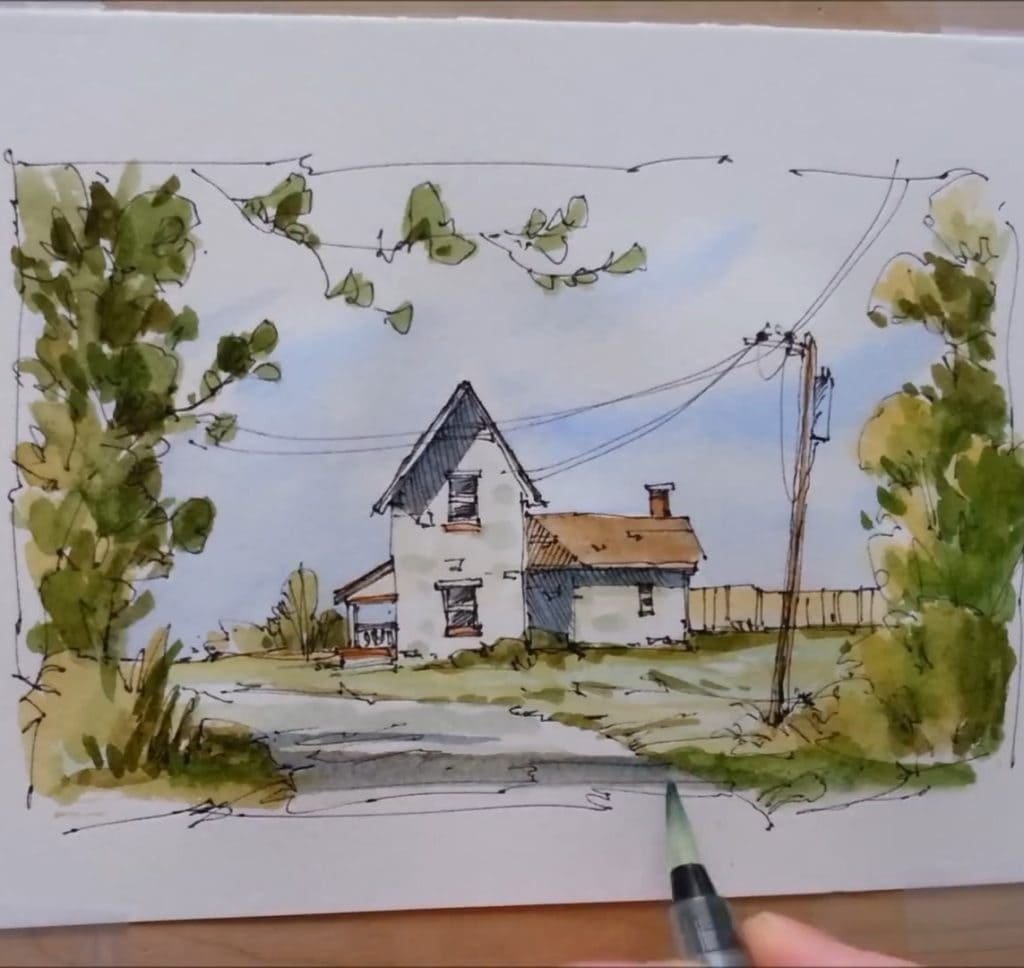
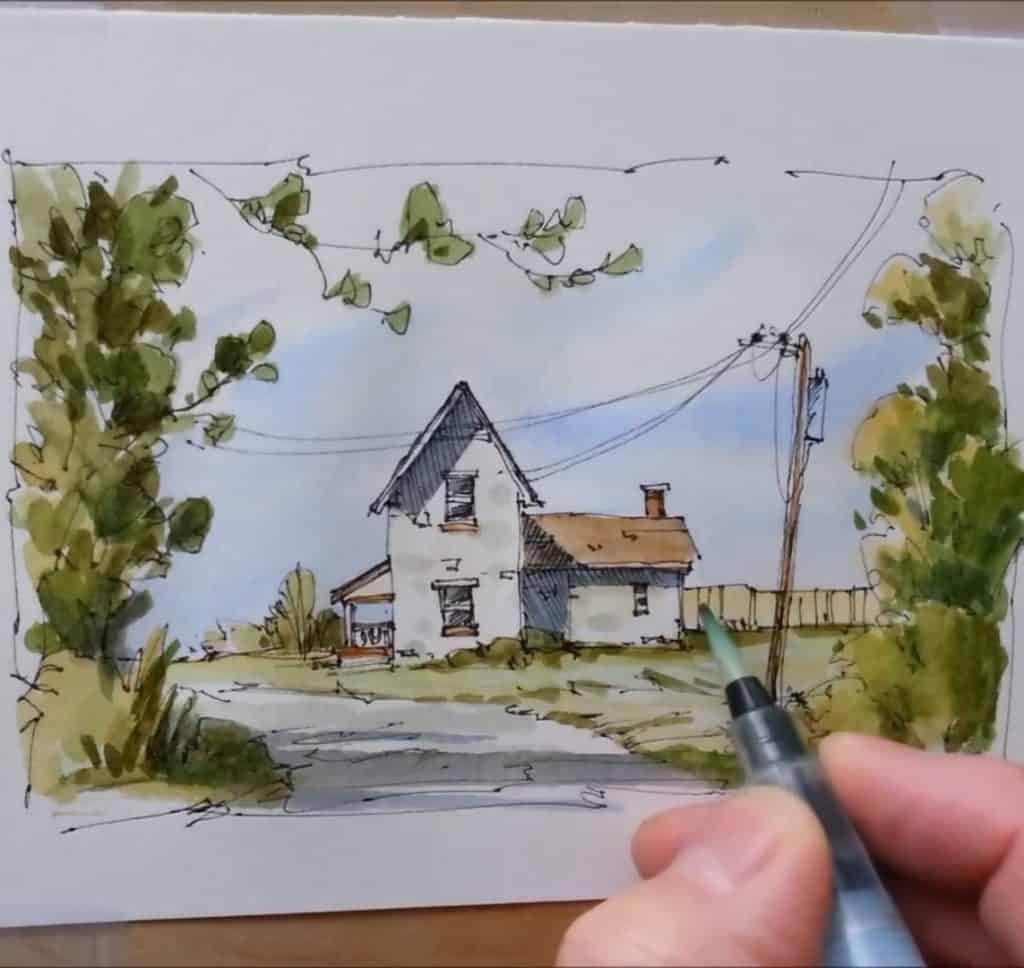
Creating Farmhouse Shadows
Peter mixes Ultramarine and Burnt Sienna for shadows. This creates a strong, cool tone.
He applies it under eaves, around bushes, and along the roadside. These shadows give the farmhouse structure and contrast.
Final Watercolor Touches for Depth and Contrast
Peter finishes with darker washes. He deepens bushes, leaves, and grassy patches.
The final touches add richness and contrast. The farmhouse now stands out against its surroundings.
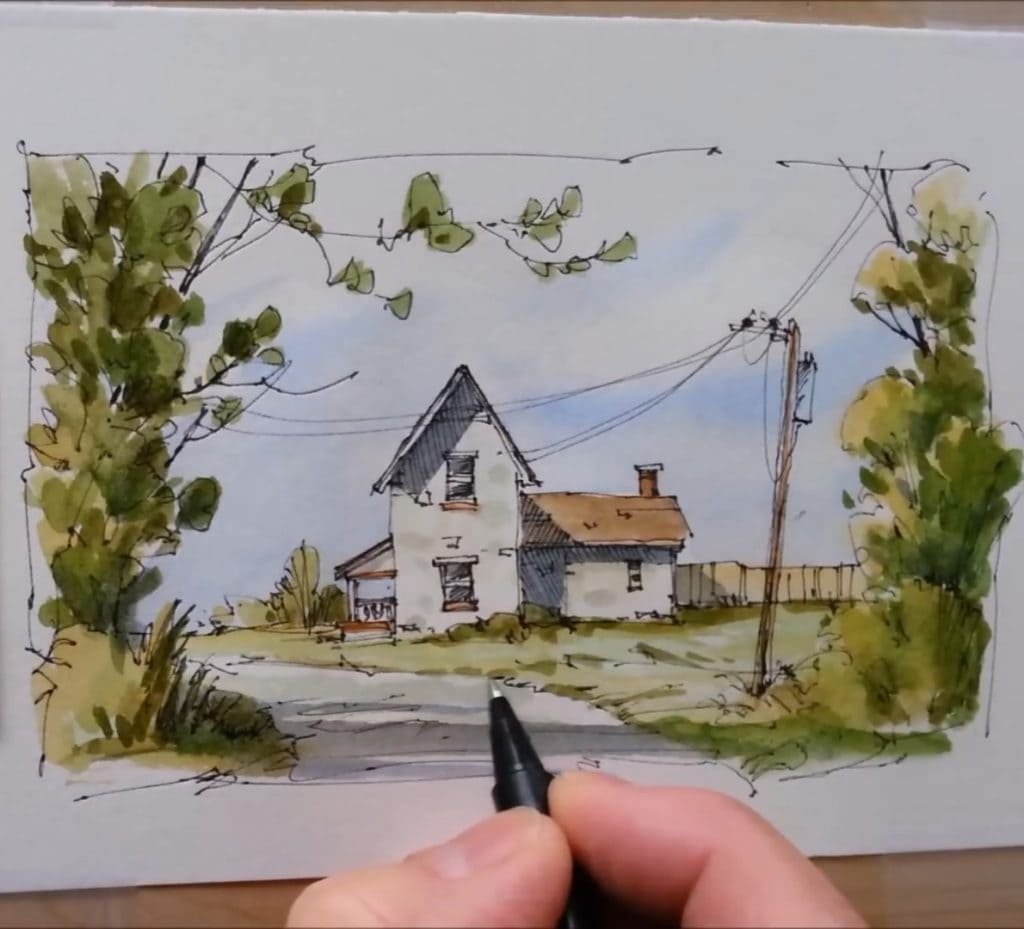
Step 3: Adding Final Pen Details to the Farmhouse Scene
The painting now looks vibrant. Still, Peter returns with his pen for crispness and texture.
Strengthening Farmhouse Architecture with Pen Lines
He goes back over the farmhouse edges. By re-delineating walls and rooflines, he sharpens the form. Any perspective issues are fixed with confident pen marks.
Adding Foreground Grass and Soil Textures with Pen
The foreground gains interest through pen texture. Quick, flicked strokes suggest grass blades and soil. These marks bring viewers’ attention forward into the scene.
Balancing the Final Farmhouse Composition
Finally, he steps back to review the composition. He checks for color harmony and ink balance. Small adjustments with the pen tie the whole piece together.
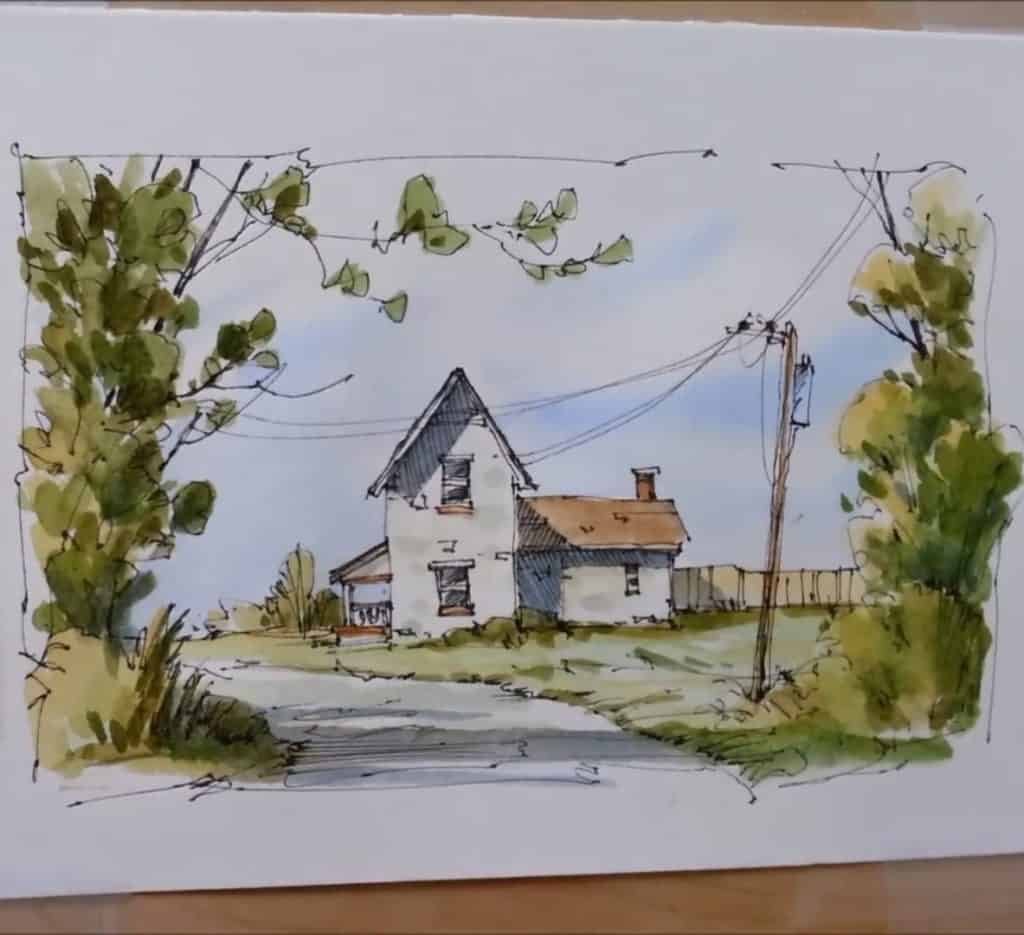
Final Thoughts
What a wonderful way to capture the spirit of autumn! Peter Sheeler’s farmhouse tutorial shows how pen and wash can blend structure with watercolor freedom. His tutorial makes it easy for beginners to follow along.
Try your own farmhouse sketch and enjoy the charm of this timeless technique!