
Can a simple pen and wash make an old door feel alive? Peter Sheeler shares a clear demo on his YouTube channel. He shows a line and wash method in detailed steps that focus on sketch, washes, shadows, metal, and wood texture.
His step-by-step method is approachable for both beginners and experienced artists. Let’s explore his process in detail and learn how to follow along.
Contents
Materials for Line and Wash Watercolor Painting
Before starting, Peter Sheeler shows the tools he prefers. He explains that simple, reliable materials make the process smoother.
- Pen: Uni-ball Micro pen
- Paints: Sap Green, Burnt Sienna, Ultramarine, Sepia, Yellow Ochre, Quinacridone Fuchsia, Phthalo Blue
- Paper: Arches 140lb hot press, natural white, made of cotton rag.
According to Peter Sheeler, this paper handles pen and wash well. He also mentions that while this is his usual palette, he sometimes changes colors to fit the subject.
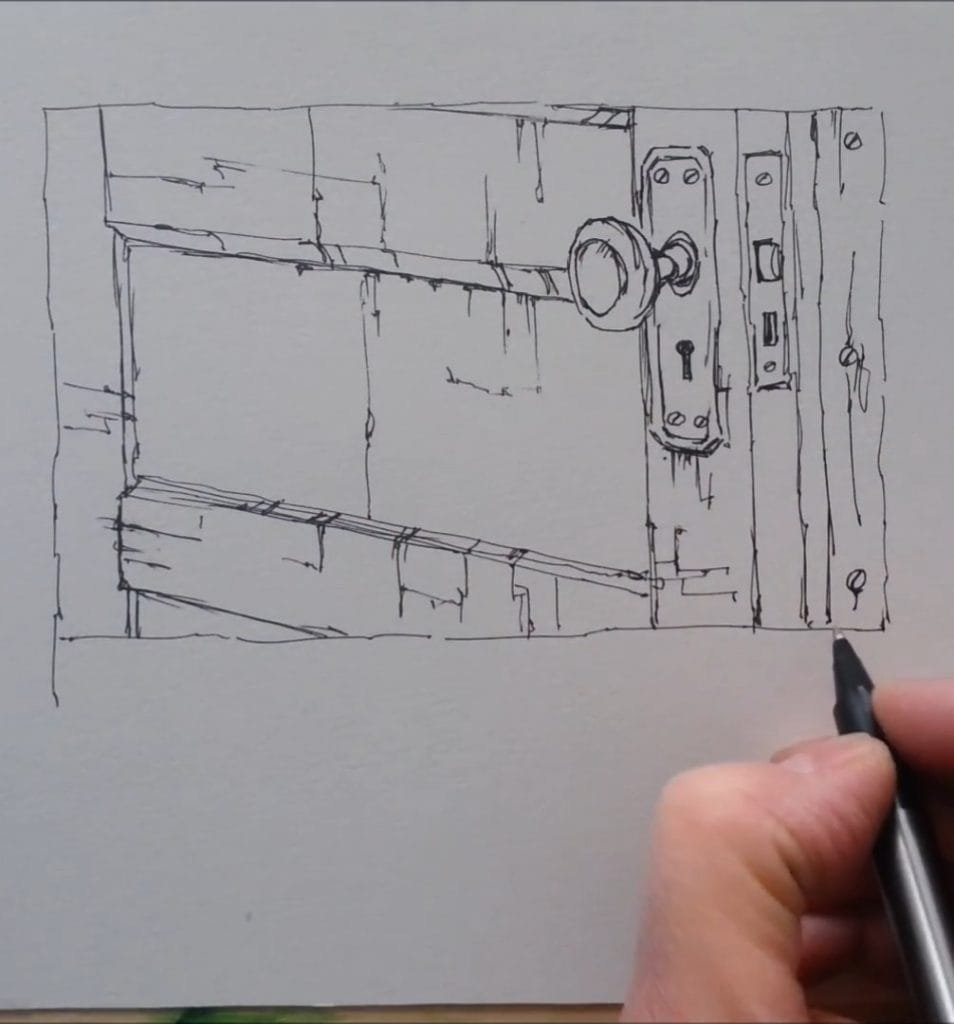
Step 1: Drawing with Pen
Peter begins with a sketch. For him, drawing is the foundation that sets the stage for painting. He keeps the lines confident and clean, so they guide the watercolor later.
He includes key elements that give the door character:
- Wooden panels that form the main structure
- A diagonal cross beam that strengthens the design
- Doorknob, lock plate, and handle for functionality
- A keyhole plate that adds a historic touch
- Small nail heads that hint at age and wear
- Fine wood textures that make the surface look real
Tip: The panels and beam should look balanced, while the hardware sits naturally in place. These details will later capture the light and shadows of watercolor.
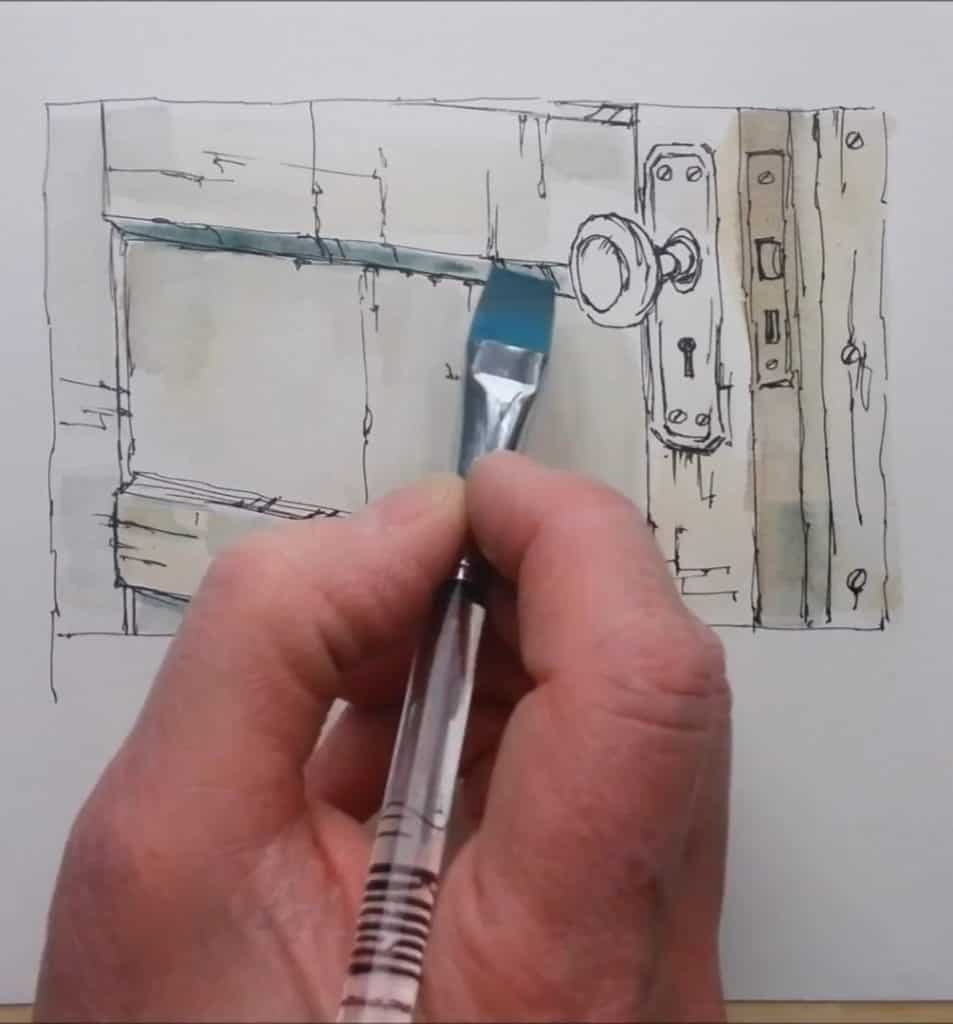
Step 2: Watercolor Wash
Once the drawing is ready, Peter reaches for his paints. He starts with a base wash, which sets the overall tone.
He applies a very light layer of yellow ochre across the entire door. This warm color acts as a foundation.
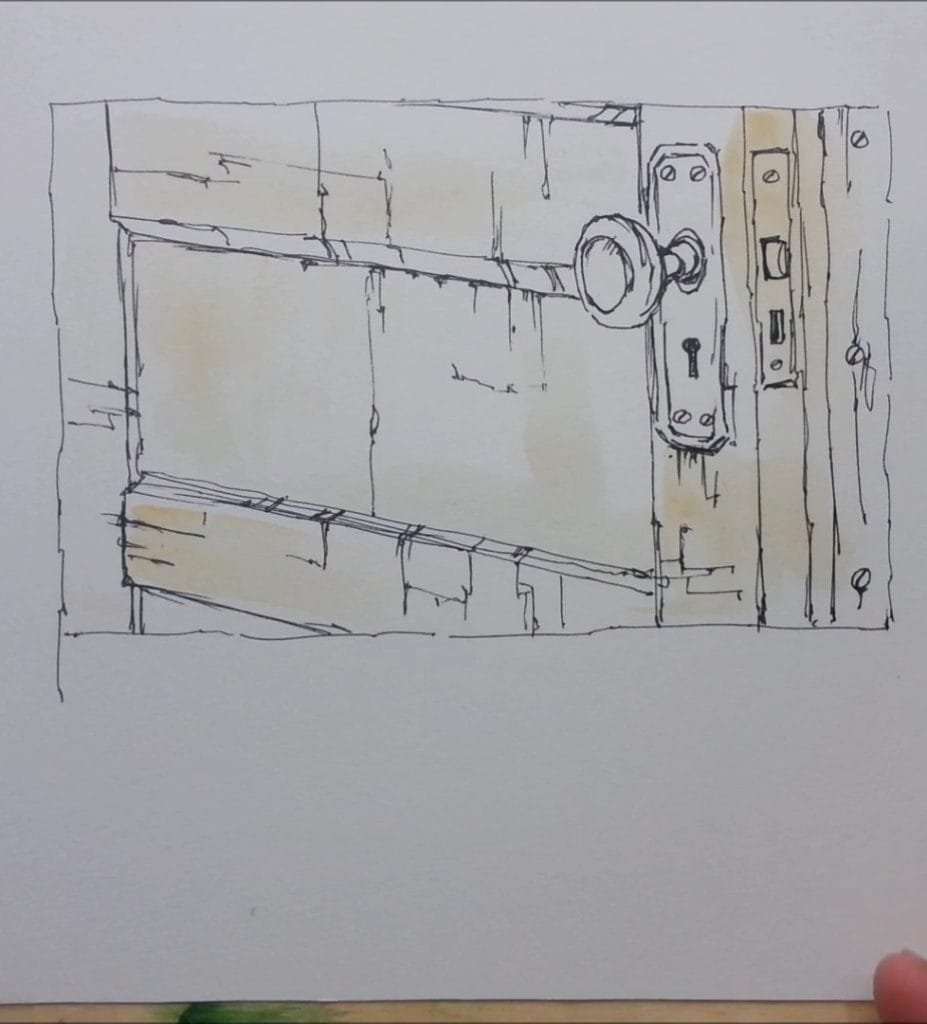
On top of that, he mixes Sepia with Phthalo Blue and lays down a very thin layer. This subtle mix begins to define the aged wood.
Next, he paints the diagonal beam, giving it weight and presence.
He also paints the handle with Burnt Sienna, using a #6 brush.
At this stage, he carefully colors the nail heads and the keyhole plate, so they stand out against the wood.
The base wash is light, but it provides depth. According to Peter, starting with lighter tones gives room to darken later without losing texture.
Step 3: Drybrush Technique
With the base colors in place, Peter moves to one of his favorite methods: drybrush. This technique is perfect for old surfaces.
Before applying paint, he tests his flat brush on scrap paper. He wants only a hint of sepia on the bristles. When he feels the brush is just right, he begins.
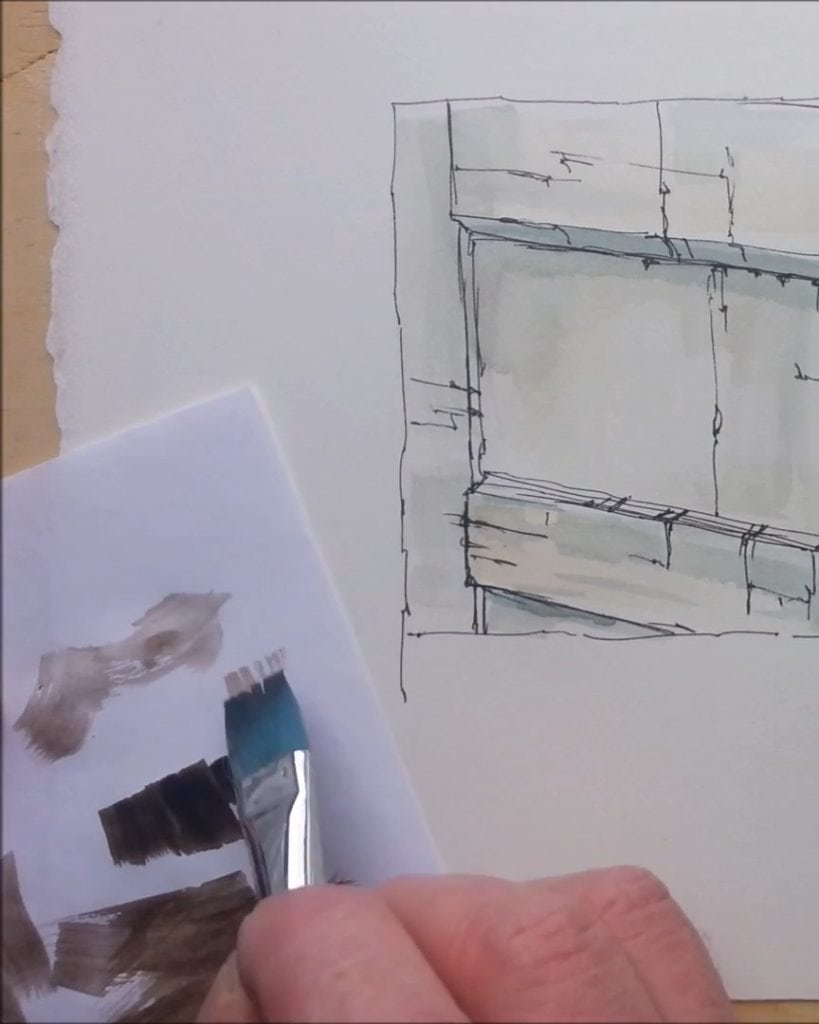
He uses the drybrush lightly, dragging it across the paper. The uneven marks suggest the grain of weathered wood.
Peter explains that the drybrush gives the door its aged look without needing complex strokes. It’s simple, yet effective.
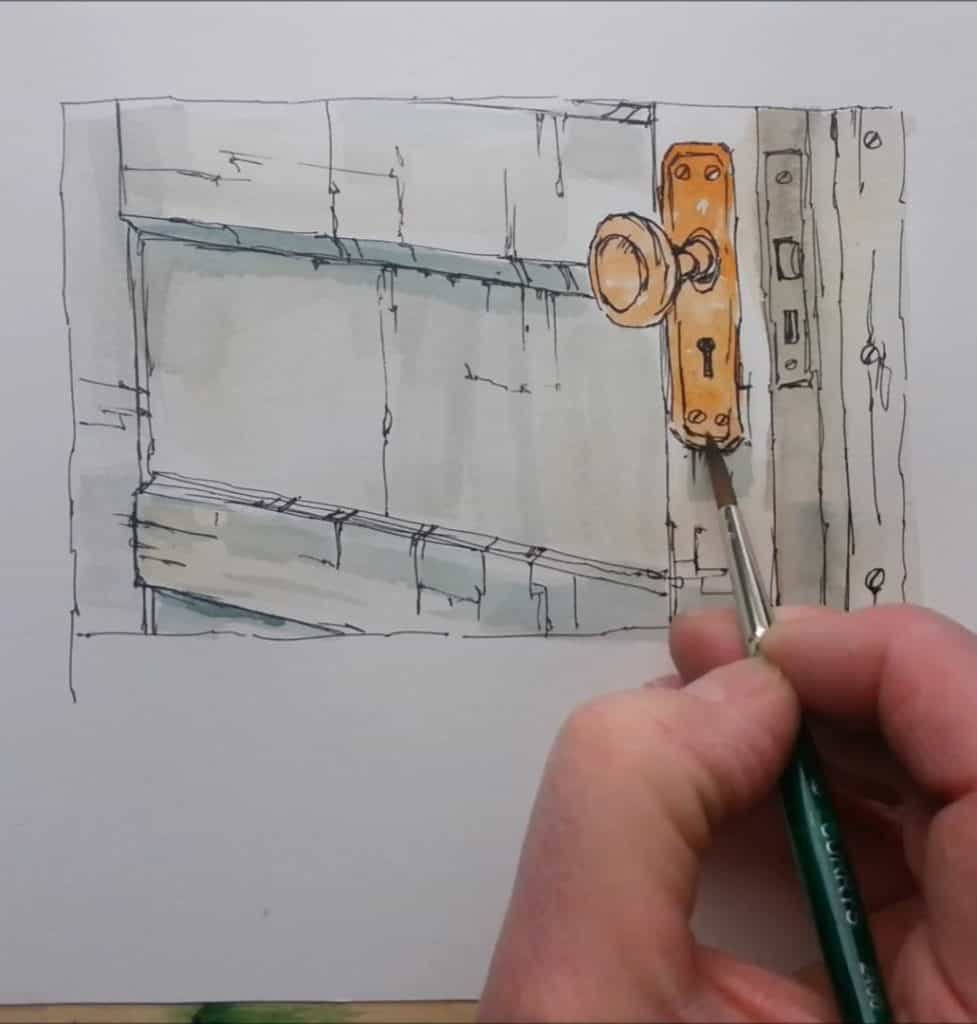
Step 4: Painting Metal Details
Now the focus shifts to the smaller parts of the door. Peter mixes Sepia with Phthalo Blue again and uses it to darken the gaps between panels. This mix adds shadows where the wood joins.
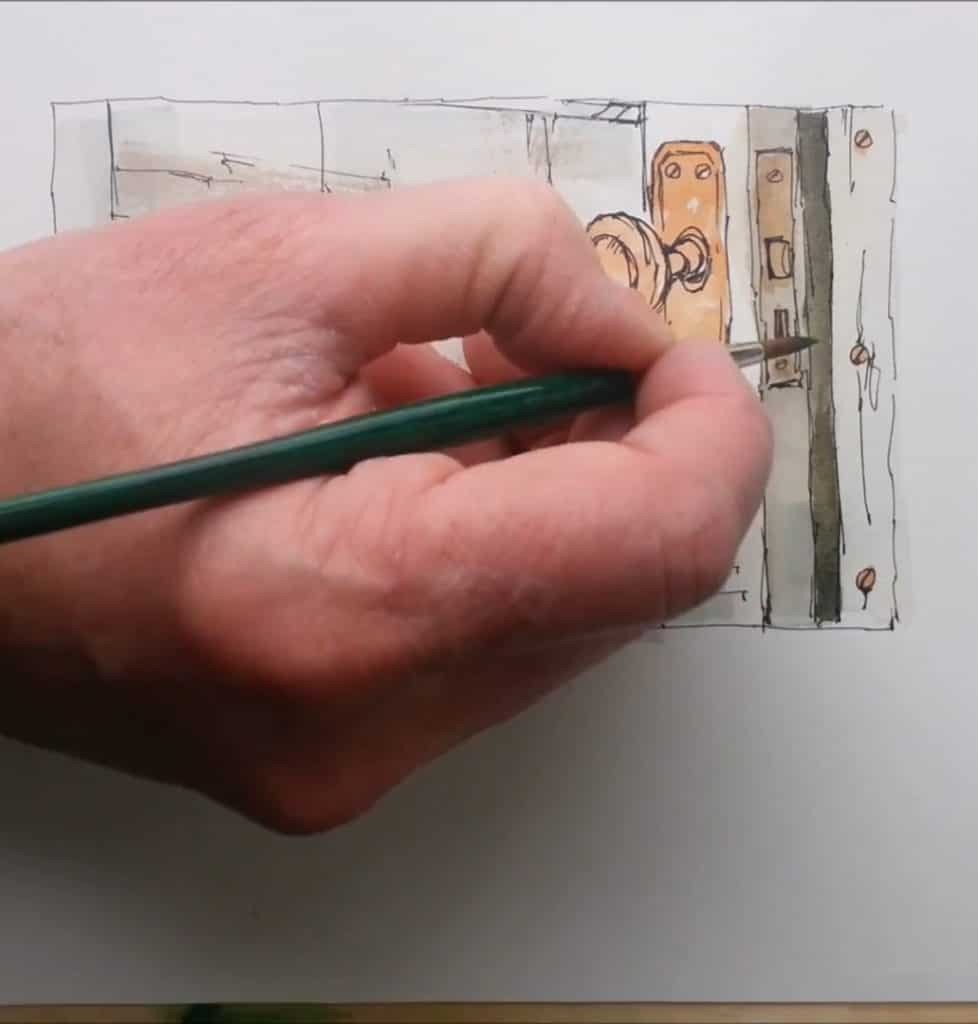
For the doorknob and lock mechanism, he uses Burnt Sienna. These areas represent rusted metal, and the warm brown creates that effect. To make them look even older, he deepens the color with more Sepia.
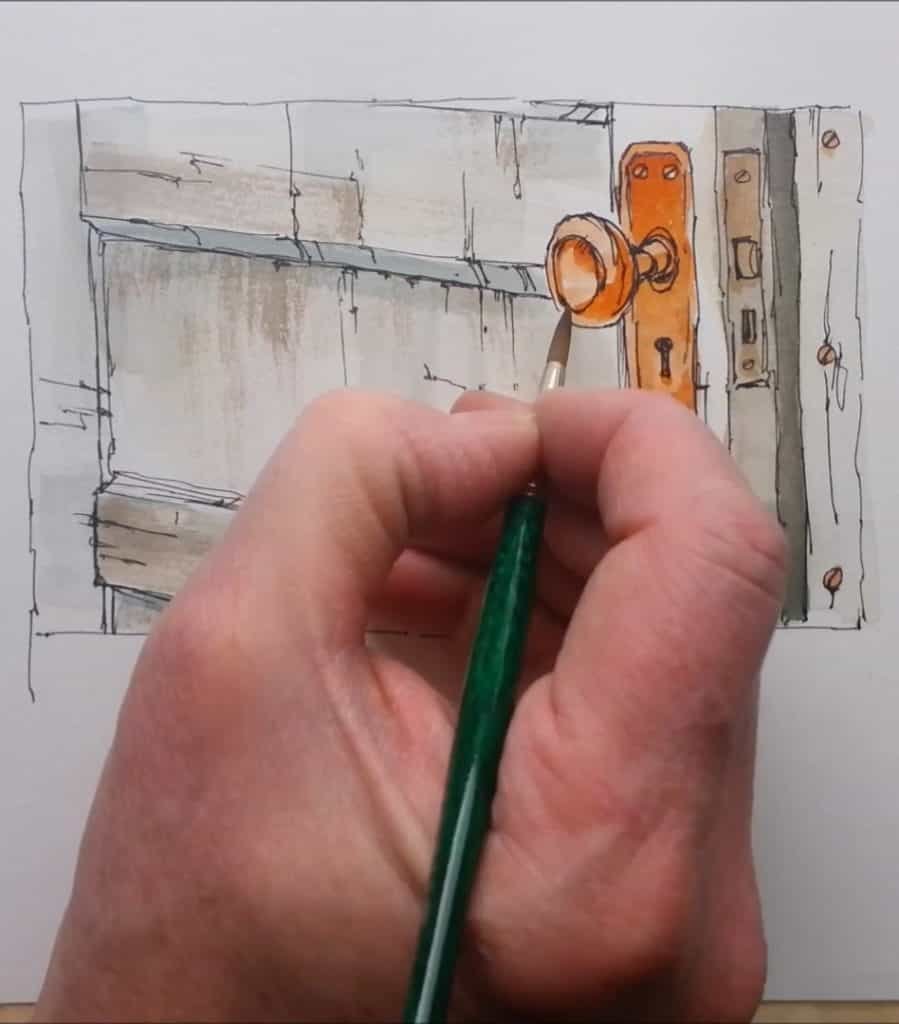
Peter shows how even small touches can make the hardware look real. The lock plate, knob, and handle now appear like aged metal, contrasting nicely with the wood.
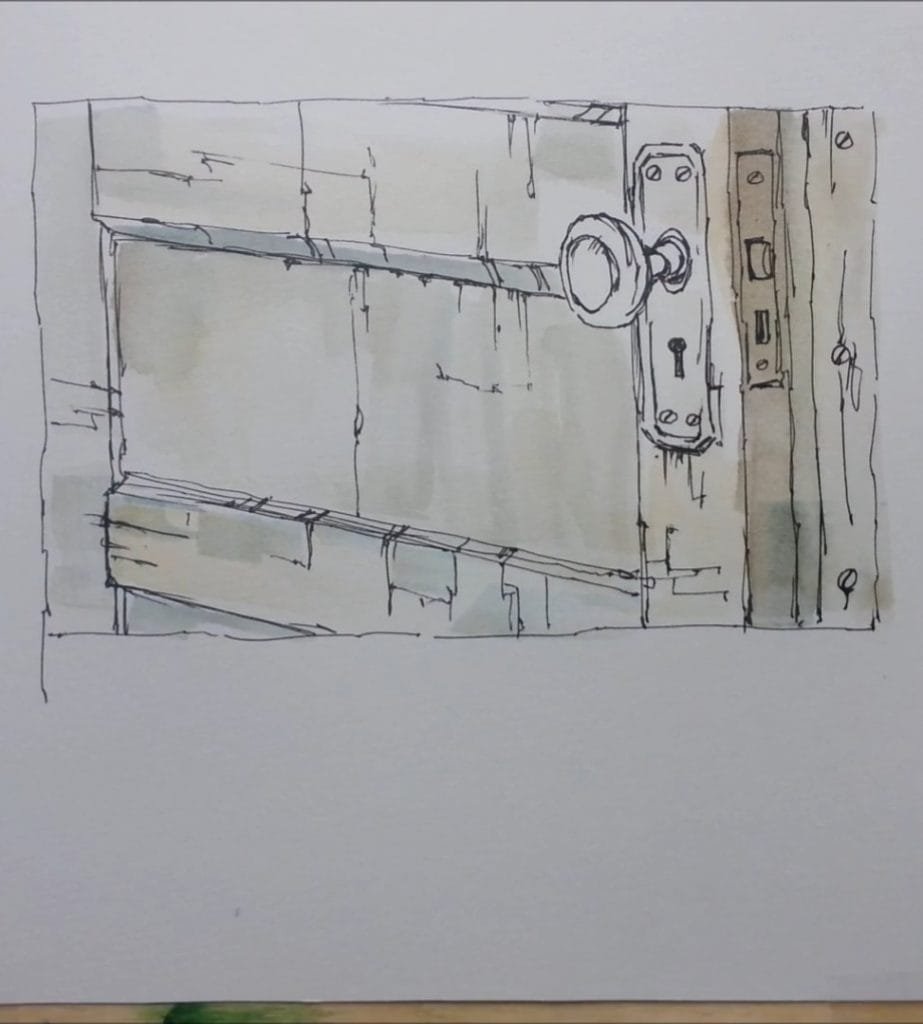
Step 5: Adding Shadows
Every painting needs depth, and Peter knows shadows bring that depth to life. He mixes Sepia with Phthalo Blue again, this time for shading.
Peter layers shadows gradually with the mix of sepia and phthalo blue. In this way, he can avoid harsh lines and keep the look natural.
He applies the mix around the edges of the beam and beneath the hardware. These shadows suggest the thickness of the wood and the way light falls across the door. The contrast makes the surface appear three-dimensional.
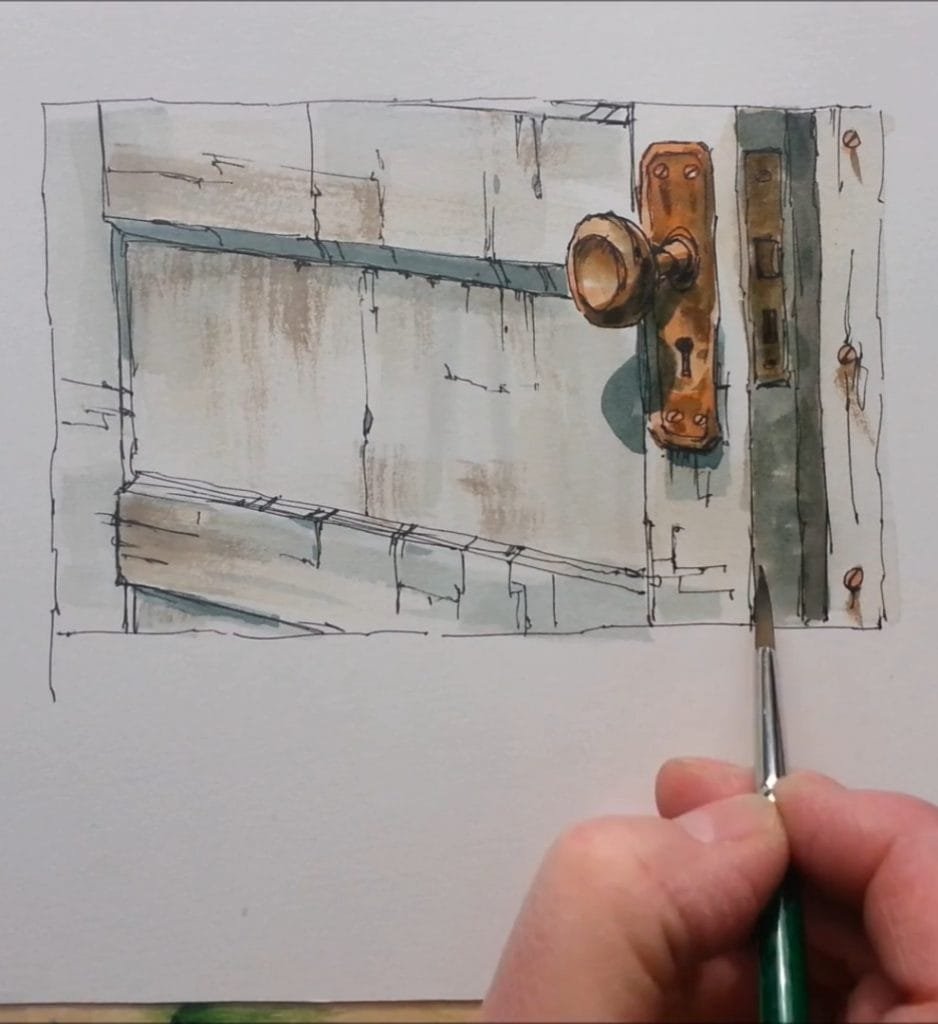
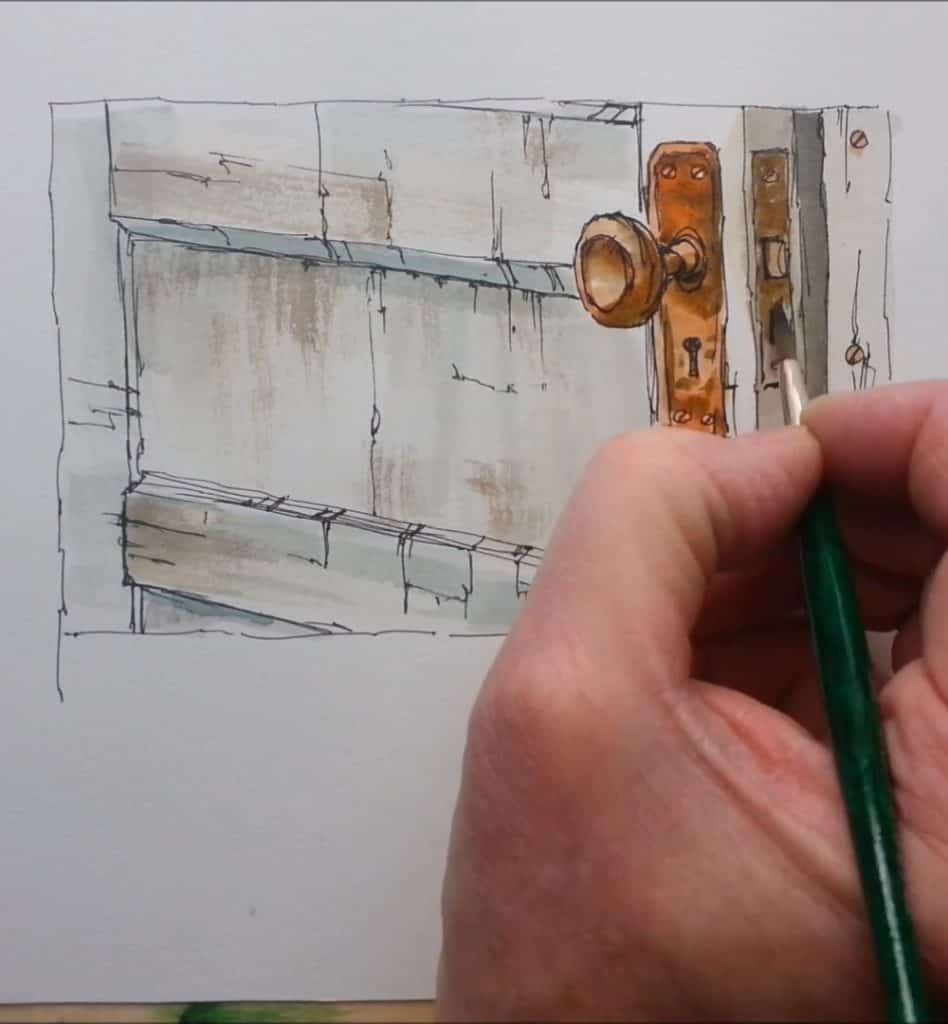
Step 6: Creating Texture
The old wooden door wouldn’t feel authentic without rough textures. Here, Peter presses his brush harder to make broken, uneven marks. He admits it’s tough on the bristles, but the effect is worth it.
He flattens the brush beneath his finger, then drags it downward. The result is streaks that resemble aged wood fibers. These streaks break up the smoothness and bring the surface to life.
According to Peter, this step is what makes the door look real. The imperfections give character, showing years of weather and wear. Texture is not about perfection—it’s about honesty.
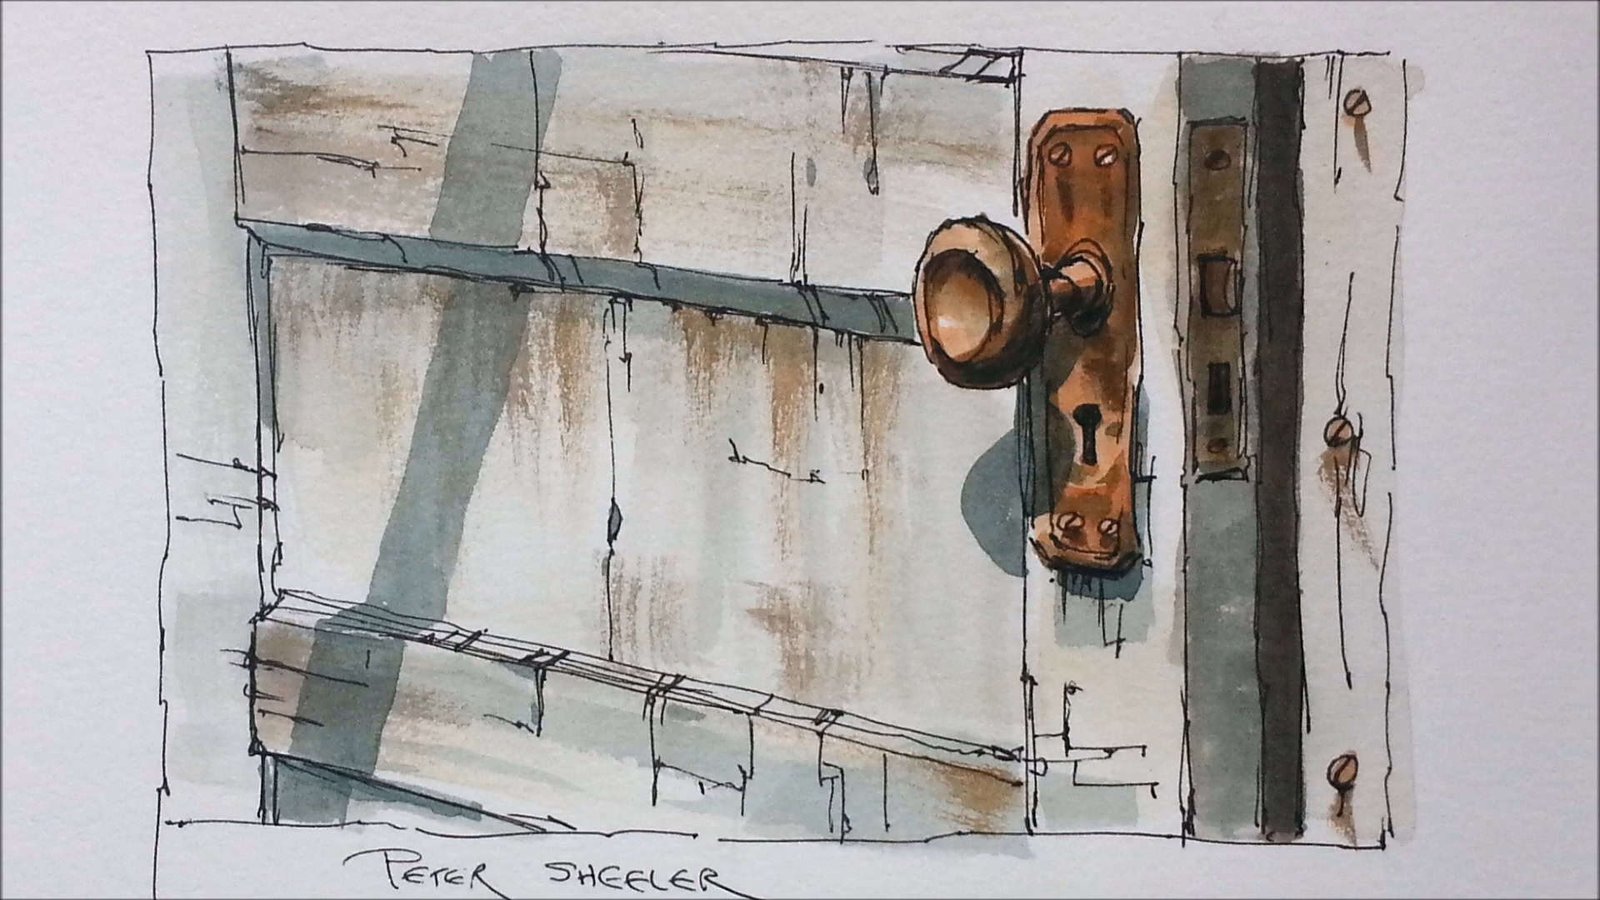
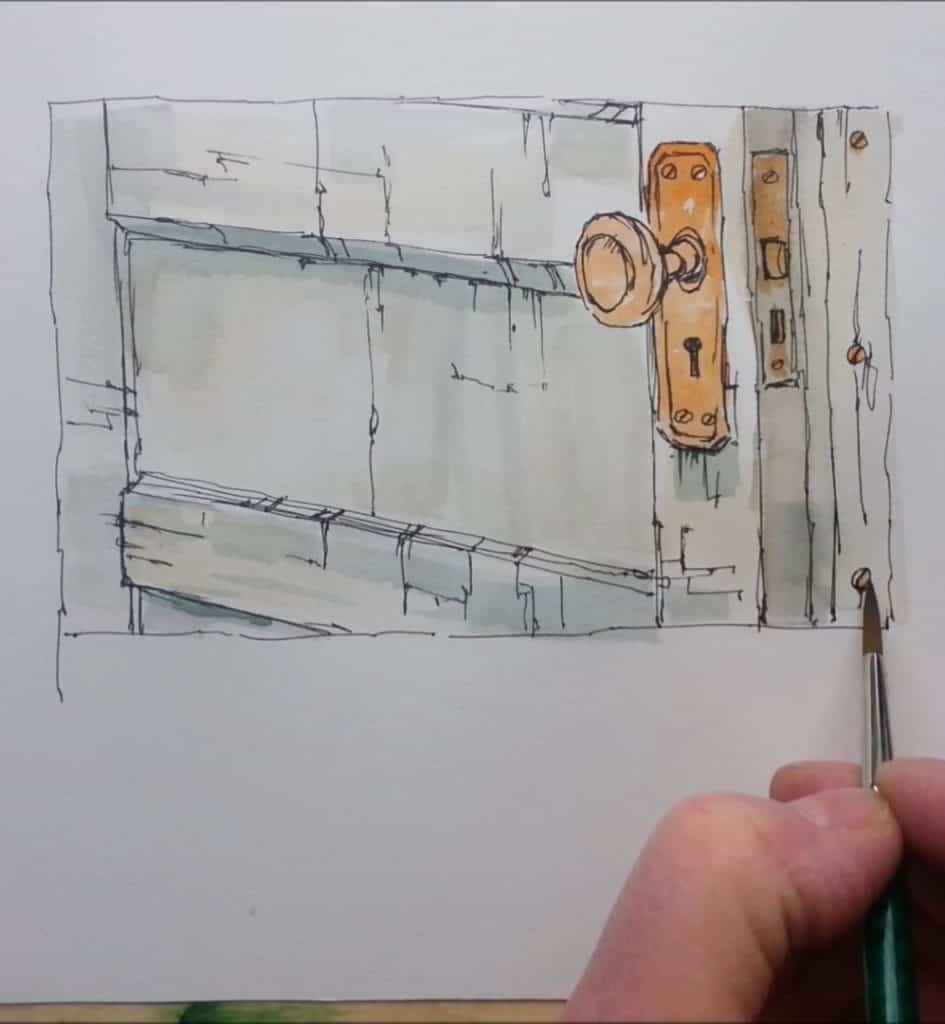
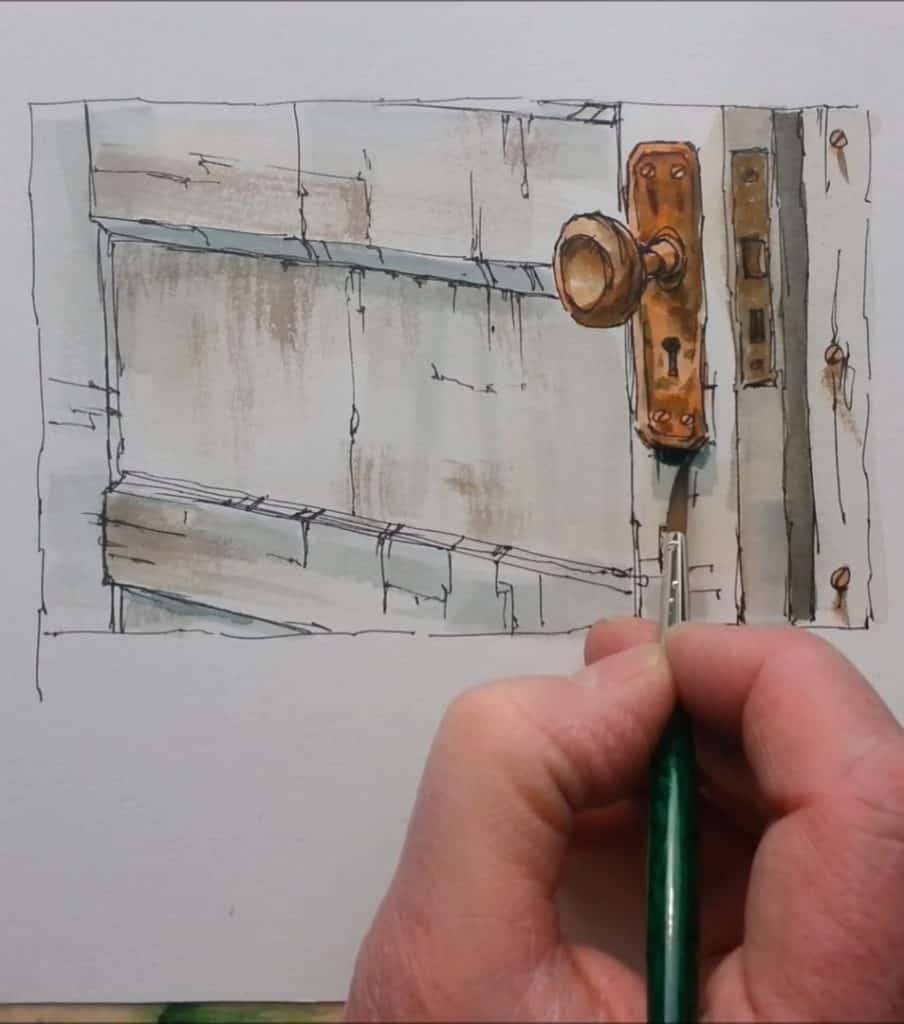
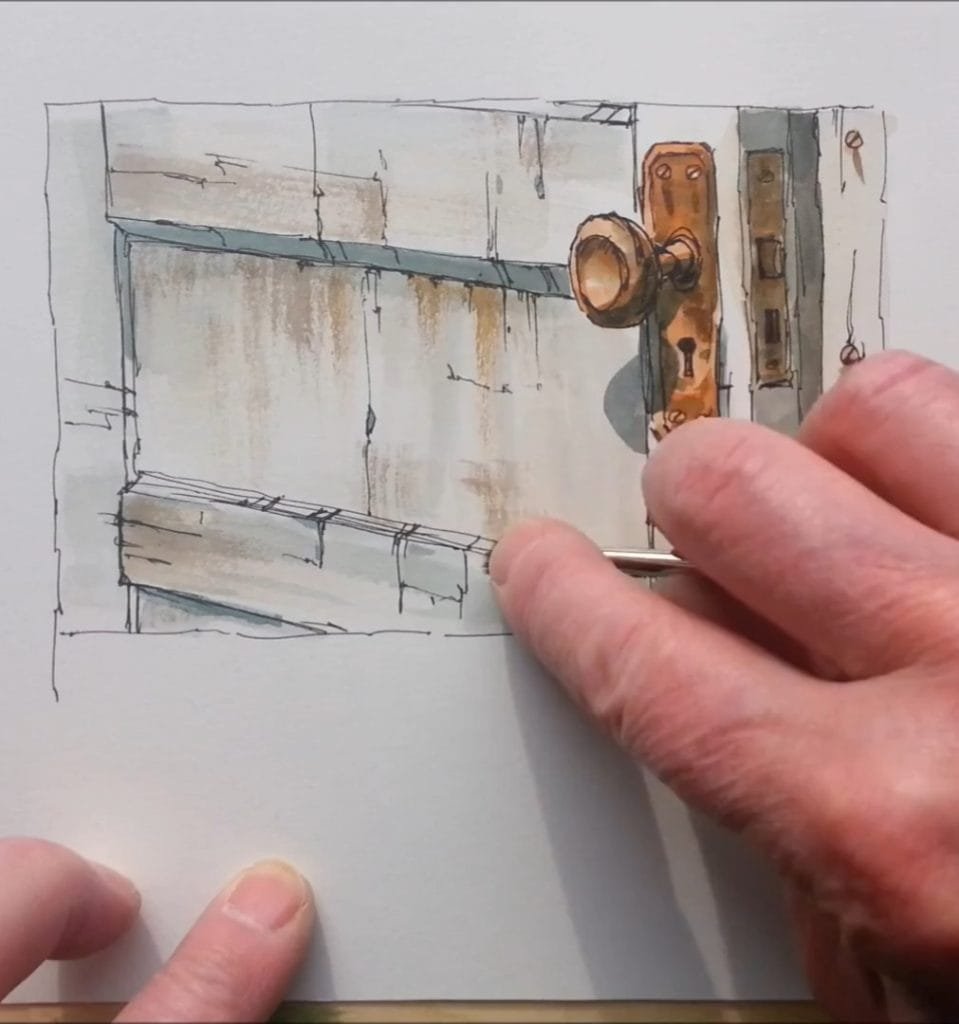
Step 7: Final Touches
The last step brings everything together. Peter returns to the lock plate and deepens it with sepia. The doorknob gets another layer too, making it stand out more against the door.
Peter adds a shadow cast across the door. This shadow highlights the contours and enhances the depth of the scene.
These final touches are small, but they complete the picture. The old wooden door now feels solid, weathered, and alive.
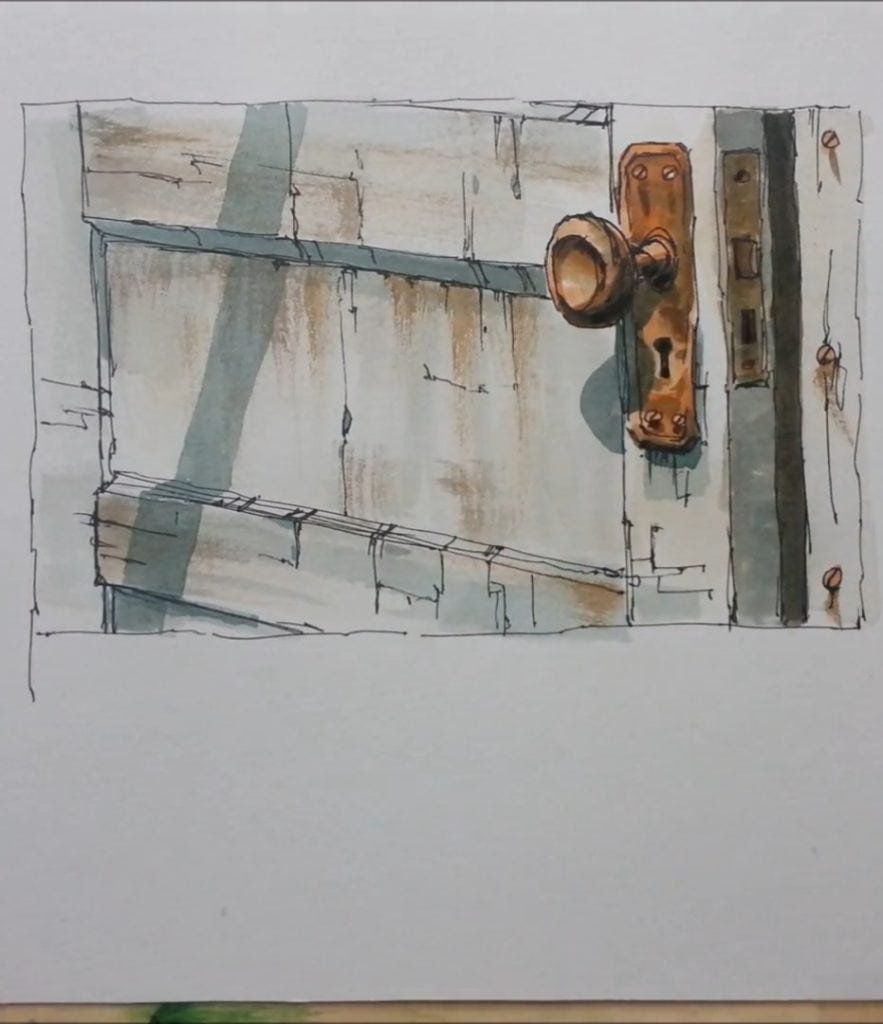
The Bottom Line
Do you find Peter Sheeler’s tutorial easy to follow? As you can see, his method is clear and inspiring, right? So, why not pick up your pen and brush today to create your own version?