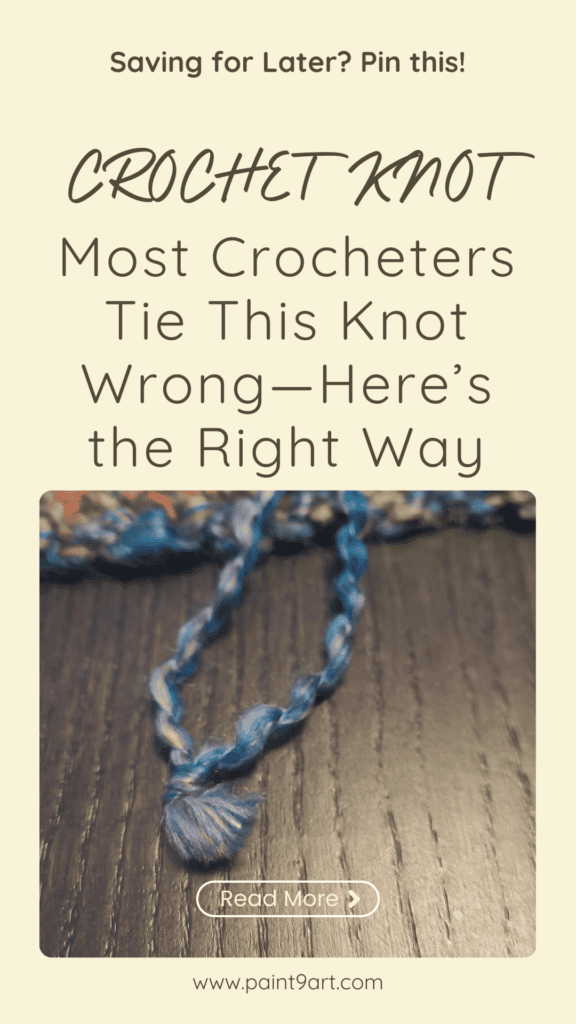
If you’ve ever joined yarn and then immediately worried it would come undone the moment you turned your back, you’re not alone.
In this article, the presenter introduces a simple, reliable version of the magic knot—also known in crochet circles as the fisherman’s knot—that’s smaller, easier to tie, and rock-solid. Best of all, you can snip the yarn tails nice and close without fear. That knot is going nowhere.
Don’t ask me why it works so well—it just does.
This version uses a square knot, and once you learn it, you may never go back.

Contents
Wait… Aren’t Square Knots Unreliable?
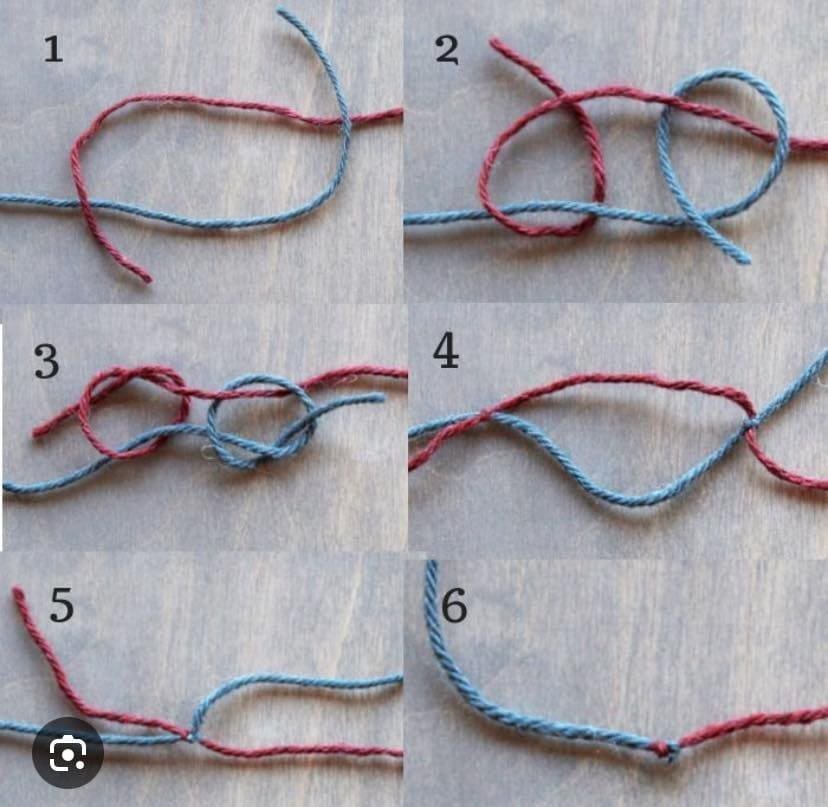
Square knots get a bad reputation, and honestly? It’s not entirely fair. Most of the time, when a square knot “fails,” it’s because it wasn’t actually a square knot at all. It was a sneaky imposter called a granny knot (and yes, it causes just as much trouble as it sounds).
The presenter clears this up right away and introduces a simple phrase to keep everything straight:
“Right over left, left over right.”
Say it with confidence. Say it like you mean it. This one phrase is the difference between a knot that lasts forever and one that betrays you mid-project. I’m just the messenger.
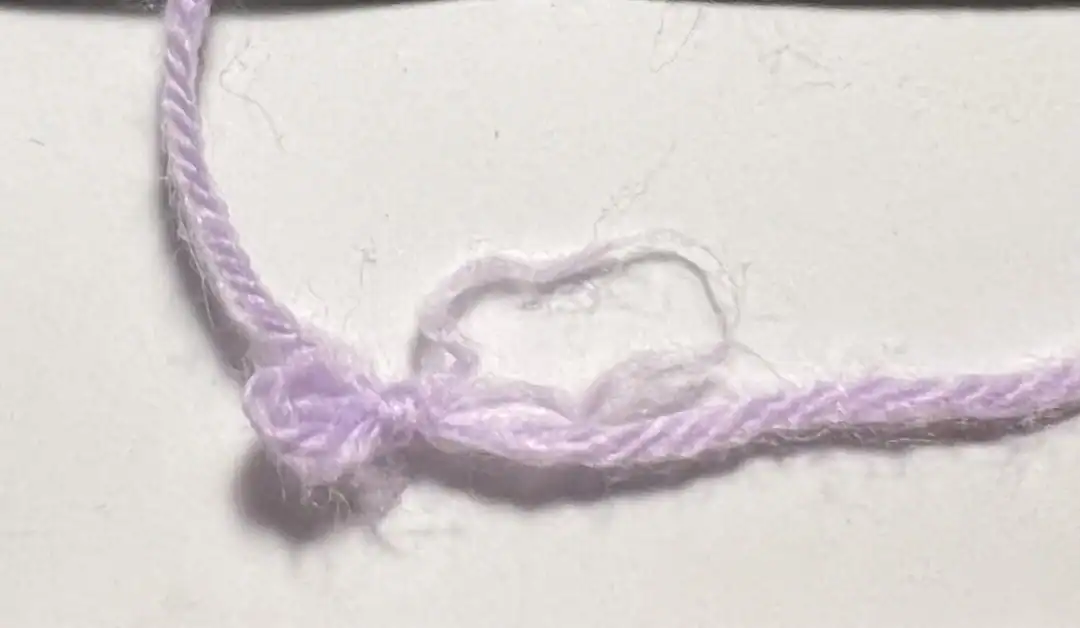
To make things extra clear, the demonstration uses two different yarn colors so you can see exactly what’s happening at every step.

How to Tie the Square Knot Magic Knot (Step by Step, No Stress)
Here’s the process, broken down so it’s easy to follow—even if knots usually make your brain shut down:
- Take the yarn on the right and cross it over the left
- Wrap it around and pull snug (this is your first tie)
- Make sure both yarn ends are pointing upward
- Now take the yarn on the left and cross it over the right
- Tie the second part of the knot
- Pull all four yarn ends to tighten
- For extra security, tug gently on the longer yarn strands below the knot
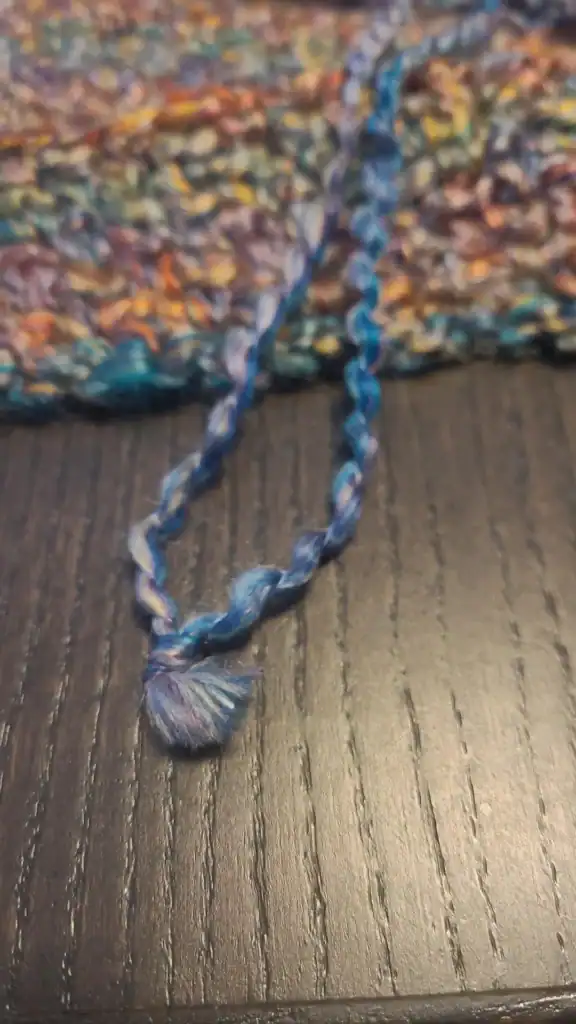
Once tightened, this knot is secure, compact, and ready for action. You can trim the yarn tails close—very close—without worrying about anything unraveling later.
The One Mistake That Causes Most Knot Failures
If your knot starts slipping or pulling apart, chances are you accidentally tied a granny knot instead of a square knot. Easy mistake. They look very similar, but they behave very differently.
The granny knot happens when you repeat the same motion twice:
“Right over left, right over left.”
That repetition is the problem. The knot ends up weaker, less balanced, and far more likely to come undone. Nobody wants that energy in their crochet project.
How to Spot the Difference (A Quick Visual Check)
A properly tied square knot looks neat and balanced:
- The yarn ends pass under the loop on the left
- And over the loop on the right
- Everything looks symmetrical and tidy
A granny knot, on the other hand, looks a bit… confused:
- The yarn ends cross inconsistently
- One side goes over, the other goes under
- The knot looks uneven and unstable
A quick glance at your knot can tell you which one you’ve made—no guesswork required.
Final Tips (And a Little Encouragement)
The video wraps up by repeating the golden rule:
Right over left, left over right.
Check where your yarn sits in relation to the loops, and you’ll know immediately whether you’ve tied the right knot.
Once mastered, this square-knot version of the magic knot becomes an incredibly useful tool—small, strong, and stress-free. Practice it a few times, avoid the granny knot trap, and enjoy joining yarn without second-guessing yourself.
Because your projects deserve knots that behave.