If you’ve ever woven in your ends, trimmed the tail, admired your work—and then, a few washes later, found that yarn tail smugly peeking out again—you’re not alone. It happens. And it’s annoying.
But Play Hooky with Me is here to help with a two-step method that seriously locks those pesky ends in place. These tips work great individually, but when combined? They’re a one-two punch that keeps those tails buried for good.
Contents
Step One: Bury the Tail Like You Mean It
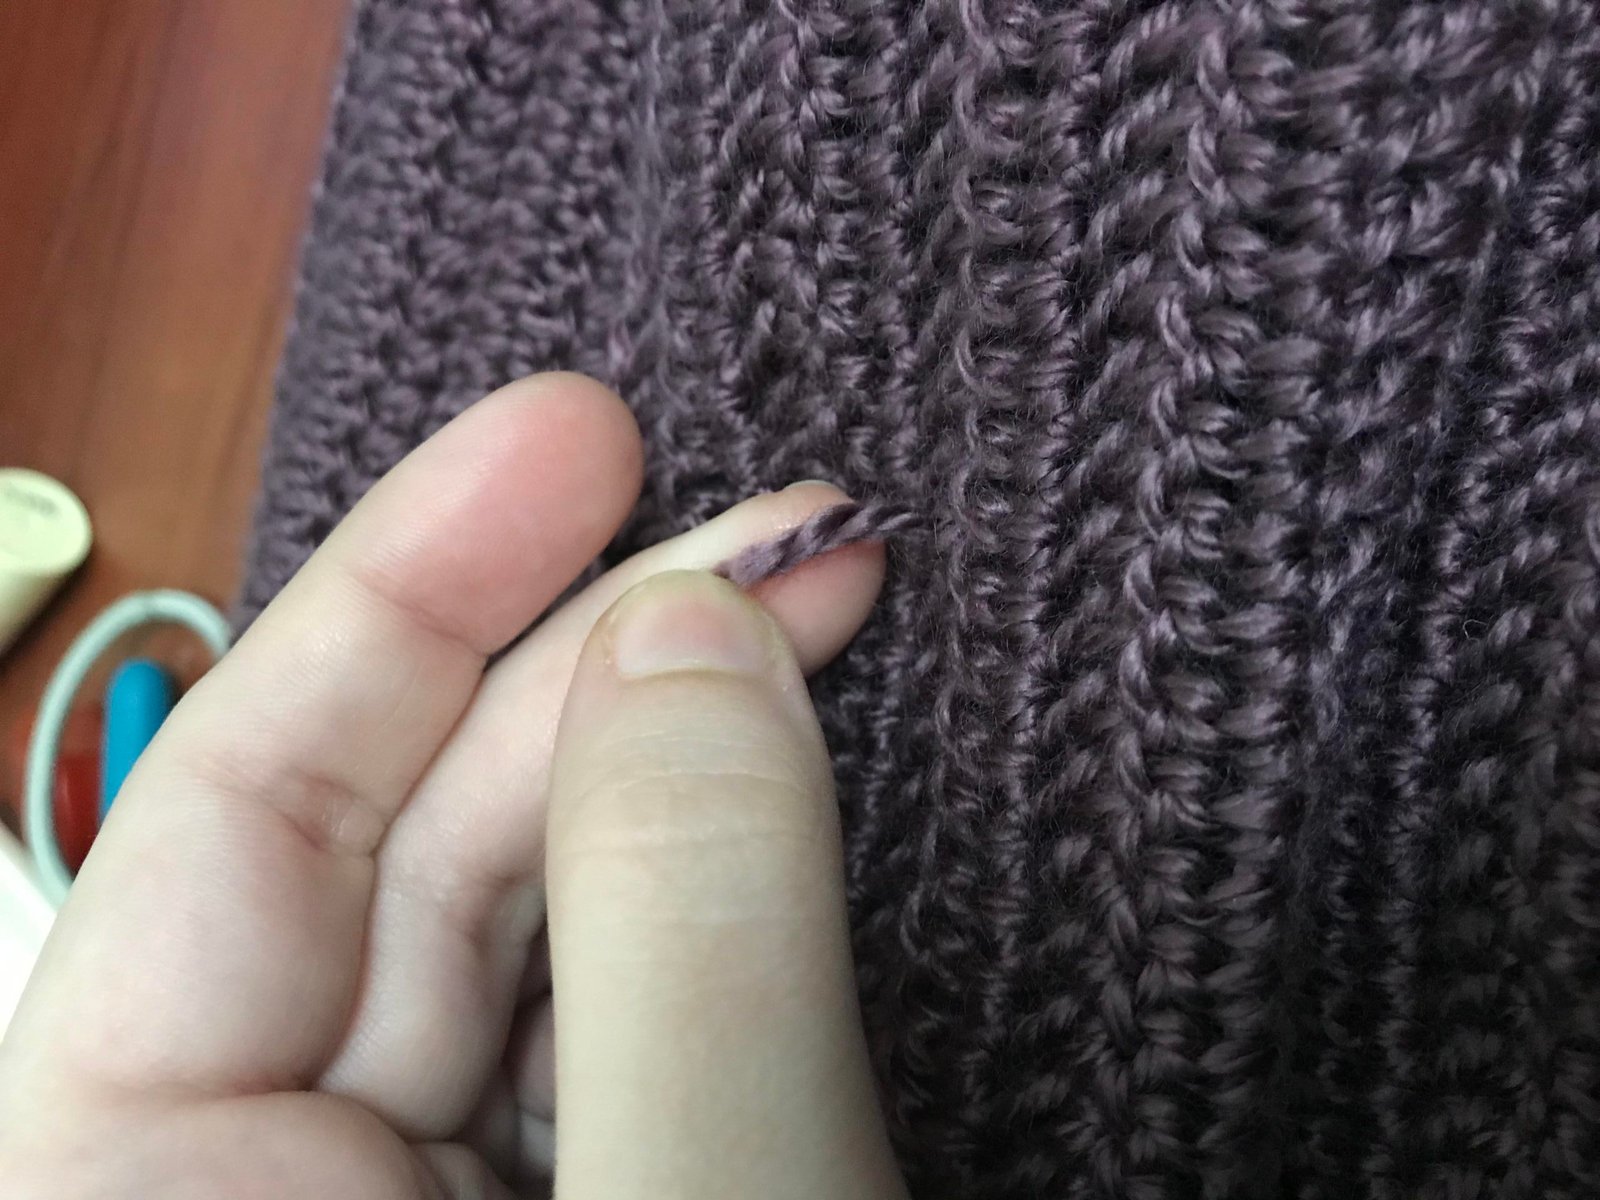
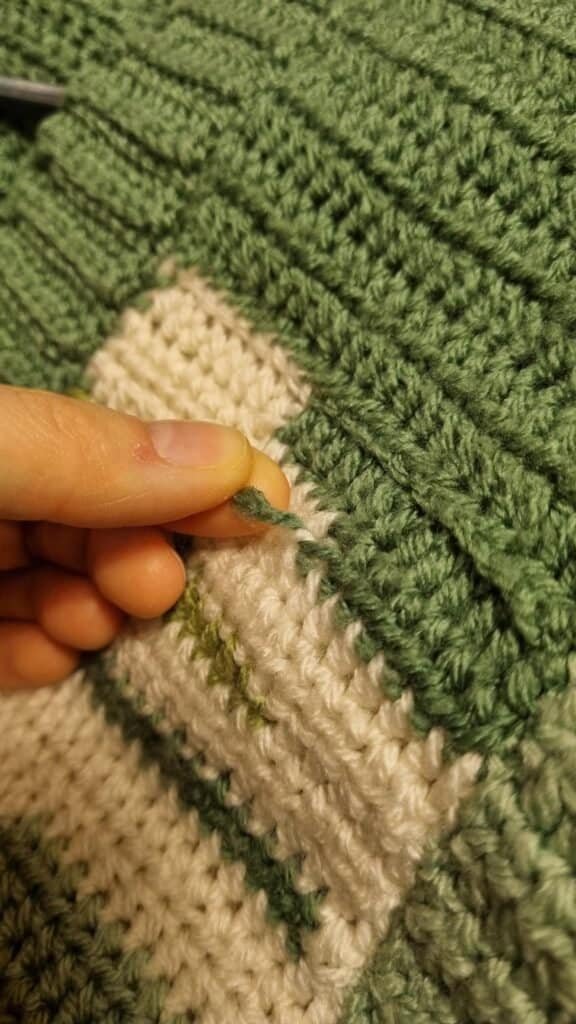
The first step is all about weaving your ends into the thickest part of your fabric. Yes, it matters. Start by weaving the yarn tail in three different directions (a trick many crocheters already swear by), but don’t stop there—make sure your last pass goes through the thickest area you can find.
If you’re not near a bulky section, weave your way over to one. Once you’ve reached a stitch-heavy spot, give the yarn a gentle tug before trimming. This lets it snap back under the surrounding stitches when cut. Don’t ask why it feels so satisfying—it just does.
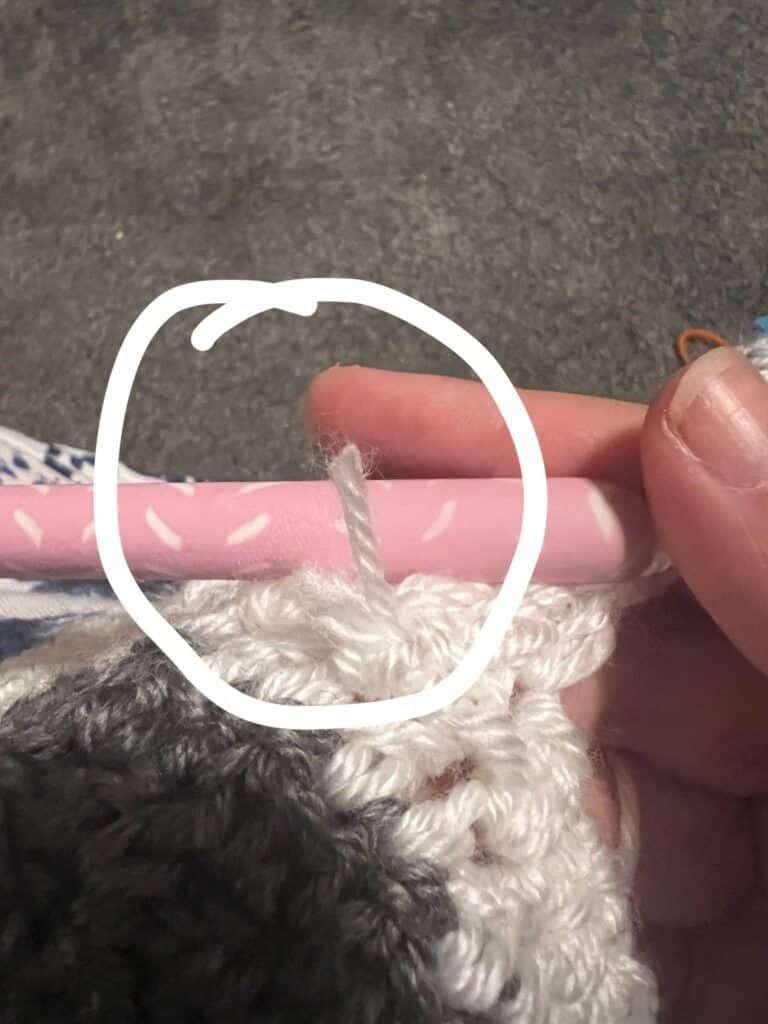
Step Two: Split the Yarn as You Weave
Now this is where the real magic happens. Instead of simply weaving under and around stitches, go through the yarn fibers themselves. You’re not just hiding the tail—you’re anchoring it.
To do this, you’ll need a needle with a little bite. Regular tapestry needles might not cut it. Play Hooky with Me recommends:
- Plastic canvas needles – easy to find and sharp enough to split yarn
- Chenille needles (size 18) – sharp tips and large eyes for most yarn weights
- Susan Bates finishing needles – plastic but surprisingly pointy and effective
Use your chosen needle to pierce the yarn plies as you weave. This anchors the tail inside the stitches instead of just sliding along the surface. It’s like tucking it into bed with a weighted blanket.
Bonus Tip: For Chunky Yarn, Try a Stitch Instead
If you’re working with chunky yarns (which often don’t have plies to split), this technique gets trickier. In that case, just add a small stitch using sewing thread and a needle to hold the tail down. Nothing fancy—a simple double knot does the trick. This works especially well for big, cozy blanket projects.
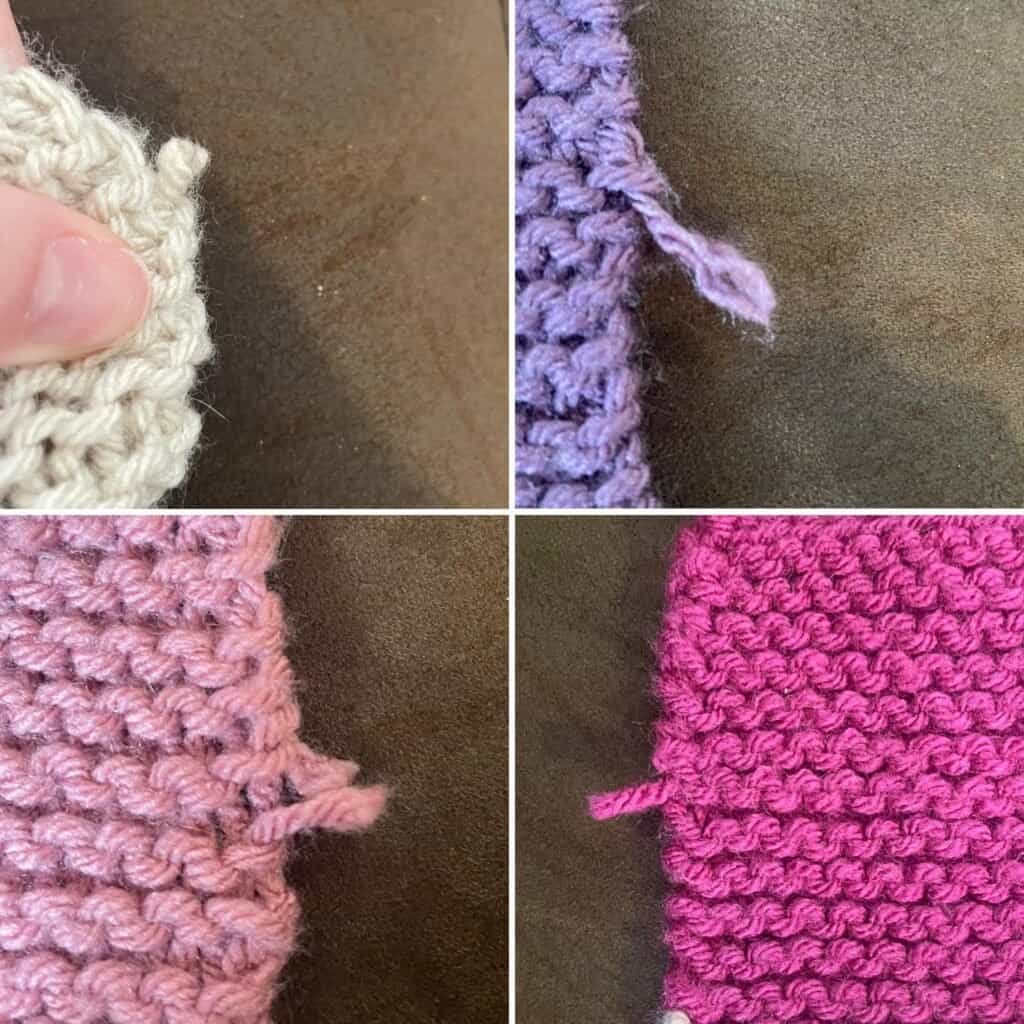
What If the Tail Already Popped Out?
Don’t panic—there’s still hope.
If you’ve got a rogue end making an unexpected appearance, Play Hooky with Me recommends lightly felting it back in place. Yes, even if it’s not wool. Grab a felting needle (basically a very sharp needle with tiny barbs), some foam or a sponge, and gently needle the yarn into surrounding fibers.
You’re not fusing the yarns together—you’re just tangling the fibers enough to keep them from escaping. A few careful pokes under nearby stitches should do the trick. And a word of caution: less is more. Overdoing it can lead to visible felting or pilling. Just a few passes will get the job done.
Recap: The One-Two Punch That Keeps Ends Put
- Weave ends in three directions, with the final pass tucked into the thickest part of the project.
- Split the yarn fibers as you weave using a sharp needle—this helps lock the tail in place.
- Use a small stitch for chunky yarns or felting needle for ends that sneak out later.
Final Thoughts
Let’s be real—yarn tails are sneaky. But with a little know-how (and maybe a sharper needle), you can keep them from crashing your projects’ finished look. These simple tricks from Play Hooky with Me turn a frustrating finishing task into something that actually holds up over time.
If you’ve got a favorite method of your own, don’t be shy—share it. Because the only thing better than a solid crochet project is one that stays finished.