
If you have ever finished a pile of beautiful crochet squares only to stare at them in a mild state of panic, you are not alone. Joining those pieces together can feel like the final boss of a video game, but Toni from TL Yarn Craft is here to show that it does not have to be intimidating.
In this guide, she walks through four classic seaming techniques that turn a collection of segments into a finished masterpiece. Whether you prefer using a needle or sticking with your trusty hook, there is a method here for every style of maker.
Contents
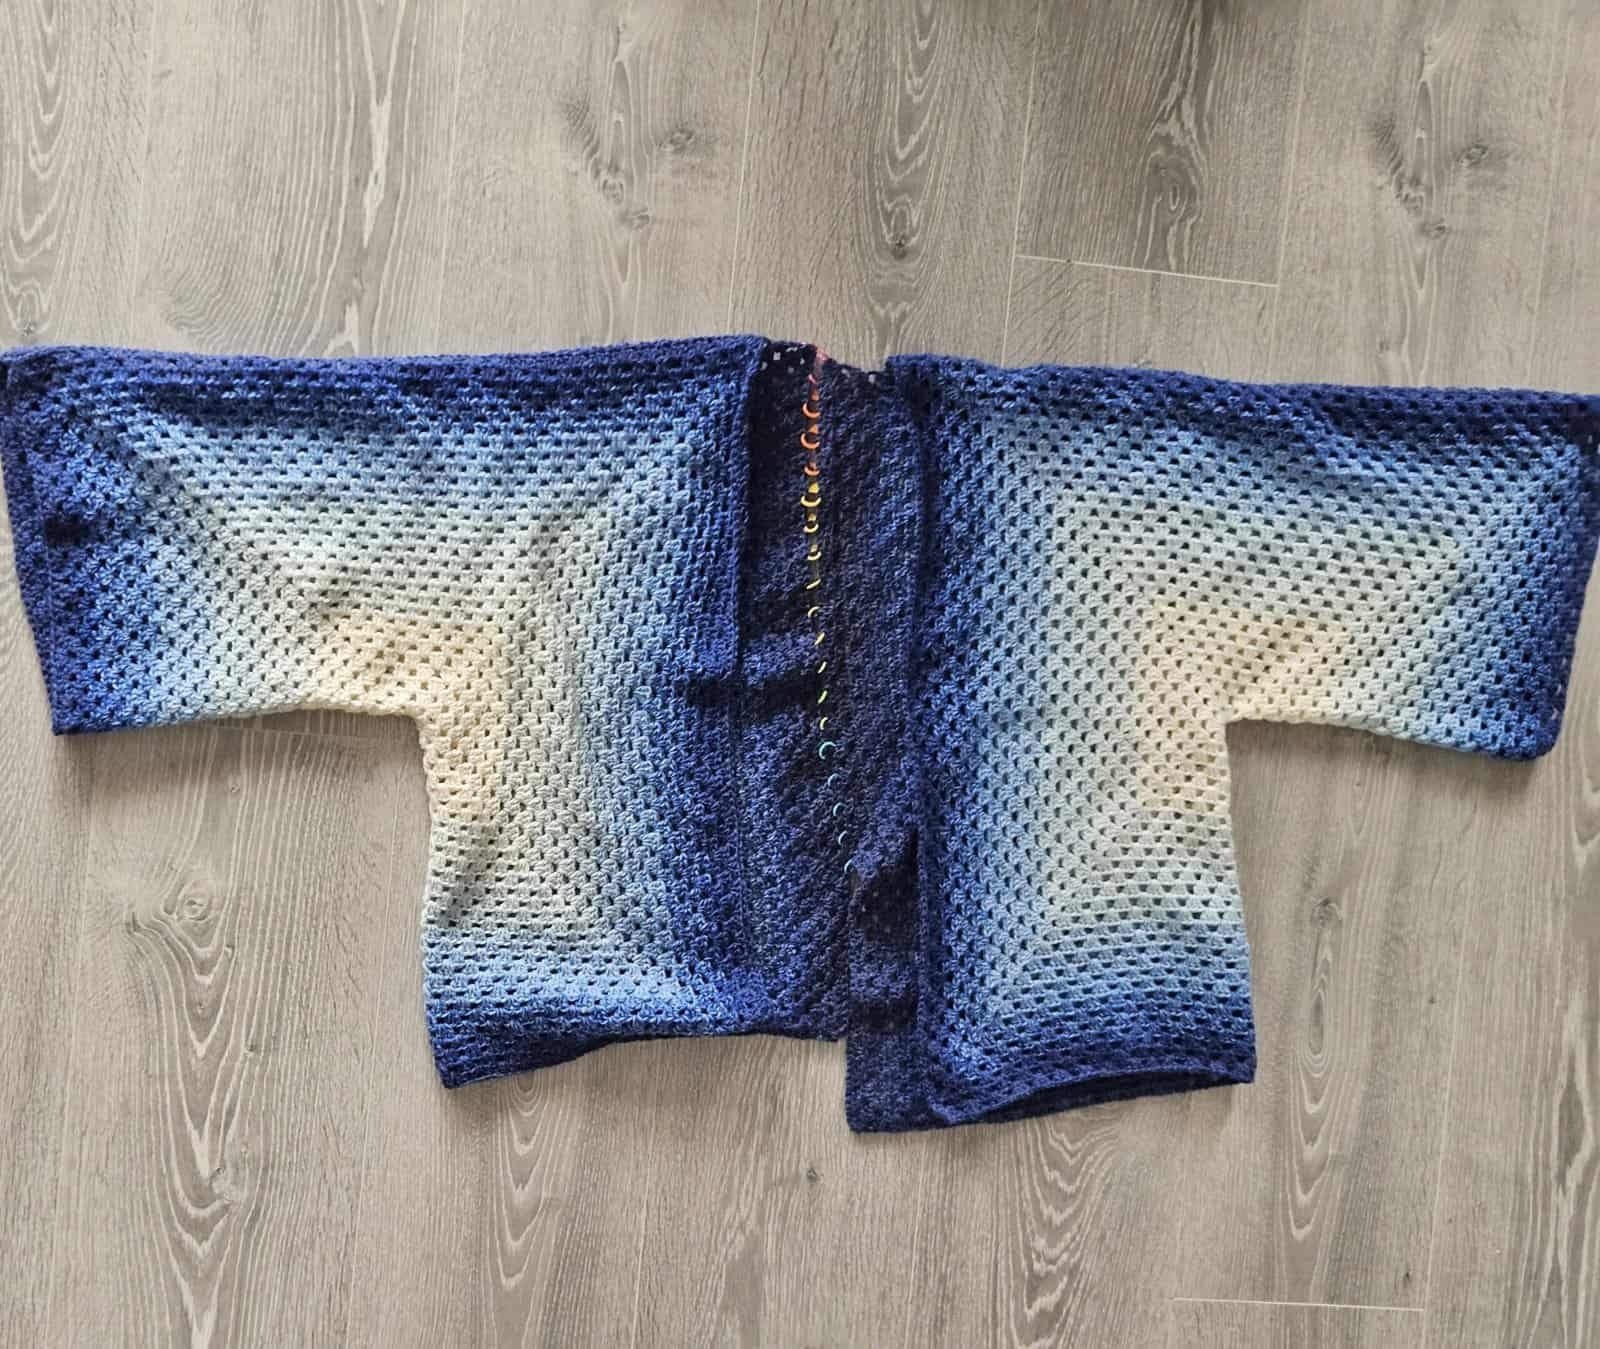
The Reliable Whip Stitch Seam
The whip stitch is the old faithful of the crochet world. It is straightforward, quick, and perfect for those who just want to get the job done. To start, measure out a length of yarn that is three times the length of the seam—why three times? Well, I’m just the messenger, but it ensures you won’t run out of steam (or yarn) halfway through.
- The Process: Line up the edges with the front sides together. Using a tapestry needle, insert it from bottom to top through the corner stitches of both pieces.
- The Motion: Bring the yarn up and over the top to reset, then go through both loops of the next set of stitches.
- The Secret Sauce: Success here is all about tension. If you pull too tight, the seam will bunch up like it’s shivering; too loose, and it won’t stay secure. Pull until you feel a tiny bit of resistance, then keep moving.
The Invisible Mattress Stitch Seam
For those who want their seams to be a total secret, the mattress stitch is the way to go. Unlike the whip stitch, this one is worked with the right sides facing up, so you can see exactly how the magic is happening as you go.
- Start at the Corner: Thread your needle and go through the bottom corner stitch of the first square, then the second.
- The “Under-Over”: Insert the needle from front to back through the same stitch on the first square, then back to front through the next stitch. Repeat this on the second square.
- The Magic Pull: After a few stitches, grab both ends of the yarn and pull firmly. The seam will zip up and virtually disappear. It is incredibly satisfying to watch—don’t ask me why, it just is.
The Sturdy Single Crochet Seam
If you aren’t a fan of sewing needles, you can keep your crochet hook in hand for this one. The single crochet seam is “heavy-duty” and adds a bit of structure to blankets or garments.
You can work this through both loops for a very strong join, or just through the outside loops to create decorative ridges. To begin, put a slip knot on your hook and join with a standing single crochet in the corners. Work one single crochet into every pair of stitches down the line.
Just a fair warning: this seam is already quite sturdy, so keep your hand relaxed. You don’t want your work to pucker up like it just ate a lemon.
The Elegant Flat Slip Stitch Seam
Last but certainly not least is the flat slip stitch seam. This is the “fancy” option that results in a beautiful, flat finish that looks professional and intentional.
- Placement: Work through the inside loops only.
- Yarn Position: Keep your working yarn in the middle of your two squares at all times.
- Pro Tip: This technique is notoriously tight. If you find your seam is pulling, don’t be afraid to go up a half or even a full hook size. Your tension is the boss here, so keep those slip stitches nice and loose.
Practice Makes Polished
Taking the time to learn these joins is what separates a “craft project” from a “heirloom.” Even if you have been crocheting for years, trying a new seaming method can completely change the look of your work.
As Toni’s community of makers often says, learning these little tips is a total godsend for finishing projects with confidence. So, grab some scrap squares, find your favorite method, and start joining.