
Watercolor painting can be incredibly fun, but it’s also easy to make mistakes—especially when using the wet-on-wet technique. And as Kerrilyn Cheah often reminds beginners, struggling with this method is completely normal.
If you’ve ever felt frustrated by blooms, muddy colors, or lack of control, you’re definitely not alone!
Today, Kerrilyn Cheah is sharing the three most common wet-on-wet mistakes she sees, along with simple steps to fix them.
These tips will help you strengthen your technique, avoid unnecessary frustration, and enjoy the process even more.
Contents
Understanding the Wet-on-Wet Technique
Before diving into the mistakes, let’s quickly revisit what the wet-on-wet technique is.
This method involves applying paint onto a wet surface, which allows the colors to blend seamlessly and create beautiful soft transitions.
It’s perfect for painting skies, backgrounds, or any area where a dreamy, blurry effect is desired.
When done correctly, wet-on-wet can create beautiful, flowing blends of color that feel natural and effortless.
But for many beginners, it can be tricky to master.
The good news is that by avoiding a few common mistakes, the artist will be well on the way to mastering this technique.
Mistake 1: Using Too Much Water
One of the most common mistakes the artist encounters with wet-on-wet painting is using too much water.
It’s easy to get carried away, especially when eager to see those beautiful blends form.
But when there’s excess water on the paper, it can cause problems.
Why This Happens
The artist might feel that more water will help the paint spread easily, but excess water can cause puddles to form on the paper.
These puddles trap the paint, preventing it from blending correctly with other colors.
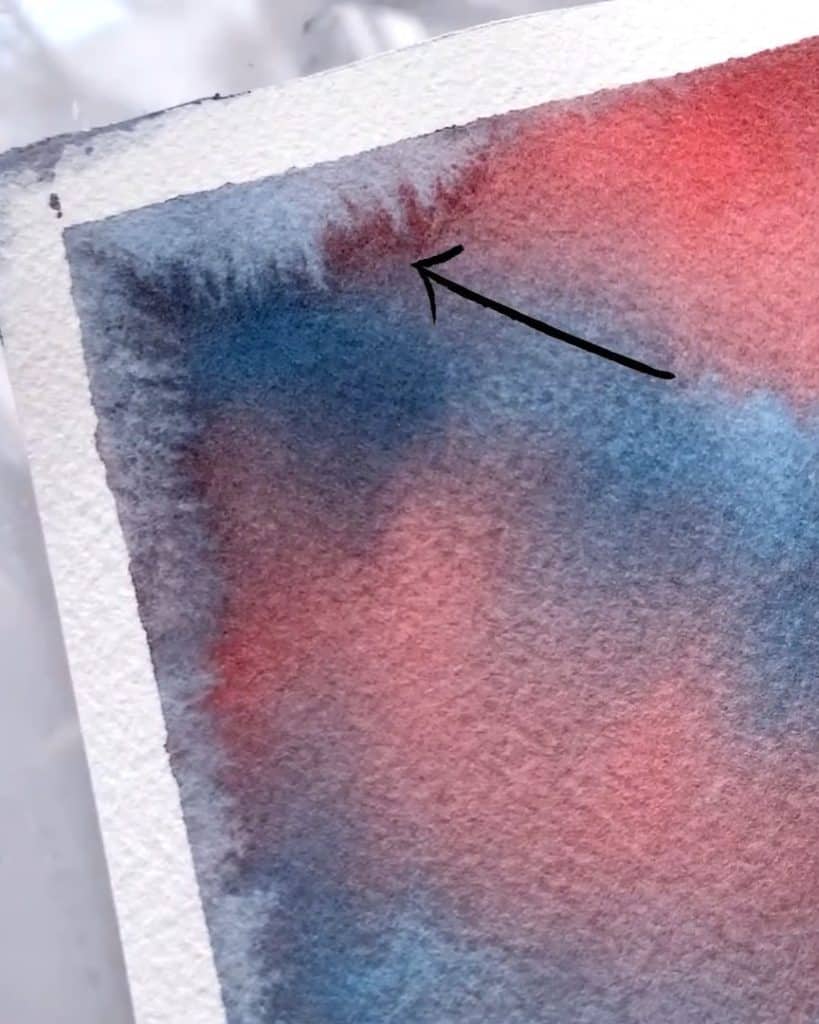
Instead of creating soft transitions, the paint sits in pools, and once dry, harsh cauliflower textures may appear—those weird, lumpy edges.
This mistake happens when water pools in the corners of the paper, resulting in slow drying and the paint getting stuck in these areas.
When the next color is added, it can spread into these puddles, causing muddy mixes instead of smooth blends.
How to Fix It
If this mistake occurs, here’s what the artist can do:
-
Let the paper dry fully: Allow the paper to dry completely before attempting to fix anything.
-
Re-wet the entire area: Once the paper is dry, a clean brush is used to lightly pre-wet the area where the paint was pooling.
- Blend the harsh edges: If possible, the artist can soften harsh edges with the brush.
Blend the harsh edges
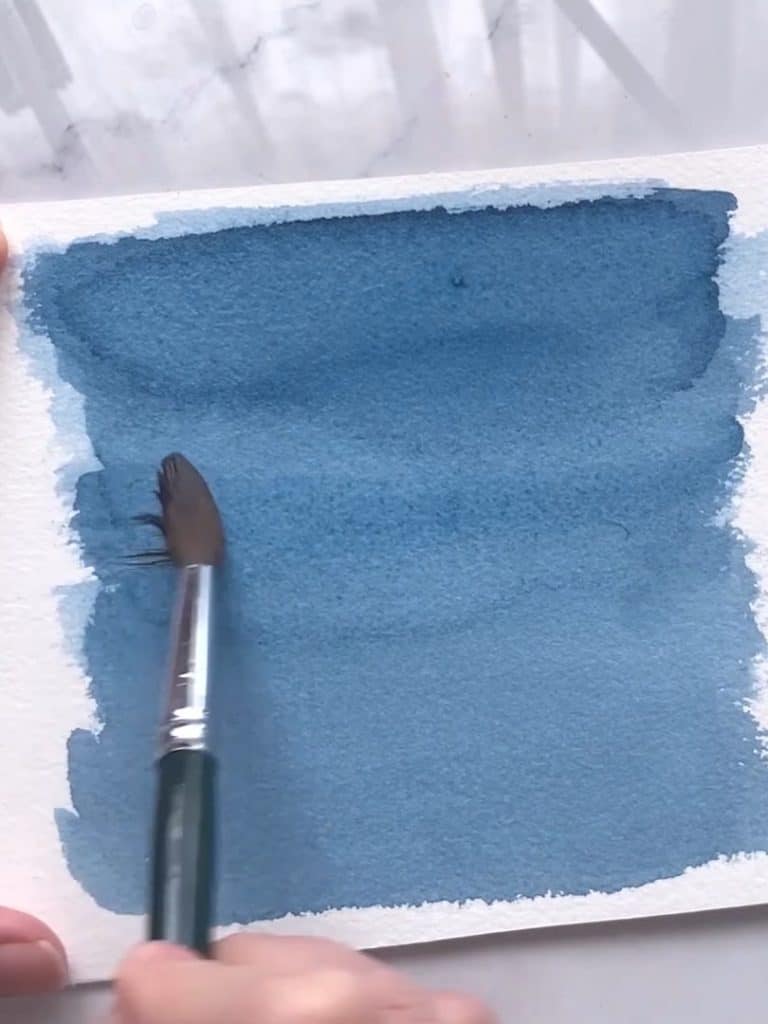
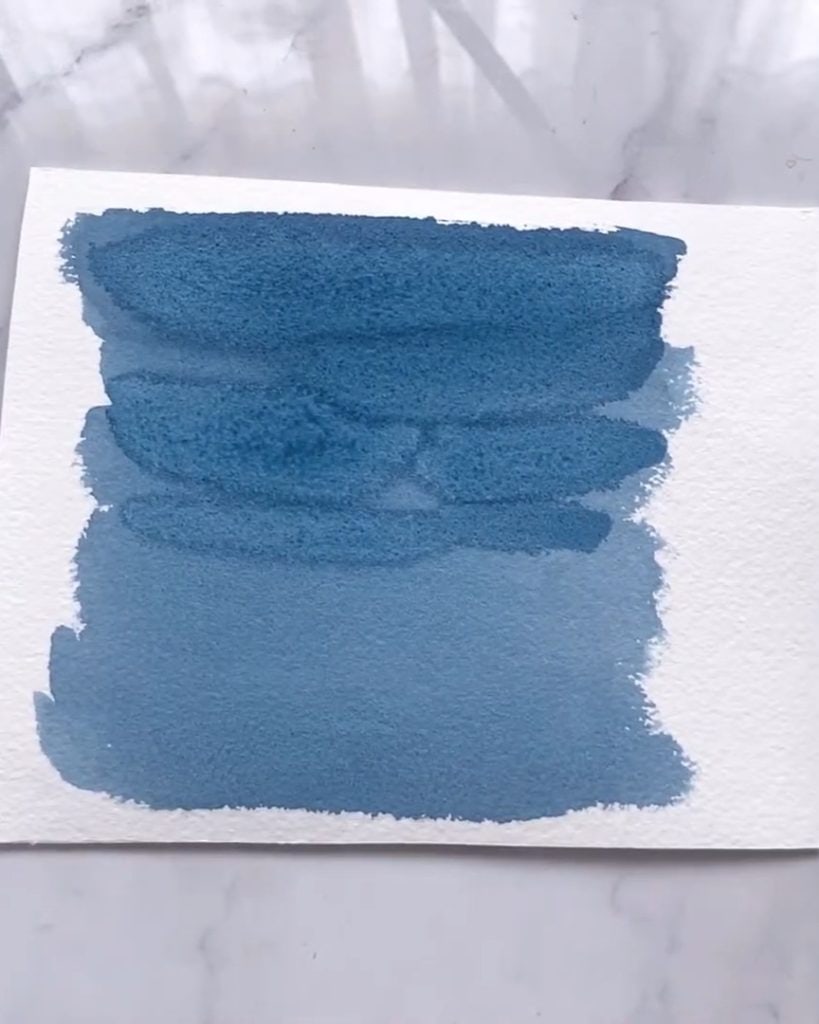
- Apply a blue wash: Finish by applying a light blue wash over the area to cover any remaining harsh lines and smooth transitions.
By doing this, the artist can restore the smooth wash originally intended.
Mistake 2: Using Too Little Water
On the opposite end, using too little water is another common issue.
Sometimes, in an attempt to avoid the messiness of too much water, the pre-wetting step is skipped or water is applied unevenly.
Why This Happens
This mistake usually happens when the initial pre-wetting layer isn’t done correctly.
Without enough moisture, the paint won’t spread as smoothly, leading to harsh edges where the paint is applied.
If your paper isn’t evenly wet, you’ll notice that the paint doesn’t flow naturally like it does in a well-prepared wash.
Instead, the colors will stay where you applied them, and you’ll end up with visible brushstrokes and uneven blending.
How to Fix It
Here’s how the artist can correct this:
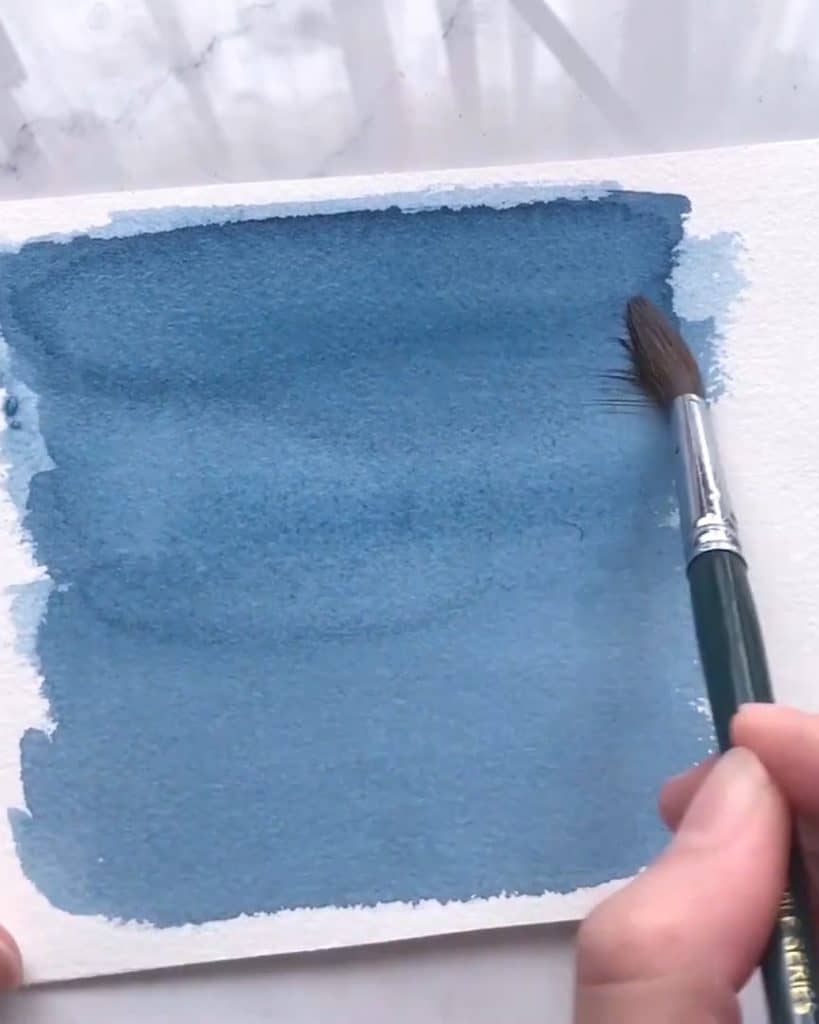
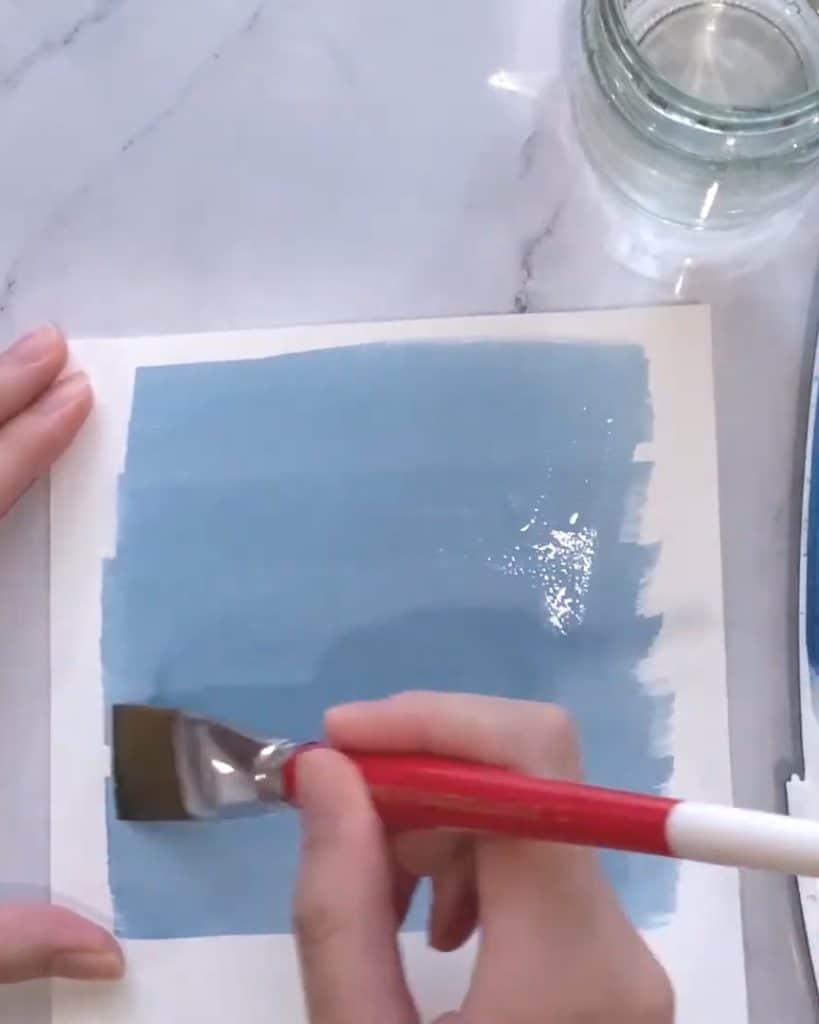
- Apply water properly: Start at the top left of the paper and apply water evenly across the surface, working toward the right and downward.
- Check for shine: After applying water, tilt the paper sideways to check for a smooth glossy shine. Any matte areas need more water.
- Remove puddles: If excess water collects in corners, gently remove it using a clean paper towel or dry brush.
- Let the water settle: Allow the paper a few seconds so the water can sink in evenly.
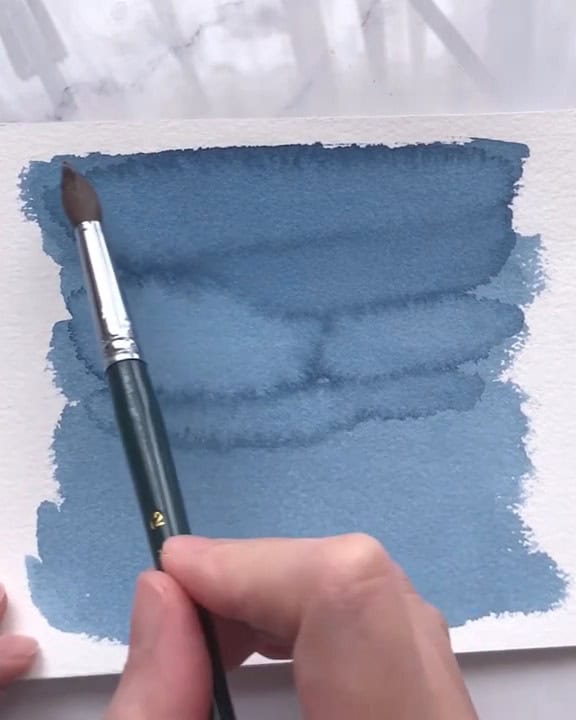
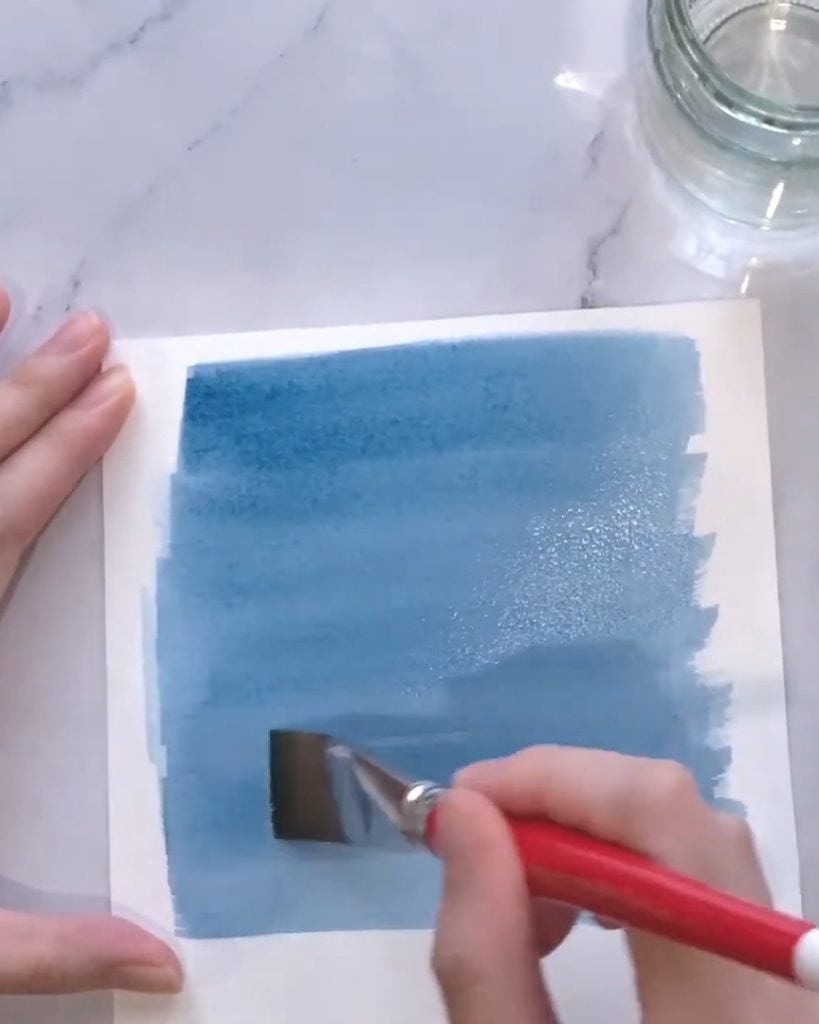
- Apply paint: Once the water has settled, the artist can start painting. The colors will now blend and spread much more easily.
Properly pre-wetting the paper gives the paint freedom to flow, creating lovely, soft transitions that make wet-on-wet so appealing.
Mistake 3: Not Knowing When to Stop
This mistake occurs when the artist keeps painting even when the paper has entered the drying phase.
Sometimes, in an effort to perfect the colors, the artist doesn’t realize that the surface has started to dry.
Why This Happens
The problem arises when the paper dries unevenly and more paint is added during this stage.
If paint is added during the drying phase, unwanted textures like the cauliflower effect—also known as watercolor blooms—appear.
When the paper starts to dry, some spots are wetter than others.
If new paint is added to the damp parts, it will spread uncontrollably and create blooms.
If thicker paint is added, harsh lines appear instead of soft transitions.
How to Fix It
Here’s how the artist can avoid or correct this:
-
Recognize the drying phase: Stop adding paint once the paper begins drying unevenly. Harsh edges will begin to appear.
-
Let it dry completely: If more layers are needed, let the paper dry fully first. A hair dryer can be used to speed this up. Then lightly pre-wet the area with clean water and apply more paint.
- Be patient: Allow each layer to dry before continuing to avoid ruining the effect.
It’s all about timing—patience, and understanding when the paper needs to rest before more color is applied.
How to Identify the Drying Phase
One of the trickiest aspects of the wet-on-wet technique is knowing when the drying phase begins and when to stop.
The drying time varies depending on the type of paper and the amount of water applied.
A simple experiment can help the artist understand this better.
Here’s what to do:
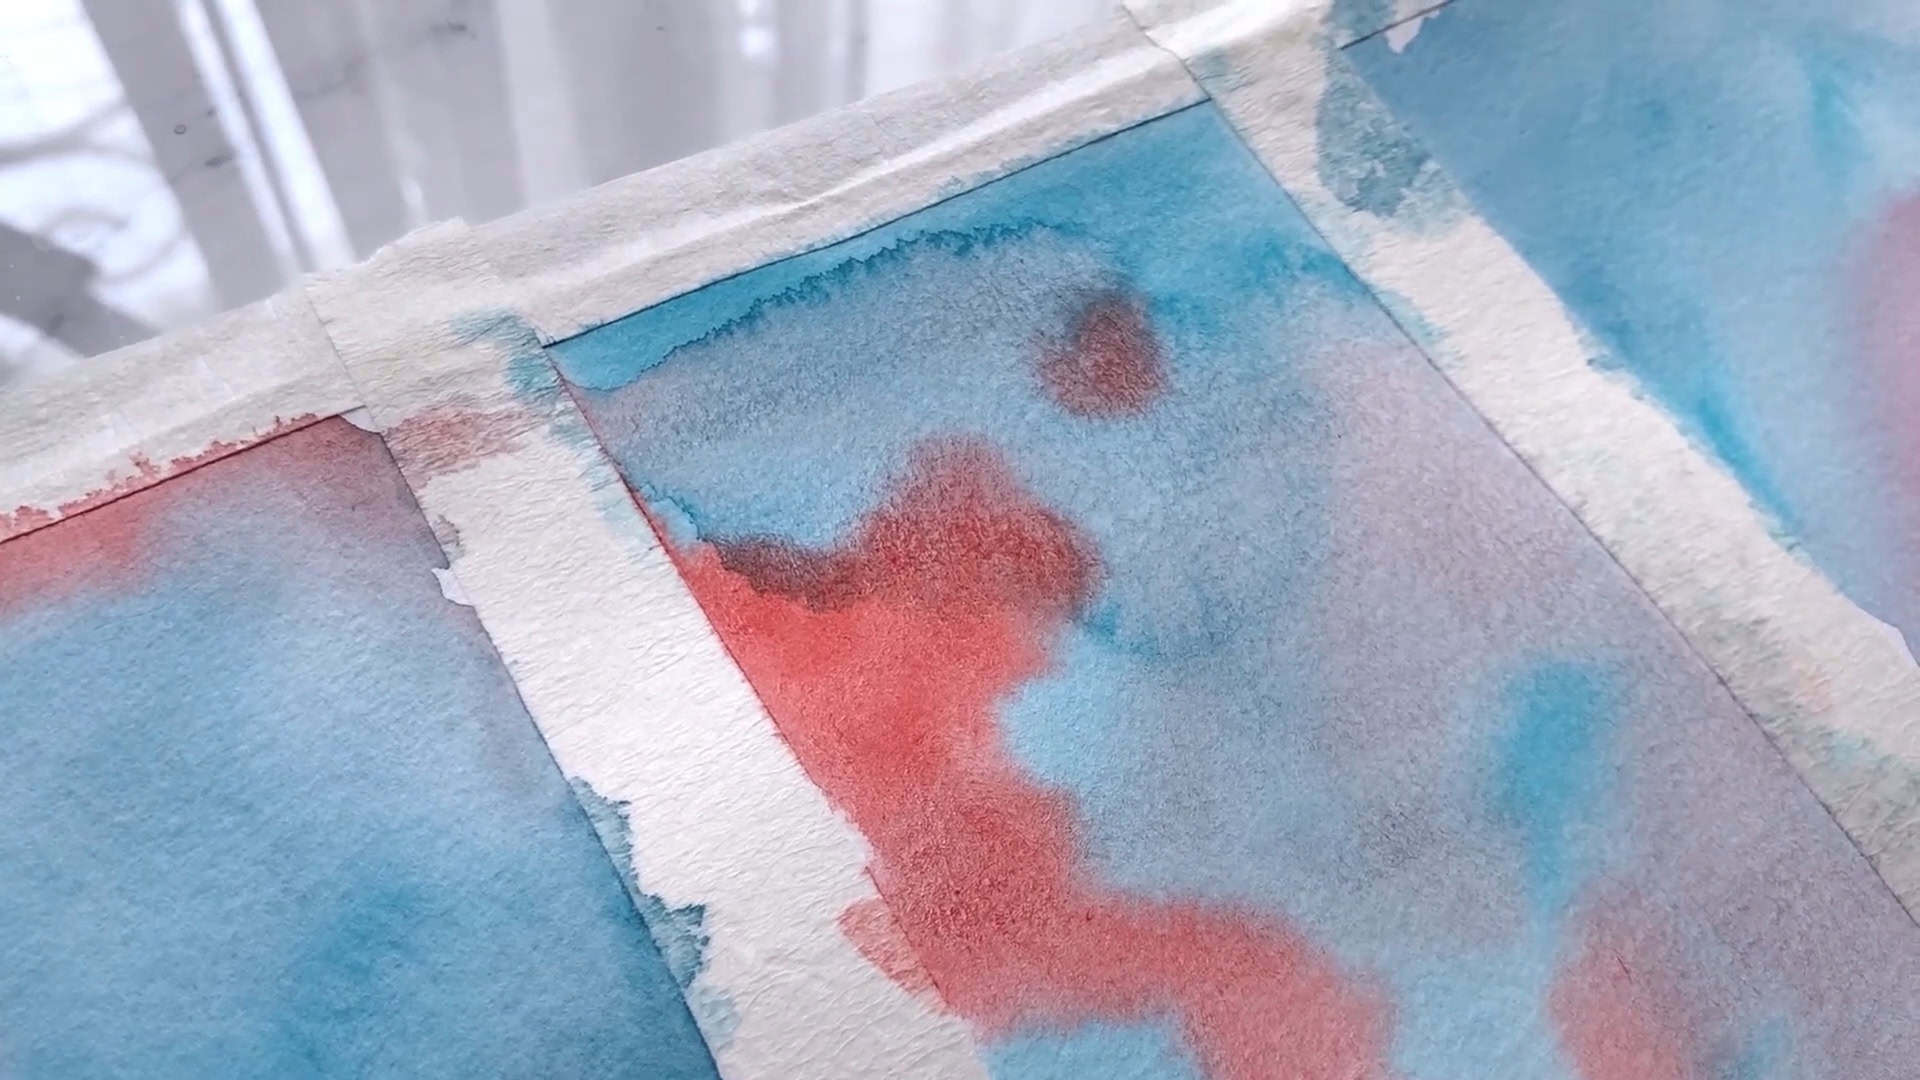
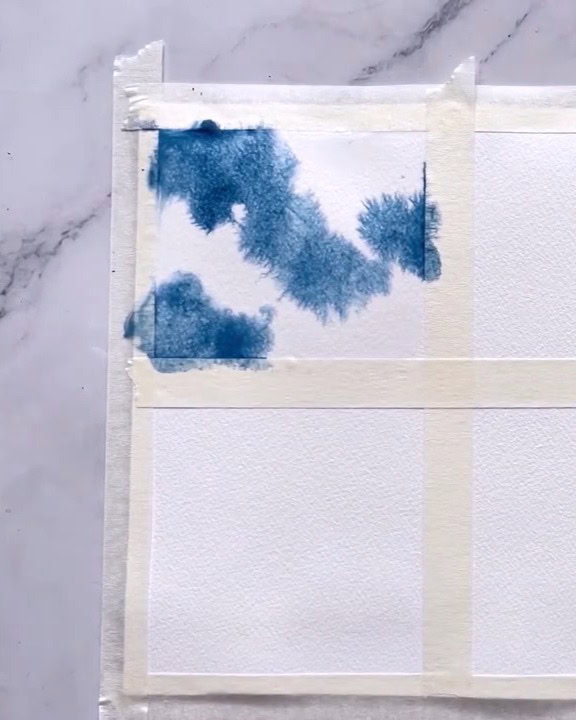
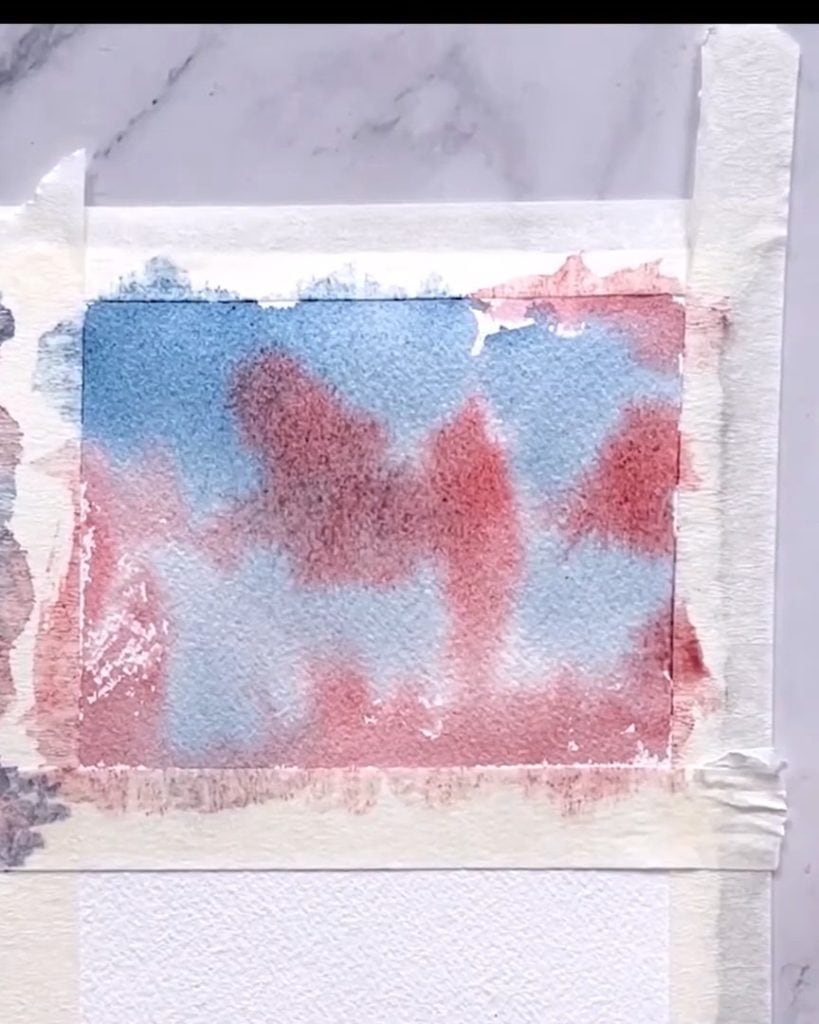
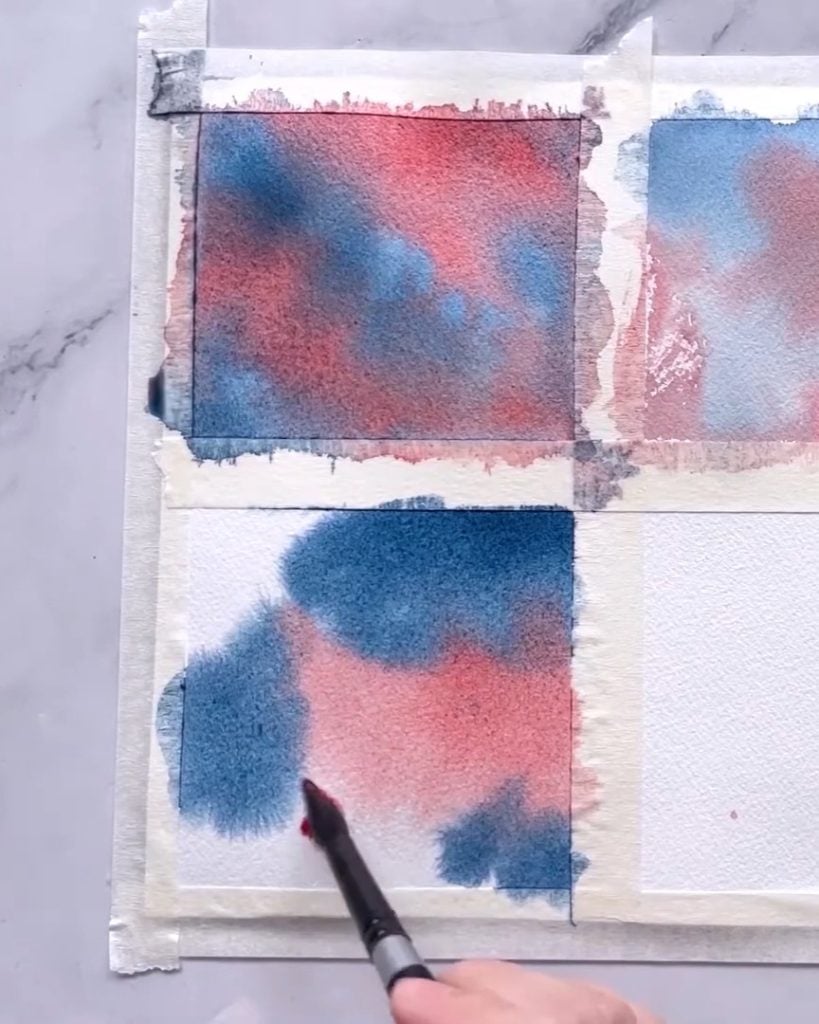
Apply a First Layer: Begin by applying a first layer of blue paint to two sheets of paper, ensuring both are equally wet.
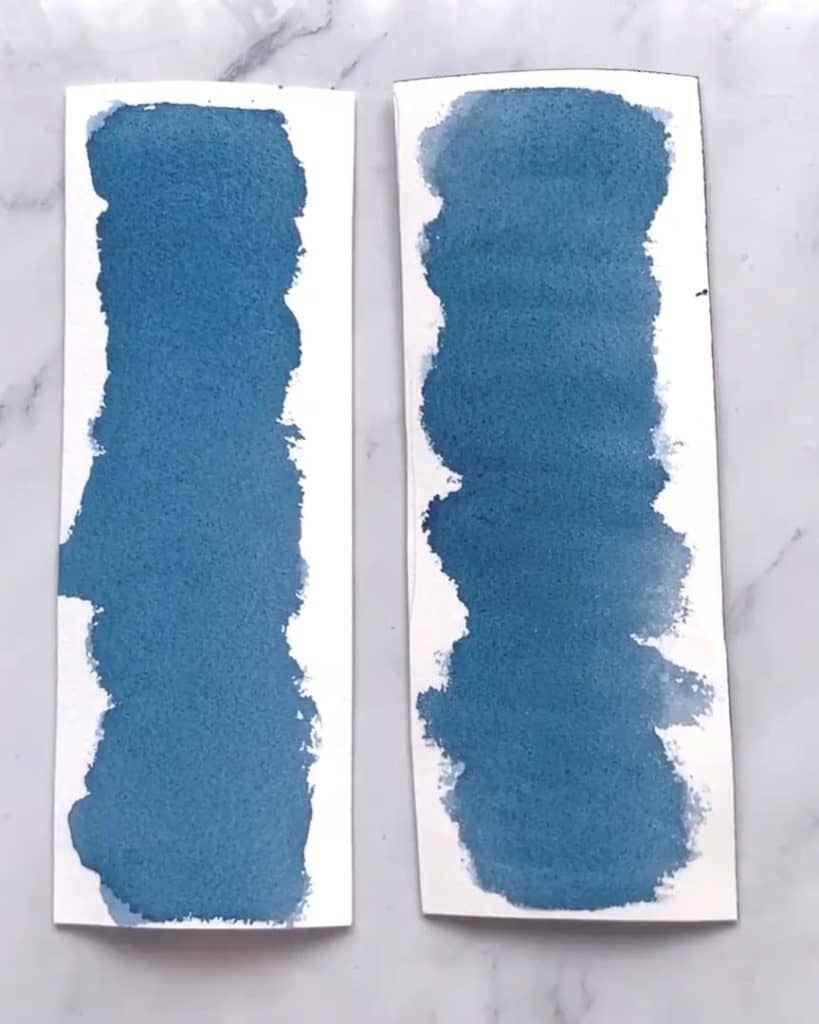
Add More Paint: On the first sheet (the left), drop a more diluted blue mixture, and on the second sheet (the right), add a thicker blue mix.
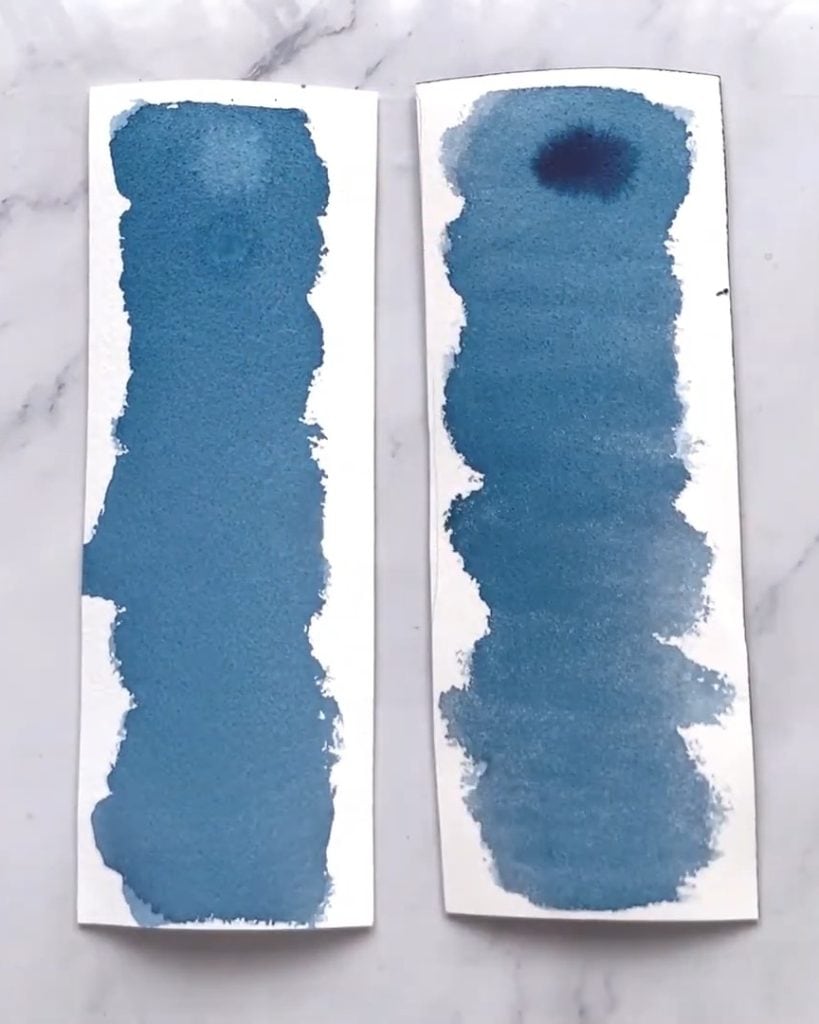
Repeat the Process: As time passes, continue adding more layers of paint to both papers.
Left Paper: The diluted blue paint spreads smoothly at first. Over time, it spreads less, and harsh edges begin to form, causing the cauliflower effect.
By the last drop, the paint stays on top without spreading—indicating the paper is fully dry.
Right Paper: Similar to the left, the paint spreads less over time and forms harsher edges. The difference here is that the drying phase began much earlier on this sheet because of the thicker mixture.
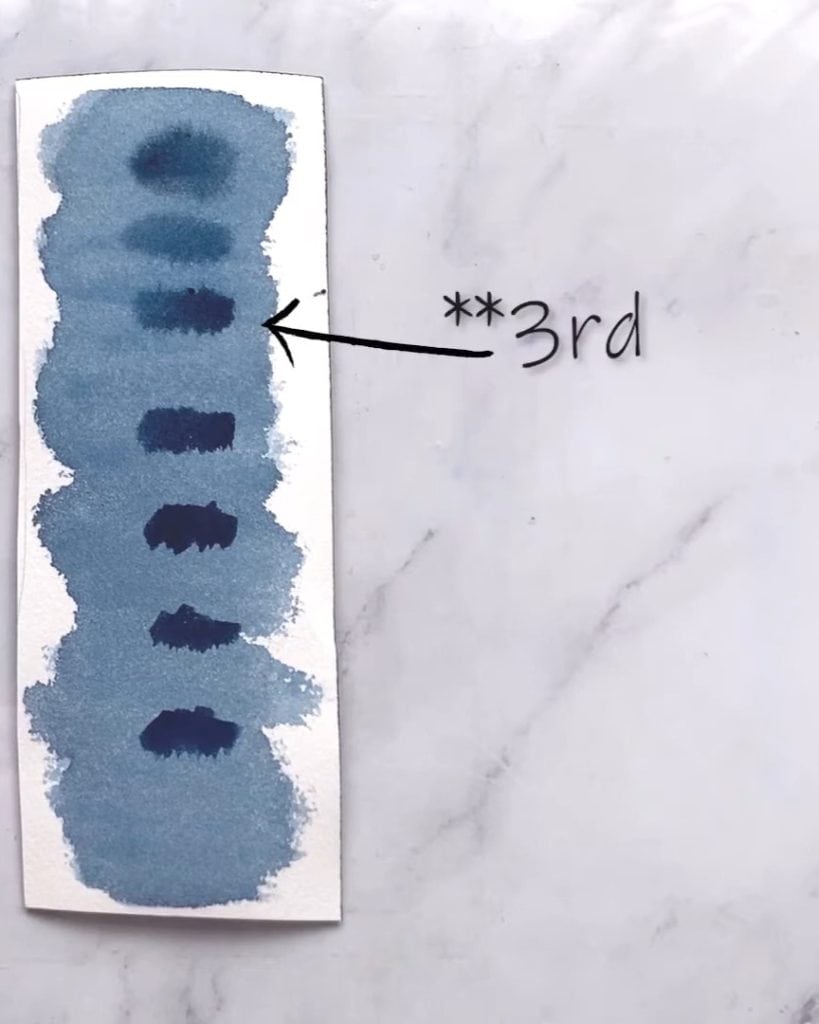
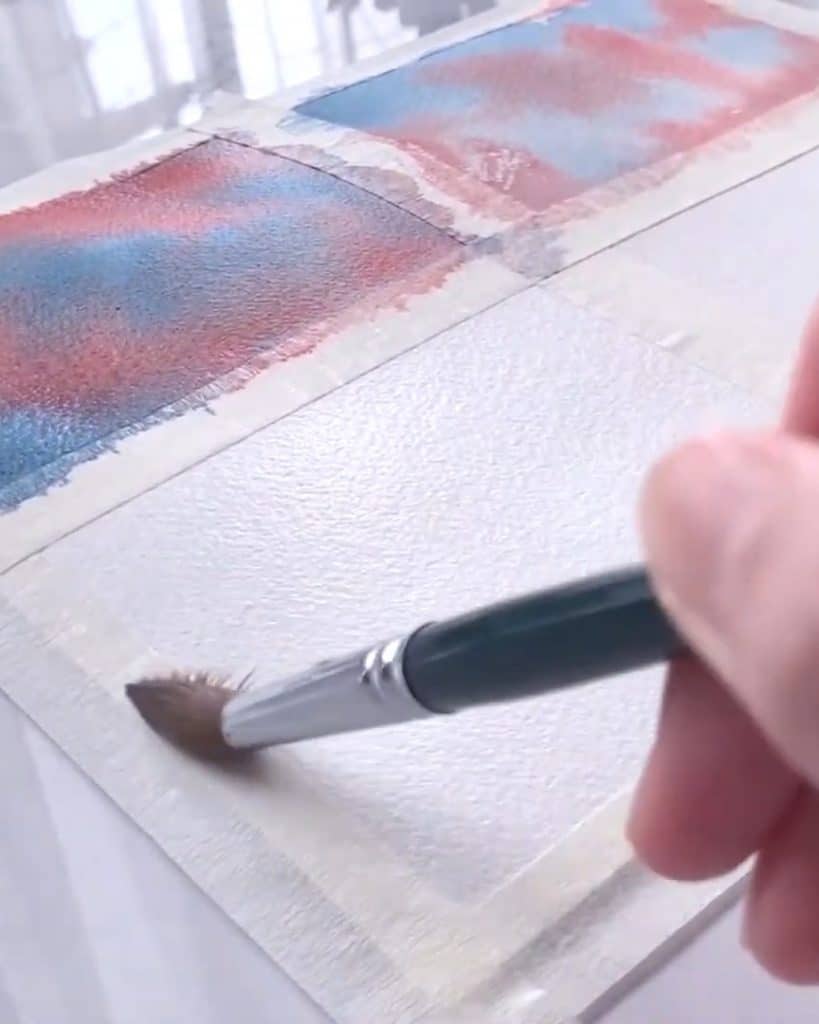
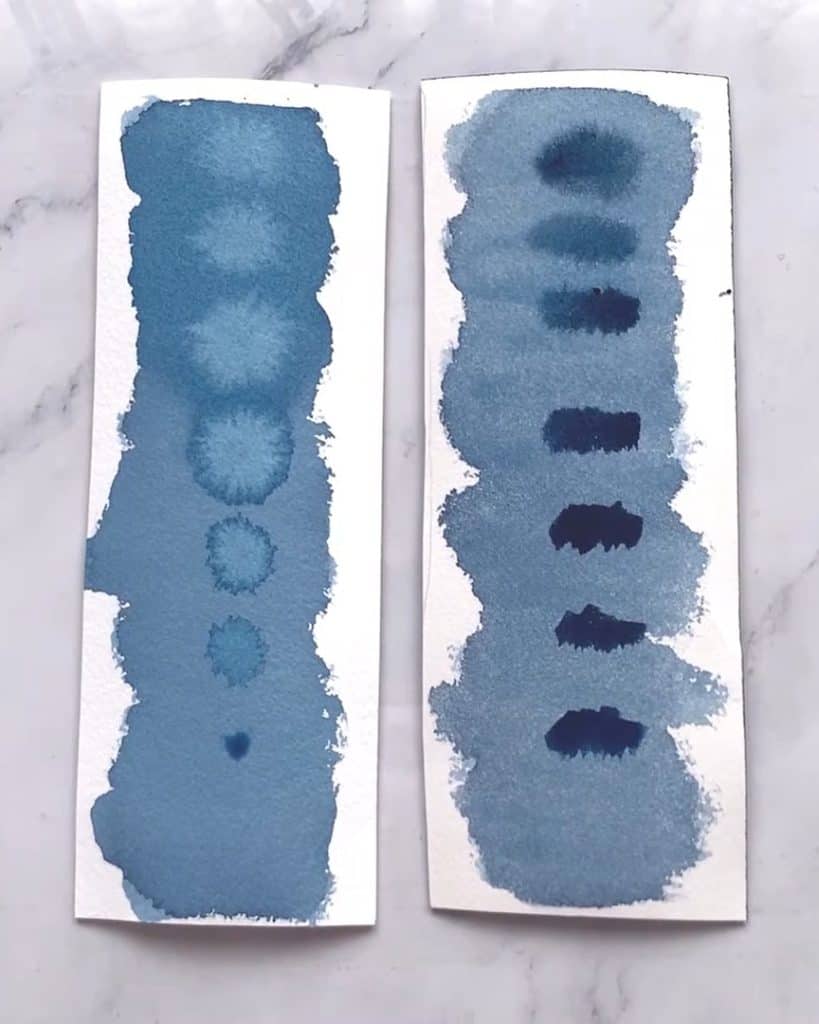
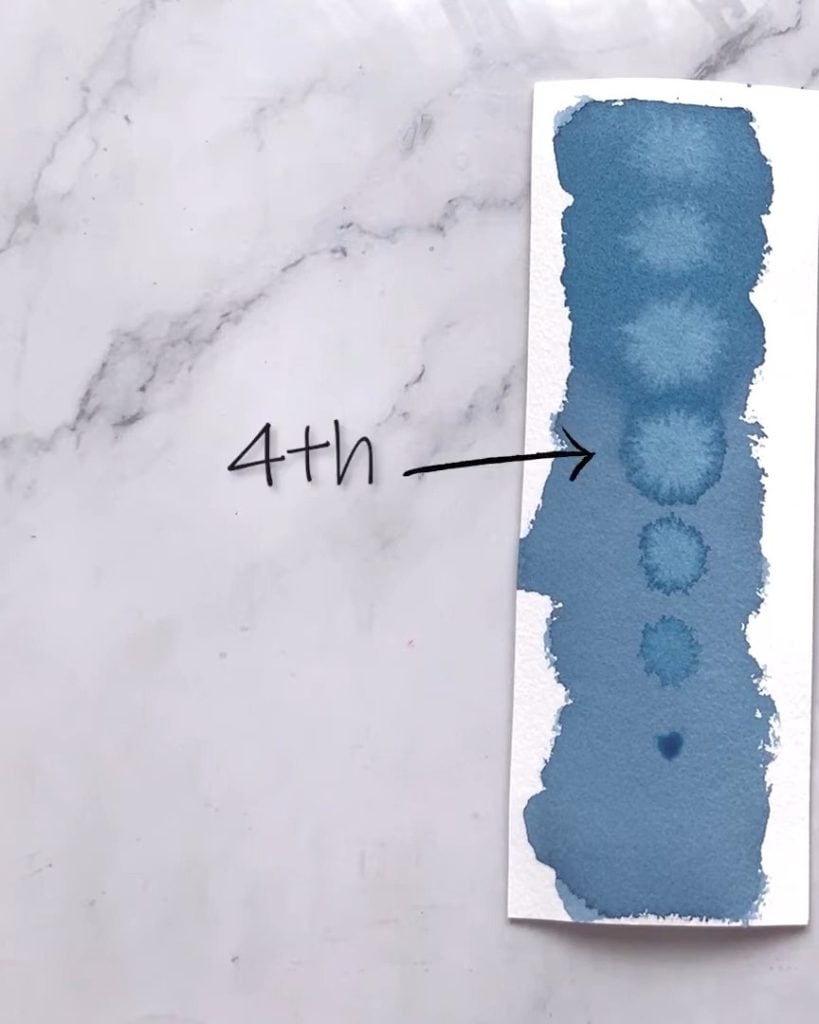
From this experiment, the artist can identify when the paper enters the drying phase.
For the left paper, this happened around the fourth drop, while on the right, it was around the third.
The key takeaway is that every paper behaves differently, so practicing this experiment helps the artist understand the materials and the available working time before the paper dries.
Closing Words
Mastering the wet-on-wet technique takes practice, but understanding and fixing these common mistakes will help the artist improve much faster.
Whether it’s knowing how much water to use, understanding when to stop painting, or recognizing the drying phase, each step brings the artist closer to achieving beautiful, blended watercolor paintings.
Trying the fixes above will help refine the artist’s skills and create smoother, more controlled wet-on-wet effects.