
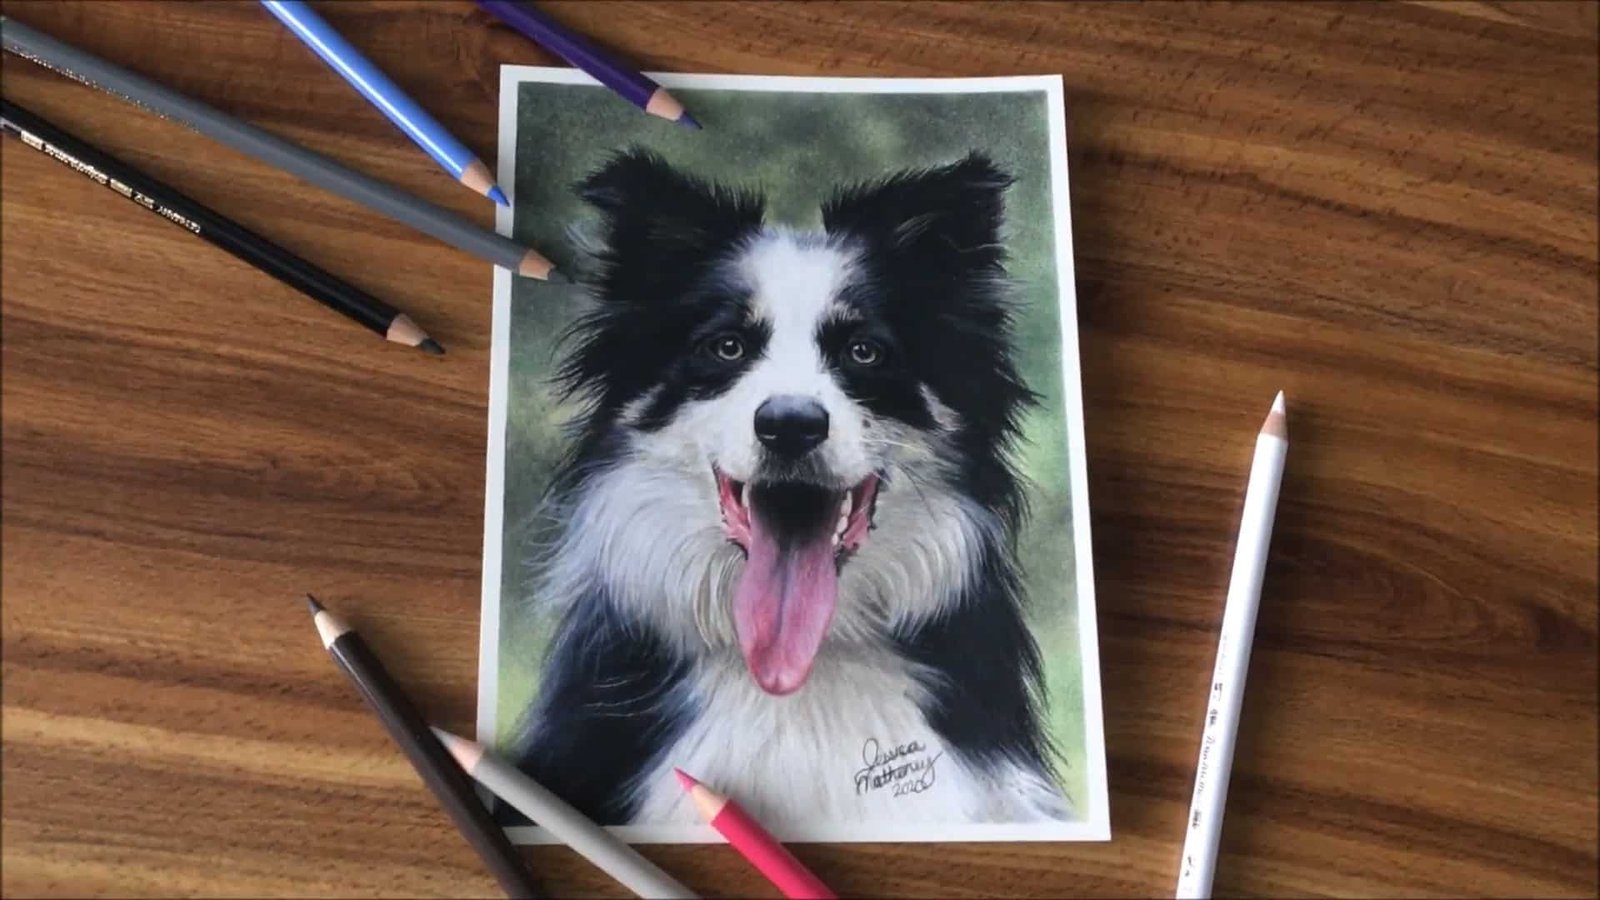
Do you want to improve your colored pencil drawings with easy tools and clever tricks?
In this post, I’m sharing 10 drawing hacks I use every time I work with colored pencils—plus a bonus tip at the end!
These simple methods won’t harm your paper and are perfect for creating clean, beautiful, and layered results. Let’s get started!
Contents
- 1 Hack #1 – Indent Paper to Keep White Areas Clean
- 2 Hack #2 – Use a White Colored Pencil to Protect Light Areas
- 3 Hack #3 – Hold the Pencil Horizontally for Longer Use
- 4 Hack #4 – Draw in Circular Motions to Avoid Stroke Marks
- 5 Hack #5 – Use Medium Textured or Watercolor Paper for More Layers
- 6 Hack #6 – Blend with Solvent for Smooth Transitions
- 7 Hack #7 – Use Kneadable Erasers or Tape for Lifting Pigment
- 8 Hack #8 – Use an Exacto Knife for Tiny Corrections and Fine Hairs
- 9 Hack #9 – Mix Wax-Based and Oil-Based Pencils for Better Layering
- 10 Hack #10 – Use a Color Swatch Tool to Match Reference Photos
- 11 Bonus Tip – Use Glassine to Protect Your Work
- 12 Wrapping Up
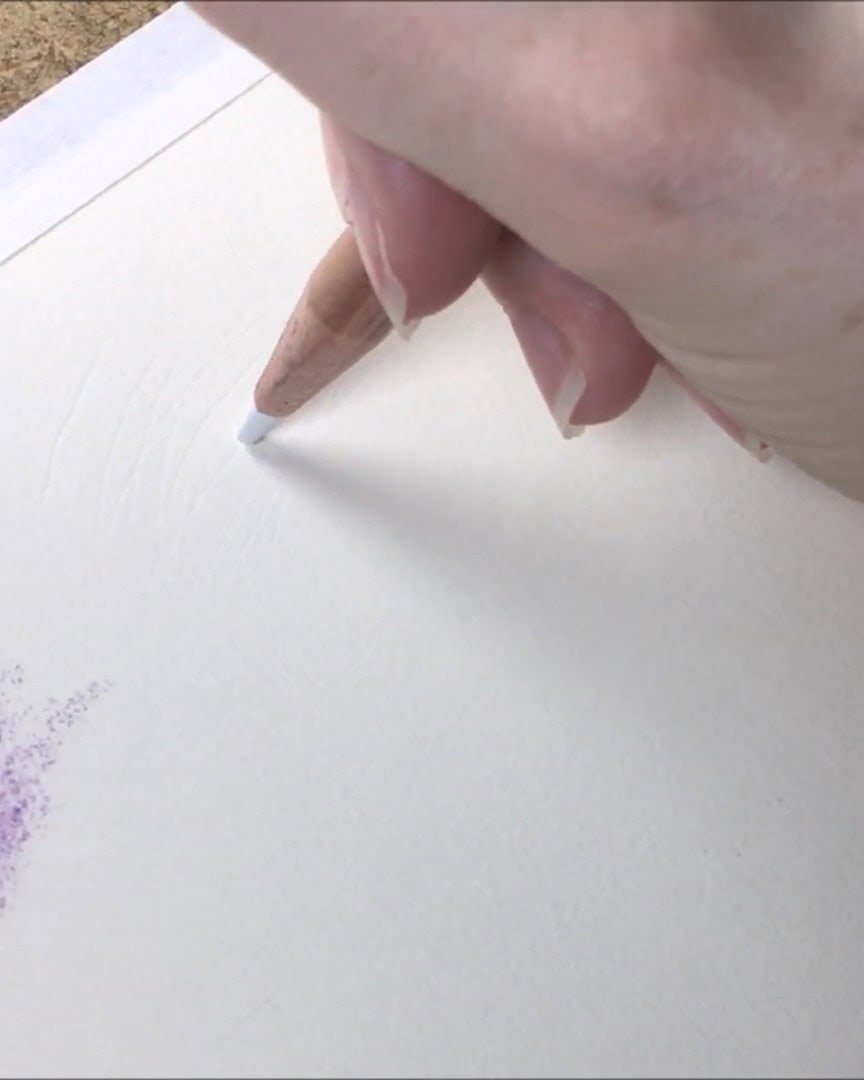
Hack #1 – Indent Paper to Keep White Areas Clean
This first hack helps me draw clean whiskers or hairs that stay white, even after adding color. I use clay molding tools to indent the paper before I start coloring. These tools are easy to find online or at craft stores.
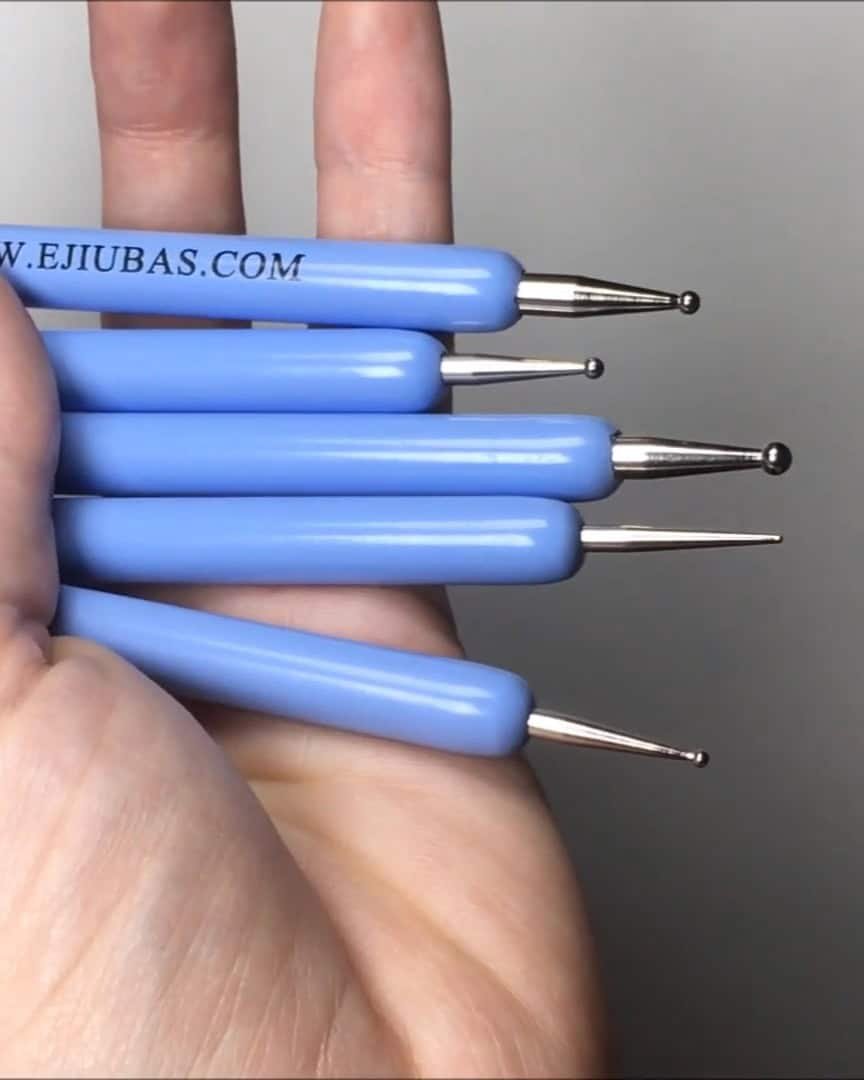
I simply press the tool into the paper to leave a small mark.
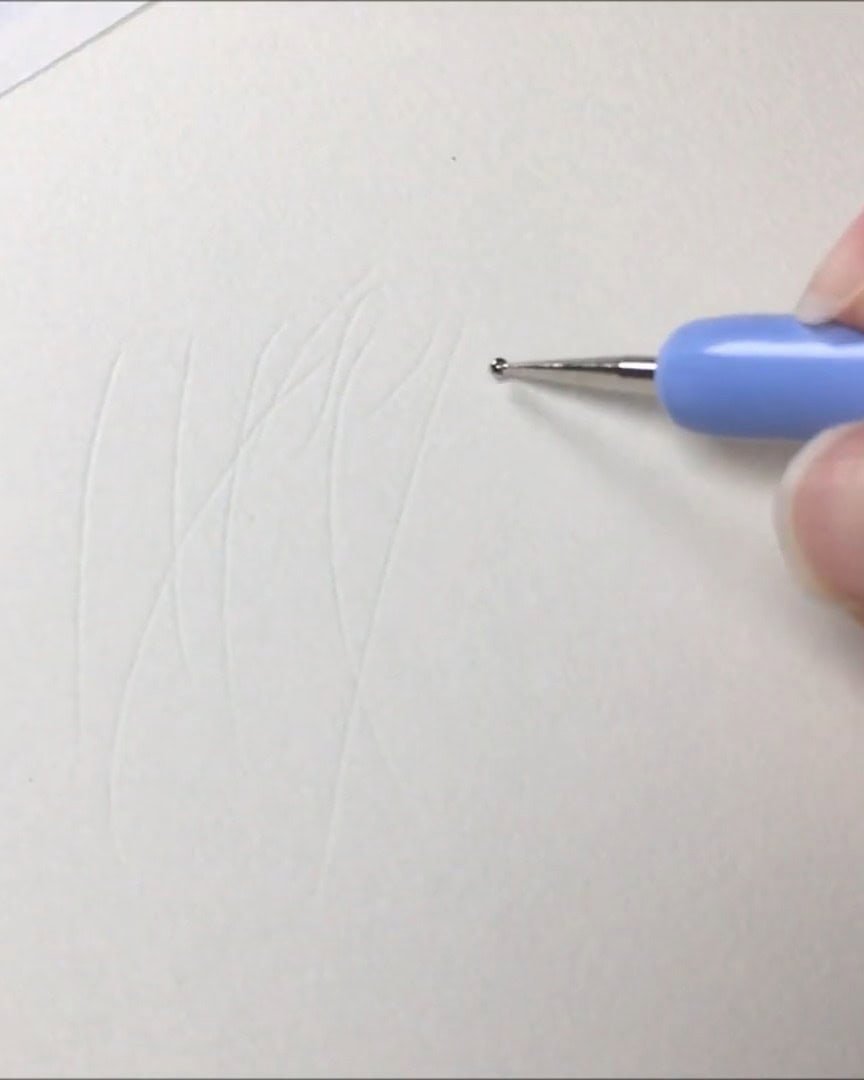
When I color over it, that area stays white. It’s perfect for animal fur, highlights, or whiskers.
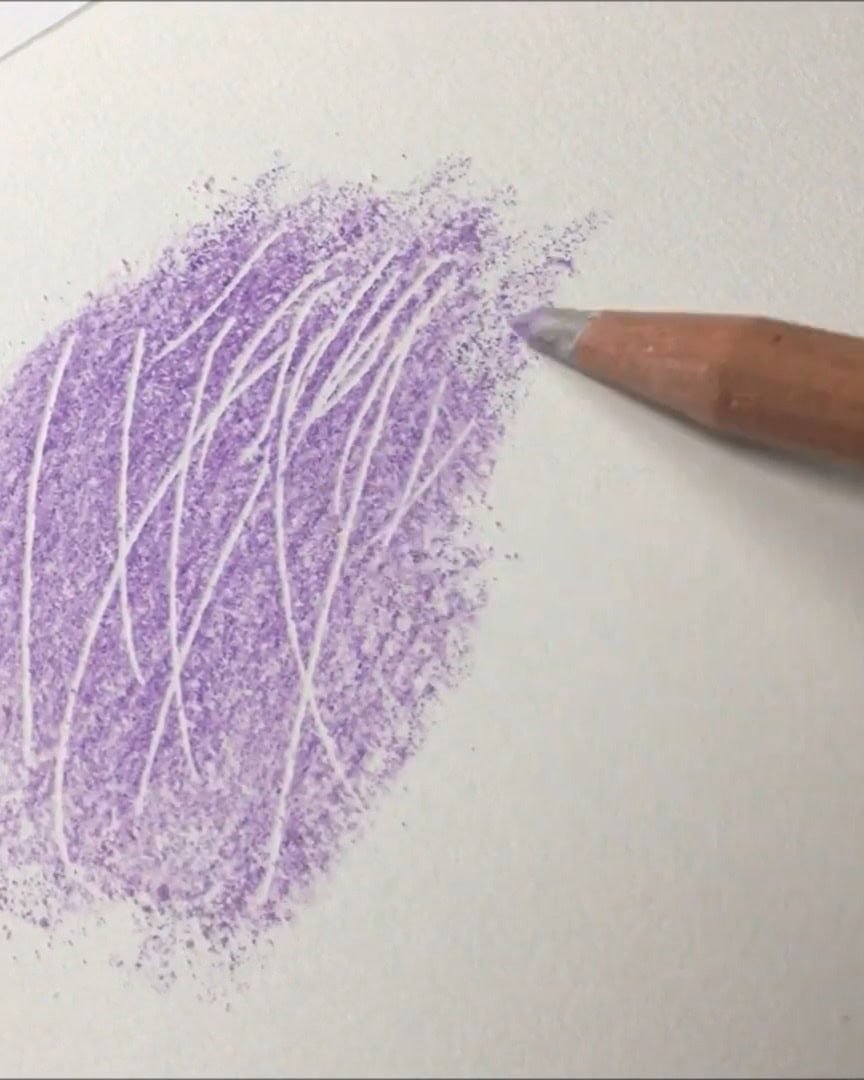
This trick works best if you blend using a burnishing or blending pencil. But if you plan to mix with solvent, my next tip will work better.
Hack #2 – Use a White Colored Pencil to Protect Light Areas
This next method is an excellent alternative if you don’t want to indent your paper. I layer a white pencil over areas I want to stay light before adding color. This especially works well with wax-based pencils.
They resist other colors a little, so the white stands out more.
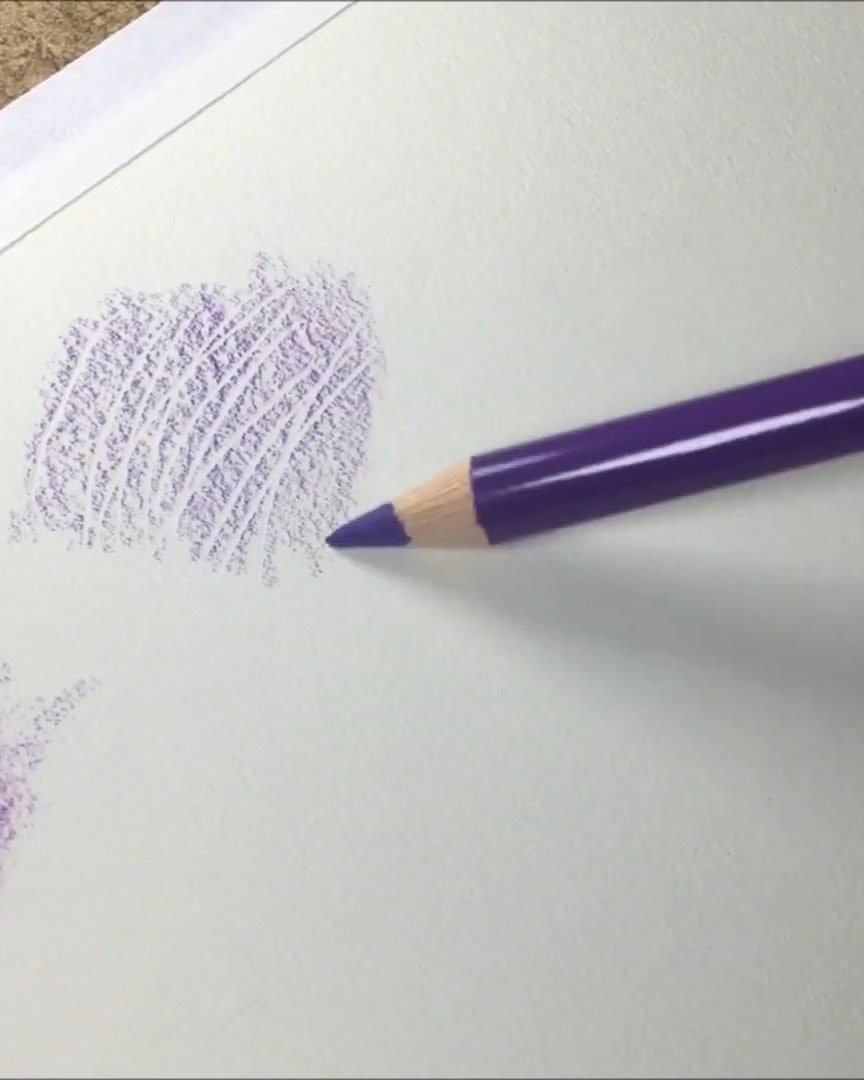
You can even combine this with the indenting trick. I often do this to get clean white lines or soft highlights in my drawings.
Hack #3 – Hold the Pencil Horizontally for Longer Use
This small adjustment makes a big difference in how long your pencil tips last.
When I draw, I hold my pencil sideways—almost flat—so I use more of the side of the lead. This spreads out the pressure and keeps the tip sharp longer.
It also helps me draw with lighter pressure, which is key for smooth layering and blending. If your pencil gets dull too fast, give this a try.

Hack #4 – Draw in Circular Motions to Avoid Stroke Marks
Want smooth color with no visible pencil strokes? This hack helps.
Instead of drawing in straight lines, I move my pencil in small circular motions. I apply very light pressure and hold the pencil near the end.
This creates an even layer of pigment and avoids harsh lines. It’s a gentle way to build up color without stroke marks ruining your final result.

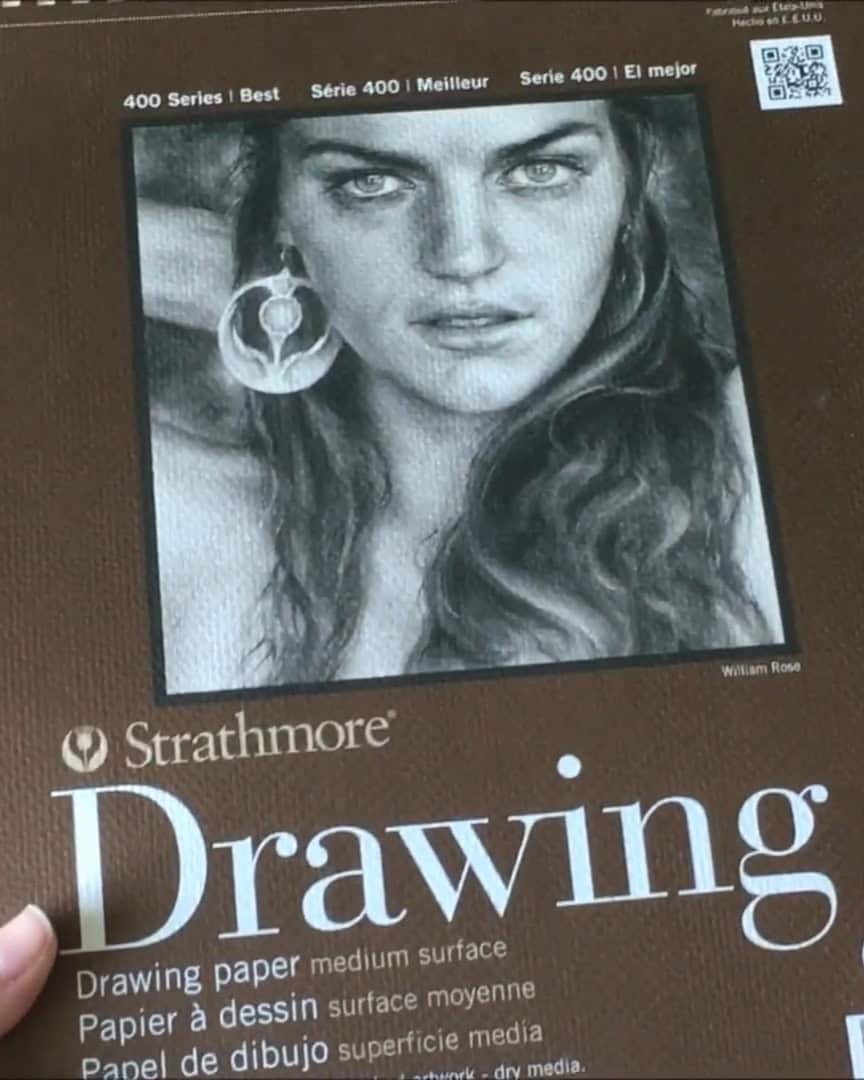
Hack #5 – Use Medium Textured or Watercolor Paper for More Layers
The paper you use matters a lot. This next tip has helped me build layers without damaging the surface.
I use medium-textured paper or watercolor paper. Smooth paper feels nice at first, but it fills up too fast.
I can add more color layers without the wax build-up becoming a problem with a bit of texture. This is super helpful when working on drawings that require lots of blending or detail.
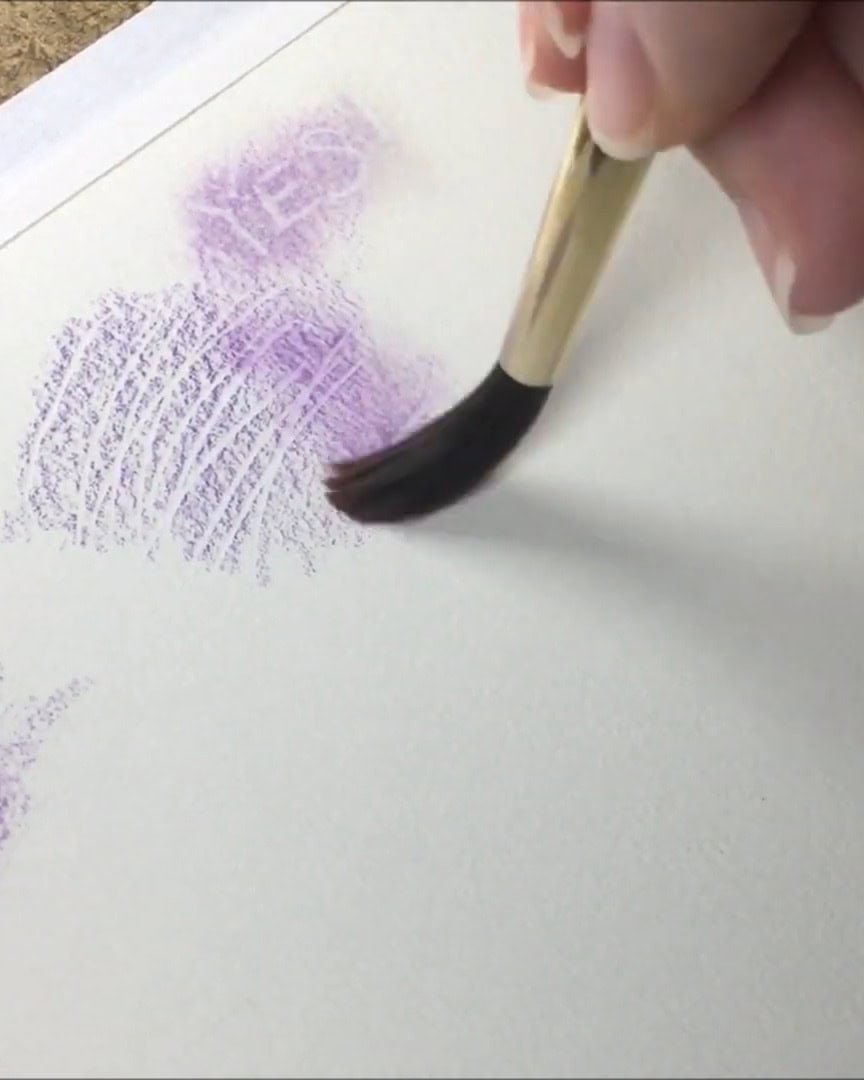
Hack #6 – Blend with Solvent for Smooth Transitions
If you’re looking for that soft, blurry background or a smoother finish, solvent is your friend.
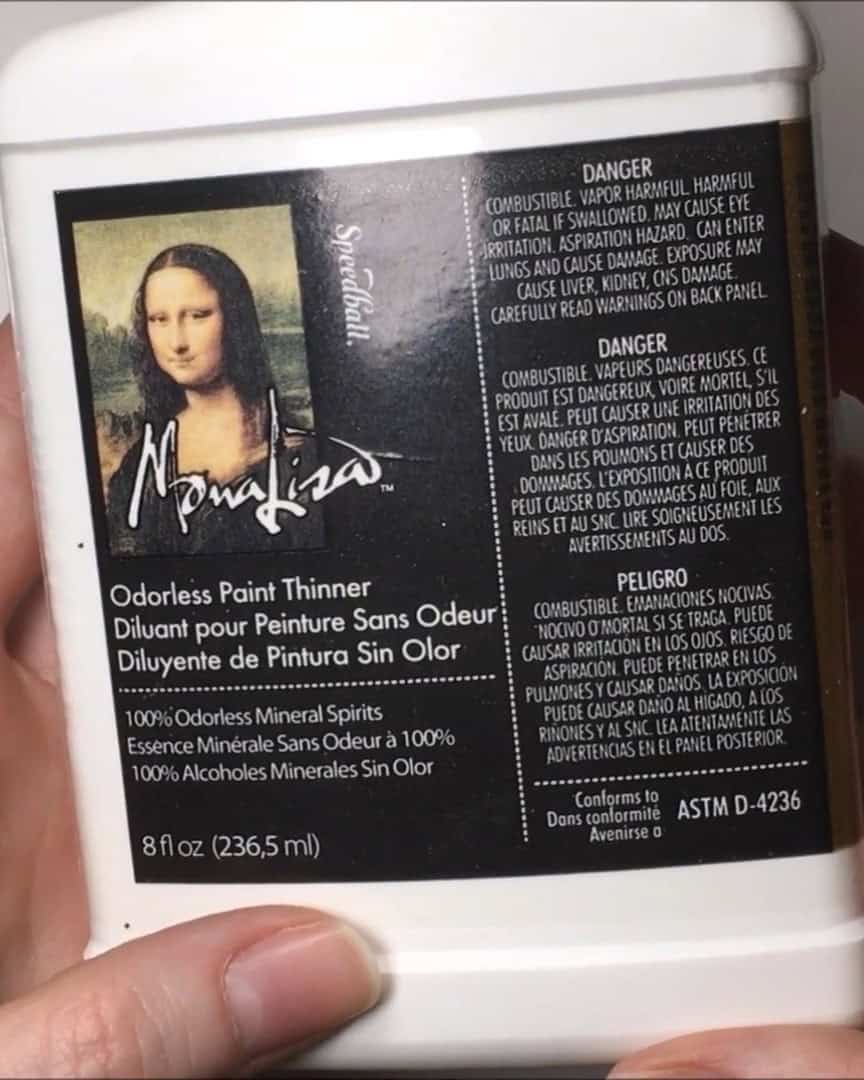
I use odorless mineral spirits to blend my colors. It dissolves the wax and pigment, which makes everything look soft and smooth.
It also helps me add more layers later without the paper getting too full. Dip an old brush into the solvent and gently dab it on your drawing.
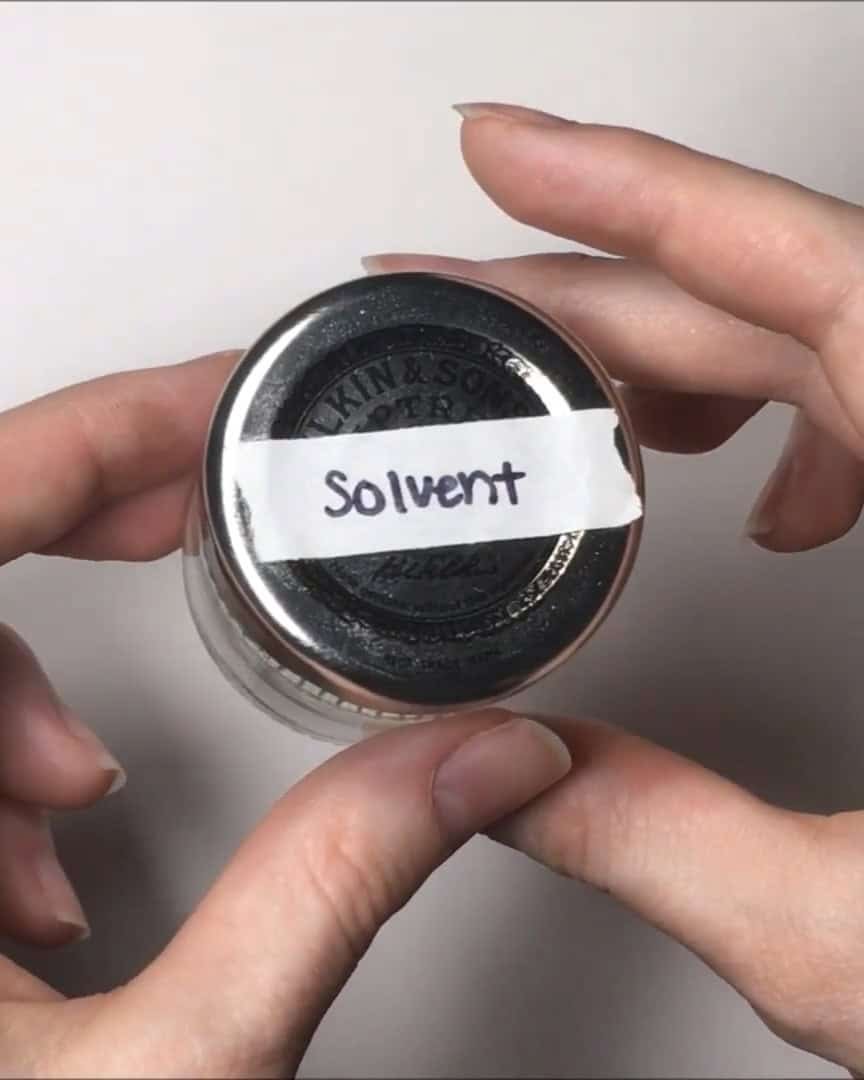
I use a container with a lid to keep the solvent from drying out too fast.
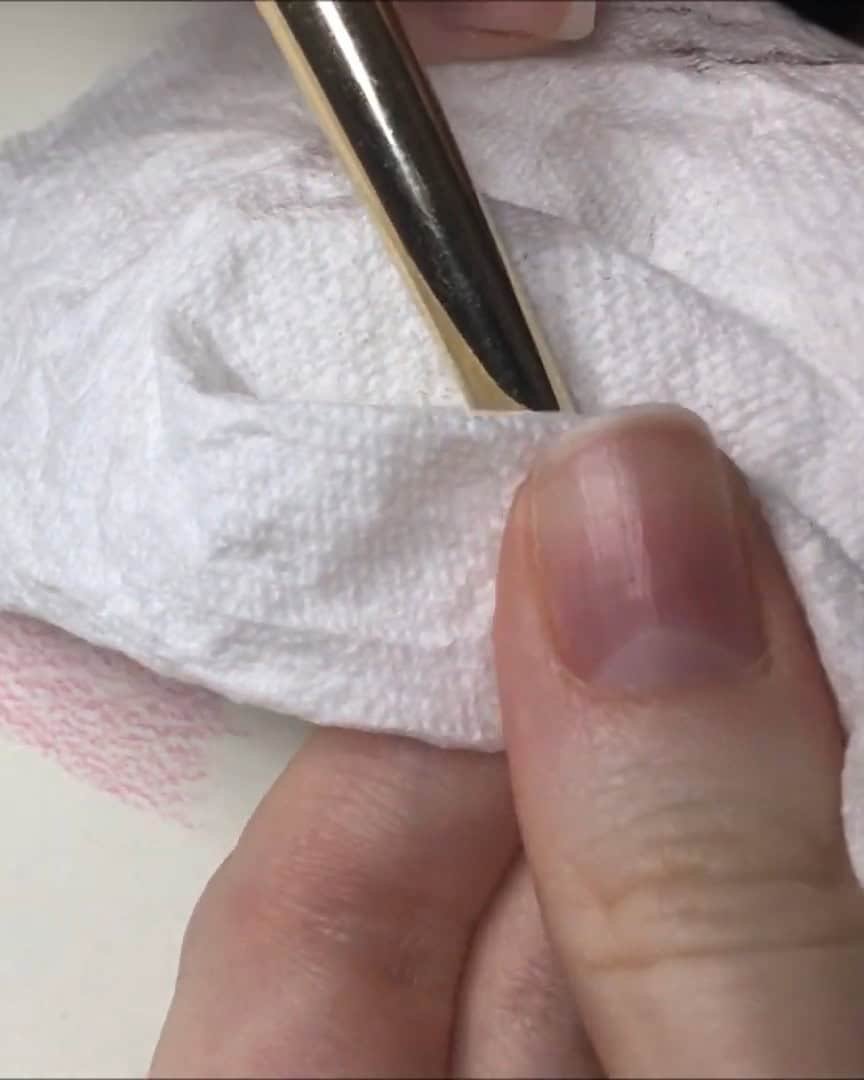
I also keep a paper towel nearby to wipe off the extra solvent from my brush.
Make sure you let the paper dry for at least 15 minutes before coloring over it again. If it’s still damp, the paper might tear or smear.
I’ve compared this with pencil blenders like the Derwent Blender. The pencil blender can make colors pop, but it flattens the surface and limits layering.

With solvent, my drawings stay soft, and I can build more depth. It’s especially great for portraits or realistic shading.
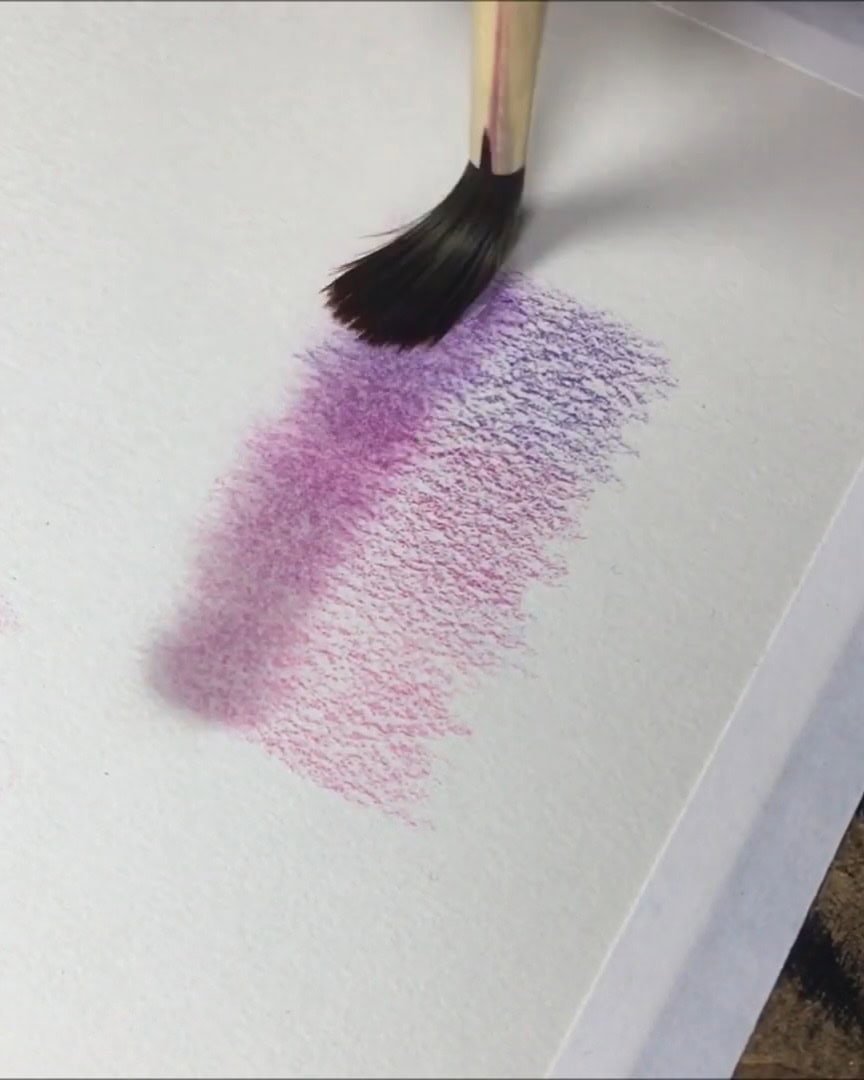
Take a closer look to see the differences:

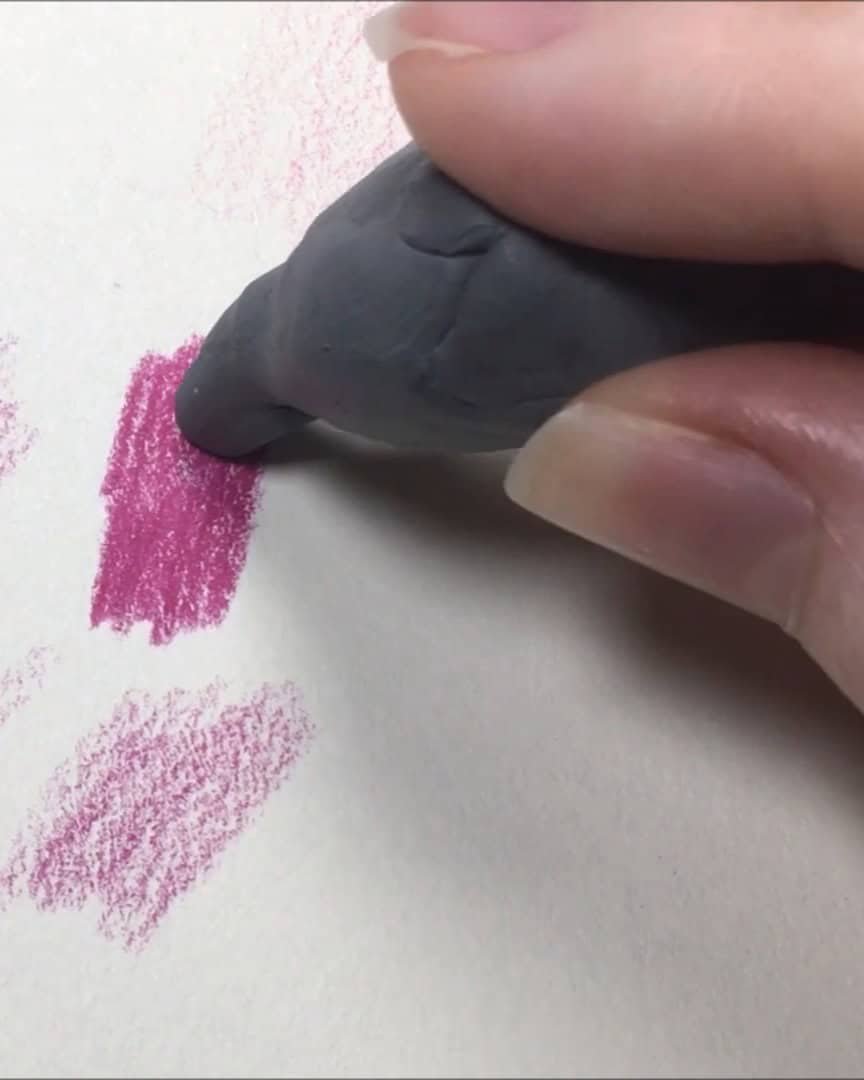
Hack #7 – Use Kneadable Erasers or Tape for Lifting Pigment
Fixing mistakes with colored pencils can be hard, but not with this trick. I use a kneadable eraser to gently lift the pigment from the paper. The trick is to shape the eraser into a fine point or edge. This gives me better control.
I also press it lightly onto the paper instead of rubbing it. If your eraser isn’t lifting the color well, try warming it up with your hands to make it tacky again.
Sometimes, I also use painter’s tape to remove extra pigment. It pulls off just a bit, which can help if your highlights get too dark.
Hack #8 – Use an Exacto Knife for Tiny Corrections and Fine Hairs
This method is a bit sharp but helpful for hair textures or sharp highlights. I carefully use an Exacto knife to scrape off thin lines of color. This reveals the paper underneath, creating very fine details.
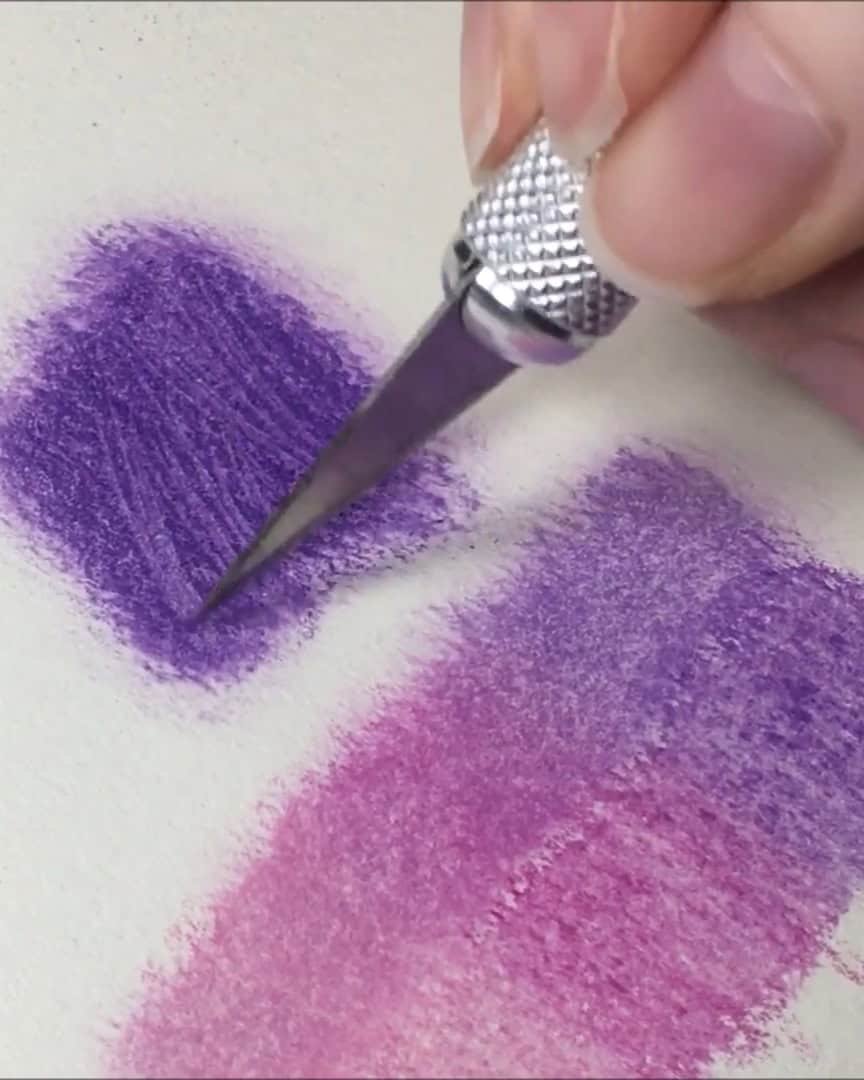
I only do this on small areas and use smooth or medium paper. Be careful not to press too hard—you don’t want to cut through the paper. It’s perfect for adding final details that are too small for your pencils or erasers.
Hack #9 – Mix Wax-Based and Oil-Based Pencils for Better Layering
Sometimes, I feel like I can’t add any more layers. That’s when I mix my pencil types. I usually start with Faber-Castell Polychromos, which are oil-based.
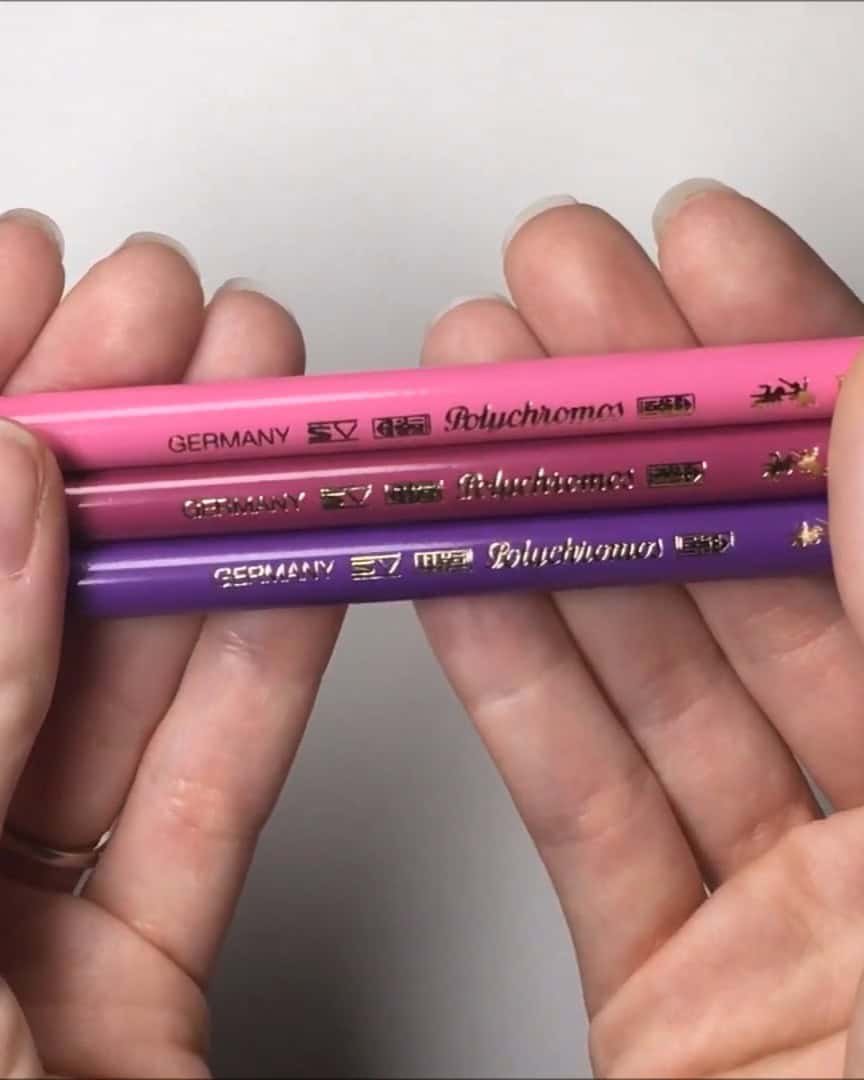
Then I switch to wax-based pencils like Luminance for the top layers.
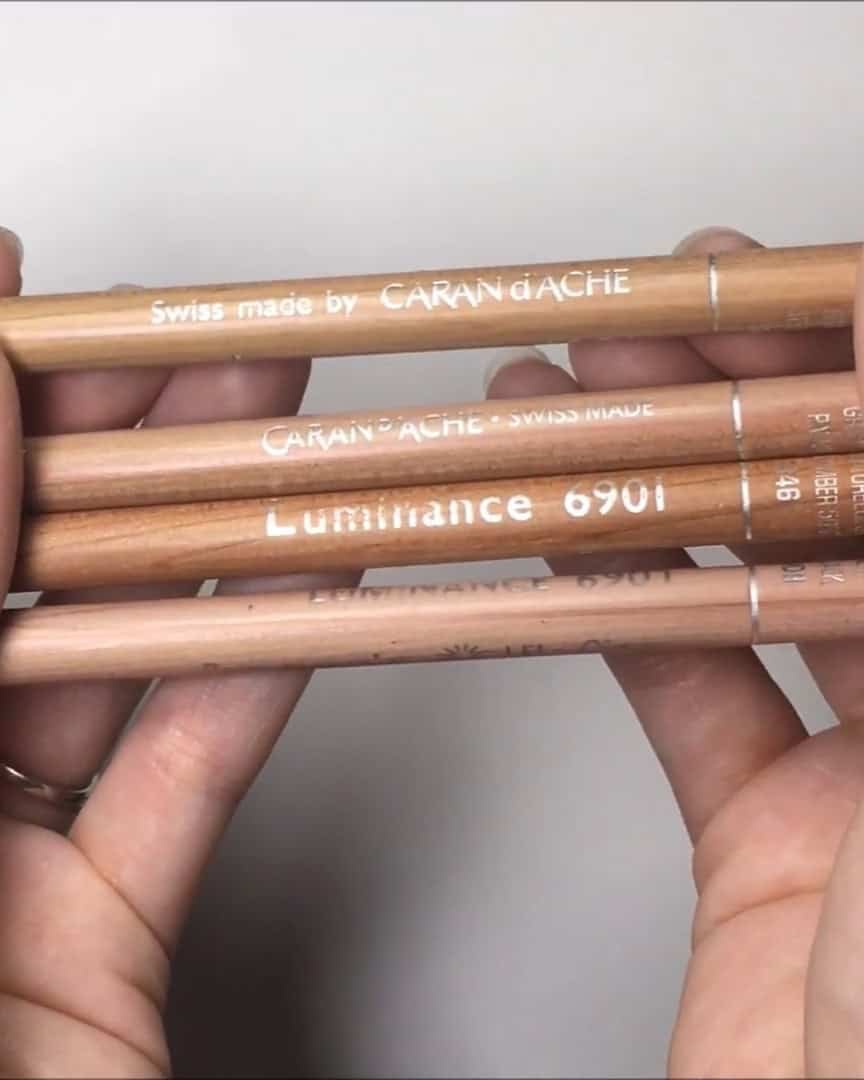
This lets me squeeze in more layers and create bolder highlights. Mixing brands gives me flexibility, especially when I need that final touch of brightness.
Hack #10 – Use a Color Swatch Tool to Match Reference Photos
Matching the right pencil color can be tricky. This next tip has saved me so much time.
I use digital tools to create swatches when I work from a photo. I open the reference photo in a drawing app or photo editing software. Then, I use the color picker tool to grab the exact colors.

I compare these swatches to my colored pencils and pick the closest match. This helps me get the right tones in skin, fur, or anything else.
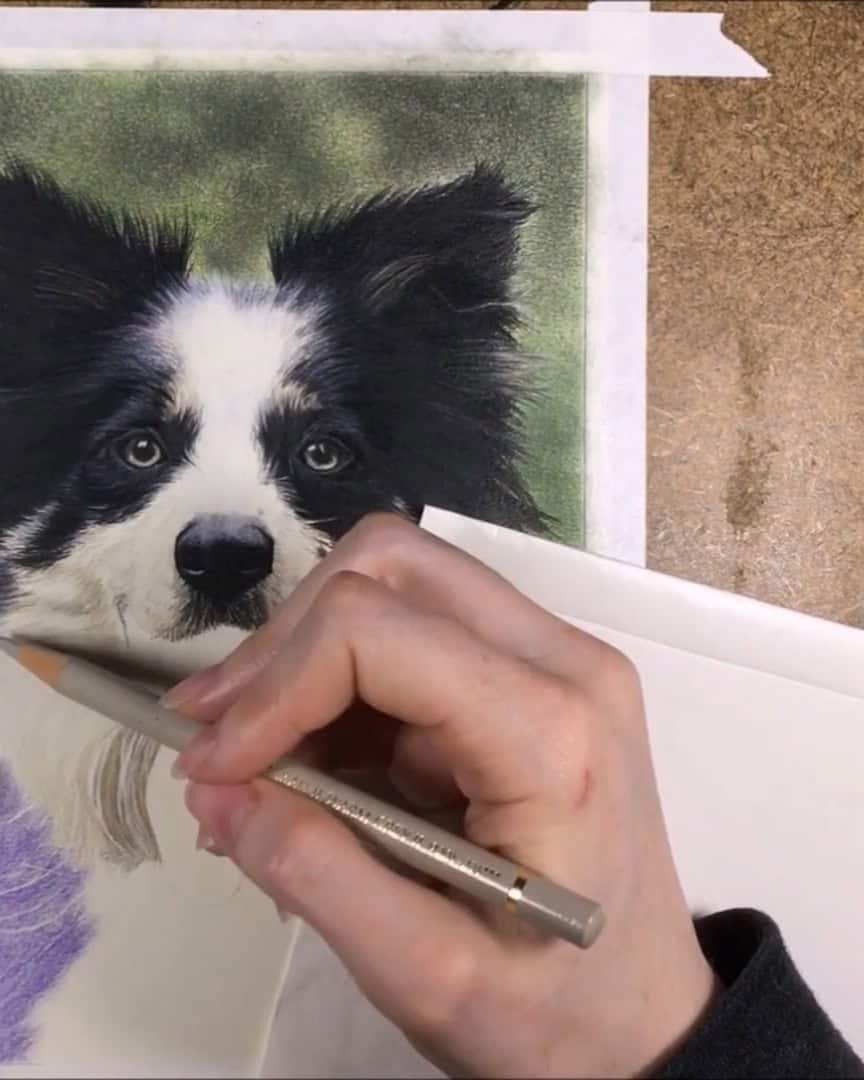
Bonus Tip – Use Glassine to Protect Your Work
Here’s one last tip I always use to keep my colored pencil drawings clean and smudge-free. It’s simple but makes a big difference.
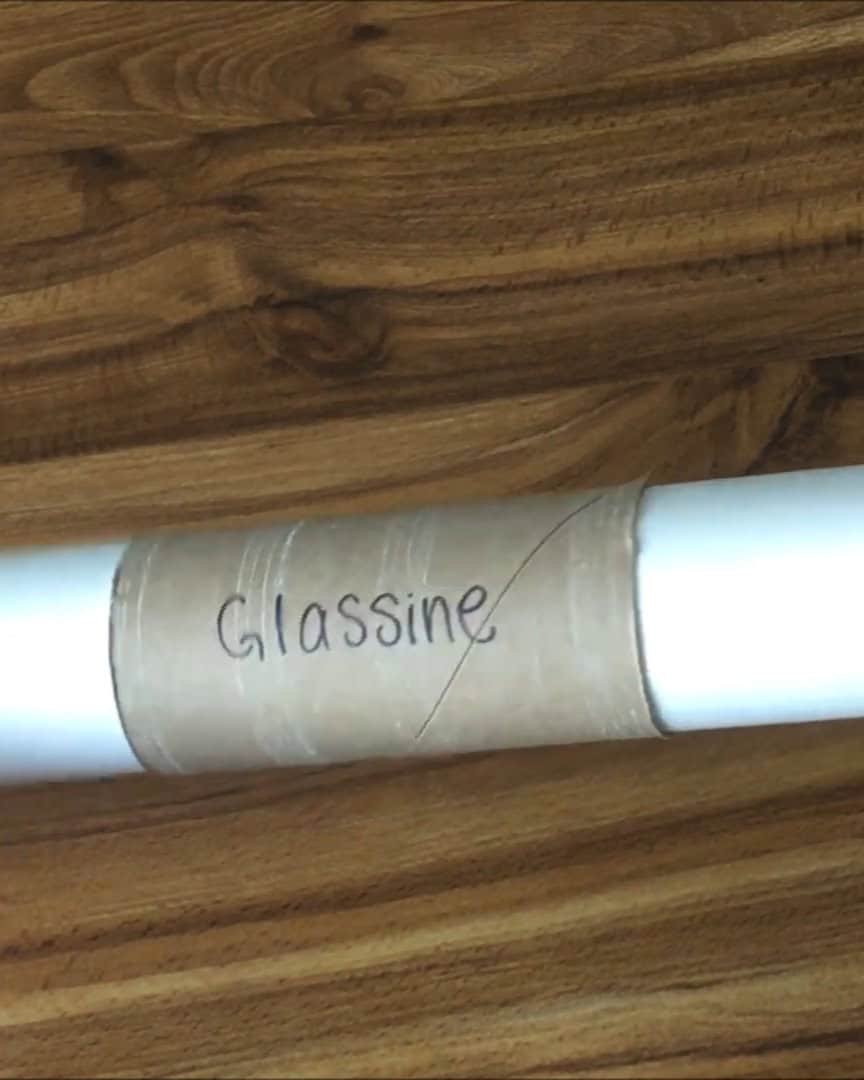
I rest my hand on a sheet of glassine while I draw. It keeps me from transferring pigment or accidentally lifting color from the surface.
Glassine is acid-free, so it’s safe for your artwork and works great for storing finished pieces too.
If your hands tend to get clammy while working (mine do sometimes), you can wrap a piece of glassine around a cardstock base. That way, it won’t stick to your hand when you move.
Plus, it lets you reuse the same sheet of glassine many times instead of grabbing a new one.
Here’s how I do it:
- Cut cardstock to the size you like
- Cut a piece of glassine slightly larger

- Trim the corners
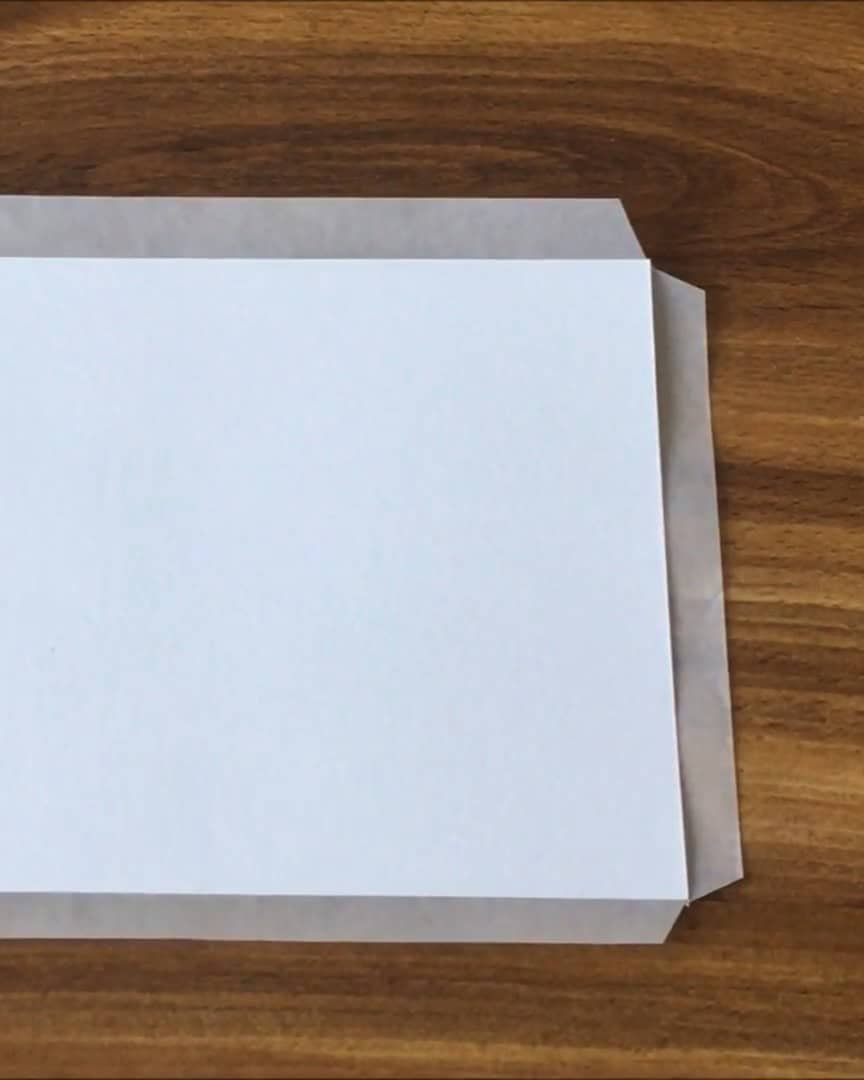
- Fold the glassine over the cardstock. Then, secure it with scotch tape.
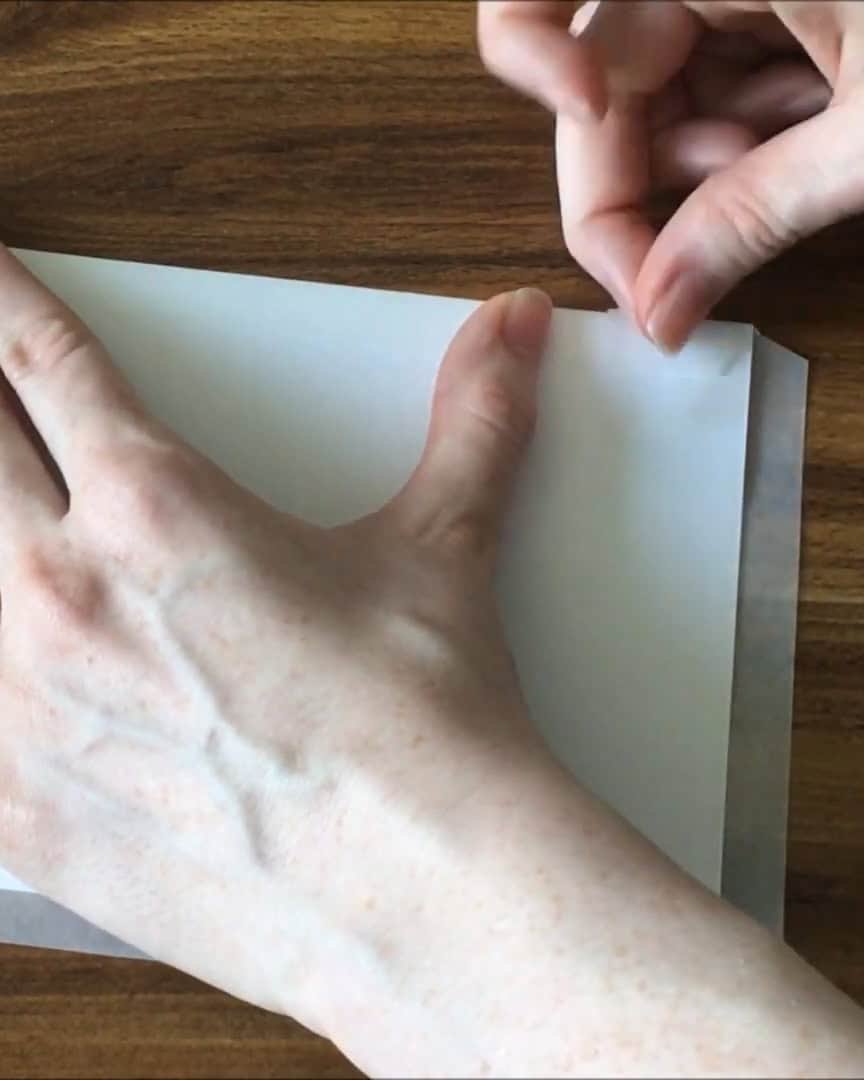
Now I can draw without worry!
Wrapping Up
Colored pencils are powerful, but the proper techniques make all the difference. These ten hacks—plus the bonus tip—have truly changed how I draw.
They help me save time, protect my paper, and create cleaner, more polished results. Which trick will you try first?
Give one a go in your next drawing and see the results yourself. Do you have a favorite pencil tip of your own? I’d love to hear it!