
Thinking about starting with colored pencils, but not sure if it’s right for you? I’ve spent years exploring this medium and want to share what I’ve learned.
Colored pencils are easy, fun, and low-mess—but they also take patience and the right tools. Before diving in, let me guide you through what to expect so you can decide if colored pencils fit your style and goals.
Contents
- 1 The Positives of Getting into Colored Pencils
- 2 The Challenges of Using Colored Pencils
- 3 Is It Worth It? A Beginner’s Honest Perspective
- 4 Essential Supplies You Need to Start Drawing
- 5 The Importance of Using the Right Paper
- 6 Must-Have Sharpeners and Erasers
- 7 Helpful Tools That Can Improve Your Results
- 8 In A Nutshell
The Positives of Getting into Colored Pencils
Colored pencils are one of the easiest art mediums to start with. If you’re just beginning or looking for a fun, low-stress option, this might be perfect for you.
Let me share a few reasons why I enjoy using them so much.
Easy and Clean to Use
One big reason I love colored pencils is how simple they are.
There’s:
- No mess like with paints.
- No need for a big space to set up.
- No long list of tools required.
I can sit down, open my sketchbook, and start drawing immediately. With painting, I would need to prep my canvas, mix colors, clean brushes, and ensure everything is ready. Colored pencils skip all of that.
Affordable to Start
Another great thing is the cost. You don’t need to spend a lot to get going. A basic setup can be as low as $45 to $60 if you choose the more affordable options.
That includes everything you need to begin. It’s budget-friendly and perfect if you just want to try things out.
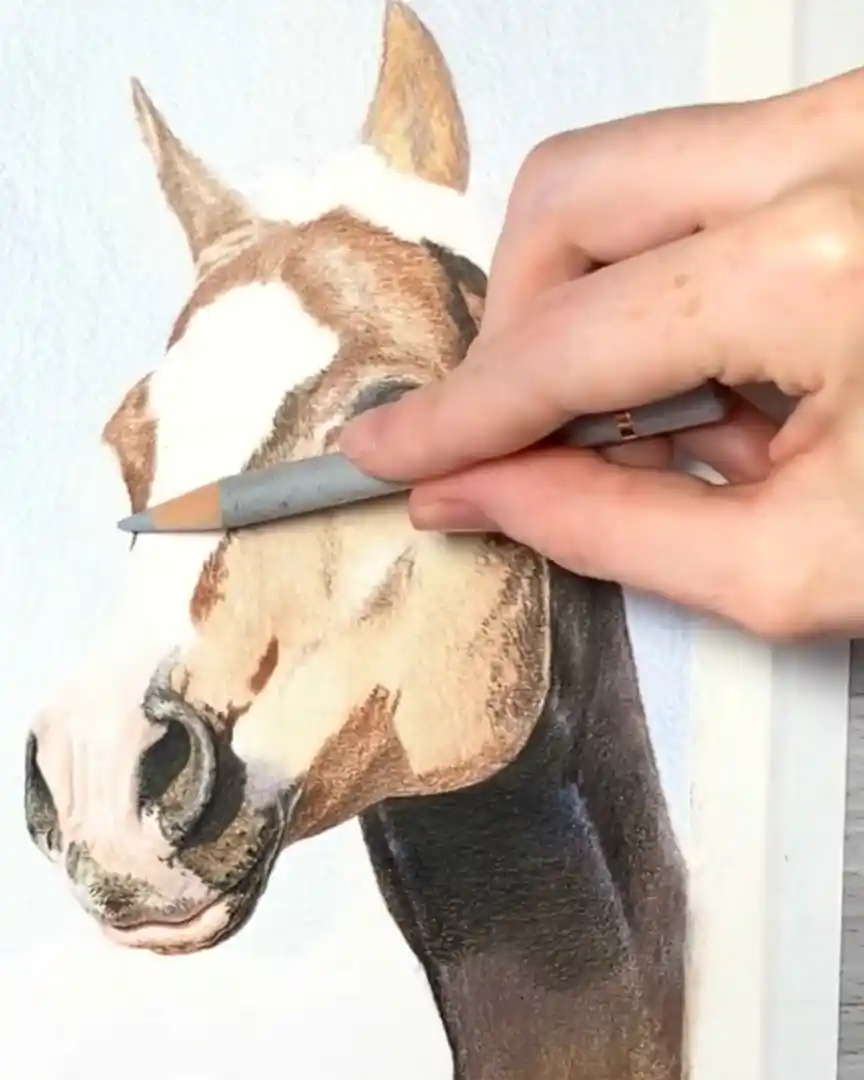
Fun and Enjoyable Drawing Process
Once you start, the fun begins. Drawing with colored pencils feels relaxing and rewarding. I love how I can build up layers slowly.
Some might say layering is tricky, but I enjoy it. It gives me control over the color and look. Unlike paint, where colors mix immediately, pencils let me decide how each layer blends in.
So yes, while there are challenges, I honestly find the process more enjoyable and less stressful. I think there are more pros than cons, and that’s why I keep going back to colored pencils.
The Challenges of Using Colored Pencils
Colored pencils have many great points, but they also come with their own set of challenges. If you’re considering getting into this medium, here’s what I’ve learned from experience.
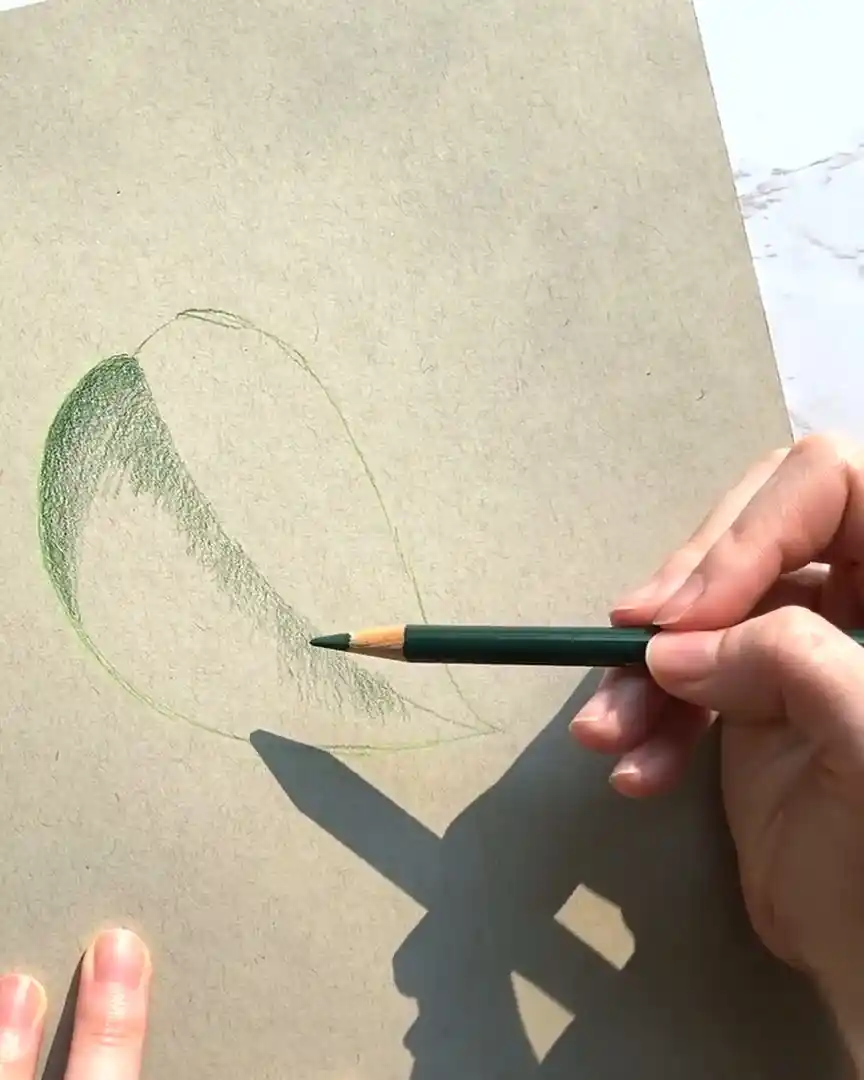
Sketch Lines Can Show Through
Let’s start with the sketch itself. Since colored pencils are translucent, your sketch lines can show through, especially under light colors.
That’s why I always use a harder lead pencil for sketching. It makes lighter marks that are easier to hide later.
Before I start coloring, I gently use a kneadable eraser to lighten my sketch lines. This helps reduce the chance of them showing through the final drawing.

Costs More Than You Might Think
Colored pencils can seem affordable at first. You can get a basic set for around $45 to $60, which feels like a good deal.
But here’s the catch—compared to acrylic or oil paints, colored pencils are usually more expensive.
A small acrylic paint set might cost $10 to $20 less than a basic colored pencil set. And if you want professional-quality pencils, the price goes up a lot.
Time-consuming and Takes Practice
Another thing to know is that colored pencils take time to master.
- You have to layer your colors to get the shades you want.
- You can’t mix colors first like with paint—you blend them on the paper.
- You must learn how to blend well and judge your colors as you go.
Drawing detailed pieces with colored pencils is very time-consuming. A small 6×8-inch drawing can take me 8 to 12 hours.
Larger pieces, like 9×12 inches, can take 24 to over 70 hours, especially if the subject is complex.
So, if you’re looking for a quick medium, this might not be for you. But if you enjoy slow, thoughtful drawing, it’s worth the time.
Is It Worth It? A Beginner’s Honest Perspective
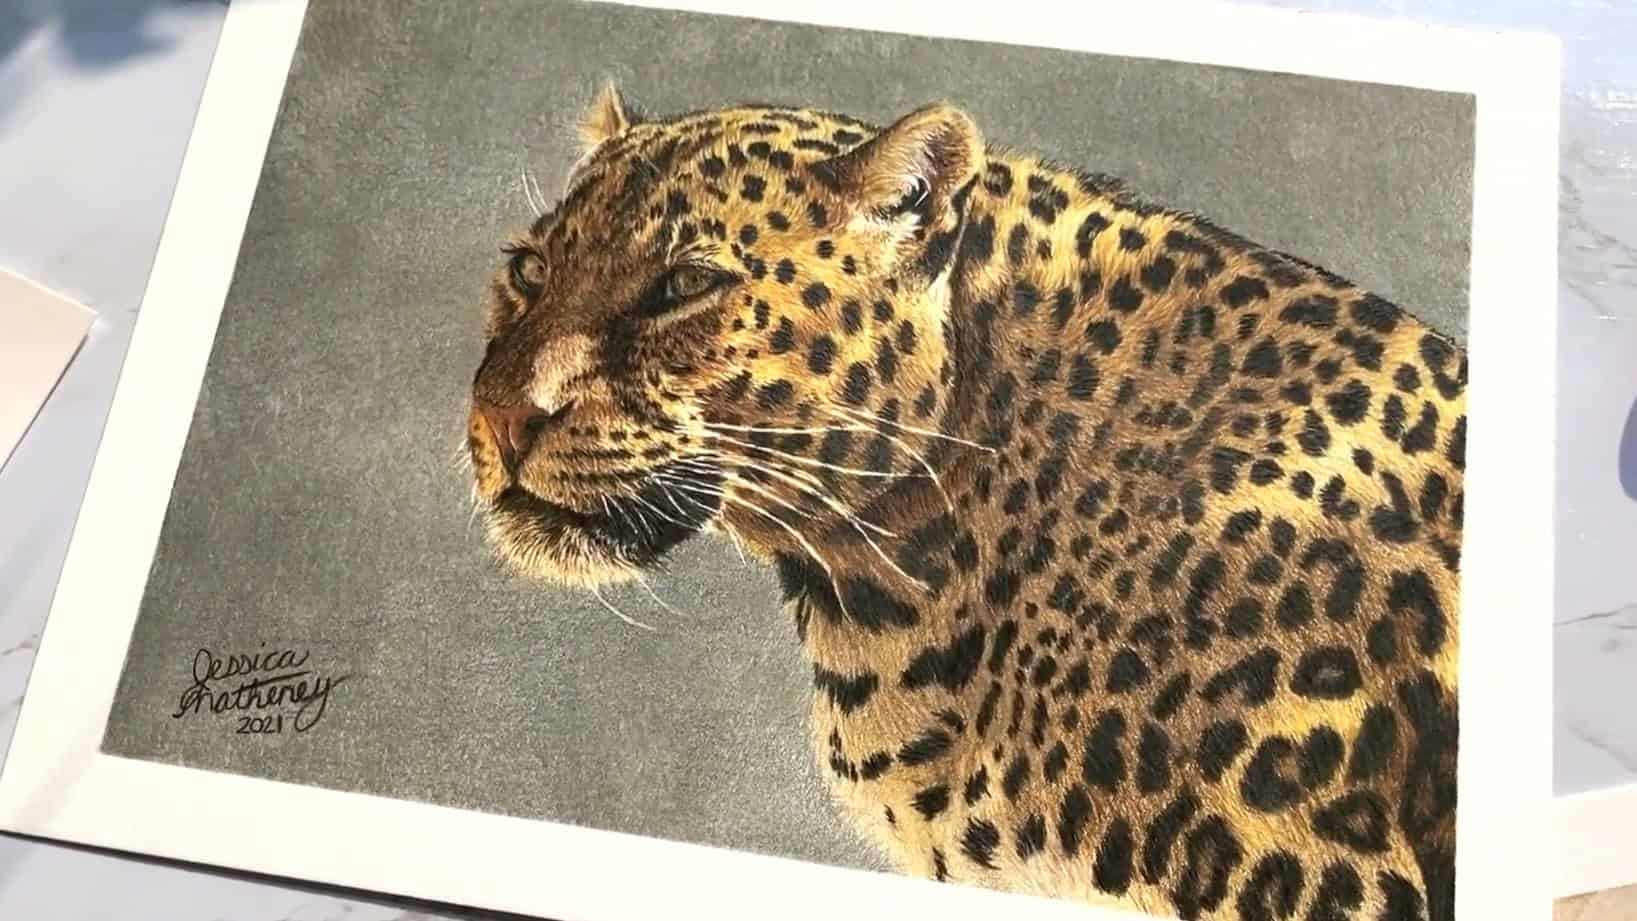
Every new skill takes time, and colored pencils are no different. But with practice, you can create beautiful, realistic art you’ll be proud of.
I’ve been using colored pencils for about three years now, and they’ve become my favorite medium. I love how I can draw super detailed pictures without the mess that comes with paints.
The paint is excellent, don’t get me wrong, but I always have to be careful about spills on my floor or furniture. With colored pencils, there’s no mess, and that makes the whole process even more enjoyable. It’s worth it!
Essential Supplies You Need to Start Drawing
If you’re just getting started with colored pencils, it’s helpful to know exactly what supplies you need—and why. Let me walk you through it step by step.
Core Supplies You’ll Need
Let’s begin with the basics. These are the tools I recommend to start drawing right away:
- Colored pencils
- Paper
- Sharpener
- Eraser
- Optional handy tools
I’ve even grouped supplies by price in my list so you can easily find what fits your budget. You don’t need to spend a lot to get started.
Choosing the Right Colored Pencils for Beginners
Now, let’s talk about pencils—probably the first thing on your mind. All those bright colors are tempting! But here’s the truth: expensive pencils don’t automatically make your drawings better.
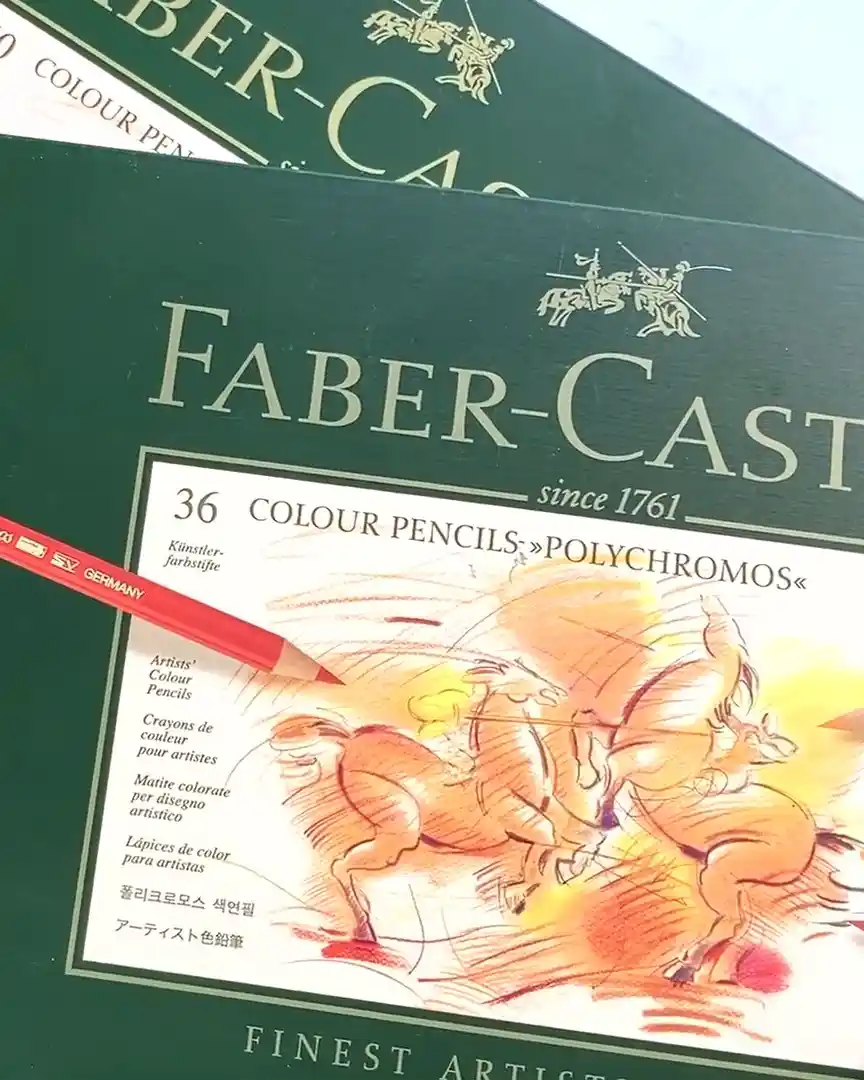
If you’re new, I suggest getting starter pencils from a reliable brand. Some great options include:
- Faber-Castell – high quality for both pros and beginners
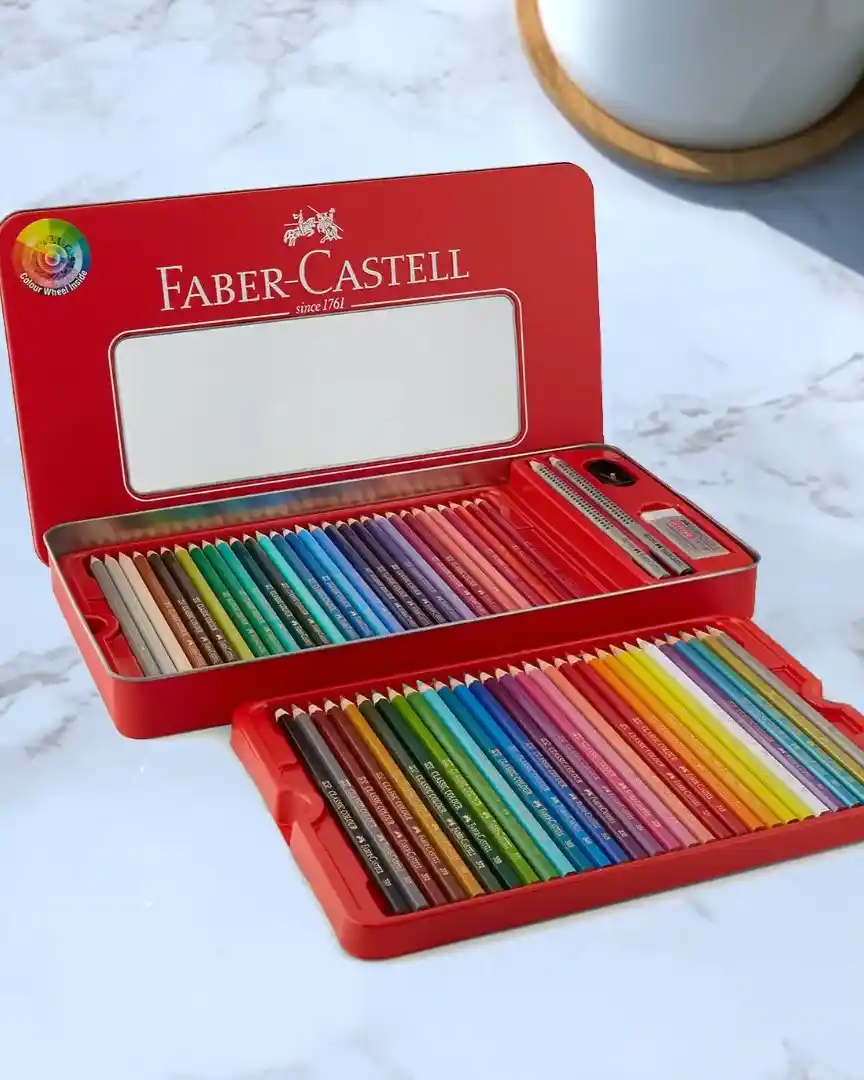
- Castle Art Supplies
- Zennacolor
You can find a decent set anywhere from $10 to $40. These give you quality without breaking the bank.
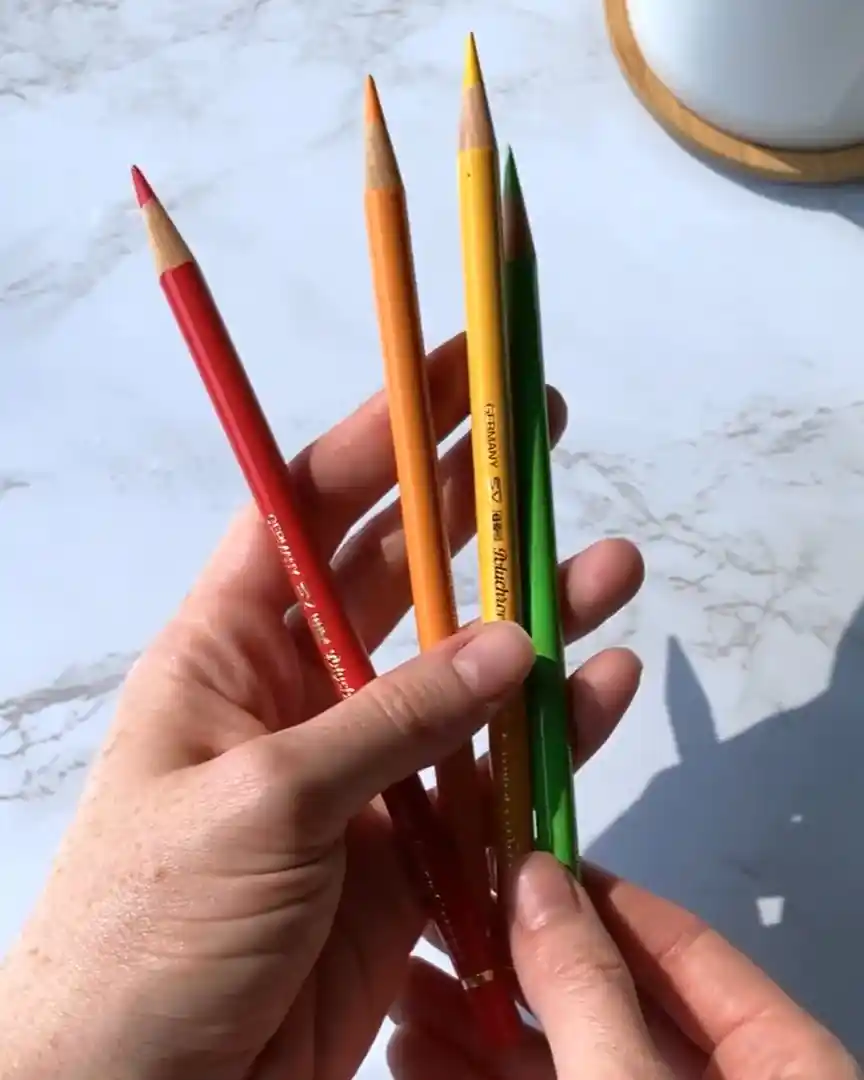
Important Color Tips for Your Starter Set
Color choice is important, too. When picking your set, make sure it includes:
- At least three shades of grays, browns, and pinkish tones
- A solid mix of primary colors
You’ll use those neutral tones most often for shading and color mixing.
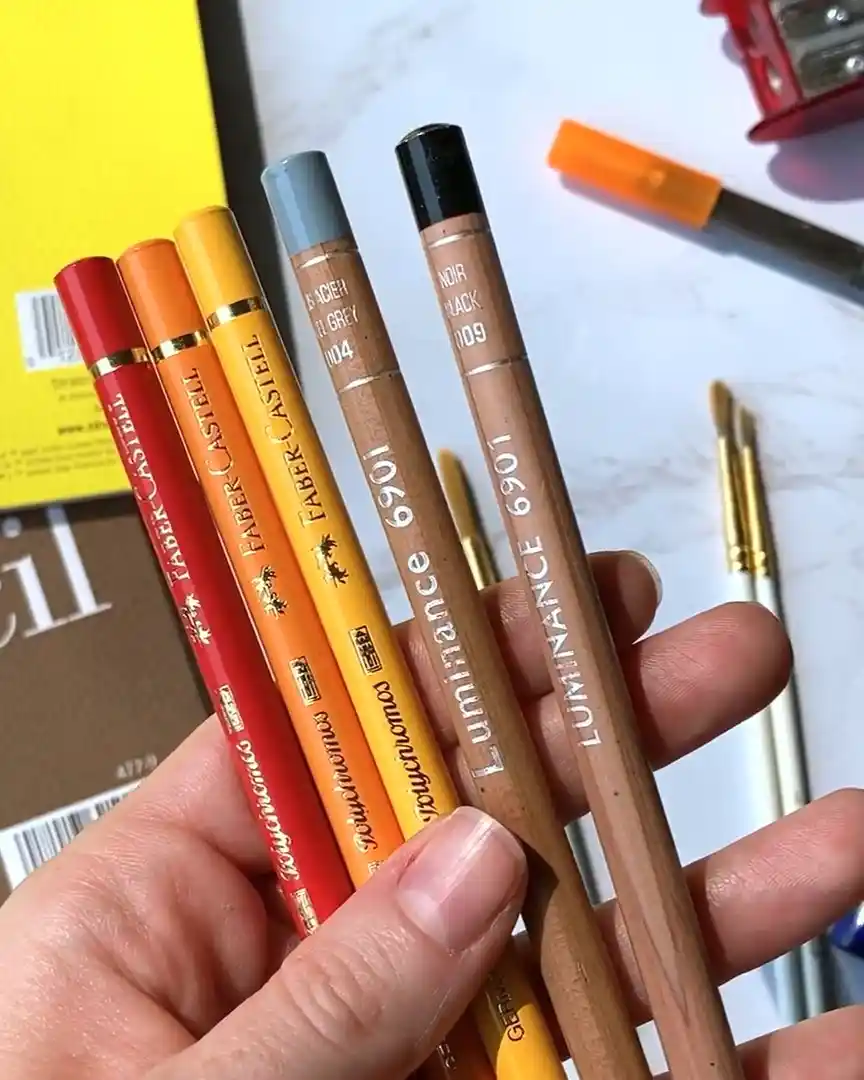
Types of Colored Pencils: Wax vs Oil-Based
Finally, let’s cover pencil types. Most sets will say what kind they are. There are two main types:
- Wax-based pencils: softer core, smooth color, but don’t hold a sharp point for long
- Oil-based pencils: harder core, excellent for sharp points and fine detail
All colored pencils have some wax and oil, but the balance defines the type.
If you’re just testing things out, even a budget set like Crayola can get you started. But honestly, brands like Faber-Castell give much better results.
The Importance of Using the Right Paper
Choosing the right paper is just as important as choosing your colored pencils. Let me explain why paper matters so much.
How Paper Affects Your Drawing
The key factor in paper is its tooth—the tiny bumps and ridges on the surface. Too much tooth, like on pastel or cold-press watercolor paper, creates a heavy texture.
That makes it hard to draw fine details because the pencil won’t lay down smoothly.
On the other hand, if the paper is too smooth, like a plate surface, you can’t build up layers of color well. So you need something in between.
Recommended Paper Types
I recommend two main types of paper that work best for colored pencils:
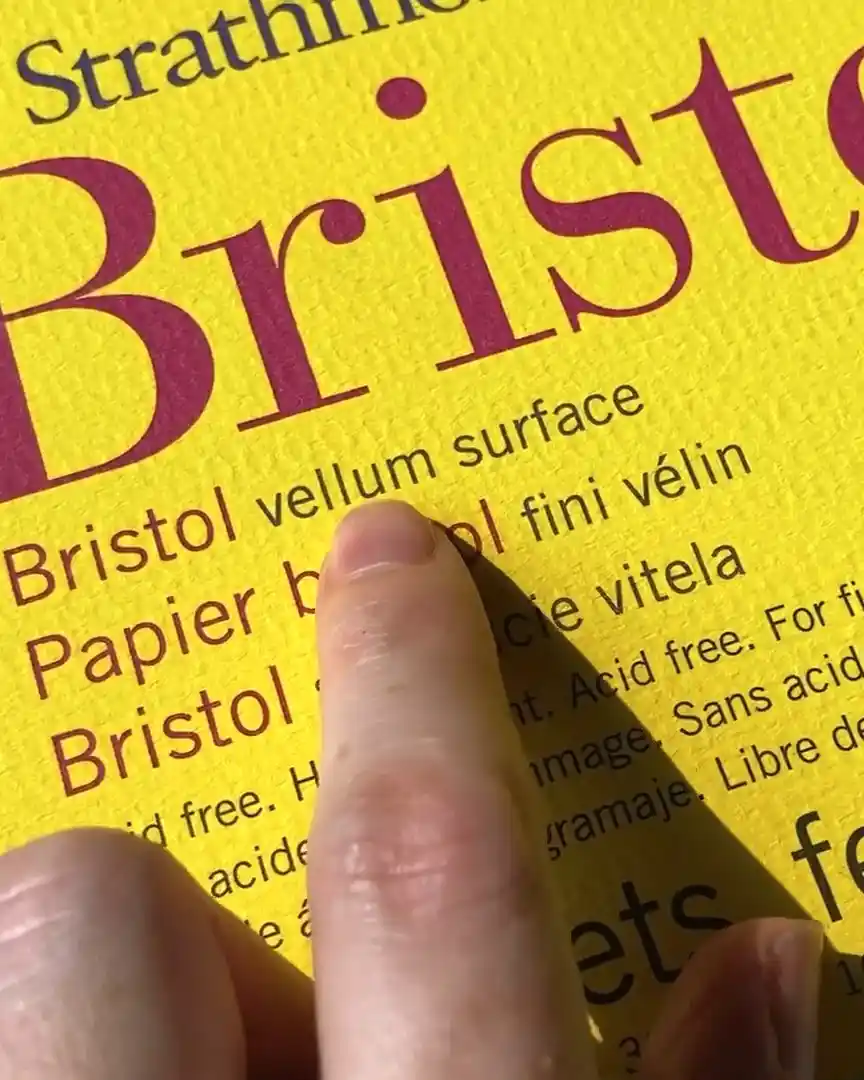
- Smooth paper with minimal tooth, like vellum. This lets you layer colors and draw detailed work easily.
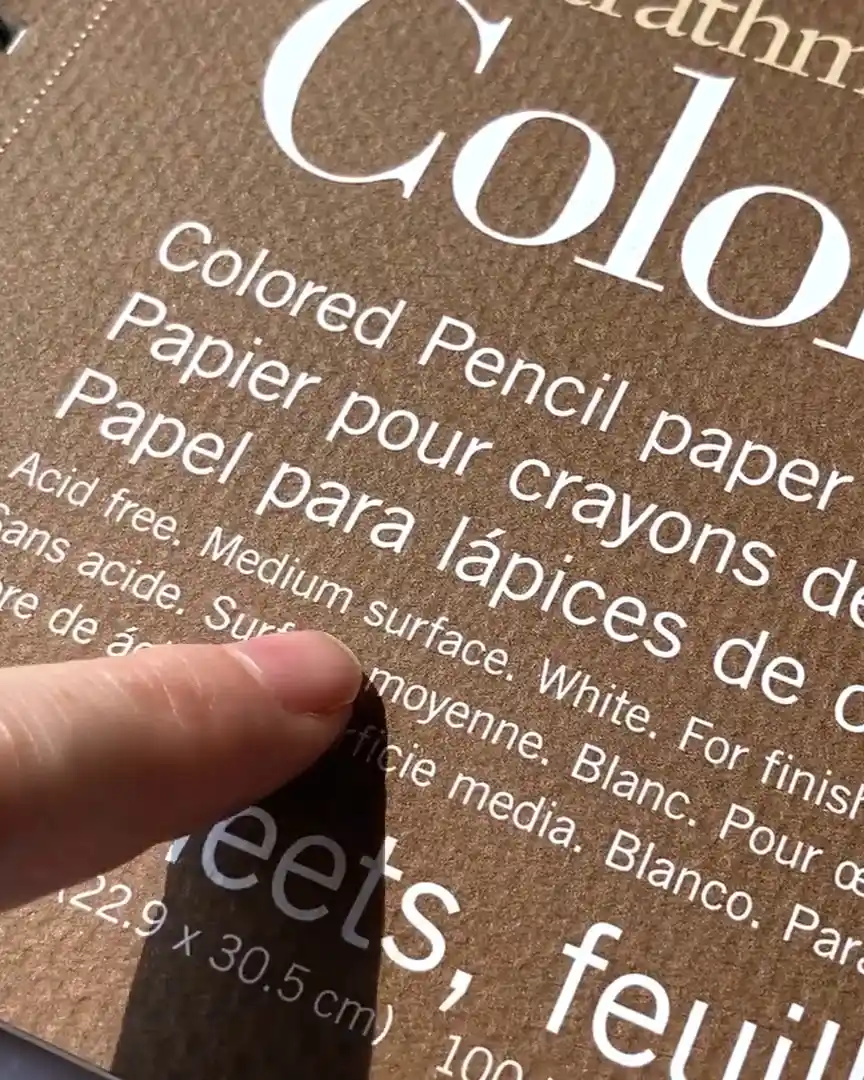
- Medium textured paper that holds layers well, perfect if you’re still learning how to layer colors.
For beginners, my favorite brands are:
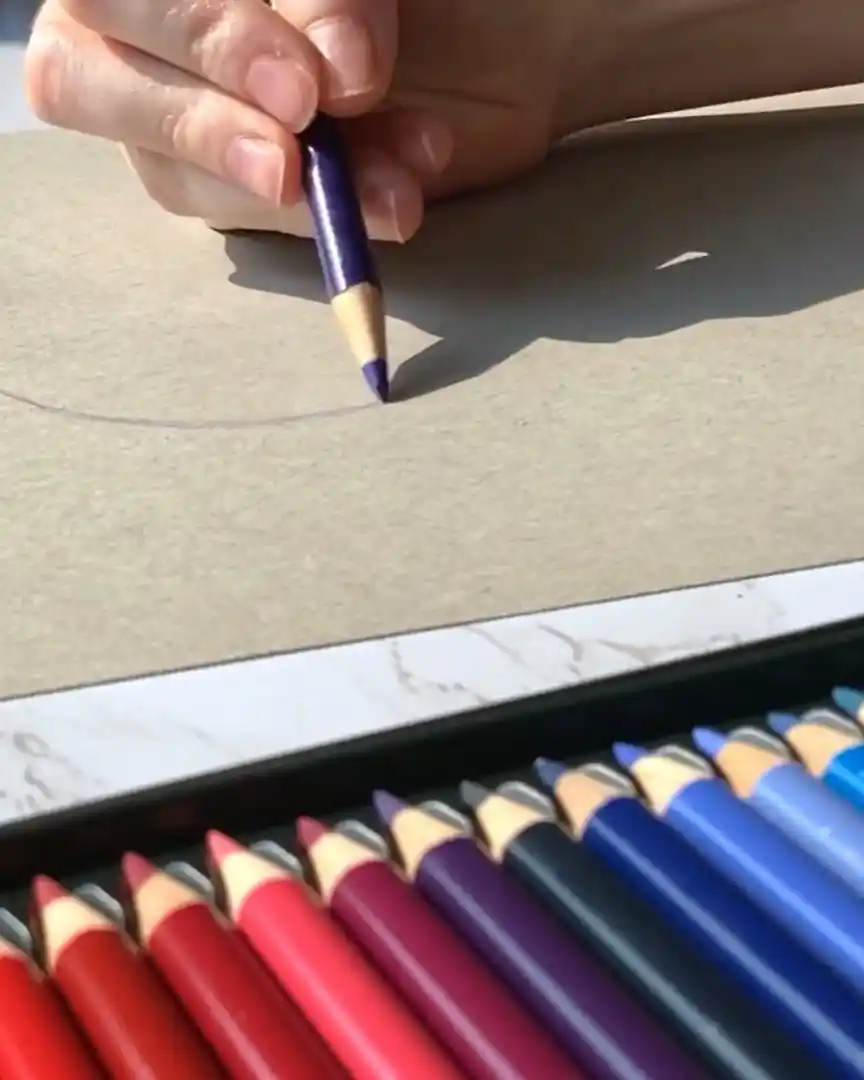
- Strathmore Bristol vellum (smooth)
- Strathmore colored pencil paper (medium texture)
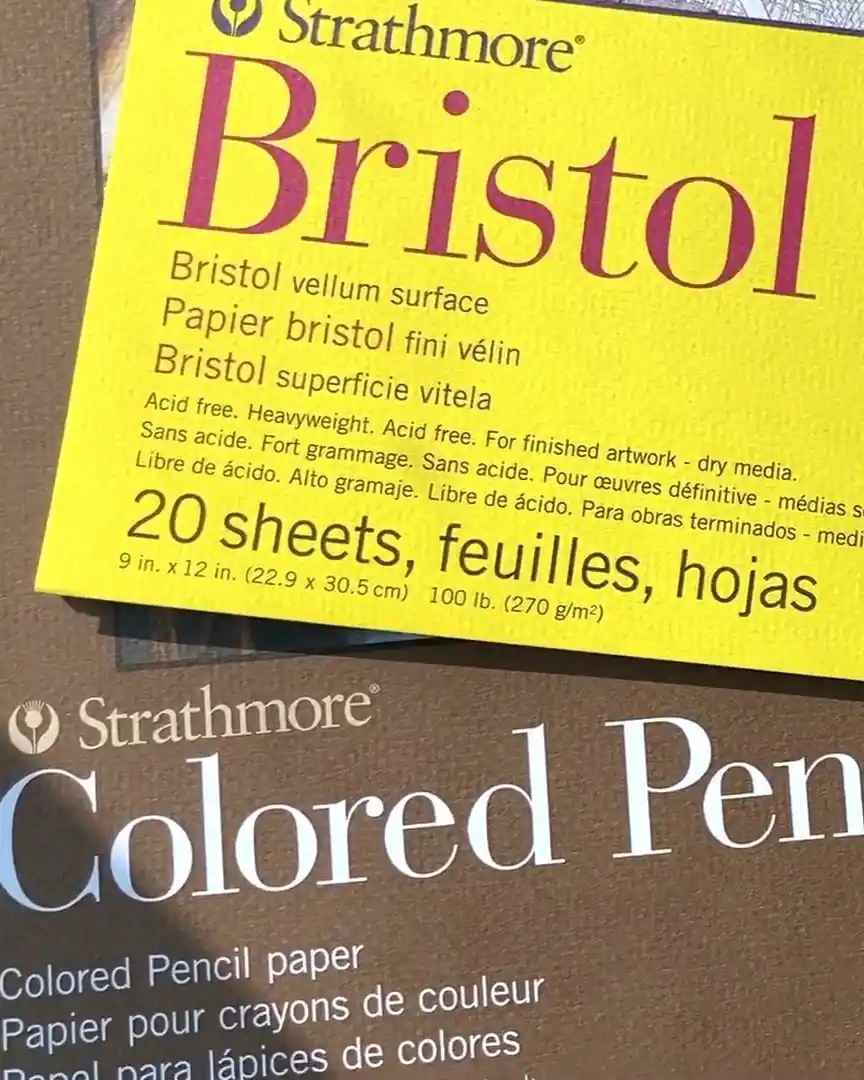
These papers balance texture and smoothness to help you create beautiful colored pencil drawings with detail and depth.
Must-Have Sharpeners and Erasers
Let’s talk about two essential tools for your colored pencil drawing: sharpeners and erasers. You don’t need anything fancy to get started.
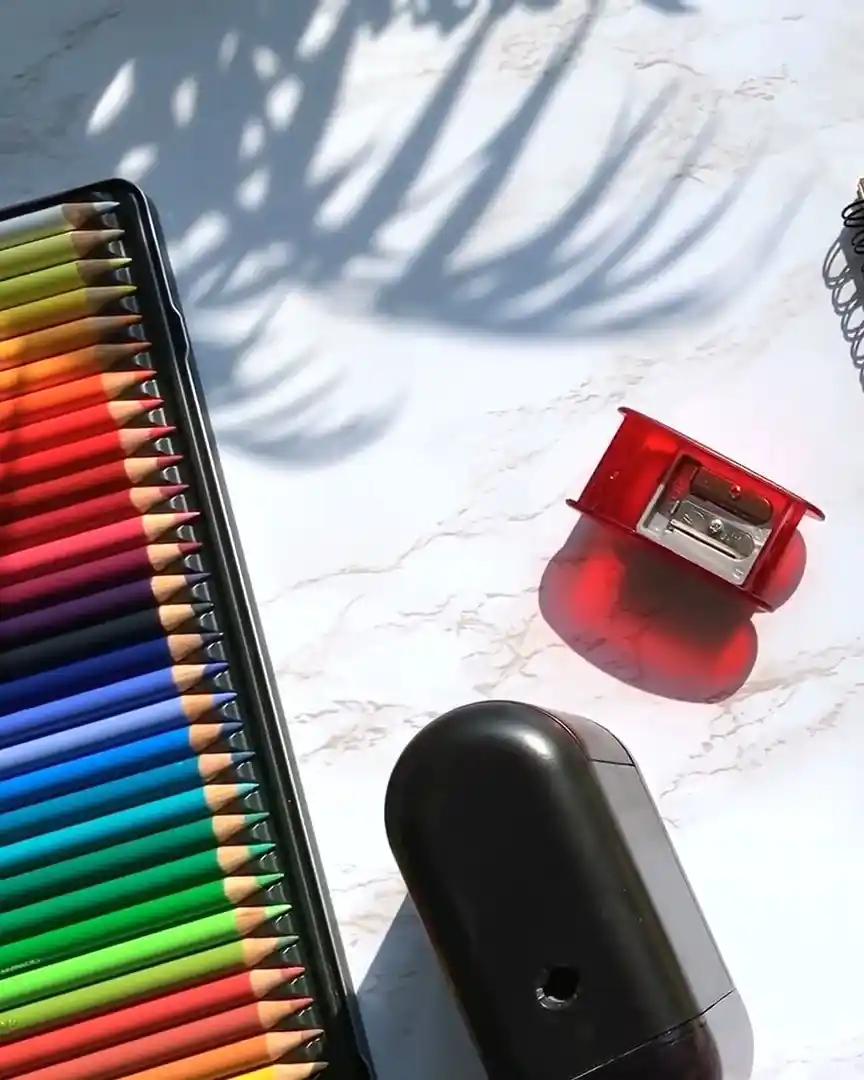
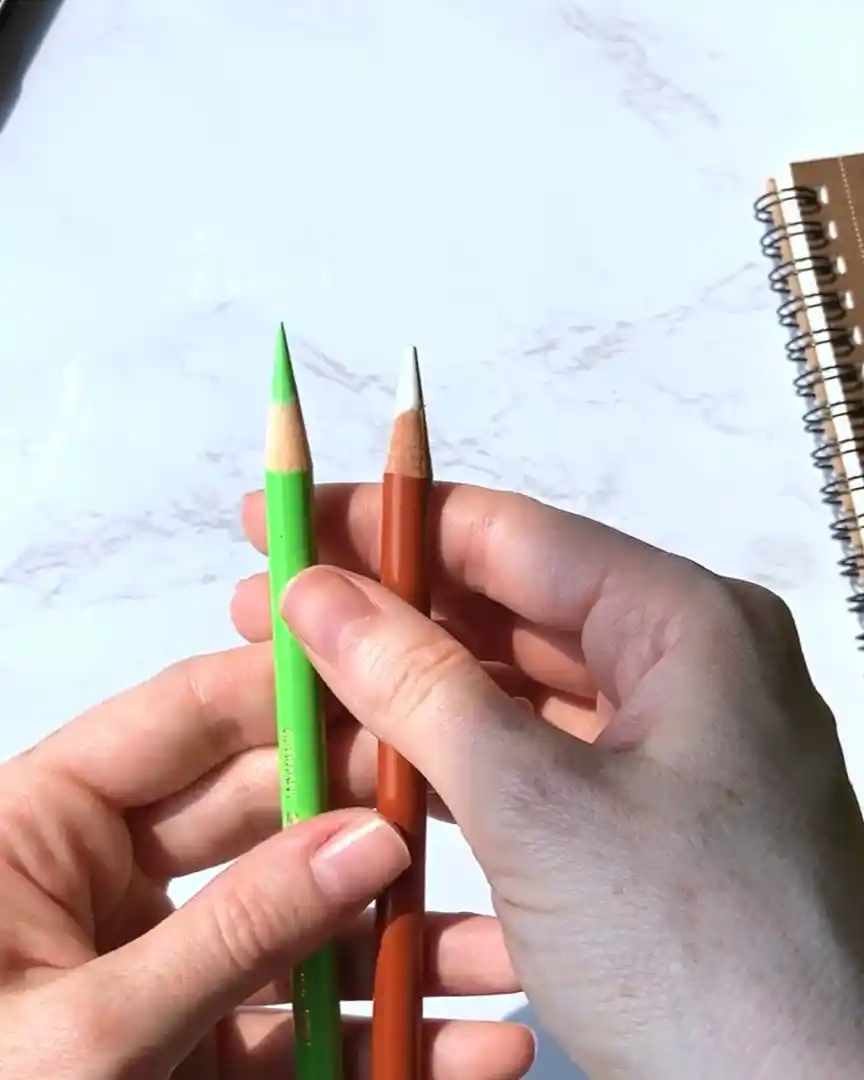
Choosing the Right Sharpener
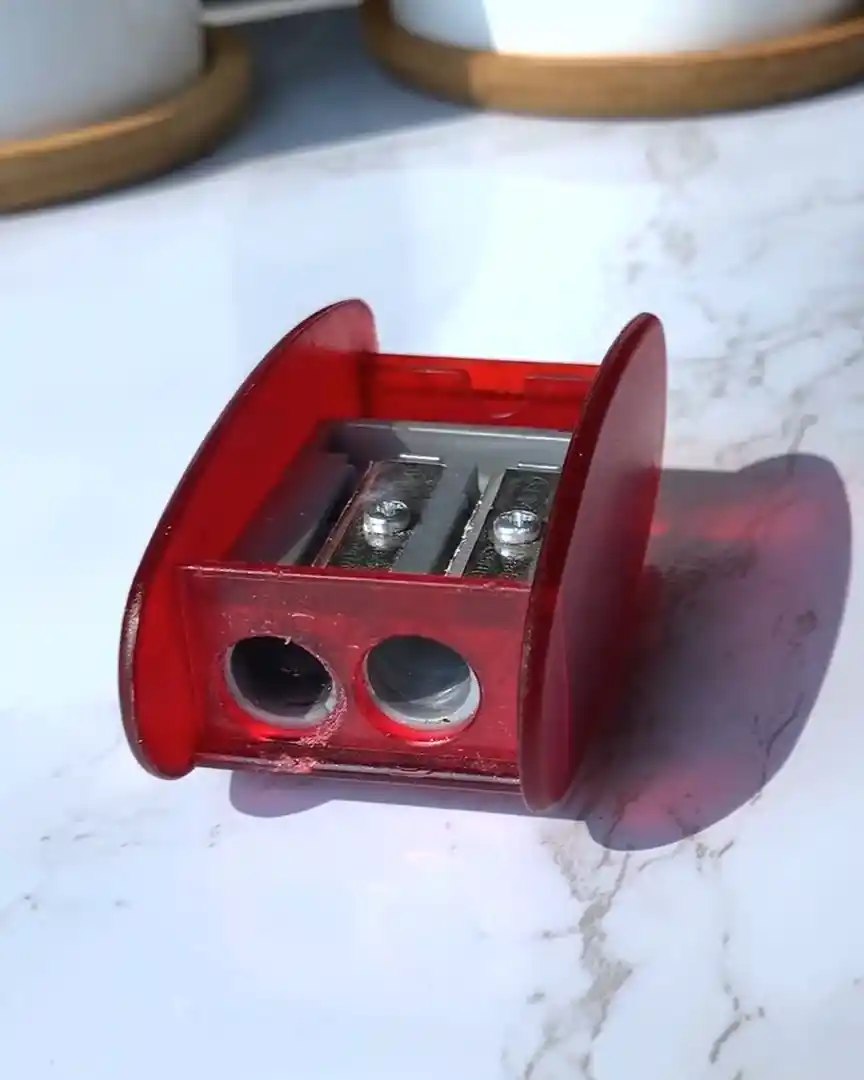
I recommend using a hand sharpener, specifically the KUM sharpener. This sharpener is excellent because it comes with extra blades, so you can replace them when they get dull.
You’ll know the blade is dull when sharpening your pencils and the shavings no longer come off in solid pieces become hard.
The KUM sharpener has two slots:
- The first slot shaves down the pencil wood.
- The second slot sharpens the colored core.
You switch back and forth between the slots until your pencil is as sharp as you want.
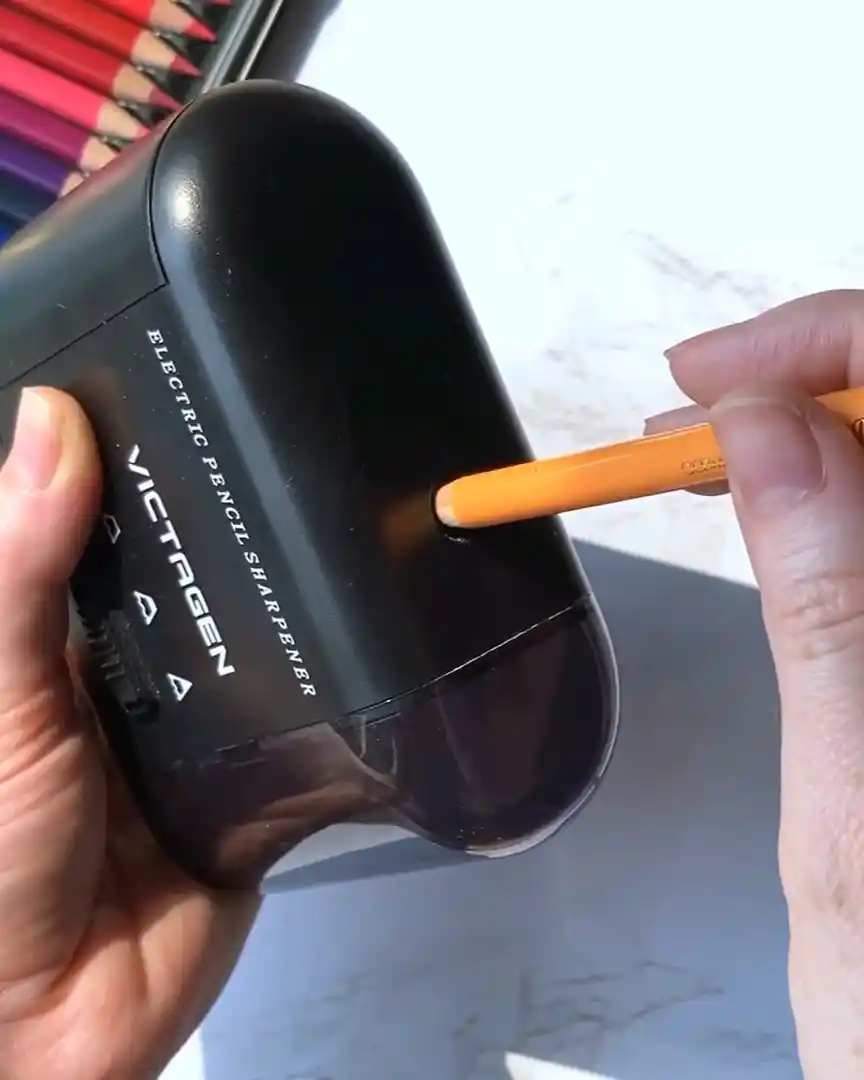
If you prefer an electric sharpener, make sure it fits the diameter of your colored pencils. Not all pencils are the same size.
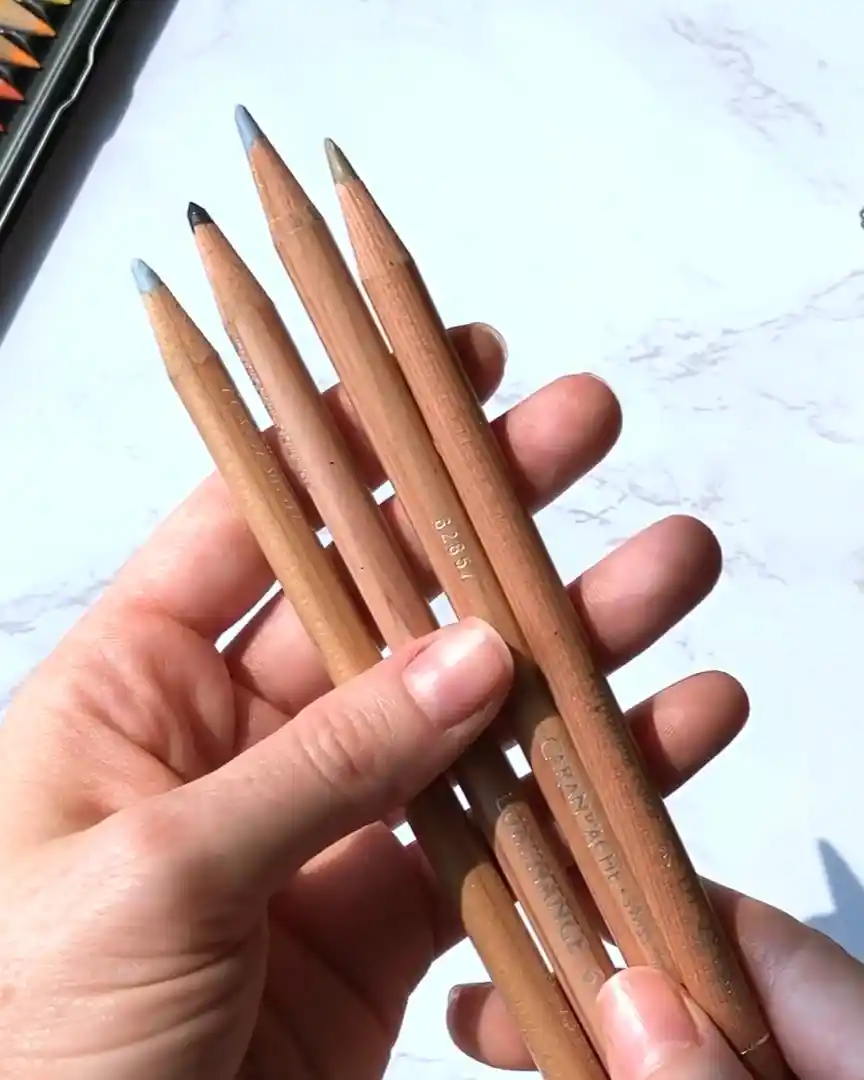
For example, I mostly use Faber-Castell pencils, which fit perfectly in my sharpener. For larger pencils like Luminance, I still use my KUM sharpener because the electric one won’t suit those.
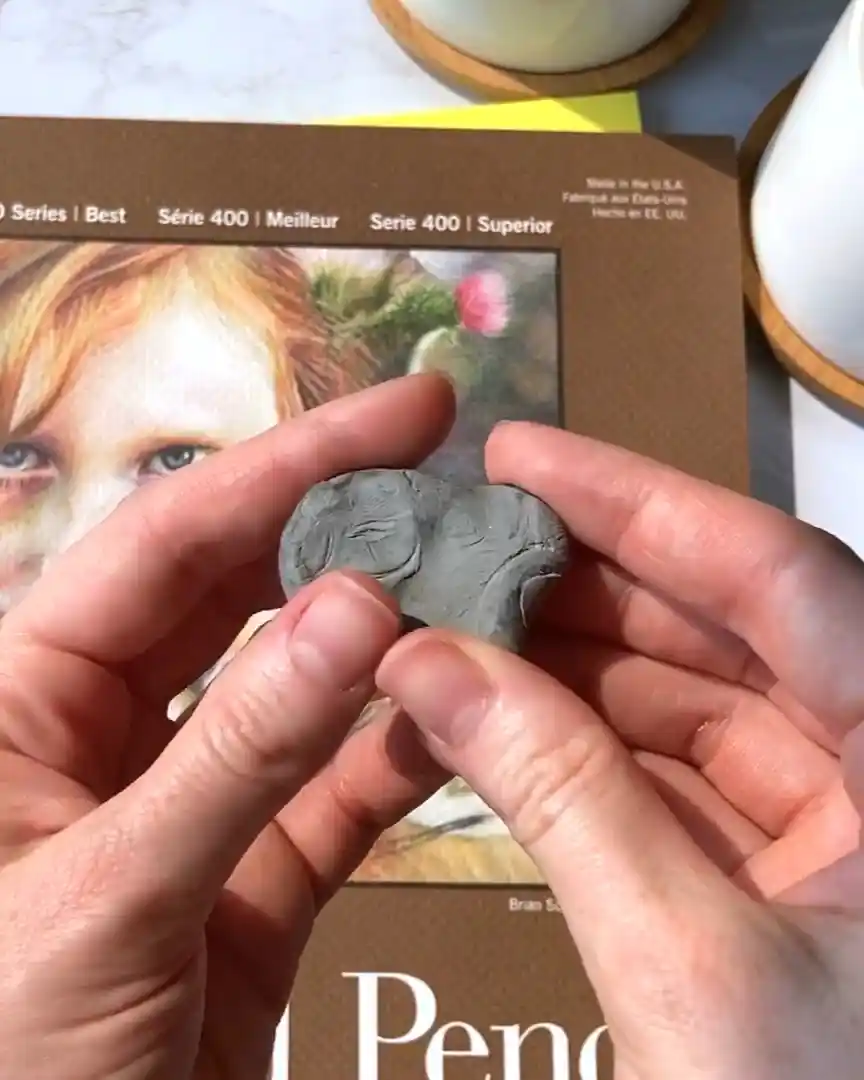
Why a Kneadable Eraser Is Best
For erasers, you don’t need anything expensive either. I like using a kneadable eraser because it lasts longer, and you can easily shape it to erase small or detailed areas.
Of course, you can use any eraser you have on hand, but I find kneadable erasers the most handy.
Getting Started with the Basics
If you’re just starting, all you need is a good hand sharpener like the KUM and a kneadable eraser. These two tools cover the basics and keep your pencils ready to use without much fuss.
Helpful Tools That Can Improve Your Results
Once you have the basics down, there are some tools that can take your colored pencil drawing to the next level. These tools help blend, add fine details, and get the most out of your pencils.
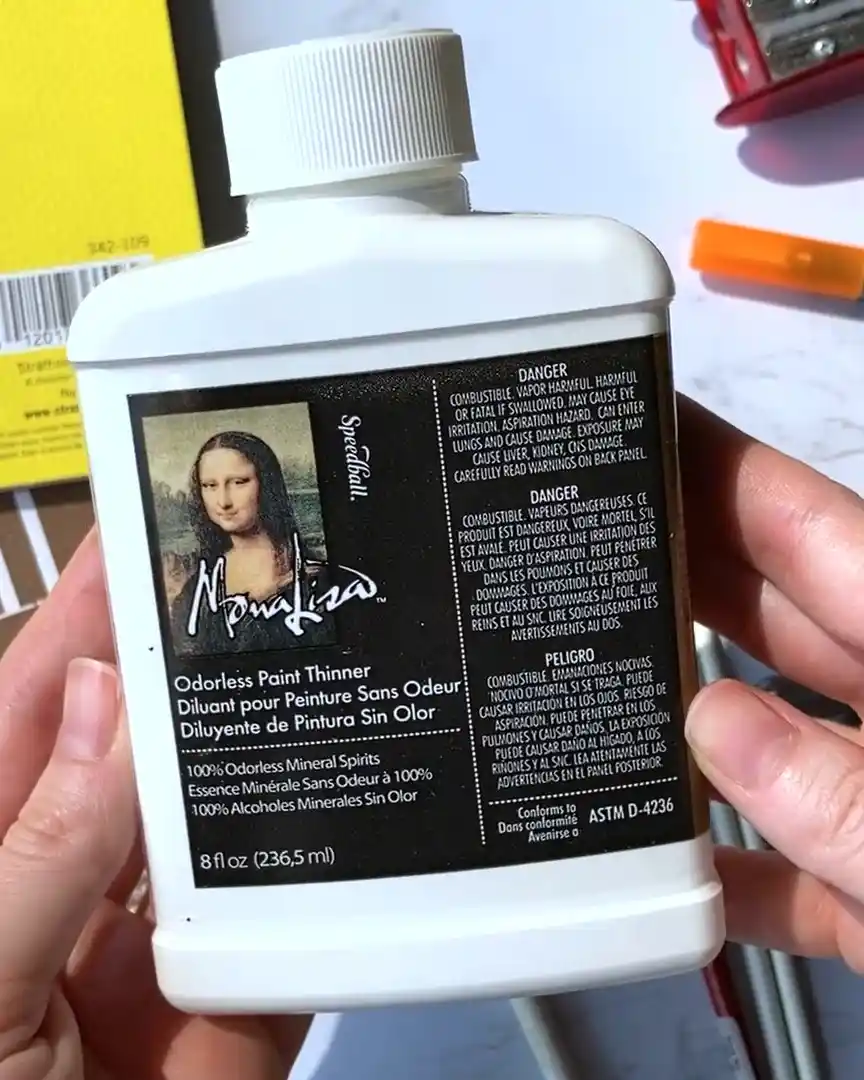
Solvents for Smooth Blending
One of my favorite tools is a blend solvent, and I use Mona Lisa odorless mineral spirits. This solvent works by dissolving the binders in the colored pencils, making it much easier to blend colors smoothly on your paper.
The best part? It dries in about 10 to 15 minutes, so you can keep working on other areas while it dries.
Blending with solvent helps you build up more layers, which is super helpful in making dark or black areas rich and deep. To use the solvent properly, you’ll need a few paintbrushes:
- A round watercolor brush for smooth, broad blends
- Several smaller Gold Taklon brushes to work on tight or detailed spots
Using brushes keeps your fingers clean and lets you control the blending better.
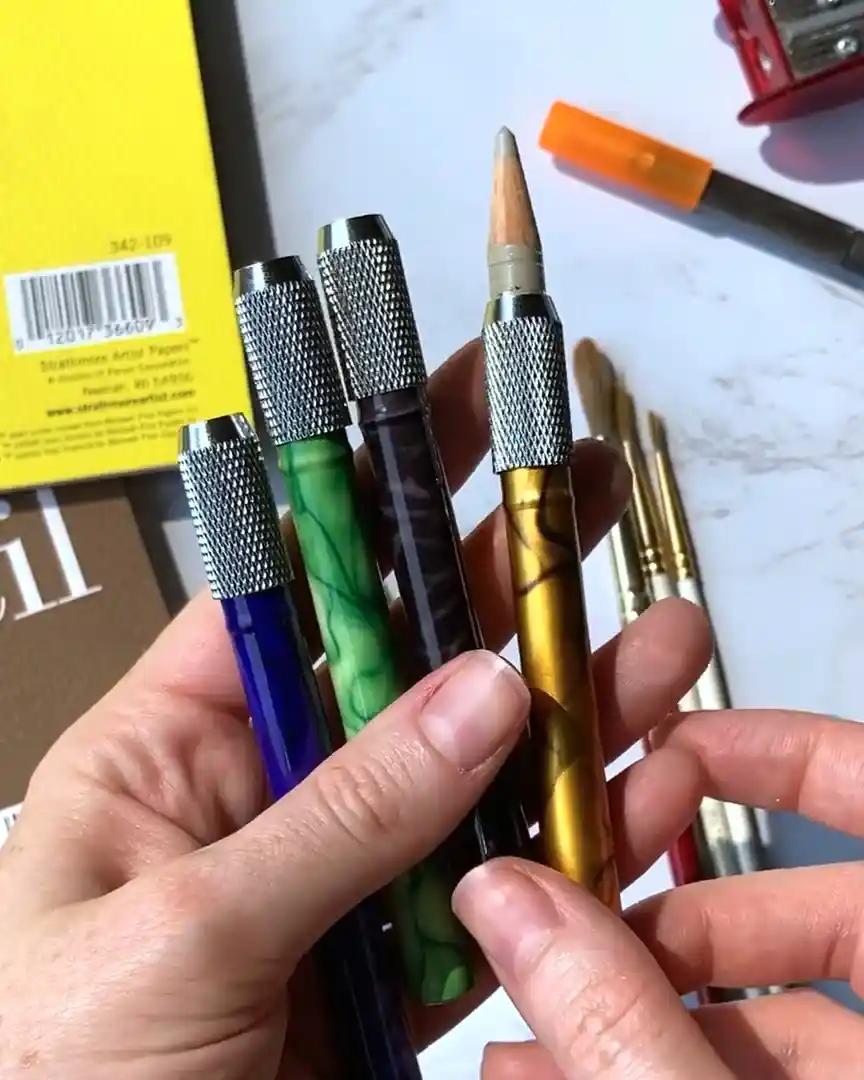
Pencil Extenders for Tiny Pencils
Another handy tool I recommend is a pencil extender. These are great for those tiny pencils you almost used up and can’t hold comfortably anymore.
They’re affordable—usually around $10 for a set—and make your old pencils last longer.
Just make sure you pick extenders that fit the diameter of your colored pencils. Different brands vary in size—the ones I use fit smaller brands like Faber-Castell and larger ones like Derwent and Caran d’Ache.
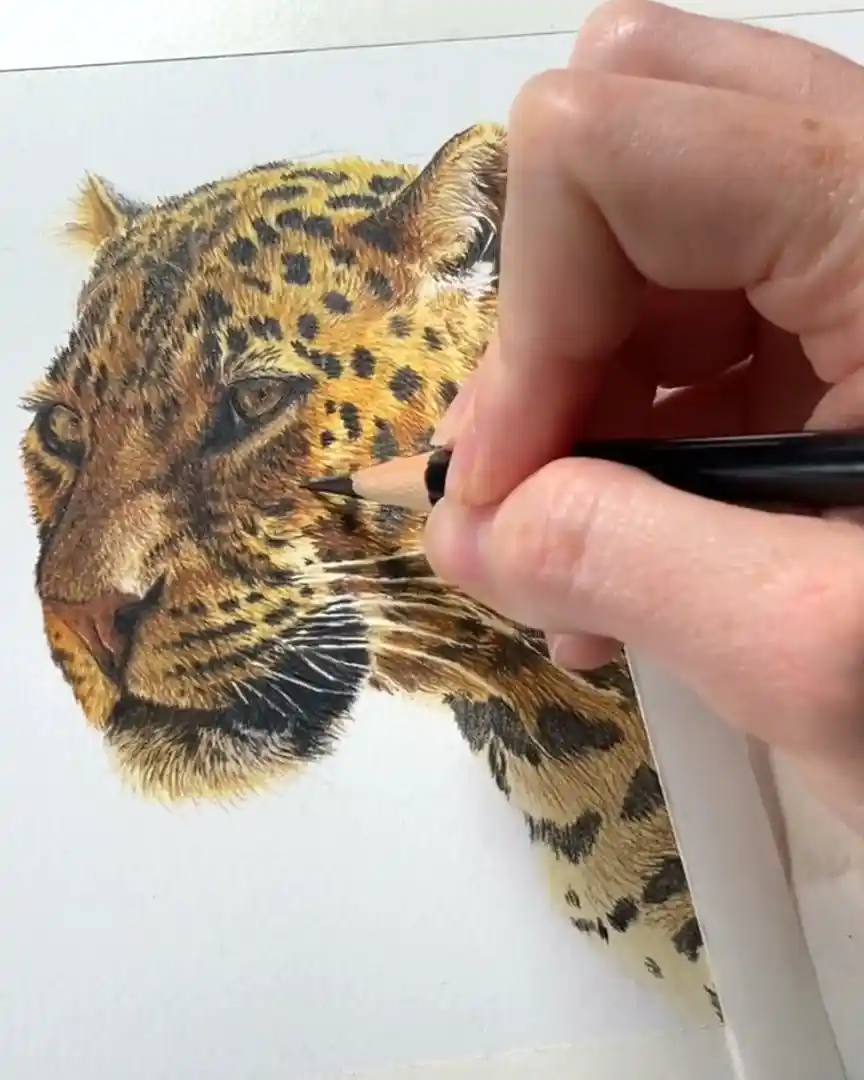
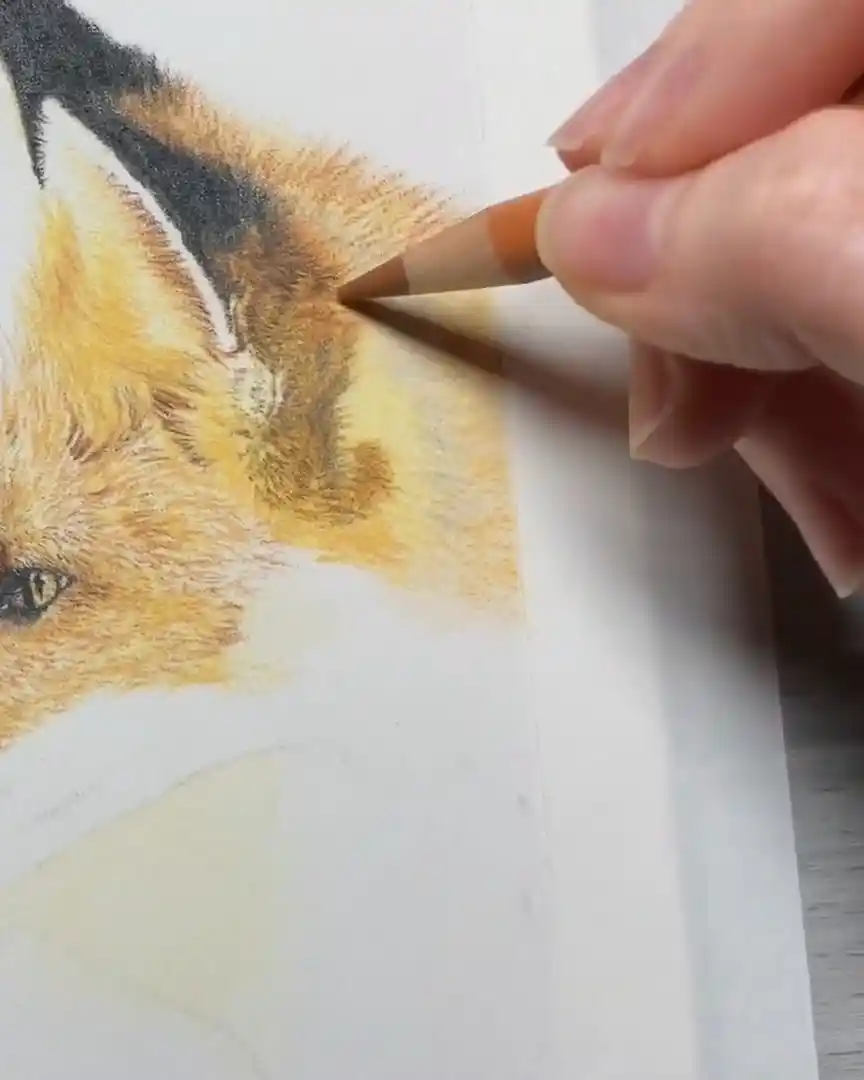
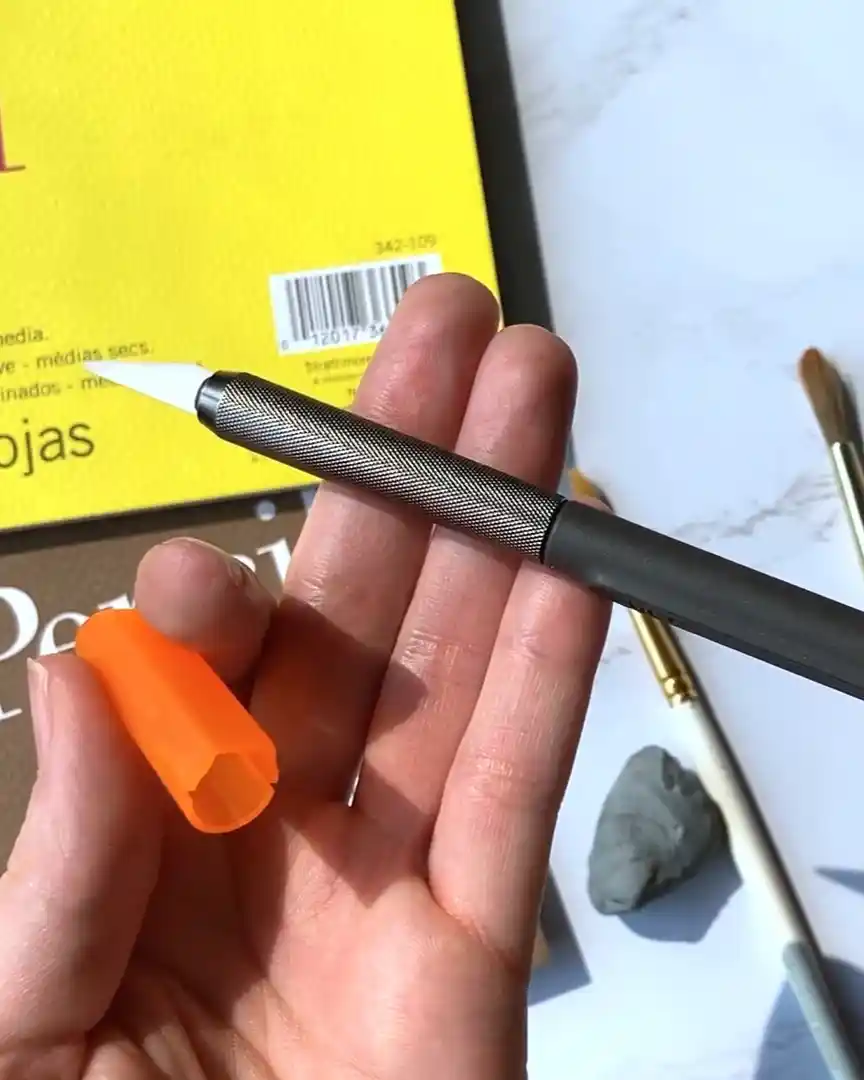
Slice Craft Knife for Fine Details
A craft knife or X-Acto knife is a must-have if you want to add fine details like fur or hair. I always use mine when drawing fur because it helps me create sharp, realistic textures.
These knives are also affordable—about $12—and super useful. If you want to learn how to use a slice tool for colored pencils, there are great tutorials available that can help you improve your skills.
In A Nutshell
Colored pencils are a fantastic choice for beginners who want a simple, clean, and enjoyable art medium.
While they come with challenges, like time and cost, the right supplies and tools can make a big difference.
With patience and practice, you can create beautiful, detailed drawings you’ll be proud of. It’s worth giving colored pencils a try!