
Want to learn how to draw a flower that looks elegant yet simple? In this tutorial inspired by Karla Jodoin, the artist walks you through a step-by-step wild rose drawing. It’s one of the artist’s favorite flowers, and it’s blooming beautifully this season.
You only need a few tools and a bit of guidance. The artist will show exactly how the sketch comes to life. Let’s get started with this calming and straightforward drawing process!
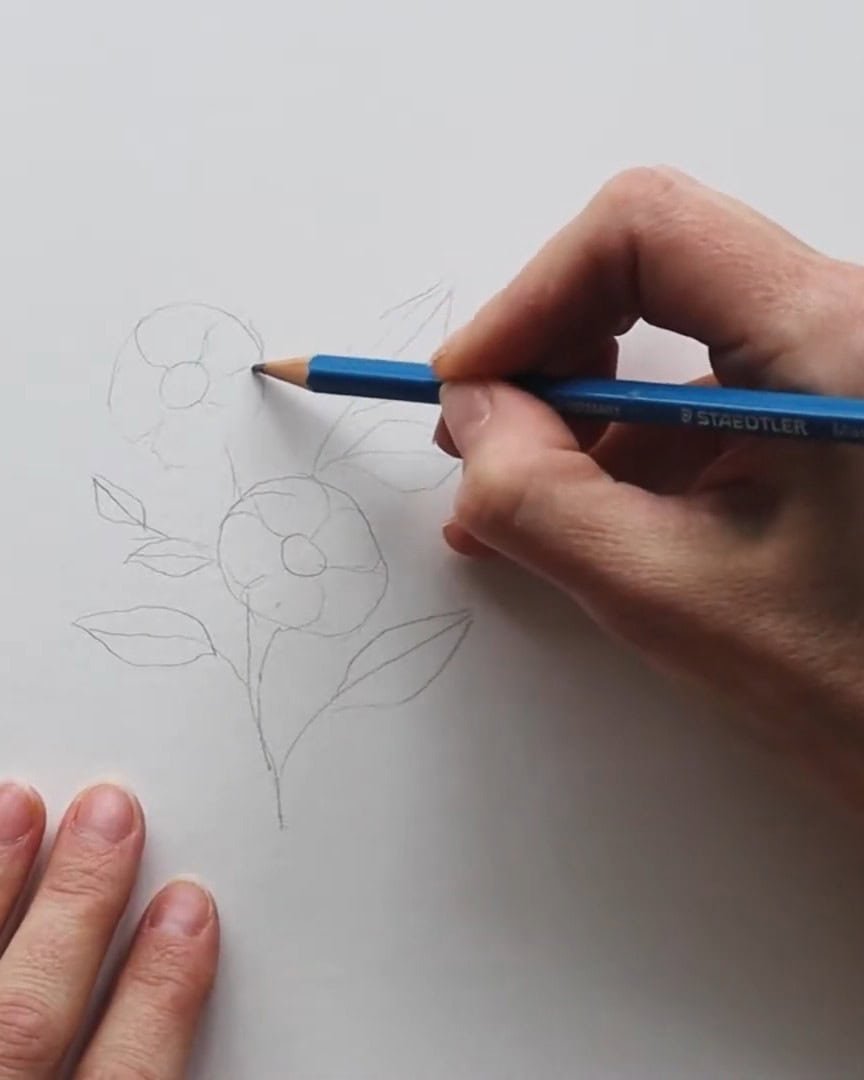
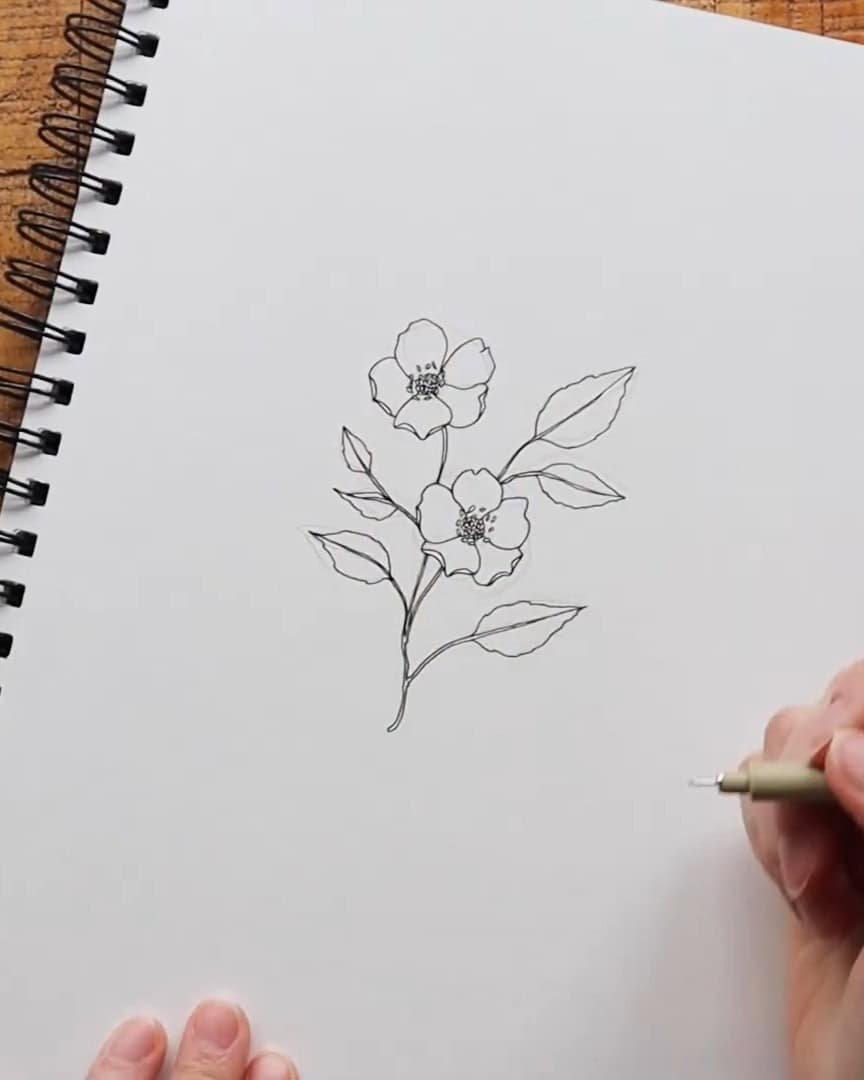
Step 1: Start with a Light Pencil Sketch
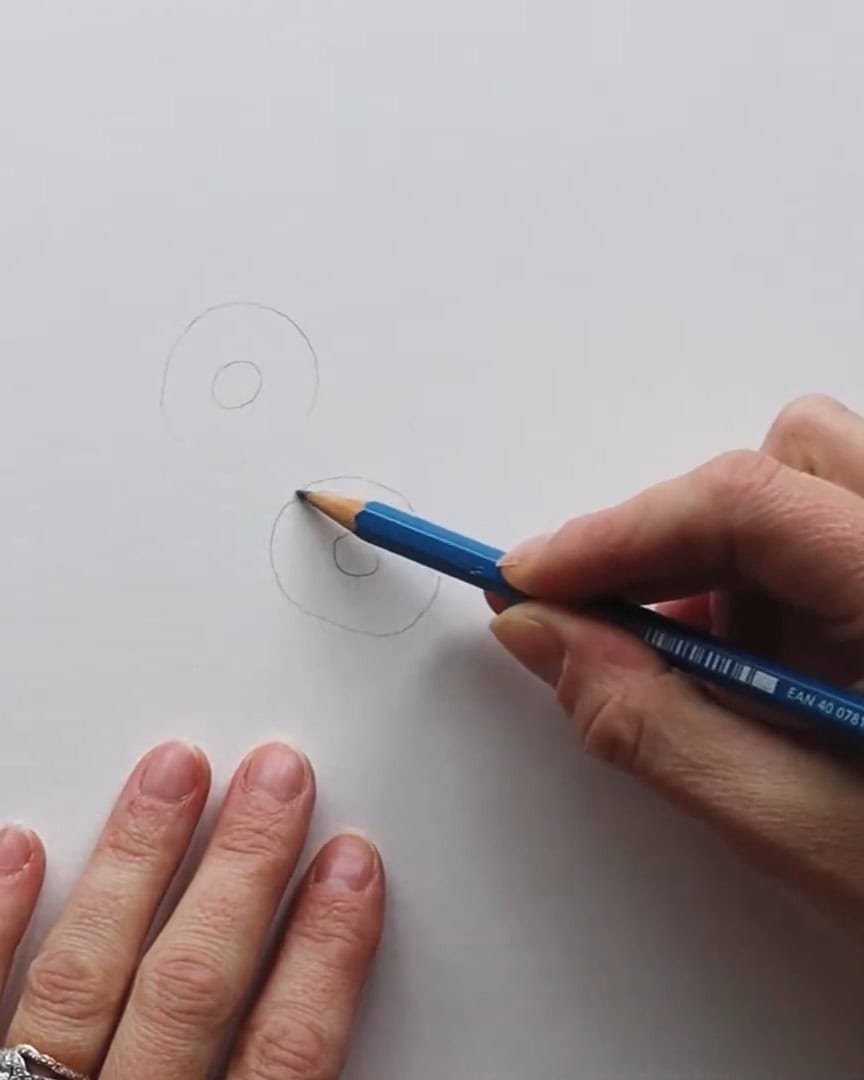
Let’s begin with a gentle pencil sketch to plan out the composition. This step is all about keeping things light and straightforward.
The artist uses an HB sketching pencil to draw the layout lightly. First, the artist sketches two loose circles. These help determine where the open flowers will be placed.
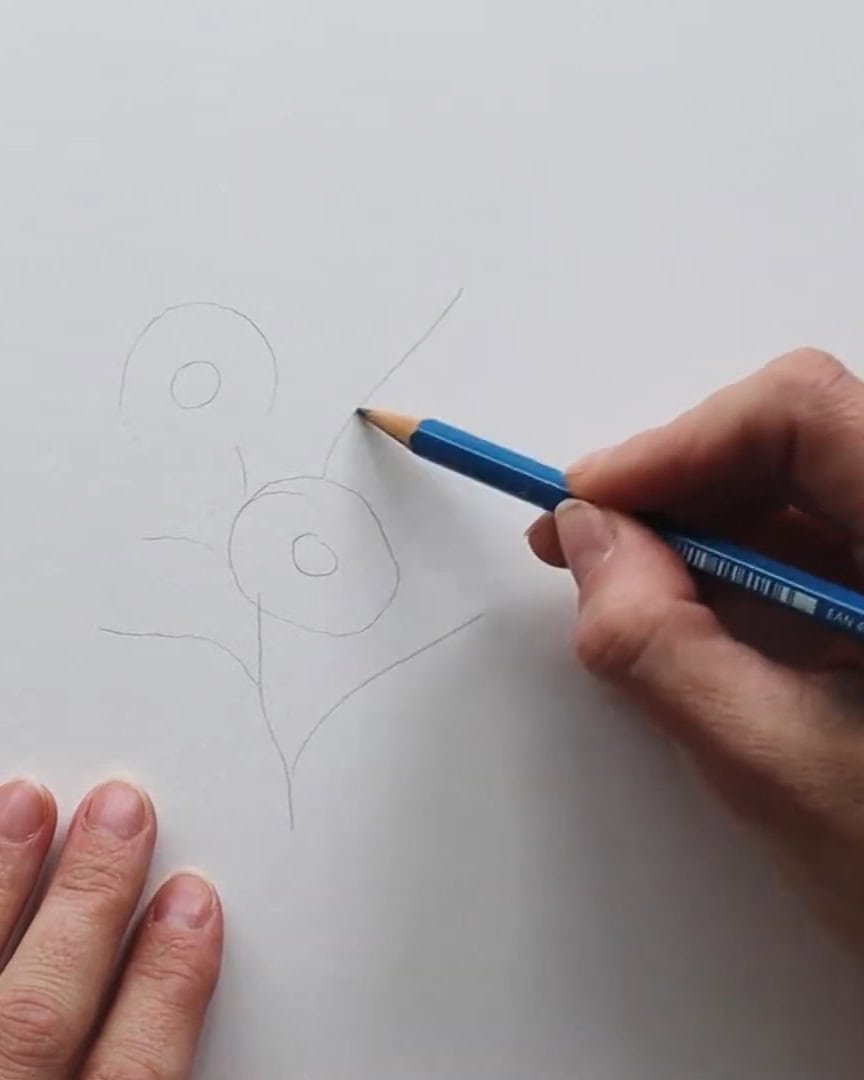
The artist plans for two blooms and might add a few buds later to make the piece more complete.
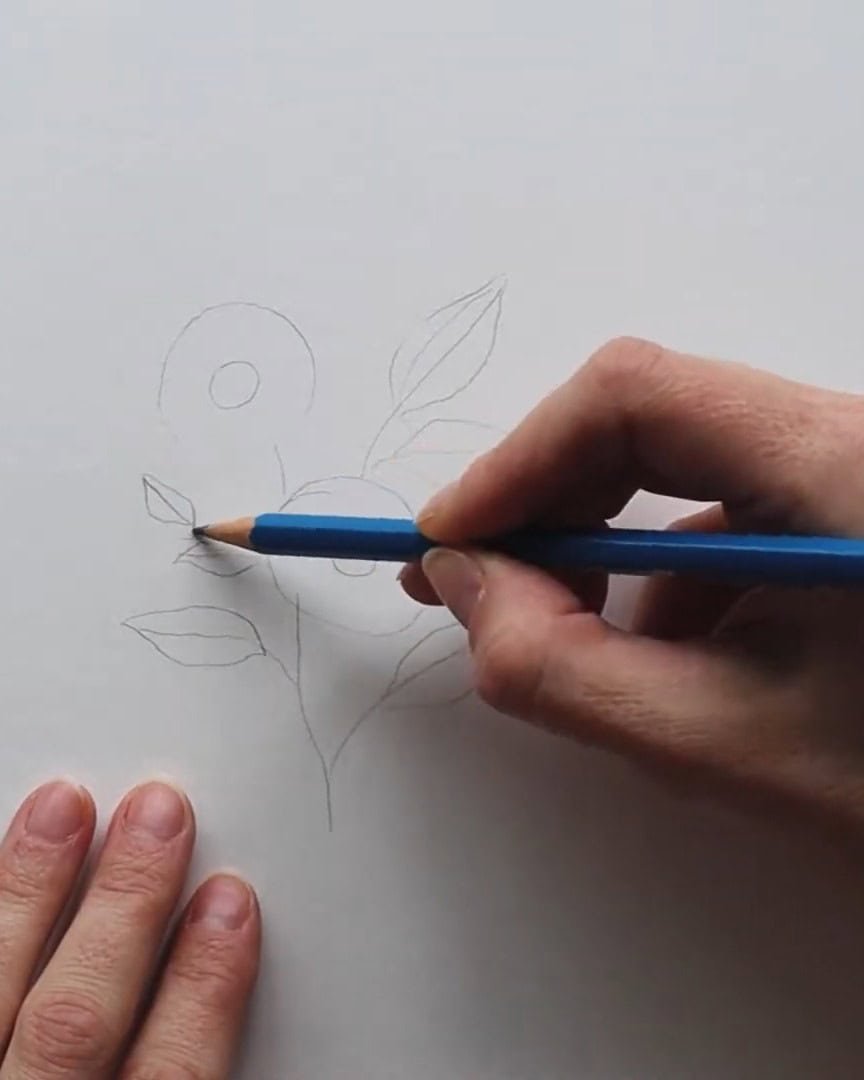
Then, the artist adds some quick lines for the stems and a few rough leaf shapes.
For each leaf, the artist draws:
- A line branching out from the stem
- Two curved lines on either side of the last inch that meet at both ends
Next, the artist lightly sketches the petals. No pressure is needed—just rough outlines to guide the inking later. These early lines are only for structure. No details are added yet.
This sketch won’t stay visible in the final piece. The artist will erase it later, so the focus is on getting the layout right. The artist also includes a few extra lines to guide the petal drawing with ink.
Usually, the artist doesn’t sketch this much in detail. But the artist thinks it helps the viewer better follow along through each step.
Step 2: Inking the Outlines
Now that the pencil sketch is done, it’s time to go over everything with ink. This is where the flower starts to come to life on the page.
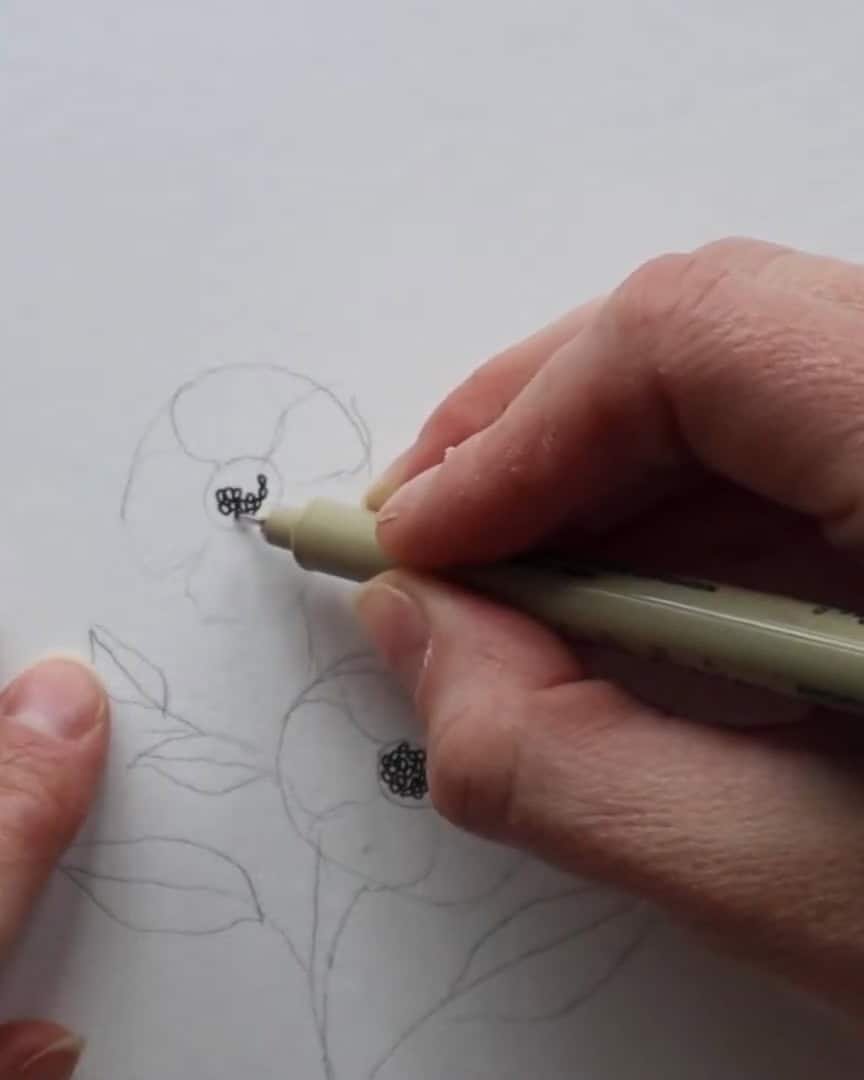
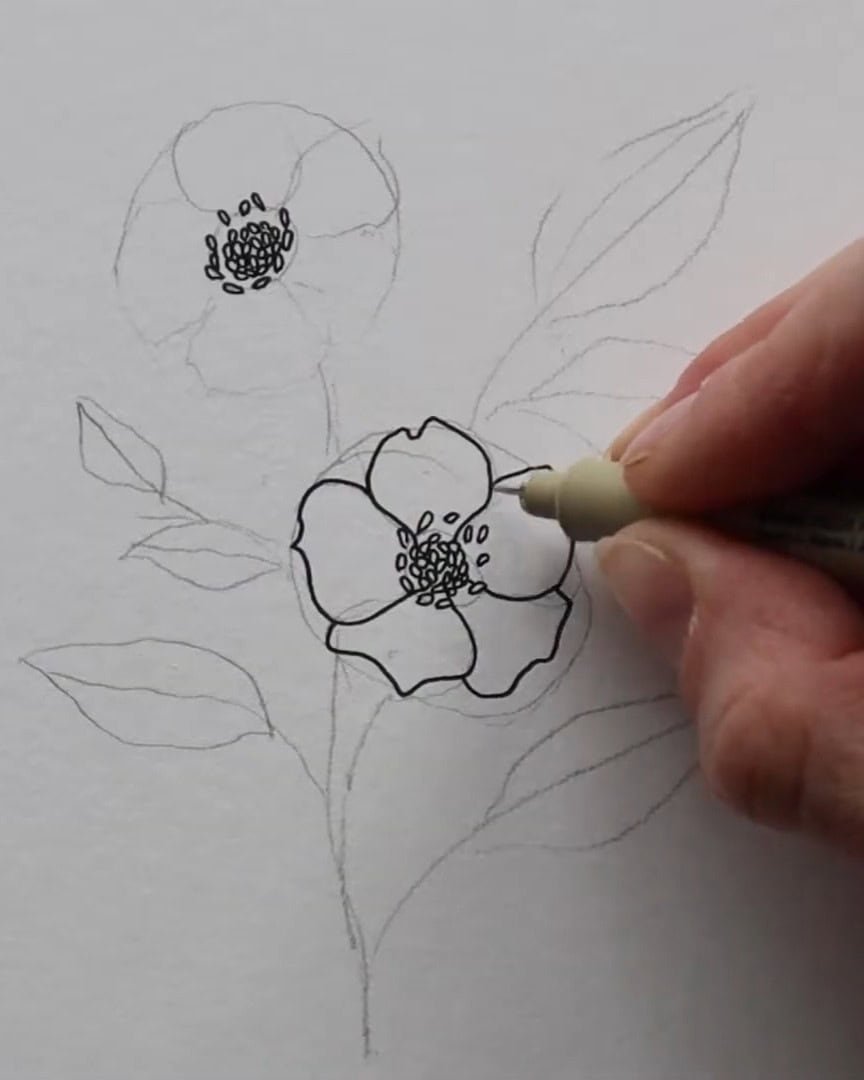
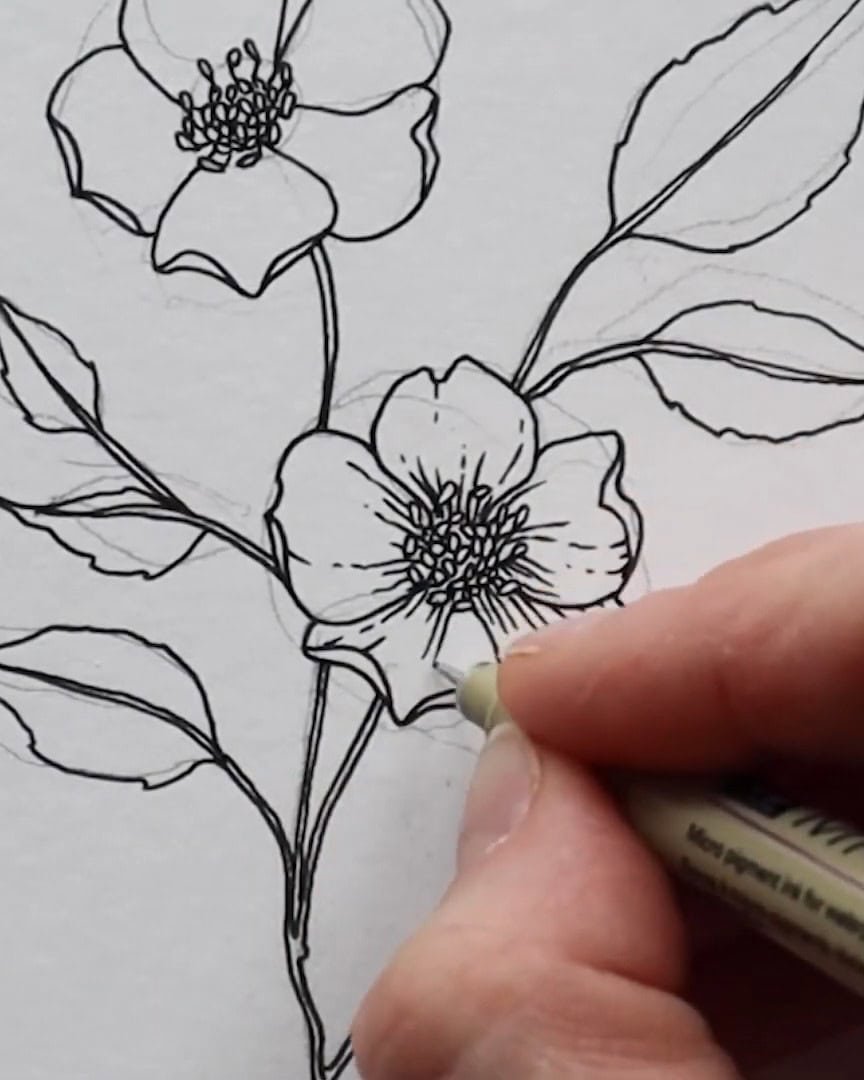
Inking the Flower Center
The artist uses a Sakura of America Fineliner in size 01 for this part. The artist begins with the flower’s center—the stamen. This gives a good reference point for placing the petals.
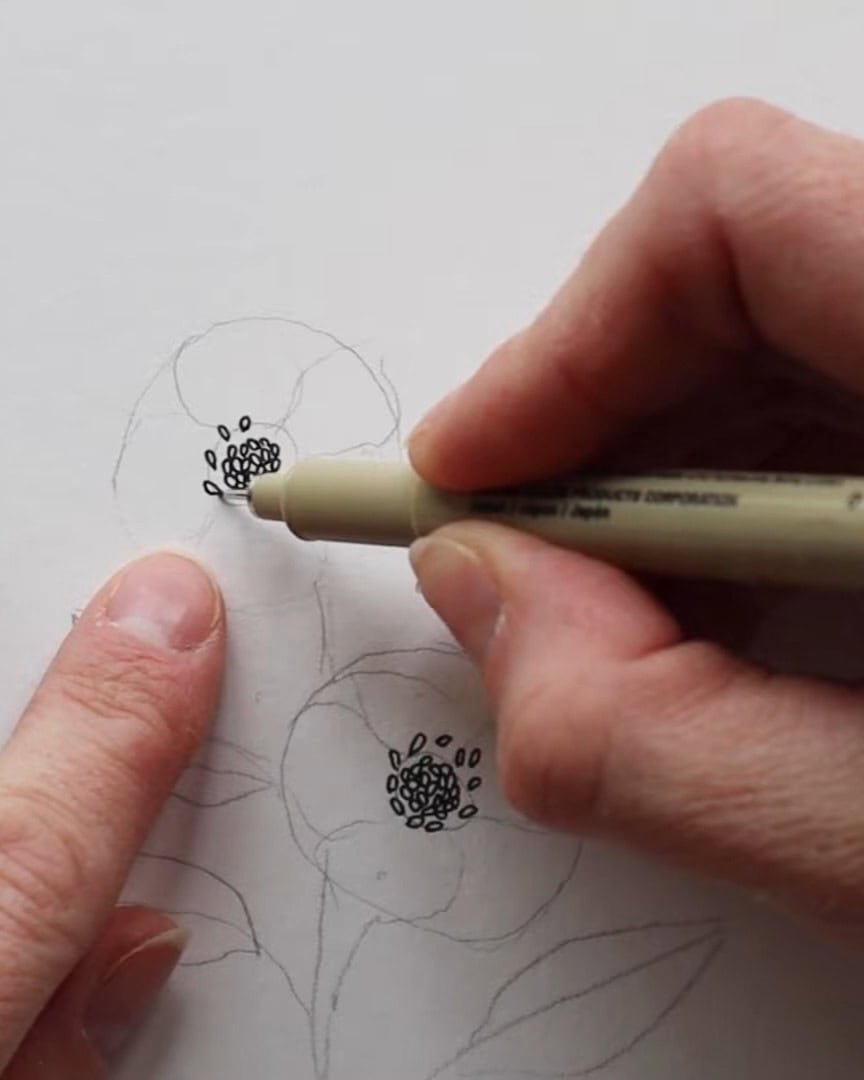
The artist draws small circles, one on top of another, to fill in the center. It’s simple. Lots of little circles are clustered together until the area is fully filled.
The artist adds a few oval shapes around the circle’s edge to give the stamen more shape. This adds a nice detail and provides the center with a finished look.
Outlining the Petals
Next, the artist moves on to the petals. The artist draws solid lines starting from the stamen and curving outwards.
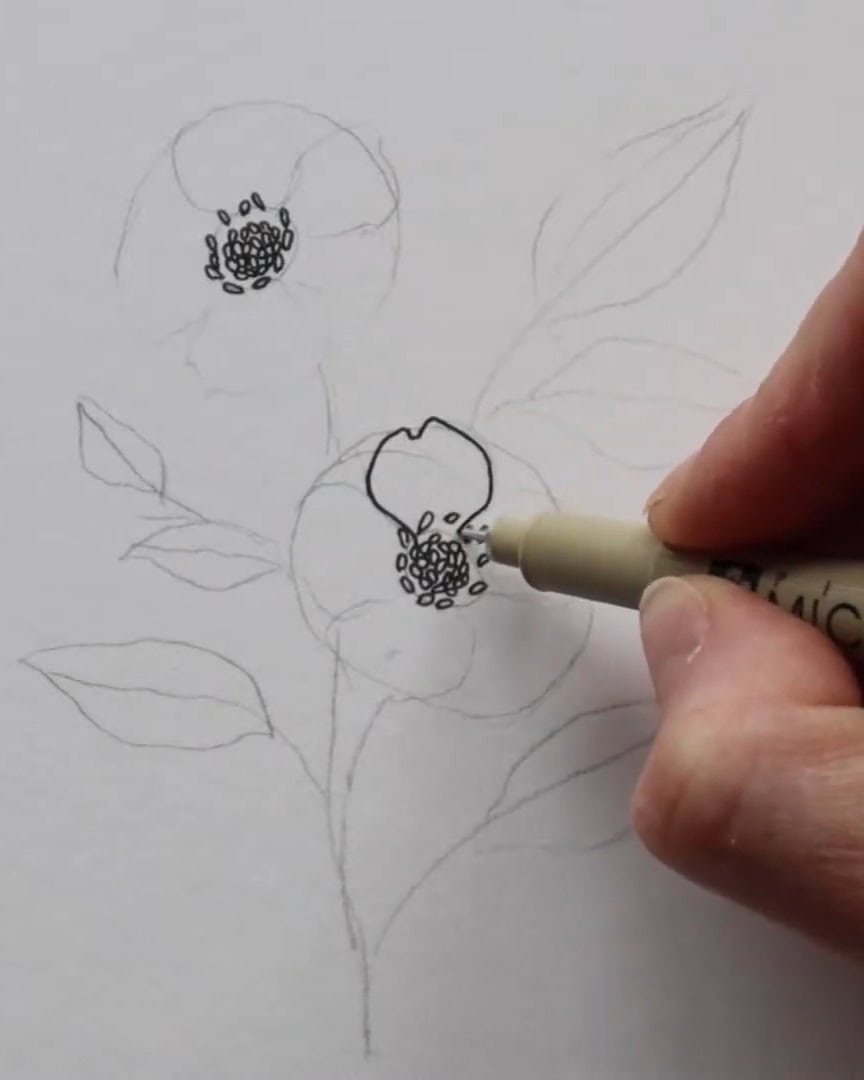
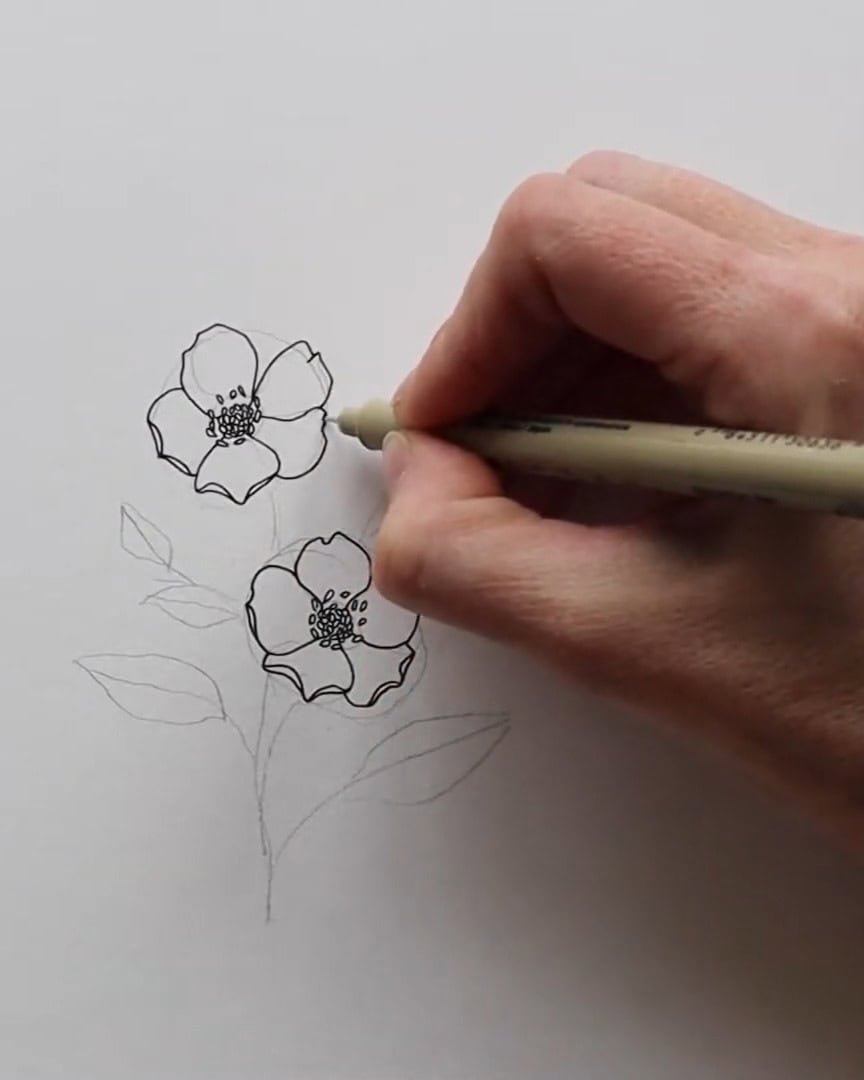
There’s no need for the petals to look the same. The artist likes to change things up:
- Some petals have dips
- Others curve at the tip
- A few even have an extra line to show a fold
These little changes make the petals look more natural and full of movement. The artist goes with the flow and lets each petal be unique.
The artist also adds more curved lines along the edges of some petals to show they’re bending or folding. This adds a lifelike feel to the whole piece.

Again, there’s no need to worry about getting perfect lines. The focus is on connecting each petal back to the center of the flower. The same process is applied to the rest bloom.
Drawing the Stems
When the petals are finished, the artist outlines the stems. This is super simple. The artist just draws two close lines to shape the stem.
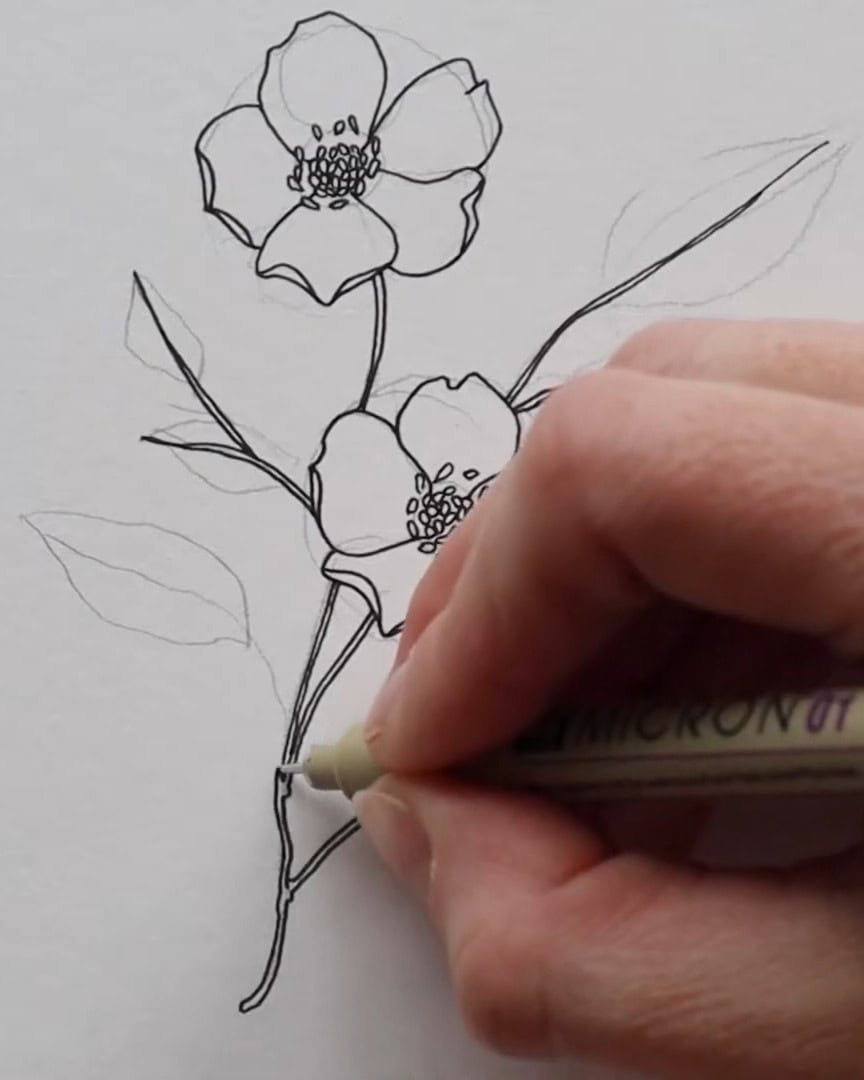
There’s no shading or fancy detail. The artist simply traces the lines from the sketch with two clean lines close together.
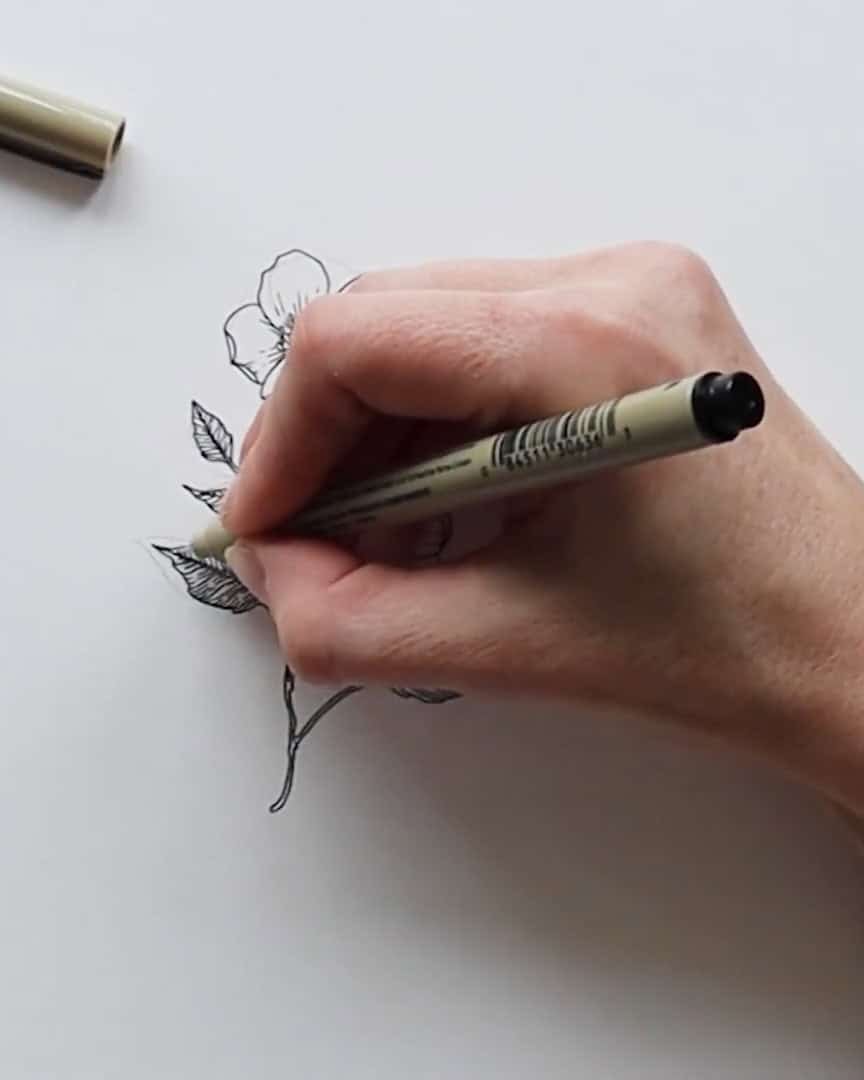
Outlining the Leaves
Now, the artist moves to the leaves. The artist follows the shapes from the pencil sketch but does not aim for perfection. Wild rose leaves often have jagged edges, so the artist lets the pen wiggle a bit. This adds a natural look.
The artist draws a curved line on each side of the leaf, letting them taper to a point. Inside the leaves, the artist adds a central line and traces two lines tapering toward the edges.
The artist outlines all the leaves this way, adding that slightly jagged look. Every line adds more life to the drawing.
Now that everything is outlined—the center, petals, stems, and leaves—the piece is starting to come together.
Step 3: Adding Detail and Depth
Now that the outlines are finished, it’s time to give the drawing some life. Adding simple details can make a big difference.
Shading the Petals
The artist begins with the petals, just like during outlining. The artist uses short, quick strokes to show shadows. Most of these lines are focused near the center of each petal.
That helps to build depth and makes the flower look more realistic. The artist goes around each petal, repeating this technique:
- Short strokes
- Quick motion
- Lines grouped near the base of each petal
This adds just the right amount of shadow without overworking the drawing.
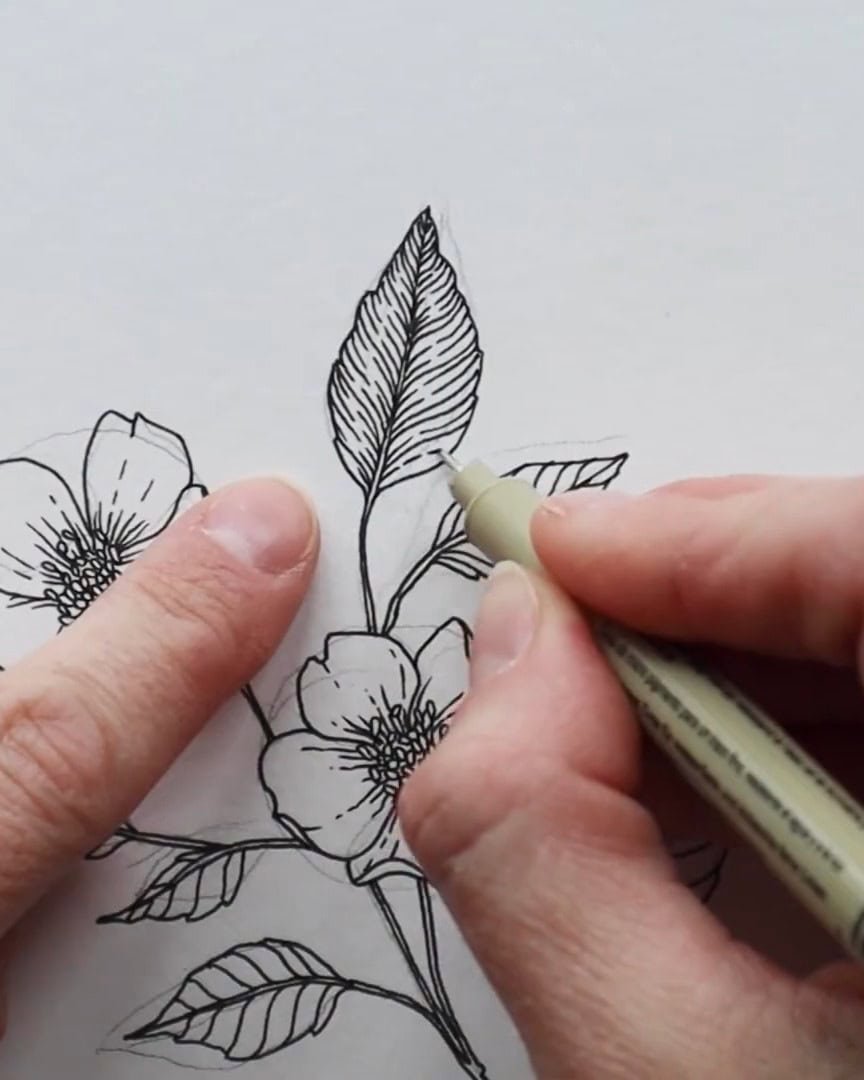
Shading the Leaves with S-Curves
Next, the artist moves on to the leaves. The method used here is different. The artist calls it the “S-curve” technique, and it’s fun.
Here’s what the artist does:
- Start at the leaf’s center vein
- Draw subtle S-shaped curves going outward
- Keep the curves light and gentle
The artist layers these S-curves on both sides of the center line. The goal is to add depth, not too much texture.

While working, the artist rotates the sketchbook to always maintain a comfortable angle. This helps keep the lines smooth and even.
Final Touches for Realism
Once all the S-curves are done, the artist returns with the pen to add the final touches.
Just like the petals, the artist uses light, short strokes again. These are placed along the S-curves, focusing near the central vein and the curved outer edges.
This makes the leaves pop and gives the drawing a three-dimensional feel.
Fancy tools or years of practice aren’t needed for this. Something beautiful can be created with some basic shapes, simple strokes, and a little patience.
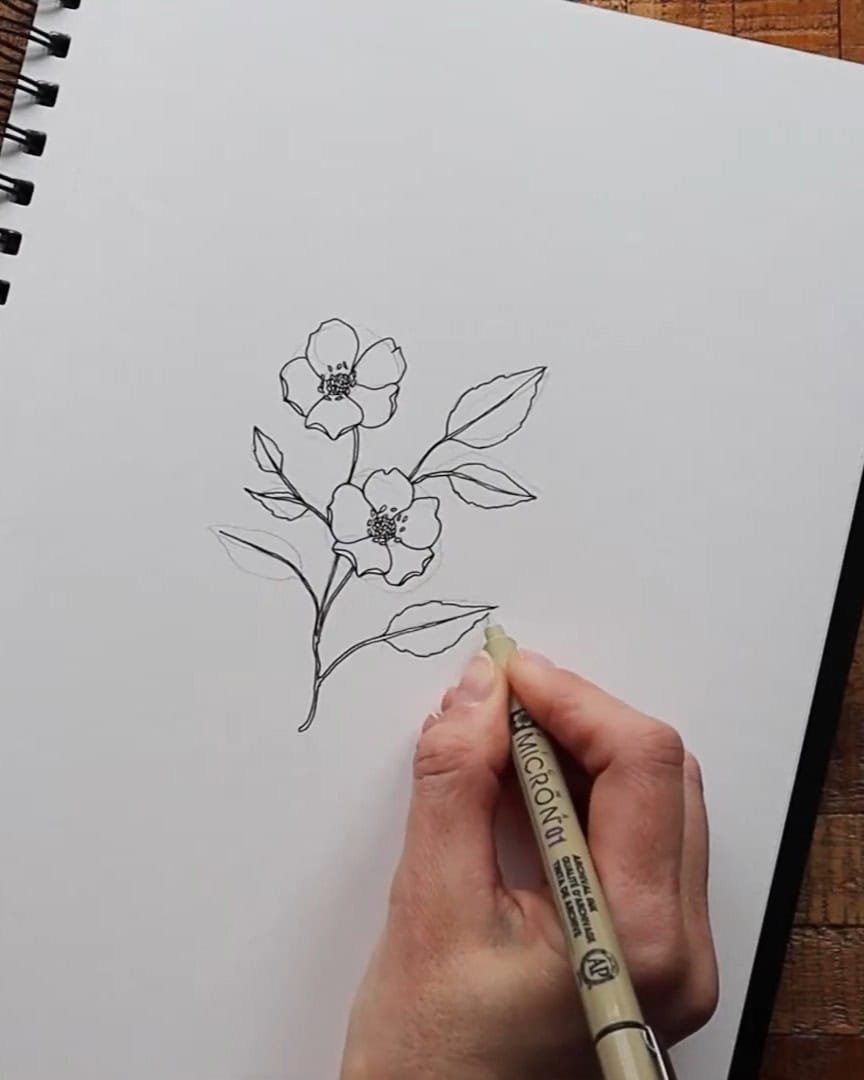
Step 4: Cleaning Up the Sketch
Now that the drawing is complete, it’s time for the final touch. Let’s clean up the sketch lines to make everything neat and polished. The artist uses a kneaded eraser—some people call it a kneadable eraser—and it works perfectly for this step.

Instead of rubbing, the artist uses a gentle dabbing motion. That way, the artist doesn’t lift or smudge the ink lines worked so hard on.
By dabbing lightly:
- The artist removes the pencil lines from the first sketch
- The artist keeps the dark ink clean and sharp
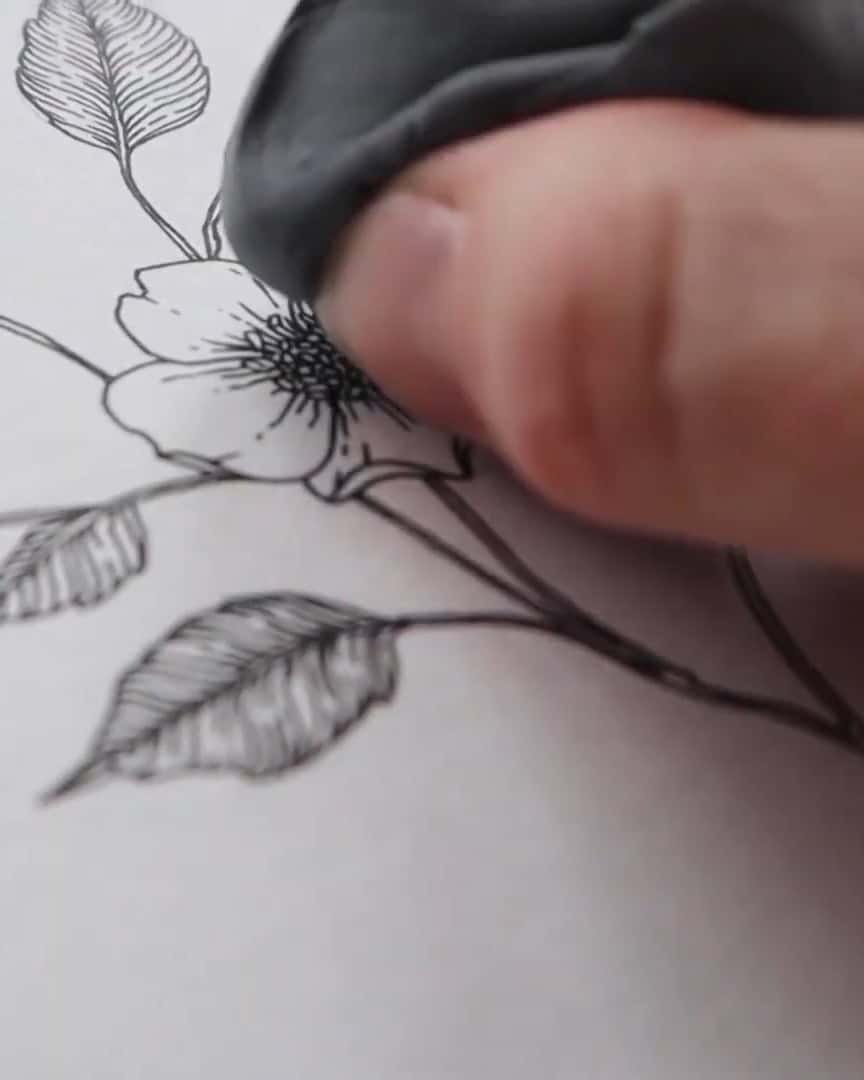
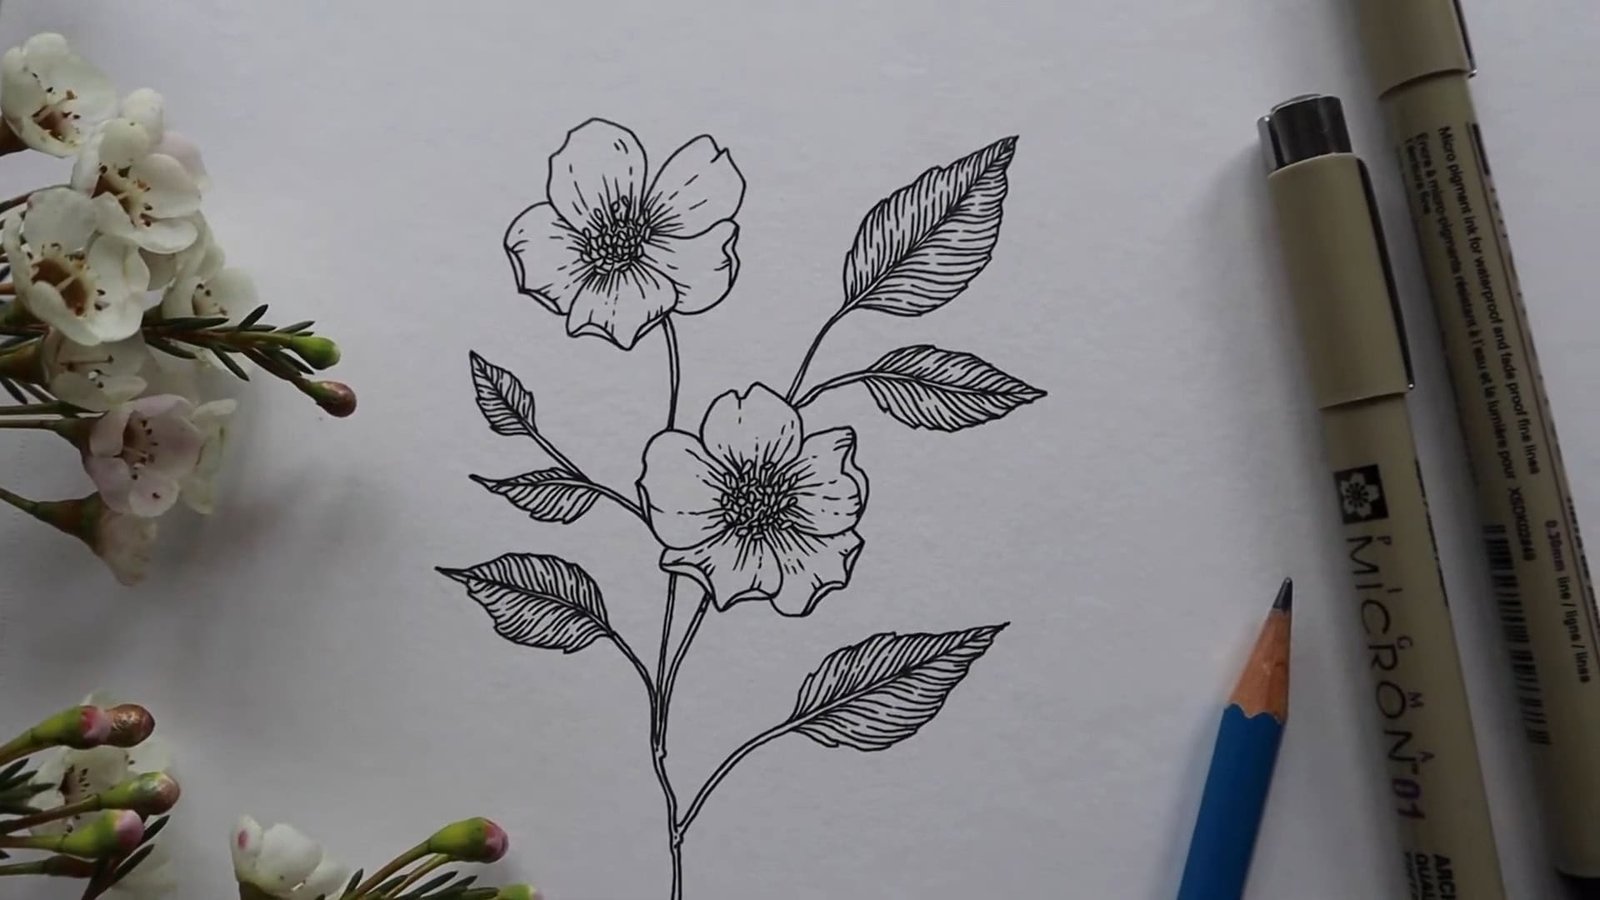
And just like that, the wild rose drawing is done!
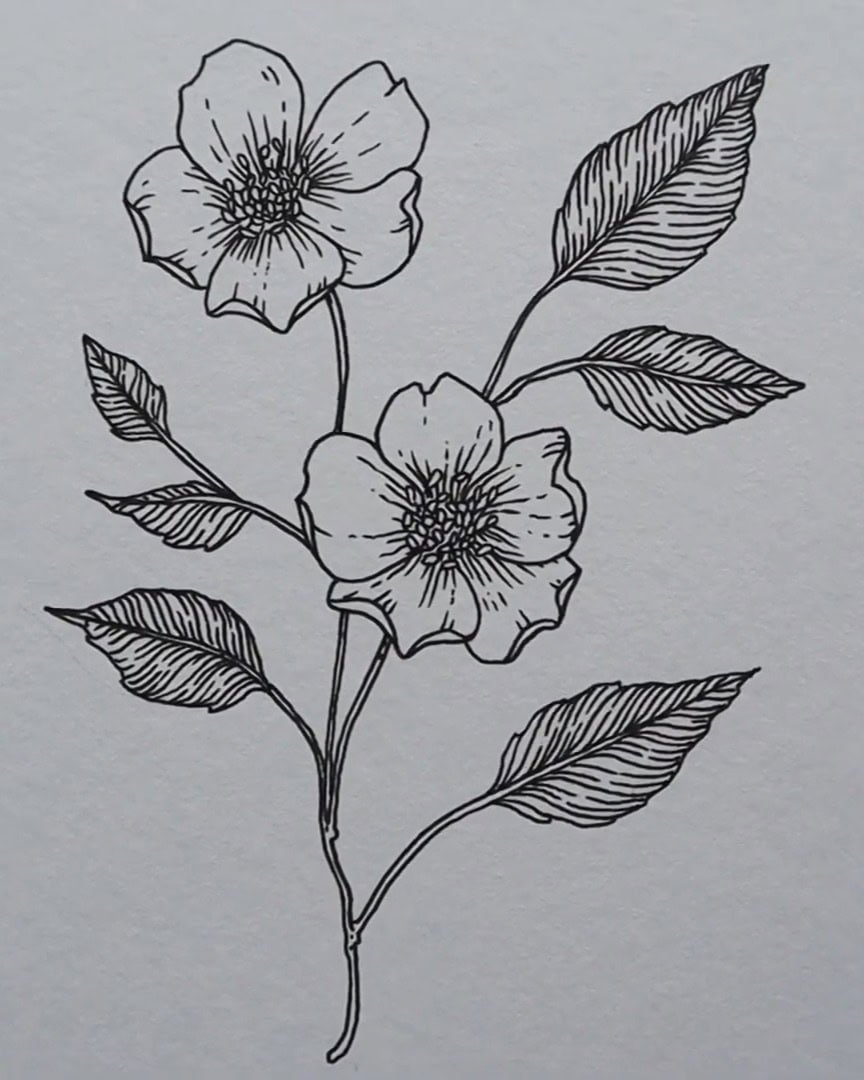
Final Thoughts
Isn’t it amazing what can be created with simple tools and steps? This wild rose drawing may look detailed, but as shown, it’s all about layering basic shapes and lines.
Why not try it yourself and see how relaxing and rewarding it can be? Let your creativity bloom, one petal at a time.