
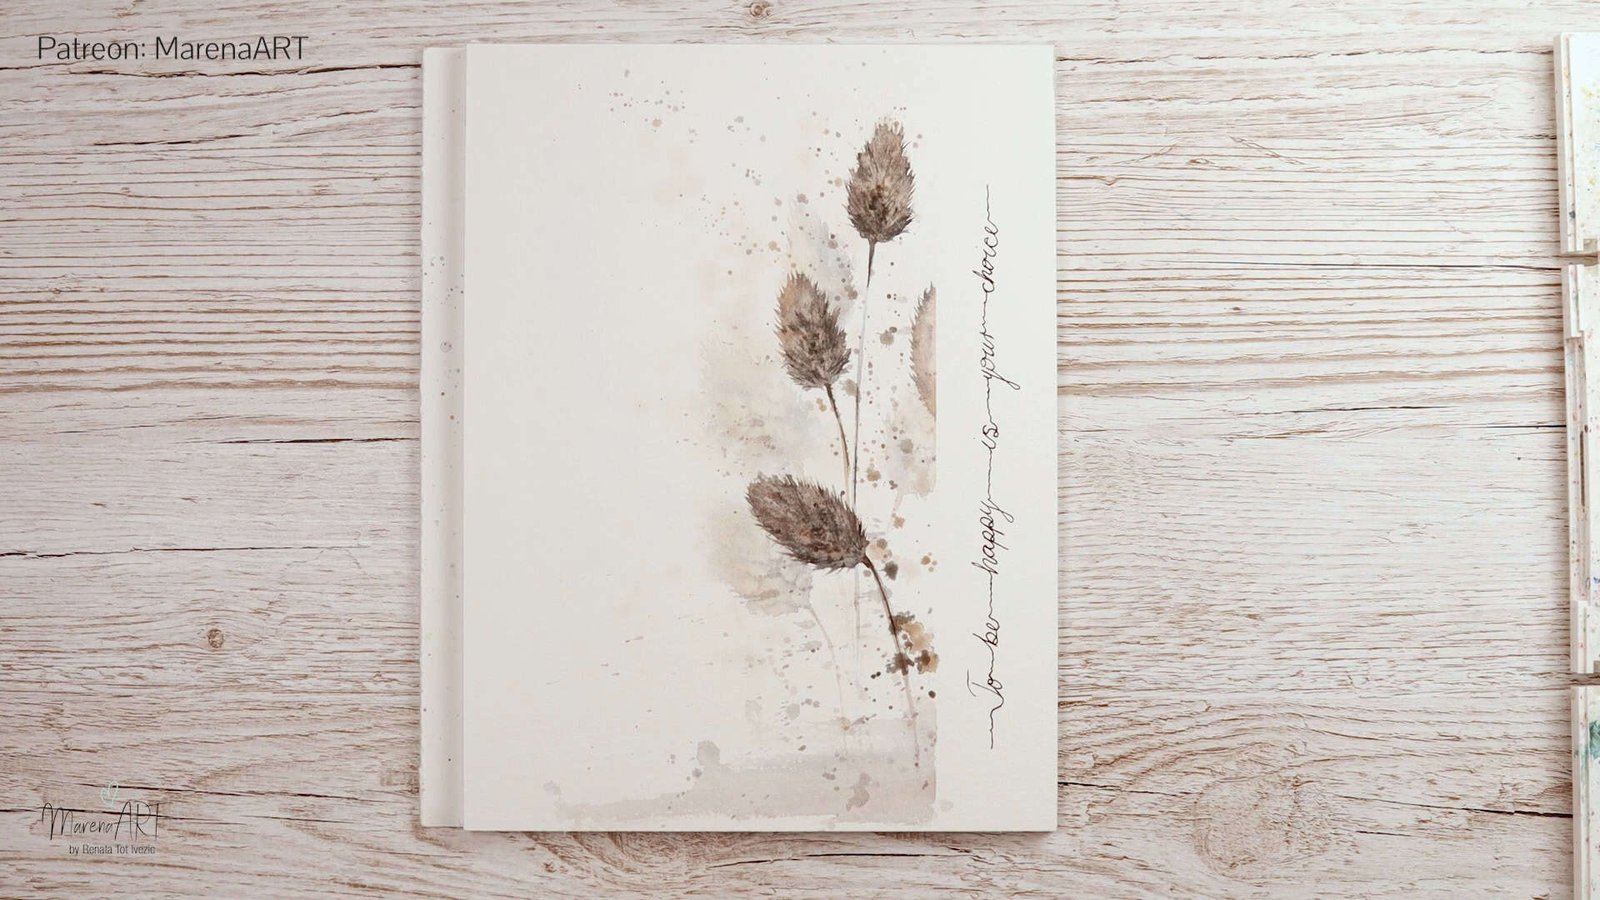
Curious how to create a simple watercolor flower card that looks beautiful but is easy to paint? MarenaART will guide you step by step using basic tools and simple techniques.
Contents
Materials the Artist Will Need
Before the artist starts painting, the artist goes through everything used for this simple flower card. These tools are easy to find and suitable for beginners.
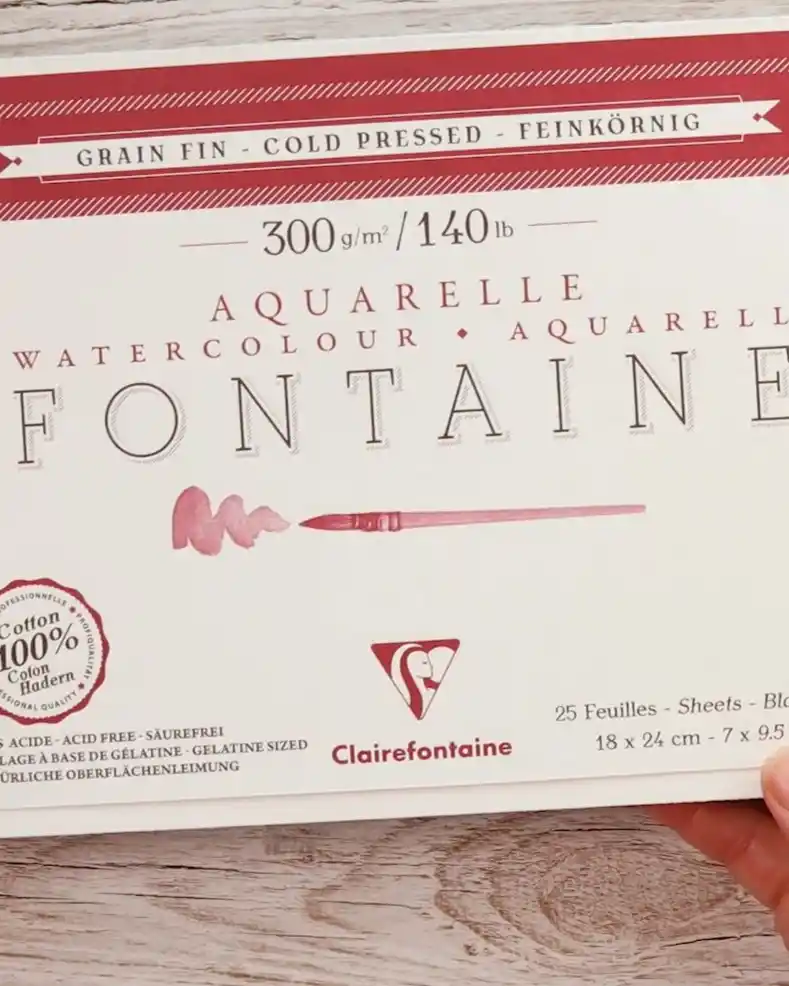
The artist uses Clairefontaine watercolor paper. It’s 300 gsm or 140 pounds and cold press. This paper handles water well and provides a nice texture for soft blends.
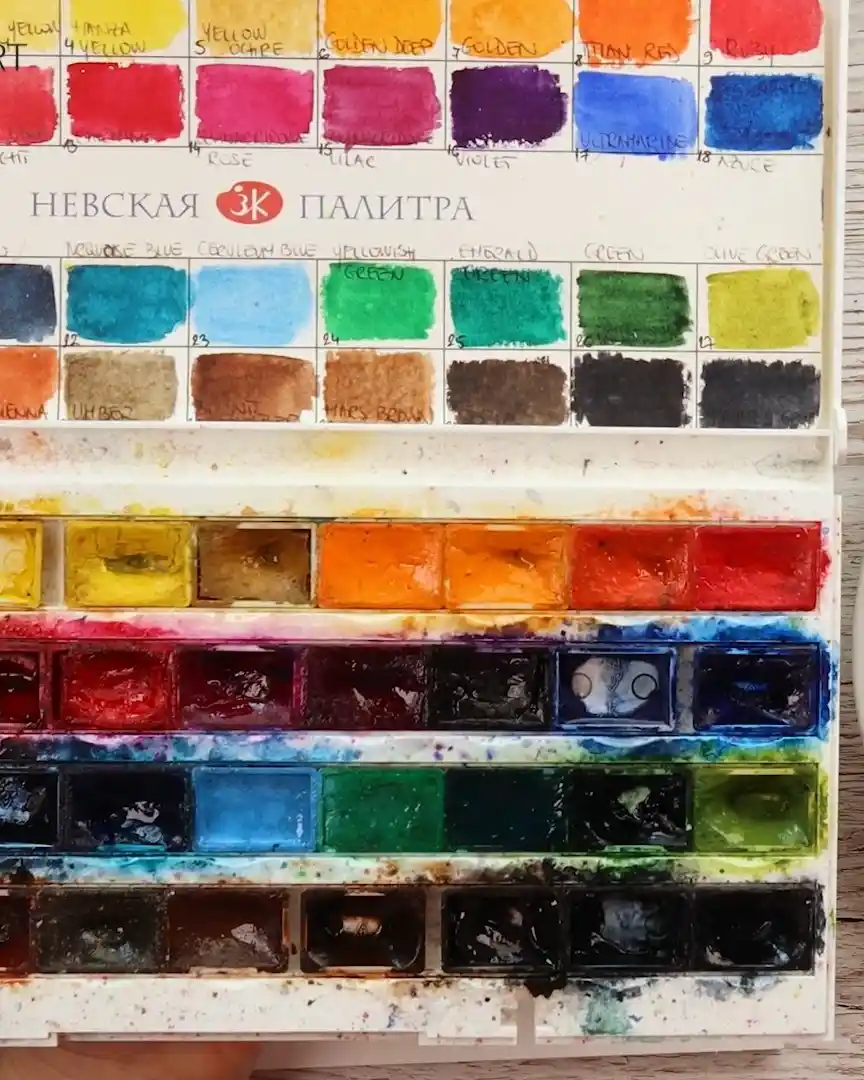
For paints, the artist switches things up a bit and uses White Nights watercolors. The colors selected are:
- Yellow Ochre
- Burnt Umber
- Indanthrene Blue
- Violet
For brushes, the artist takes out four but uses only three:
- Lebenzon brush
- Raphael No. 4
- Dyna No. 8
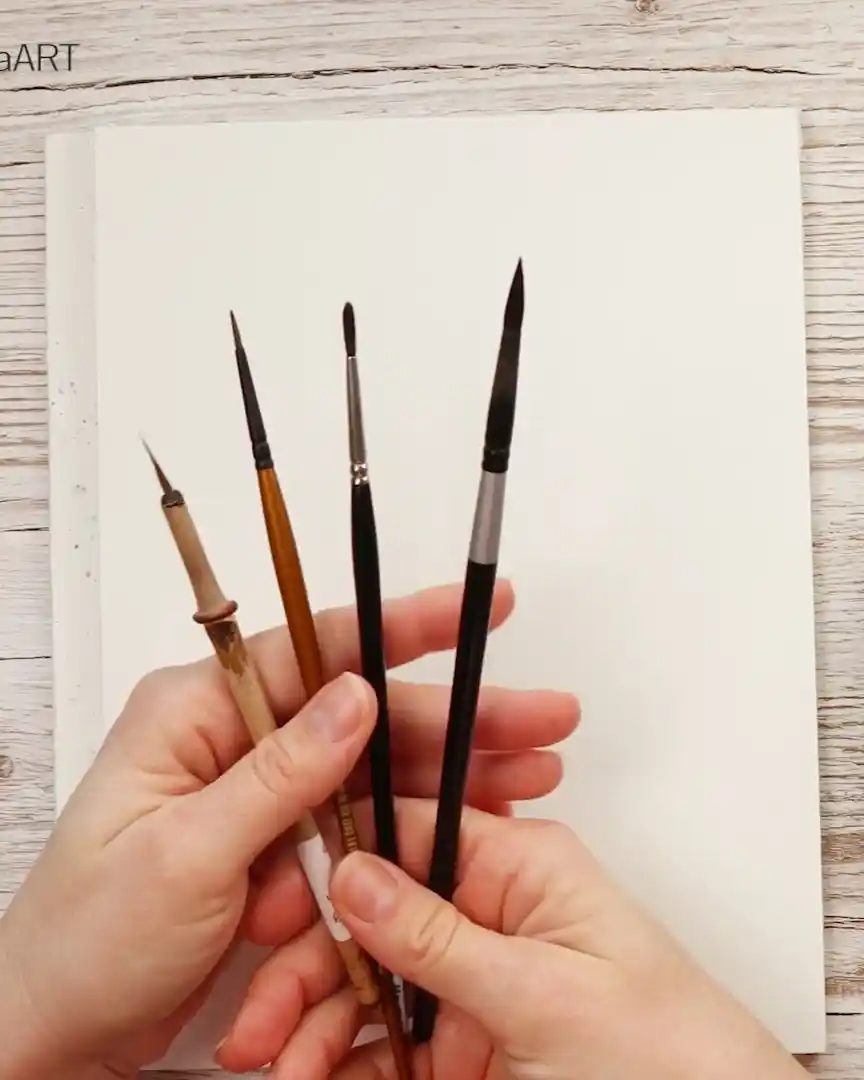
The second brush from the left, a Panart brush, is not used in this painting.
That’s everything the artist uses—nothing fancy, just a few reliable tools that work well together.
Preparing the Paper
Now that the artist has the tools ready, the artist prepares the paper. This step helps keep everything clean and makes the final painting look polished and neat.
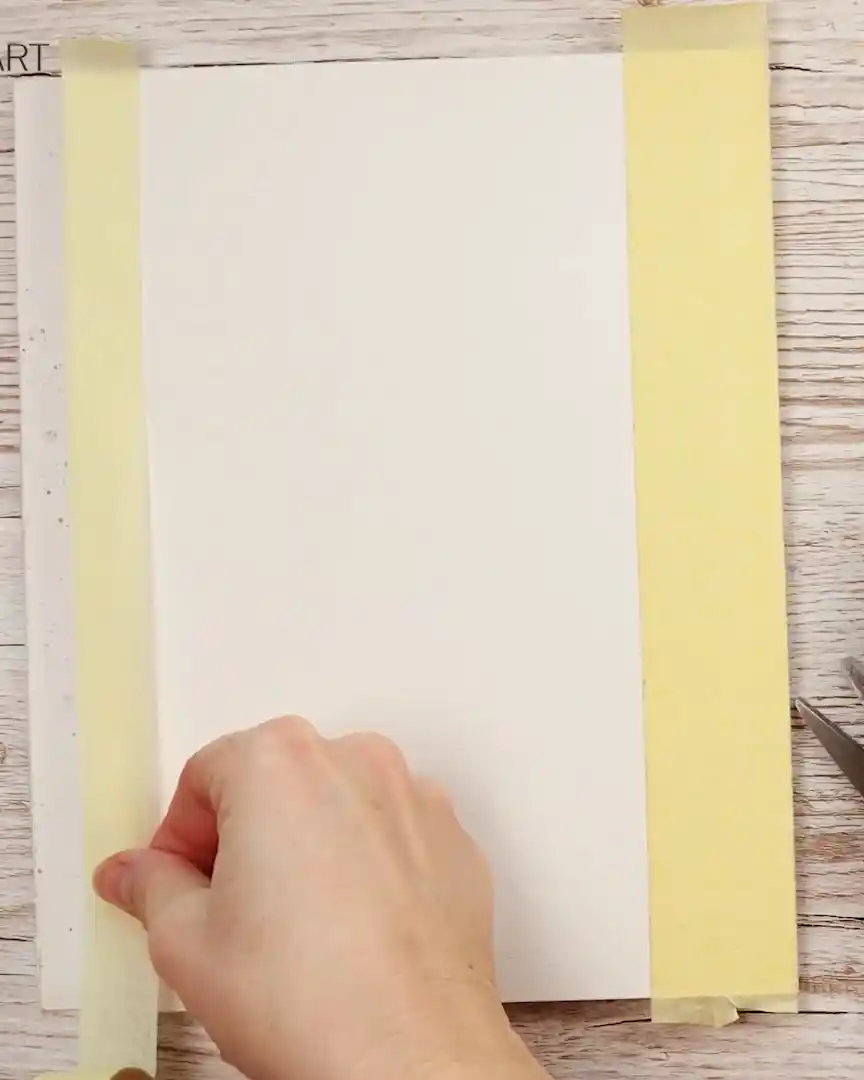
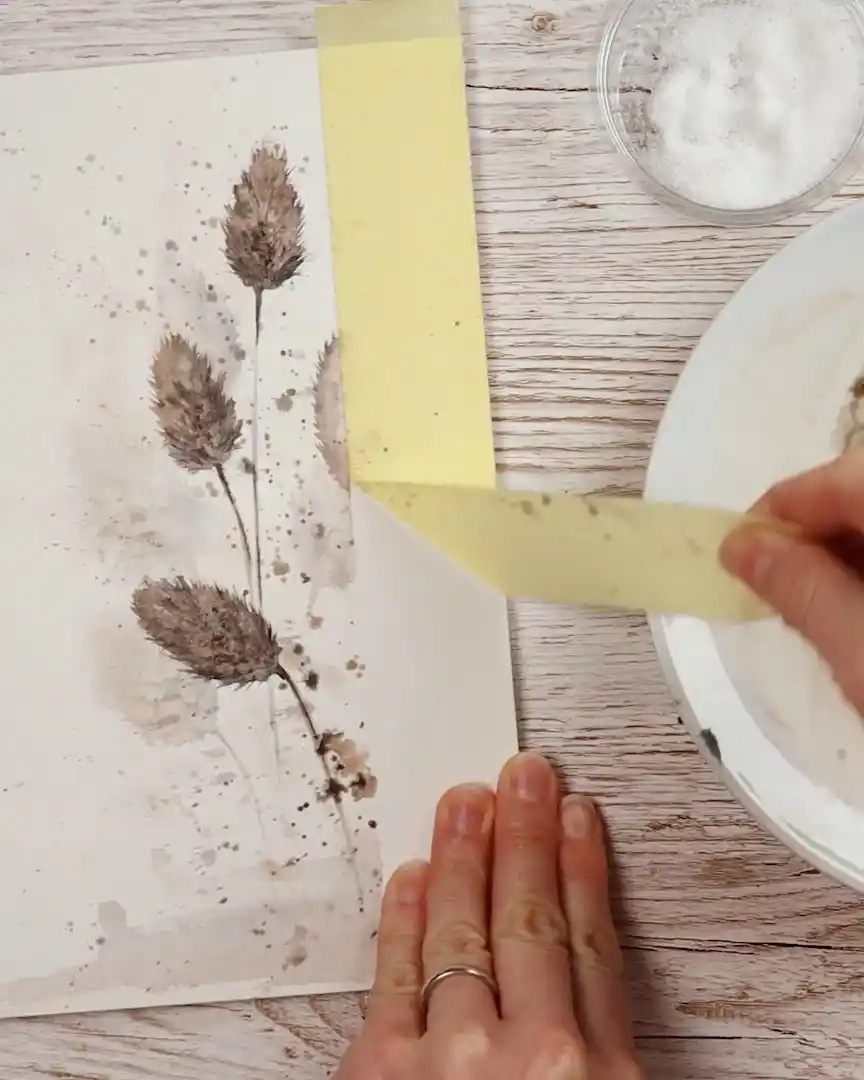
Taping the Edges
The artist starts by gluing tape around the edges of the watercolor paper. This is done because the artist wants the borders to stay white. No paint should get on them. This is especially important for the right side, where a note will be written later.
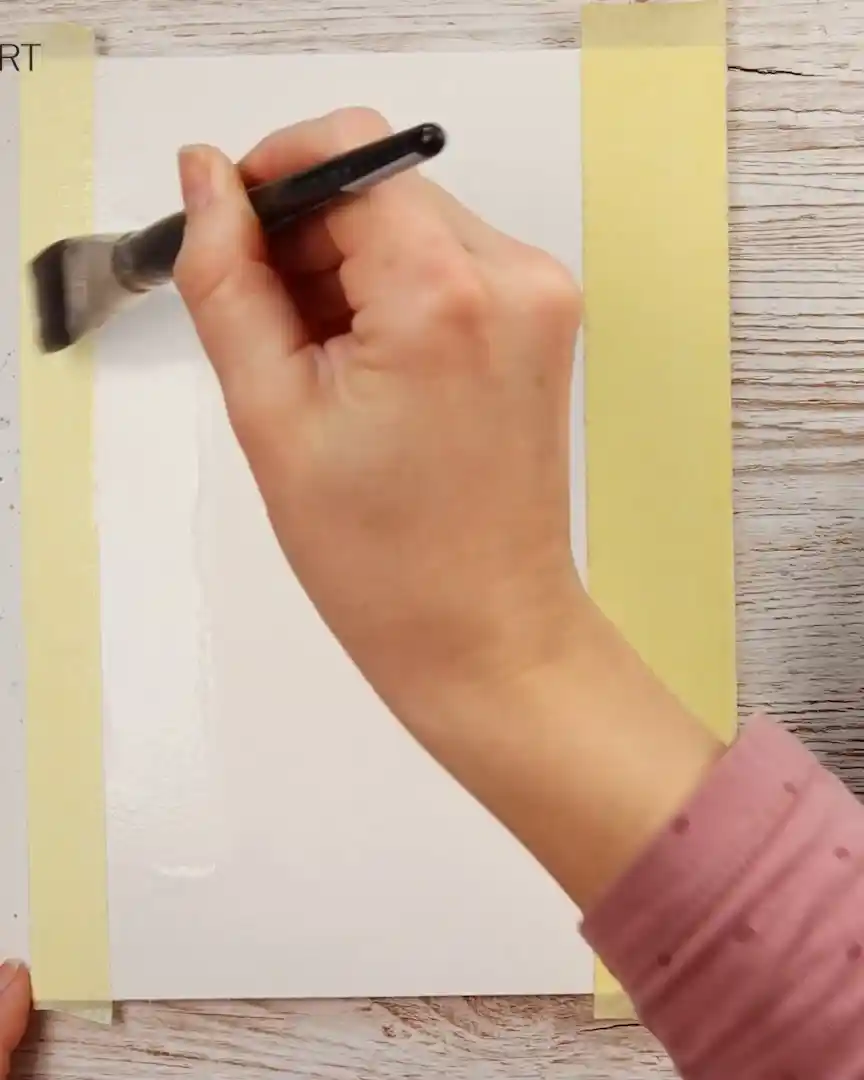
Pre-wetting the Surface
Next, the artist pre-wets the rest of the paper. A large flat brush is used for this step, although any brush can be used for pre-wetting. It does not have to be fancy.
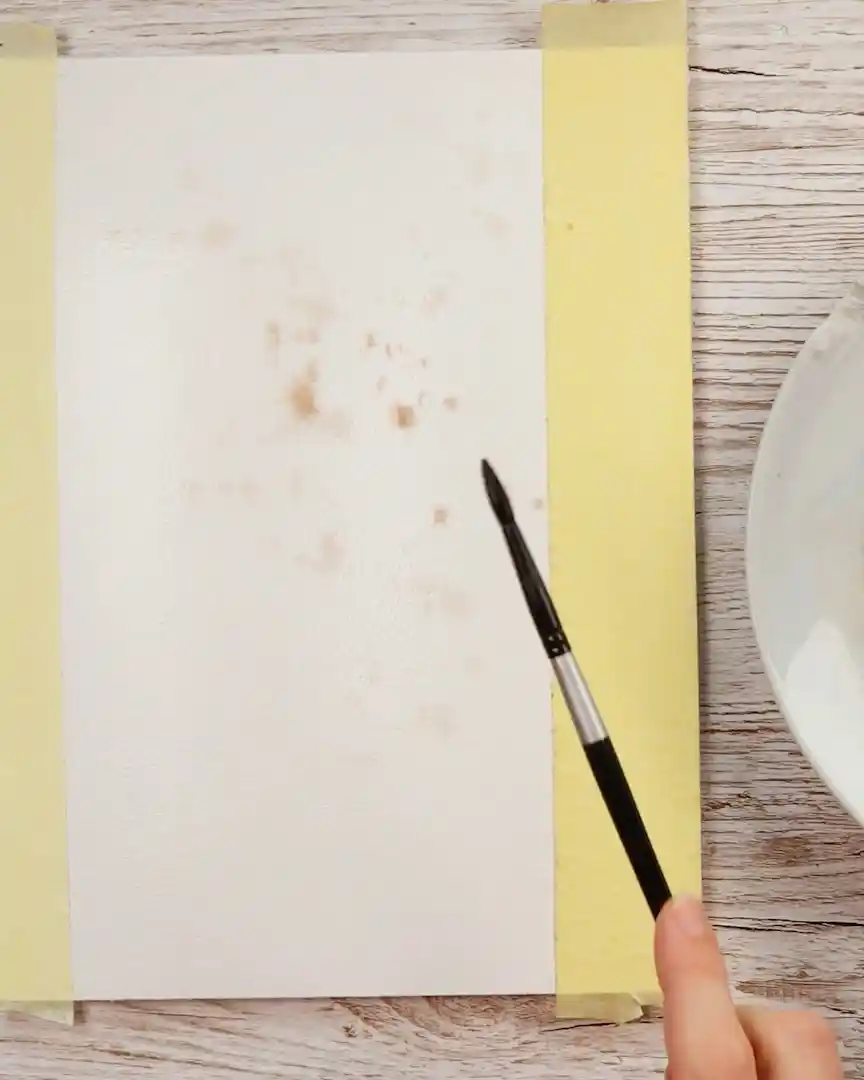
Adding the First Layer of Paint
Now the artist mixes a few colors:
- Burnt Umber
- Yellow Ochre
- A small amount of Violet
With these, the artist does some paint splattering across the paper. All painting is kept on the right side, where the flowers will be placed. The left side is left completely white.
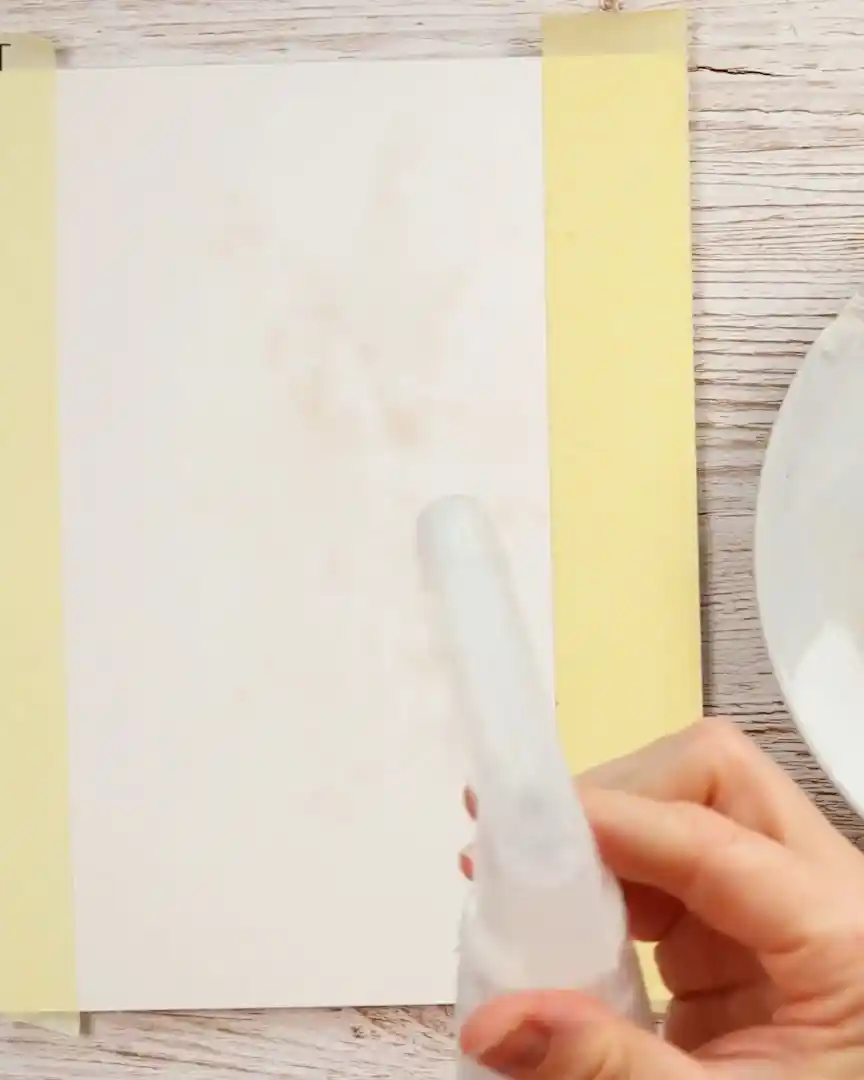
After that, the artist lets the paper dry completely. This helps lock in the background effects before moving on to the next layer.
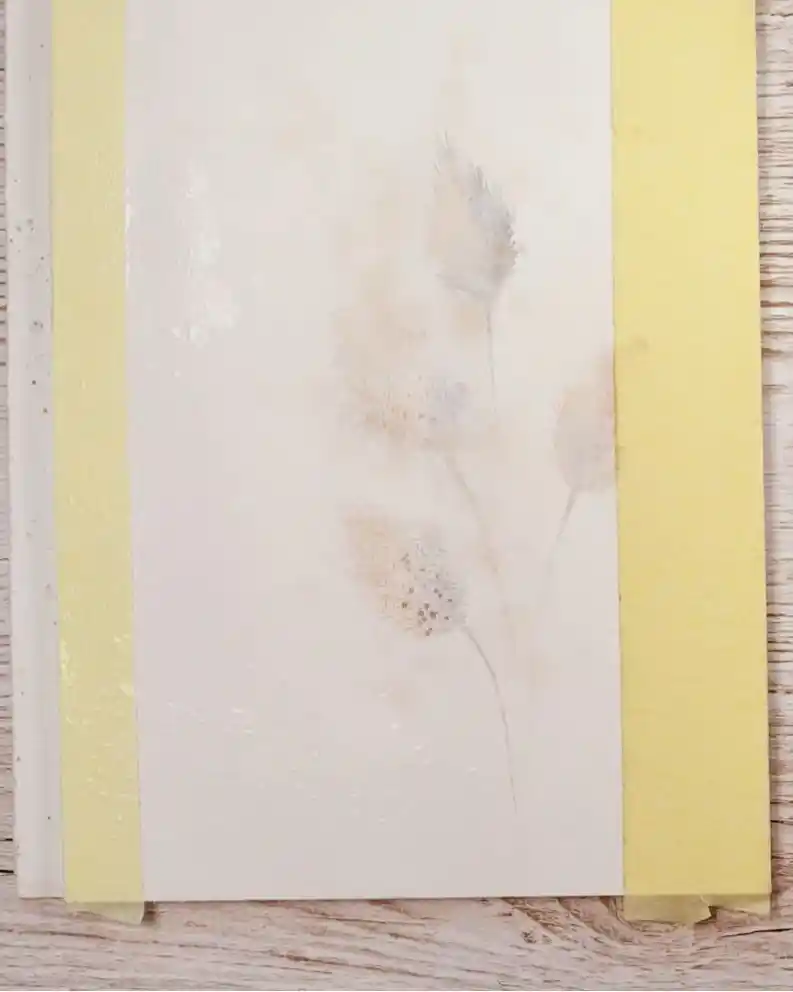
Painting the First Layer of Flowers
Once the paper is dry, it is time for the artist to paint the flowers. This layer is kept soft and light to create a beautiful base for the next steps.
Spraying the Paper Lightly
The artist does not want the entire paper to be wet—only certain areas. So the artist sprays lightly with clean water using a spray bottle. This creates a mix of sharp edges and soft bleeding effects in the paint, adding a gentle touch to the background.
Using Light Washes of Color
For the first layer, the artist uses light washes to keep the flowers soft and delicate. Colors used include:
- Indanthrene blue
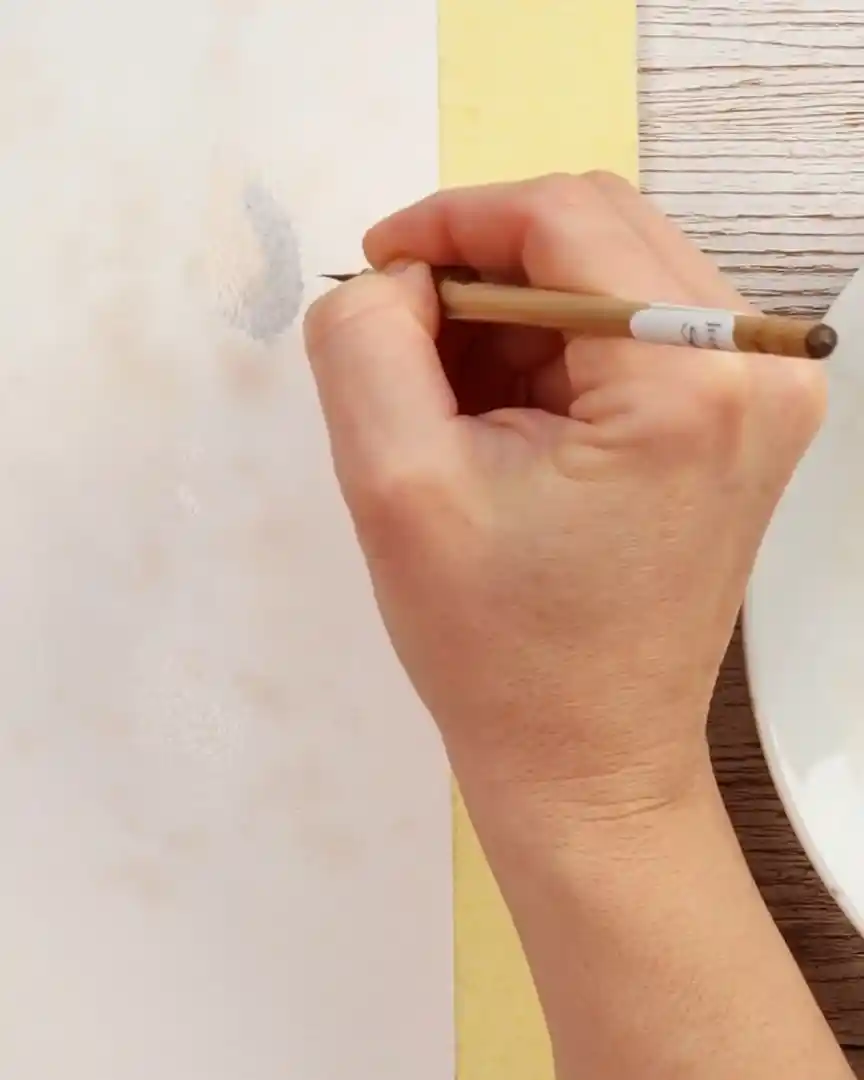
- Light brown wash (a soft mix using Burnt Umber)

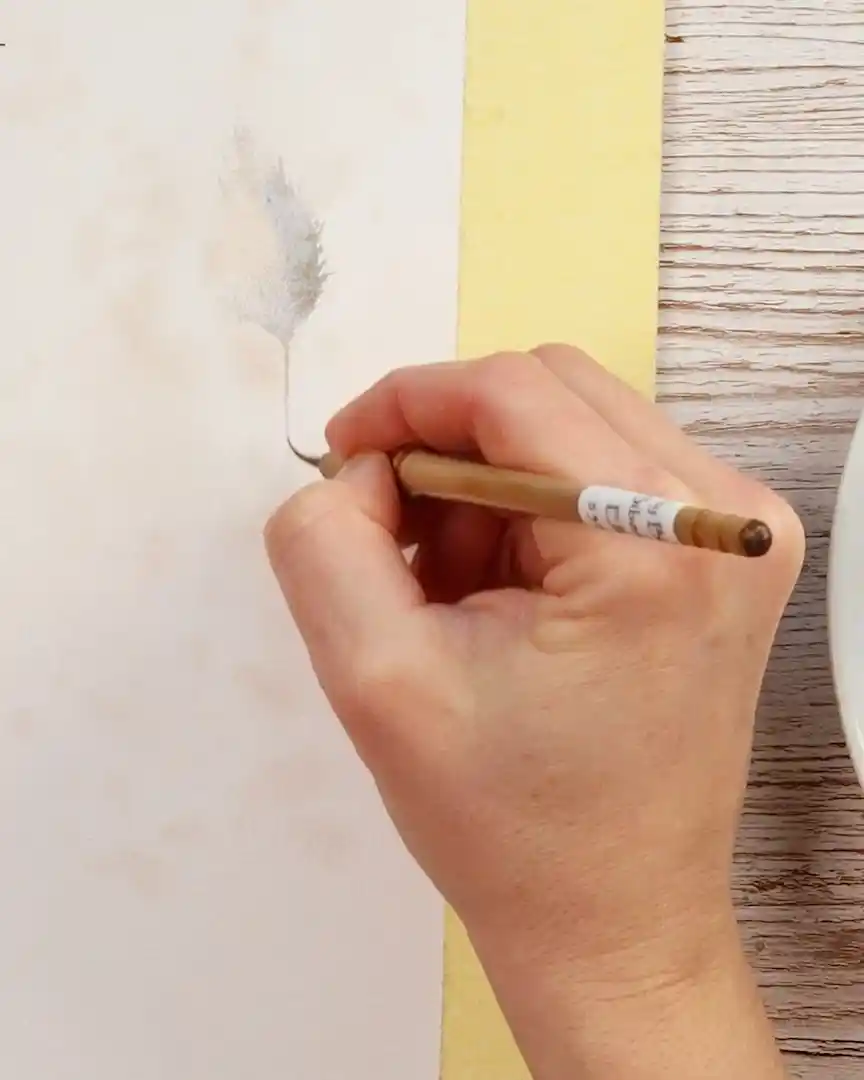
The artist applies the paint with the Lebenzon brush, gently moving along the flower edges and feathering them. Small spikes are created around the edges to mimic loose petals.
The artist also paints the stems, but does not extend them down to the bottom of the page. This gives the flowers a soft, floating appearance.
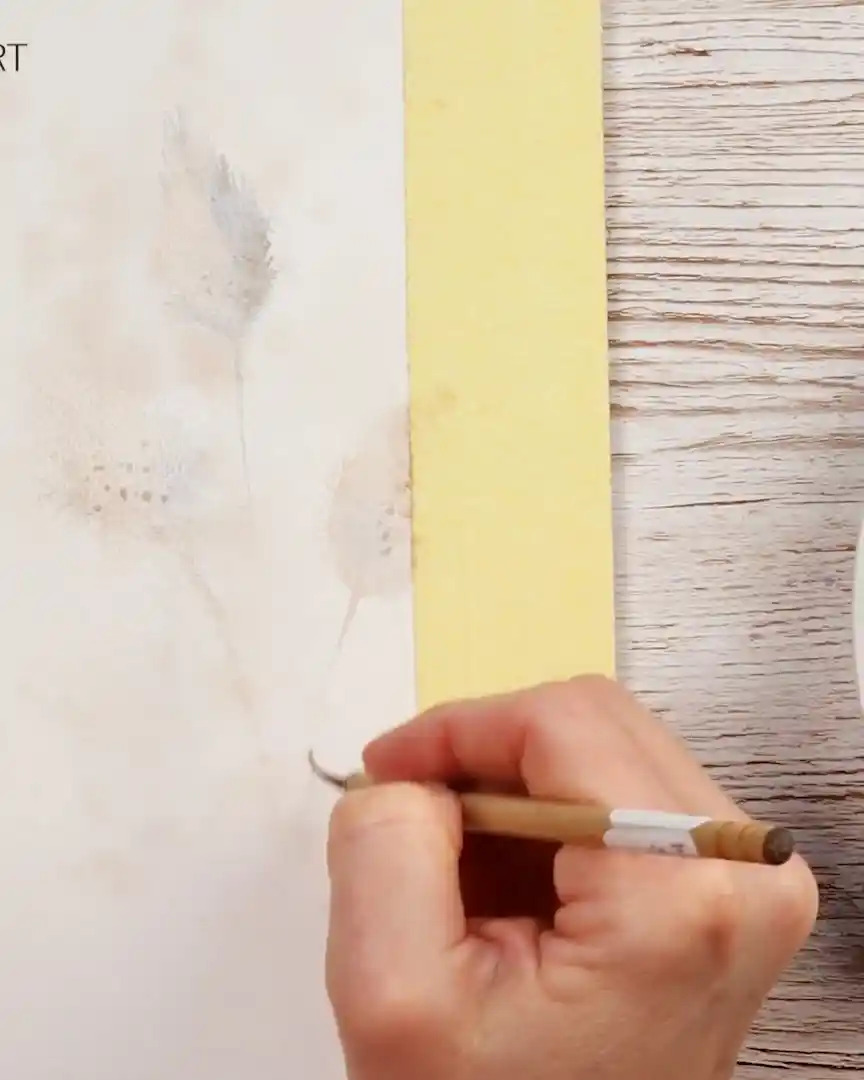
 Paint the stem
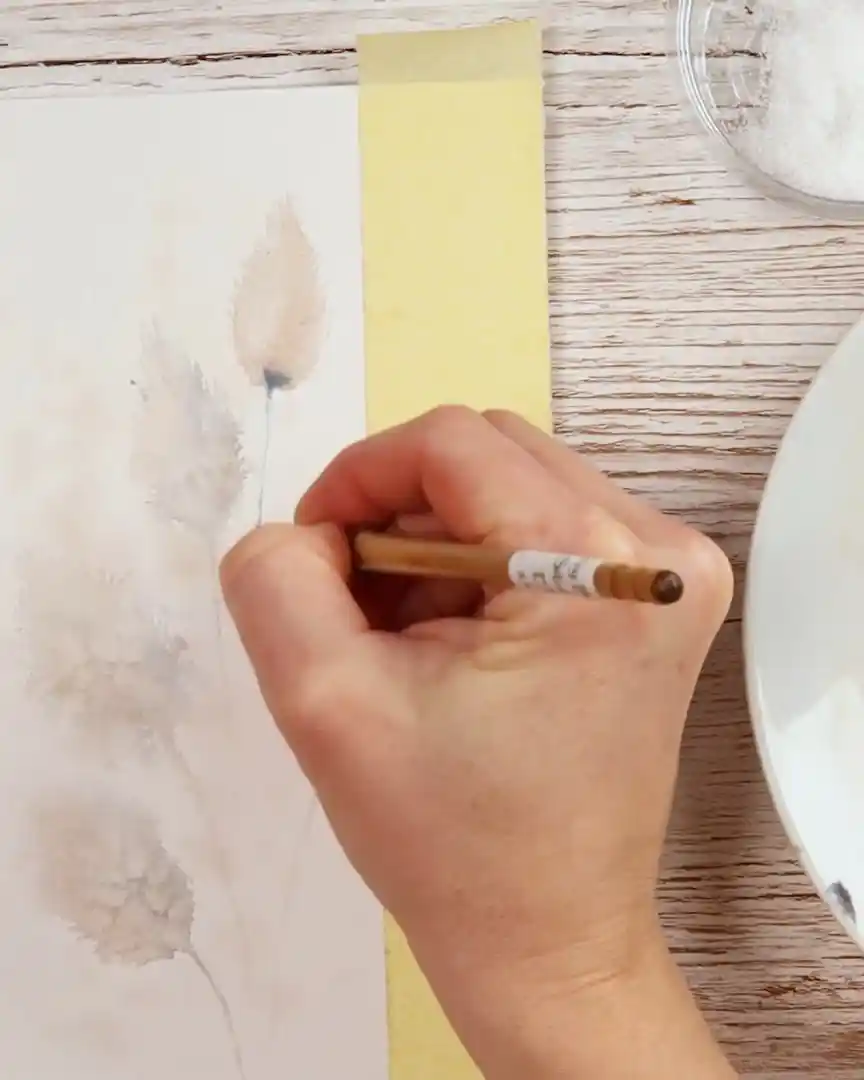
Repeating for Each Flower
The artist repeats the same process for the second and third flowers.
The artist applies a light brown wash, adds some indanthrene blue, and feathers the edges again.
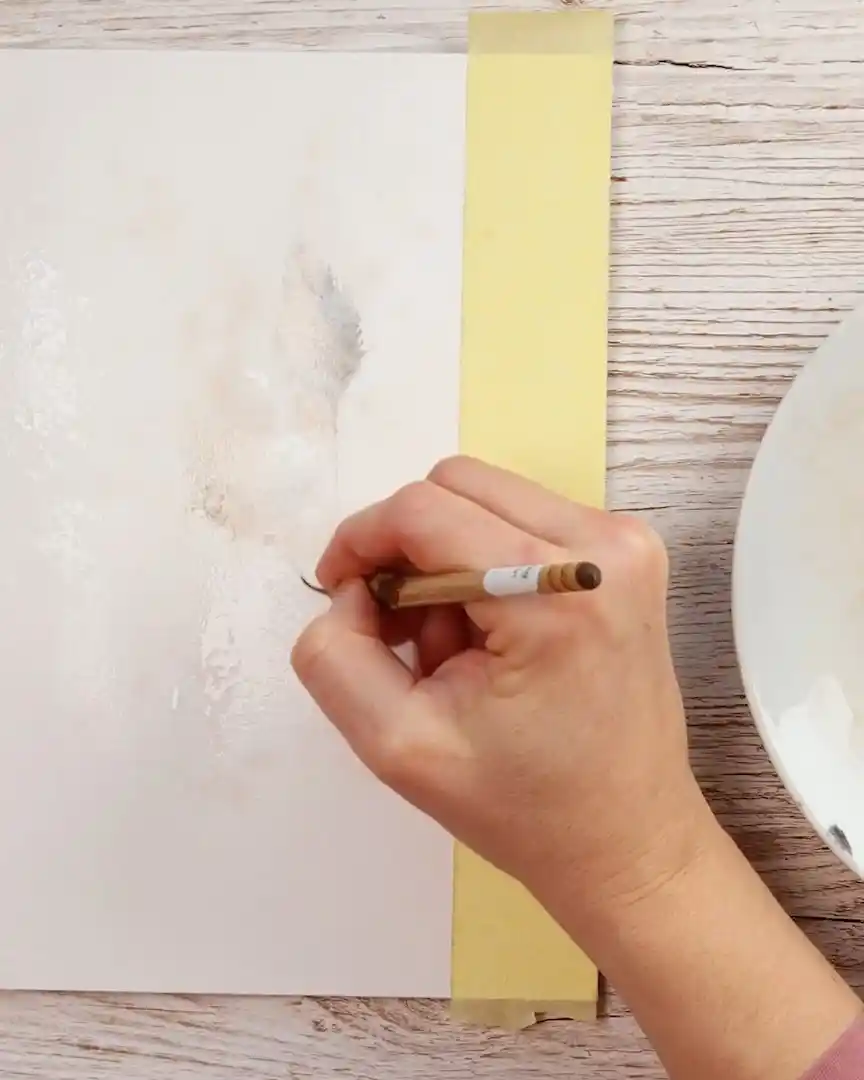
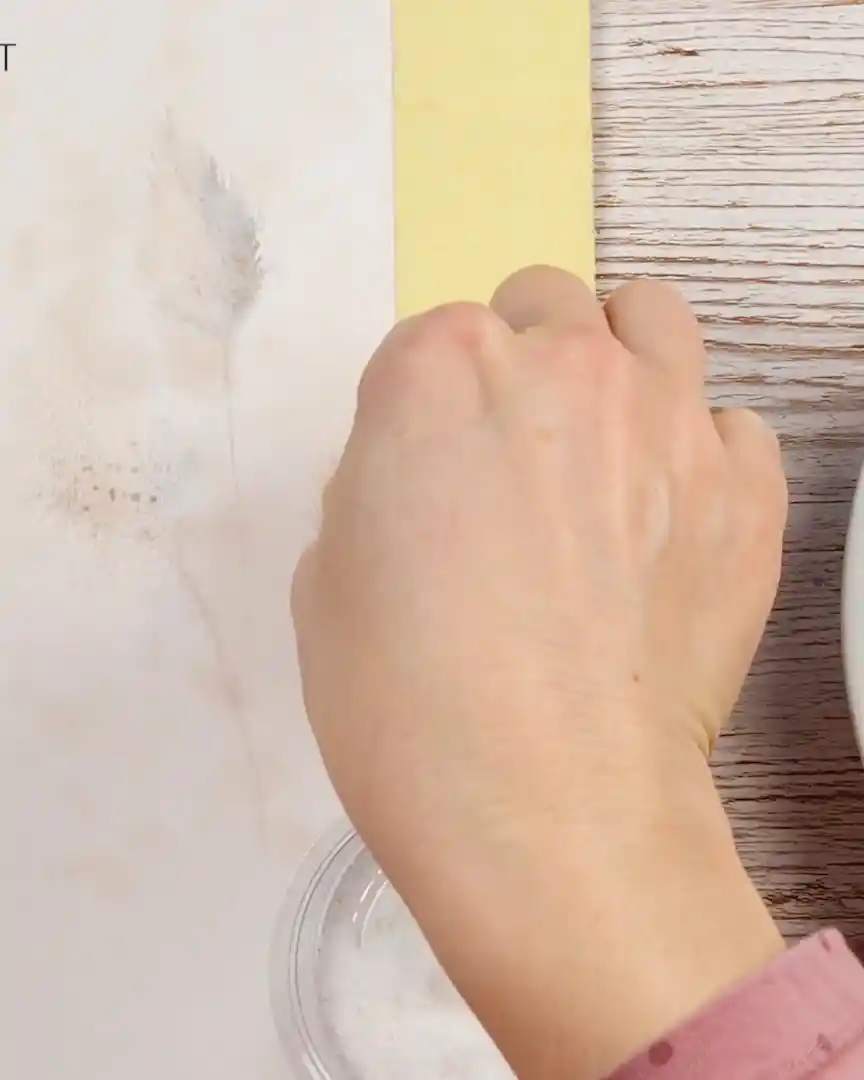
Adding Salt for Texture
Before the paint dries, the artist sprinkles salt over each flower. This creates a lovely texture effect as the paint dries.
Then, the artist draws the stem.
The artist also paints another flower — the fourth flower. For this flower, very light washes are used as well. Keeping the colors soft helps build depth when more layers are added later.
Before letting the painting dry, the artist adds salt to the last flower for extra texture.
Letting It Dry Naturally
This part is essential — the artist lets the paper dry completely. A hairdryer is not used because that would stop the salt from creating its natural effect. The artist simply allows the paint and salt to work their magic.
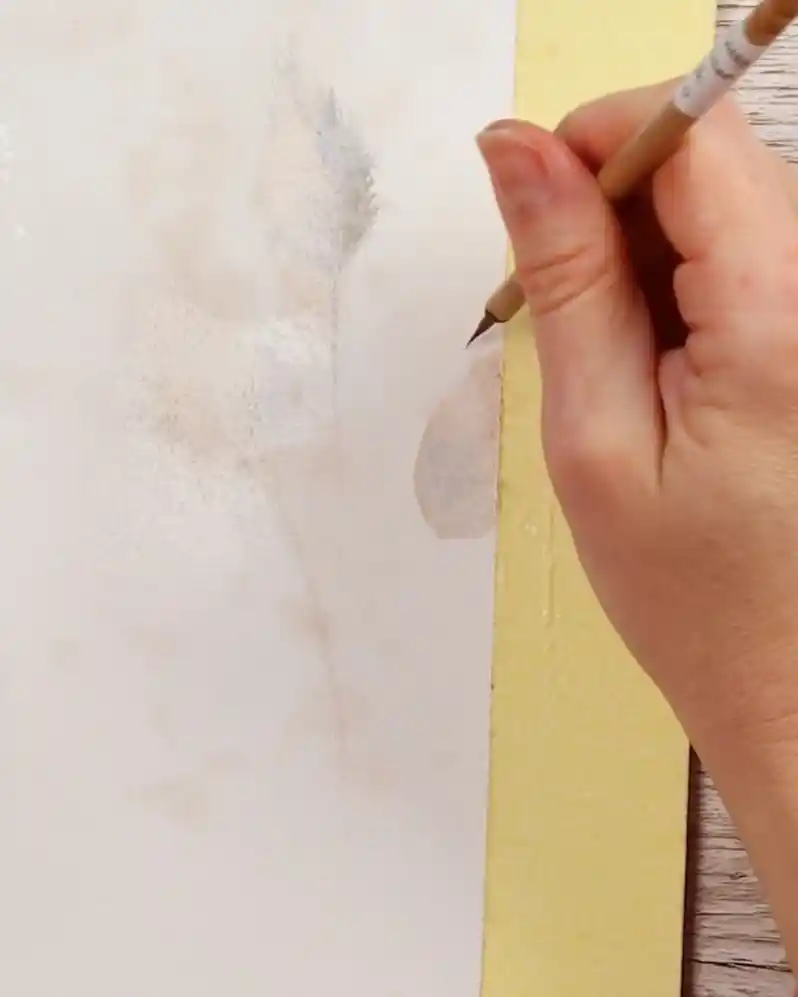
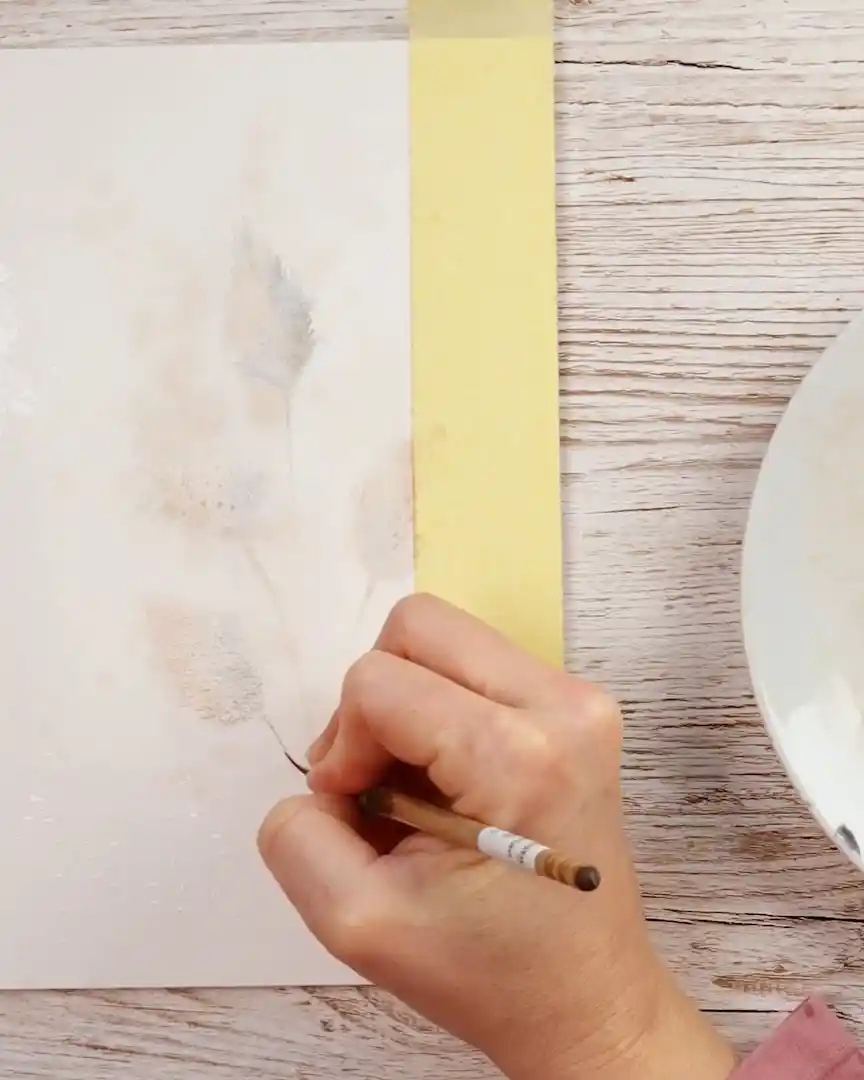
Painting the Second Layer of Flowers
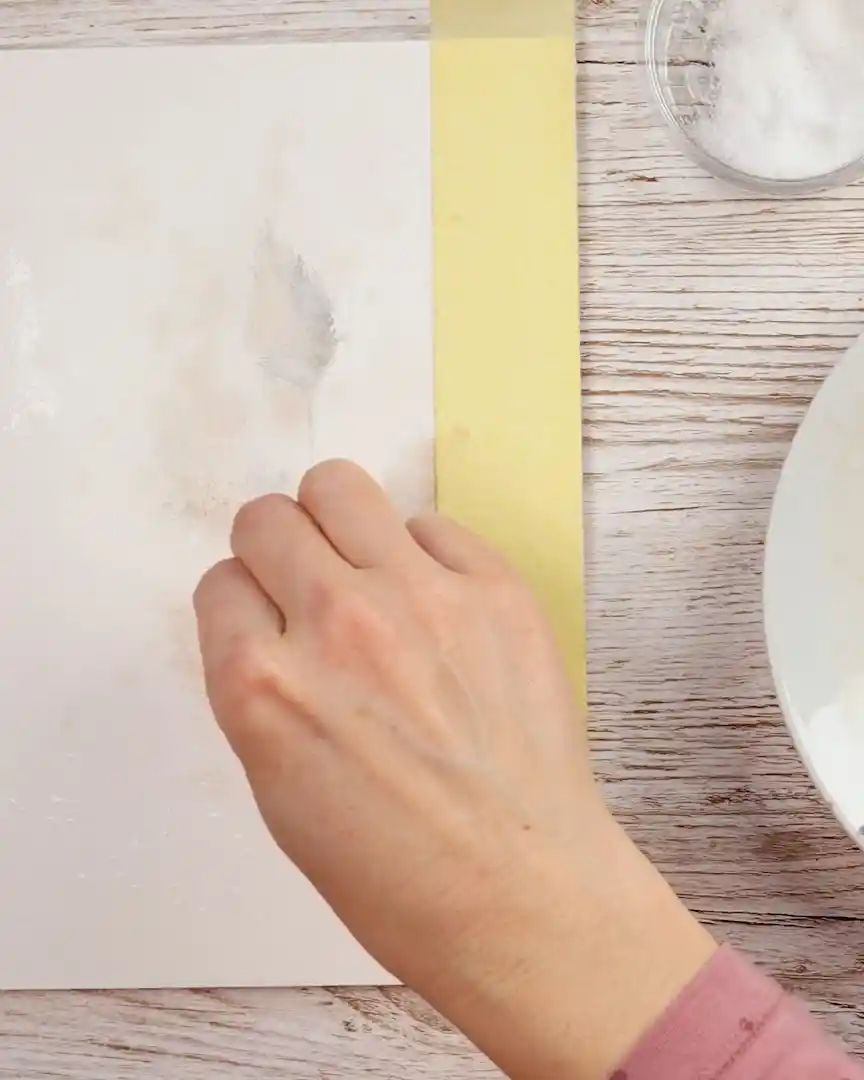
Now that the first layer is fully dry, the artist moves on to the second layer. All the salt is removed. This time, the artist wants sharper details and deeper color.
No Water for Sharp Edges
The artist does not spray any water before painting this layer. Clean, sharp edges and no bleeding at all are desired. Skipping the water helps keep everything neat and crisp.
Using Darker, Richer Paints
The artist uses more saturated colors this time. The goal is to make the flowers look deeper and more defined. Here’s what the artist does:
- Add a light brown wash
- Layer a bit more indanthrene blue
- Use my brush to feather out the edges slightly
- Add a bit more paint where needed
- Sprinkle a little salt again for texture
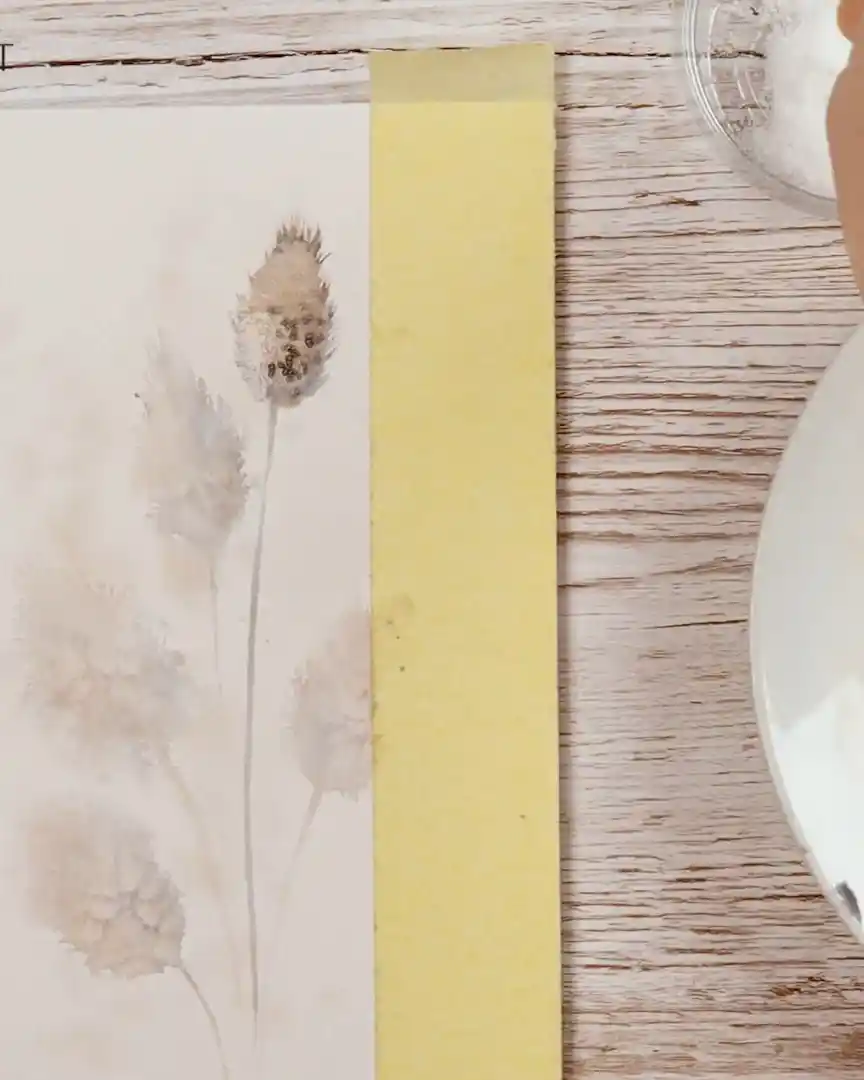
Repeating for Each Flower
The artist repeats the same process for all the flowers. Just like before, each one is finished with a touch of salt. Then, the artist leaves the paper to dry slightly before moving to the next step.
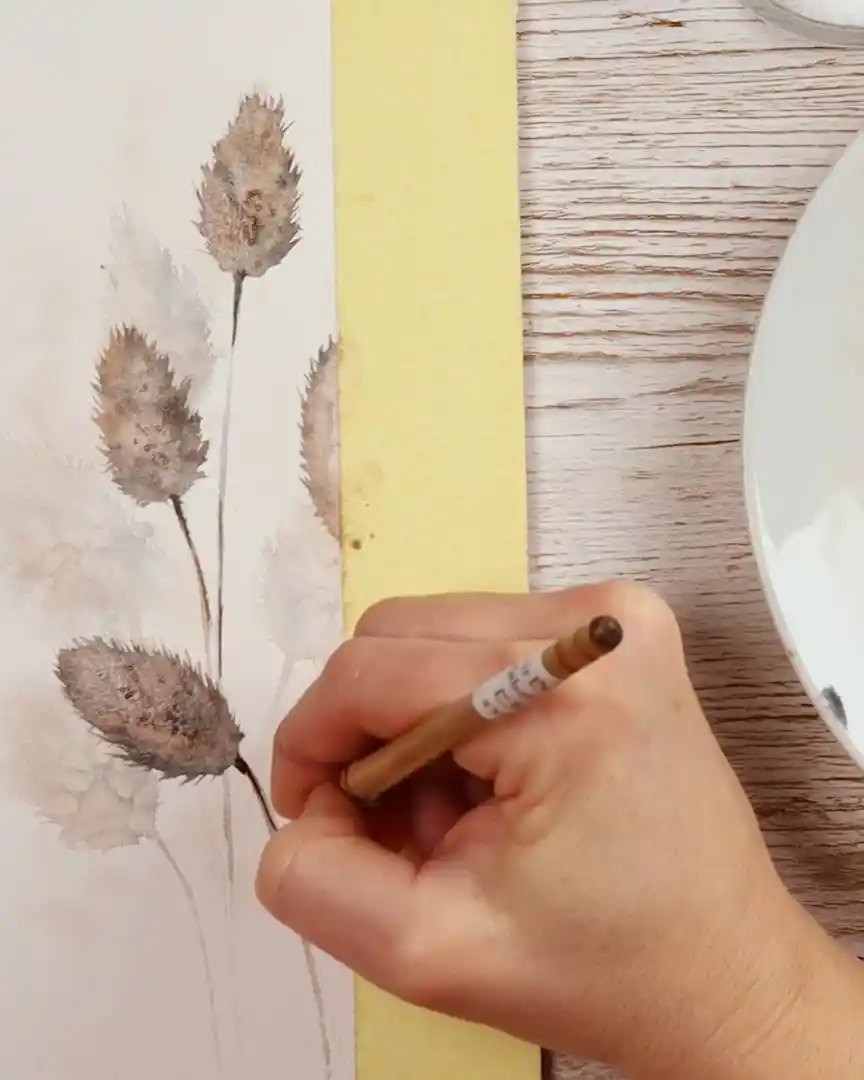
Final Touches to the Flowers
With the second layer drying but still a bit damp, the artist adds some final details to bring the painting to life.
Deepening the Stems
The artist mixes burnt umber and indanthrene blue to create a darker, grayish-blue color. Using this mix, the artist makes the stems richer and more defined.
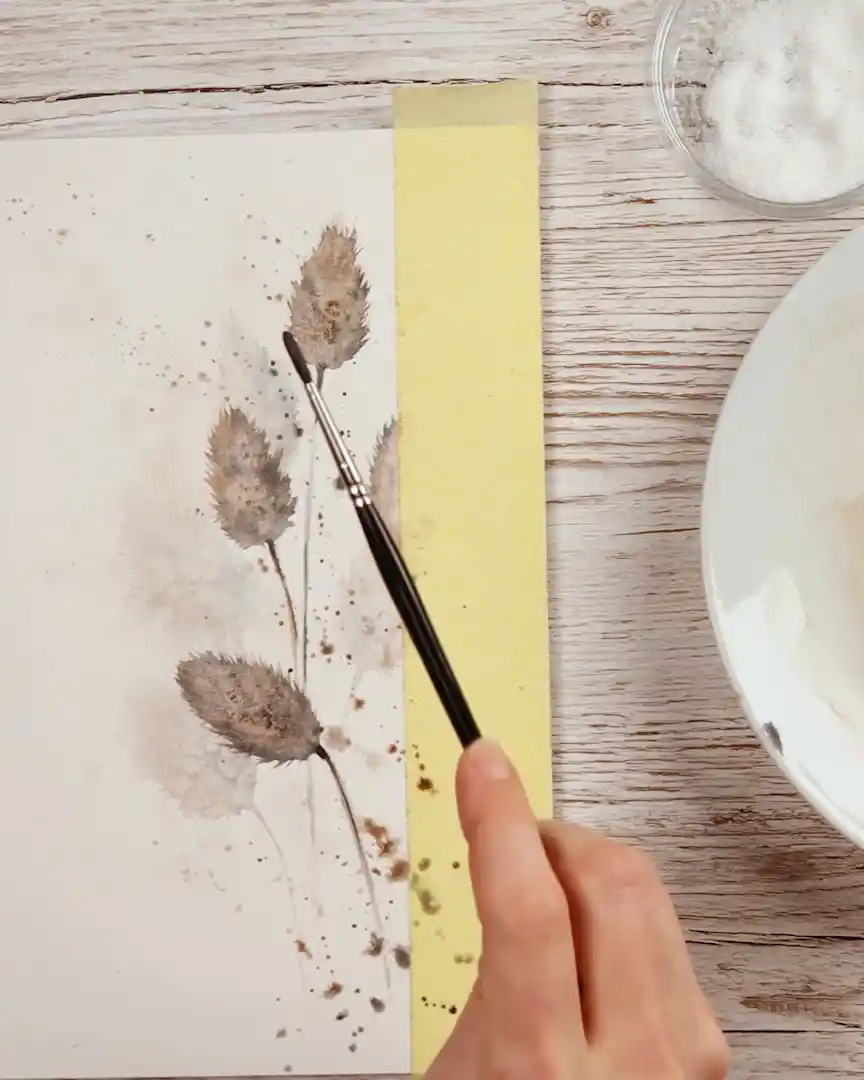
Adding Splatter and Bottom Detail
The artist splatters small dots of burnt umber and the blue-brown mix across the flowers. The splatters are kept mainly on the right side, where most of the painting is. The artist adds a simple bottom element for fun—it feels right.
Finishing Up
While the paint is still drying, the artist adds more of the darkest color mix for depth. Then, the artist lets everything dry completely before moving on.
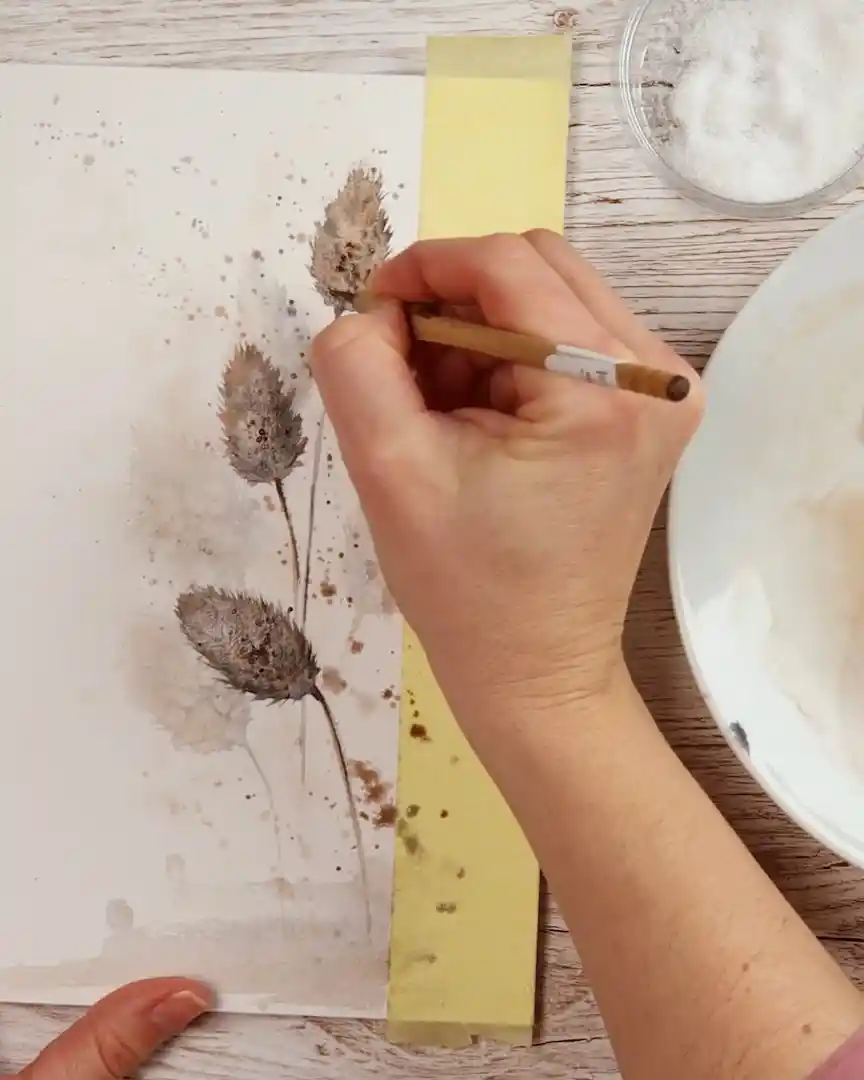
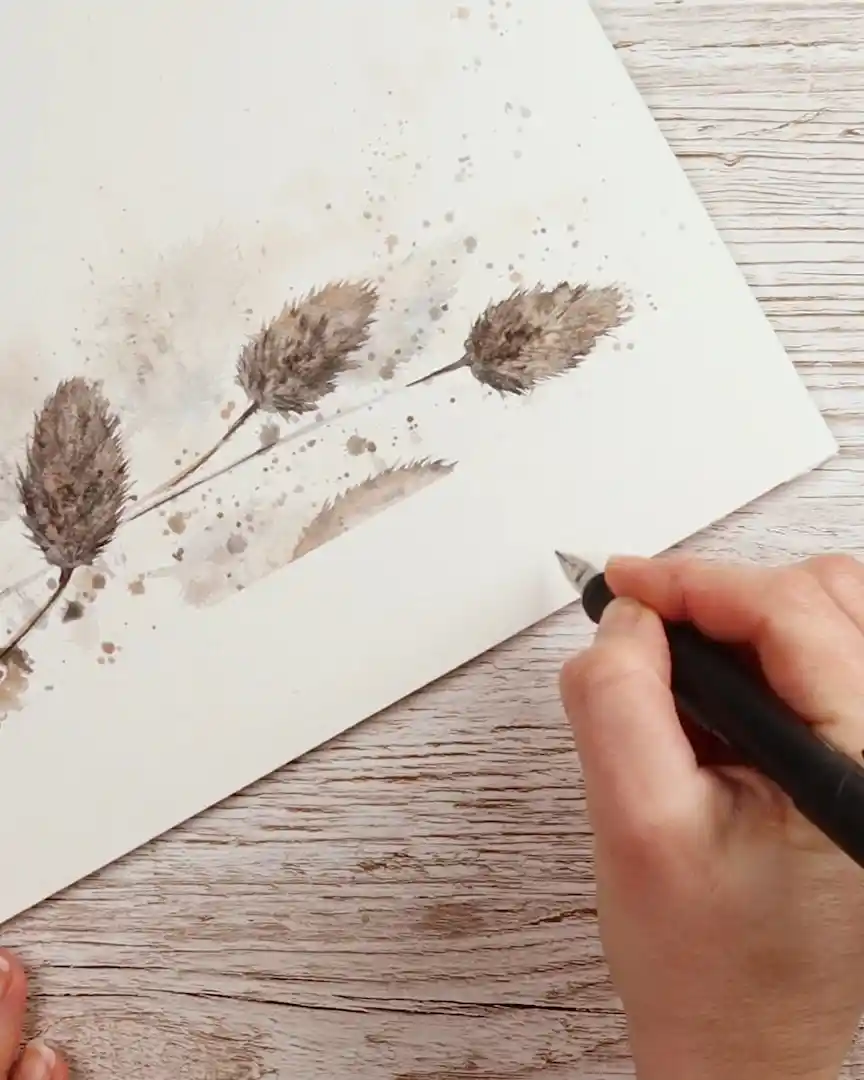
Finishing the Painting
Now that the painting is dry, the artist adds more dark spikes using the burnt umber and indanthrene blue mix.
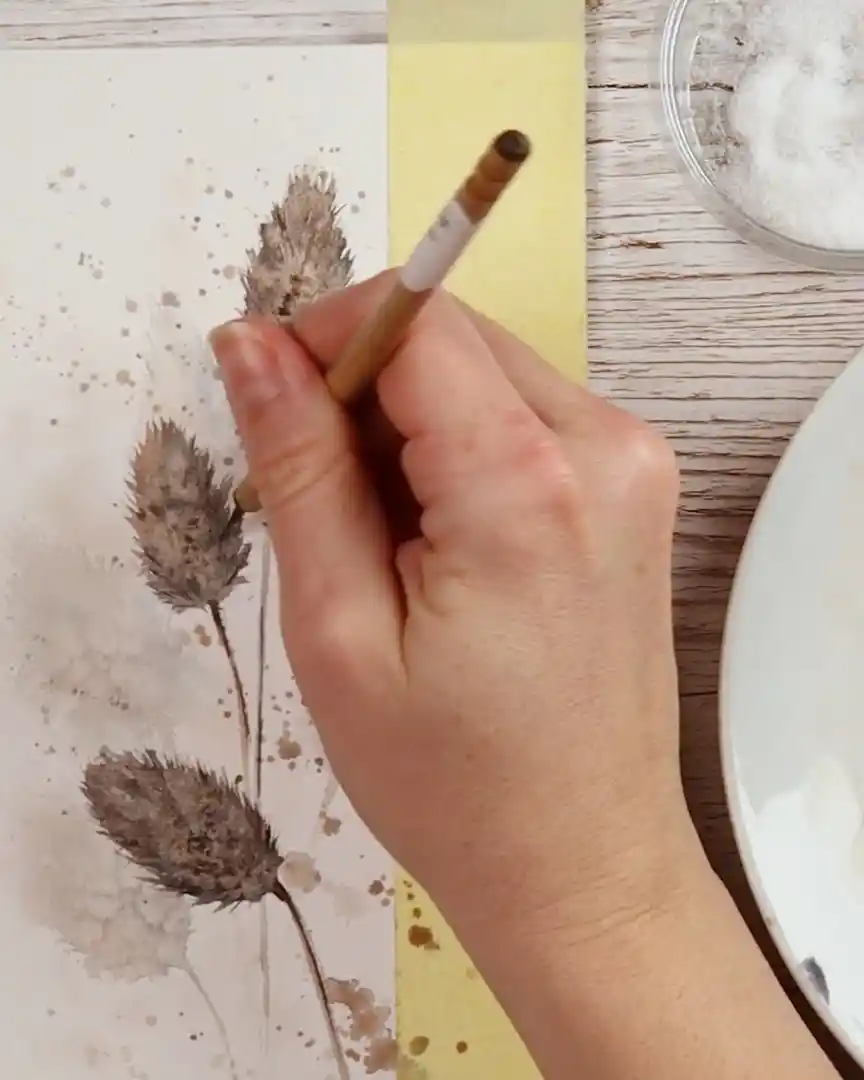
The artist also adds some final splatters to bring texture and life.
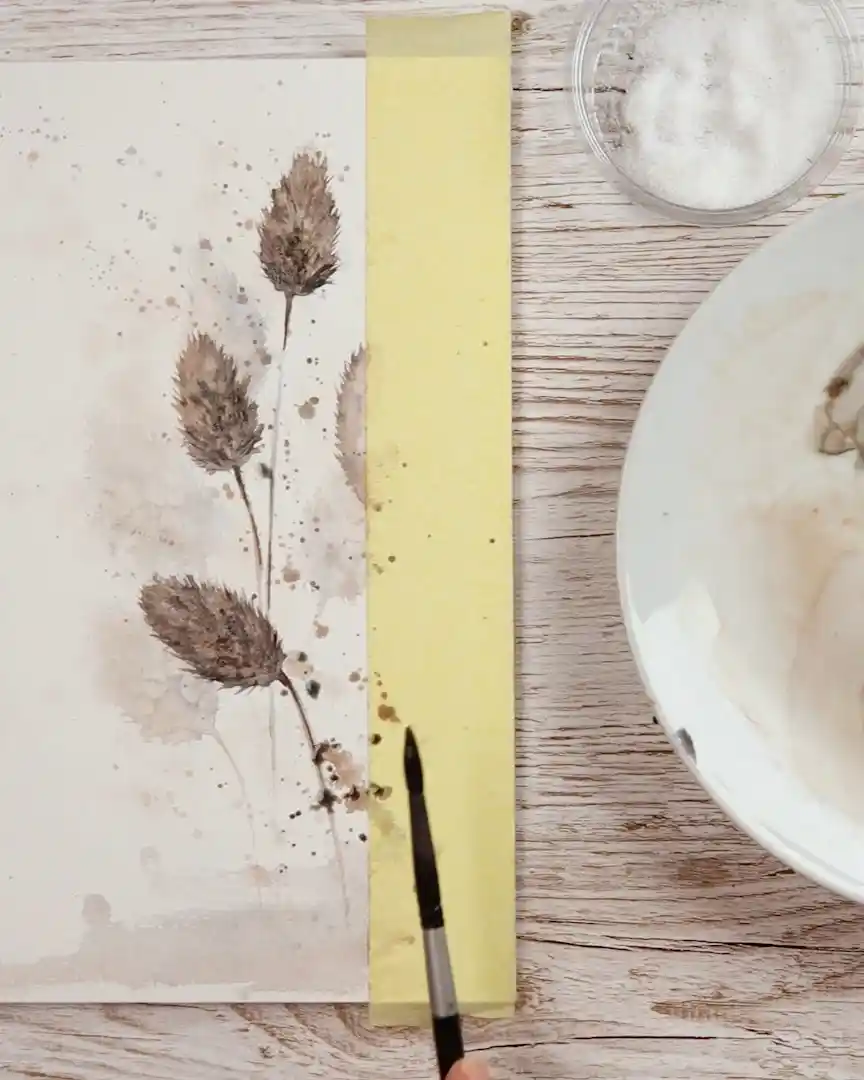
With the painting done, the artist carefully removes the tape from both sides.
Then, the artist starts planning where to write the note by air writing first to find the perfect spot before putting pen to paper.
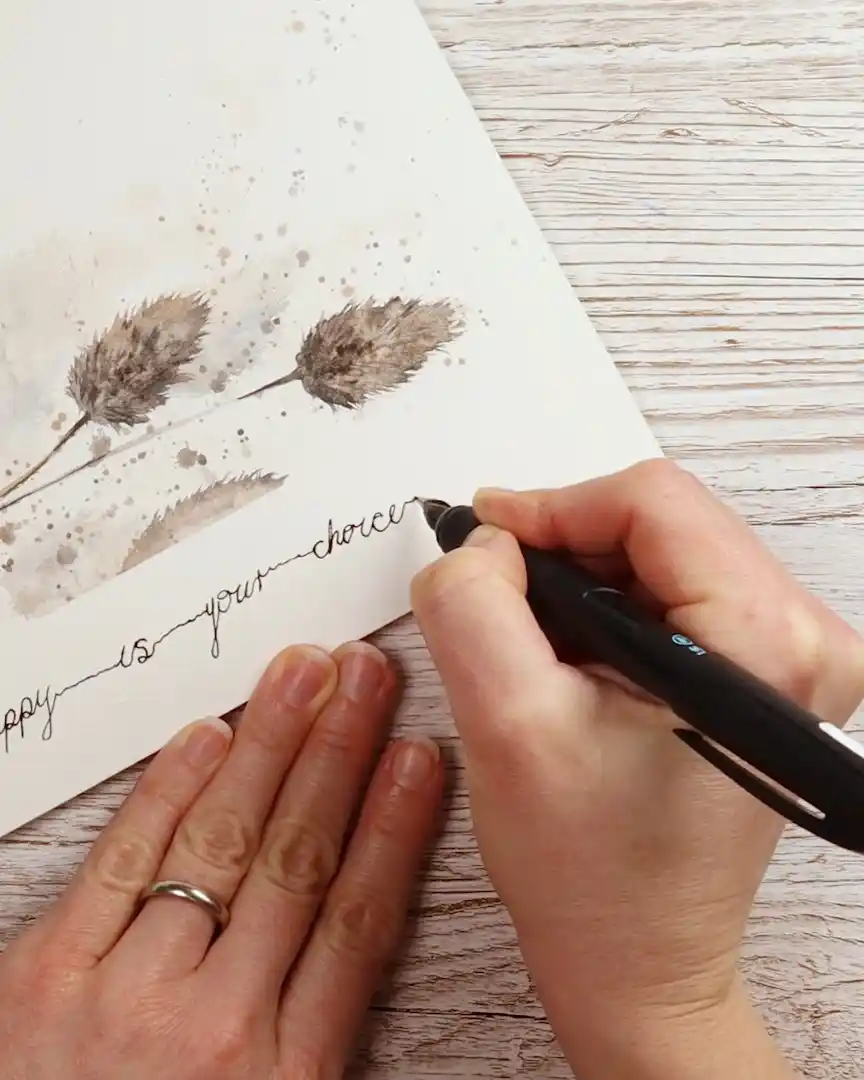
Adding the Meaningful Note
Now, the artist writes the text to finish off the painting. This is a great idea; it can be used for cards or a full painting with a note. It can be framed and hung on a wall as a reminder that being happy is a choice.
That’s the painting complete!

Final Thoughts
Creating this watercolor flower card is a simple way for the artist to make a thoughtful gift. Something personal and beautiful can be crafted with just a few tools and easy steps.
The artist hopes this guide inspires others to add their own touch and share art with someone special through a unique card or gift.