
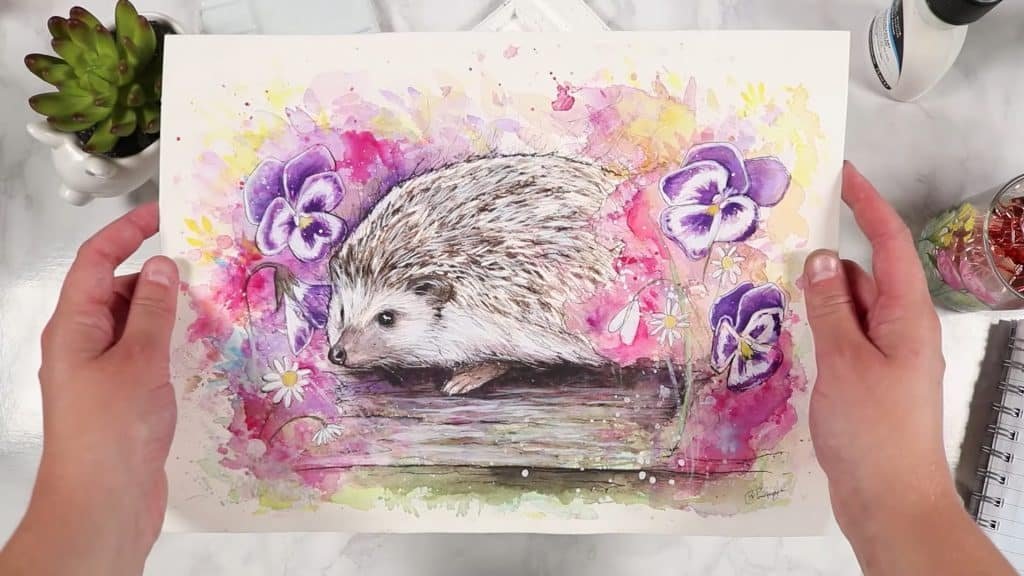
Watercolor is fun, but it can also bring plenty of small struggles. Wavy paper, stubborn tape, or even brushes ruined by masking fluid are all issues you may face.
Now, Kirsty shares ten clever watercolor hacks that solve these common problems. Her tips also make your process easier and your results better.
Let’s go through them step by step so you can try them in your next painting.
Contents
- 1 Tip 1: Fix Warped Watercolor Paper with an Iron
- 2 Tip 2: Paint Realistic Trees and Foliage with a Sponge
- 3 Tip 3: Protect Brushes from Masking Fluid Damage with Soap
- 4 Tip 4: Add Highlights to Dry Watercolor Paintings
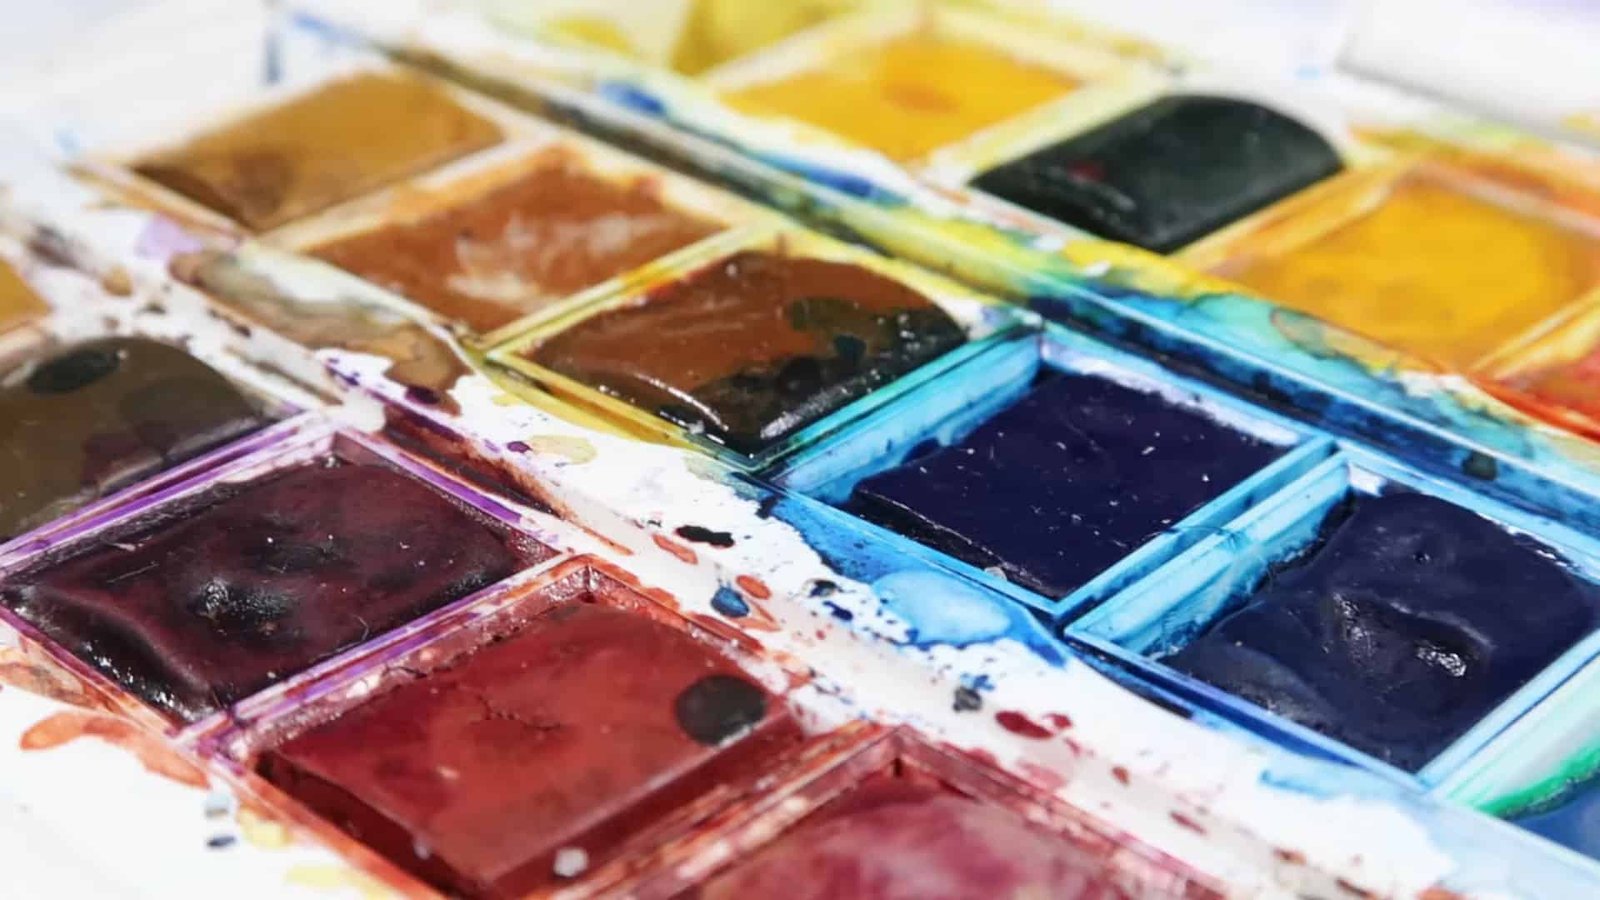
- 5 Tip 5: Use Scrap Paper for Swatches and Experiments
- 6 Tip 6: Secure Watercolor Paper Outdoors with Binder Clips
- 7 Tip 7: Open Stuck Ink Bottles with Hot Water
- 8 Tip 8: Remove Watercolor Tape Without Tearing the Paper
- 9 Tip 9: Use Heat for Easier Watercolor Tape Removal
- 10 Tip 10: Remove Masking Fluid Quickly with a Tea Towel
- 11 In A Nutshell
Tip 1: Fix Warped Watercolor Paper with an Iron
A common issue with watercolor is paper warping into waves once it dries. Kirsty suggests a simple household fix.
You can place your painting face down, cover it with a tea towel or thin cloth, and then gently iron it on a low setting.
Keep the iron moving slowly over the back for a few minutes. This flattens the paper and makes the painting look much neater.
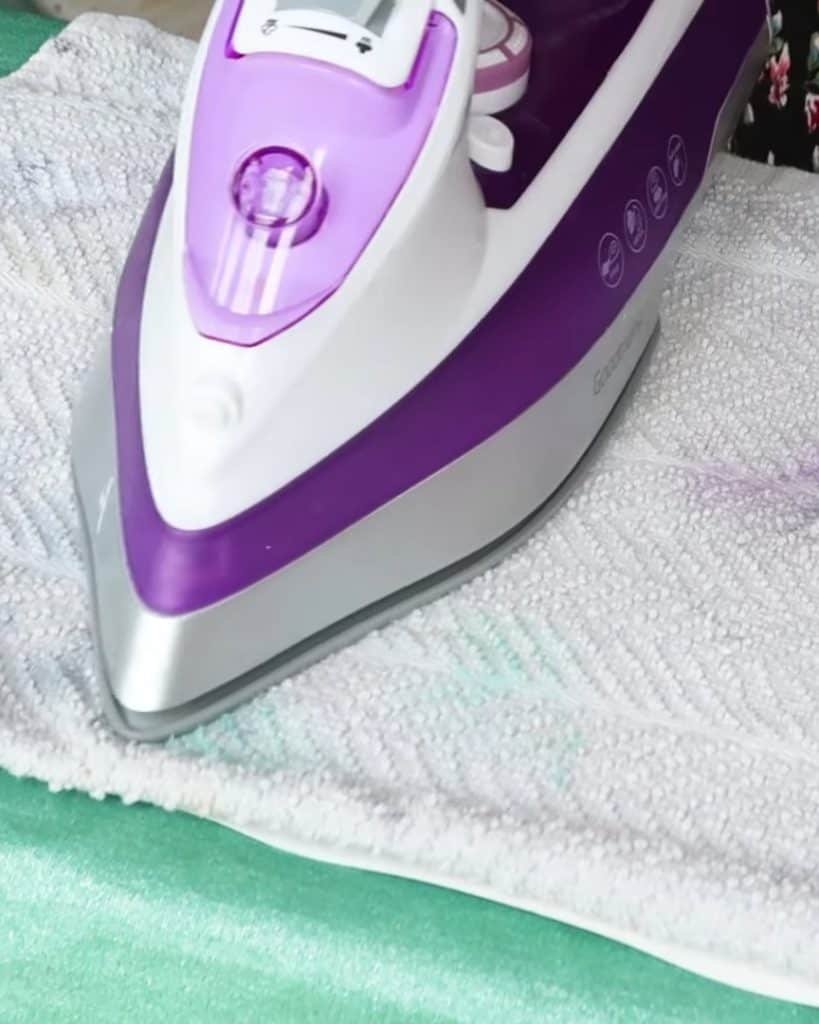
If you want to avoid warping from the start, you can stretch your paper or use heavier paper weights. This way, your artwork stays flat and easier to frame or photograph.
Tip 2: Paint Realistic Trees and Foliage with a Sponge
After solving the paper problem, you may want to create texture in your landscapes. Kirsty highlights an easy way to paint natural-looking trees, bushes, or blossoms.
Cut a small piece from a regular kitchen sponge. Dip the dry sponge into watercolor paint and gently dab it on your paper. This creates an expressive effect that looks like leaves or clusters of flowers.

For best results, squeeze out excess water before painting. Too much liquid causes blobs instead of tiny leaf-like dots. By controlling moisture, you achieve light, airy textures that look fresh and realistic.

Tip 3: Protect Brushes from Masking Fluid Damage with Soap
Masking fluid is useful but harsh on brushes. Kirsty explains that many brushes get ruined if you dip them directly into it.
To protect your tools, you can coat the brush in a layer of soap first. Simply run a clean brush over a bar of soap, then use it with masking fluid. The soap adds a slippery shield, making dried fluid much easier to peel off later.
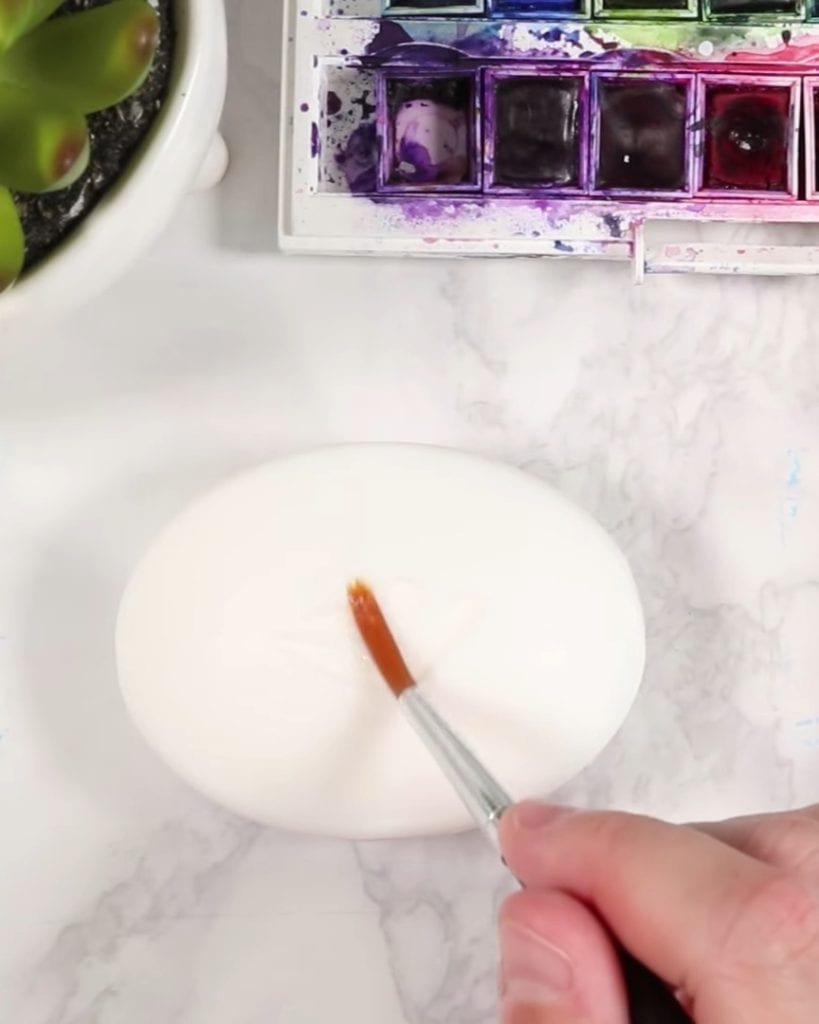
The simple step saves you from losing brushes. Kirsty mentions that without it, she has ruined several in the past.
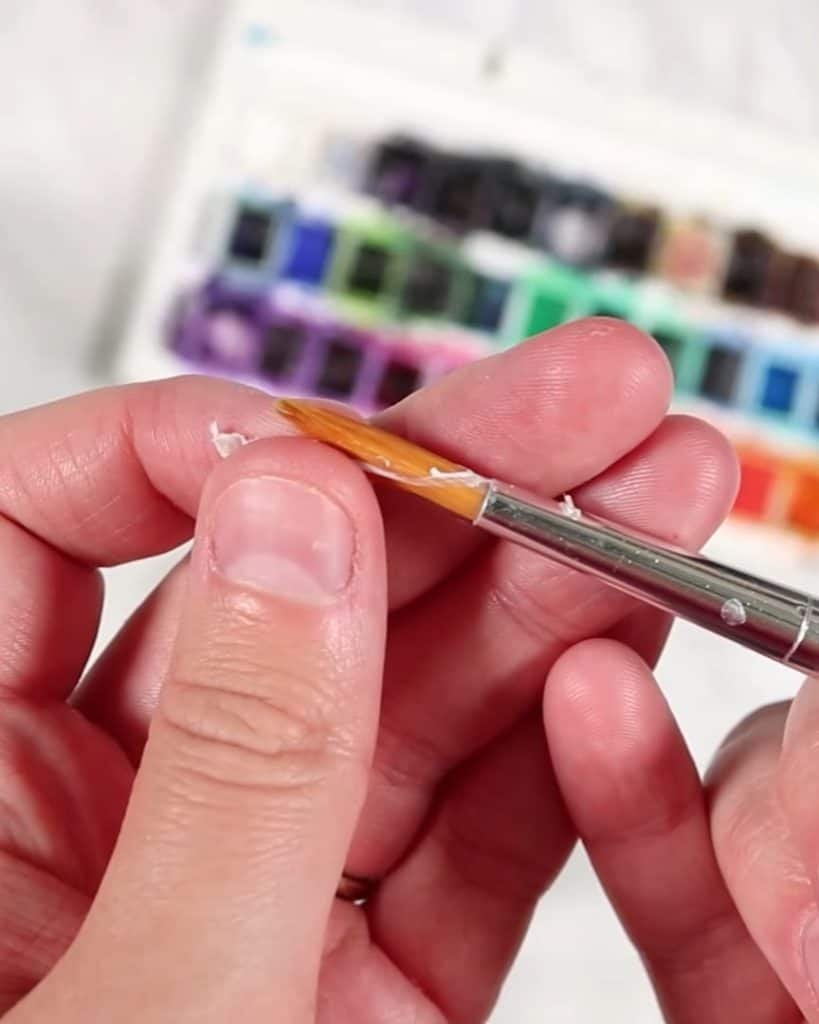
So, remember to prepare your brush every time before applying masking fluid.
Tip 4: Add Highlights to Dry Watercolor Paintings
Sometimes your painting dries, but you realize it needs brighter details. Kirsty suggests a lifting technique to bring back highlights even on dry layers.
All you need is a clean, damp brush. Paint gently over the area you want to lighten, then blot with a tissue. The paint lifts away, leaving a lighter spot behind.

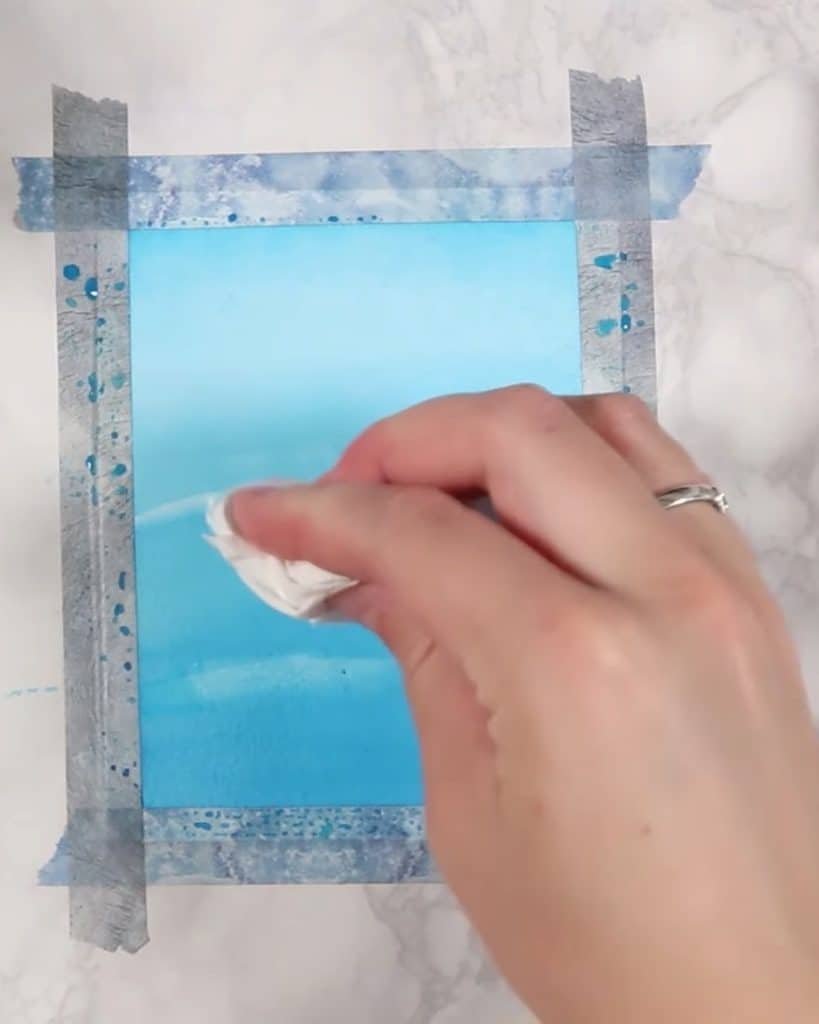
You can use this for small highlights, reflections on water, or shiny surfaces. Be gentle, though, because scrubbing too much can damage the paper. Use soft strokes for the best results.

Tip 5: Use Scrap Paper for Swatches and Experiments
Not every idea should go straight onto your best watercolor paper. Kirsty advises keeping offcuts and scraps whenever you trim larger sheets.
These small pieces are perfect for:
- Testing new colors
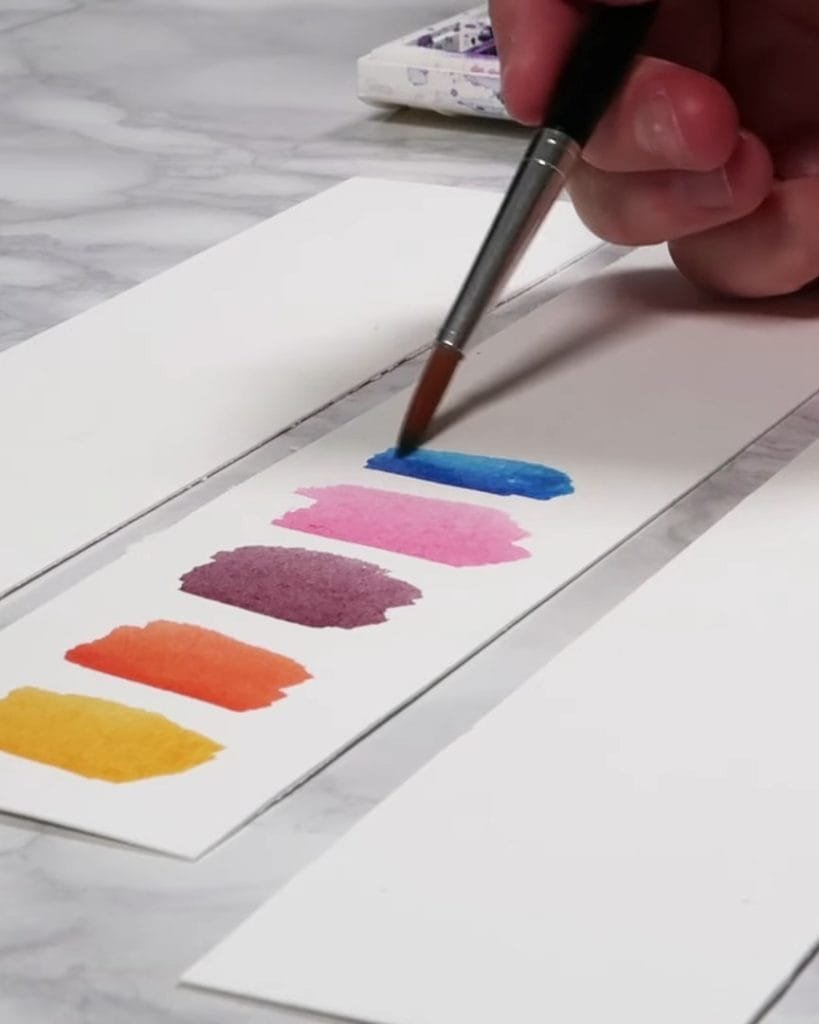
- Trying techniques like the salt effect
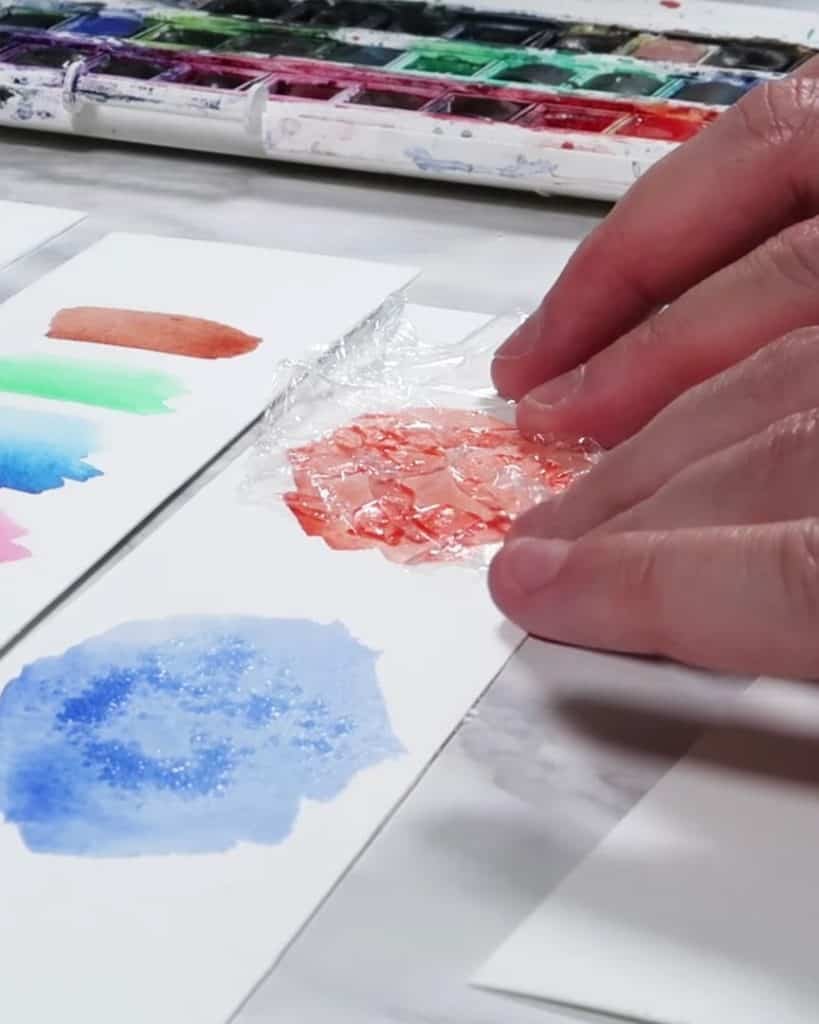
- Checking how mixed shades look once dry
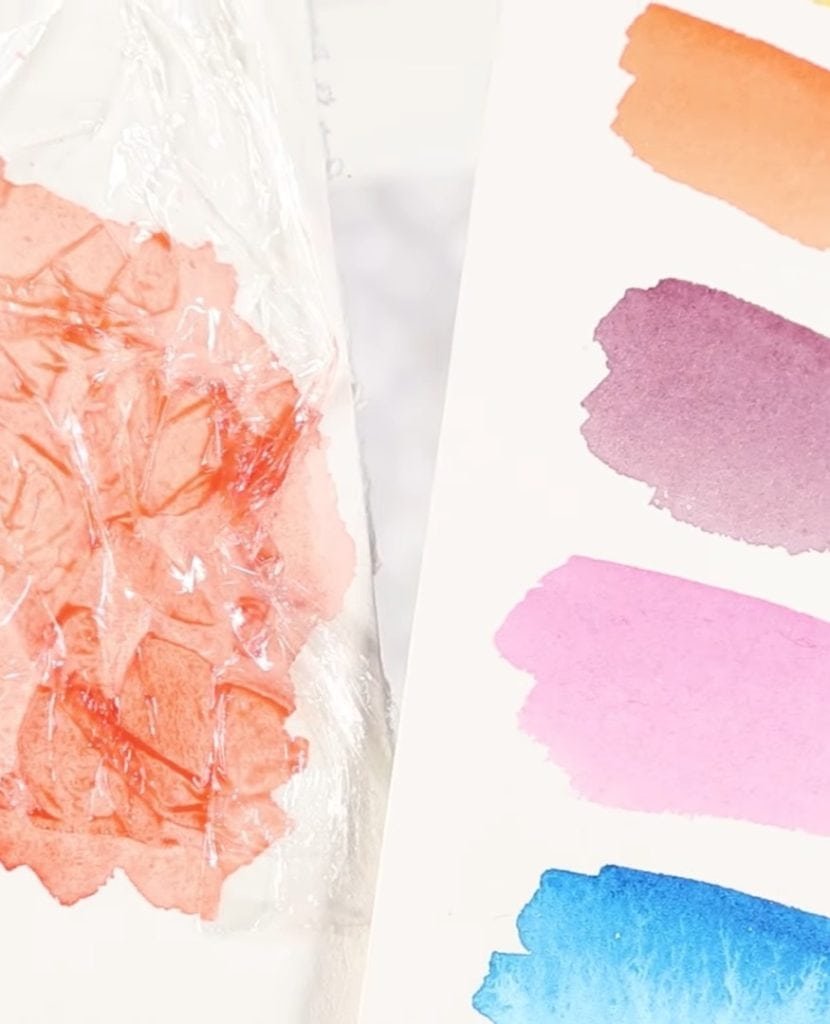
For example, Kirsty tested the salt texture on a scrap and saw that it didn’t work with that paper. That test saved her from a mistake in the actual painting. This habit reduces waste and protects your more expensive papers.
Tip 6: Secure Watercolor Paper Outdoors with Binder Clips
Painting outside can feel inspiring, but wind often disrupts your setup. Kirsty shows how binder clips can solve this easily.
By clipping the edges of your paper and any loose sheets, you stop them from flying or folding into your wet painting. This avoids smudges and damage while you work outdoors.
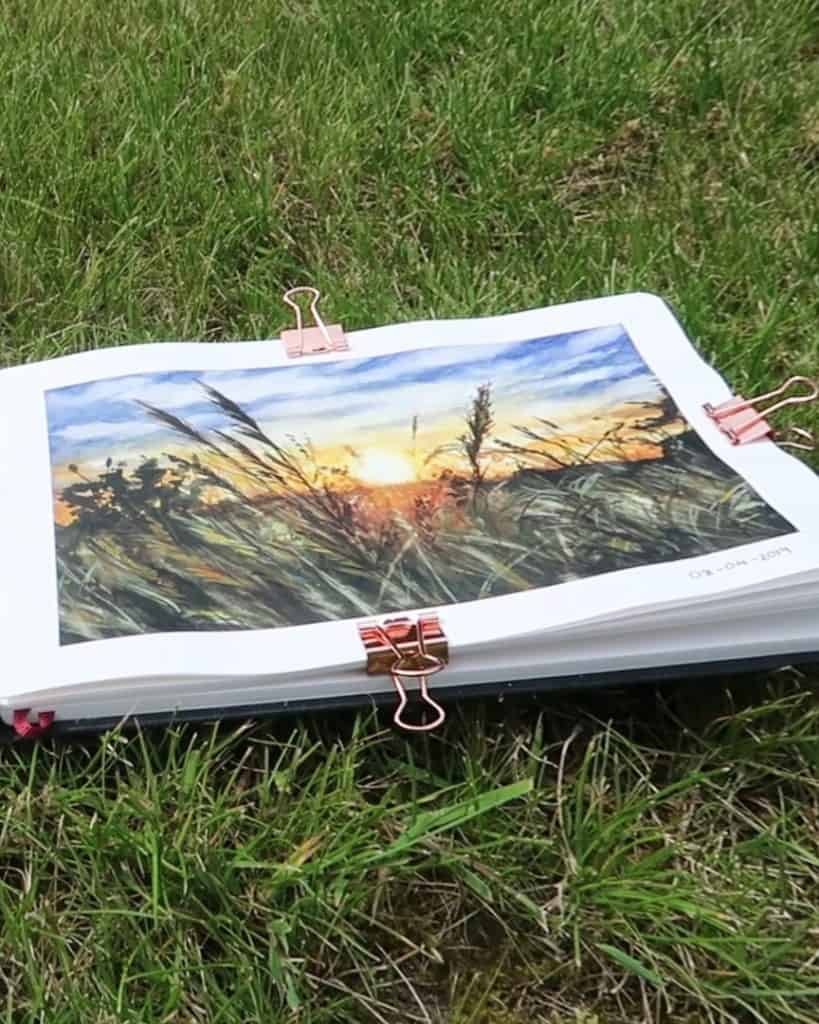
Binder clips are cheap, reusable, and simple. A few of them can make outdoor painting sessions far less frustrating.
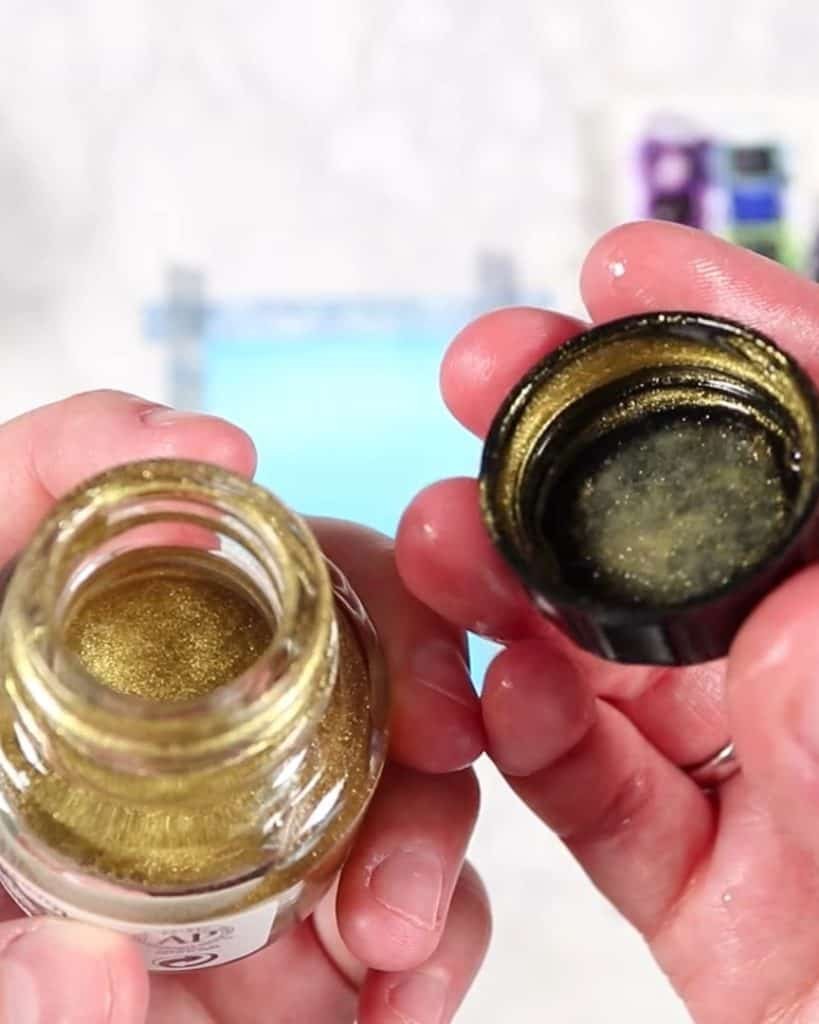
Tip 7: Open Stuck Ink Bottles with Hot Water
If you use inks alongside watercolors, you might know the struggle of stuck caps. Kirsty explains her favorite fix.
When the lid is sealed with dried ink, hold the bottle under hot running water for a couple of minutes. The heat softens the dried particles, making the cap easier to twist open.
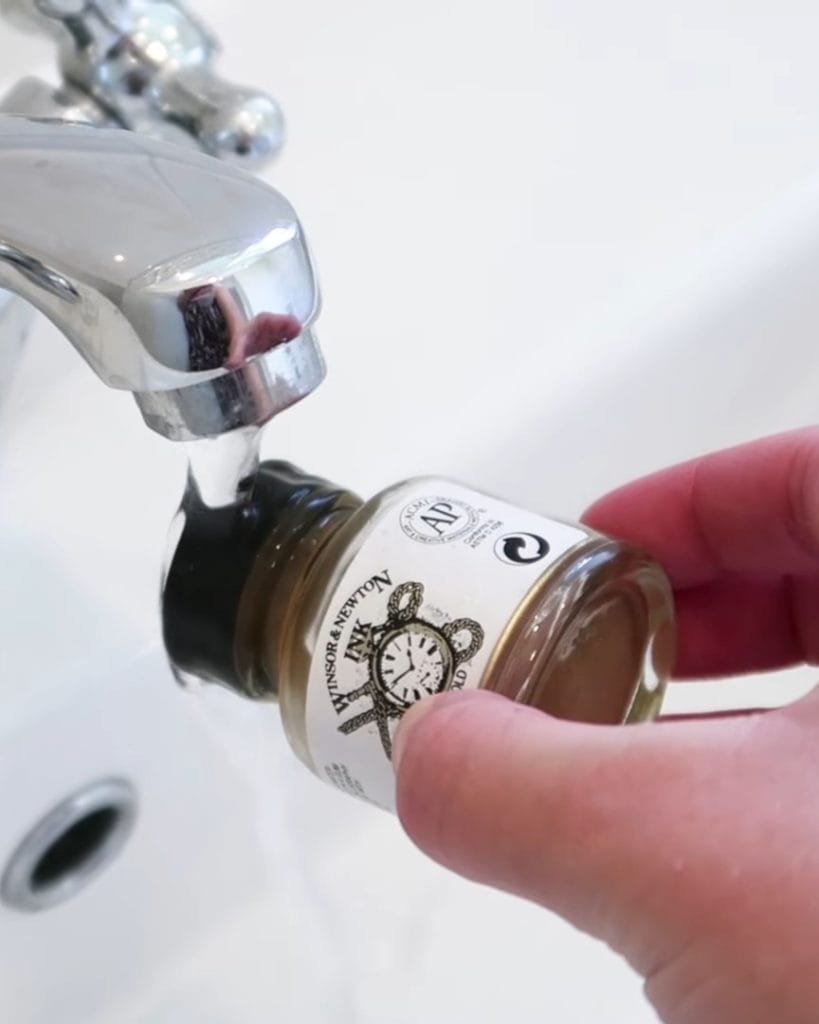
Kirsty says this hack has saved her metallic inks, which she enjoys using with watercolor. Instead of throwing bottles away, you can restore them with just hot water.
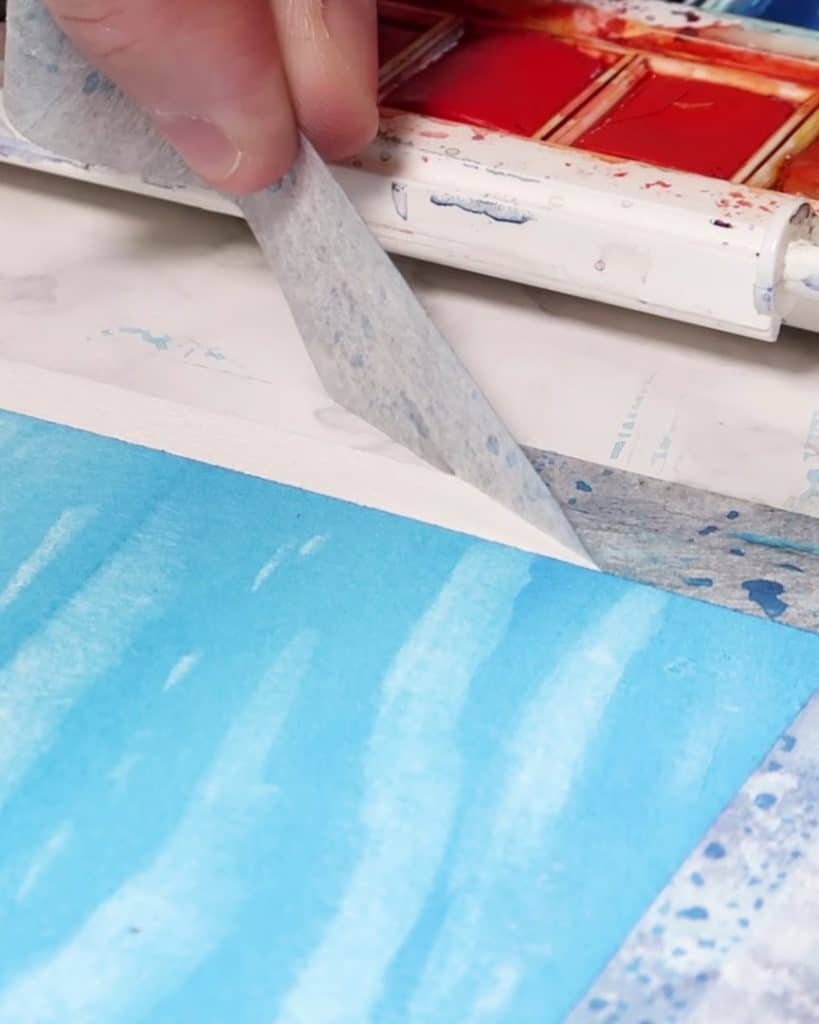
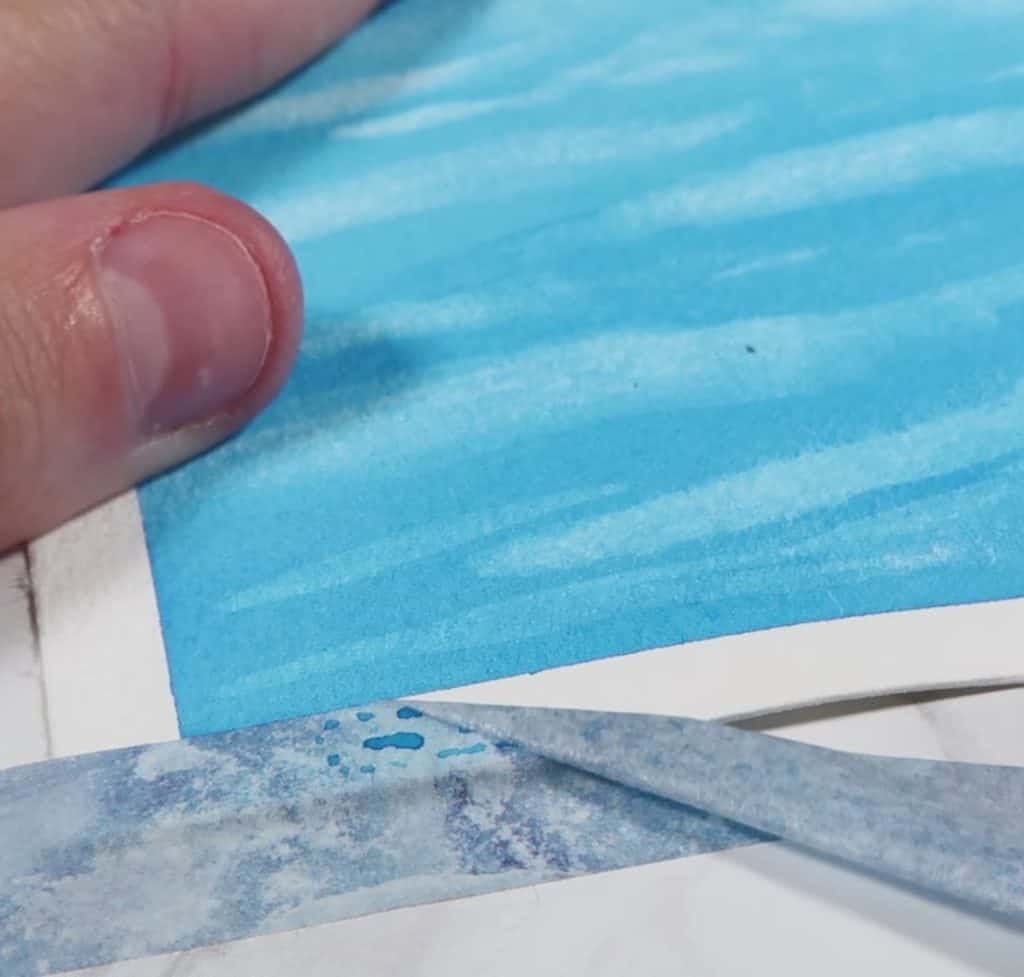
Tip 8: Remove Watercolor Tape Without Tearing the Paper
Clean borders look professional, but the tape often rips the paper. Kirsty demonstrates the best removal method.
Peel the tape slowly and at an angle away from your painting. This reduces stress on the paper fibers. Pulling tape straight up increases the risk of tearing.
She also suggests going as slowly as possible. Rushing often damages the paper surface. Patience makes a big difference in keeping your edges clean.
Tip 9: Use Heat for Easier Watercolor Tape Removal
Sometimes tape is too sticky, even with a careful pull. Kirsty recommends adding heat to help.
Take a hairdryer or a heat tool and run it on low over the taped edges for less than a minute. The warmth softens the adhesive without overheating the paper.
Once warmed, the tape comes off smoothly. Your painting remains safe, and the borders look crisp and neat.
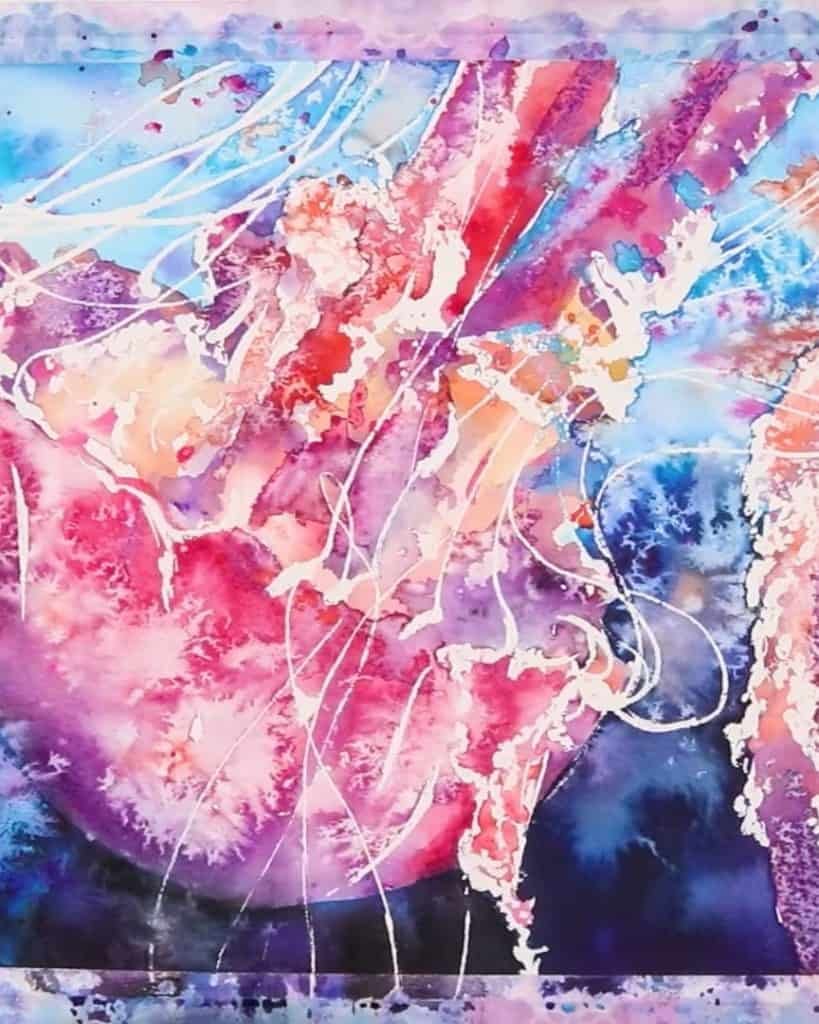
Tip 10: Remove Masking Fluid Quickly with a Tea Towel
Finally, Kirsty shares a trick for removing masking fluid without hurting your hands.
Instead of rubbing with your fingers, use a textured tea towel. The bumps grip the masking fluid and lift it off the paper faster. This method also avoids finger strain.
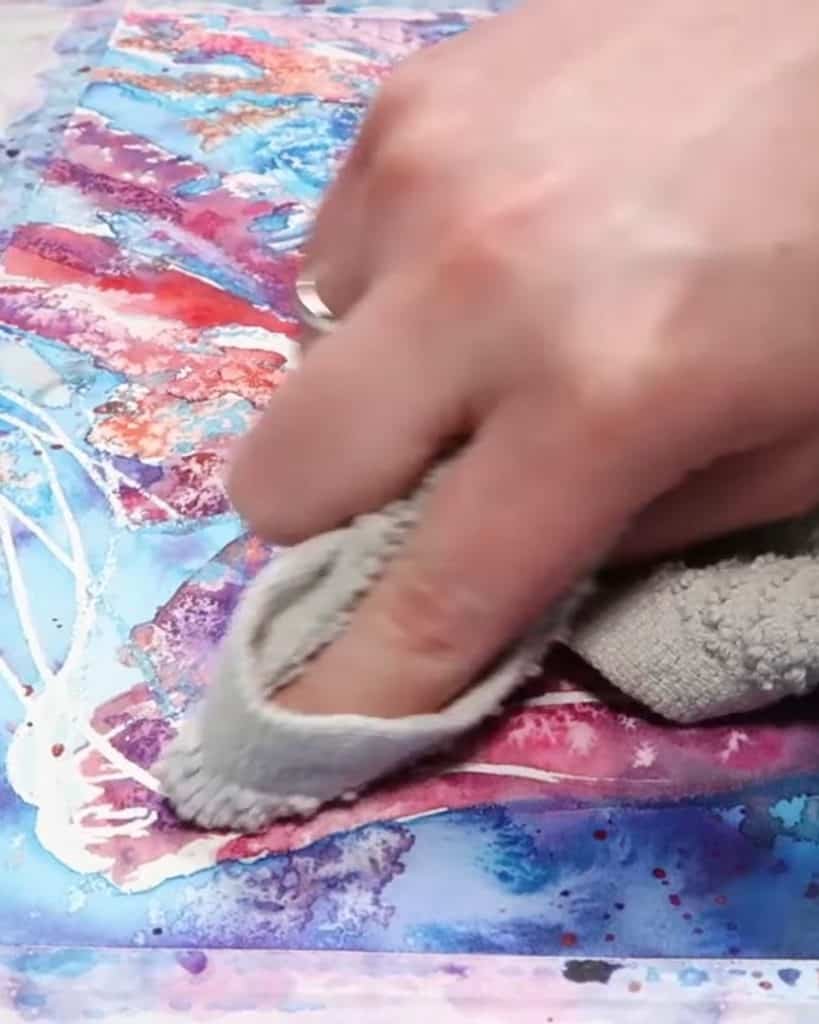
The towel removes larger amounts at once and leaves fewer little bits behind. It makes the cleanup step much easier and more comfortable.
In A Nutshell
The ten watercolor hacks from Kirsty Partridge are simple but powerful. You now know how to flatten warped paper, paint foliage with a sponge, protect your brushes, add highlights, and more. Each tip saves time, money, or frustration while improving your painting process.
Which hack will you try first? Give them a go and see how much smoother your watercolor journey becomes.