
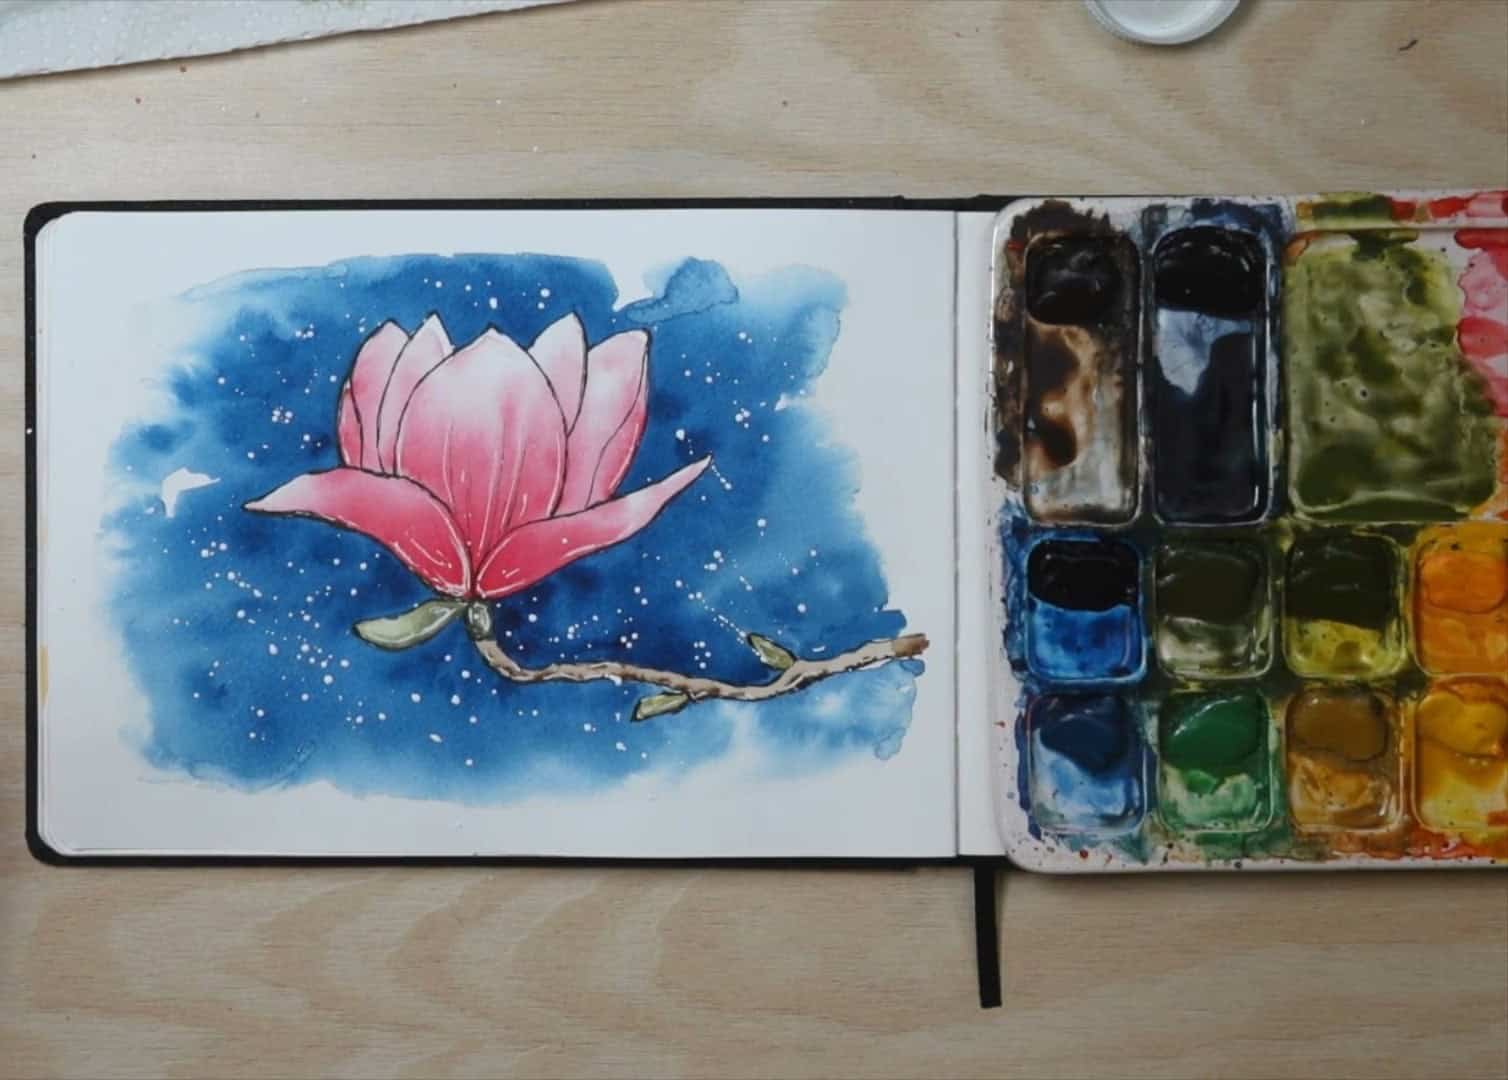
What can make watercolor sketching truly joyful and creative? For Gabriela Zamfirov, it’s the freedom to explore, make sketchy lines, and watch the paint flow unpredictably.
In this tutorial, the artist shares her process for sketching and painting a beautiful magnolia flower. She guides readers through every step — from supplies to finishing touches — so they can enjoy this creative challenge just as she does.
Contents
Step 1: Gathering the Watercolor Sketching Supplies
Before sketching the magnolia, the artist wants to walk the viewer through the supplies. It’s always helpful to have everything ready before painting. Let’s take a quick look at what the artist has.
Here are the main watercolor sketching tools:
- Sketchbook: The artist uses a watercolor sketchbook with cold-press paper. It’s not too rough, but not smooth either—somewhere in the middle.
- Watercolors: The artist is using Mary Blue watercolor paints, but any brand works.
- Brush: The artist likes using a round brush, size 10. Any round brush the viewer feels comfortable with—even a smaller one—will work.
- Drawing pen: The artist uses two sizes but will probably go with 0.2 for this sketch because of the paper’s texture.
- Gelly Roll pen: kept handy for adding highlights at the end.
- A paper towel and water: Always important for watercolor painting.
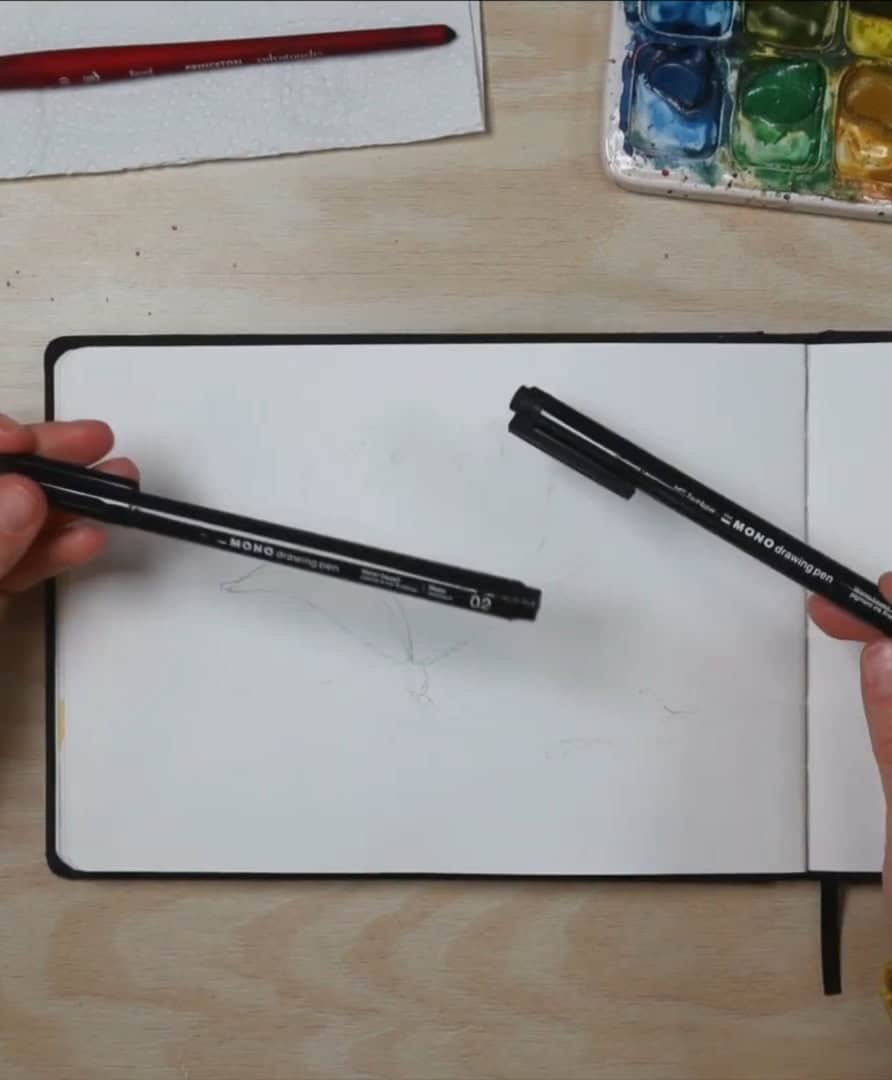
These are the tools the artist will use throughout the tutorial. Let’s get started with the sketch!
Step 2: Inking the Magnolia Sketch
Now that my supplies are ready, I start the sketch by inking. I usually follow this order: ink first,
Now that the supplies are ready, the artist starts the sketch by inking. The artist usually follows this order: ink first, then watercolor, and at the end, some highlights.
But sometimes, the process is reversed with watercolor first. For this magnolia, the artist sticks to the usual process, starting with the pen.
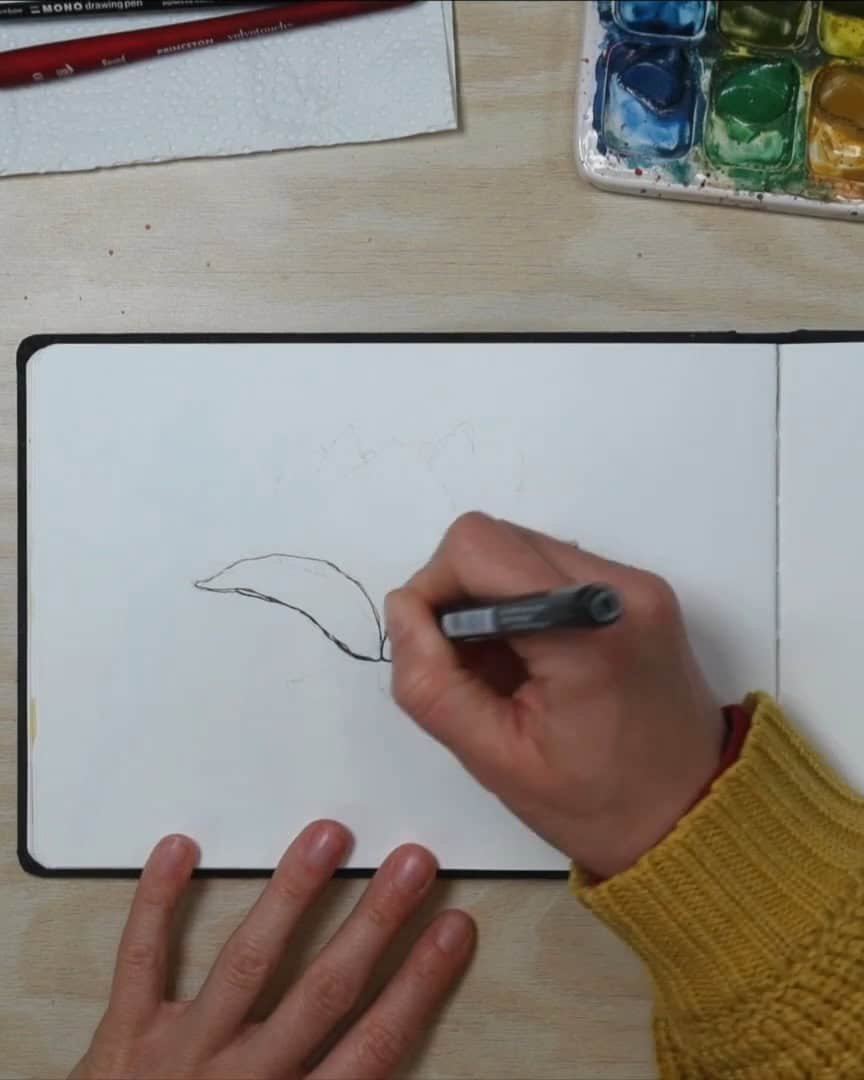
Start with the Front Petals
The artist begins by inking the petals in the front. The artist shakes the pen slightly while drawing—this helps achieve that loose, sketchy look.
A second line is added at the bottom of the first petal. This gives it a bit of shadow and makes the shape clearer.
 Start with the front petals
Then the artist moves to the next front petal. If a line doesn’t look right, the artist simply goes over it again, making it thicker or adding another line.
That’s the fun of sketching—it doesn’t need to be perfect!
Add the Middle and Back Petals
Next, the artist sketches the big middle petal. A few thin lines are added for detail, and then a second line is drawn just below it for extra depth.
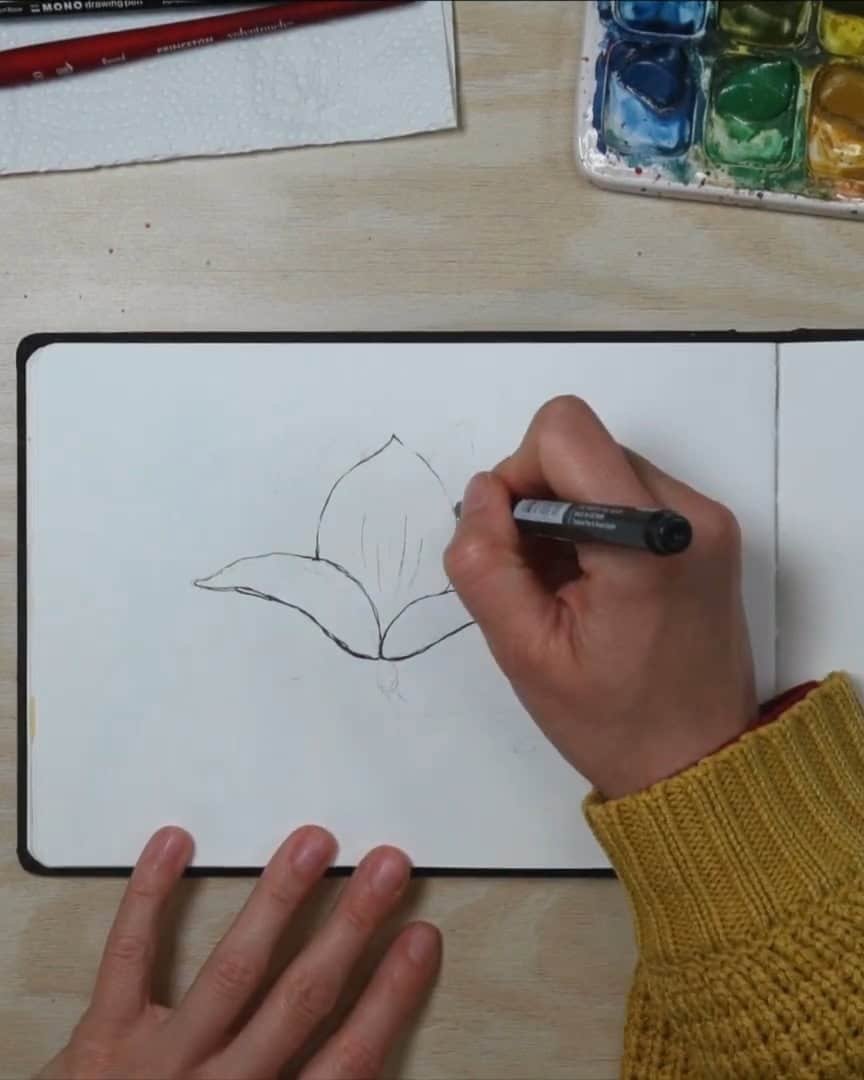
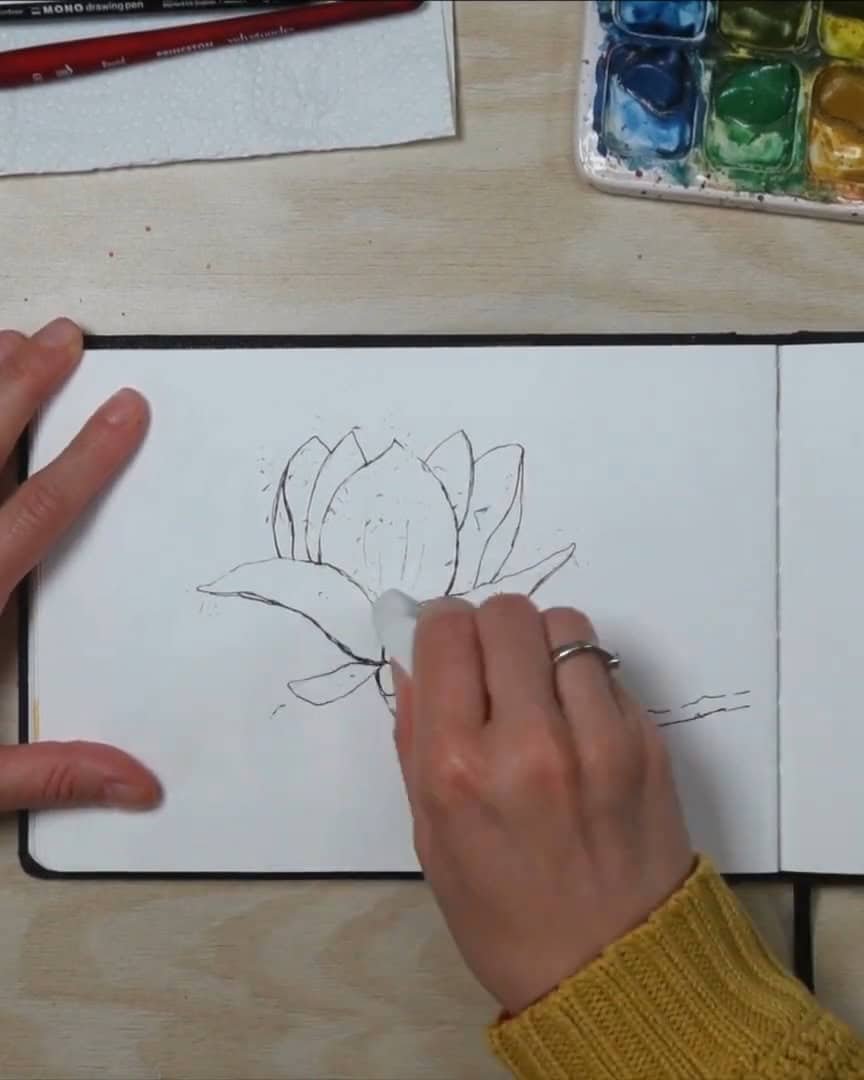
Now, the artist moves on to the petals in the back. Some are folded, so a second line is added to show that fold. Again, lines are thickened when the artist is unsure, keeping the sketch playful and expressive.

Finish the Flower and Add Details
Once the petals are done, the artist draws the small leaf at the bottom and the center of the flower that holds the bloom.

Then the branch is inked. The artist doesn’t worry about perfect lines—sometimes the pen is lifted, then scribbles are added to create texture.
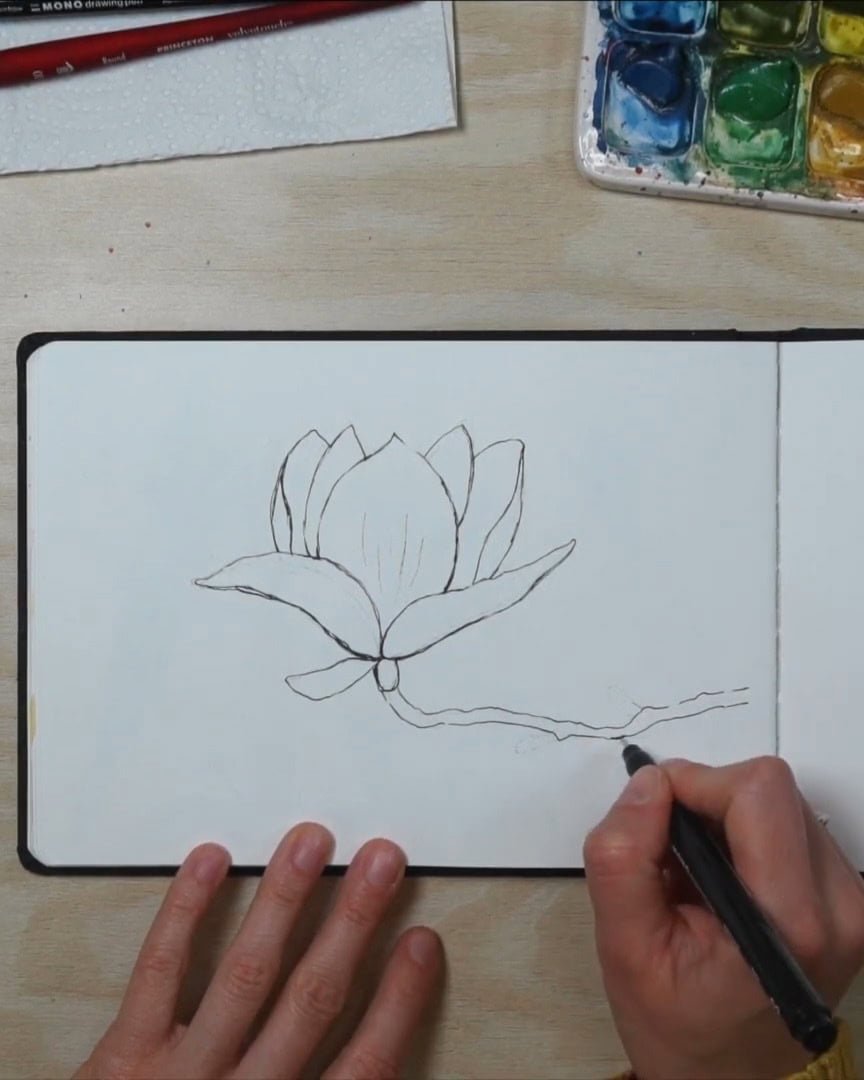
More details are added to the branch.

Before moving on to painting, the artist always erases the pencil lines now. Once watercolor goes over the lines, erasing is no longer possible because the paint acts like a mask.
And that’s it for the inking step—now the flower sketch is ready for color!
Step 3: Painting the Magnolia Flower with Watercolor
Now it’s time to bring the flower to life with color. The artist starts with the petals before moving on to the background. A wet-on-wet technique is used to achieve beautiful, soft results.
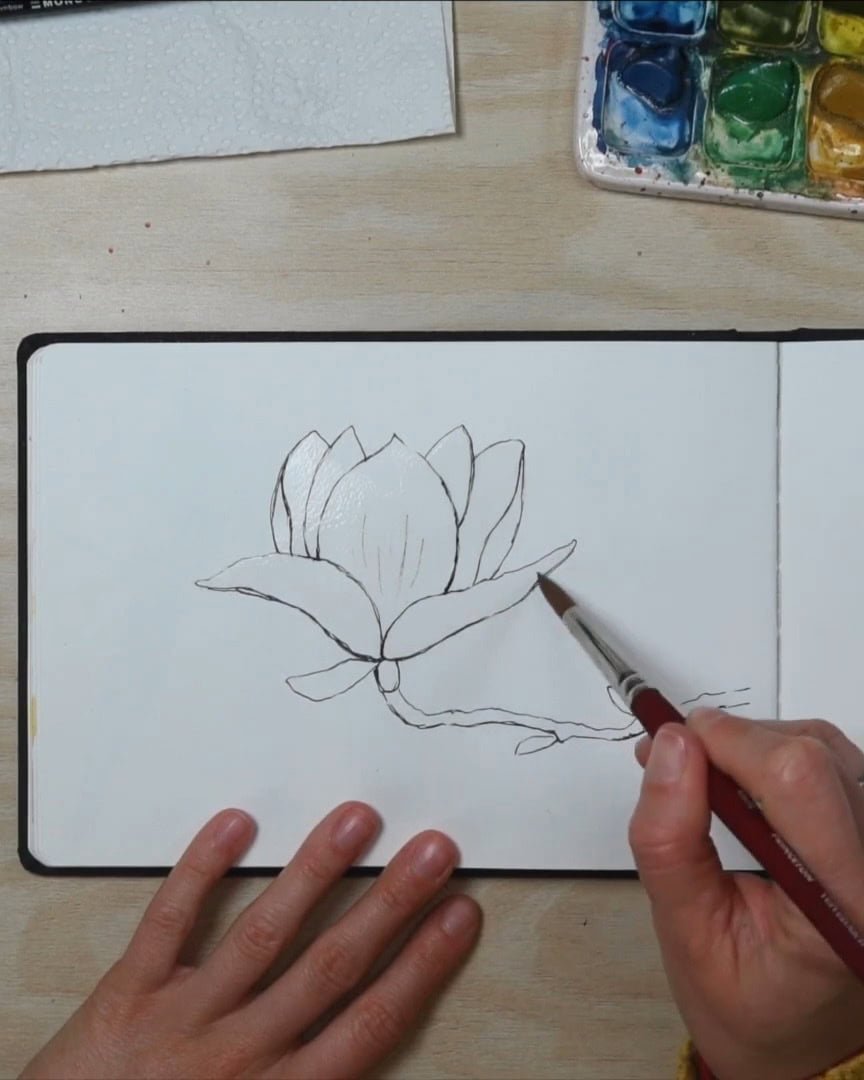
Wet the Flower Evenly
The artist begins by adding clean water all over the flower. The artist doesn’t worry too much about how much water is used, but avoids large puddles.
The brush glides back and forth to keep the surface evenly wet. If the brush goes outside the lines, that’s okay—it’s a loose style.
Drop in the Watercolor
The artist takes Rose Lake watercolor and starts from the flower’s center, dropping in the color and letting it bleed naturally into the wet paper.
Since the center should be darker, that area receives the most pigment. Moving toward the tips, less and less paint is used.
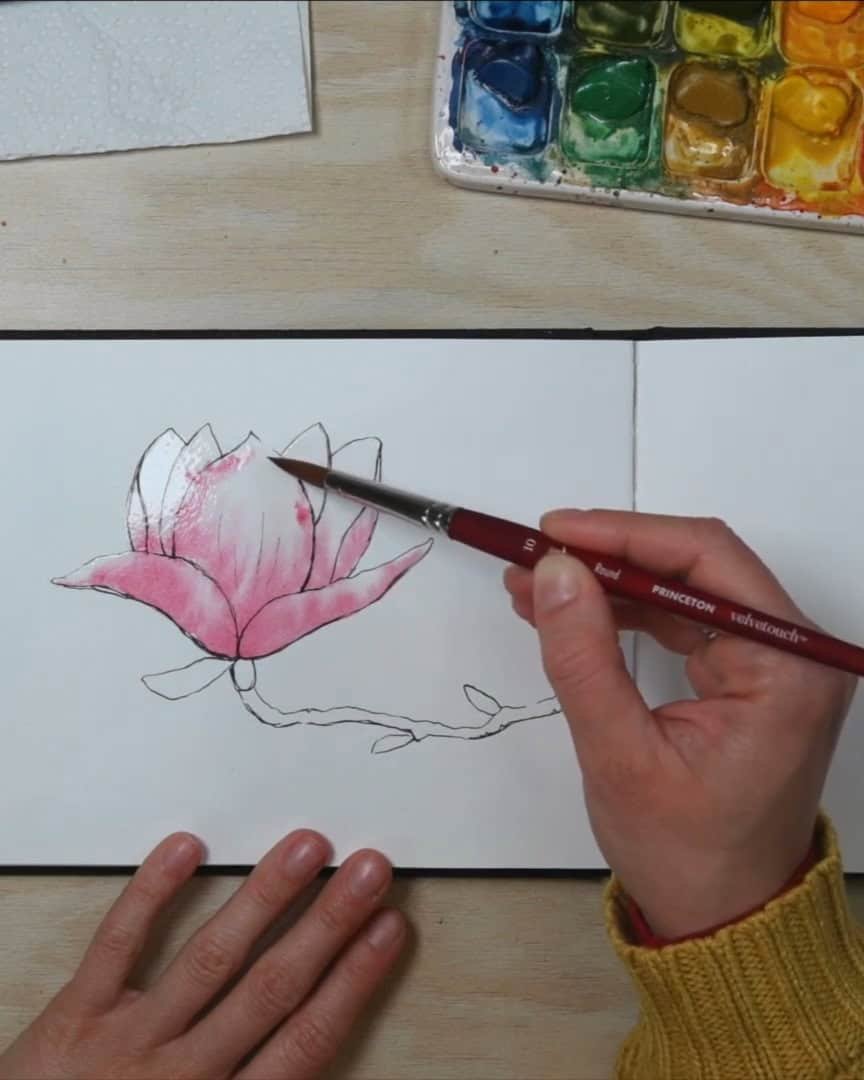
Then, more concentrated color is added around the center. A few extra lines and touches are tapped onto the back petals.
The artist doesn’t try to control everything—the wet-on-wet technique has a mind of its own. Light tapping with the brush tip creates depth where needed.
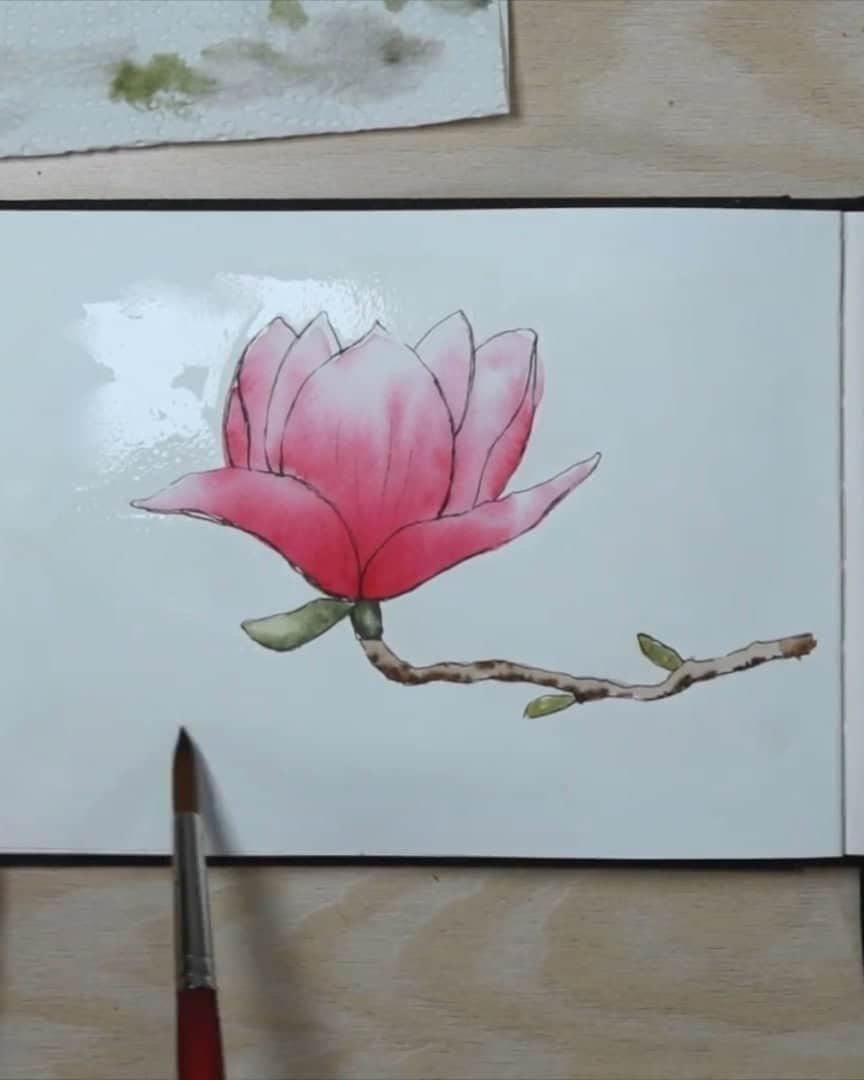
And that’s it for the flower—the artist stops before the piece becomes overworked.
Step 4: Painting the Branch and Leaves
After finishing the flower, the artist moves on to the branch and leaves—but carefully, because some petals may still be wet.
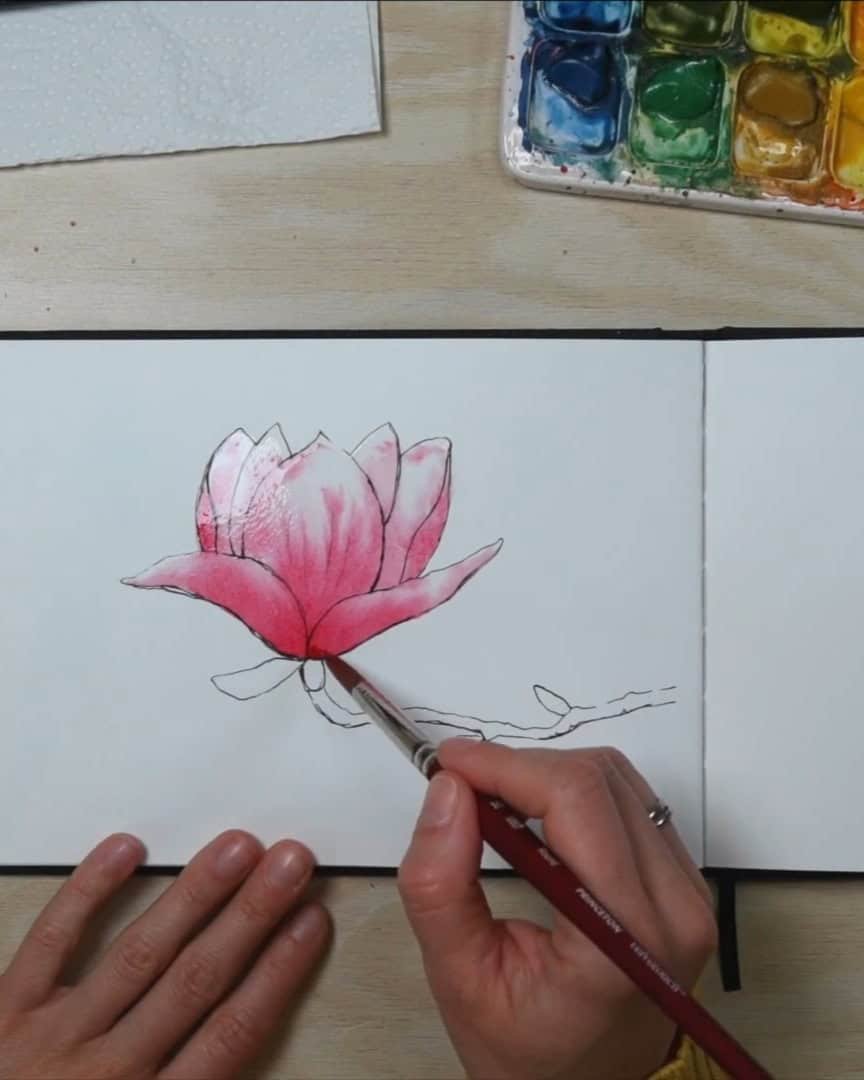
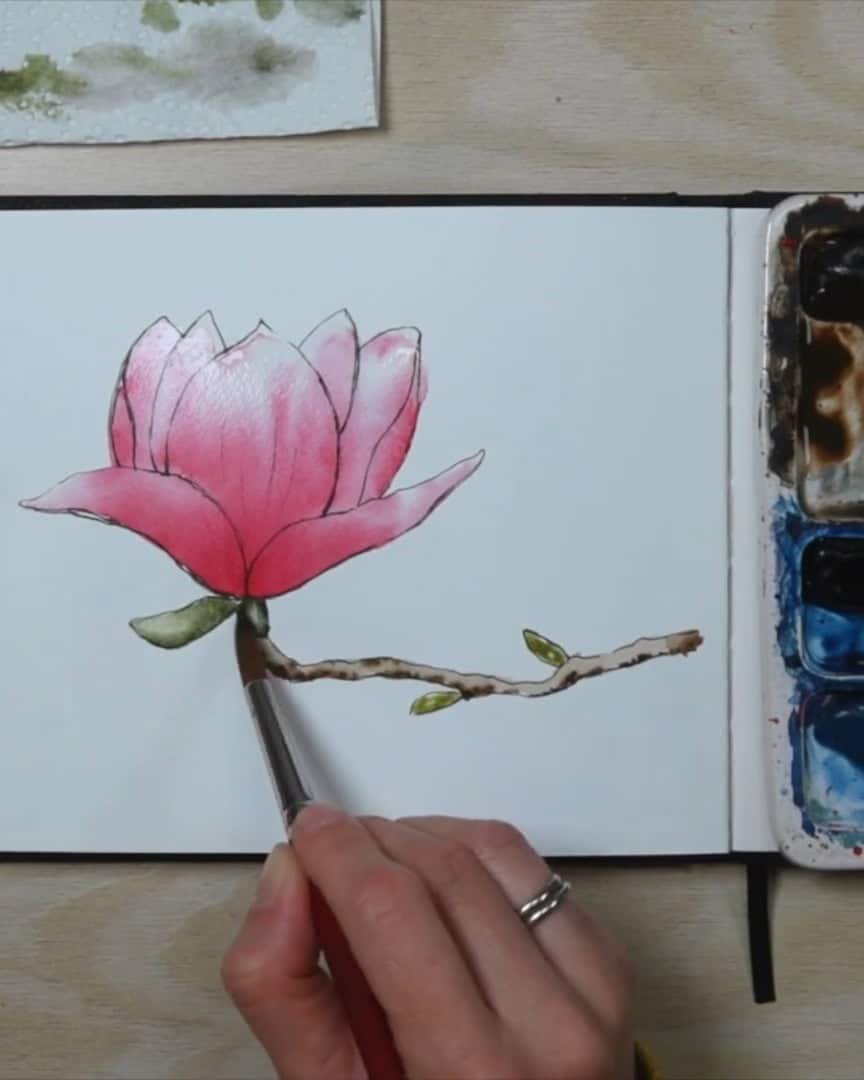
Paint the Branch with Burnt Umber
A very transparent burnt umber is used to start painting the branch. The first layer is light and loose.
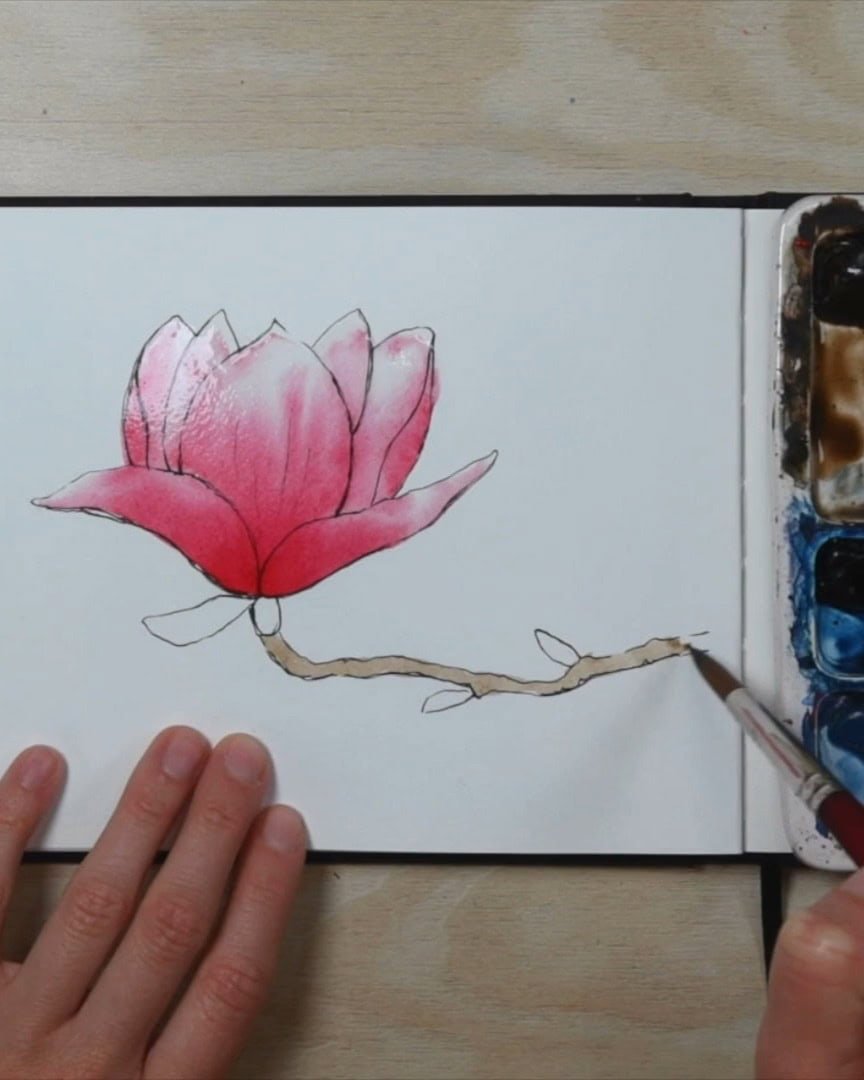
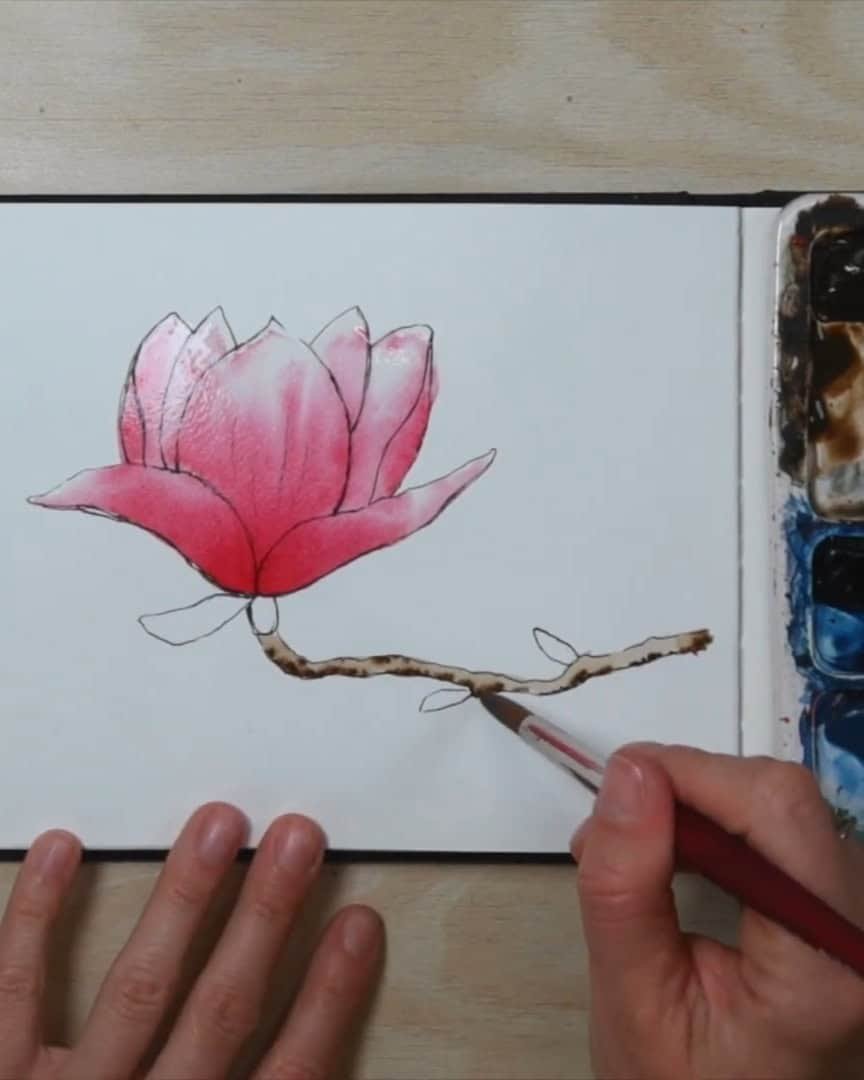
Then, while the paint is still wet, darker burnt umber is tapped in at the bottom of the branch to create a natural bleed.
If the first layer dries, no problem—another wash can be applied or more layers can be built up.
The artist enjoys watching the colors blend while the paint is wet—and admits to being a little impatient, preferring to finish the sketch quickly.
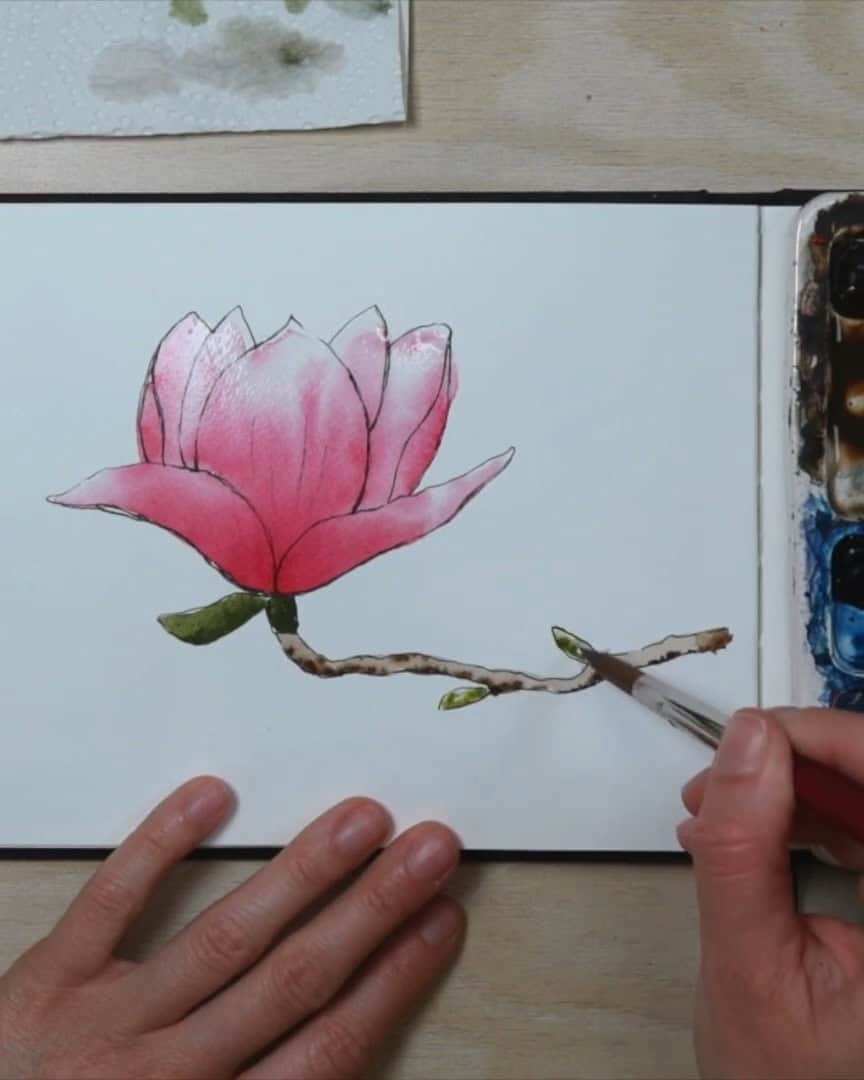
Mix and Apply the Greens
For the leaves, the artist mixes Hooker’s Green with a touch of Golden Green, creating a soft, fresh green for the side leaf.
To add shadow, a darker green is applied to the bottom of the leaf.
Some leaves need lighter tones, so diluted green is used. If too much water gathers on the brush, it’s blotted on a paper towel.
To lighten any area, the artist lifts the paint by drying the brush and gently pulling color up.
The painting is left to dry completely before moving on to the background.
Step 5: Creating a Background that Makes the Flower Pop
Now that the flower, branch, and leaves are painted, it’s time to create a background that brings the whole piece to life. A vibrant blue will help the magnolia stand out.
Lay the Water Foundation
Water is added around the flower. The artist doesn’t stress if the brush touches the petals—it’s fine. The water base is loose and rough, creating playful edges.
This step uses the wet-on-wet technique, which the artist loves. But adding a background can feel intimidating. The viewer may wonder which color to use or fear ruining the painting. The artist used to feel the same way.
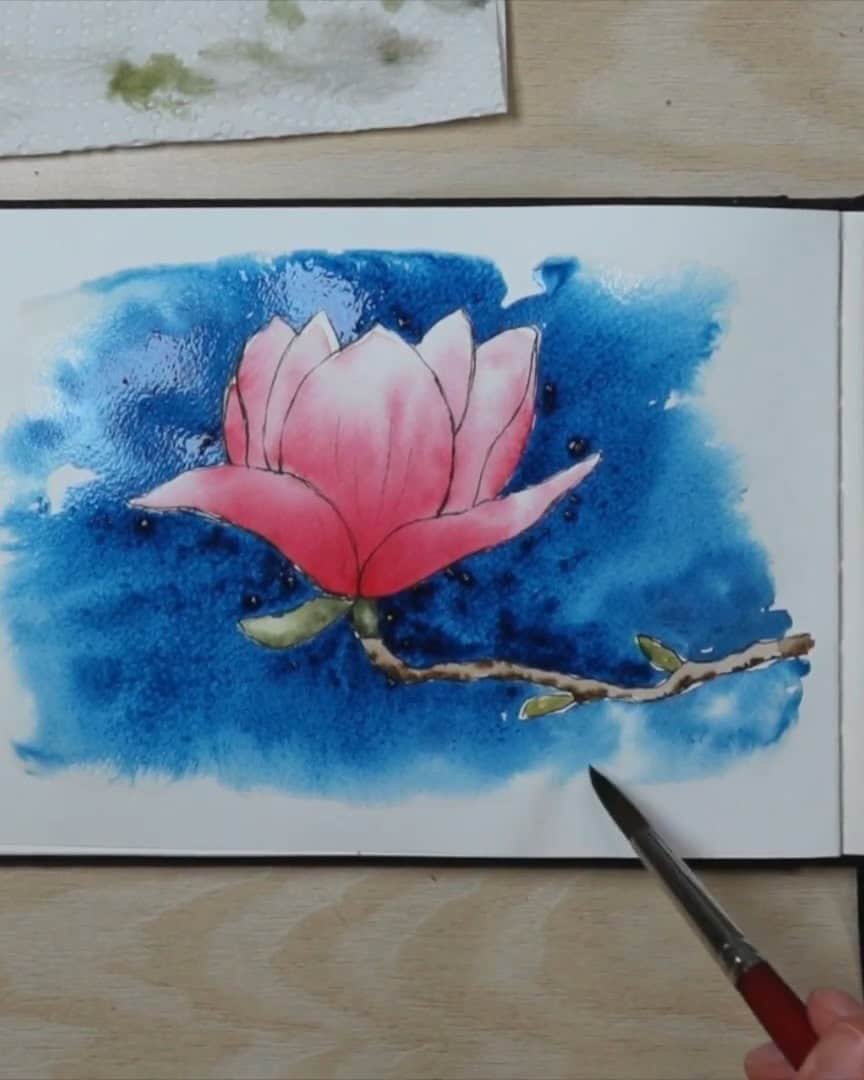
Drop in the Blue
Next comes Prussian Blue—rich and vibrant. The artist drops it gently into the wet areas and lets it bleed naturally.
- Near the flower and leaves, the artist uses just the tip of the brush for more control.
- Water automatically lightens the paint and makes it more transparent.
- More paint is loaded for stronger contrast when needed.
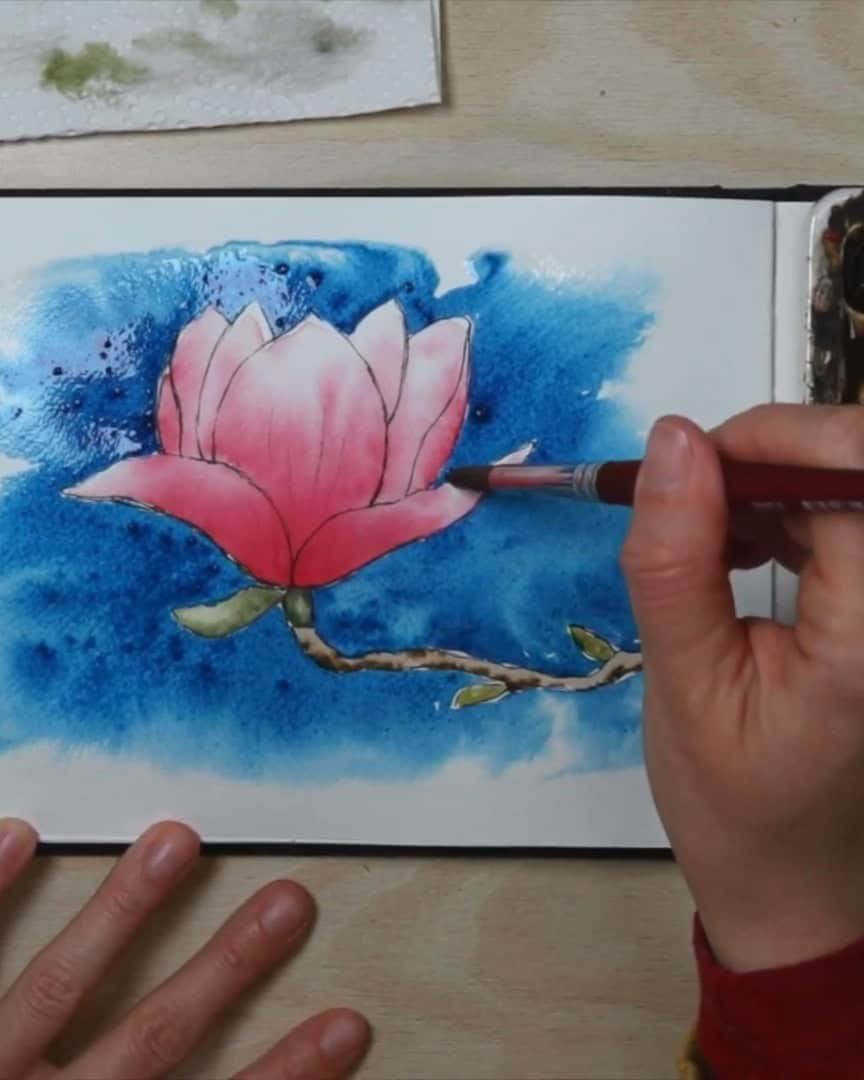
As the paper dries, the artist speeds up. The darker background instantly makes the flower pop!
More intense blue is added around the flower’s edge while the surface is still wet. Watching the paint flow is magical.
At first, the artist used to get frustrated expecting perfect results. But over time, the artist learned to let go. The ripples, veins, and textures that form?
That’s the paint doing its magic.
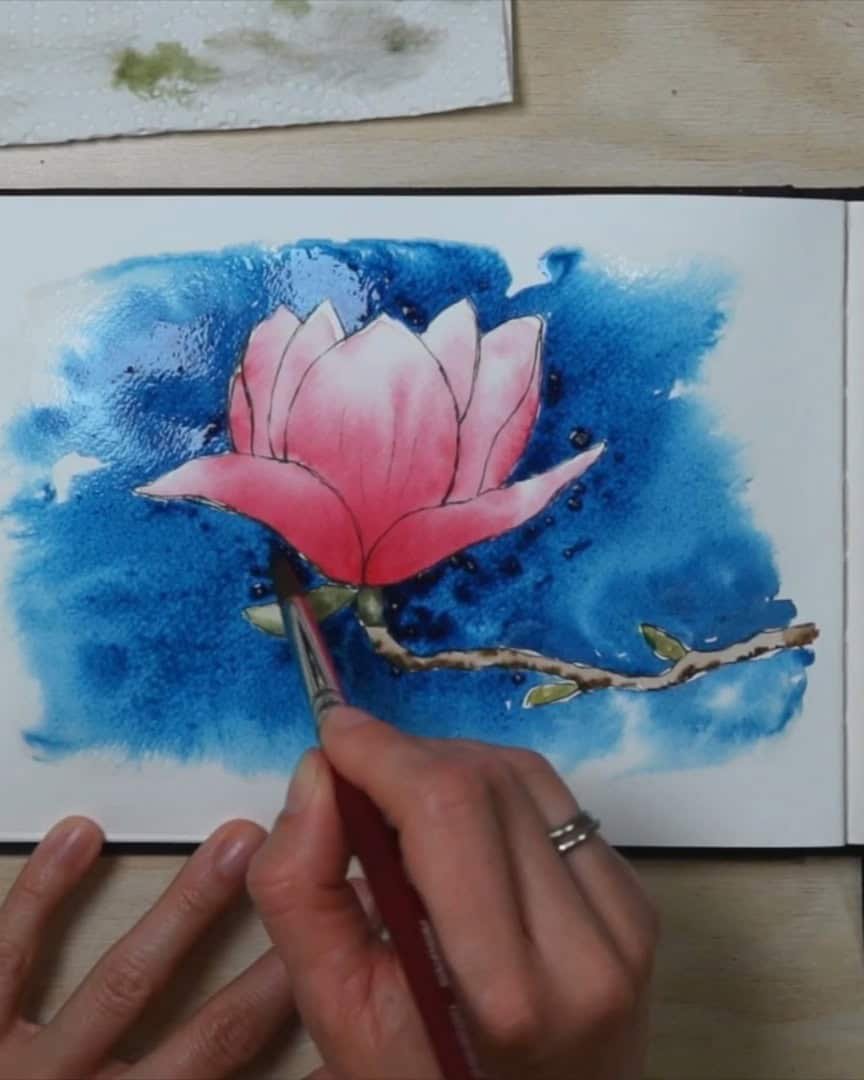
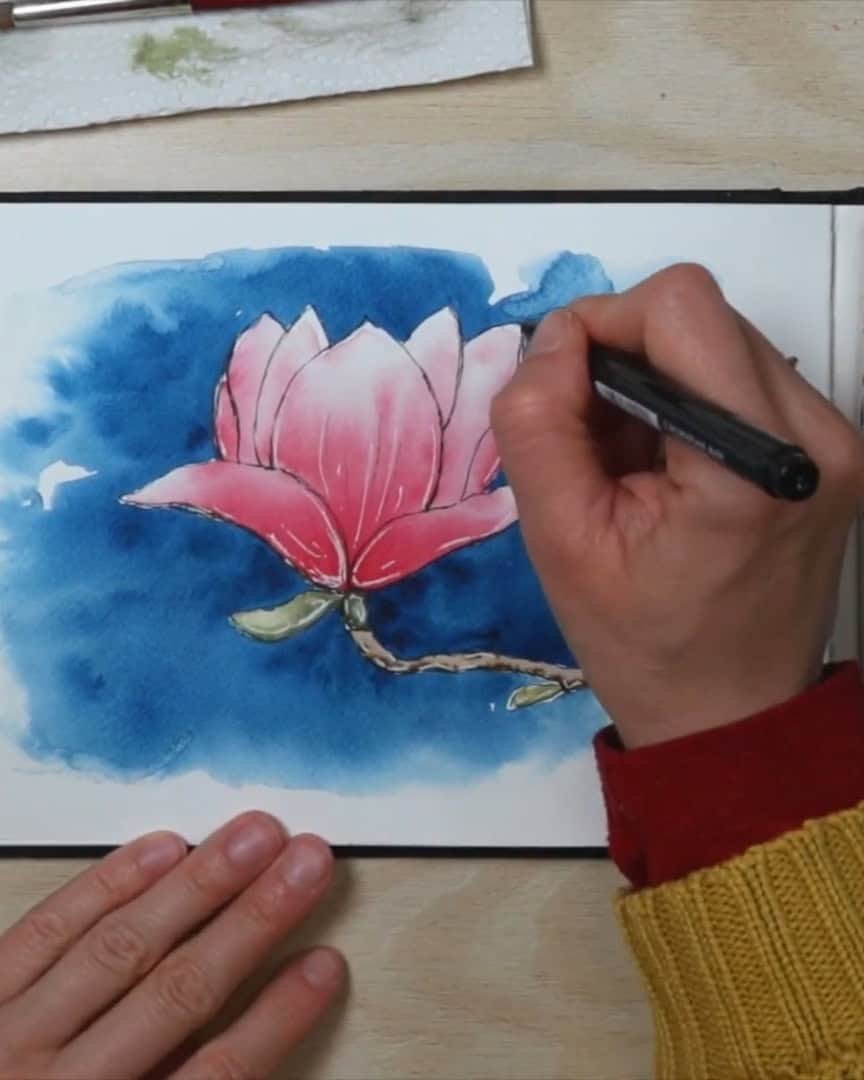
Add Depth and Balance
Darker blue is added to the corners and bottom edges with a creamy paint consistency. If a section dries too quickly, the artist skips it to avoid harsh lines. If harsh lines do appear, the artist simply paints over them.
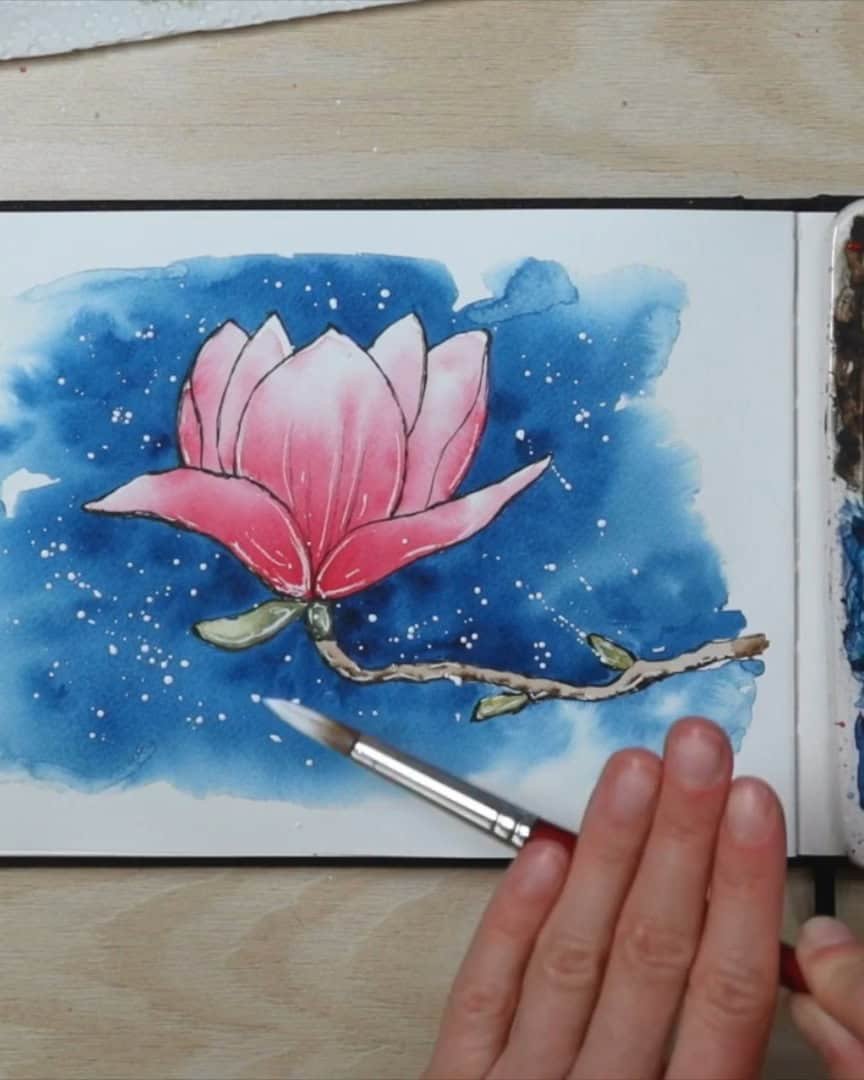
A balance of light and dark is created. Once finished, the artist cleans the brush thoroughly. The background is left to dry completely before small highlights are added with a Gelly Roll pen.
Step 6: Adding Finishing Touches
Now that the main painting is done, it’s time for the final details that make the artwork shine—contrast, depth, and personality.
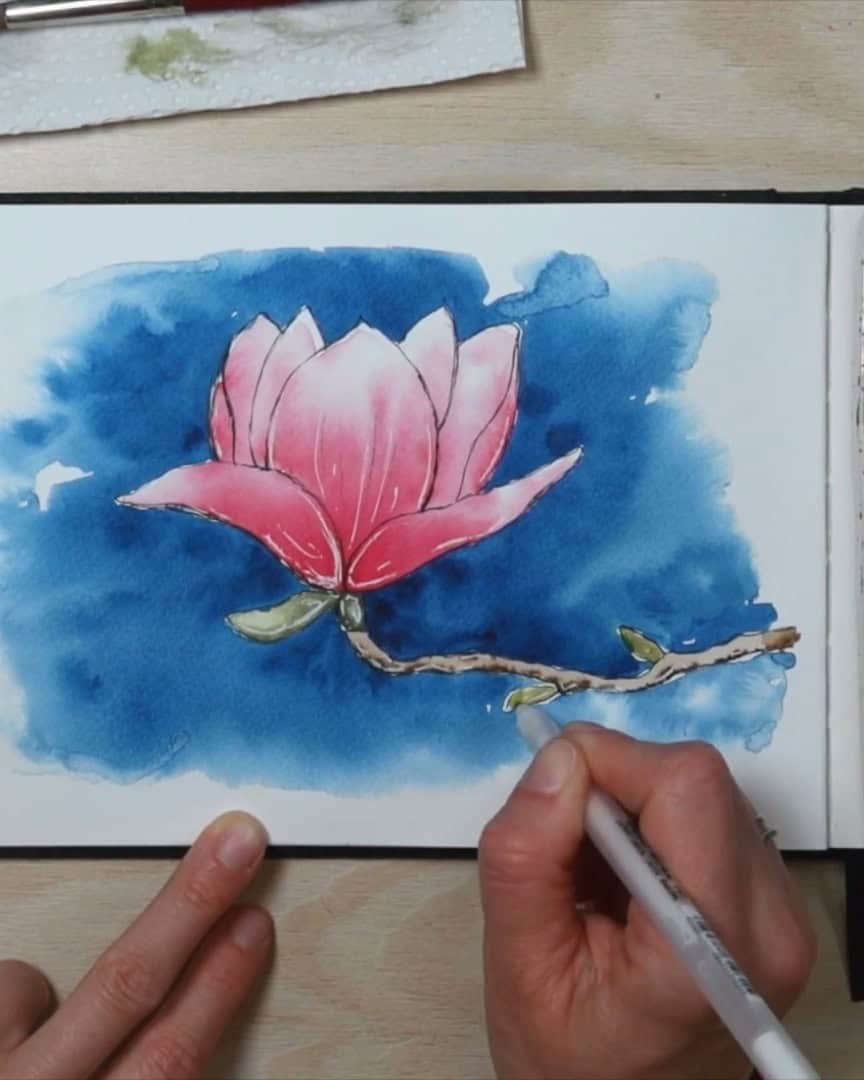
Enhance Details with the White Gelly Roll Pen
The artist grabs a white Gelly Roll pen to add fine lines in the darkest areas. Because the paper is still warm from the heat gun, the pen doesn’t glide perfectly smoothly, but that’s okay.
Delicate lines are sketched near the bottom, along the ink outlines. Extra detail is added to the back petals, greenery, and branch to help them stand out.
The artist switches to a pen size 03 to thicken some lines, filling small white gaps between the petals and background. This step helps the flower pop and feel more finished.
A quick tip: make sure your watercolor is completely dry before applying ink or pen lines. Also, the paper shouldn’t be too warm from the heat gun, or the pen won’t work well.
These are my little “watercolor sketching rules” to keep in mind.
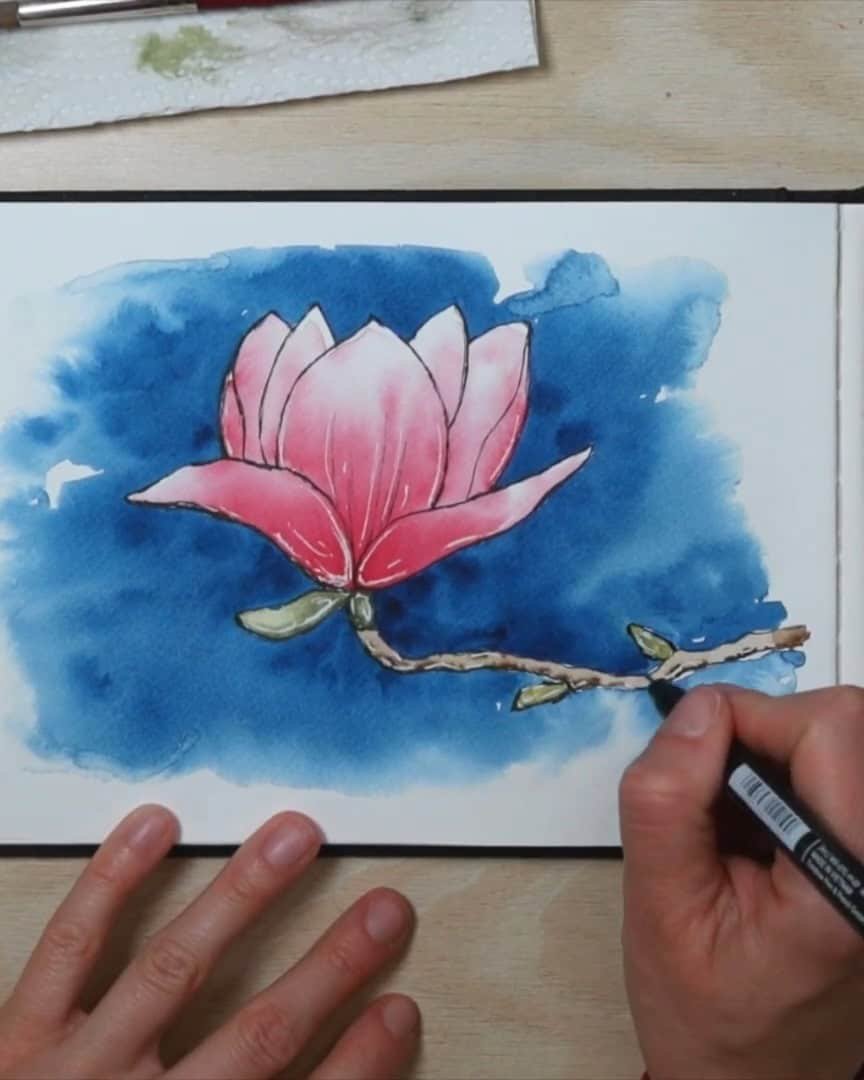
Know When to Stop
Sometimes the artist notices tiny white gaps or spots and fills them with a few extra lines. This isn’t always necessary; it’s more about creating a feeling of completeness.
A helpful rule is: when it feels like too much, it’s time to stop.
Add Splashy Highlights with Bleed-Proof White
The artist takes some bleed-proof white paint and makes splashes for a fun finishing touch:
- Wet the brush and mix the paint to a creamy consistency
- Load the brush fully
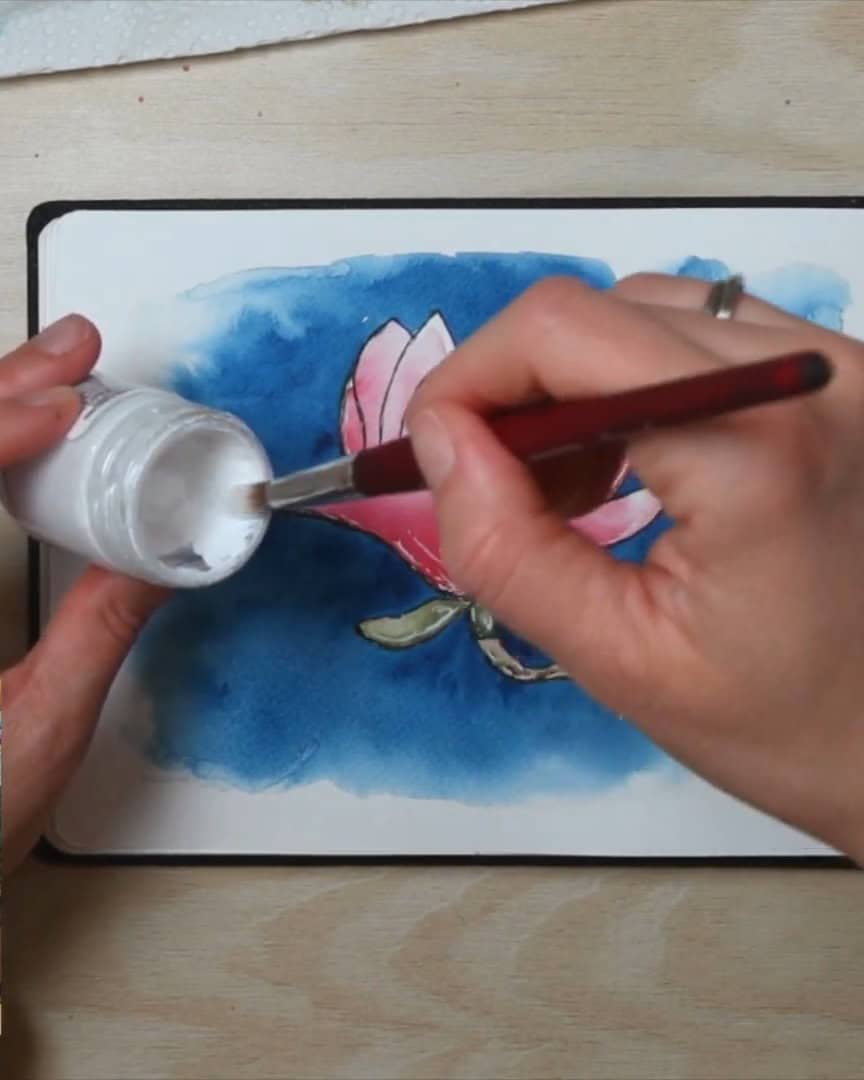
- Hold it horizontally and tap hard to create small splatters
These little “stars” look beautiful against the dark blue background and add a playful, messy finish. The artist loves the result.
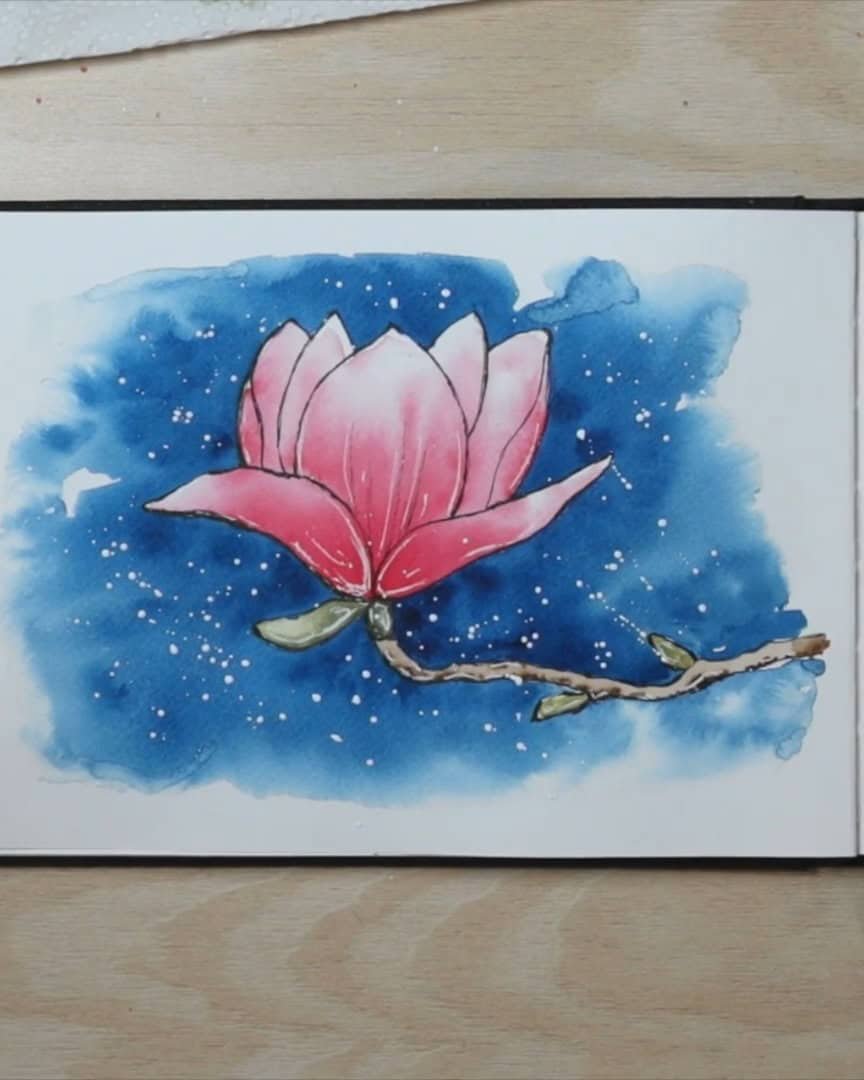
Wrapping Up
Painting a magnolia with watercolor is a rewarding experience that invites creativity and playfulness.
The artist hopes this step-by-step guide helps the viewer enjoy every part of the process—from sketching to adding those final highlights.
Why not pick up a brush and see where this colorful journey leads?
The viewer can share their artwork and keep exploring the beauty of watercolor flowers!