
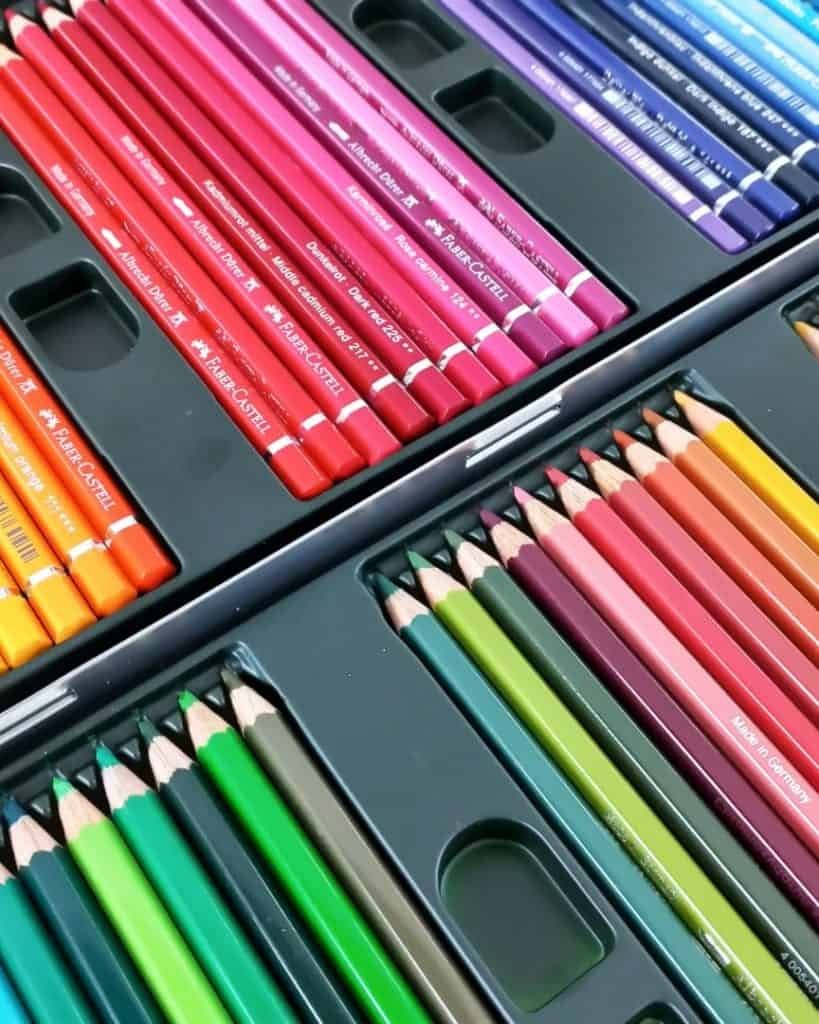
How can watercolor pencils be used to create paintings that look both detailed and fluid? In this article, Painting and Chocolate introduces 20 watercolor pencil techniques that reveal the medium’s full expressive range.
She shows how to plan a painting, build smooth gradients, layer color effectively, and add striking textures. Each method brings fresh possibilities to sketchbook studies, helping artists achieve vibrant and confident results.
Contents
- 1 #1. Plan a Painting with Watercolor Pencils
- 2 #2. Sketch with Watercolor Pencils
- 3 #3. Create Gradients
- 4 #4. Control Color with Pressure
- 5 #5. Build Colors with Layering
- 6 #6. Lifting Pigment for Highlights
- 7 #7. Add Texture with Hatching
- 8 #8. Experiment with Different Paintbrushes
- 9 #9. Pattern Drawing
- 10 #10. Create a Hybrid Look (Half Pencil, Half Paint)
- 11 #11. Draw on Wet Paper
- 12 #12. Dip Lead in Water
- 13 #13. Wet the Lead with Brush
- 14 #14. Spray Water Over Pencil Strokes
- 15 #15. Make Watercolor Paint from Pencils
- 16 #16. Combine with Other Media
- 17 #17 Create Paint Splatters
- 18 #18. Add White Gouache
- 19 #19. Use Watercolor Pencil Shavings
- 20 #20. Glazing with Watercolor Pencils
- 21 The Bottom Line
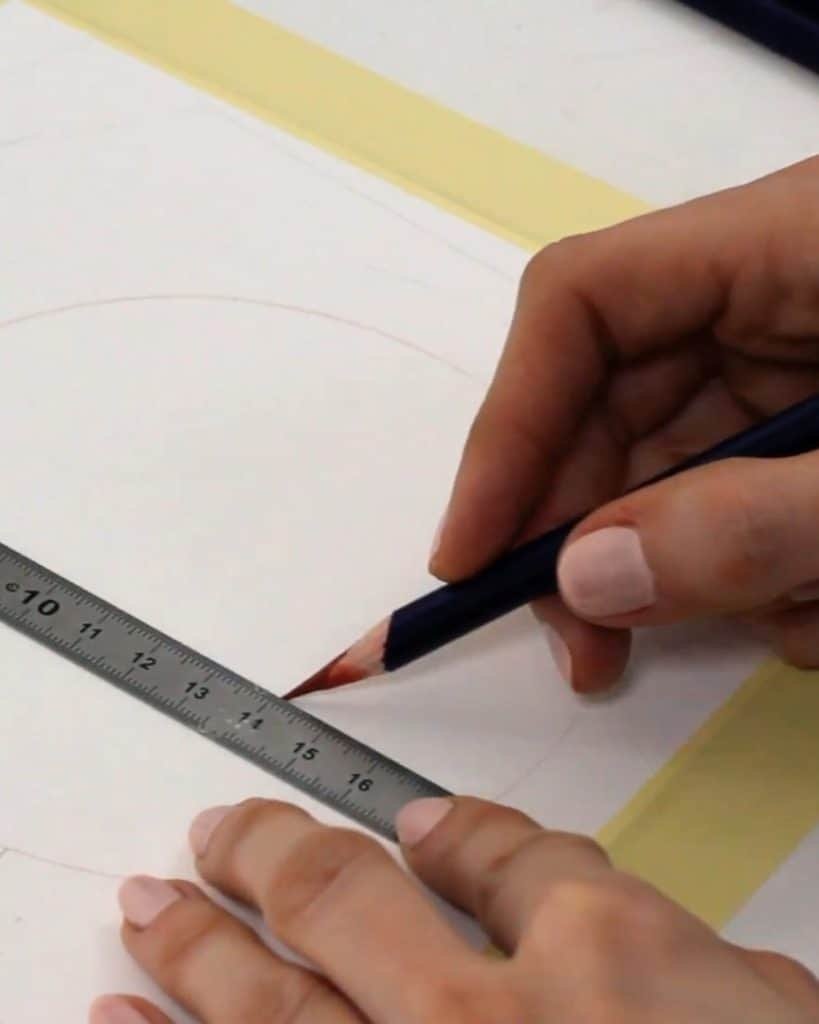
#1. Plan a Painting with Watercolor Pencils
Before starting, Françoise explains the value of planning. Watercolor pencils give artists flexibility to test colors or paint in stages.
- Color and paint one section at a time. This works well when testing a new brand or practicing before committing to a full piece.
- Plan the whole painting at once. Add early shadows to build structure and clarity when confident with the pencils.
Planning helps keep control while allowing creativity to flow.
#2. Sketch with Watercolor Pencils
Instead of graphite, Françoise sketches with watercolor pencils. The lines later dissolve when activated with water, blending into the painting seamlessly.
This makes her sketch less noticeable compared to pencil lines that may remain visible.
She finds the technique especially useful in quick sketchbook studies. While graphite is her preference for larger works, watercolor pencil sketches keep drawings discreet and practical for spontaneous painting.
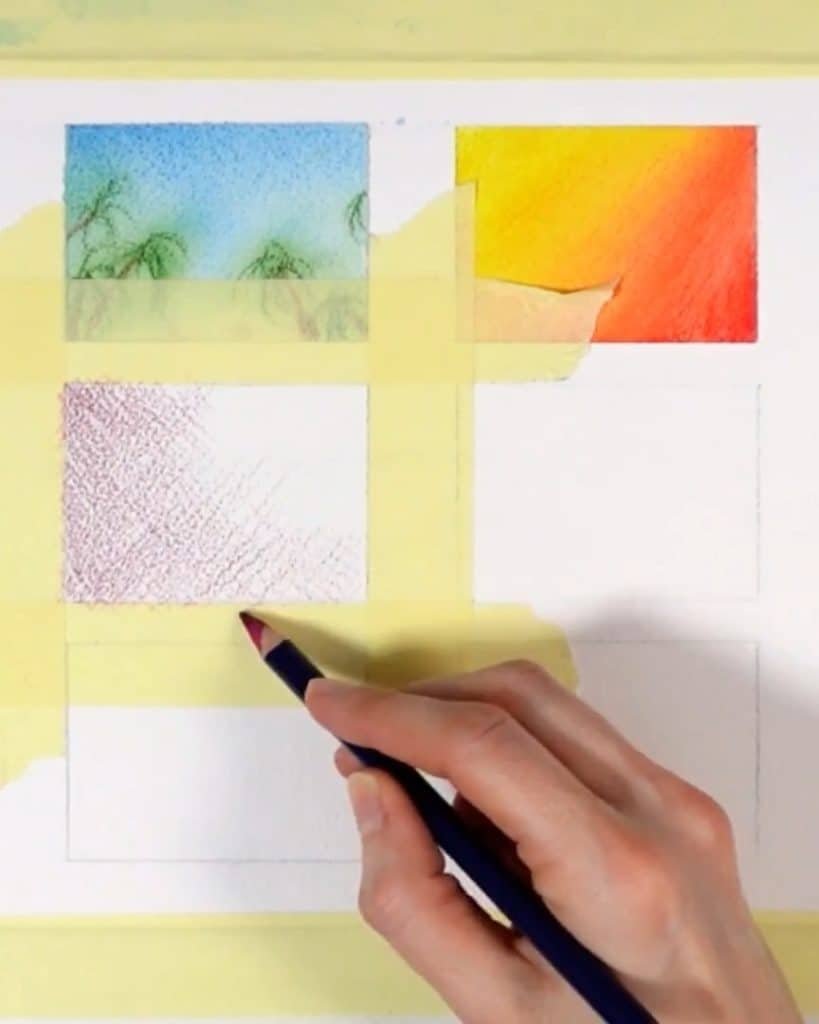
#3. Create Gradients
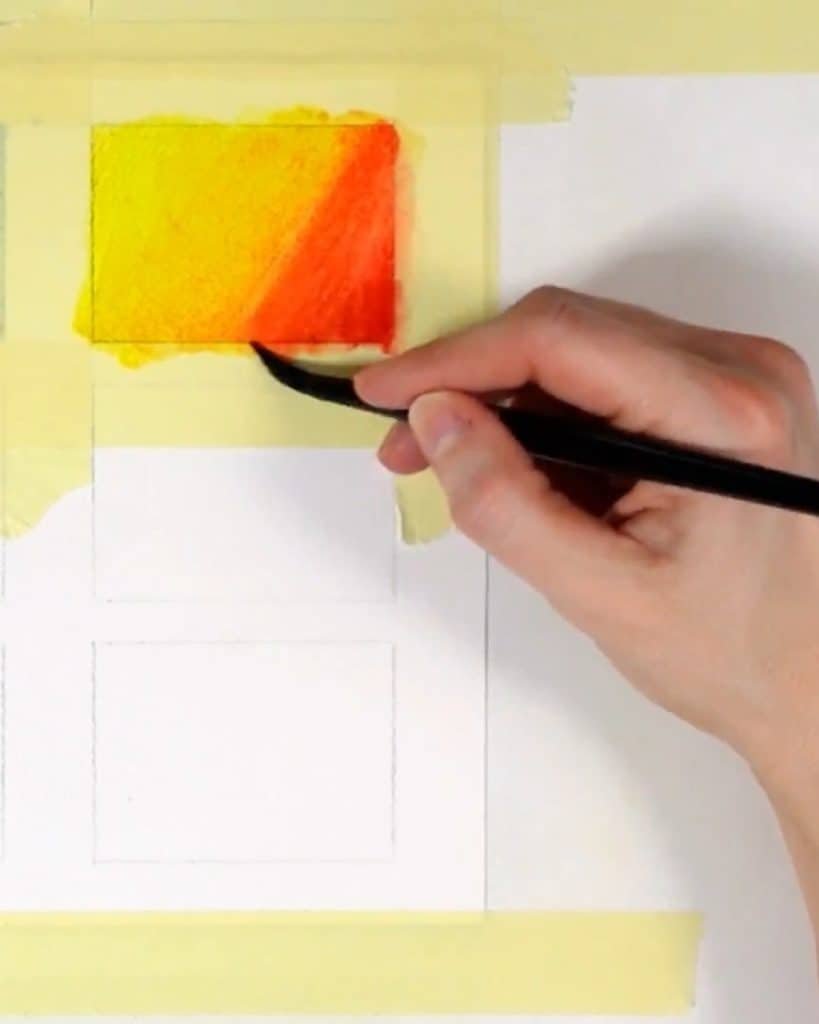
Smooth transitions bring depth to a painting. According to Françoise, there are different ways to build them.
Artists can use one color to move from light to dark. Another option is to blend two or more colors together. She recommends overlapping lightly to create natural transitions.
When adding water, always start with the lightest areas. Why? Because it keeps the darker pigment from bleeding into the bright zones.
#4. Control Color with Pressure
Another technique is to vary the pressure of the hand. It changes how much pigment stays on the paper.
- Hard pressure with a straight pencil gives strong, bold pigment.
- Light pressure with the pencil sideways gives soft tones.
Françoise suggests using gentle strokes to keep the white of the paper as part of the gradient. Hard pressure is best for adding details or shadows over a base layer.
#5. Build Colors with Layering

Layering allows the artist to build shapes slowly. Instead of pressing hard from the start, Françoise applies light layers one over another.
As a result, she can develop depth and prevent harsh pencil strokes. The marks blend smoothly once the pigment is wet. It creates soft transitions. Hard pressure comes later, when she adds darker shadows.
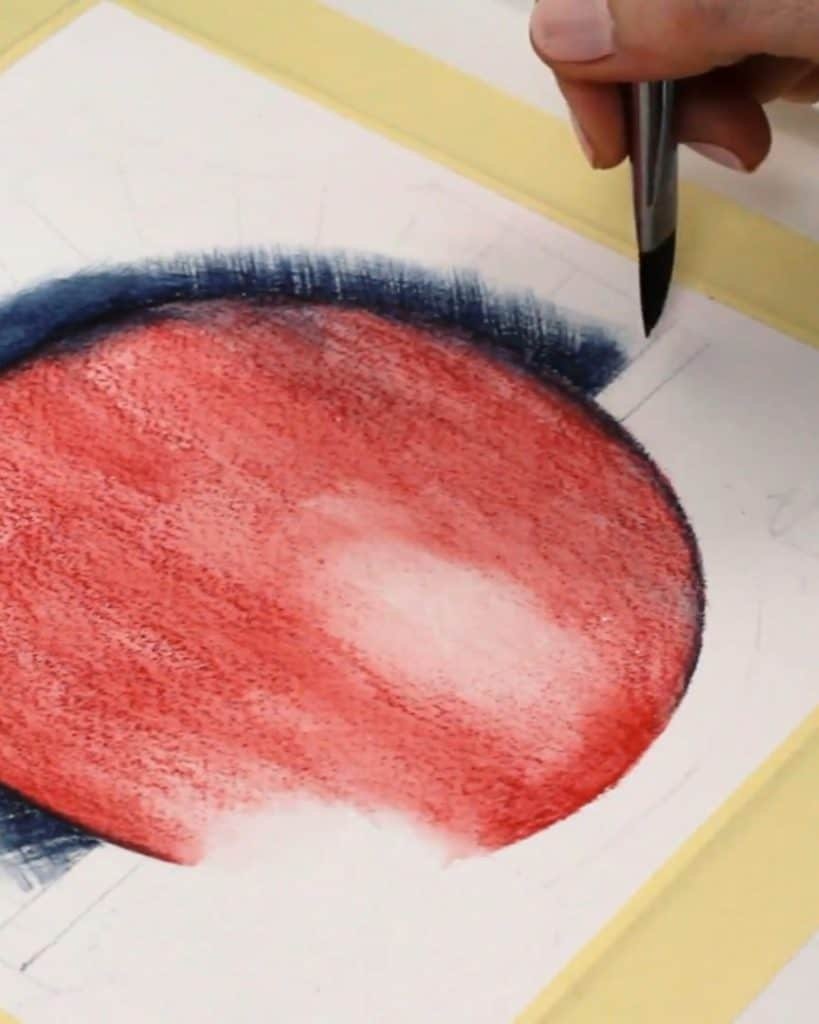
#6. Lifting Pigment for Highlights
Sometimes you need to remove excess color. Françoise shows how to lift pigment when it is still wet.
She uses a damp, clean brush to press and absorb paint. The technique reveals the white paper underneath.
Françoise recommends that the brush must be rinsed and dried before lifting again each time. It is a great way to bring back highlights and adjust brightness.
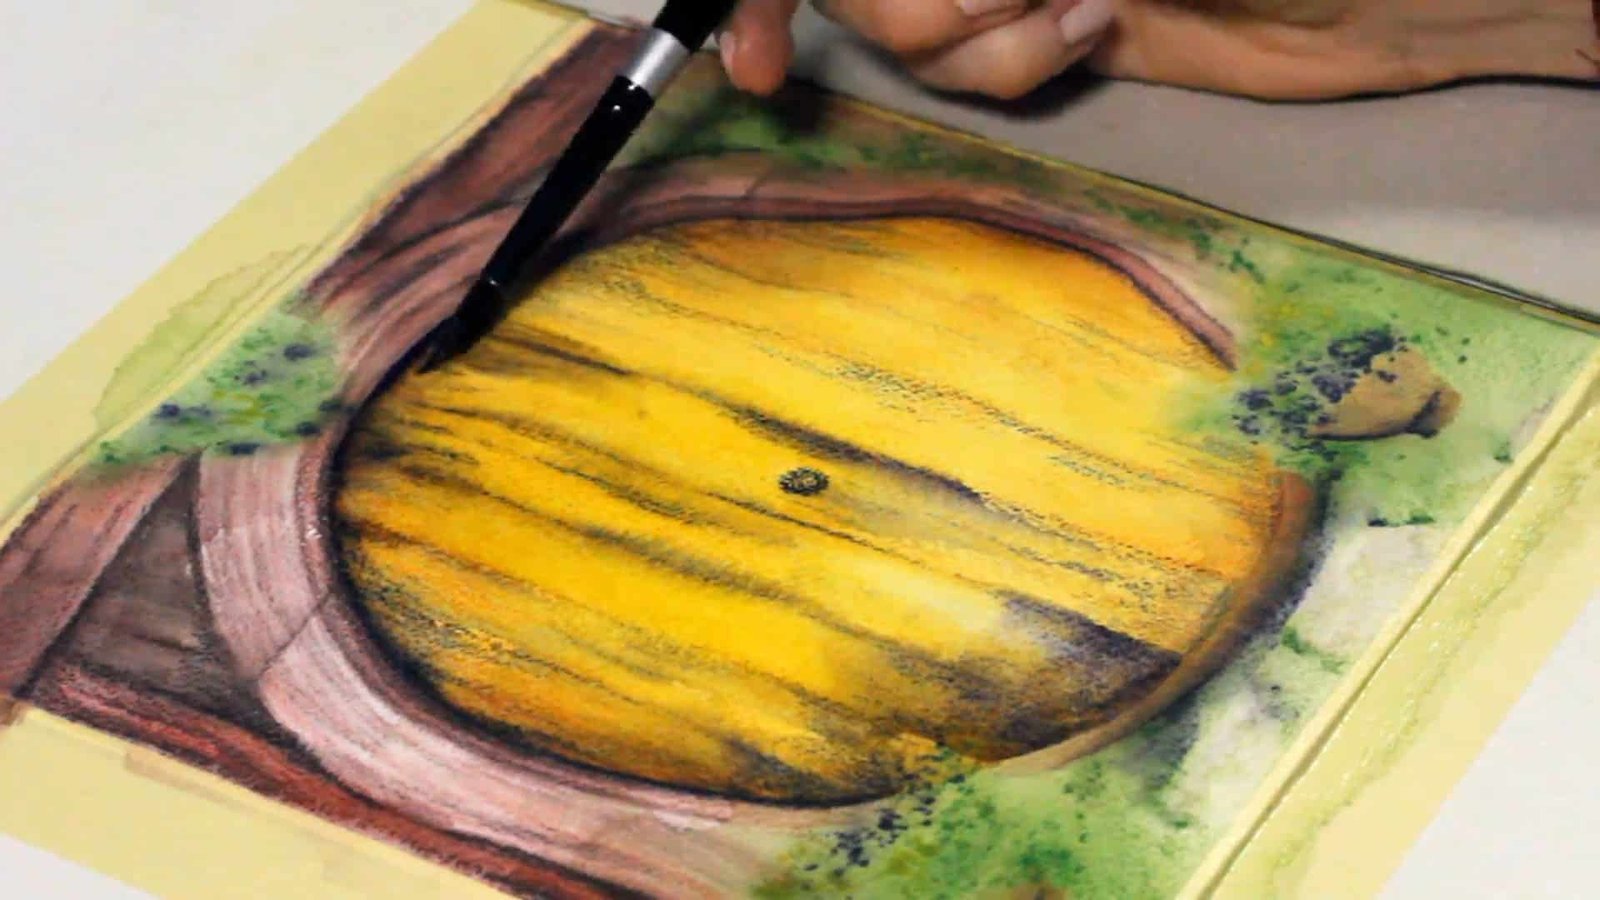
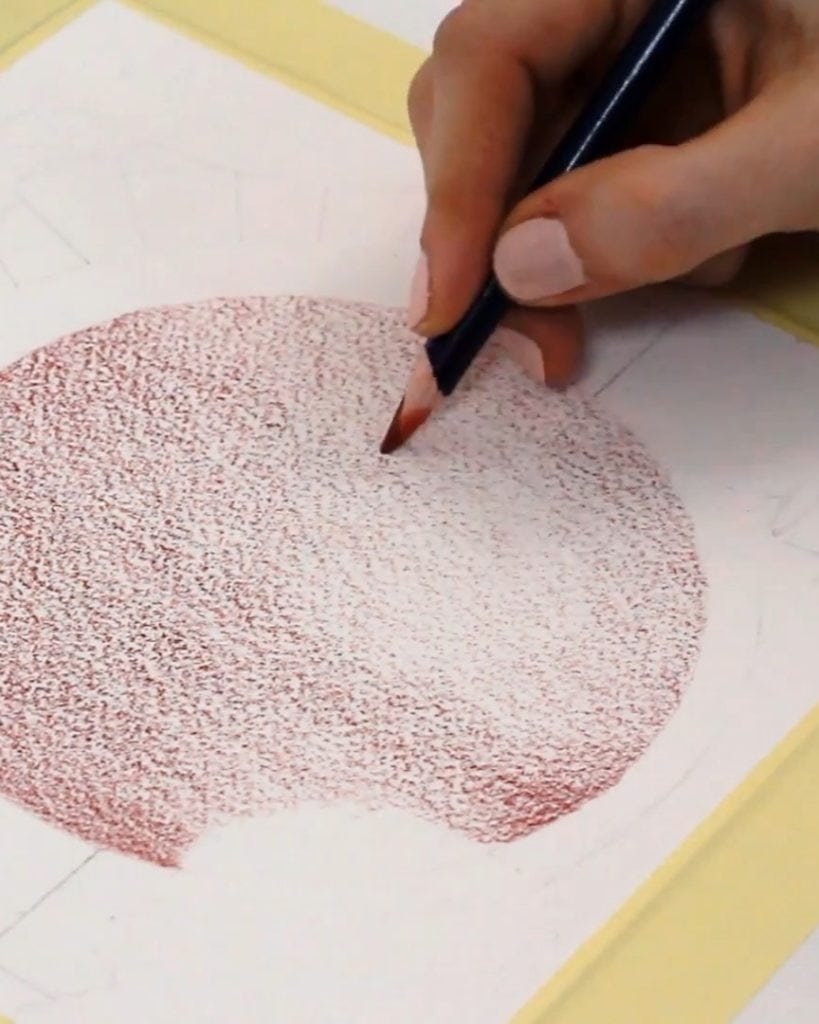
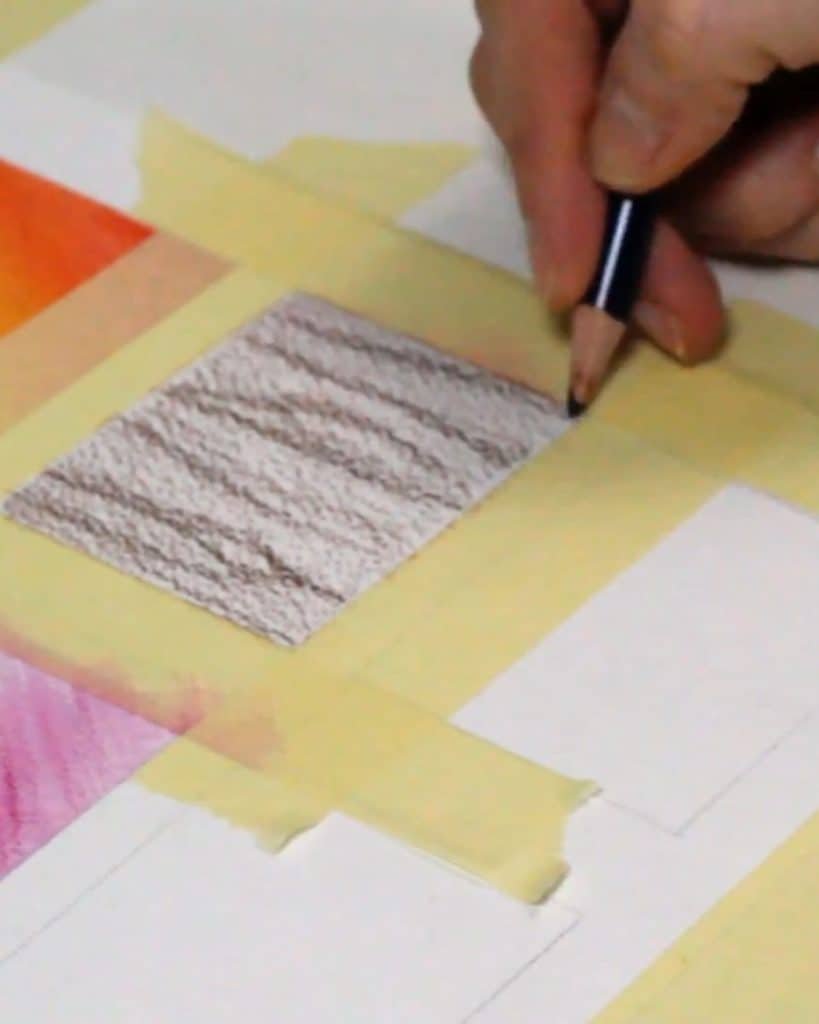
#7. Add Texture with Hatching
Texture can change the mood of a painting. Hatching is a simple way to achieve the effect.
Françoise makes tight, close lines for shadows and looser lines for lighter areas.
Watercolor pencils allow hatching before or after applying water. It adds detail and direction that traditional watercolor alone cannot create.
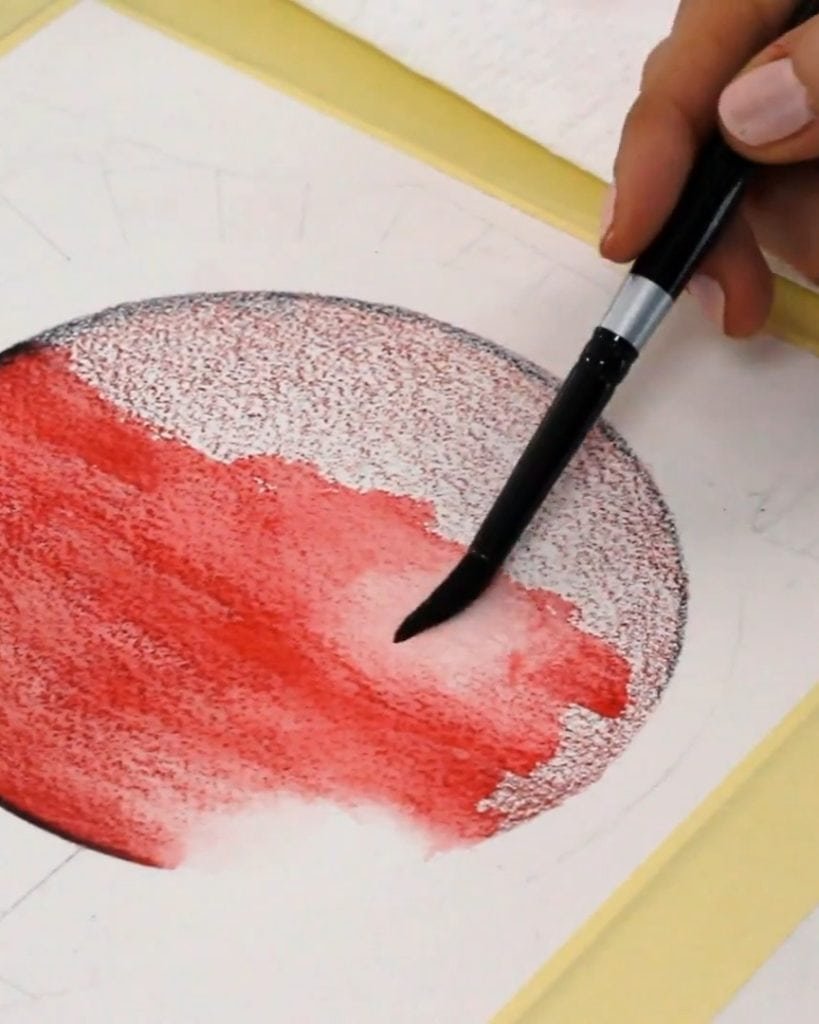
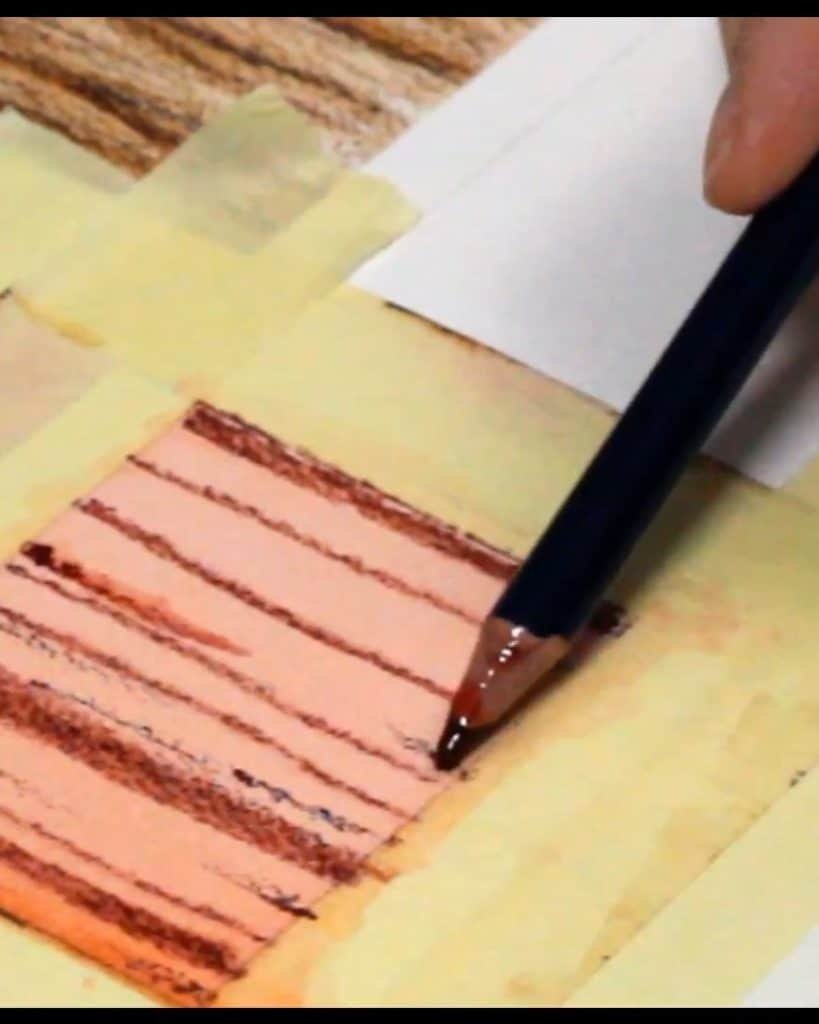
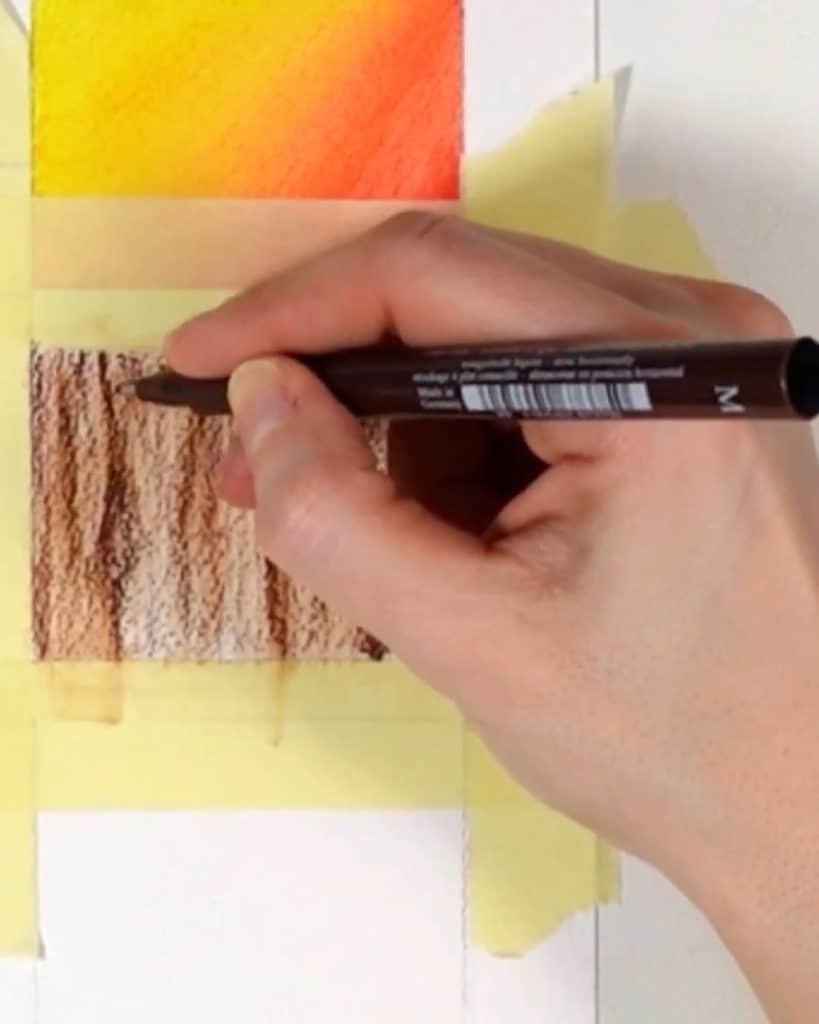
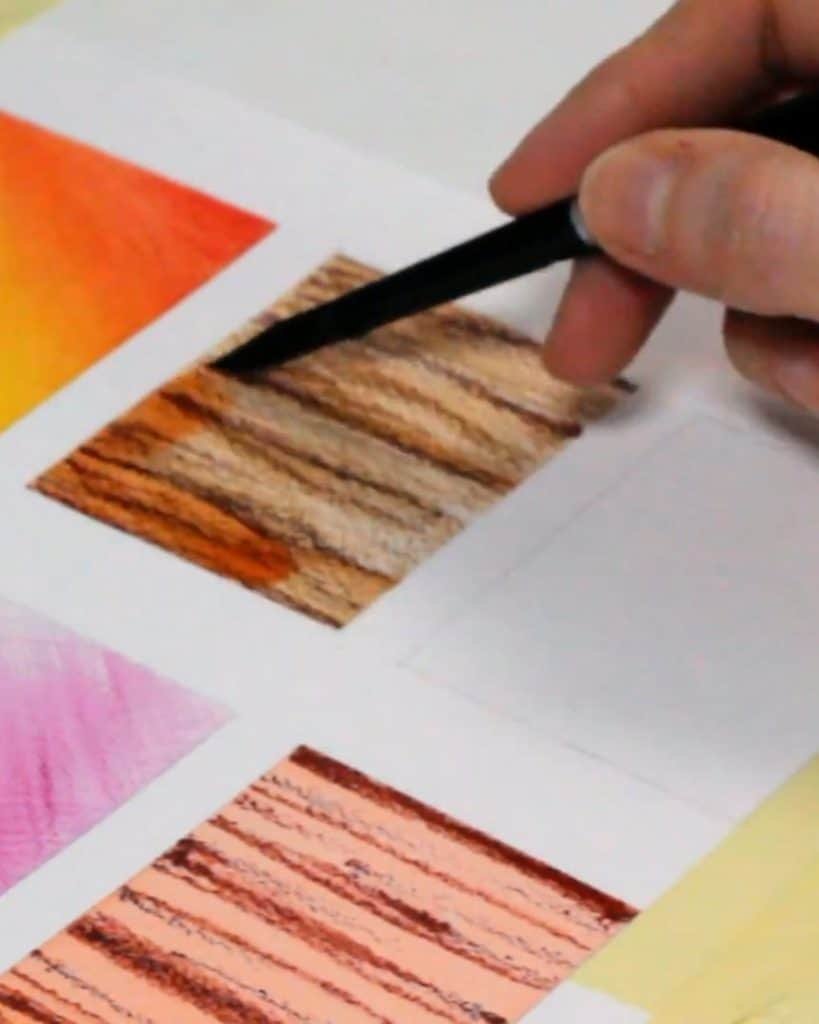
#8. Experiment with Different Paintbrushes
Brush choice changes the final effect. Françoise activates hatching with different brushes to show how they behave.
A flat synthetic brush works best. It keeps hatching visible instead of melting it into solid color.
She recommends keeping the brush damp, not soaking wet, to control blending. By adjusting pressure, artists can even create textures like wood cracks.
#9. Pattern Drawing
Patterns are easy to build with watercolor pencils. Françoise applies repeated strokes or shapes, then activates them with water. She sometimes leaves parts untouched, keeping visible pencil marks for added interest.
Using different brushes or even tools like sponges, she builds textures that enhance backgrounds, fabrics, or decorative details in her paintings.
#10. Create a Hybrid Look (Half Pencil, Half Paint)

Watercolor pencils allow mixing dry and wet effects. Françoise uses this simple trick to make textures stand out.
She activates most areas but leaves some strokes untouched. It keeps pencil marks visible for added texture. She also suggests trying tools like sponges to build variety.
The hybrid method combines drawing clarity with watercolor softness.
#11. Draw on Wet Paper

Drawing on wet paper creates strong marks quickly. Françoise wets the paper or pencil tip to leave vivid lines.
The method is particularly effective for painting details and achieving fast, expressive strokes. It also works well for studies where precision is less critical but impact is needed.
#12. Dip Lead in Water
Dipping the pencil tip in water allows concentrated pigment deposition. Françoise uses this method for bold highlights or accentuating specific areas.
The technique produces intense color fast and maintains texture, making it perfect for areas needing strong emphasis.
#13. Wet the Lead with Brush
Instead of dipping, use a brush to wet the pencil tip. The method creates smooth, paint-like strokes without leaving pencil marks.
It is excellent for areas that require even, flowing washes with intense pigment.
#14. Spray Water Over Pencil Strokes
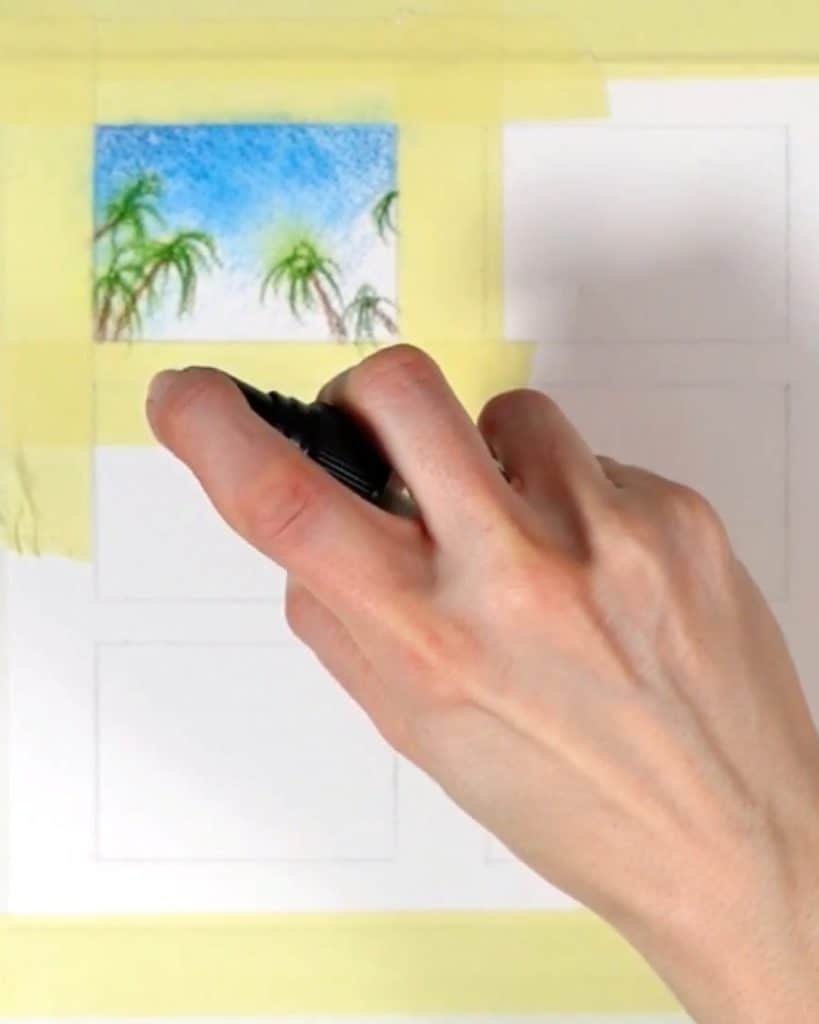
To create soft watercolor textures, Françoise sprays water over dry pencil strokes. She adjusts the distance of the spray for different effects.
Close spraying gives intense diffusion, while distant misting leaves lighter washes. The result looks painterly, blending marks seamlessly.
#15. Make Watercolor Paint from Pencils
Françoise makes her own watercolor paint by scribbling pencil pigment onto watercolor paper. She wets it with a brush and uses it like a palette.
The technique works well for smooth washes, such as skies, where visible pencil lines would be distracting. It also makes the most of every bit of pigment.
#16. Combine with Other Media
She combines watercolor pencils with other tools like markers, traditional watercolors, or pens. For skies, she lays a watercolor base, then adds pencil for texture.
Sometimes, she uses markers for details or outlines. Mixing media keeps her artwork playful and varied.
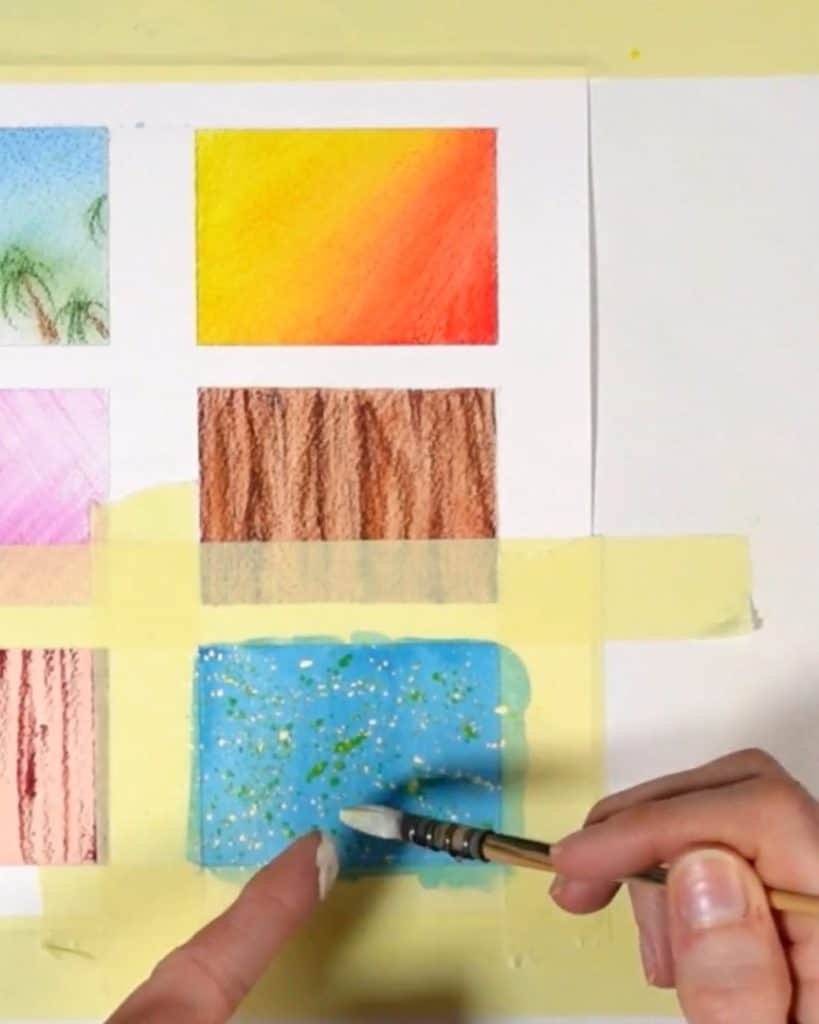
#17 Create Paint Splatters
Françoise loves paint splatters for energy and spontaneity. She wets a brush with pigment from the pencil lead or a swatch, then flicks it onto paper.
The splatters create movement and texture. The technique is perfect for skies, foliage, or abstract backgrounds.
#18. Add White Gouache
White gouache mixes beautifully with watercolor pencils. Françoise blends it into her palette to increase opacity and brightness.
She often uses it for highlights or bold white splatters that stand out against darker colors. The contrast adds vibrancy and depth to her work.
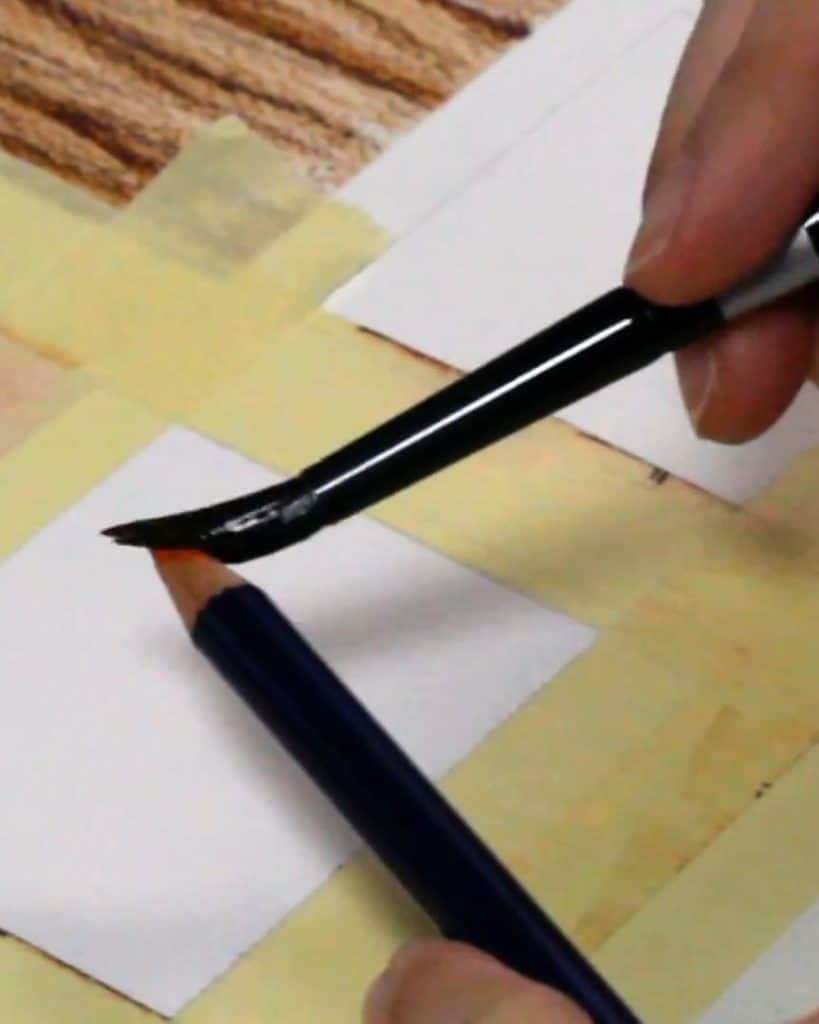
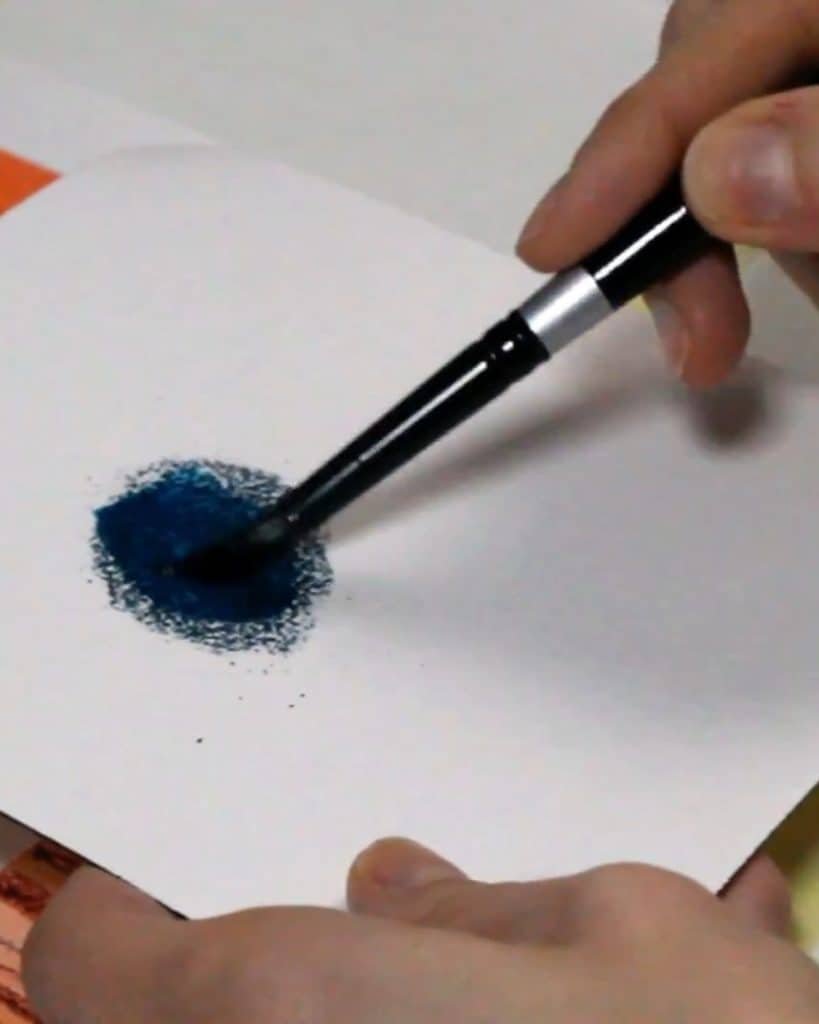
#19. Use Watercolor Pencil Shavings

By scraping pencil leads with a cutter, Françoise creates shavings. She drops them onto wet areas for bursts of color.
When collected in larger amounts, the shavings can be activated with water and used like paint. It’s a fun way to recycle pigment creatively.
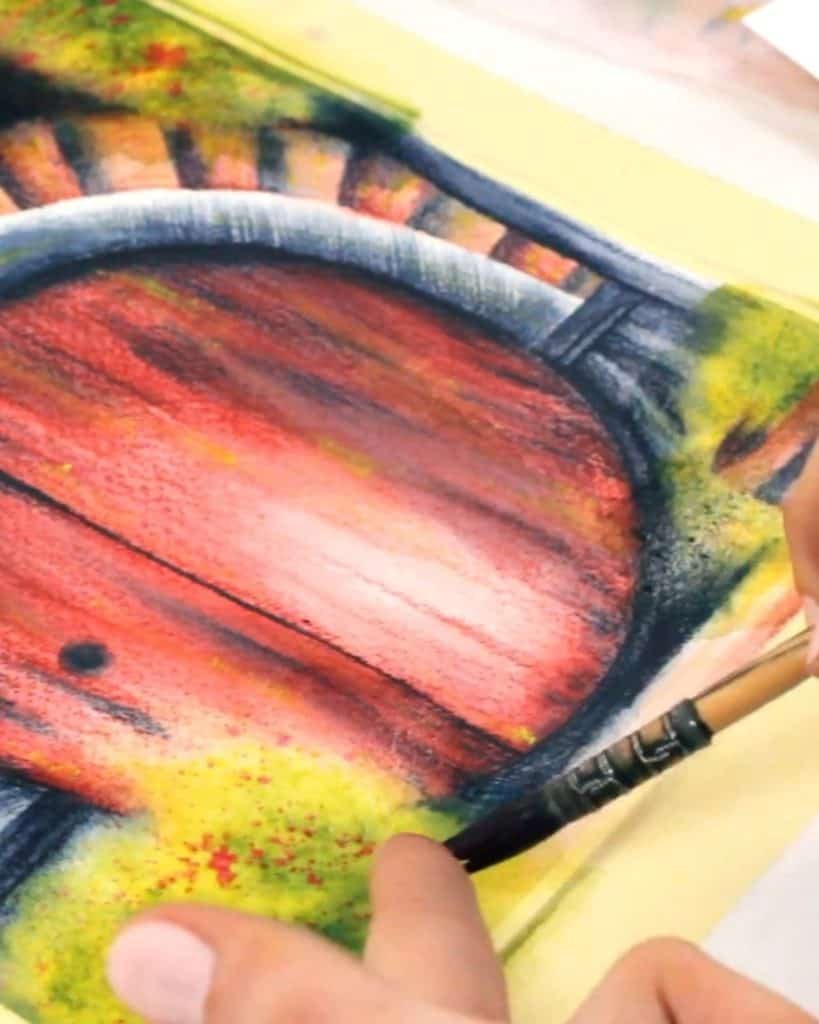
#20. Glazing with Watercolor Pencils
For glazing, Françoise layers transparent washes over dry paint to adjust color. She wets pigment from a lead or swatch, then brushes it gently on top.
Adding yellow over red, for example, gives the painting a glowing warmth. Darker glazes shift the tone, making the image richer.
The Bottom Line
Watercolor pencils offer more than just coloring; they open up endless creative options. Françoise from Painting and Chocolate shows how each technique, from layering and gradients to shavings and glazing, expands artistic expression.
Which of the twenty techniques inspires your next painting? Try them today and see how watercolor pencils can transform sketches into vibrant, textured works of art.