

Looking for a cozy and stylish handmade cardigan? This pattern is based on a tutorial by Maggie, who shares her lightweight, Florida-friendly take on the classic Hexagon Granny Cardigan.
Inspired by the rising popularity of hexagon cardigans worn by celebrities like Jason Momoa and Jack Black, this version uses lightweight Mandala Baby yarn and a simple granny stitch construction—perfect for both beginners and experienced crocheters. Customizable in size and color, this sweater is a fun and rewarding project.

Contents
Materials
-
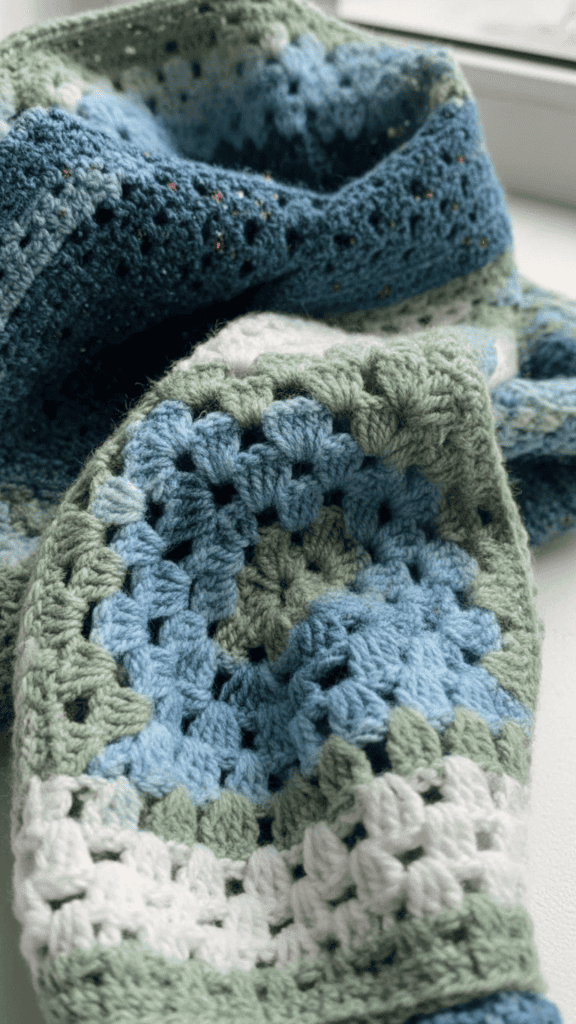
Yarn: Mandala Baby (Echo Caves colorway), #3 lightweight yarn
-
Approx. 1,770 yards (3 skeins)
-
-
Hook: 6.0 mm crochet hook (US J/10)
-
Notions: Yarn needle, scissors, stitch markers
-
Optional: Measuring tape and a sweater for sizing reference
Abbreviations (US Terms)
| Abbreviation | Meaning |
|---|---|
| CH | Chain |
| DC | Double Crochet |
| HDC | Half Double Crochet |
| SL ST | Slip Stitch |
| ST(s) | Stitch(es) |
| REP | Repeat |
Gauge
Gauge is not critical for this pattern. Use a sweater you like to measure your fit or adjust the size of your hexagons accordingly.
Instructions

1. Make Two Granny Hexagons
These form the body and sleeves of the cardigan.
Foundation Round:
-
CH 4, join with SL ST to form a ring.
(Or use a magic ring.) -
CH 3 (counts as DC), work 2 DC in the ring, CH 1.
Repeat (3 DC, CH 1) five more times (6 total clusters).
Join with SL ST to top of CH 3. Turn.
Round 2 and Onward:
-
CH 3, work 2 DC in same space.
-
In the next CH-1 space, work (3 DC, CH 2, 3 DC) — this is a corner.
-
Continue working a corner in each CH-1 space around.
-
Join with a HDC to the top of the CH 3 (instead of CH 2 + SL ST — adds structure).
-
CH 3, turn, and repeat.
Notes:
-
Continue until your hexagon side measures the desired sleeve length.
-
Maggie’s sleeve was 7.5 inches wide from shoulder to armpit.
-
Turn your work between rounds to avoid skewing.
2. Join the Hexagons
Fold each hexagon into an “L” shape. The folded corner becomes the shoulder and sleeve.
-
Join two hexagons along the back by seaming the inside edges.
-
Use whip stitch or mattress stitch, sewing from the right side for a neater finish.
Add a Back Panel (Optional):
-
If the cardigan needs more width, work granny stitch rows along the inner edge of each hexagon.
-
Example: Add two panels, each 3.5″ wide, to achieve a total of 7″ additional back width.
3. Add Front Panels (Optional)
-
Add granny stitch rows on the front edges for more coverage.
-
Maggie added 4 rows for a 10″ front panel from armpit center to edge.
4. Seam the Sleeves
-
Fold the sleeves closed and sew from underarm to cuff.
-
Use only the inner loops of each stitch for a subtle seam.
5. Add Length to the Sleeves
-
Join yarn at the underarm seam.
-
CH 3, work 2 DC into same space (first cluster).
-
Work 3 DC clusters into each gap around.
-
Join with SL ST to top of CH 3. Turn.
-
Repeat until desired sleeve length.
-
To change colors, join new yarn during the last pull-through of the final DC.

6. Add Length to the Body
-
Join yarn at lower edge and begin working granny clusters across the bottom.
-
Space stitches evenly, avoiding rippling or puckering.
-
Count stitches on one side of the center and match them on the other for symmetry.
-
Add rows until cardigan reaches desired length.
7. Add Edging (Optional)
Neckline and Front Border:
-
Work 4 rounds of Half Double Crochet (HDC).
-
Finish with 1 round of Single Crochet (SC).
-
You may also add a simple Double Crochet (DC) round around the sleeve cuffs and sweater hem for a clean edge.
Finishing
-
Weave in all loose ends.
-
Block your cardigan if desired for a polished shape and drape.
-
Try it on and admire your work!

Conclusion
You’ve now completed a unique and versatile Hexagon Granny Cardigan, thanks to Maggie’s thoughtful guidance. This project is ideal for customizing—whether with colors, yarn weight, or dimensions—and can be styled across seasons. Lightweight and breathable, it’s perfect for layering. Once you’ve made one, you might just want to make another in a new colorway!
