
Need a simple drawing idea that helps sharpen your shading skills?
Drawing water droplets with a pencil is a great way to practice light and shadow, especially when I want to draw but don’t know what to create. It may seem tricky at first, but it becomes a fun and rewarding exercise with the proper steps.
Contents
Tools You Need to Get Started
Let’s talk about the materials I use.
For this tutorial, I use a 3B pencil. You can also use HB or 2B – anything that lets you create a decent dark tone.

I also keep a kneaded eraser (putty eraser) on hand.
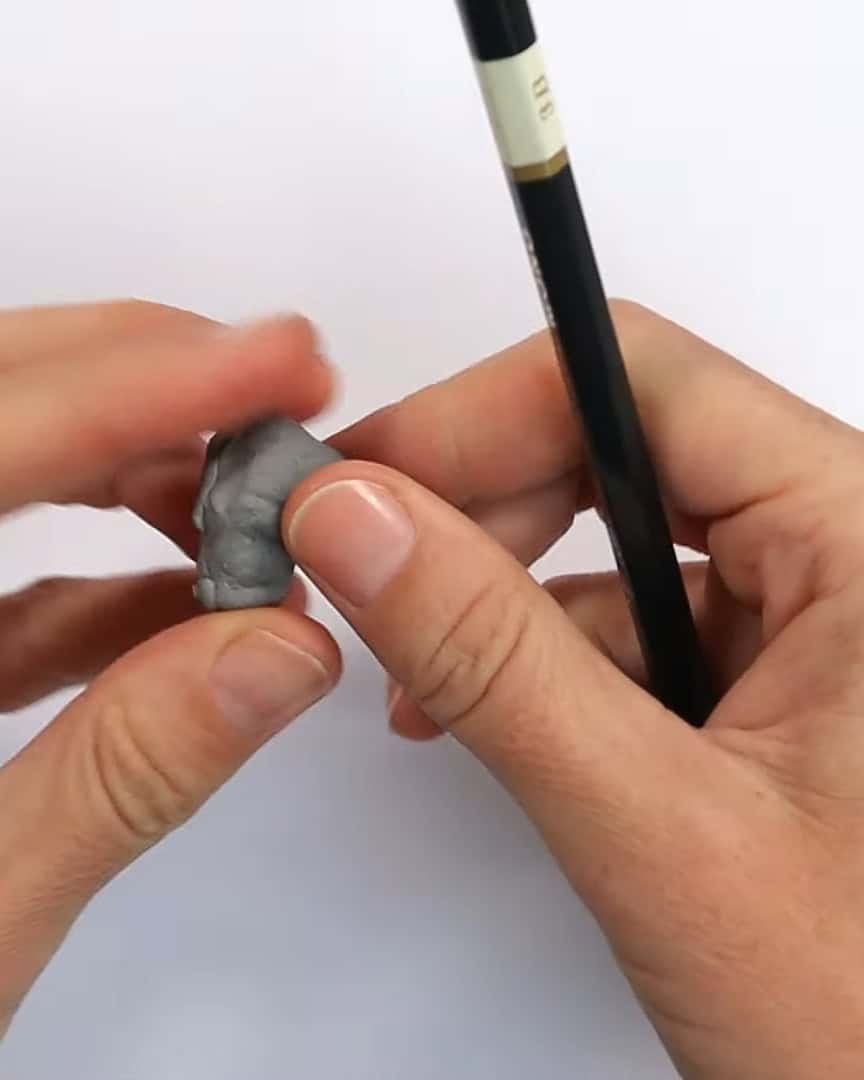
Sometimes, I use an old paintbrush or a tissue for gentle blending. But remember, the goal is to build shading skills without relying too much on blending tools.
Understanding Light and Shadow in a Water Drop
Before we draw, it helps to understand what light does when it hits a water droplet.
I imagine the light source coming from the upper left. When light hits the drop, it reflects and creates a highlight.
But here’s the interesting part: the light also passes through the water and comes out on the opposite side, making another lighter area there.
That means we get two light zones: the bright highlight and a diffused light patch on the opposite side. Right under the highlight, there’s often a darker area. And, of course, the drop casts a shadow on the surface below it.
In some cases, you’ll also notice reflected light on the surface. We’ll explore that in the second water drop drawing.

Drawing the First Water Droplet: Without Reflected Light
Let’s start with a basic drop.
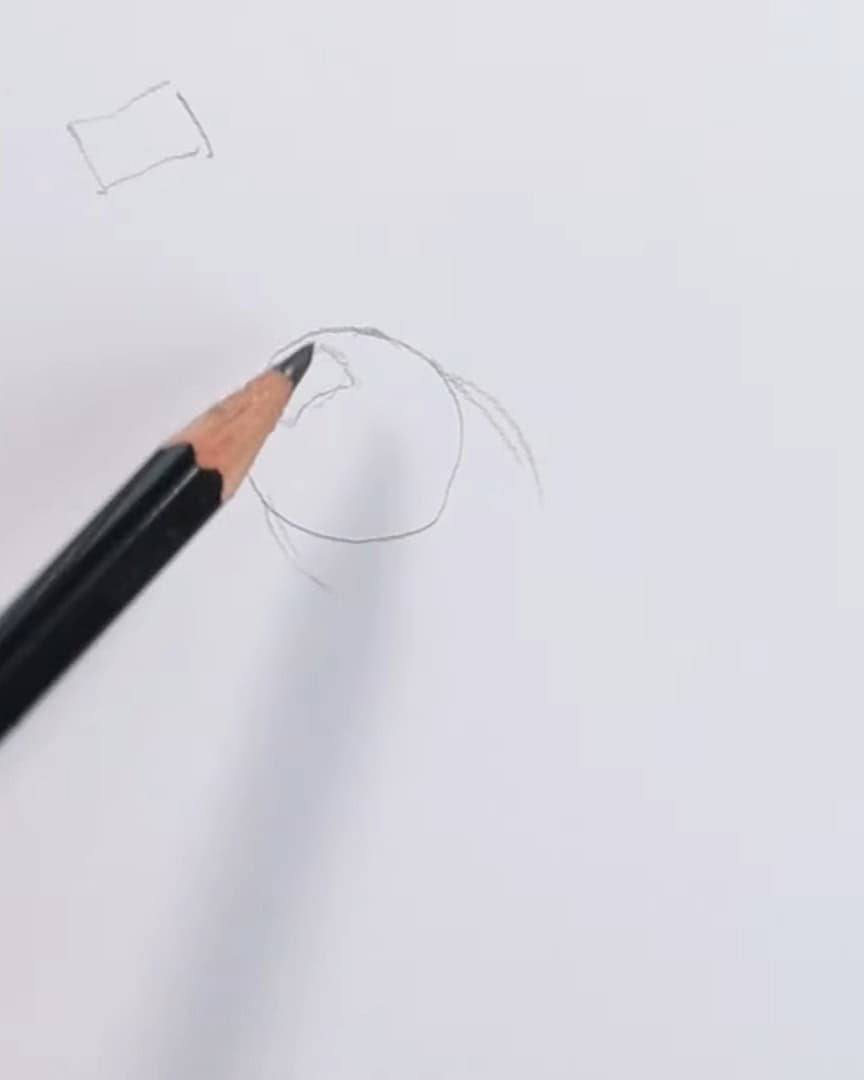
Step 1: Draw a Small Shape and Place Your Light Source
First, I draw a small circle. Then I decide where my light source is coming from – still the upper left. I lightly mark the highlight. If you imagine a window reflection, you can make it oval or curve it like a rectangle.

Next, I sketch where the shadow falls. It starts at the side of the drop and gently curves out.
Step 2: Start Shading the Darkest Areas First
Now, I begin shading the dark parts of the drop. I use a mid-gray tone here. I don’t press too hard at this point. I shade just above the highlight and the opposite edge where the shadow falls.
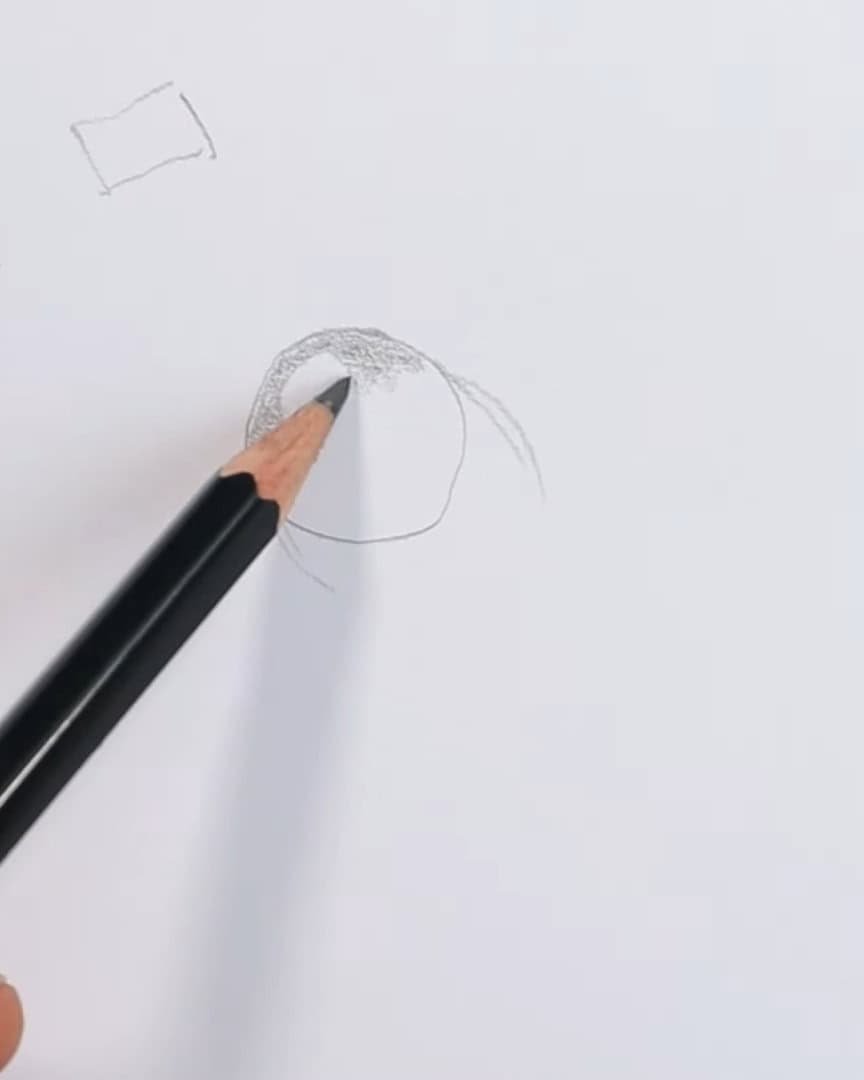
Then, I shade the shadow on the surface. These are our main dark areas: around the highlight, the lower half of the drop, and the surface shadow.

Step 3: Blend Dark to Light Smoothly
Now comes the real test of shading skills. Using light pressure, I start blending from dark to light.
As I move toward the light areas, I press less and less. I use small circular motions to help keep the shading smooth and rounded.
I also soften the shadow by blending it into the surface. This makes the drop look like it belongs there instead of floating.

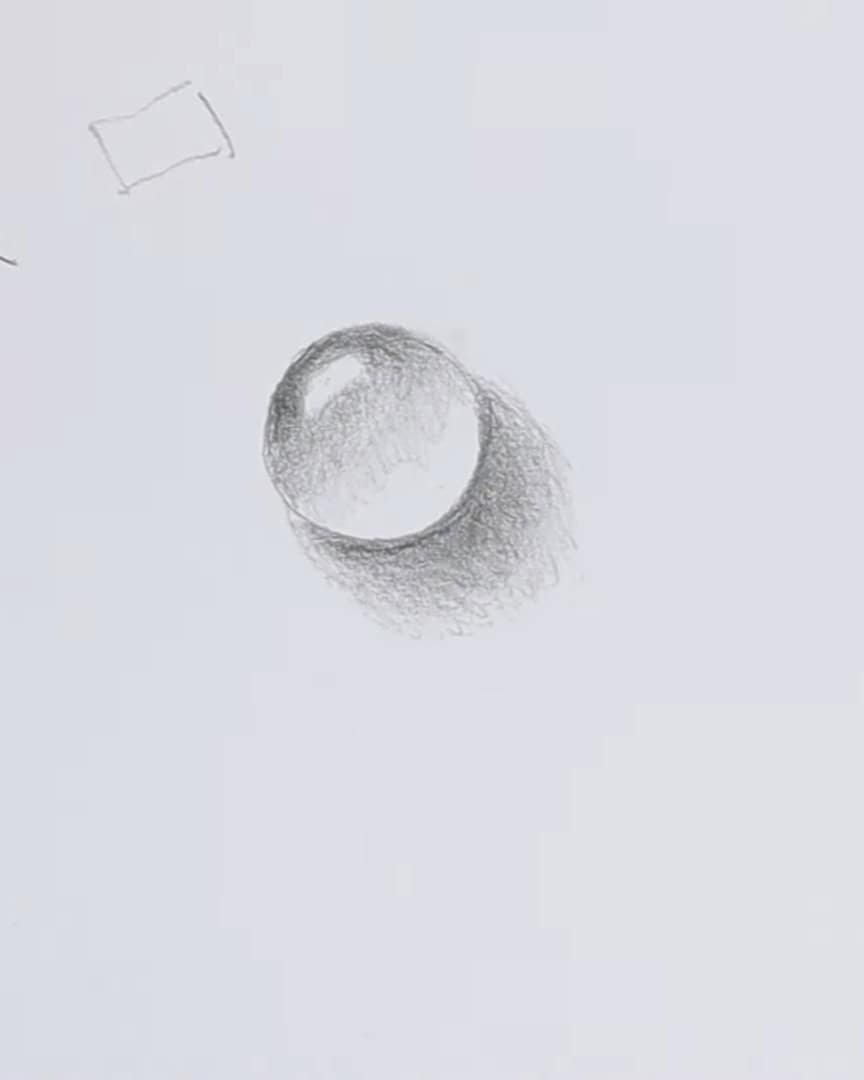
Step 4: Add Contrast and Deepen Shadows
Now, it’s time to build contrast. I return to the darkest parts and add more pressure to deepen the tone.
I blend again, making sure there are no harsh lines. The transition from dark to light must be seamless.

The shadow closest to the drop is the darkest. I draw a soft, dark line around the base and blend it. No outlines should be visible – we want everything to feel smooth.

Even if the drop isn’t perfectly round, it still works. A wonky blob still creates the same effect if the shading is correct.
At this point, I can adjust and refine. I deepen shadows, smooth transitions, and try to balance the shape.

Step 5: Optional Blending Tools
Once the shading looks good, I lightly blend areas with a soft brush. But I’m careful not to drag dark graphite into the light zones.

If the highlight loses its brightness, I use a tissue or putty eraser to clean it up.

That’s our first drop done!
Drawing the Second Droplet – Adding Reflected Light
Now that we’ve mastered a simple water droplet let’s kick things up a notch by adding reflected light.
This extra step helps the droplet pop, making it feel more three-dimensional. Let me guide you through this next phase, and I promise you’ll be amazed by the results.
Step 1: Draw the Shape and Plan the Light
To start, I follow the same method as before. I lightly sketch the droplet shape. You can make your droplet a bit wonky if you like, but I prefer to keep it simple and stick to a circle. This gives me a solid foundation to work with.

Now, I decide on the light source. For this one, I think of the light from above and slightly to the left.
I place the highlight in the appropriate spot on the droplet and lightly indicate where the shadow will go. But here’s the key—I add a small area opposite the highlight, within the shadow this time.
This is the reflected light, and keeping this area light is essential, so my pencil marks should be very soft and light at this stage.

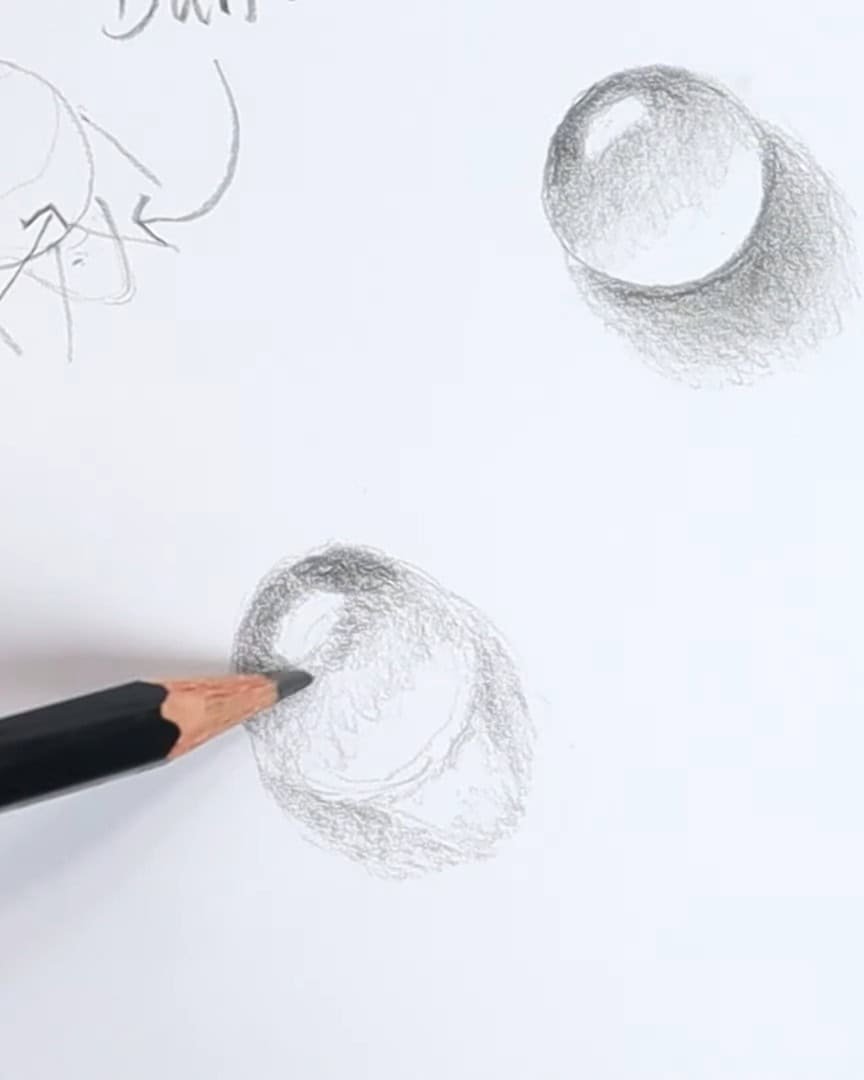
Step 2: Shade Around the Reflected Light
Next, I shade the darker areas of the droplet first. I use light pressure on my pencil here. If you’re wondering how to achieve light pressure, I recommend holding the pencil further back.
This allows the pencil to rest on the paper without pressing too hard, giving you a broader, more even shading effect.
As I shade, I avoid the light area I’ve marked for the reflected light. I imagine the shadow gently curving around this light patch, mimicking the natural light bounce you’d see in real life.
This gives my droplet a more realistic appearance.

Step 3: Create Smooth Transitions
Now, it’s time to soften those transitions between light and dark areas. I use very little pressure on my pencil and work with small circular motions to create a smooth transition from the darker shaded areas into the lighter regions.
I think of the light area as wrapping around the droplet, helping to define its round shape.
Step 4: Build Contrast
With the shading foundation in place, I go in and start adding contrast. I focus on the darker side of the droplet and use more pressure on my pencil, making smaller, tighter circular marks.
This brings out the depth of the droplet. I let the shading fade gently as it approaches the light area.
I also darken the side of the highlight slightly to define it. The key to creating good contrast is controlling the pressure of your pencil and being patient throughout the process.
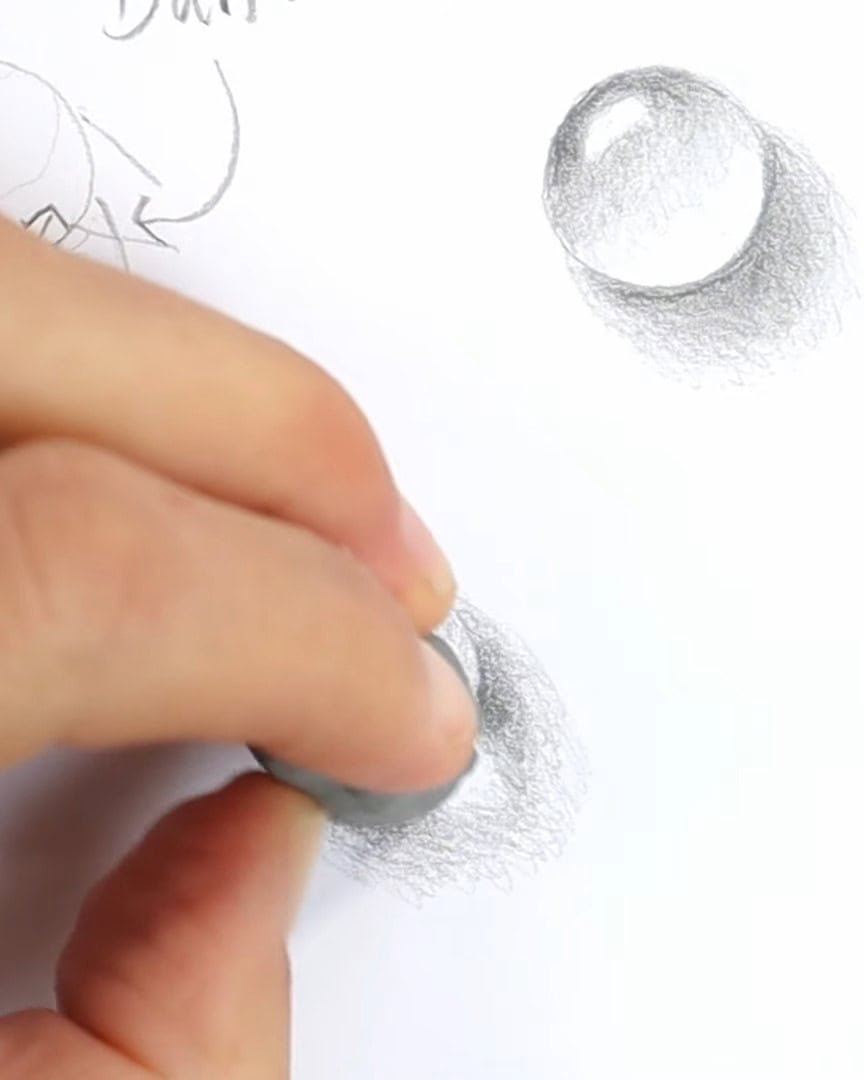
Step 5: Refine the Shadow
Now, I turn my attention to the shadow. I add more contrast here, deepening the darkest area. The shadow should gradually fade as it wraps around the drop and moves away from it.
I also soften the shadow around the reflected light area, ensuring everything flows together smoothly and doesn’t appear harsh or separate.

Step 6: Final Adjustments
At this point, I refine everything. I darken the dark areas to make the contrast stand out more. I also take time to tidy up the transitions between light and dark.

If I want to clean up any edges or adjust the shape of the reflected light, I use a putty eraser for some precision.
This is the moment when I can get creative. I play around with how dark I make the middle values and adjust the transitions if needed.
Looking at reference images of water droplets can also help inspire new techniques.
Remember, depending on the light source and surroundings, each water droplet looks unique. So, feel free to experiment with your approach!
We’ve completed the second water drop!

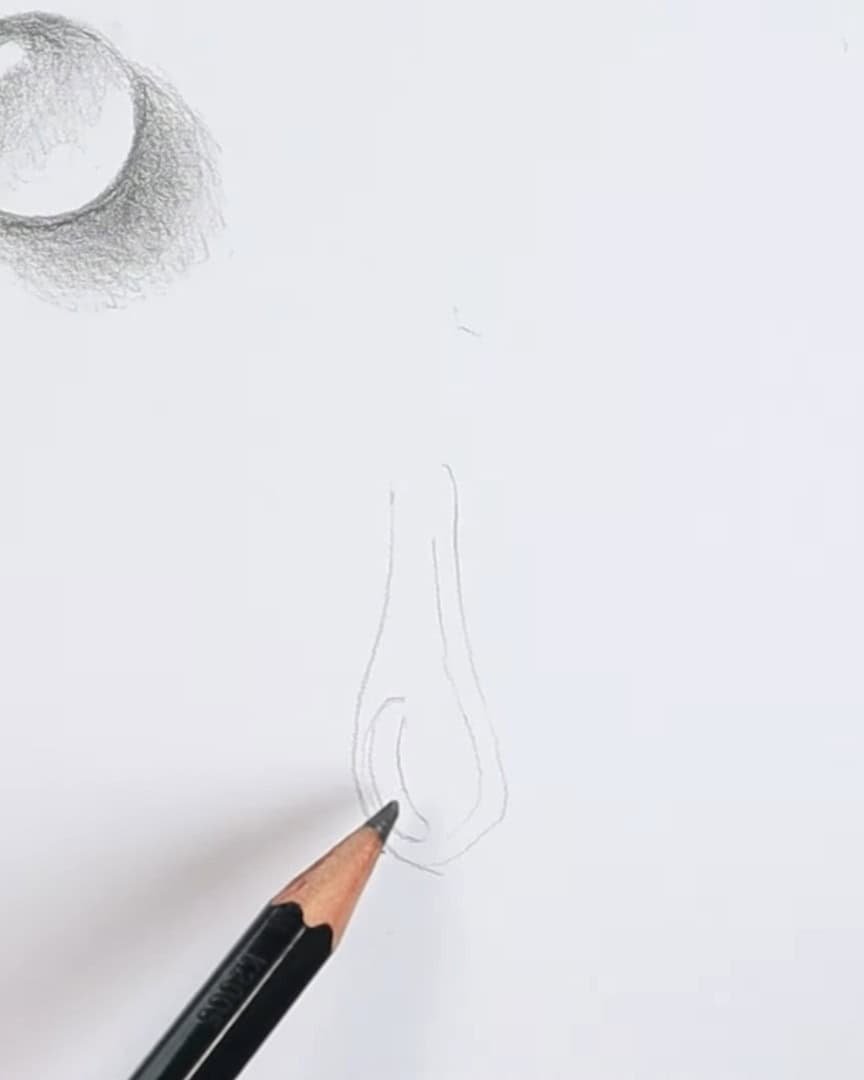
Drawing the Third Shape – A Drip with Directional Light
Let’s draw a drip instead of a drop for the last exercise. I switch things up here and imagine the light coming from a slightly different angle—maybe from the right.
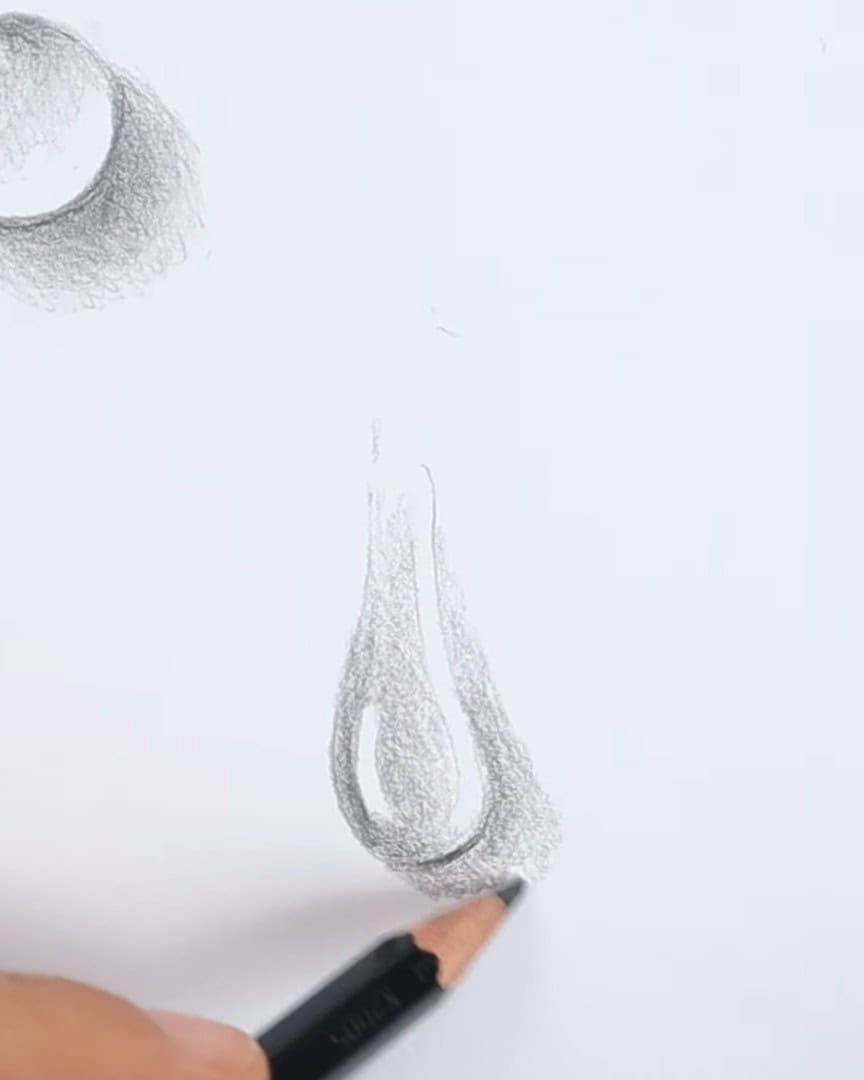
Step 1: Sketch the Drip
I start by drawing the shape of the drip. It’s crucial not to focus too much on the top—keep it light. The primary focus is on the bottom part of the drop where the light hits.
For this, I imagine the light source coming from the right side. The highlight will follow the drop curve, while a second light area will appear on the opposite side where the light has diffused through the water.
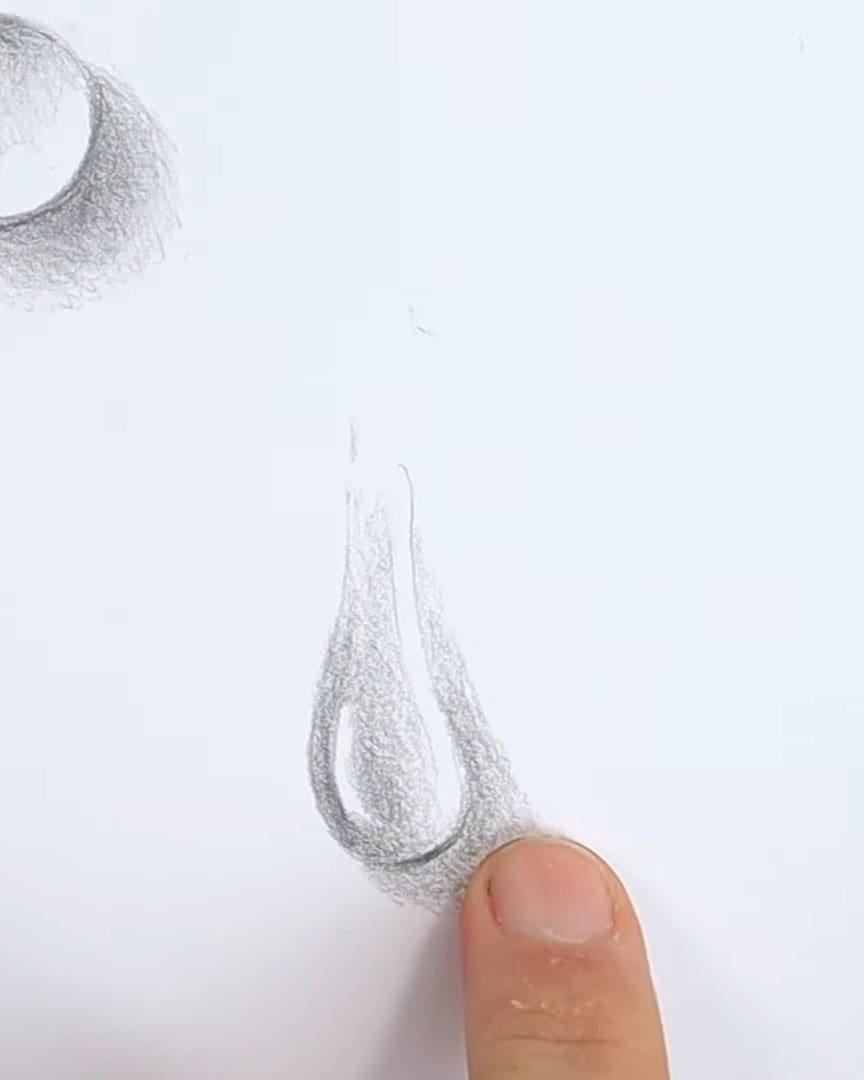
Step 2: Shade the Dark Areas
Next, I shade the darker areas. These will be around the edges of the drip. The shadow should fade gradually toward the top of the drip.
The goal is to create a smooth transition, where the darks move into lighter areas without sharp lines.

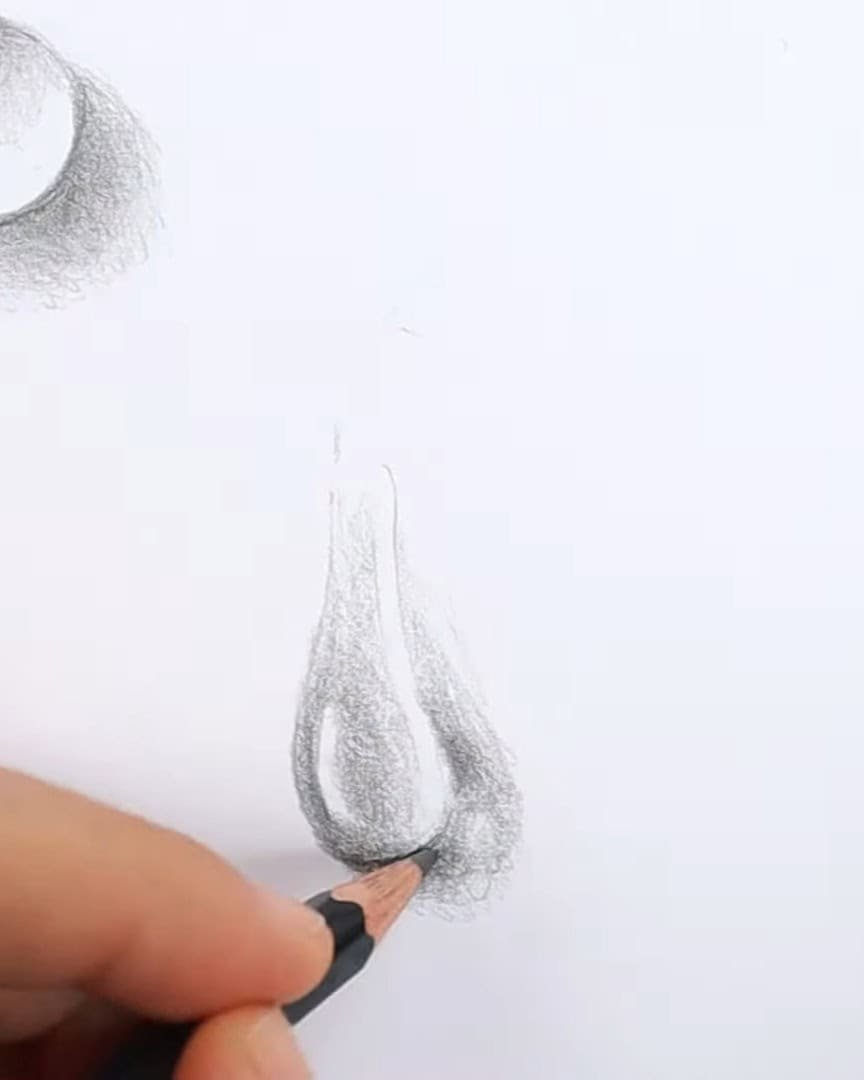
Step 3: Shade the Reflection
Now, I am working on the reflection. This is important—keep the reflection parallel to the edge of the drip. The reflection should mimic the curve of the drop, helping it appear more three-dimensional.
If I want, I can also add a little bit of reflected light inside the shadow area, just like I did with the previous drop.
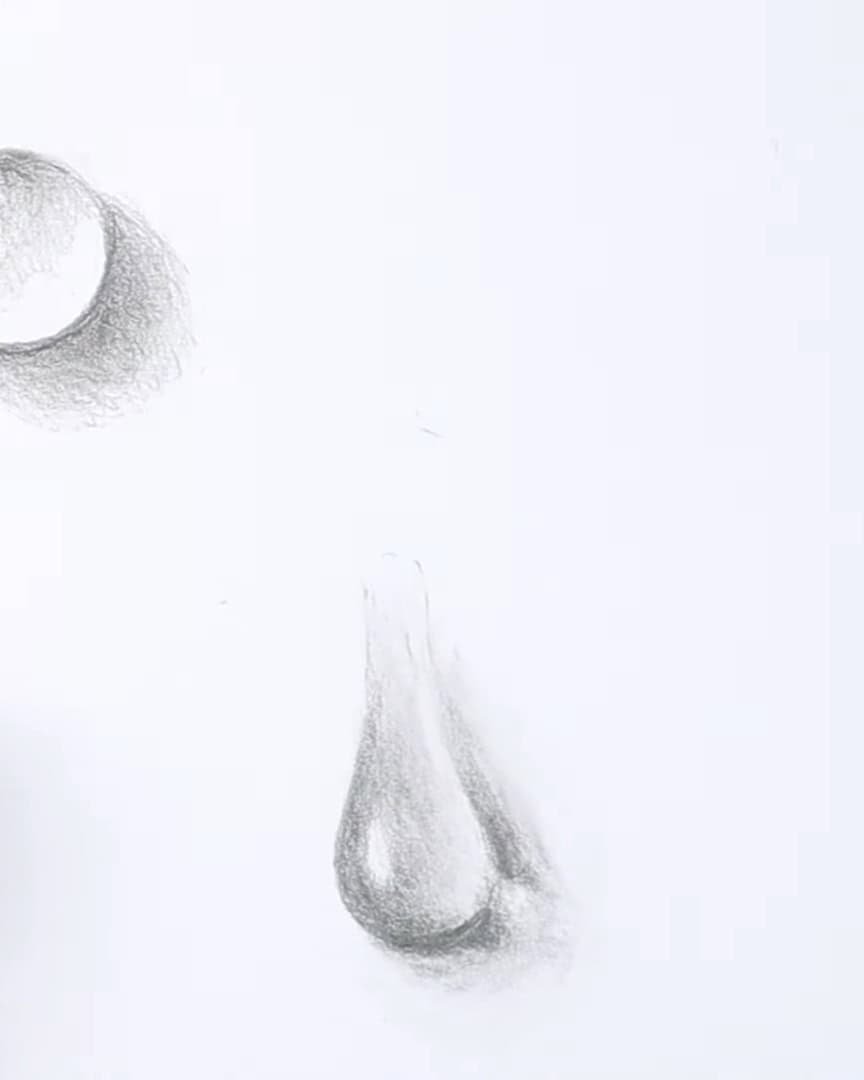
Step 4: Add Contrast and Blend
I darken the shadow areas for more contrast.
Then, I build up smooth transitions between the values.
That’s it – The third water droplet is complete!
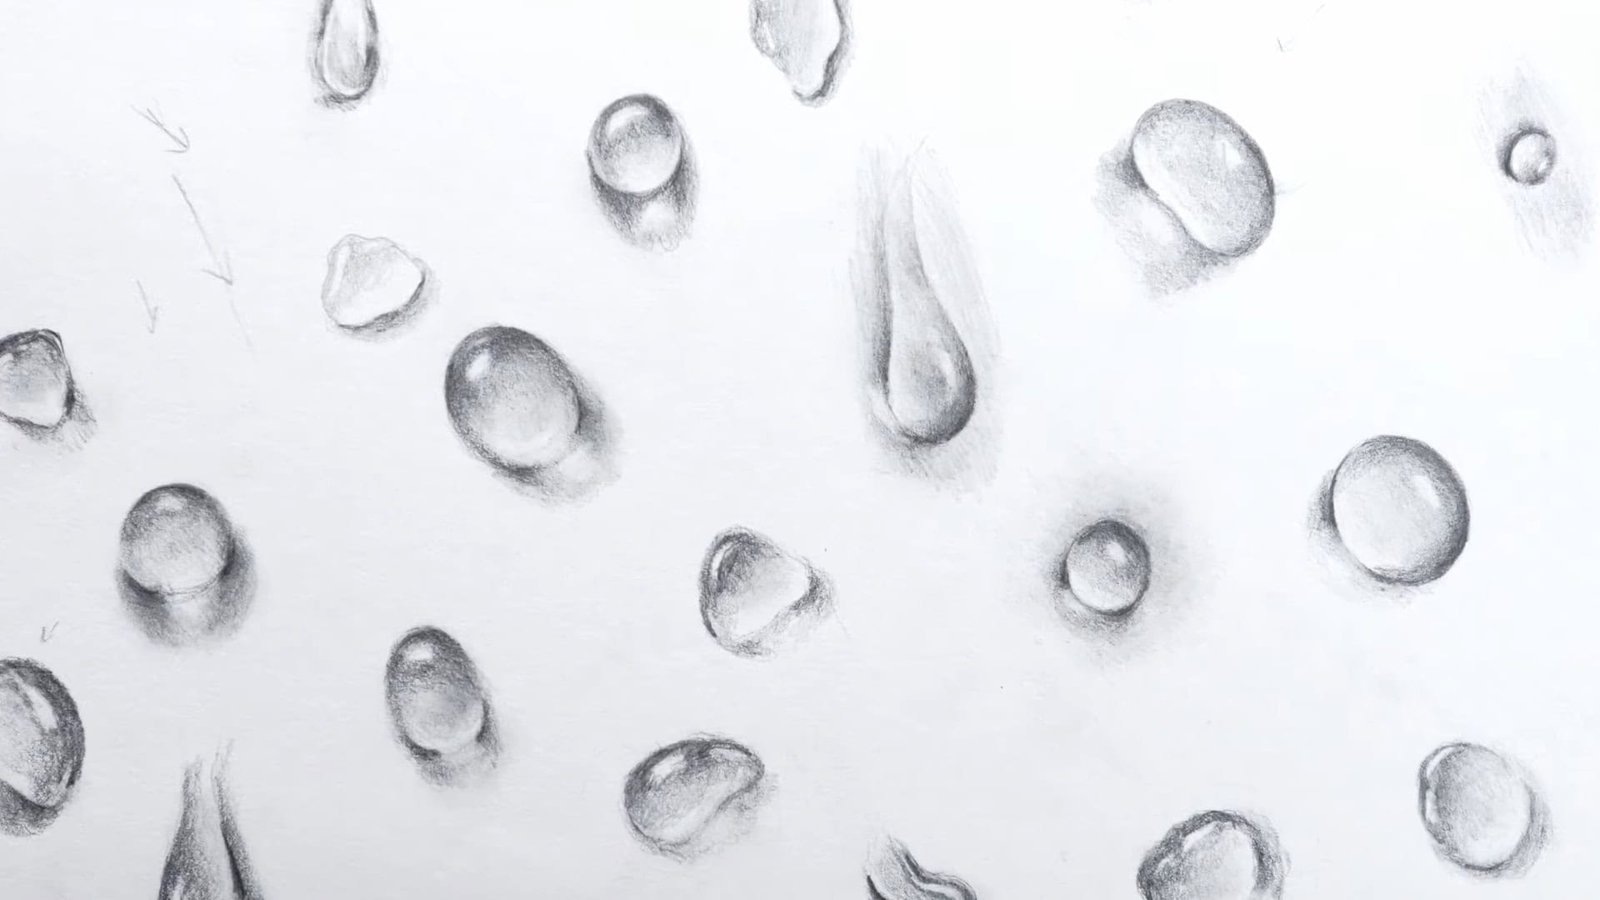
Our pencil droplets are complete. Let’s admire the light and shadow we’ve created!

Final Thoughts
Hopefully, this guide has helped you understand the process of drawing realistic water droplets with a pencil.
You can create convincing and beautiful droplets by practicing these steps and focusing on light, shadow, and reflections.
Remember, it’s all about patience and attention to detail. Keep experimenting and refining your technique!