
Every masterpiece begins with a single step, and in the world of crochet, that step is learning how to hold your tools without feeling like you are tangling with a ball of spaghetti. Author Cat Kemble believes that mastering the way you grip your hook and tension your yarn is the absolute “number one” thing to get right from the very start.
Once this foundation is solid, every other technique—from the simplest chain to the most complex lace—will naturally fall into place.
Contents
The Starting Line: Crafting a Slip Knot
Before you can worry about your grip, you need something on the hook to actually hold. The journey begins with a humble slip knot, which is much simpler than it sounds.
All you need to do is cross the yarn over itself, pull a loop through the front, and then pull it through the back to create a secure starting point.
Once that knot is ready, you simply pop your hook inside, and you are officially ready to begin your project.
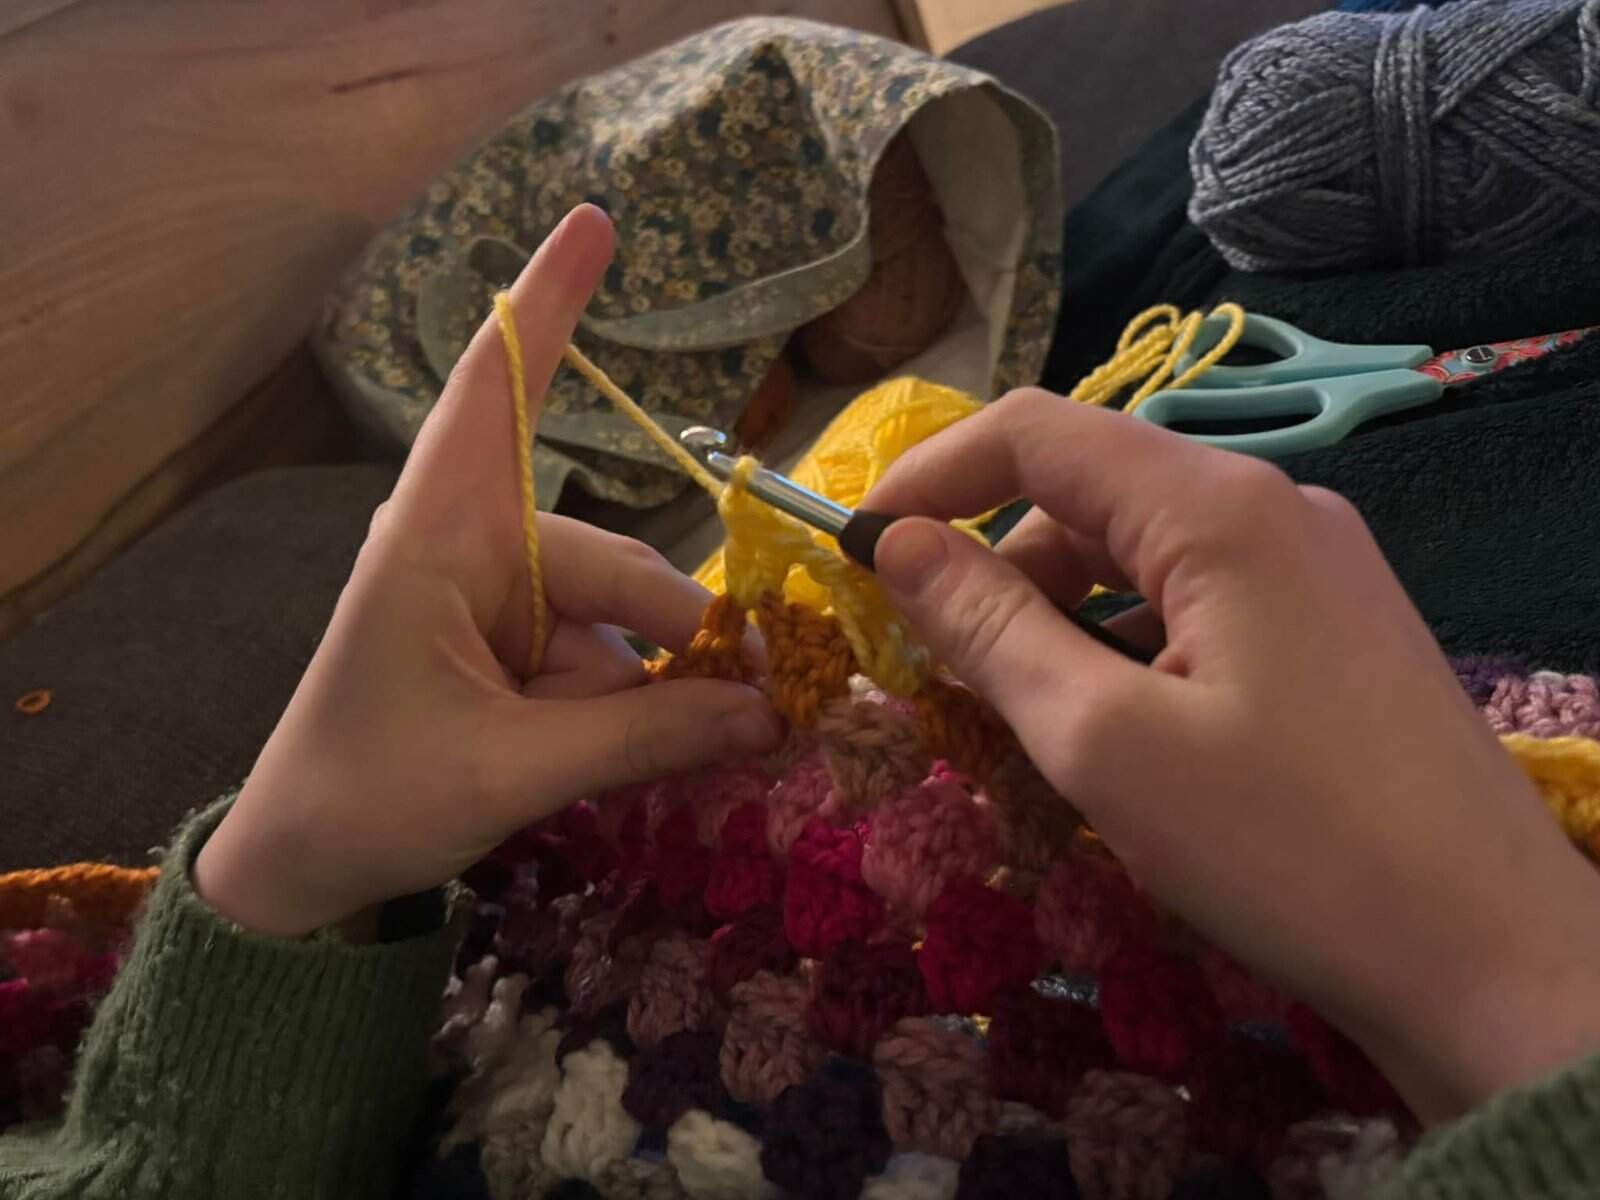
Finding Your Hook Grip
There are many ways to hold a crochet hook, but Cat Kemble recommends a method that feels familiar to almost everyone: the “fork at the dinner table” grip.
To achieve this, simply place your thumb on the grip or the flat part of the hook and clasp the rest of the tool with your fingers.
The goal here isn’t to hold it with a death grip; you just want to make sure it feels nice, comfortable, and controlled in your hand.
The Art of Yarn Tension
While the hook hand does the heavy lifting, the other hand is the secret architect of your project’s success.
This hand manages the “working yarn,” which is the thread that leads back to your ball or skein.
The way you hold this yarn determines your tension, and tension is the key to making sure every stitch looks exactly like the one before it.
To set up your tension hand, try this simple sequence:
- Hold your hand out flat.
- Lay the working yarn across your bottom three fingers.
- Wrap the yarn around your index finger so it points out at a 45-degree angle.
- Place your middle finger on the yarn and bring your thumb up to close against it.
This setup creates a sort of pulley system. If you pull the yarn slightly tighter, you create a tighter gauge; if you let it go a bit, your gauge becomes looser.
Achieving a consistent gauge is the ultimate secret to a professional-looking project where all the stitches are a uniform, perfect size.
Clasping and Releasing
Once you start crocheting, you will notice that your thumb and middle finger have a very specific job: they are the “anchors” for your work.
At the very beginning, they will be clasping your starting knot, but as your project grows, they will move up to hold the fabric you have already created.
However, there is a common trap that beginners often fall into. As you crochet, the section of yarn between your hook and your tension fingers gets shorter and shorter. If you keep your fingers clamped down too tightly without adjusting, the yarn becomes “sticky” and messy.
I’m just the messenger, but don’t ask me why we tend to hold on so tight when we’re nervous—it’s just a natural reaction! To keep things flowing smoothly, you have to remember to occasionally open those fingers and let a little more yarn slide through.
Moving with the Work
As you work your way across a row or down a chain, your hands shouldn’t stay static. Cat Kemble suggests moving your thumb and middle finger up the work as you go.
If you started by holding the knot at the bottom, you should gradually shift your grip upward so you are always supporting the area right next to the hook.
When you maintain this steady “clasp and move” rhythm, you’ll find that your yarn overs stay secure and your hook slips easily into each new stitch. The result is a beautiful, uniform chain or fabric that doesn’t slip away or bunch up.
It may take a few tries to find your rhythm, but once it clicks, you will be amazed at how much faster and more enjoyable your crafting sessions become.
Conclusion
Mastering the grip and tension might feel like a lot to think about at first, but author Cat Kemble promises that with a little practice, it will become second nature.
By focusing on these basics, you are setting yourself up for a lifetime of successful, beautiful crochet projects that you can be truly proud of.
Don’t be afraid to slow down and get the feel right; after all, even the most expert crafters started exactly where you are today.