
What’s the best way to protect your artwork from tearing when using tape? I’ve learned some simple but powerful tips that keep my paper safe and my drawings intact.
From choosing the right tape to removing it carefully, I’ll share exactly what works for me. Follow along, and you’ll avoid those frustrating tears and keep your artwork looking great every time.
Contents
- 1 Tip 1: Understand the Causes of Ripping
- 2 Tip 2: Choose the Right Tape for Your Drawings
- 3 Tip 3: Consider the Type of Paper You’re Using
- 4 Tip 4: Understand Tape Stickiness Differences
- 5 Tip 5: How to Apply Tape Properly to Avoid Ripping
- 6 Tip 6: How to Remove Tape Without Ripping Paper
- 7 Bonus Tip – Use a Hair Dryer
- 8 Wrapping Up
Tip 1: Understand the Causes of Ripping
I know how frustrating it is when tape ruins your drawing. Let me show you what causes this and how to avoid it.
Before we talk about removing tape, it’s essential to look at why paper rips in the first place.
There are a few key reasons this happens:
- The type of tape you use
- The kind of paper you draw on
- How you apply and remove the tape
Tip 2: Choose the Right Tape for Your Drawings
Picking the right tape is the first real step to protect your artwork. I always start here before I even place a pencil on the paper. Let me explain what type of tape works best for me and why.
Use Low-Tack, Acid-Free Tape
The tape you use makes a big difference. I always go with low-tack, acid-free tape, and here’s why:
- It’s gentle on paper, so it lowers the chance of tearing.
- It doesn’t leave a sticky residue.
- It won’t cause your artwork to yellow over time.
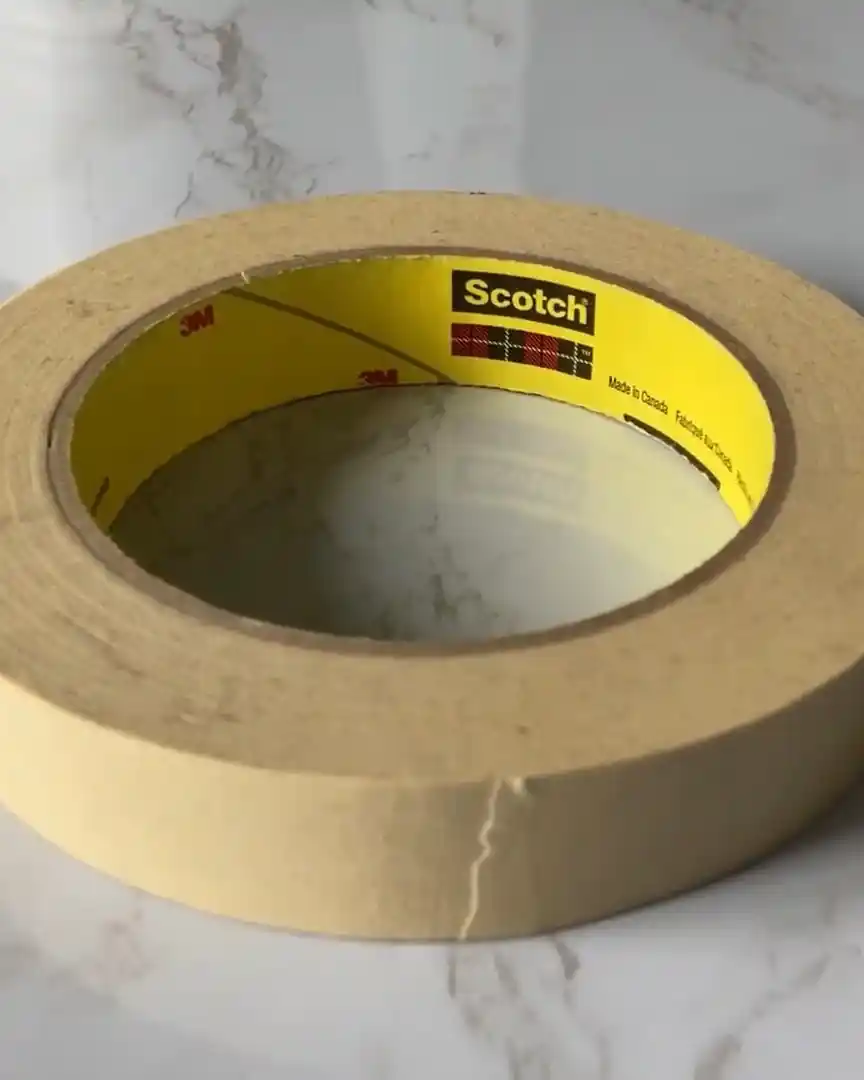
Avoid Regular or High-Tack Tape
Not all tape is made for art. Some tapes are:
- Too sticky: They grip the paper too hard and tear it when removed.
- Made with acid: This can damage your drawing over time and cause fading.
I’ve learned from experience that using the wrong tape can ruin a good piece. So, choosing the right one right from the start saves me a lot of stress later.
Tip 3: Consider the Type of Paper You’re Using
The paper you choose plays a significant role in whether it rips when you remove the tape. Let me share what I’ve learned about this from my own experience.
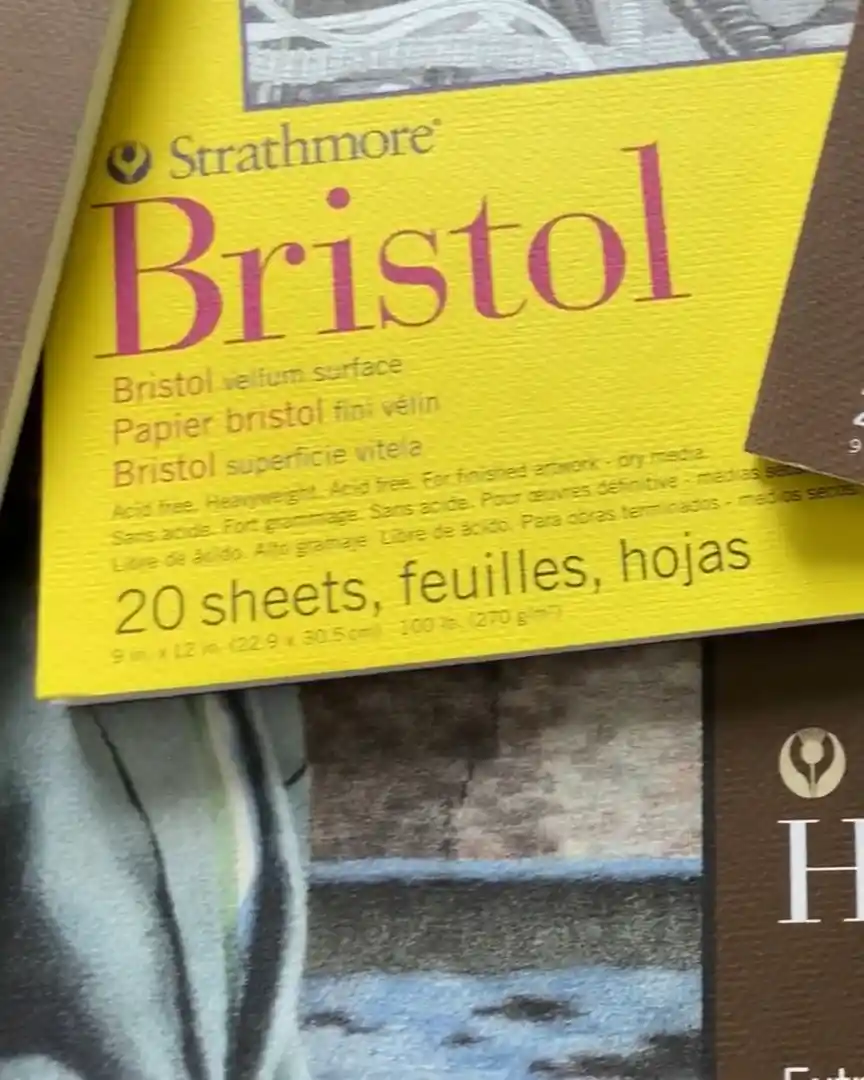
Heavier Paper Is More Durable
- Paper that weighs 100 pounds or more is much stronger.
- It’s less likely to tear when you peel off the tape.
Cheaper, Lighter Paper Is More Fragile
- Papers weighing 80 pounds or less tend to be weaker.
- They often use cheaper materials or bonding agents that make them prone to ripping.
That said, cheaper paper doesn’t always mean your drawing will rip. I’ve used cheap paper for years, and ripping is rare for me. When it did happen, it was because of the tape, not the paper.
Tip 4: Understand Tape Stickiness Differences
Tape stickiness varies a lot, and knowing this can save your drawings. I want to help you understand why some tapes feel stickier than others and how that affects your paper.
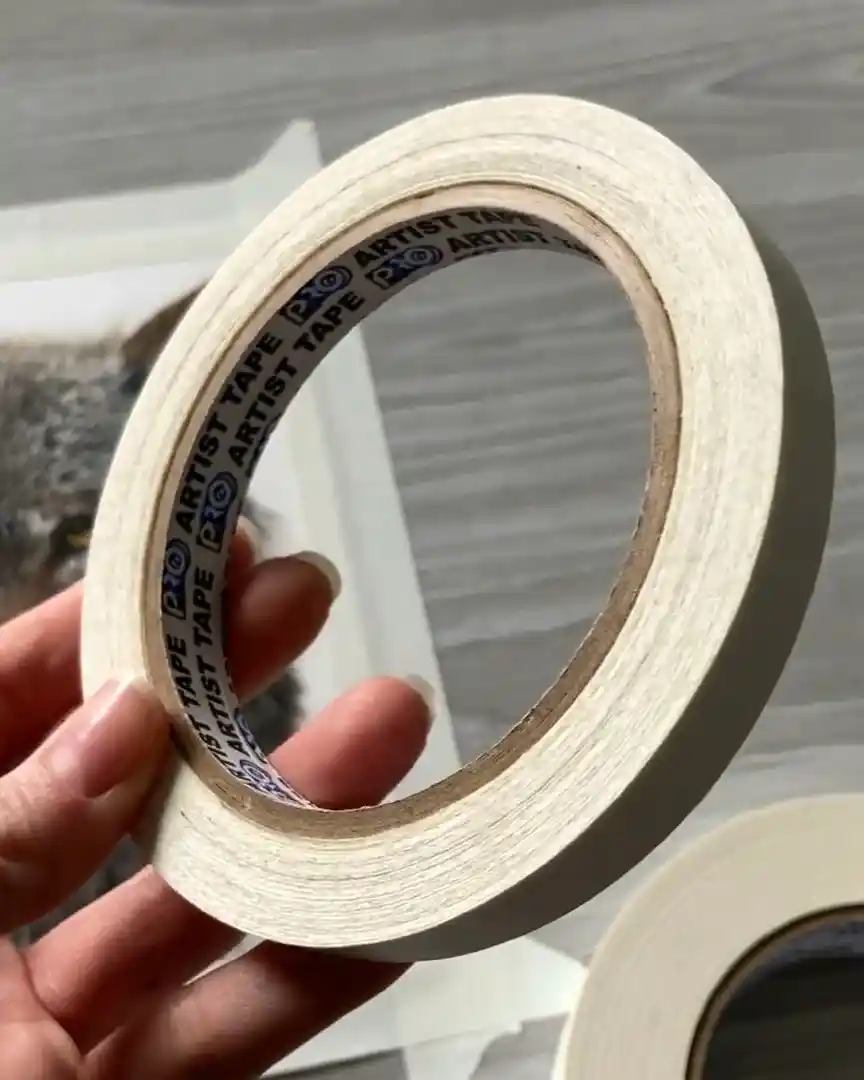
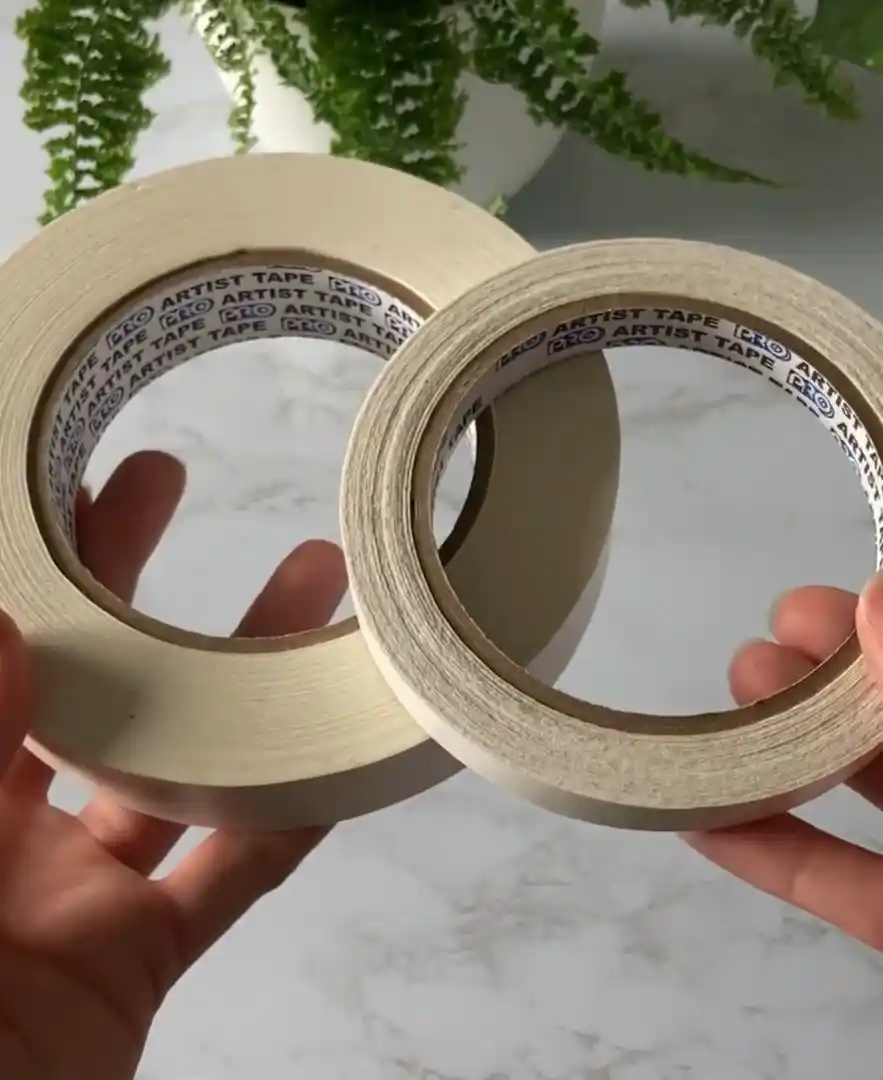
Artist’s Tape vs. Other Tapes
- The artist’s tape is designed to be less tacky and gentler on paper.
- But even within artists’ tapes, stickiness can vary a lot.
Batch Differences Affect Tackiness
- Tape is made in large batches.
- The tape can be more or less sticky depending on when the batch was made.
- This happens because manufacturers adjust the adhesive during production.
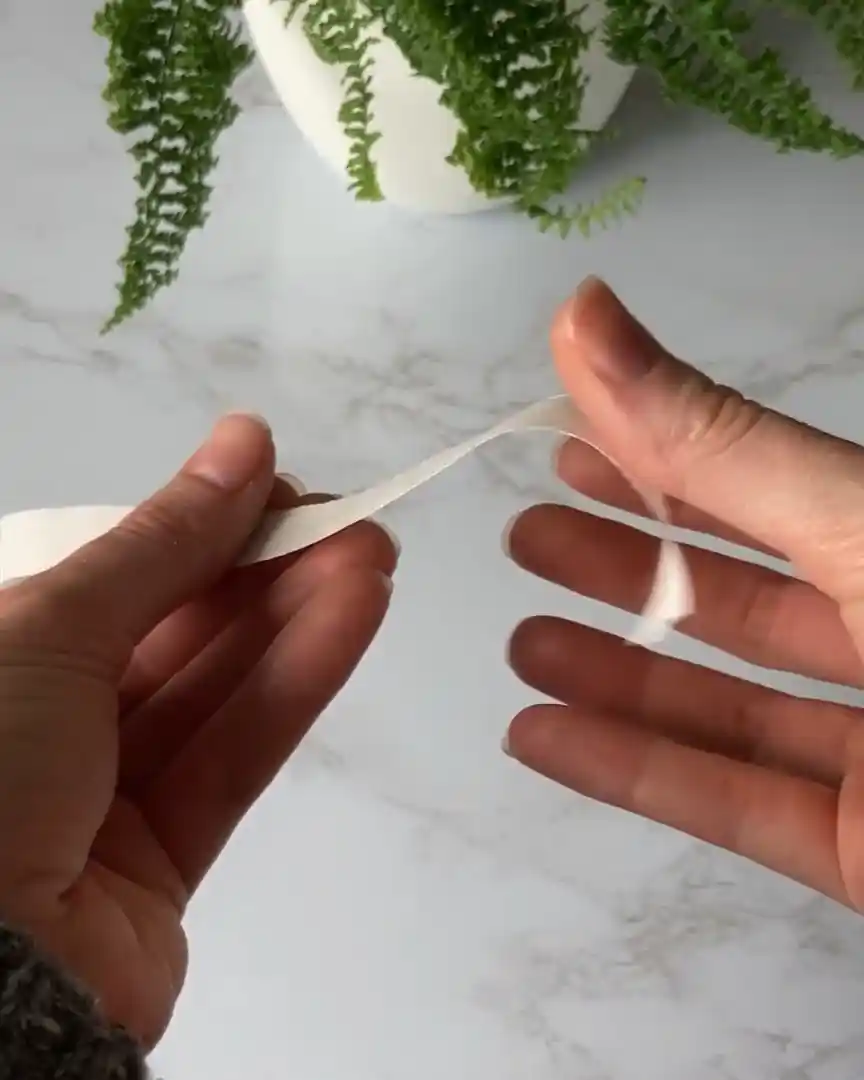
Test Before You Buy
If you’re a professional or want to protect your work, I recommend:
- Buying one roll first to test.
- See if it sticks well without ripping your paper.
- If it’s too sticky, even with good removal techniques, try a different brand.
This simple step has saved me from ruined drawings more than once.
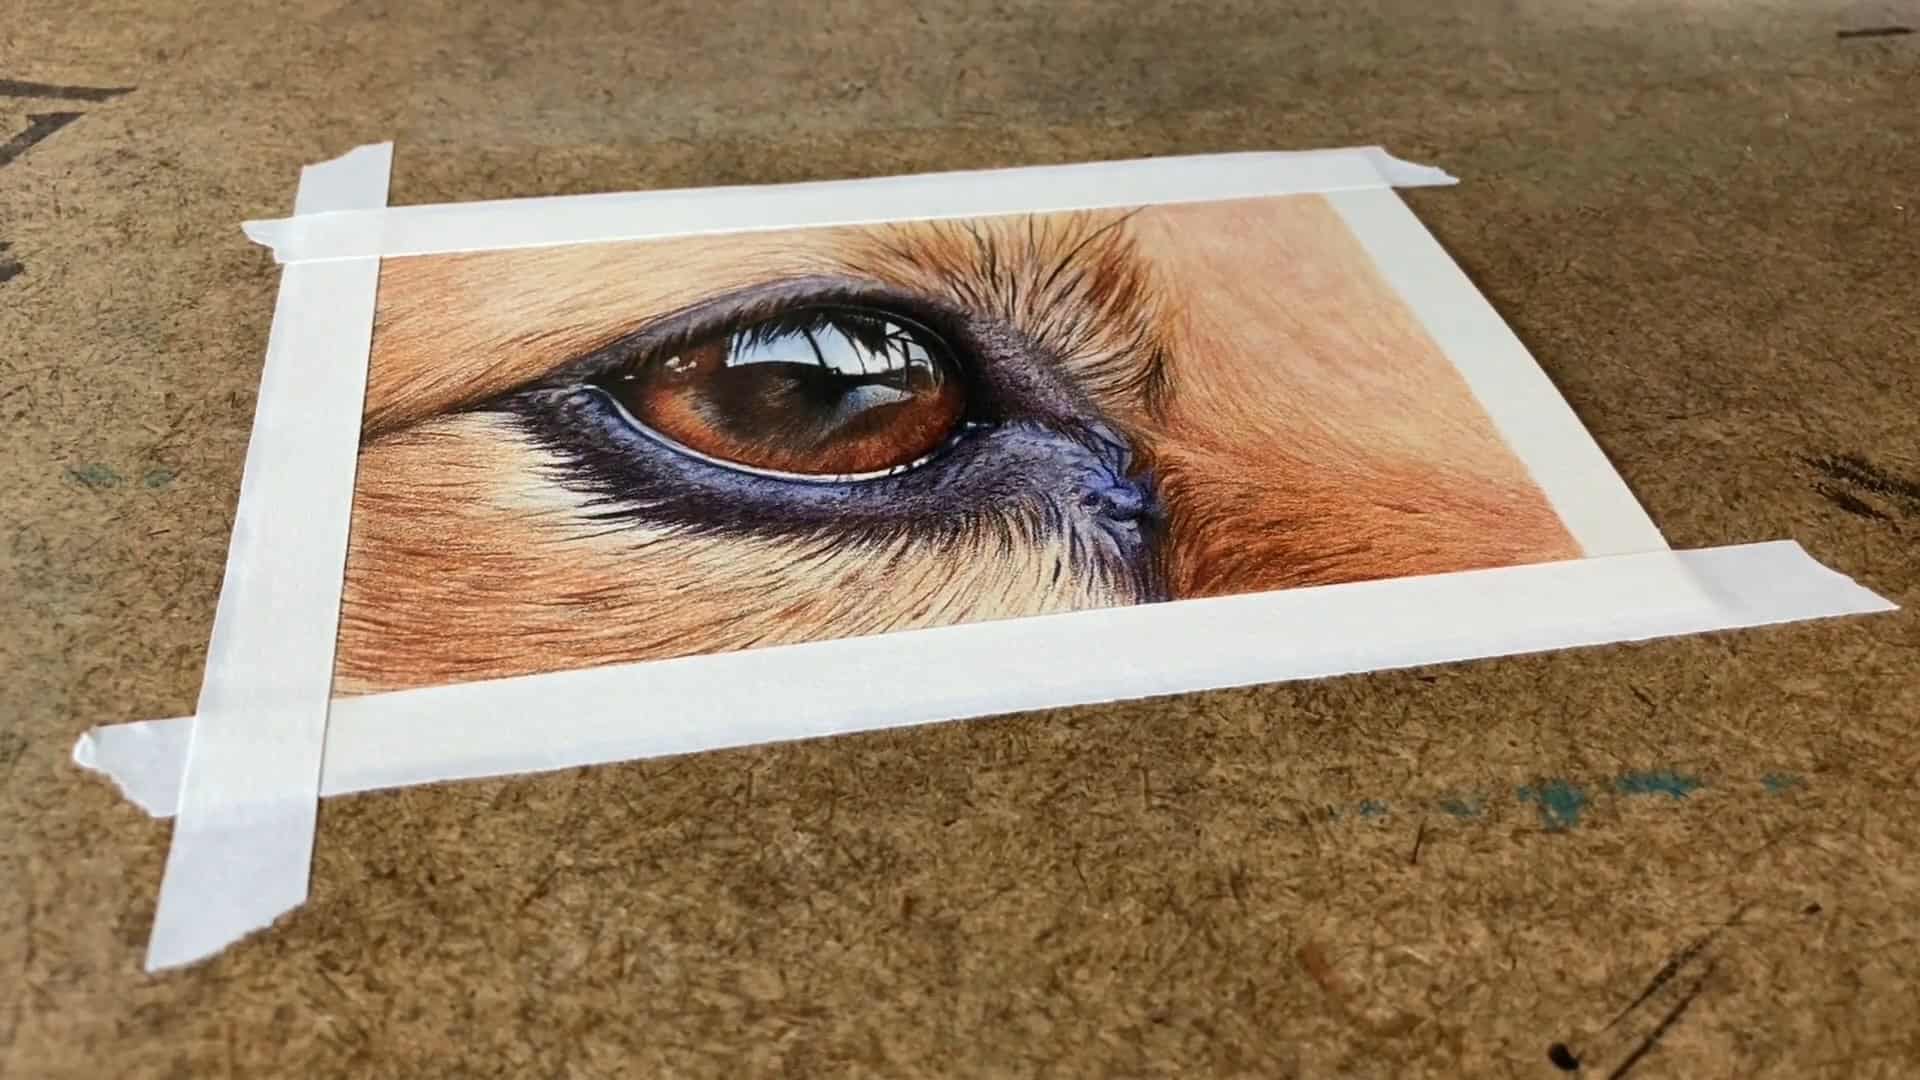
Tip 5: How to Apply Tape Properly to Avoid Ripping
Now that we understand tape and paper differences, let me share how to apply tape correctly. This helps protect your paper and keeps your artwork safe.
Gentle Pressure Is Key
- I gently press the tape down by running my fingers along it.
- I avoid pushing too hard because too much pressure can rip the paper when removing the tape later.
Use Your Hand’s Weight
- Usually, I just rest the weight of my hand on the tape.
- Then, I slowly run my hand along the tape’s full length to stick it lightly but firmly.
Applying tape gently makes it easier to lift off later. This way, you lower the chance of ripping your paper or damaging your drawing.
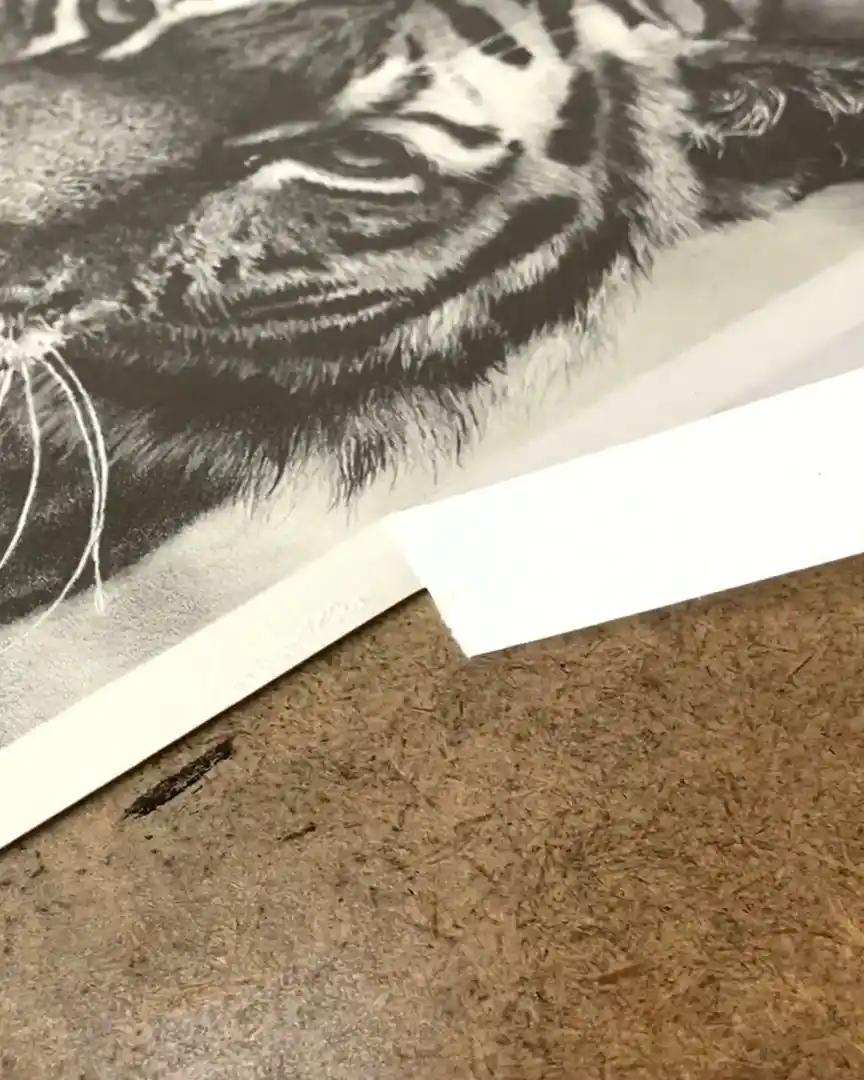
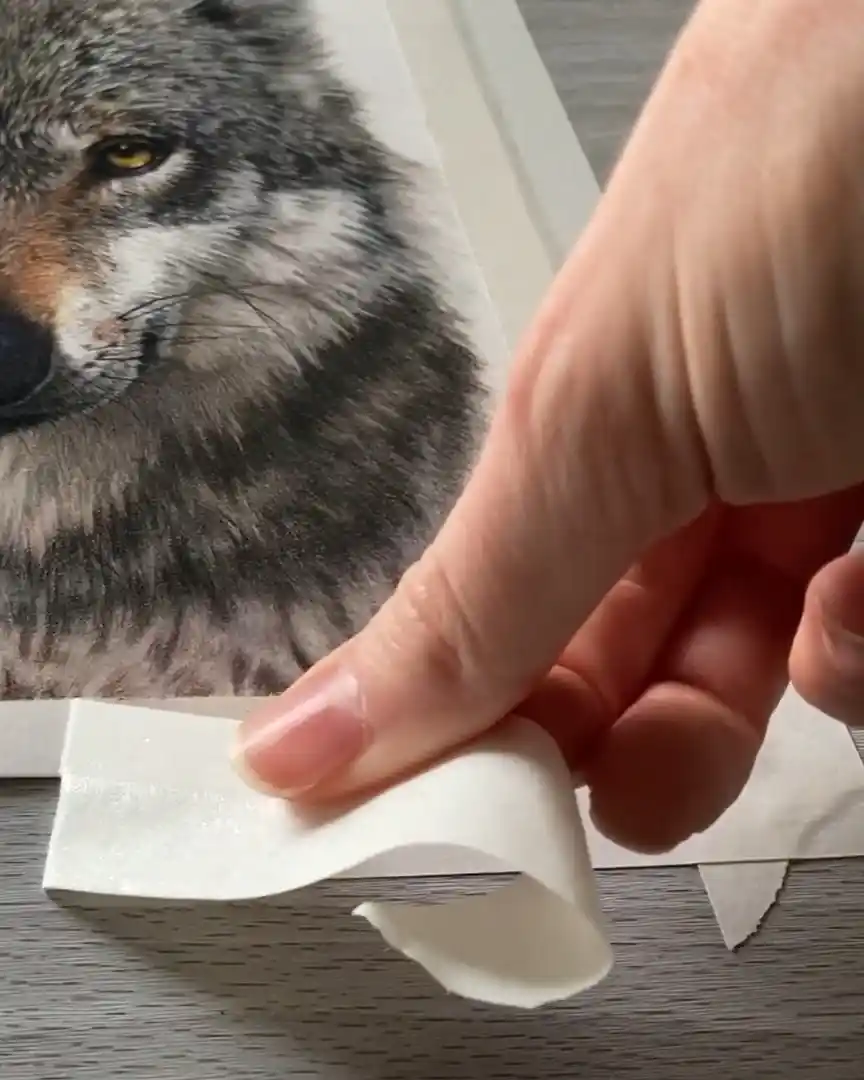
Tip 6: How to Remove Tape Without Ripping Paper
Now that you know how to apply tape properly, the next important step is learning how to remove it without damaging your paper. Let me walk you through it carefully.
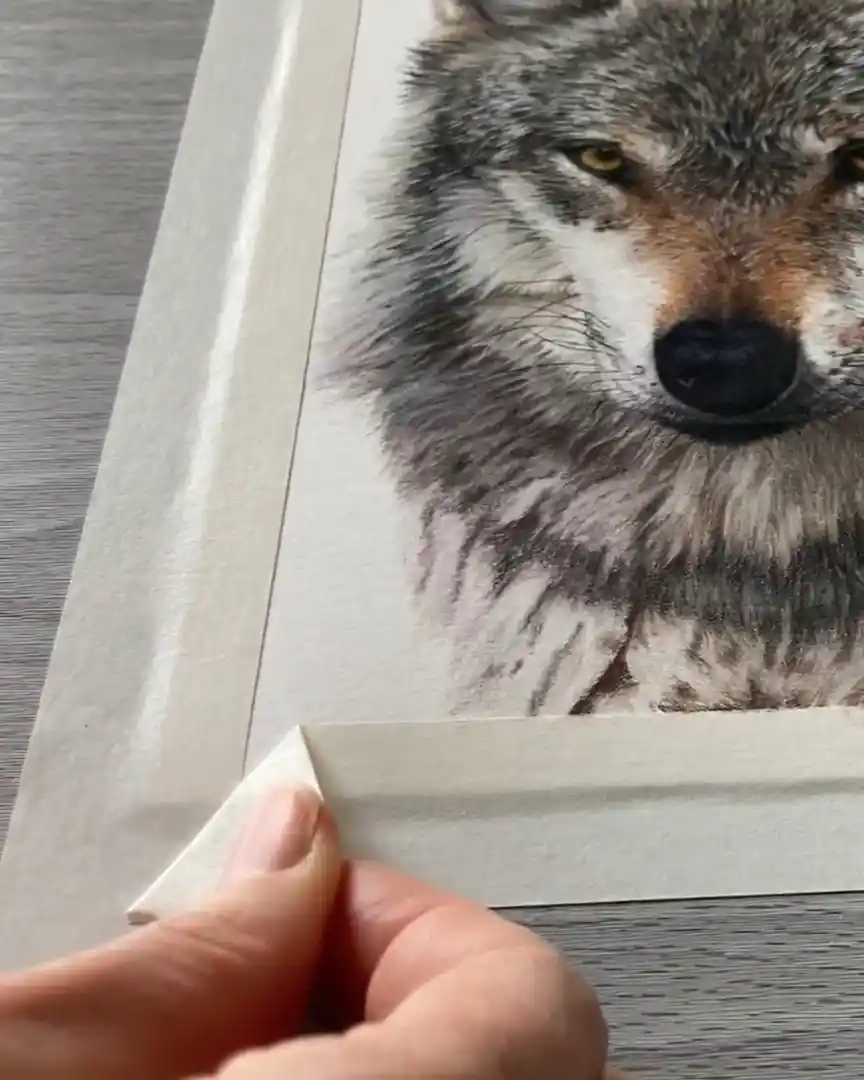
Start with the Top Tape
- I always begin with the piece of tape on top if you taped a border.
- If not, the order doesn’t matter.
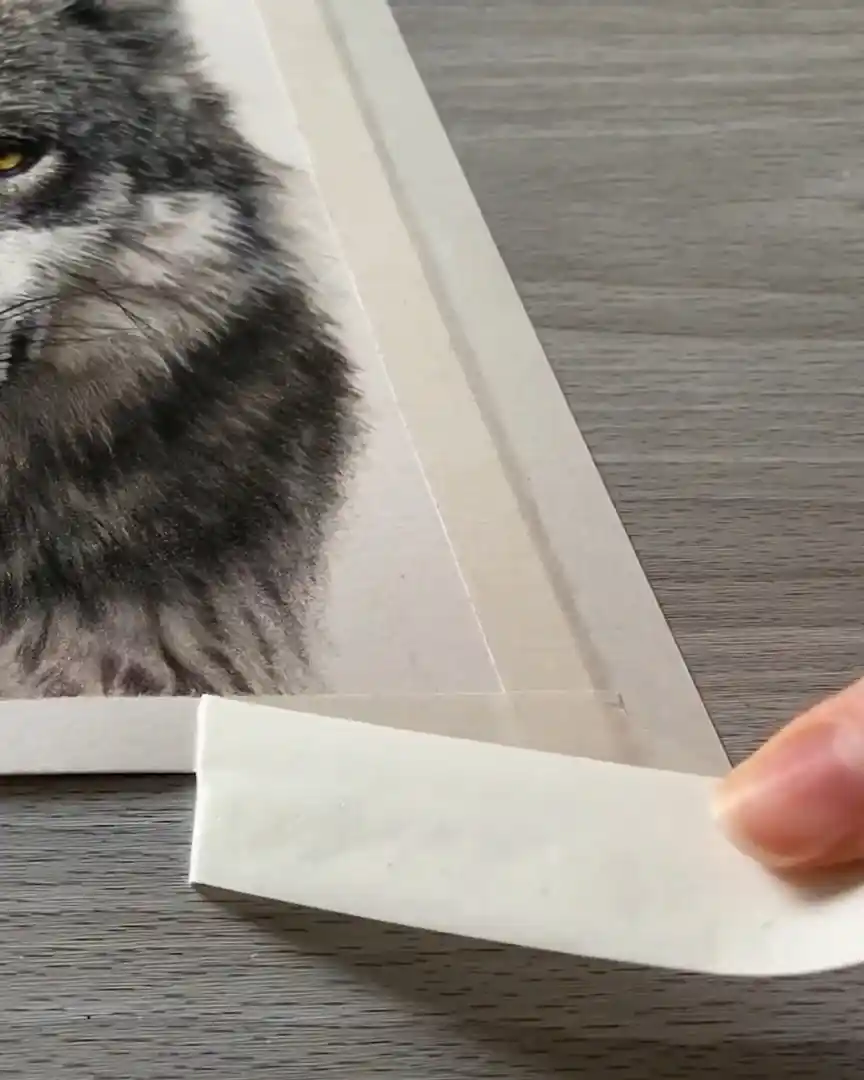
- I lift just a corner enough to slip my fingers underneath on either side of the tape.
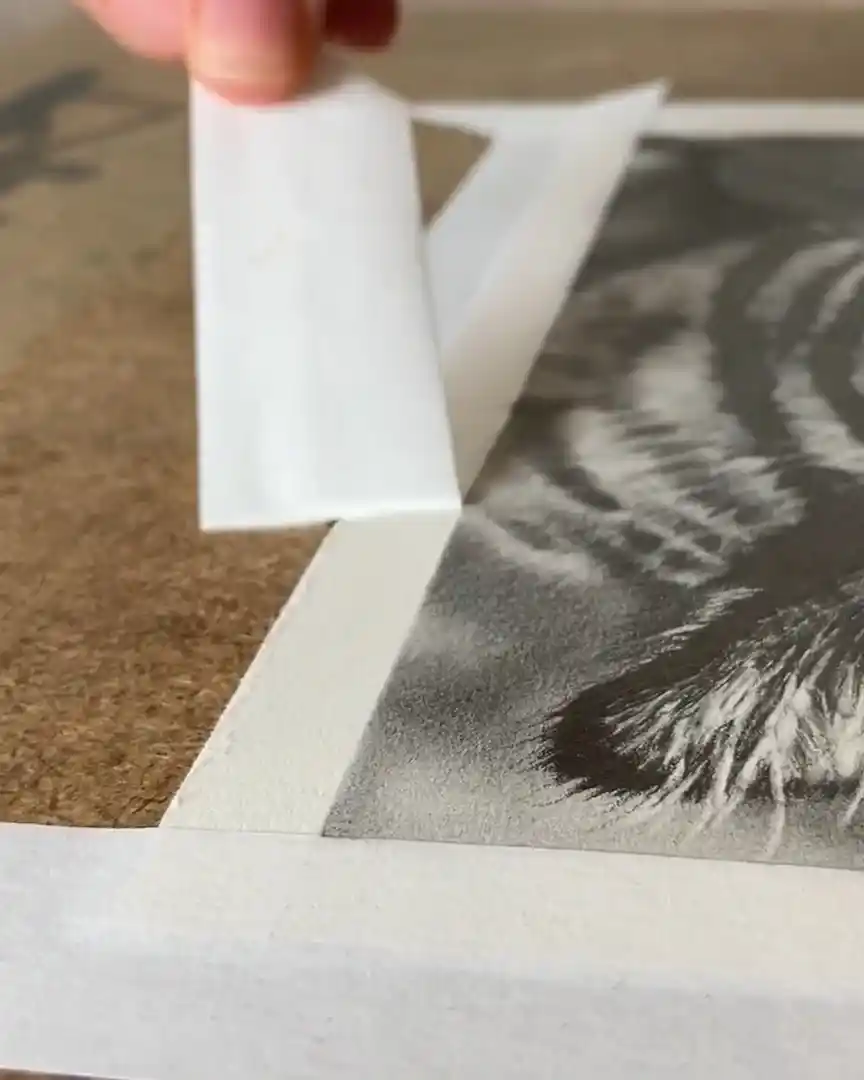
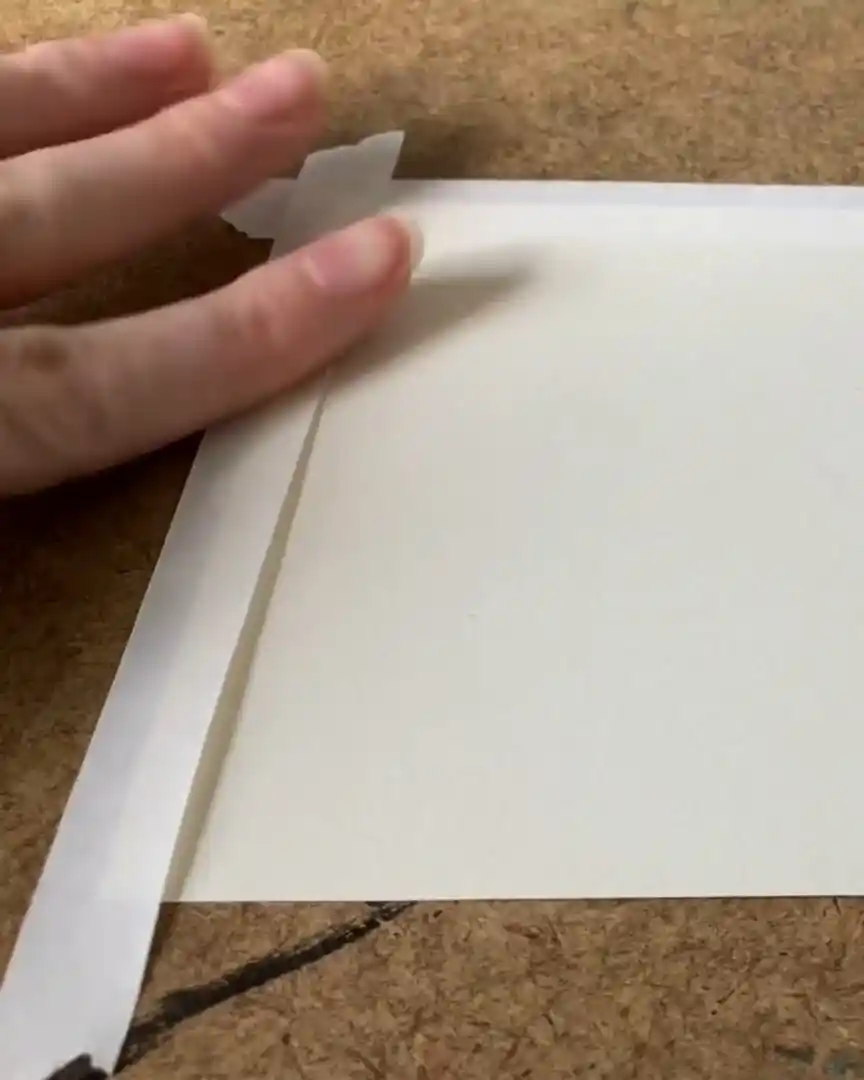
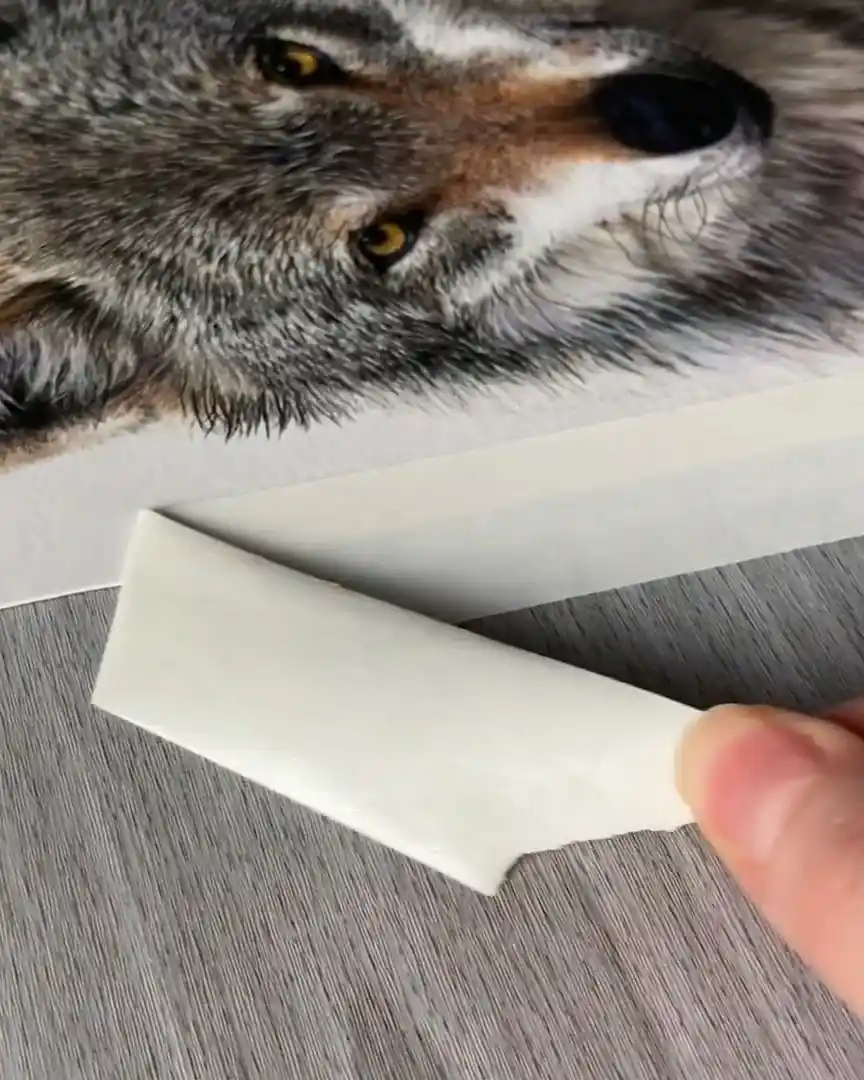
Pull Gently and Correctly
- I gently pull the tape out and away from the drawing.
- While pulling, I keep my fingers close and hover over the paper to reduce pressure or torque.
- This method helps protect the paper by lowering the risk of ripping.
Avoid Common Mistakes
- I never pull directly upward or toward the center of the drawing because that stresses the paper and can cause tears.
- The edges of the paper are weaker, so pulling out and away from the drawing is safest.
- I also avoid pulling the tape far away from the drawing because this creates more pressure, increasing the chance of ripping.

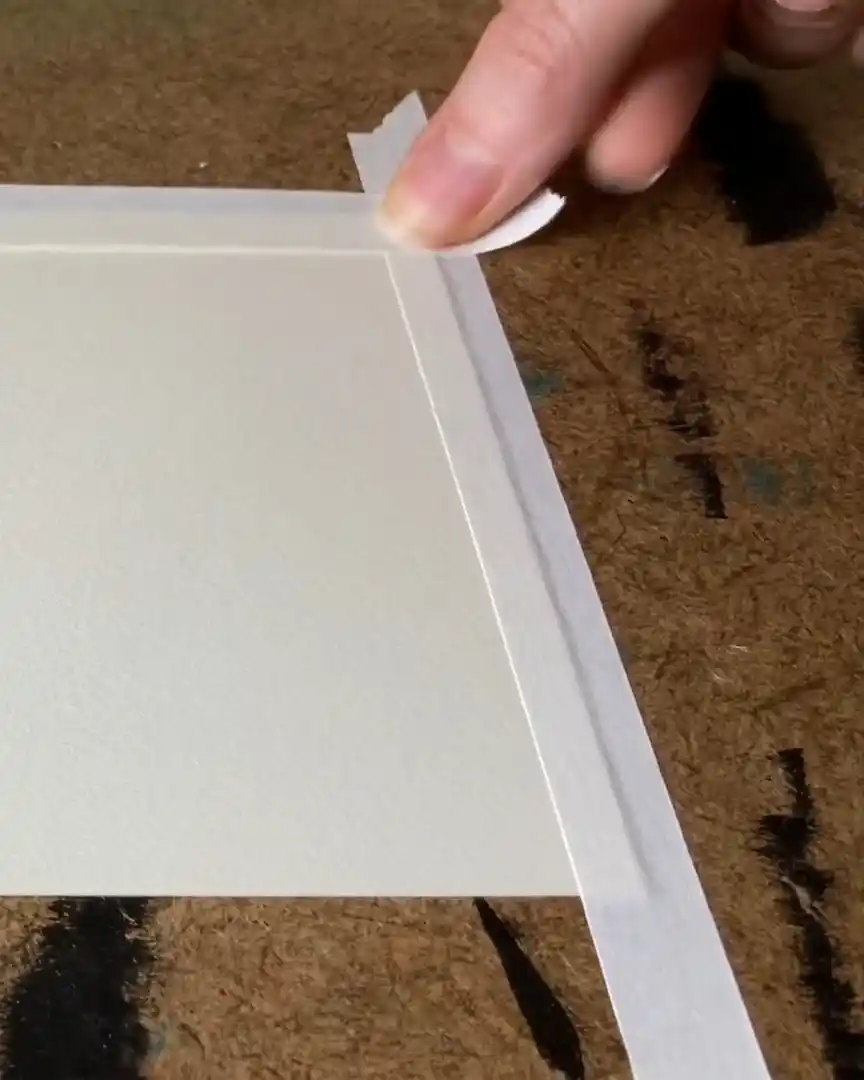
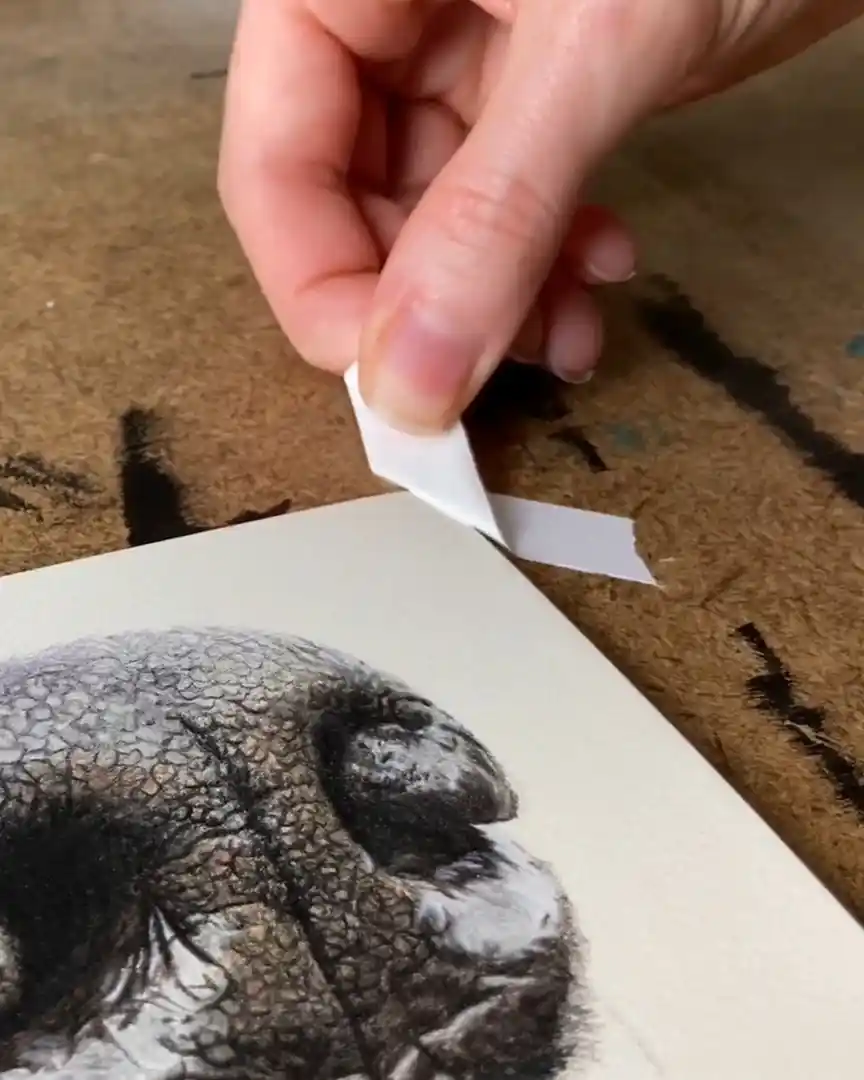
Handling Corner Strips
- Corners can be tricky since two tape edges meet on weaker parts of the paper.
- I peel these slowly and carefully, keeping my fingers close to the paper.
- Remember, using less pressure when applying tape in the first place makes removing it much easier and safer.
By following these careful steps, you can safely remove tape from your drawings without damaging your precious paper.
Bonus Tip – Use a Hair Dryer
Before we wrap up, I want to share a bonus tip that helps remove tape safely. This trick uses a hair dryer, and it can make a big difference.
How to Use the Hair Dryer
- I turn my hair dryer to high heat.
- Then, I hold it over the tape for about 10 to 15 seconds to warm the entire strip.
- The heat activates the tape’s adhesive, making it softer and easier to peel off.

Why Heat Helps
- When the tape is warm, it becomes more flexible.
- This means I feel much less resistance while pulling the tape off.
- Using heat cuts down on the risk of ripping the paper, especially if your tape is extra sticky.
My Experience with Sticky Tape
- I’ve only had my paper rip a few times over the last four years.
- The last time was when I tried a new tape that was much stickier than usual.
- I noticed my fingers stuck more to the new tape, which tore my paper badly compared to my usual tape.
- Since then, I always use a hair dryer when removing stickier tape, which makes a big difference.
If you struggle with too sticky tape, this simple step can save your drawings from damage.
Wrapping Up
Protecting your drawings from tape damage takes some care, but it’s doable. By choosing the right tape, applying it gently, and removing it the right way—even using a hair dryer—you can keep your paper safe and your artwork flawless.
These simple steps make a big difference, helping your creations stay beautiful for years to come.