
What makes watercolor pencils such a fascinating art medium for beginners? They combine the control of a pencil with the beautiful flow of watercolor paint, opening the door to endless creative possibilities.
In this beginner’s guide, Kirsty Partridge Art shares everything you need to know to get started. From essential supplies to core techniques and blending tips, she breaks it all down in a clear and approachable way.
Dive in and discover how you can begin creating expressive or realistic artwork with watercolor pencils—no experience needed!
Contents
What Are Watercolor Pencils and How Do They Work?
Before diving into techniques, it helps to understand exactly what watercolor pencils are.
Difference Between Watercolor Pencils and Colored Pencils
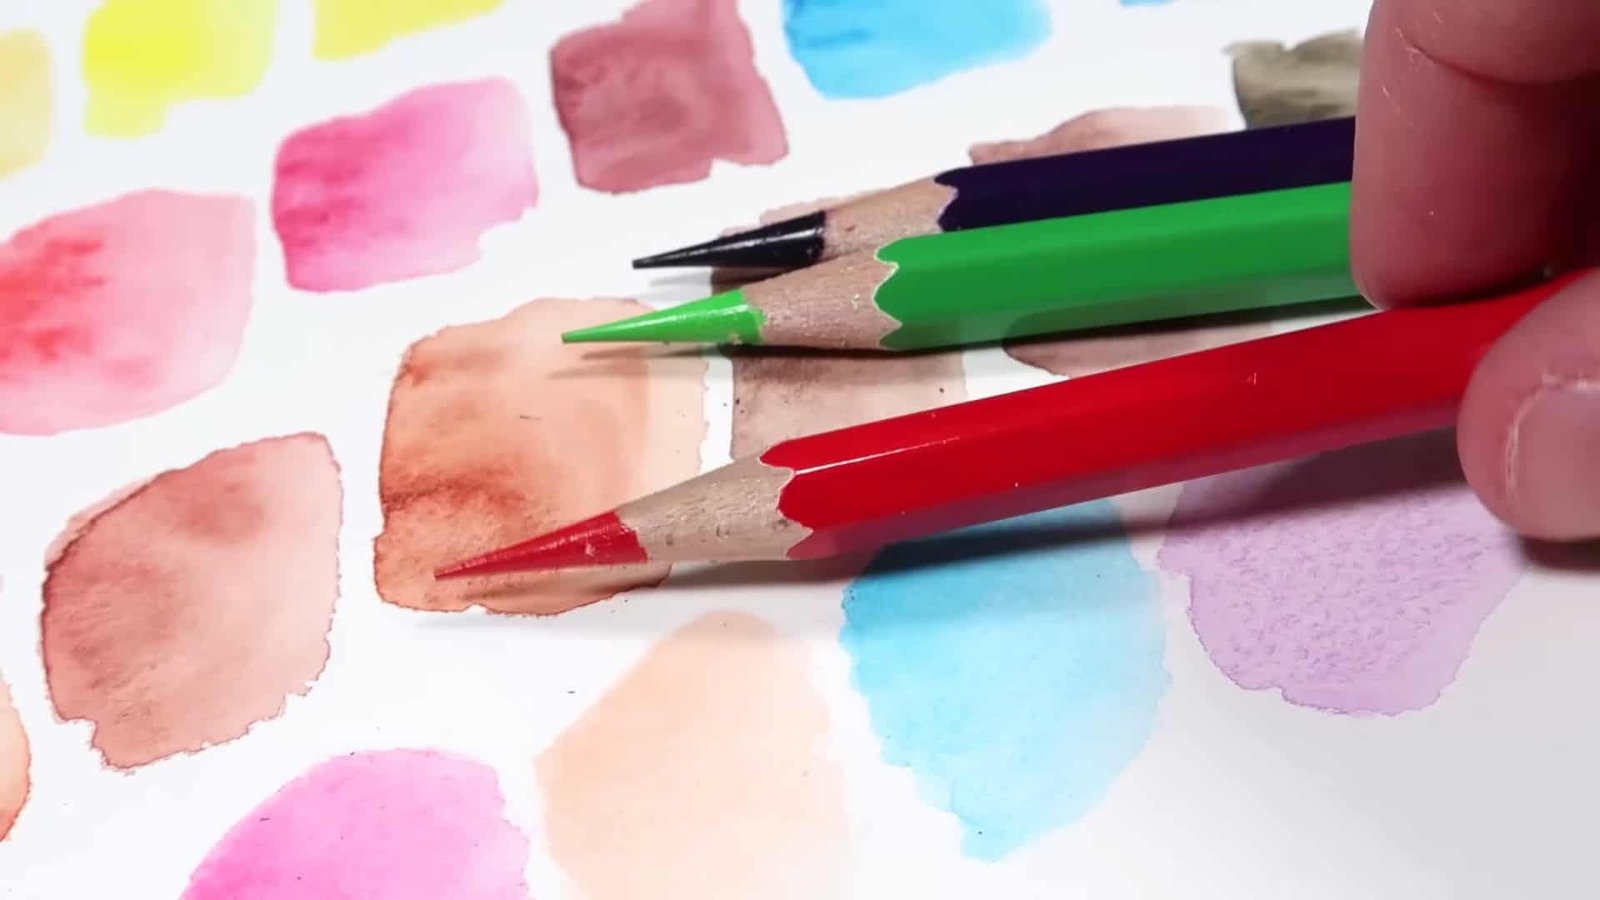
Watercolor pencils look very similar to ordinary colored pencils. The key difference is inside the core. The leads are water-soluble, which means they react when touched with water.
Used dry, they act like normal pencils for shading or detail. Once water is added, the pigment dissolves and behaves like watercolor paint.
Why Use Watercolor Pencils for Art
The real strength of watercolor pencils is flexibility. Artists can create fine, realistic detail by layering dry strokes, or they can wash over areas with water for soft, expressive effects.
The same set of pencils can shift between controlled line work and flowing watercolor washes. That’s why they are useful for sketches and artworks.
Best Supplies for Watercolor Pencil Beginners
To get the best results, beginners should set up with a few essential tools.
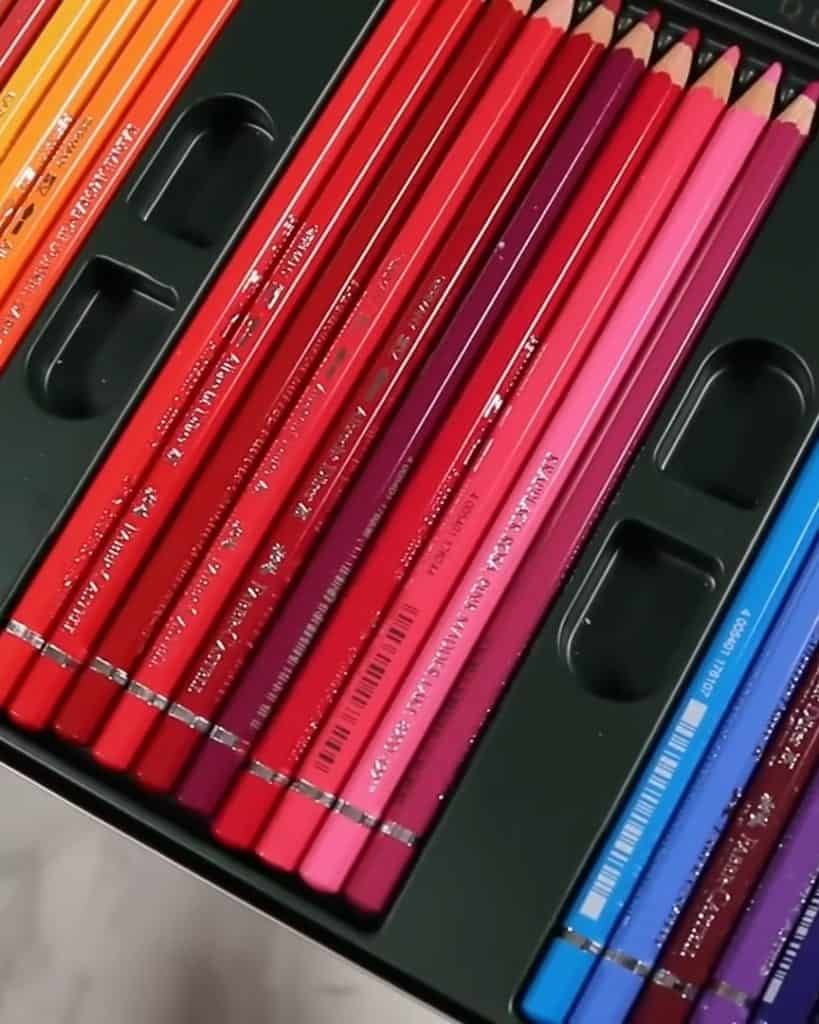
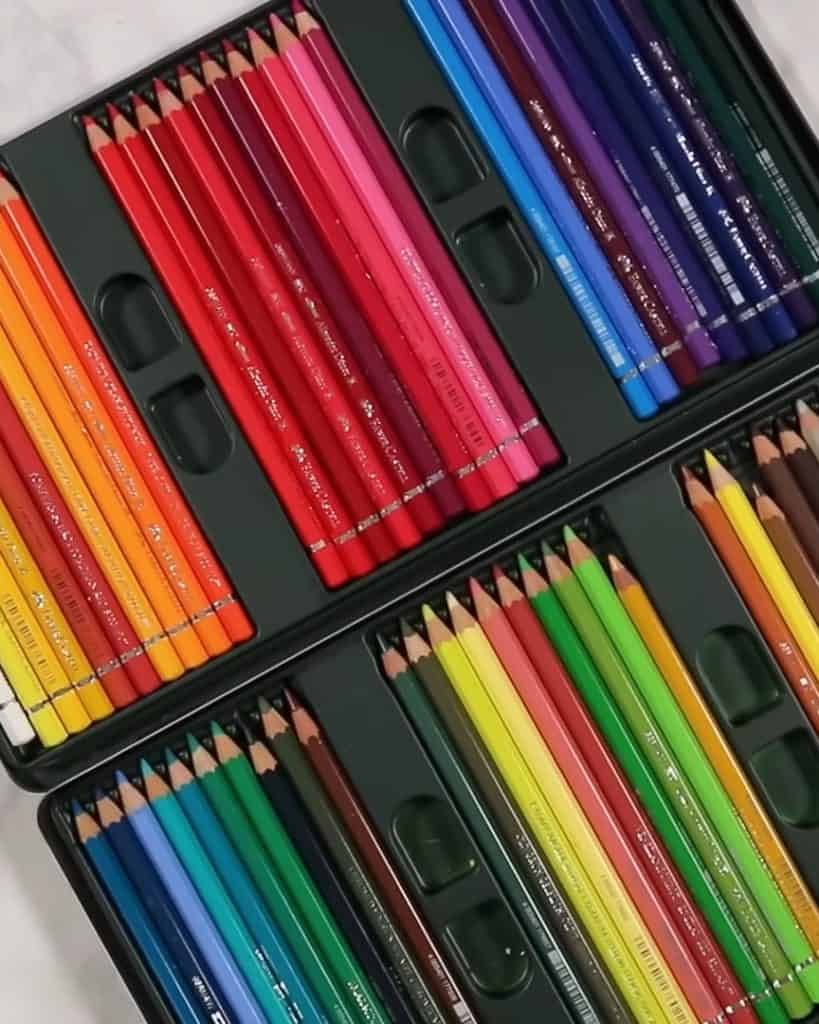
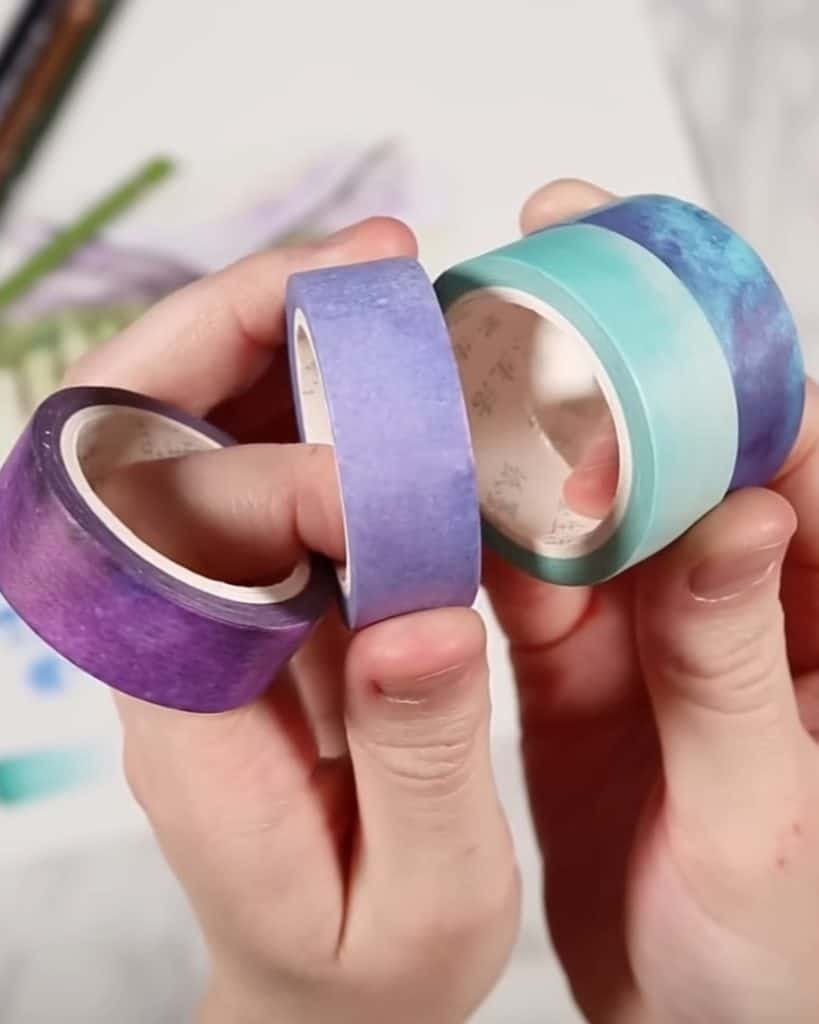
Choosing the Right Watercolor Pencils Set
There are two main types of watercolor pencils: student-grade and professional-grade. Student sets are more affordable and work well for practice. Professional sets usually have stronger pigments and smoother application.
According to Kirsty, she often uses Faber-Castell Albrecht Dürer watercolor pencils. However, she encourages beginners to pick a set that fits their budget. Any good-quality set is enough to begin learning.
Best Paper for Watercolor Pencils
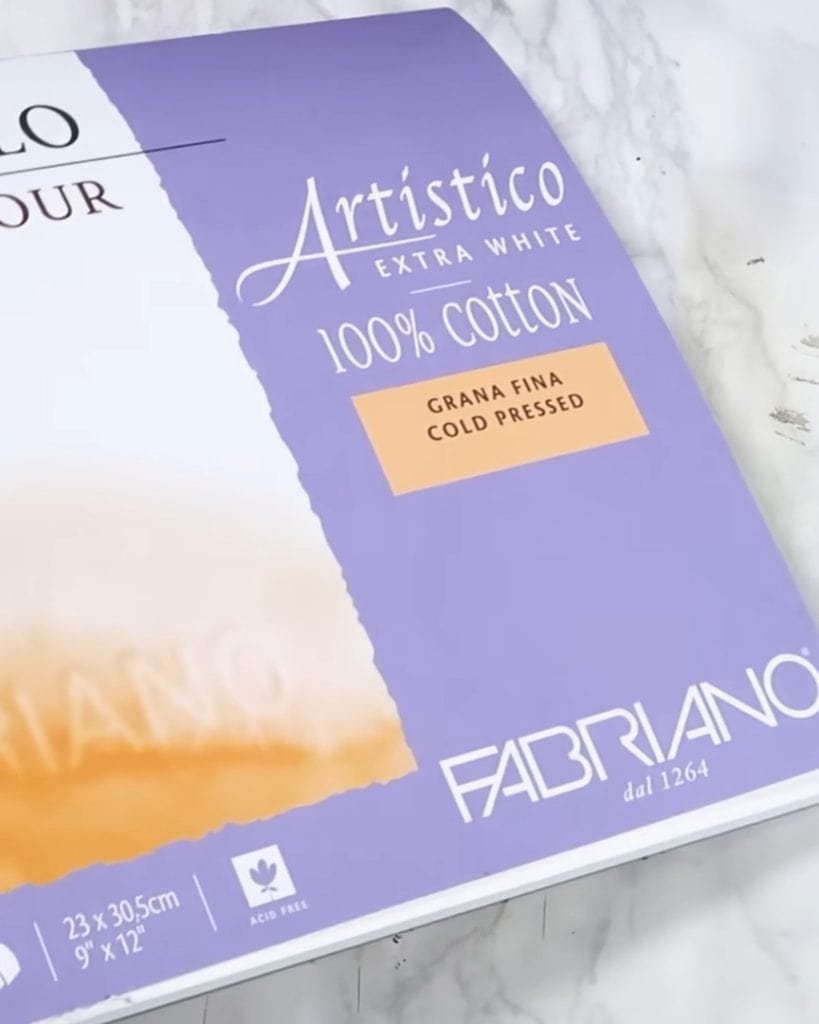
Because you apply water to your artwork, paper choice matters. Normal sketch paper is too thin and buckles easily.
Instead, watercolor paper is recommended. Its thickness and texture allow it to absorb water without tearing or warping.
Beginners should start with medium-weight watercolor paper. It balances strength and affordability.
Essential Brushes and Water Tools
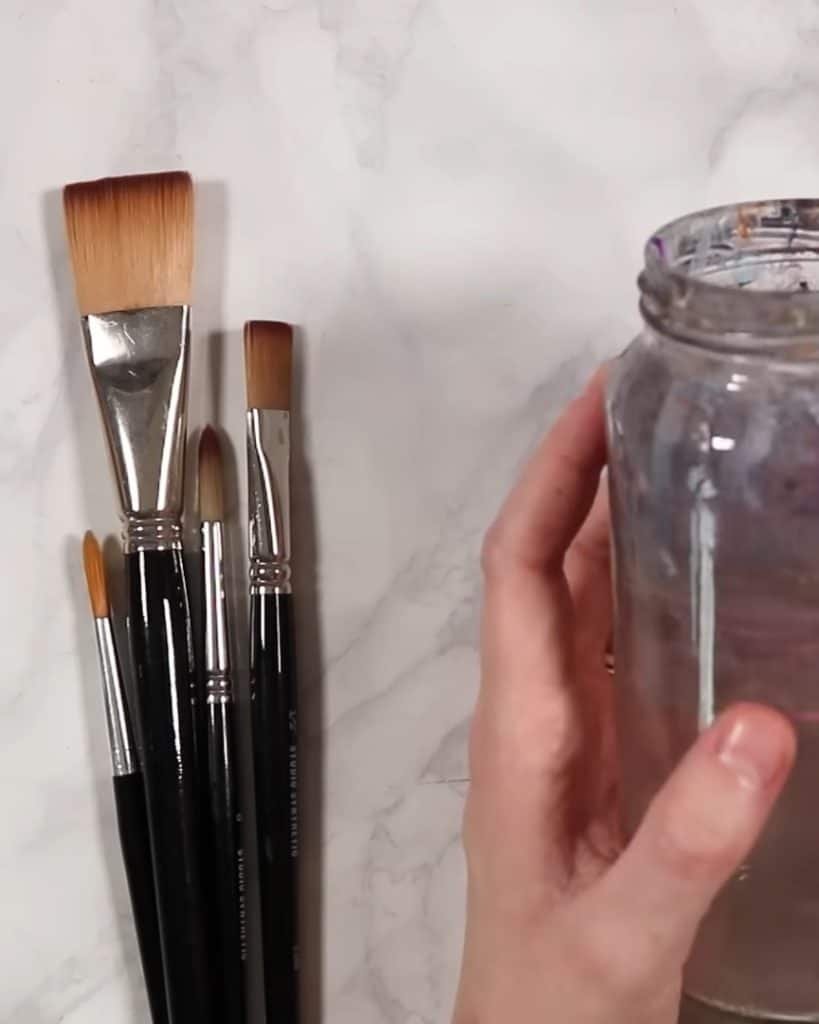
Brushes are another important supply. Kirsty recommends keeping it simple.
Some round brushes in different sizes are usually enough. Round brushes are versatile because they can create both fine lines and larger washes.
Along with brushes, a jar of clean water and a towel for drying are essential.
Best Sharpener for Watercolor Pencils
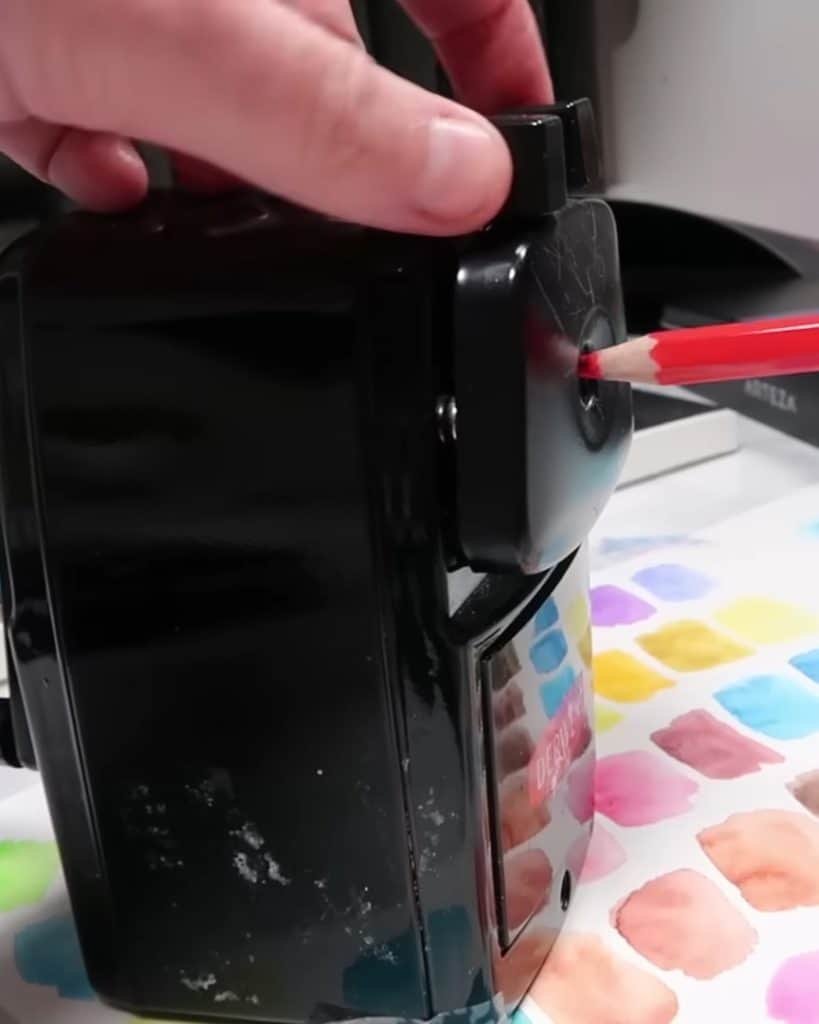
Since these are pencils, sharpening is part of the process. A sharp tip makes it easier to draw details.
What about Kirsty? She uses the Derwent Superpoint manual sharpener because it keeps the pencils fine and sharp without breaking the lead.
A good sharpener helps maintain precision, especially after using water, which can dull the tip more quickly.
Using Tape to Prevent Paper Warping
When water touches paper, it can cause buckling or curling. To prevent this, Kirsty secures her paper with washi tape.
Taping the edges keeps the paper flat and gives the finished artwork a neat, clean border. The simple step helps maintain control while painting.
Watercolor Pencil Techniques for Beginners
With the supplies ready, let’s learn how to use watercolor pencils. Kirsty demonstrates many simple techniques that beginners can practice. Each method creates a different effect.
Layering Colors Before Adding Water
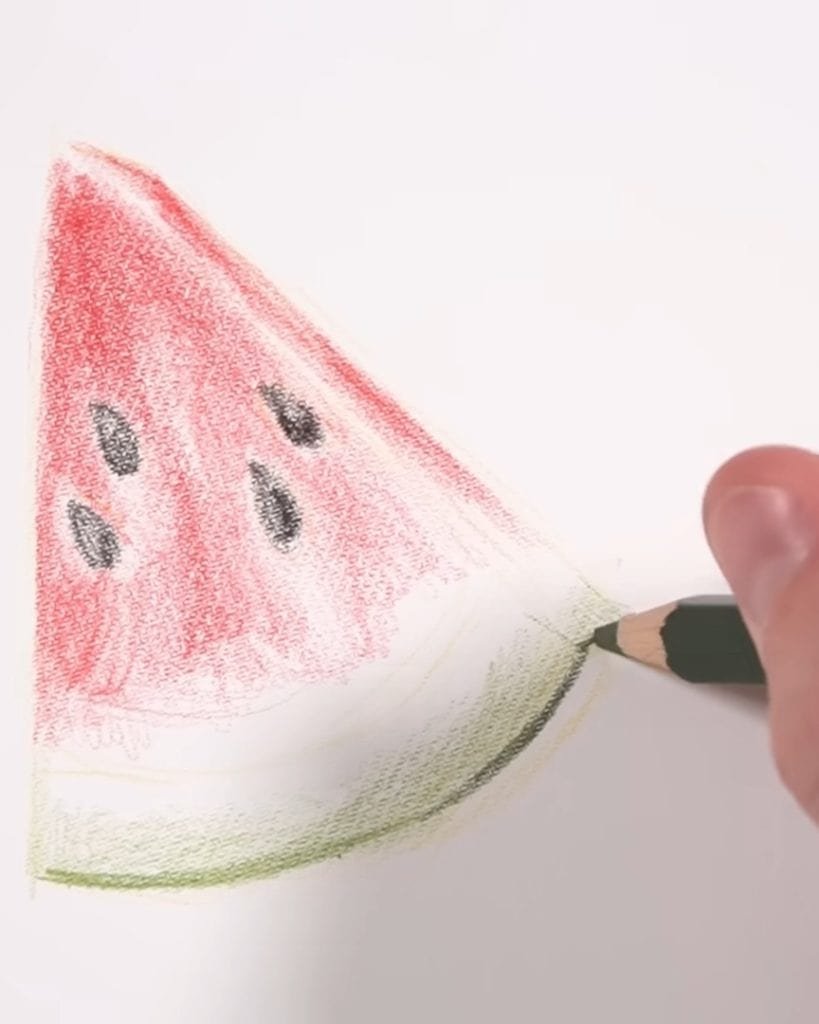
One of the most common approaches starts dry. Kirsty shades areas with watercolor pencils first, layering colors and blocking shapes.
At the stage, she avoids too much detail. The goal is to lay down enough pigment on the paper.
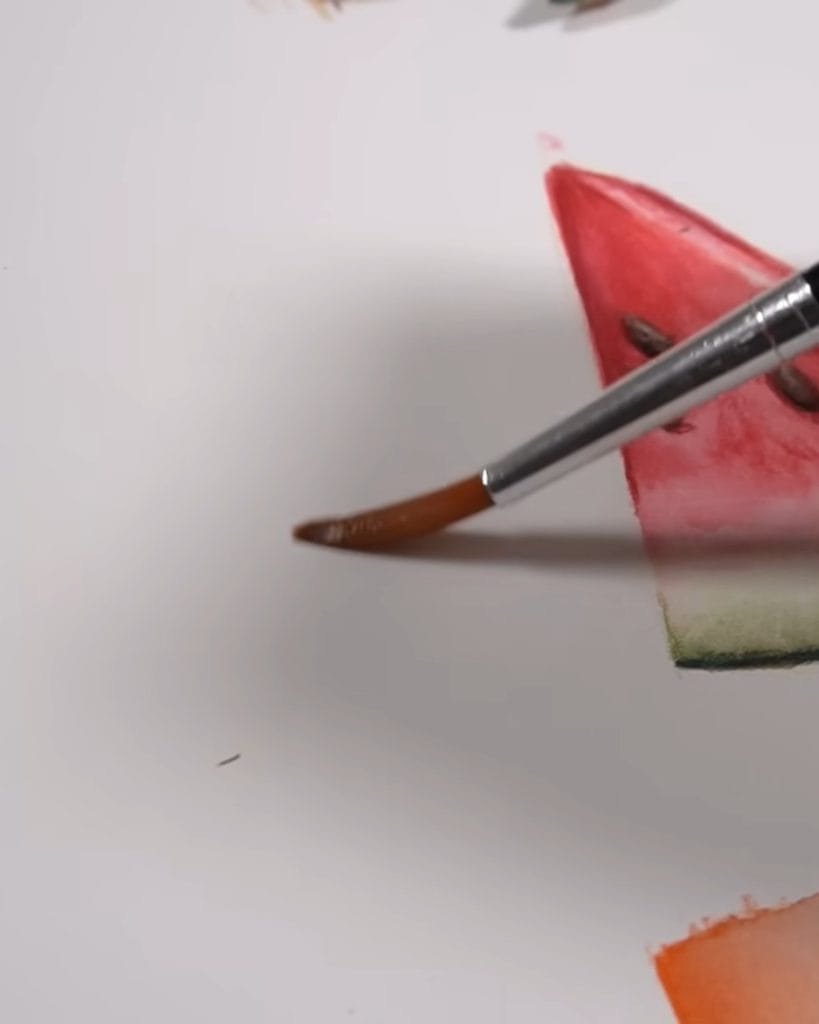
After shading, she uses a clean brush dipped in water to activate the pigment. The colors spread smoothly, filling the grain of the paper and becoming vibrant.
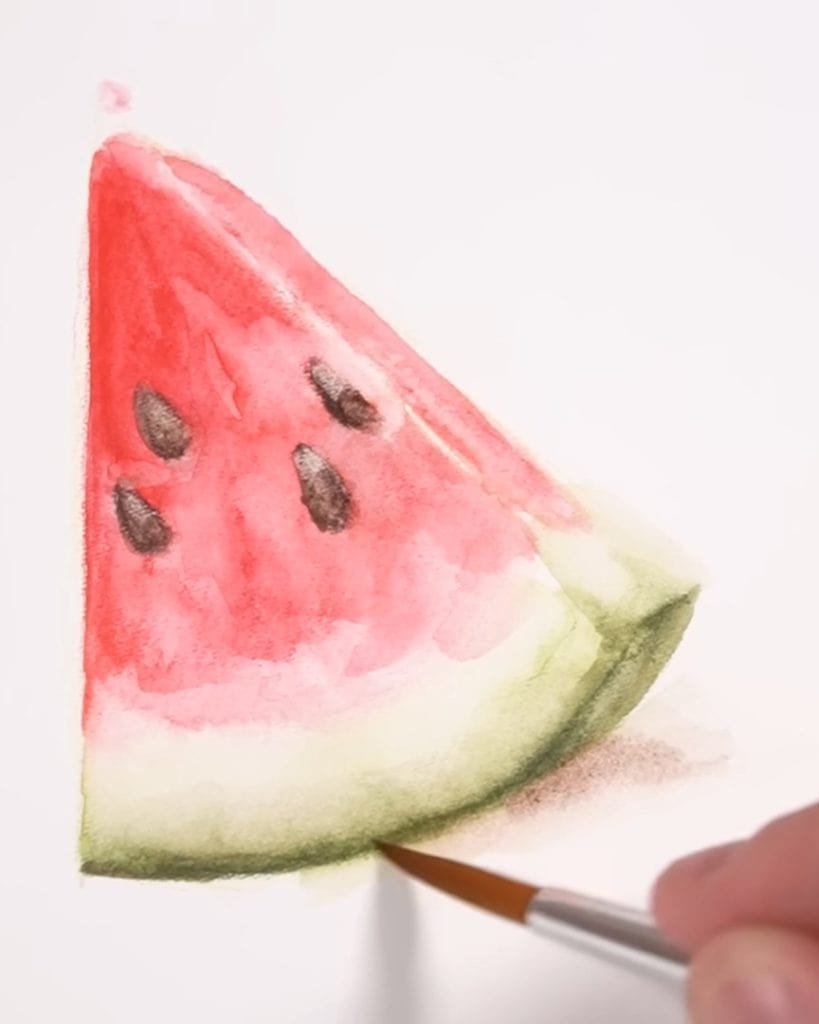
She always blends from light to dark and cleans the brush between colors to prevent muddy results.
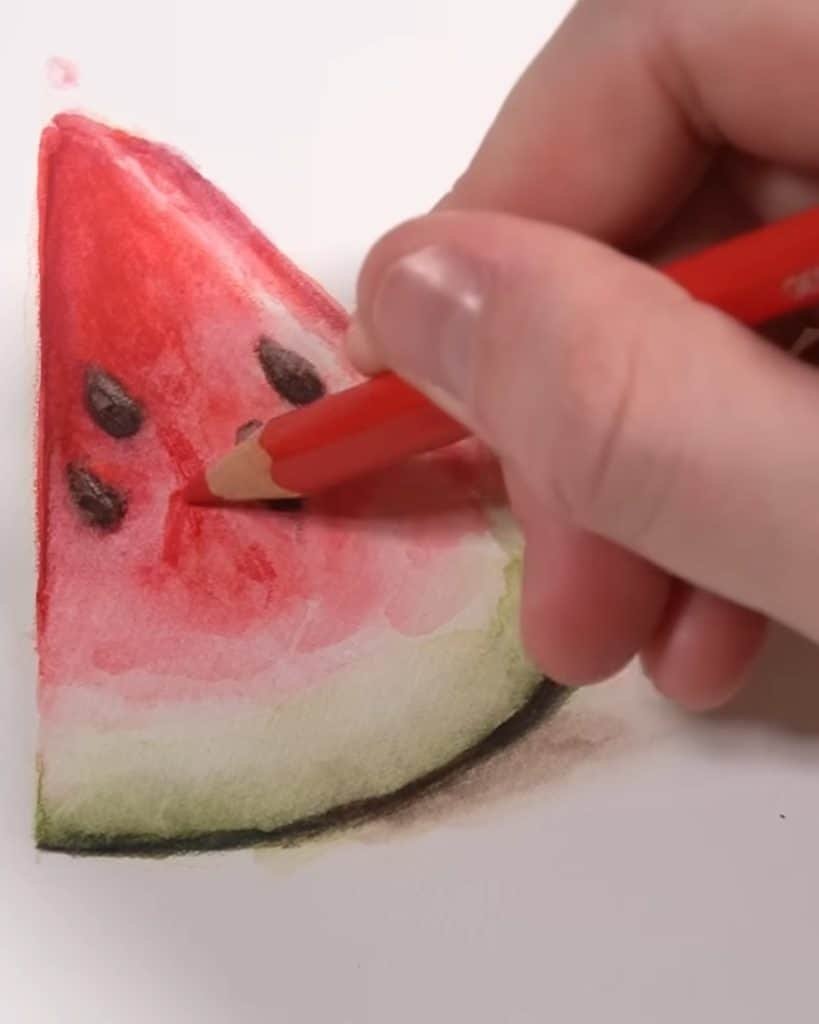
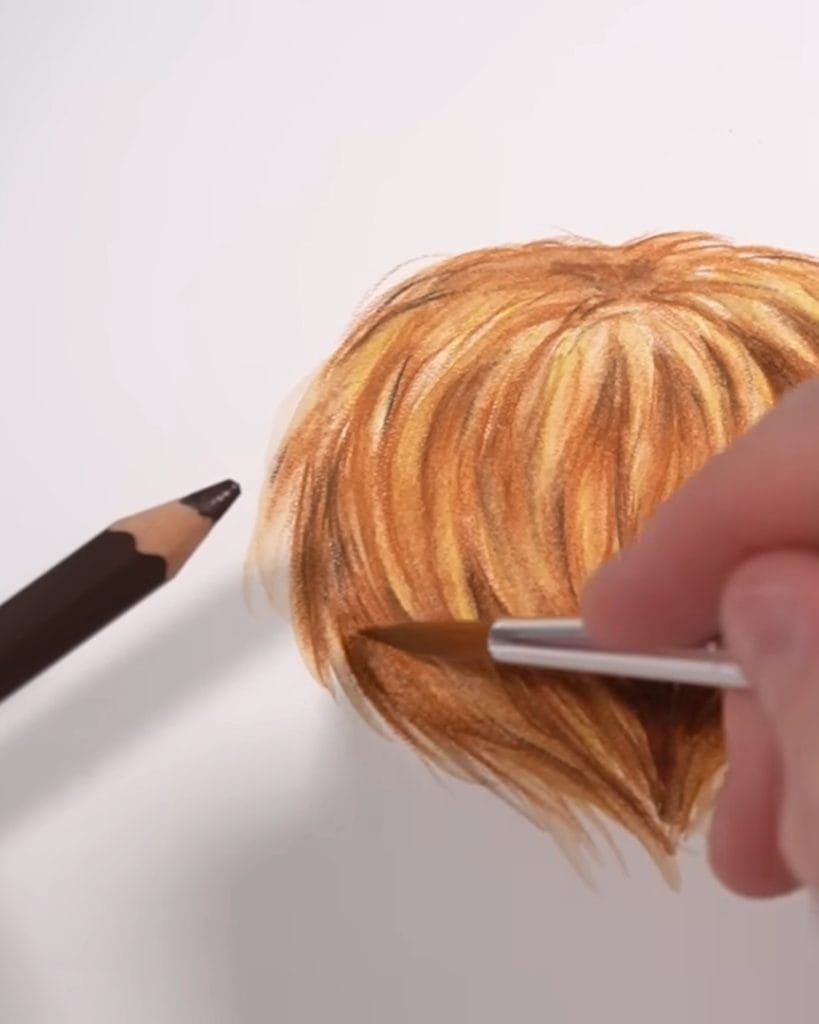
Adding Fine Details After Blending
Once the first layer dries, Kirsty goes back in with sharp pencils. She uses them to refine textures, add shadows, and draw small details. The step creates realism and depth.
She explains that if the style is more expressive, fewer details can be added. However, she personally enjoys defining shapes for a realistic finish.
How to Use Watercolor Pencils by Dipping in Water
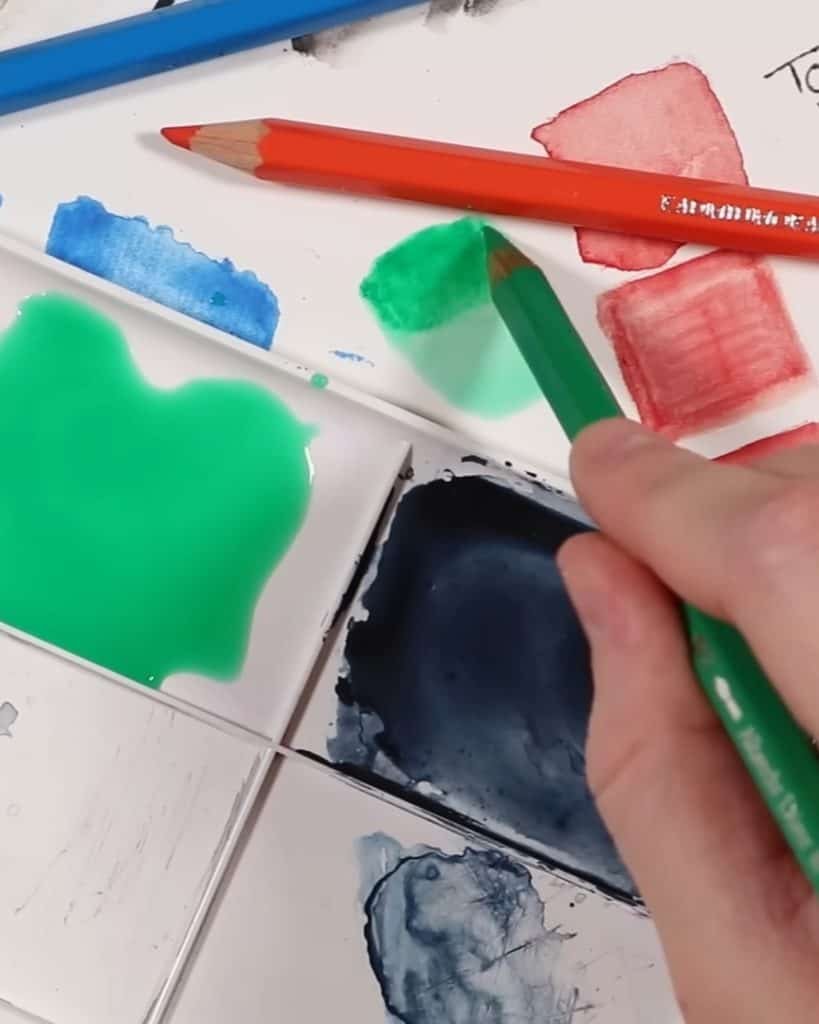
Another method is dipping the pencil tip directly into water. The tip softens the lead and allows more pigment to transfer to the paper.
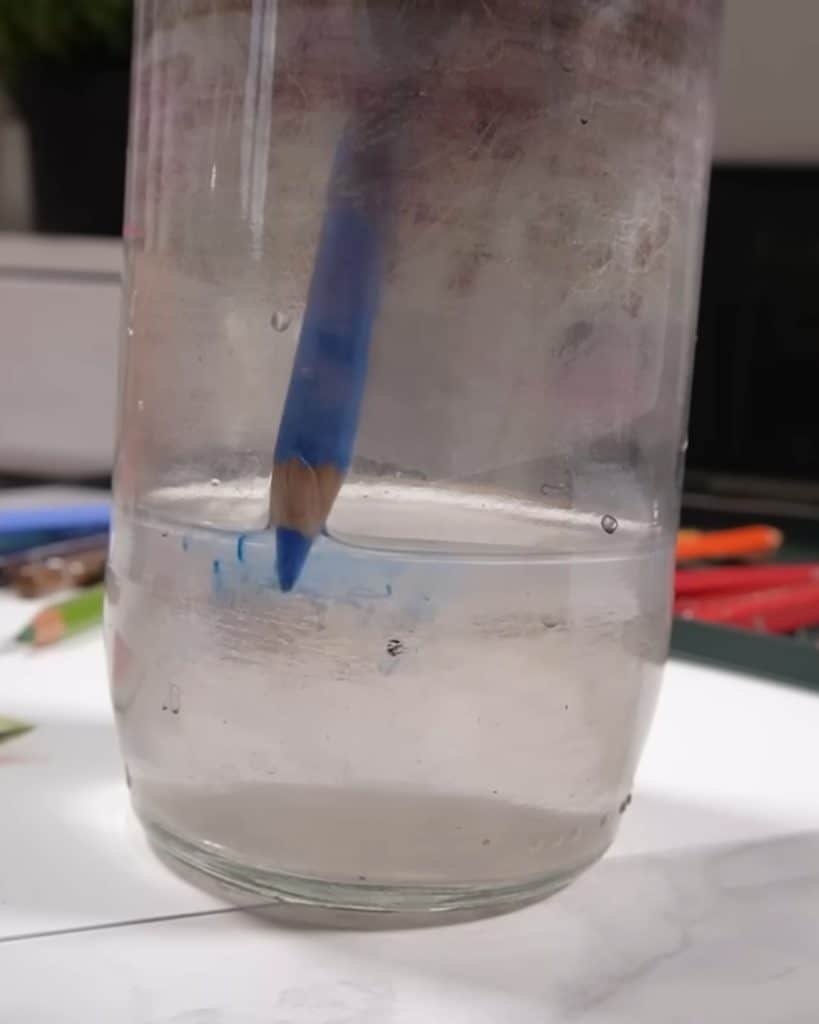
The result is bold, intense strokes that look painterly while keeping the control of a pencil. Kirsty often uses the simple trick for vibrant details that stand out.
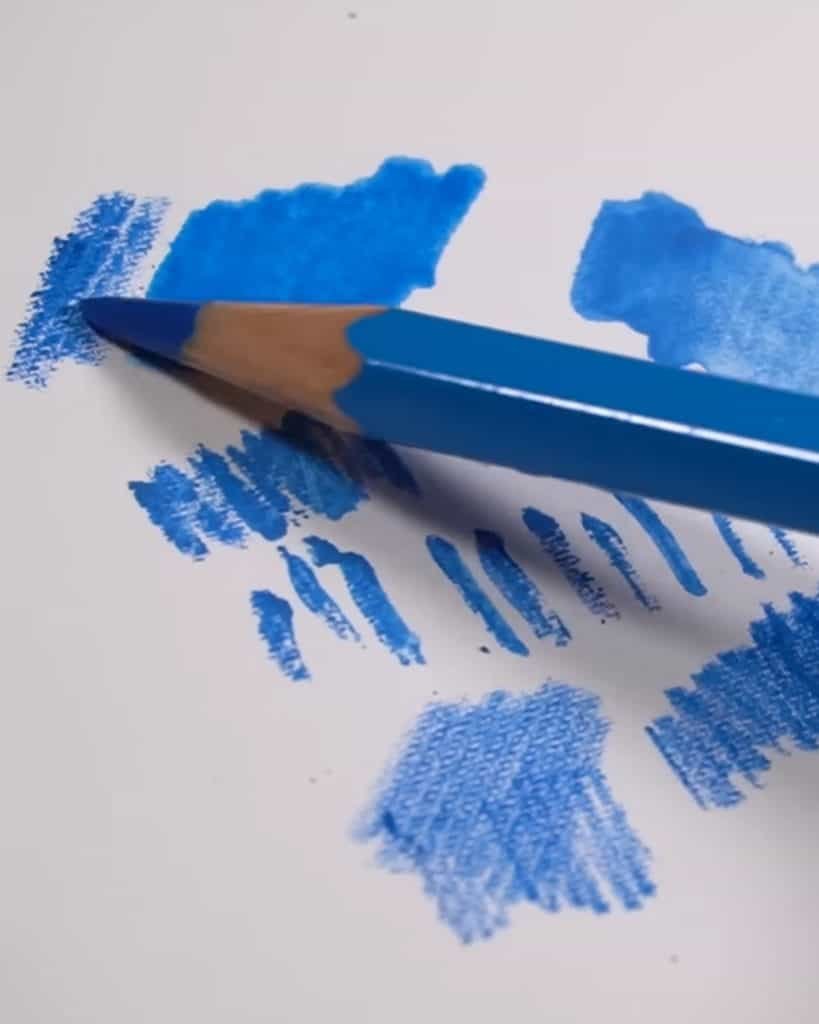
Using Watercolor Pencils Dry Only
Water is not always necessary. Watercolor pencils can also be used as standard colored pencils.
Kirsty notes that while she usually adds water for vibrancy, some drawings benefit from the dry approach. The method gives more control and can be combined with wet techniques.
How to Lift Pigment from Watercolor Pencils with a Brush
Another trick Kirsty demonstrates is lifting pigment with a brush. By rubbing a wet brush against the pencil tip, color is picked up and applied directly onto paper.
The tip works well for adding precise details or painting small areas.
Mixing Watercolor Pencils on a Palette
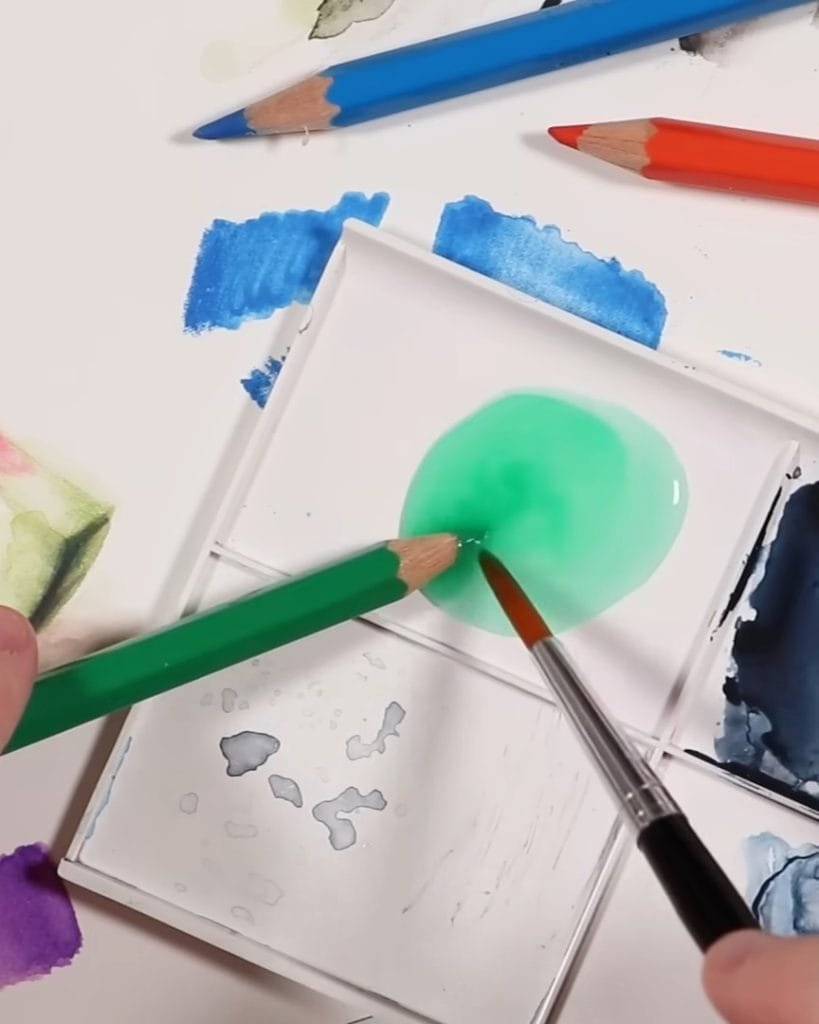
Sometimes a consistent wash is needed for a larger section. Kirsty shows how to mix pigment on a separate palette.
She wets a brush, lifts color from the pencil, and stirs it into clean water. As a result, she creates a smooth, even wash, similar to traditional watercolor paint.
Blending Techniques for Watercolor Pencils
Blending is one of the most challenging parts of using watercolor pencils. Kirsty provides many practical tips. Let’s check out!
How Much Water to Use When Blending
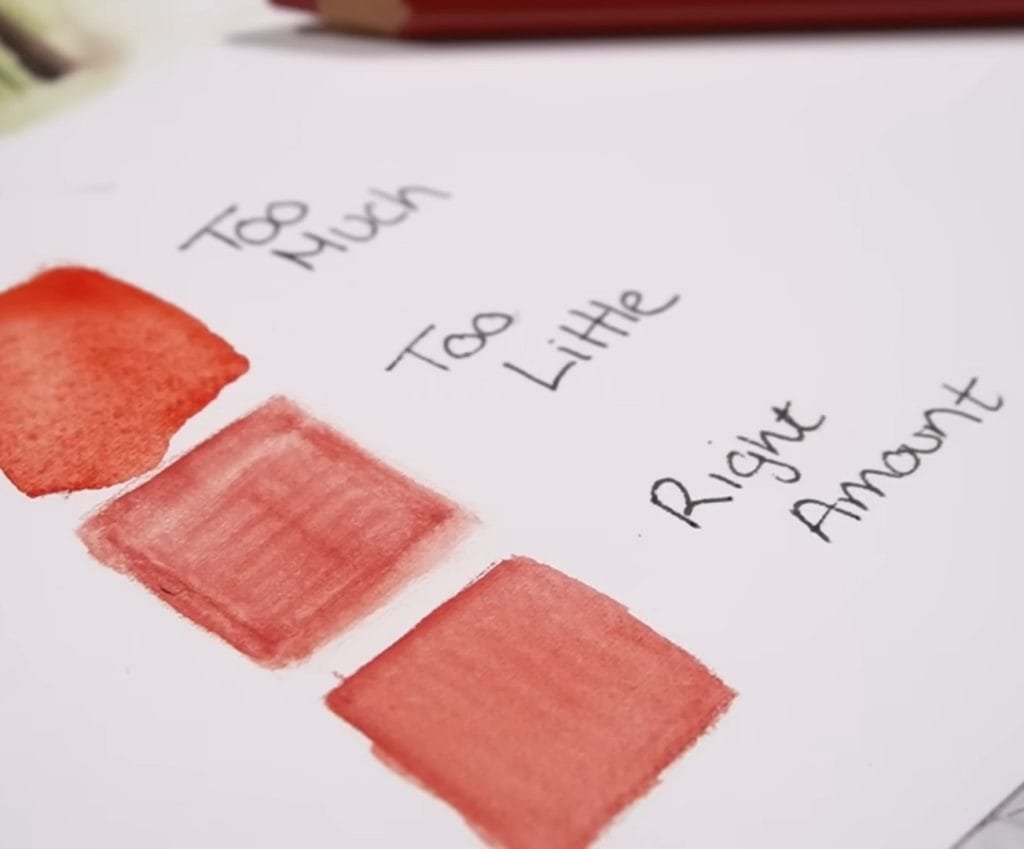
Finding the right amount of water is crucial. Too much water makes the colors diluted and difficult to control. Too little water leaves patchy, streaky areas.
According to Kirsty, beginners should experiment to find the right balance if they want smooth blending.
Blending Light to Dark with Watercolor Pencils
The right balance of water is important:
- Too much water dilutes the pigment and makes blending hard to control.
- Too little water leaves streaks and patches.
Finding the middle ground gives even, vibrant color. The technique takes practice, but it becomes easier with time.
When blending, Kirsty works from the lightest areas toward the darkest. The trick prevents dark pigments from spreading into highlights. It also helps maintain correct values across the artwork.
How to Avoid Muddy Colors
Mixing too many colors can create muddy results. To avoid the mistake, you can:
- Clean the brush between colors.
- Blend one shade fully before starting another.
- Carefully fade colors together at the edges.
The step-by-step approach keeps colors bright and transitions smooth.
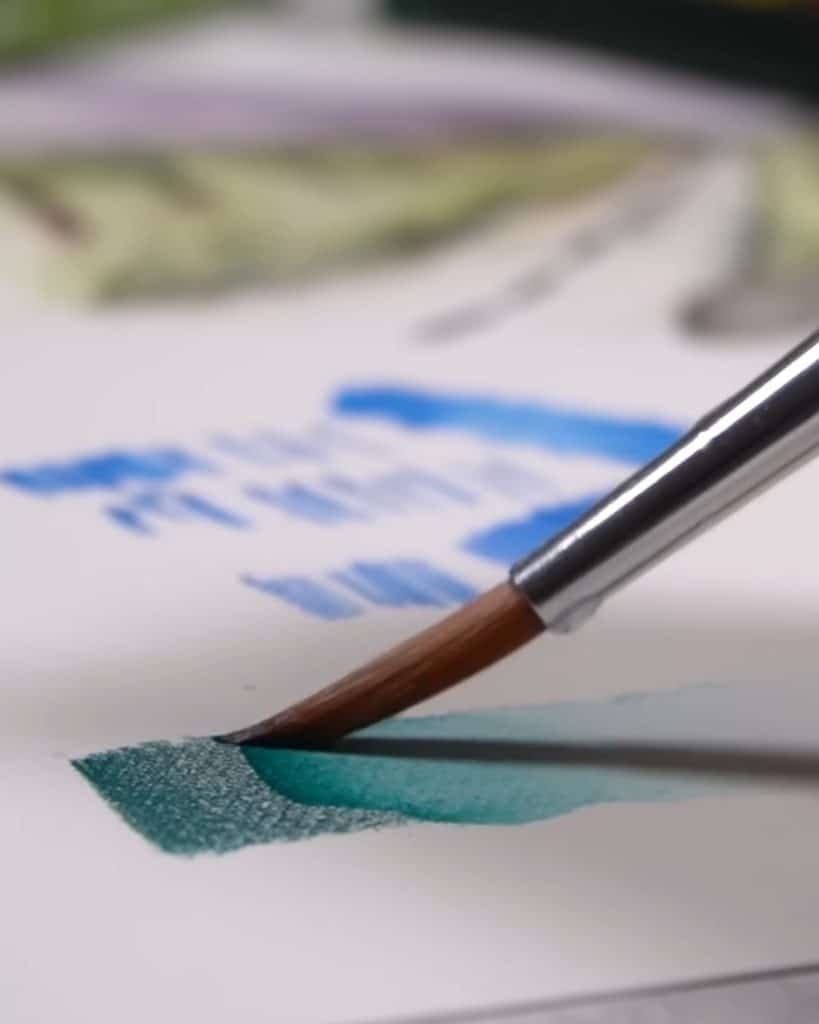
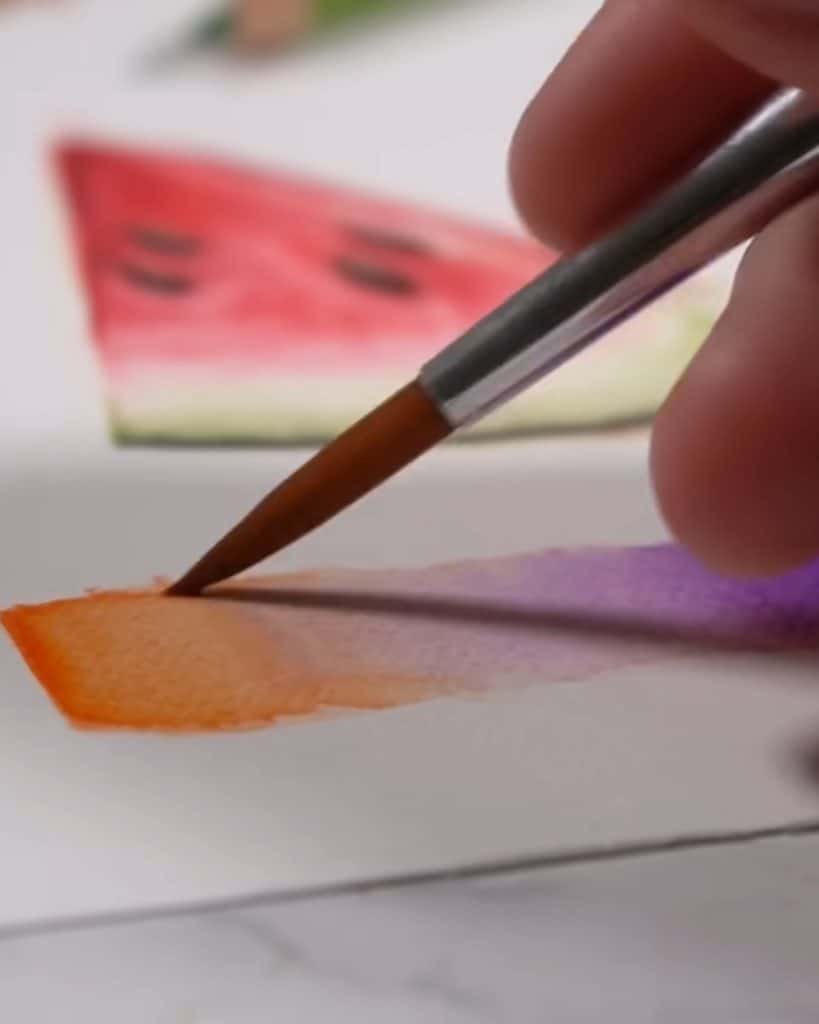
Wet-on-Wet Technique with Watercolor Pencils
The wet-on-wet method creates soft, flowing blends.
- First, water is applied to the paper where pigment will go.
- Then pigment is added with a brush. The color spreads naturally across the wet surface.
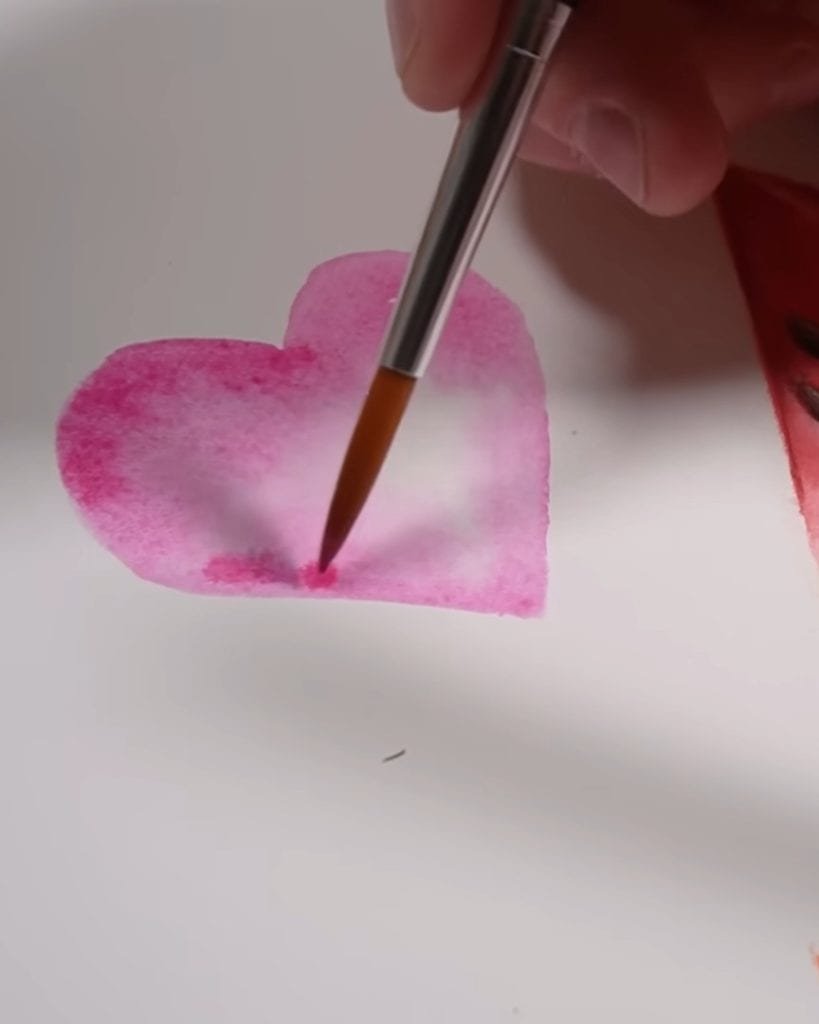
The technique is excellent for gradients, skies, or petals with smooth transitions.
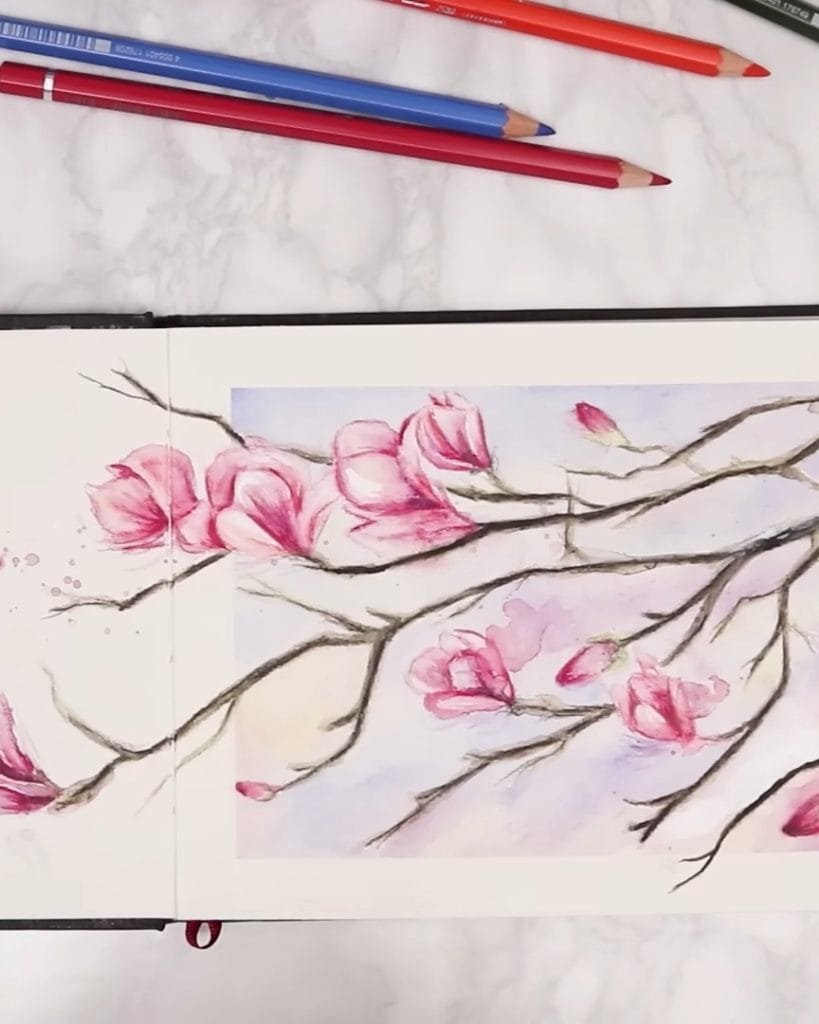
Painting a Rose: Step-by-Step Watercolor Pencil Tutorial
After covering individual techniques, Kirsty demonstrates how to use them together in a complete artwork: painting a rose.
Swatching and Selecting Watercolor Pencil Colors
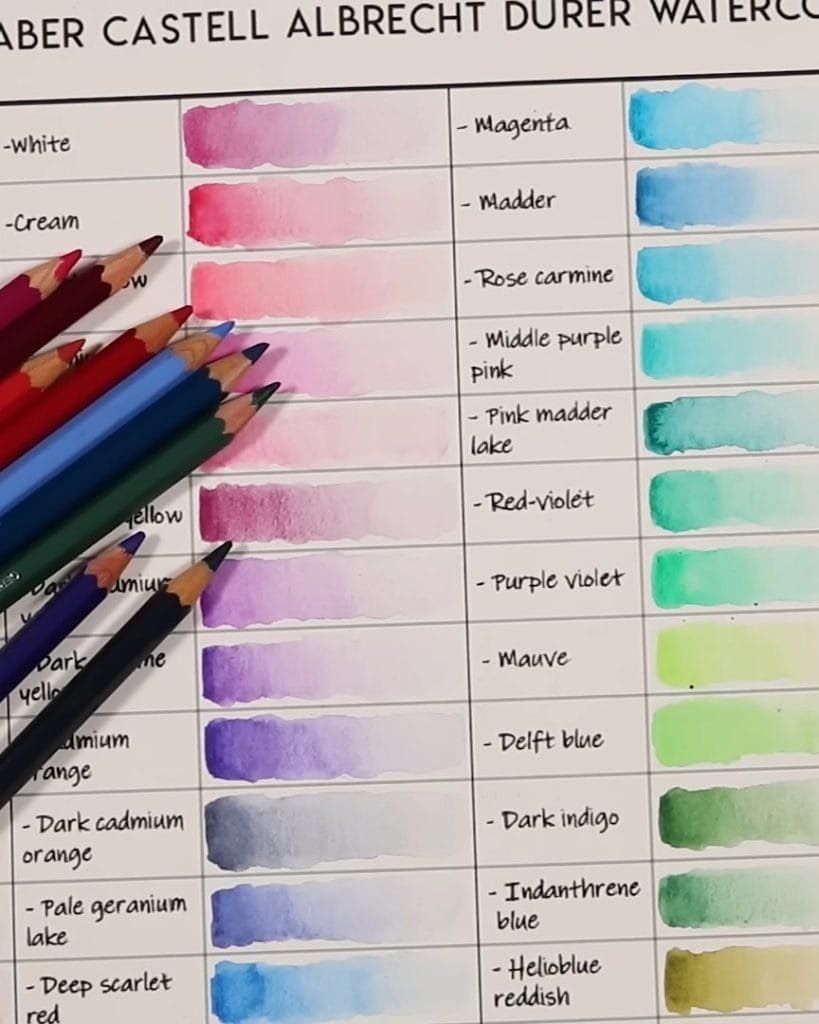
Colors can look different when dry compared to when water is added. Kirsty tests her pencils by swatching them wet.
This way, she knows how they will look in the final painting. She selects the colors she needs before starting.
Shading the Rose with Watercolor Pencils
She begins by shading the petals with pencils. She adds pigment to mid-tones and shadows but leaves the highlights white, letting the paper show through. She layers enough pigment so the colors look rich after blending.
Activating Rose Petals with Water
Next, she blends the shading with a small round brush and clean water. While the surface is still wet, she sometimes adds more pigment directly from the pencil to deepen shadows. Thanks to the wet-on-wet technique, it mixes smoothly.
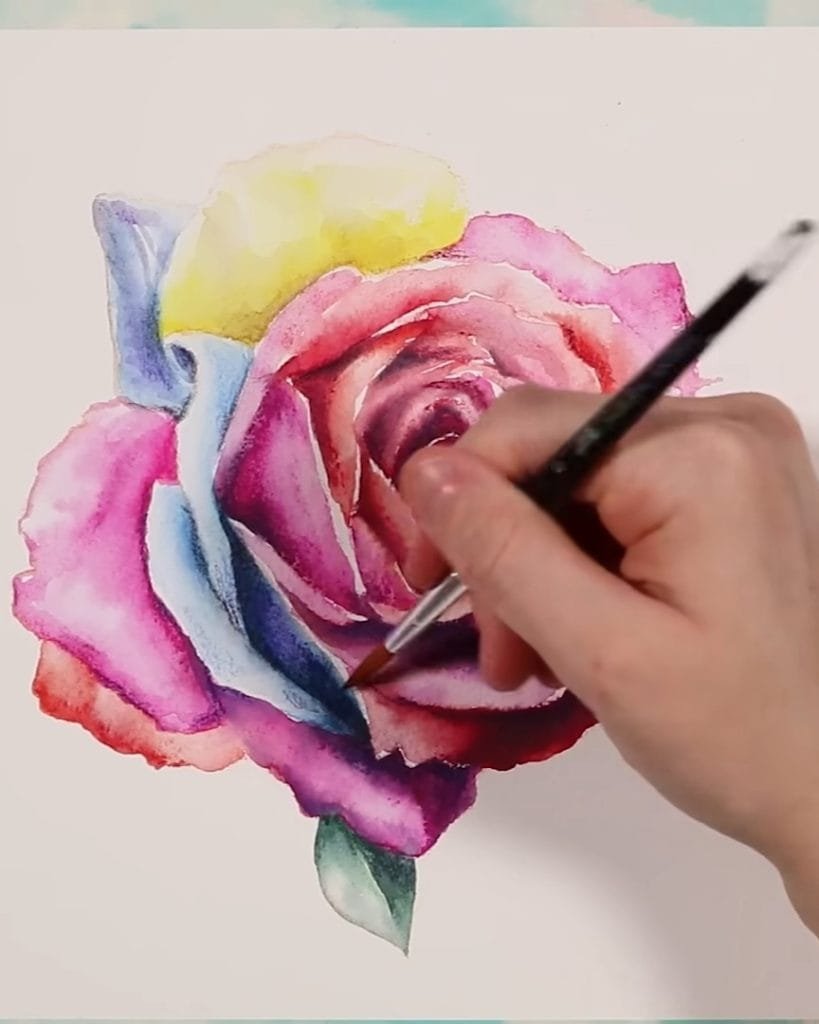
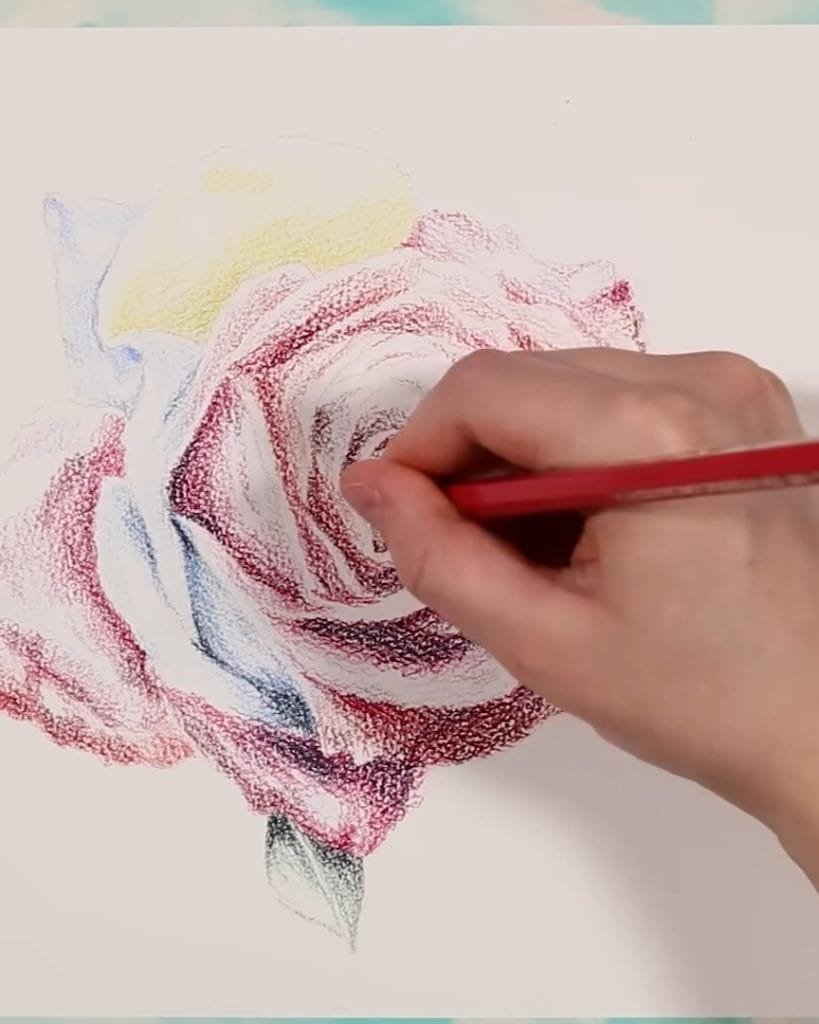
Refining Rose Details After Drying
Once dry, Kirsty adds details again with sharp pencils. She defines veins, edges of petals, and darker shadows.
She adjusts values if the painting looks too light. In the stage, she can add fine lines or neaten edges.
Sometimes she blends again with water if needed. The final step brings the rose to life with both realism and softness.
Extra Tips for Using Watercolor Pencils
What can help beginners improve even more after practicing basic techniques and completing a step-by-step project? Kirsty shares her simple tips that make the learning process easier and more enjoyable.
Experimenting with Different Techniques
Kirsty encourages artists to try all the methods: layering, dipping, lifting pigment, mixing on a palette, and wet-on-wet. Each produces unique effects, and experimenting helps discover a personal style.
Practicing Blending Control
Water control takes practice. Kirsty suggests making small studies rather than big artworks at first. They help develop skills and confidence before starting detailed projects.
Wrapping Up
Watercolor pencils bring together drawing and painting in one simple tool. As Kirsty Partridge shows, beginners can achieve vibrant results with the right supplies, simple techniques, and blending practice.
Which method will inspire your next artwork? Pick up your pencils, explore her tips, and start painting today with the flexible and exciting medium.