
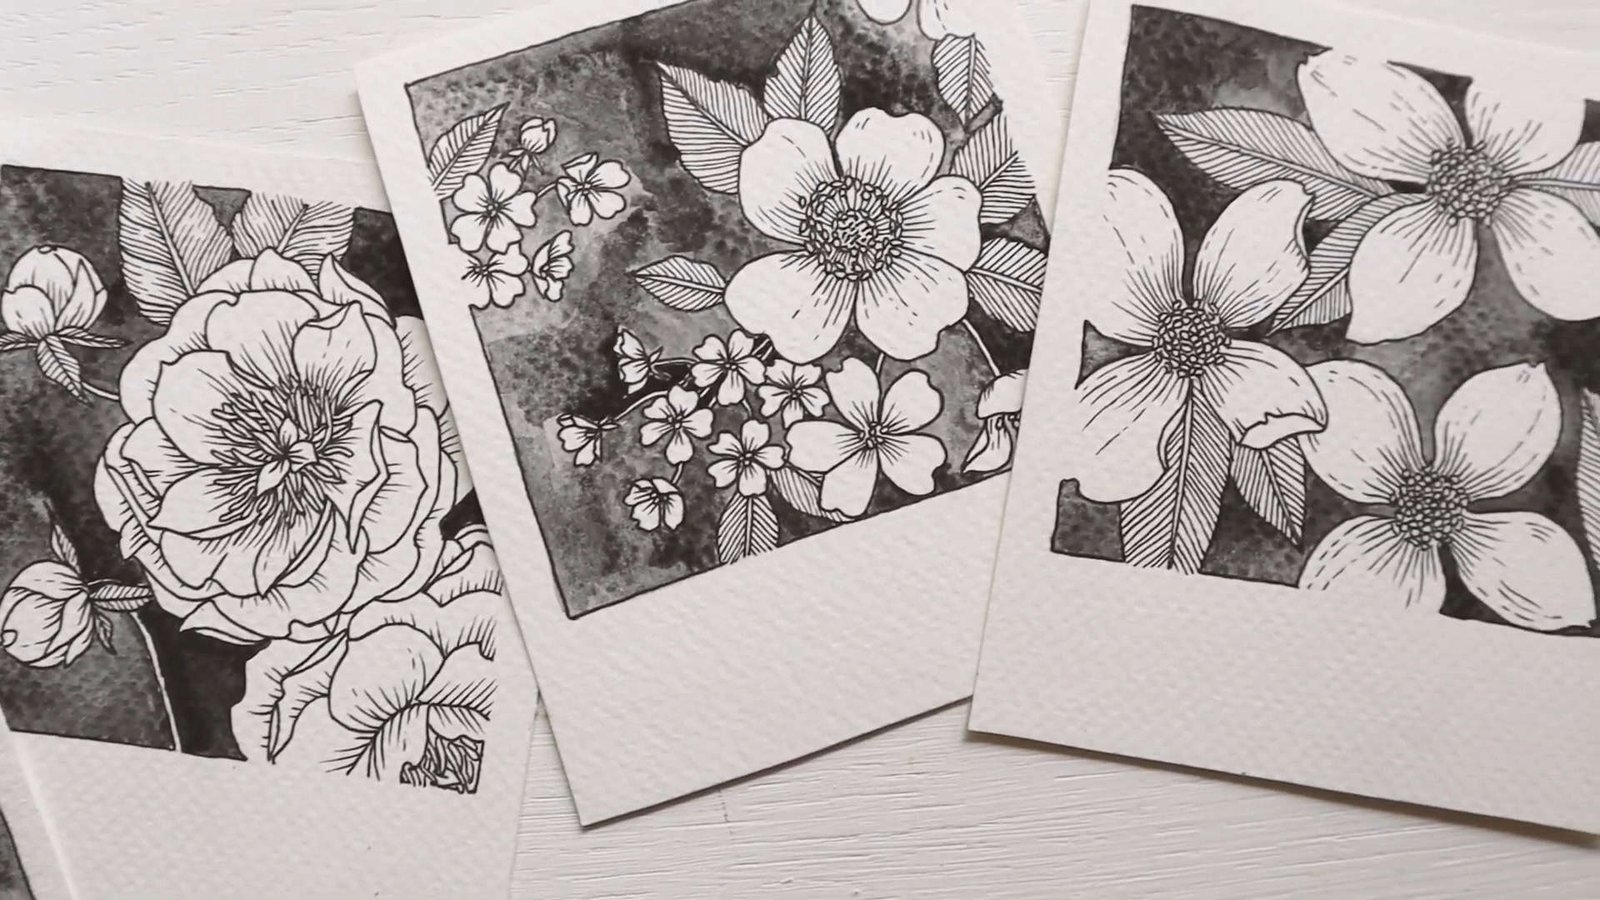
Do you enjoy creating simple yet beautiful art pieces that capture nature’s charm? In this step-by-step guide inspired by Karla Jodoin, the artist guides readers through creating floral polaroid cards featuring vibrant flowers like Cosmos and Lemon Queen blooms.
The guide walks through each stage using just a few basic supplies, from sketching to adding intricate details. Readers will be amazed at how easy and enjoyable it is to bring these flowers to life.
Let’s dive in!
Contents
Gather the Materials
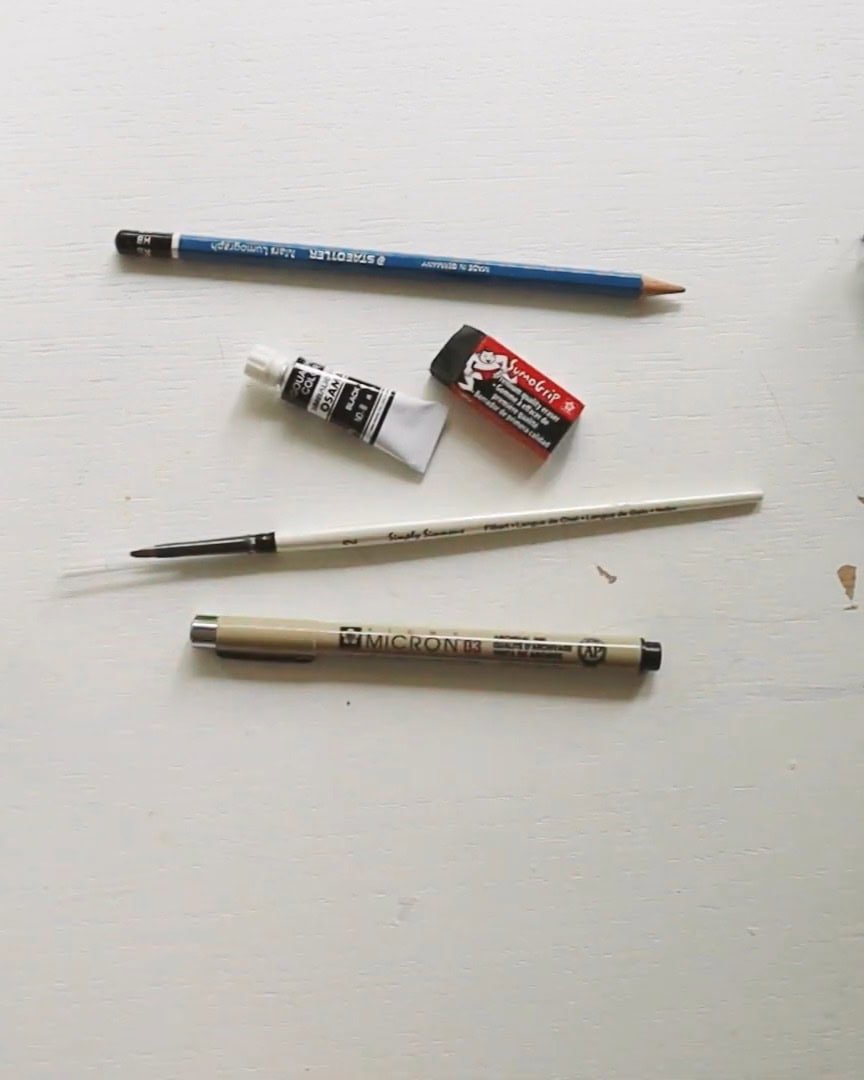
Before the drawing begins, the artist shows what is used for this fun floral polaroid project. There isn’t much needed—just a few basic supplies the viewer might already have.
Here’s what the artist prepares:
- An HB sketching pencil for light outlines
- A good quality eraser
- A fine-tip paintbrush in any shape you like
- A Sakura of America fineliner
- Some black gouache or watercolor paint
- Watercolor or mixed media paper, already cut into a polaroid shape
The artist has some Cosmos in the garden right now, which are perfect for this project. Let’s move on and start sketching the flowers!
Step 1: Drawing the Cosmos Floral Polaroid
Now that all the materials are ready, it’s time to start drawing! The artist begins with the cosmos flower. This part is relaxing and fun, so there’s no need for the viewer to worry about perfecting it.
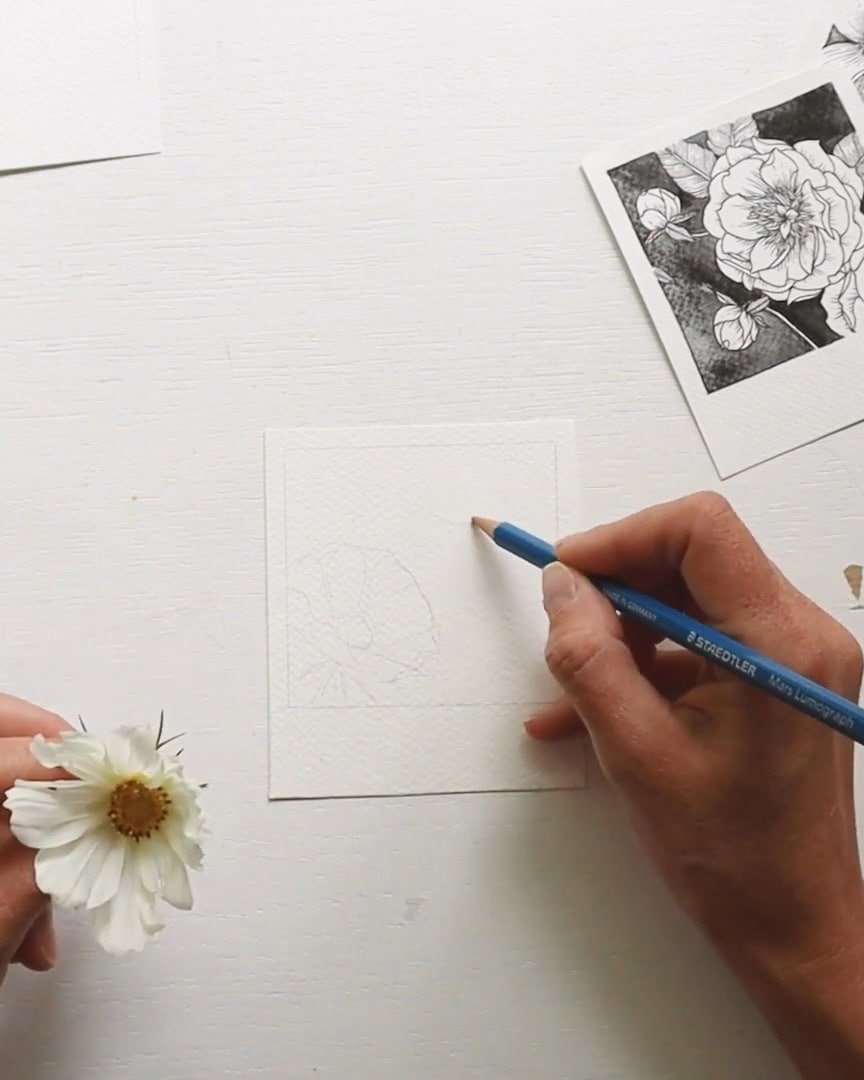
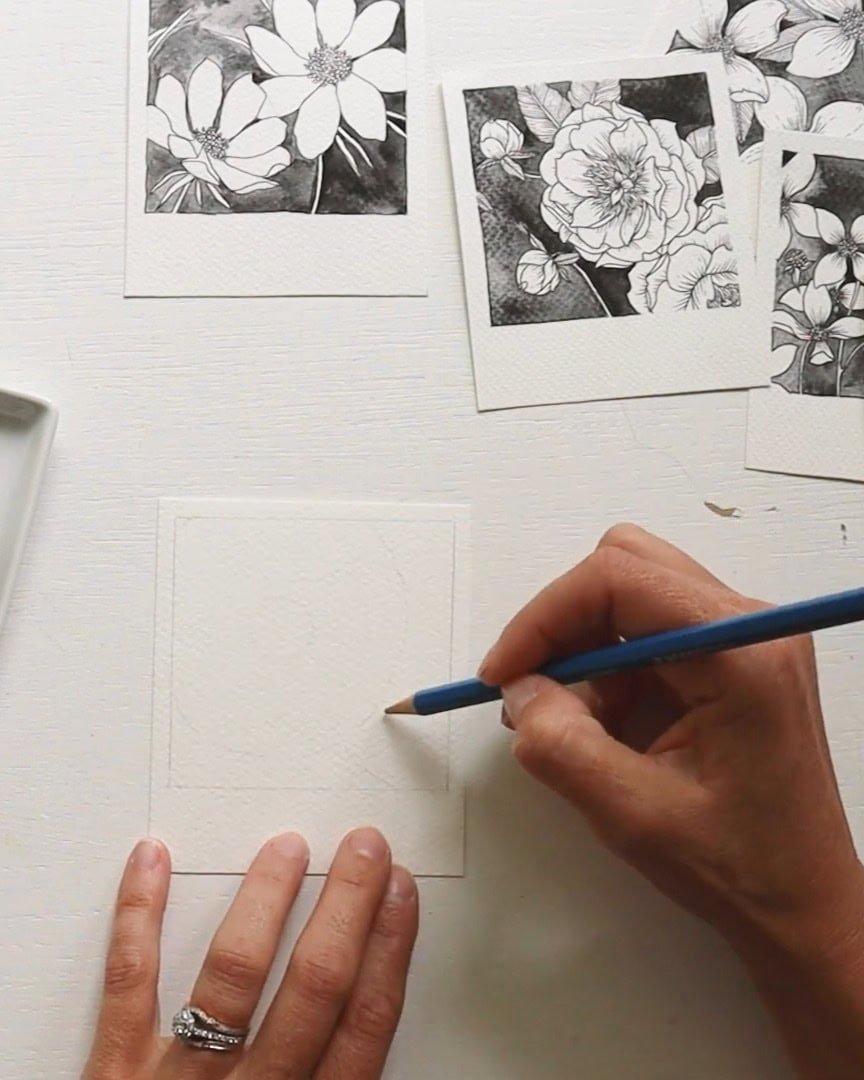
Start with a Light Pencil Sketch
The artist already has the polaroid box lightly sketched with the correct dimensions. Now, the artist uses the HB pencil to do a rough, simple sketch of the Cosmos flowers. One flower is tilted at an angle, and the other faces forward.
At this stage, the artist doesn’t focus on details. The artist just maps out the basic shapes to know where everything will go.
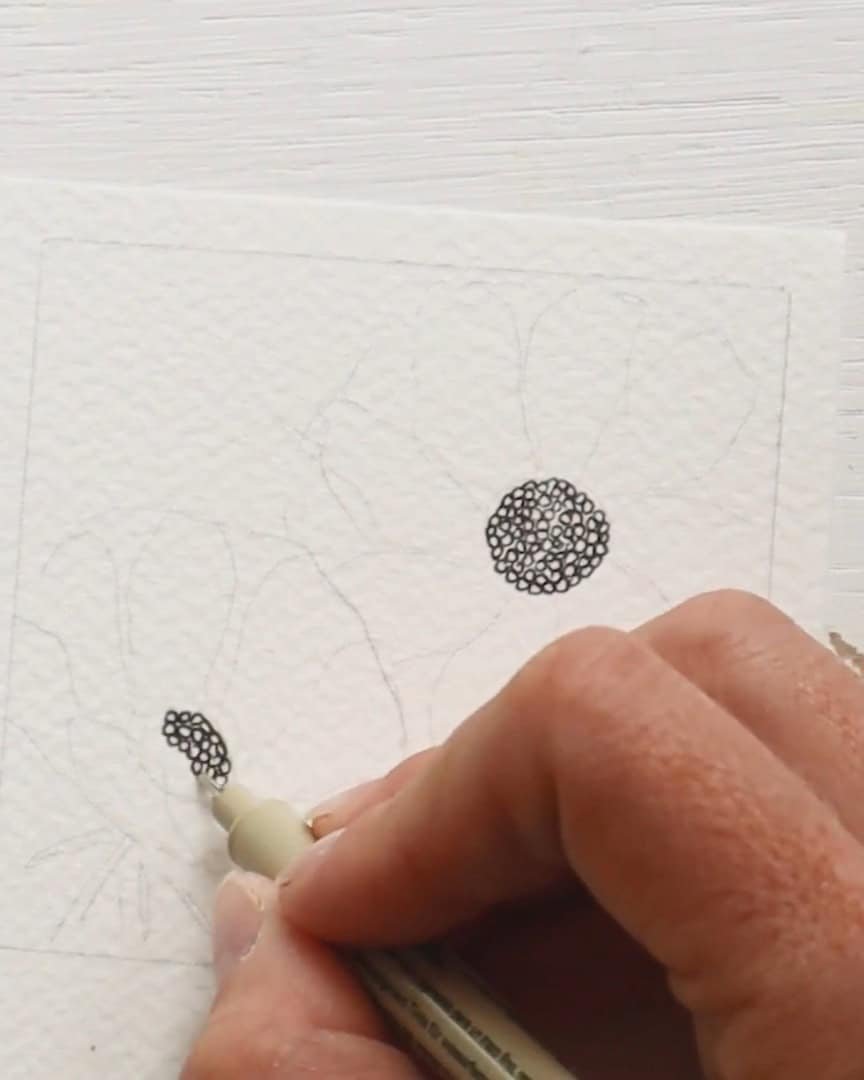
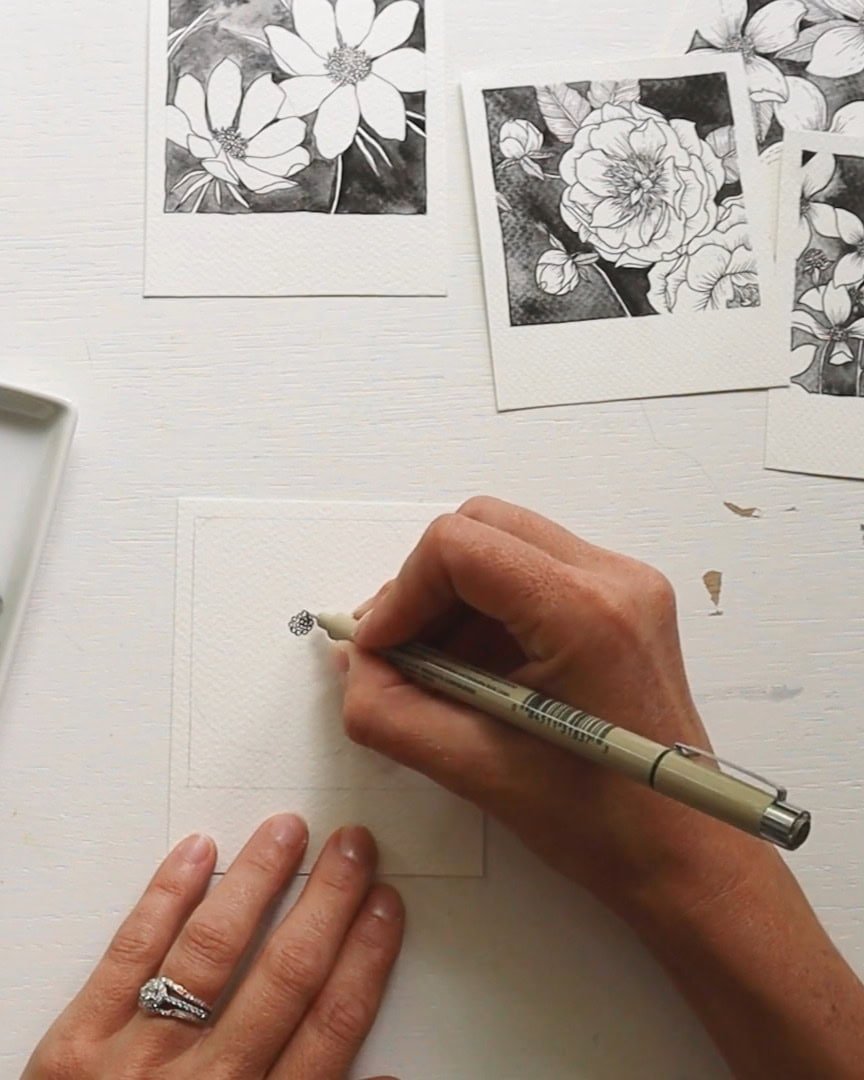
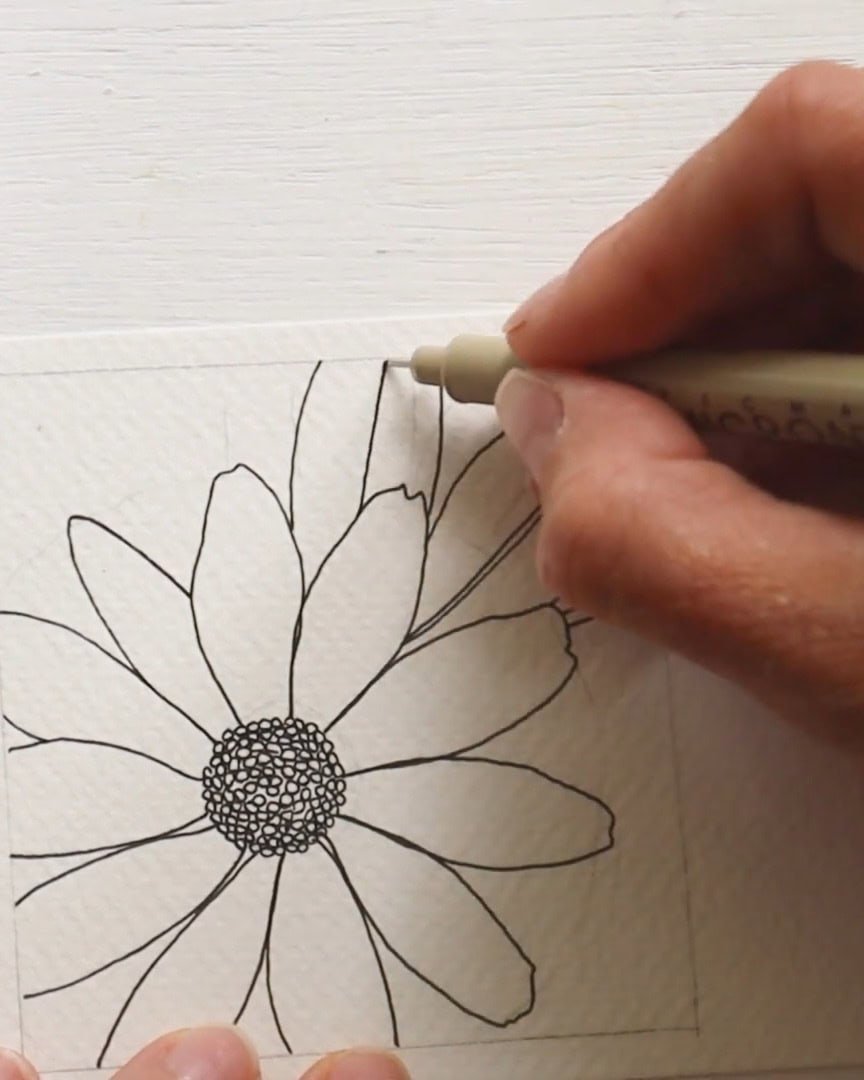
Draw the Flower Center with a Fineliner
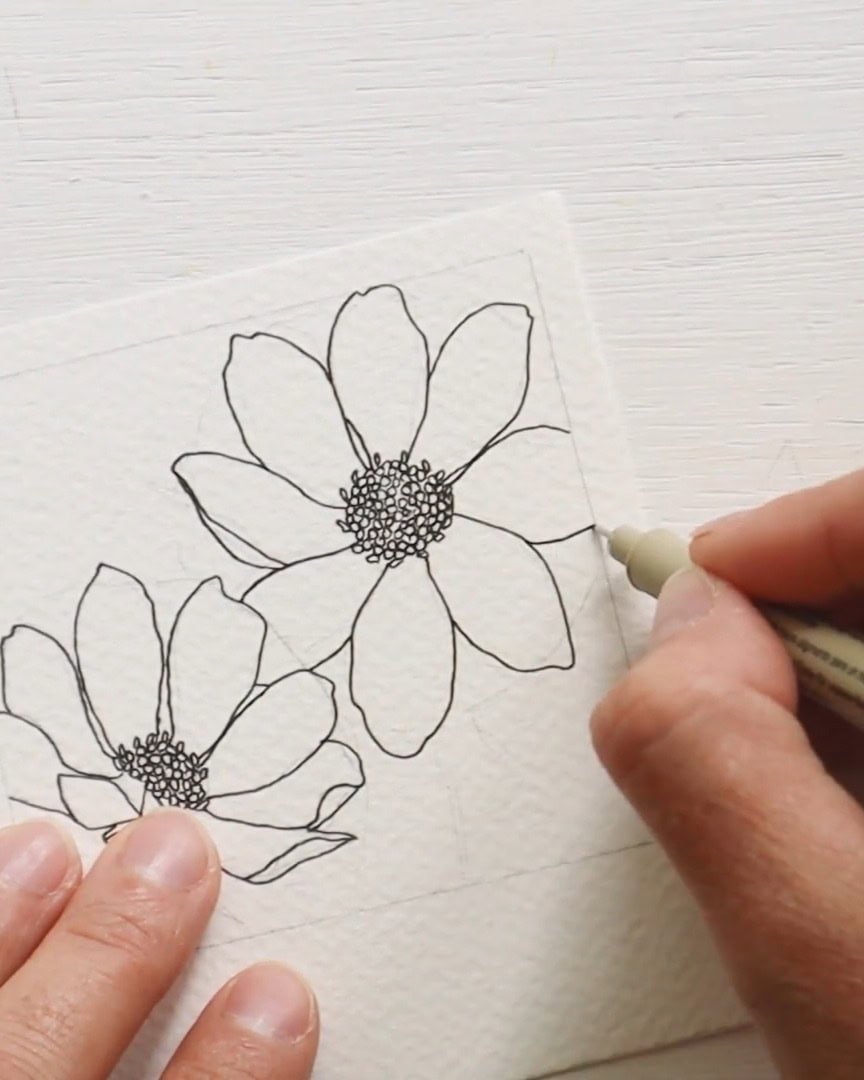
Next, the artist grabs the black Sakura of America micron pen. The artist begins with the center of the first cosmos flower.
To do this, the artist draws a bunch of tiny circles close together. These small overlapping circles create a nice, detailed center.
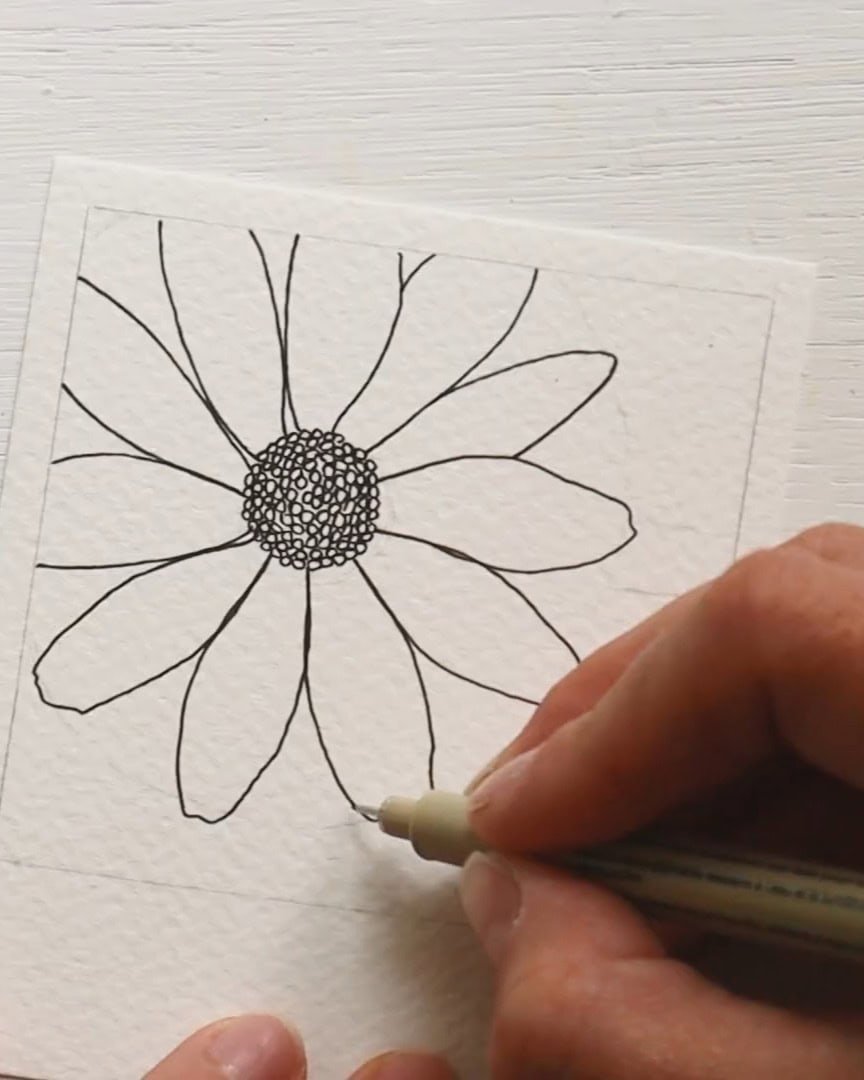
Outline the Petals, Leaves, and Stems
Once the artist is happy with how the center looks, the artist moves on to the petals.
The petals of cosmos flowers are not perfectly smooth. So there’s no need for the viewer to worry if they look a little bumpy or shaped differently. That’s the style being created.
The artist carefully outlines each petal using the fineliner.
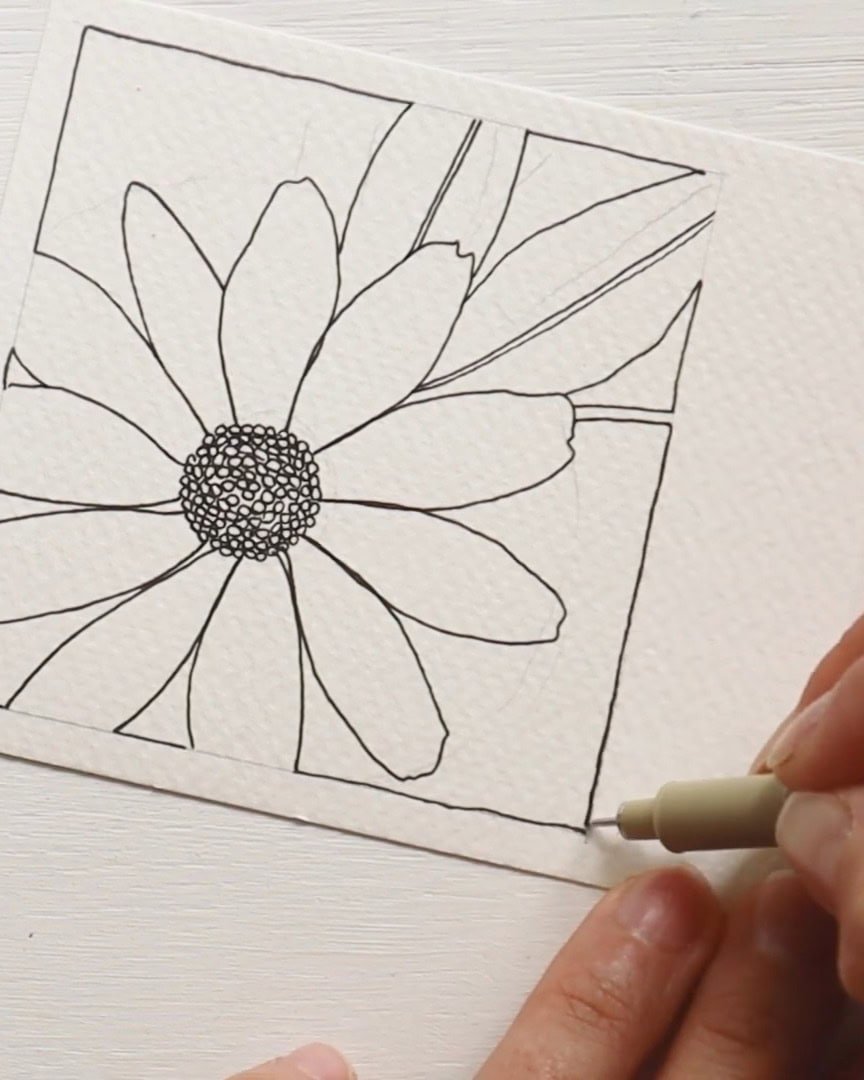
Then, the artist traces over the leaves and stems sketched earlier.
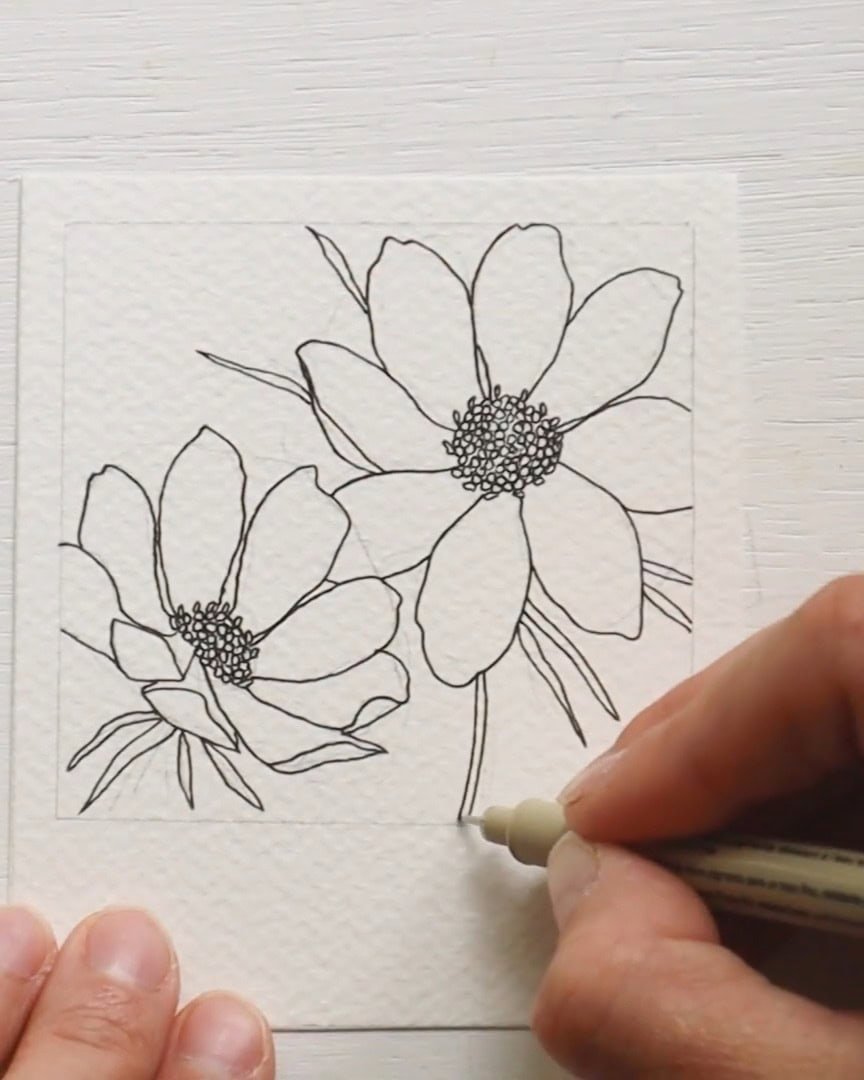
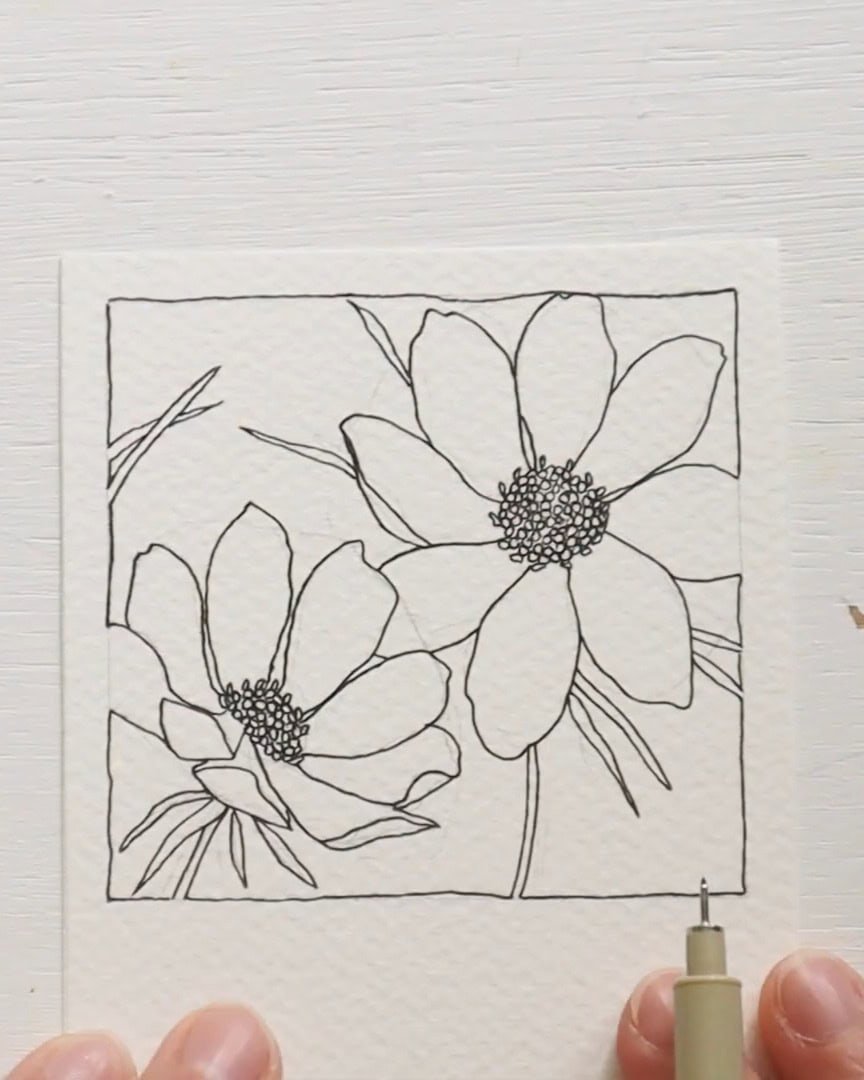
Next, the artist outlines the outer box using a black ink line. But here’s the trick—the artist only draws the box line where it touches the background.
The artist skips outlining where petals, leaves, or stems touch the edge. This creates a nice contrast later when the black background is added.
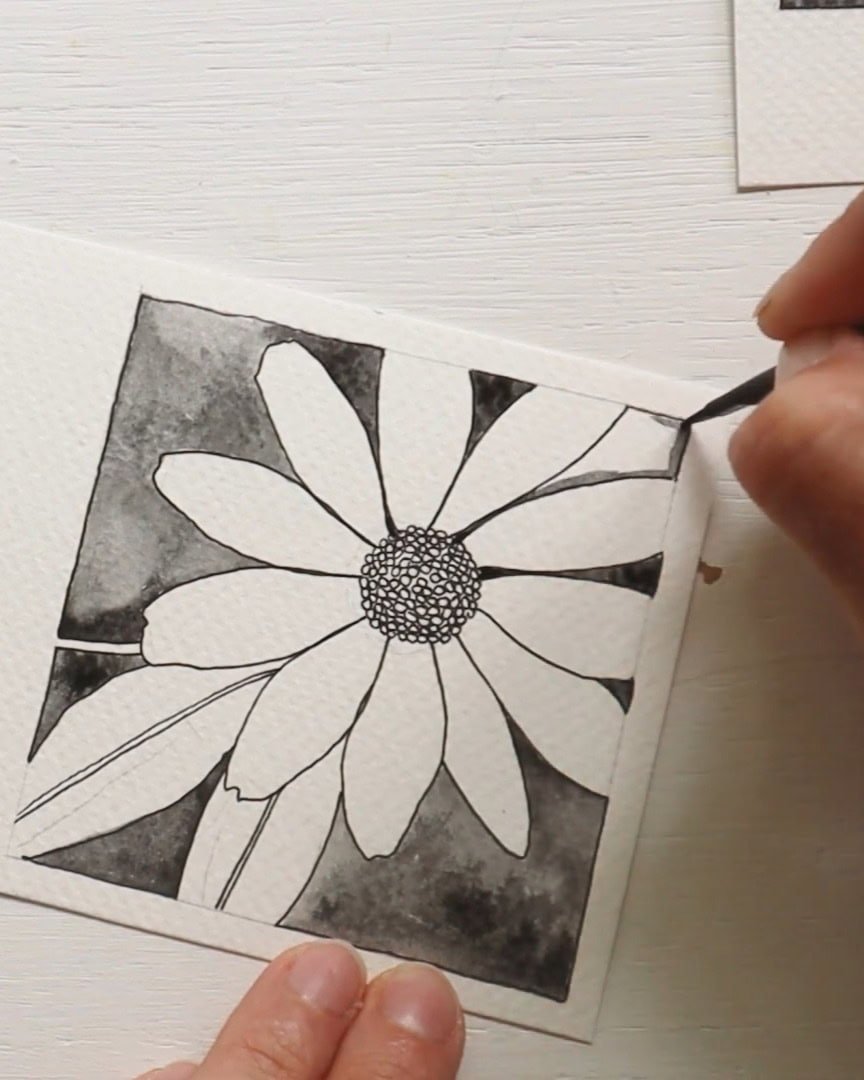
Paint the Background with Black Gouache
Now, the artist switches to the black gouache paint. The artist waters it down so it flows easily.
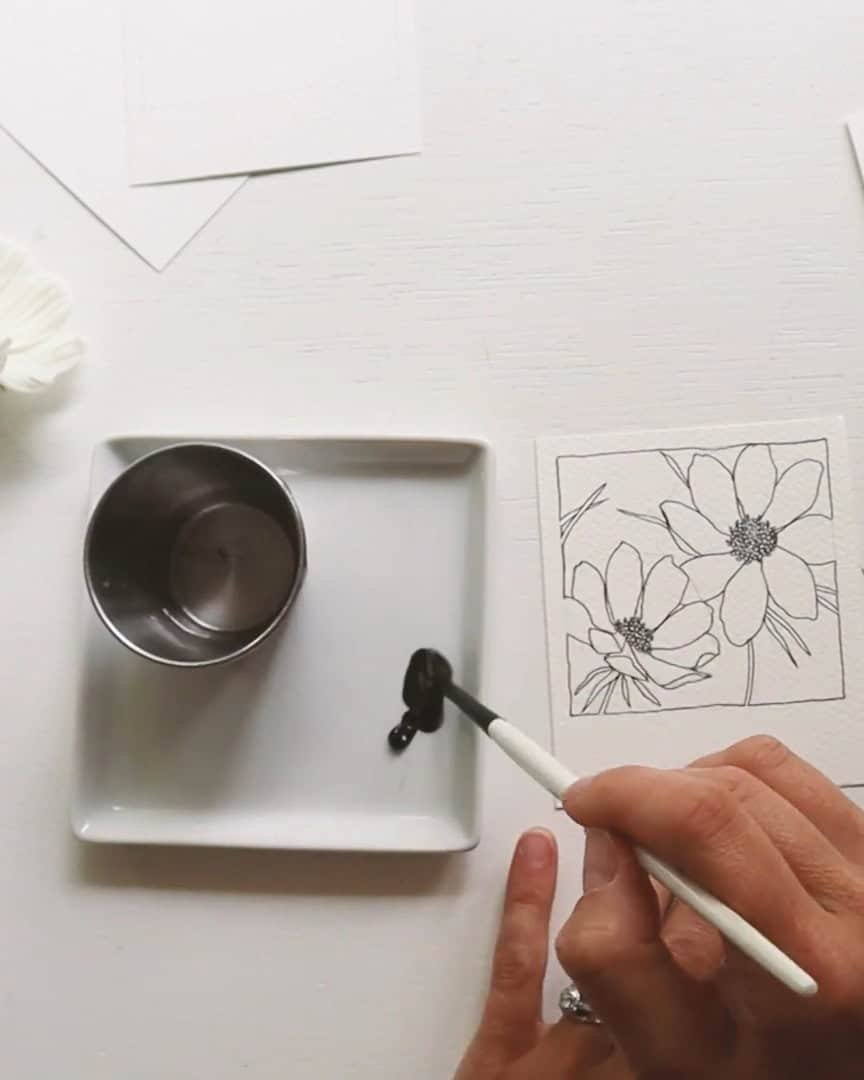
Then, the artist carefully paints around the flowers and fills the entire background with black. The artist doesn’t make the background solid black. Some areas are left lighter. This gives the background texture and makes it more interesting.
Once everything dries, I’ll add more detail with my pen. But for now, that’s it for the first floral polaroid!
Step 2: Drawing the Lemon Queen Floral Polaroid
Once everything dries, the artist will add more detail with the pen. But for now, that’s it for the first floral polaroid!
Sketch the Flower and Center
First, the artist lightly sketches the Lemon Queen flowers.
Outline the Flowers
The artist starts by drawing the center of the Lemon Queen. Like before, the artist uses the fineliner to draw many tiny circles layered together to form the stamen.
Then, the artist outlines the petals. They look like cosmos petals but are a bit longer and wider.
Add Simple Leaves
Now, the artist sketches in a few leaves to complete this polaroid. It’s super simple at this stage. The artist just draws:
- Two parallel lines for the center vein of each leaf
- Then, curves the outer edges on both sides of that center vein
The artist will return later to add more details, but this is enough for now.
Finally, the artist also outlines the outer box.
Paint the Background with Black Gouache
Finally, the artist grabs the black gouache again and paints the background. The same method as the first polaroid is used—painting carefully around the flower and leaves, letting the black background have some texture.
Paint black gouache around the Lemon Queen
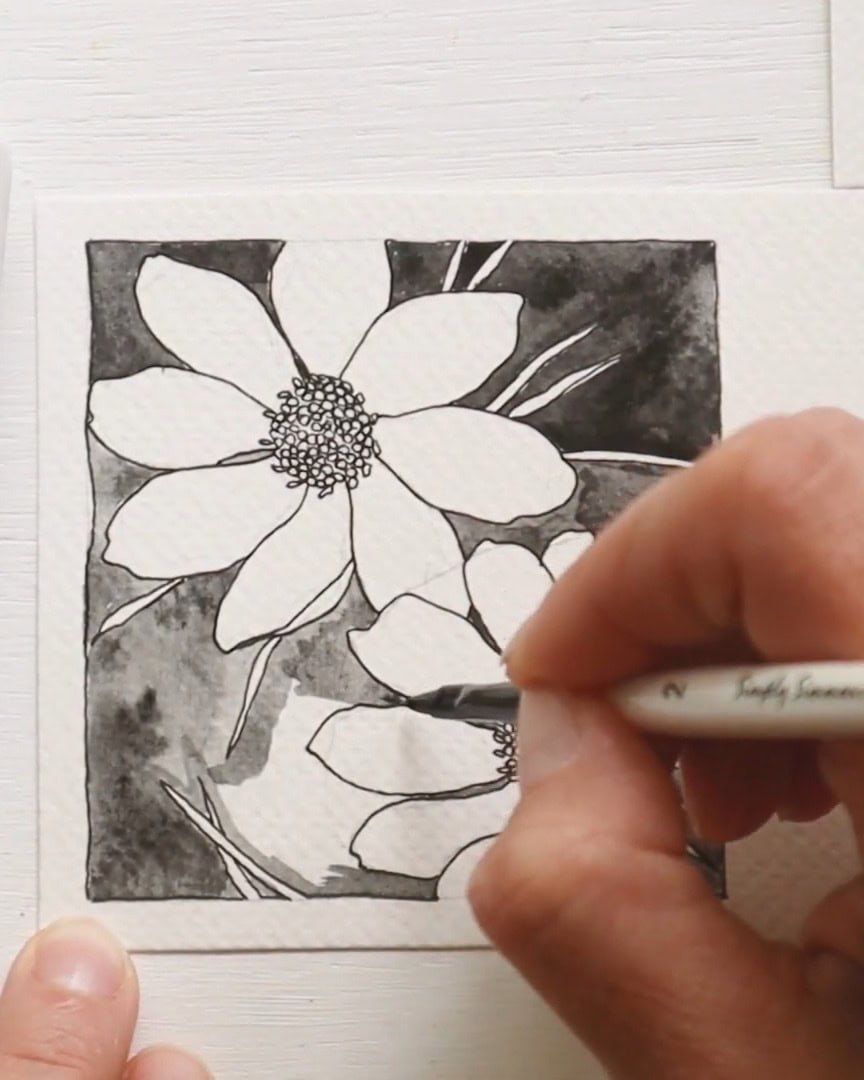
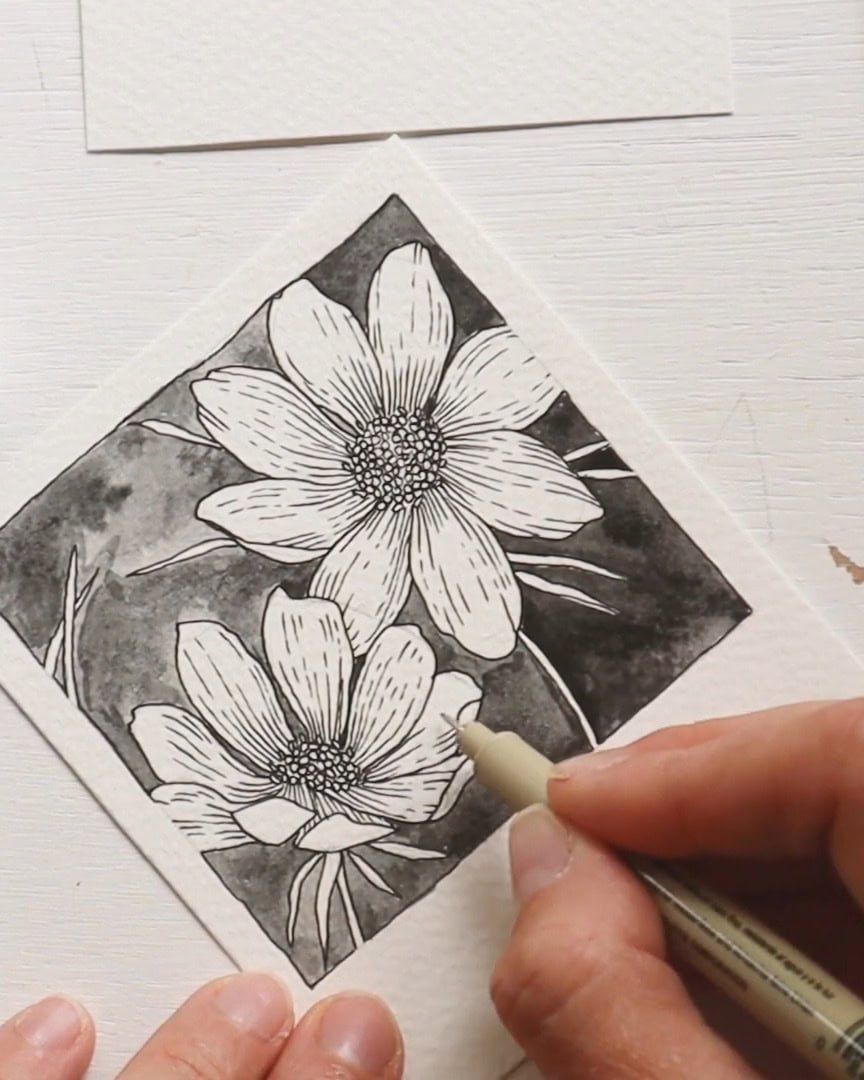
Step 3: Adding Detail to the Cosmos
While waiting for the Lemon Queen polaroid to dry, the artist returns to the Cosmos to add a few extra touches. These little details make a big difference.
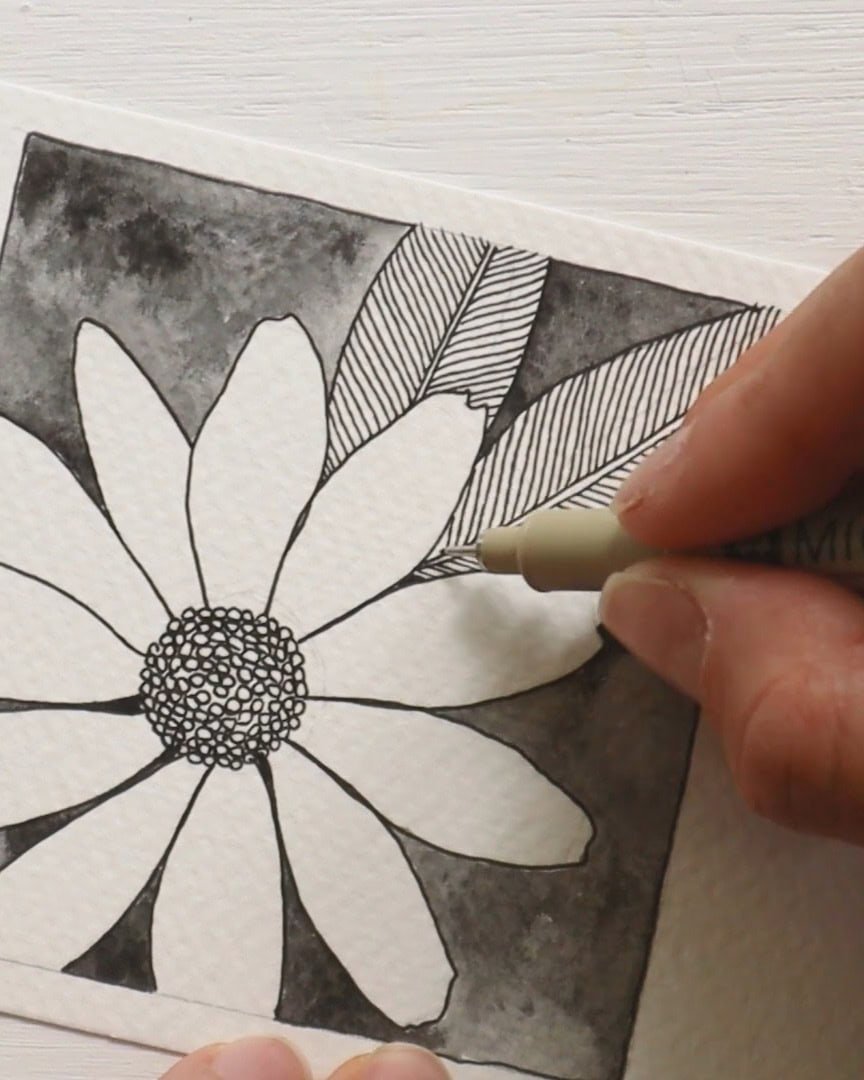
The artist grabs the micron pen again and starts working on the petals. The artist wants to add depth and texture, so broken lines are drawn on each petal.
These lines are concentrated toward the center of the petal and help create a soft, natural look. The artist adds these lines to each petal, one by one.
The artist rotates the polaroid a bit while working to get better angles. This helps maintain comfort and steadiness while drawing.
Even though the artist tries not to move too much while filming, sometimes it’s hard to avoid!
Step 4: Adding Detail to the Lemon Queen
Now that the paint is dry on the Lemon Queen polaroid, the artist can jump in and add some finishing touches. These details bring the drawing to life.
The artist starts with the leaves. The artist draws angled parallel lines on both sides of the center vein until the whole length of each leaf is filled. This technique is quick and easy, but it always looks great.
Next, the artist moves on to the petals. Like with the cosmos, a few simple detail lines are added near the center of each petal, close to the stamen.
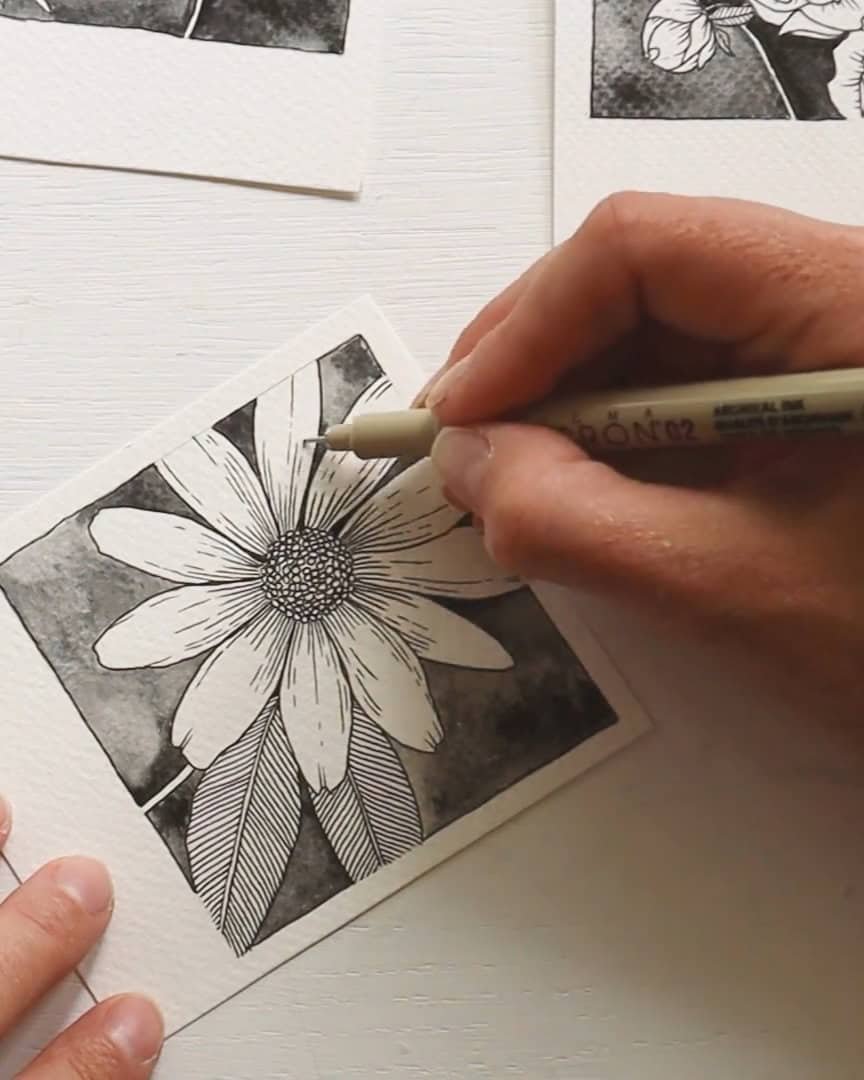
Once the lines are in place, the blank white space around the edge of the polaroid adds such a clean and striking contrast.
Step 5: Finishing Touches
It’s time to wrap everything up with one final, simple step. The artist carefully erases all the pencil lines that are still showing. This is done gently so the ink or paint doesn’t smudge.
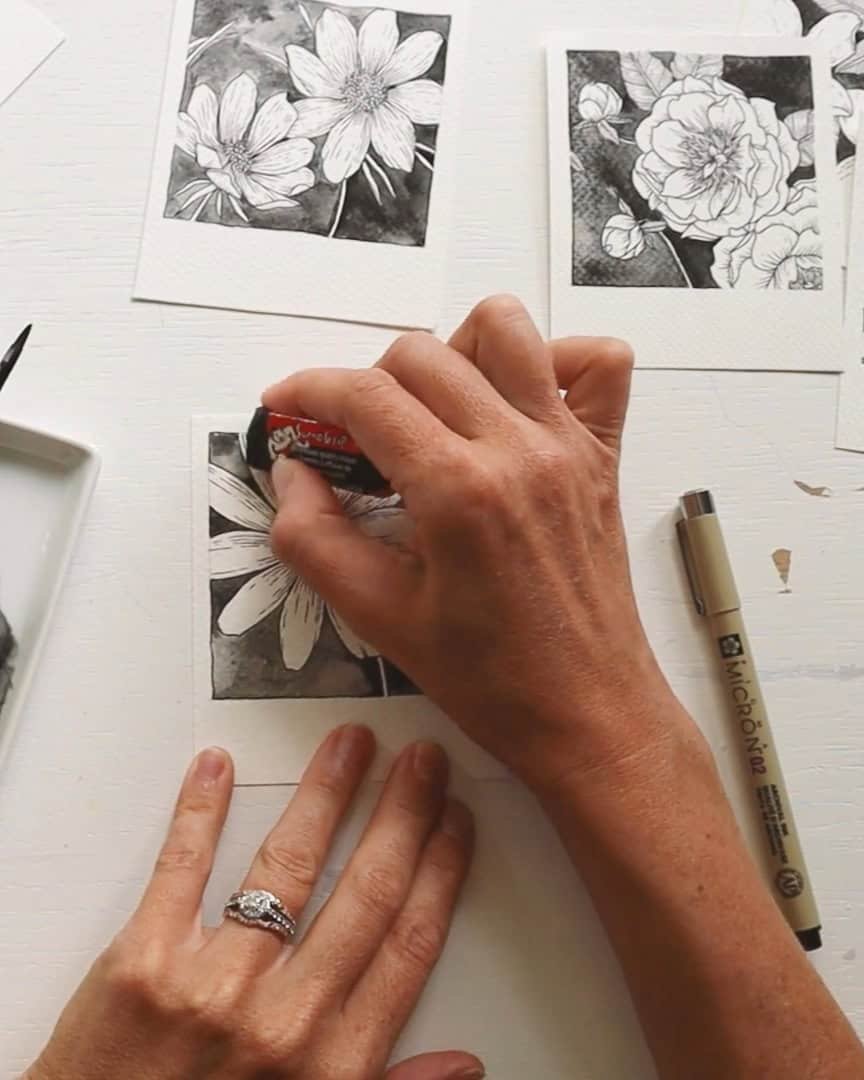
And that’s it! The artist’s black and white floral polaroid cards are complete. They’re super easy and so fun to make.
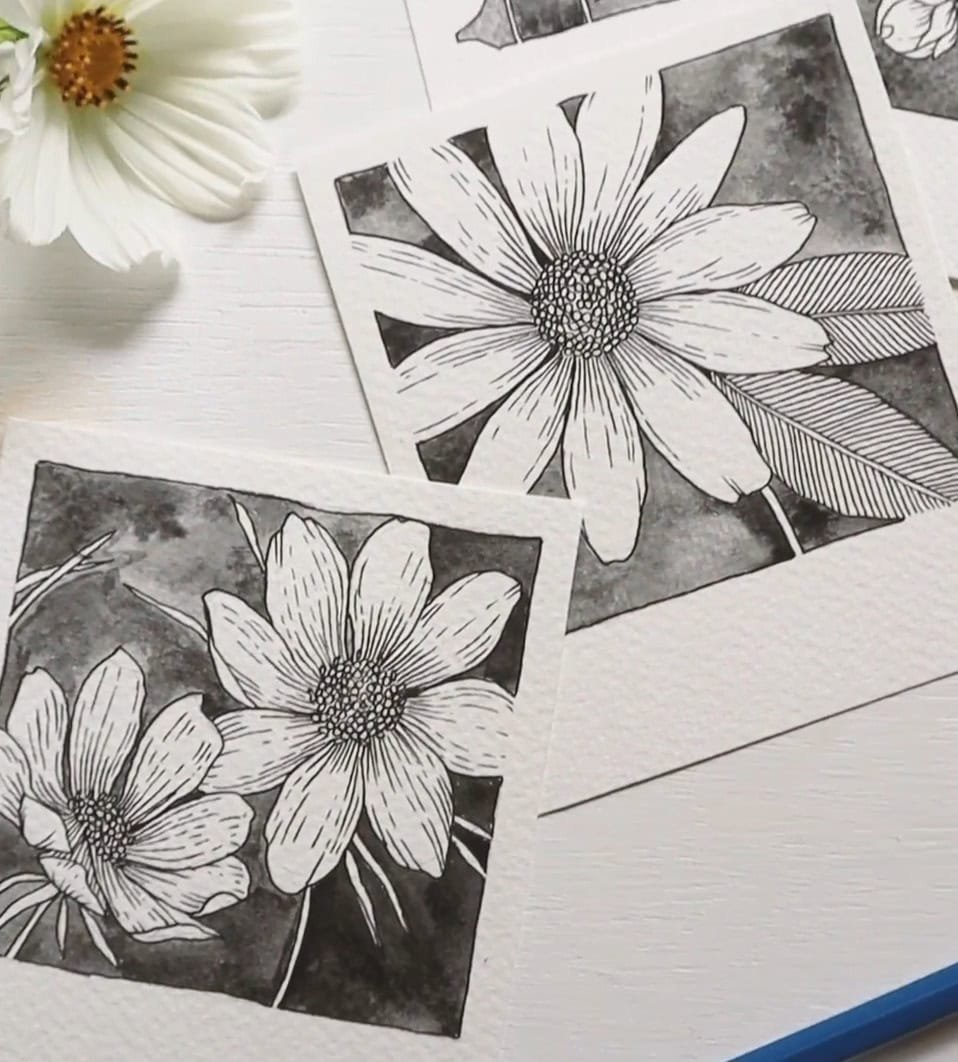
Wrapping Up
Basic supplies have been turned into stunning floral art pieces with just a few simple steps. The artist hopes the viewer enjoys this process as much as the artist does.
What can be done with the finished cards? Frame them, give them as gifts, or display them creatively? The possibilities are endless!