
Are you all set to brush up on some watercolor magic? Then take a peek into this colorful realm without the fear of ending up watercolor-washed! 🎨
Many budding artists are daunted by the plethora of watercolor supplies out there. But guess what? Choosing the right tools doesn’t have to be a Herculean task. Dive into our guide where you’ll not only learn the essentials but also pick up tips that’ll make even Monet jealous. Plus, fearful of missing out?
Contents
- 1 1. Watercolor Paints: Tubes or Pans?
- 2 2. Brushes: Types and Sizes Matter
- 3 3. Paper: The Canvas for Your Masterpiece
- 4 4. Palette: Your Color Playground
- 5 5. Water and Containers: The Lifeline
- 6 6. Paper Towels and Sponges: Unsung Heroes
- 7 7. Masking Fluid: Sharpen Those Edges
- 8 8. Mixing Mediums: Adding Depth
- 9 9. Easels: Frame Your Work
- 10 10. Pencil and Erasers: The Sketch Basis
- 11 11. The Color Wheel: A Painter’s Compass
- 12 12. Storage Solutions: Organizing Your Tools
- 13 13. Lighting: Highlighting Your Art
- 14 14. Digital Resources: Learning on Tap
- 15 15. Setting Up Your Studio Space
- 16 16. Building Your Watercolor Starter Kit
- 17 17. FAQs: Tackling Watercolor Worries
- 18 Closing Thoughts: Embrace Your Inner Artist
1. Watercolor Paints: Tubes or Pans?
The age-old debate: tubes or pans? Tubes contain more concentrated color, giving you more vibrant shades, while pans are compact and travel-friendly. Choose based on your painting style.
If it’s rich, creamy textures you crave, tubes are your pals. Prefer portability? Pans are perfect for those spontaneous plein-air outings, allowing you to unleash your inner Van Gogh wherever you wander.
Expert tip: Start small. A beginner set of either format often covers a range of colors sufficient for most novice projects.
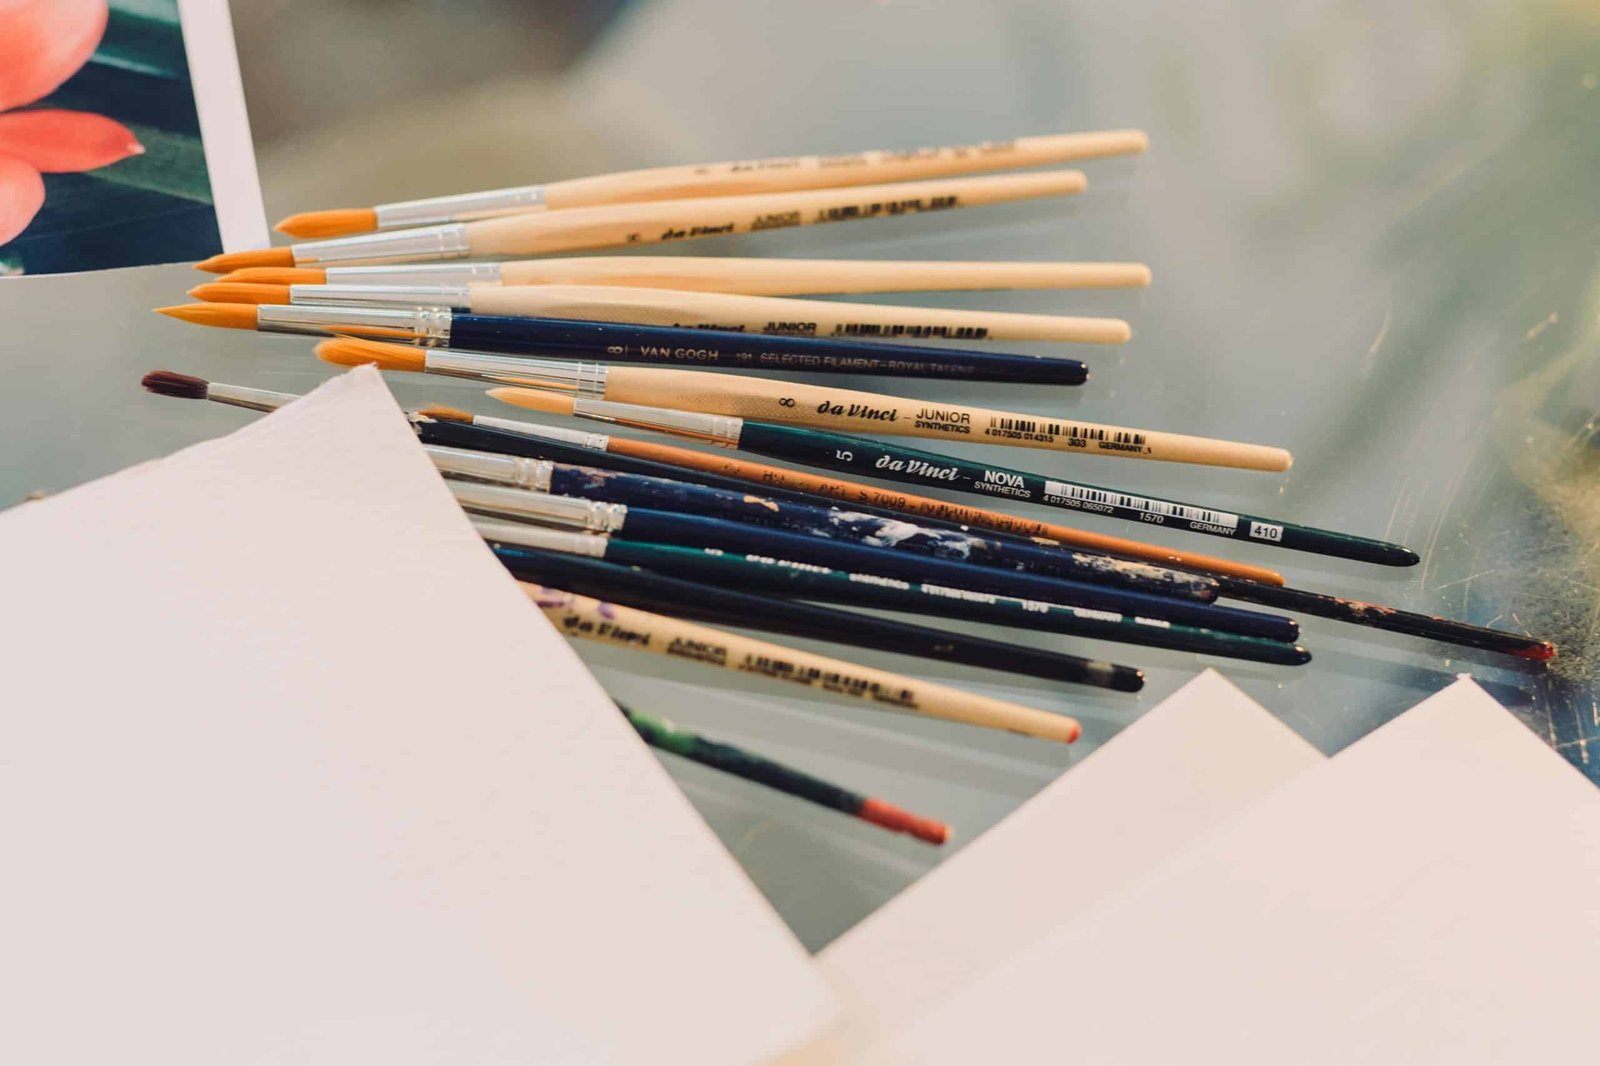
2. Brushes: Types and Sizes Matter
No, you can’t use just any old brush! Different shapes and sizes create different effects. The standard round brush helps with details and washes. A flat brush? Great for bold strokes.
But let’s not forget mops and detail brushes, in all their fluffy and precise glory, perfect for those imaginative touches and tiny highlights.
Start with brush sizes 6, 10, and a detailer, and you’ll have a great foundation to work with. Remember, investing in a quality brush can make all the difference.
3. Paper: The Canvas for Your Masterpiece
The paper you choose will shape your painting experience. Cold-pressed paper, with its textured surface, is a popular choice for its versatility, allowing both detailed and broad-stroke work.
Hot-pressed paper is smoother, suited for more defined lines and detailed work, while rough paper offers depth and character to landscapes.
Starting out with a pre-stretched pad will prevent warping and continue your watercolor journey uninterrupted. Think of it as your hard-working foundation.
4. Palette: Your Color Playground
You’ll need a space to mix those marvelous colors. A palette is not just a tool but your miniature playground. White plastic palettes are economical and light, while ceramic versions feel slightly indulgent. Why not indulge?
An ideal palette has deep wells for larger mixes and some flat areas for testing your hues. Don’t be afraid to splash some personality onto your palette!
Pro tip: Choose larger palettes for tubes; even a repurposed plate can save the day.
5. Water and Containers: The Lifeline
Water is the life force of watercolor painting. Dual containers help keep dark and light paints separate — think of one as a cleaner, the other a preserver of vibrancy.
Avoid skimping on changing your water regularly; fresh water keeps your colors pure instead of producing muddy mixtures. Tip: A travel water brush makes on-the-go painting a breeze!
6. Paper Towels and Sponges: Unsung Heroes
A trusty roll of paper towels helps control water levels on your brush. It’s a quick fix for unexpected spills and blotches.
Sponges are versatile for creating textures, clouds, or even for creating silhouettes of distant hills. Who knew cleanup tools could double as art contributors?
7. Masking Fluid: Sharpen Those Edges
Masking fluid is a layer of protection against unwanted wet paint. Preserve highlights effortlessly, creating sharp, defined edges that make details shine.
Just remember to apply and remove it with care to avoid damaging your precious paper canvas.
8. Mixing Mediums: Adding Depth
Want to give your artwork a little extra punch? Mediums like gum arabic add gloss and detail to your strokes, making colors appear glossier and more vibrant.
Explore granulation mediums for interesting textures or even ox gall for better flow. These are your secret spices to elevate the final dish!
Fun fact: Even professional artists like to dabble with different effects to keep their art fresh and engaging.
9. Easels: Frame Your Work
An easel not only affects your posture but also offers stability for your paper. Table-top or standing versions provide great support, leaving your hands free to experiment.
Choose one that suits your workspace — and your favored elevation for inspiring views. It frames your work, both during and after creation.
10. Pencil and Erasers: The Sketch Basis
A light pencil sketch lays the foundation for your watercolors. Opt for HB or 2H pencils to avoid overly dark outlines that bleed through the paints.
Kneaded erasers will be your gentle friends, lifting excess graphite without tearing or damaging your paper.
11. The Color Wheel: A Painter’s Compass
Understanding the color wheel teaches harmony, contrasts, and gradients. It’s a great visual guide to harmonizing hues or mastering subtle transitions.
Experiment with complementary colors for striking effects or analogous combinations for soothing scenes.
Artist hack: Make your own color chart with samples to grasp how your chosen paints interplay.
12. Storage Solutions: Organizing Your Tools
Keeping your supplies tidy isn’t just about cleanliness—it’s about efficiency! Use organizers for brushes, rolling carts for larger items, and compartmentalized boxes for paints.
Organized space equates to organized mind, helping you find your artistic zone faster.
Tip: A DIY pegboard can display your tools and keep your creative aura accessible.
13. Lighting: Highlighting Your Art
Natural light is the artist’s best friend, as harsh shadows rarely end up in masterpiece sections. Opt for daylight bulbs to mimic natural brightness when painting indoors.
If you’re aiming for ambiance, an adjustable desk lamp provides flexible illumination, catering to all your creative whims.
14. Digital Resources: Learning on Tap
Tutorials, courses, and online communities can accelerate your learning curve. Platforms like YouTube, Skillshare, or digital artist communities are gold mines for fresh inspiration.
Leverage apps for color mixing guidance, creating inspiration boards, or simply planning your next creative venture.
Remember: Even the masters were once students. Take advantage of these resources to continuously challenge your growth journey.
15. Setting Up Your Studio Space
Designate a personal, clutter-free corner as your artistic haven. This space should be solely dedicated to your creative endeavors to set your productive mood.
Trust us, creating in a personalized space induces more artful musings.
Investing in a bit of ambiance — think gentle musical backgrounds or aromatic candles — can indeed set the palette for vivid creativity.
16. Building Your Watercolor Starter Kit
The goal is not to overwhelm but to equip with essentials. Start with quality paint sets, brushes, paper, and palettes.
Gradually add mediums, easels, and specialty tools to your collection as you grow — this ensures a cycle of excitement and improvement.
Remember: The investment you make in tools is an investment in your skills.
17. FAQs: Tackling Watercolor Worries
Engage here with commonly asked questions like best practices for cleanup, alternative paper options, or salvaging a ‘disaster’.
This section reassures readers they’re not alone and fosters dialogue in your growing artistic community. Remember, every misstep is just a brushstroke towards mastery.
Closing Thoughts: Embrace Your Inner Artist
With these essentials, you now have the blueprint to transform that blank page into a story of color and creativity.
Takeaways: Don’t rush the process, indulge in mistakes as learning, and relish every brushstroke.
Ready to create your watercolor world? Unfolding this journey might just be where your art evolves. Start crafting, and share your creations with us!