
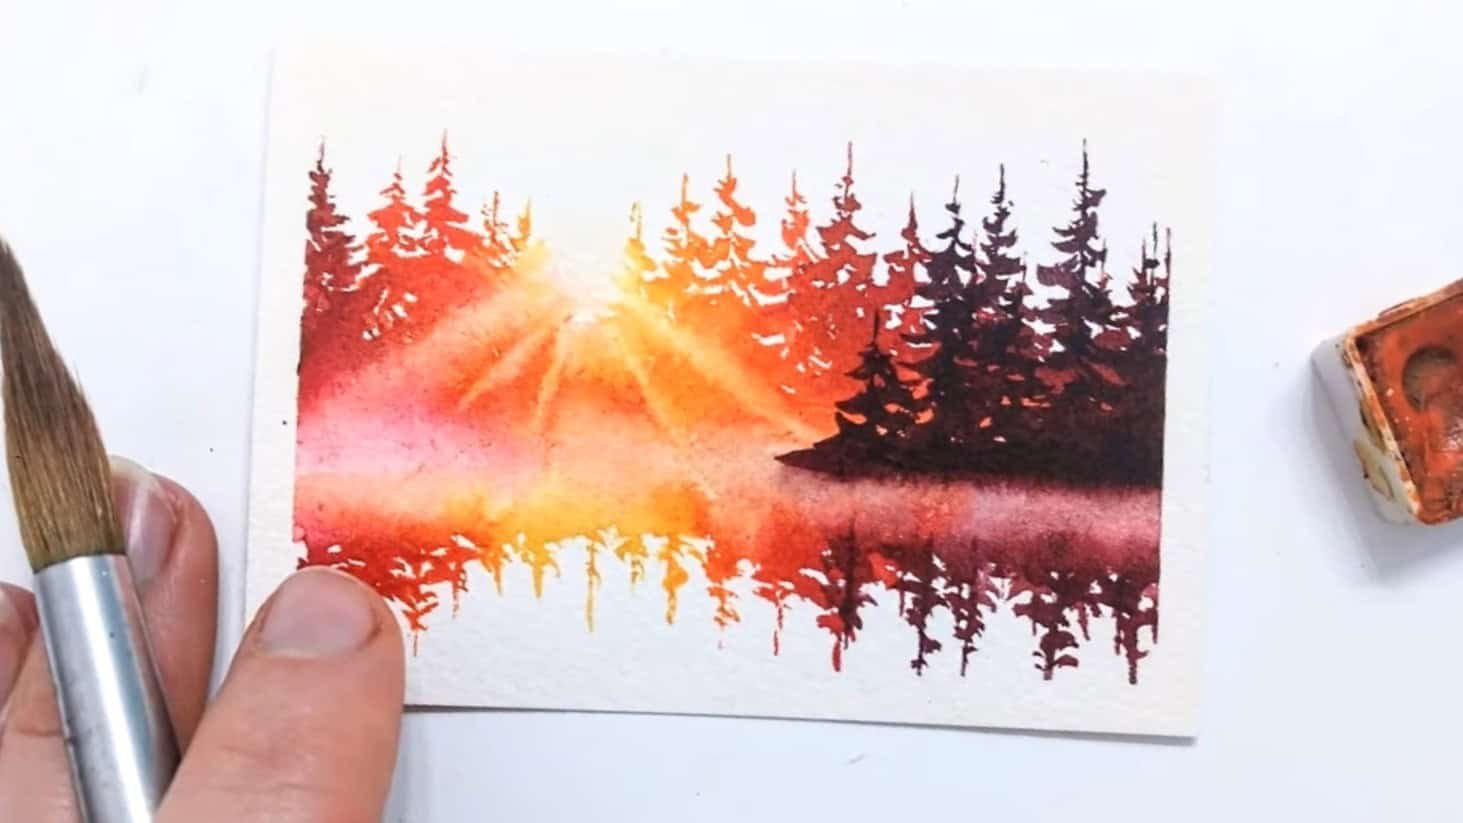
What if you could paint a peaceful scene with sunbeams shining through tall pines, standing quietly beside a calm lake?
That’s exactly what Julia Lis Art creates in this tranquil watercolor landscape.
In this tutorial, Julia Lis Art will show you how to paint evergreens, add misty light, and build a soft lake reflection—step by step.
This painting is perfect for beginners, with every stage explained in simple, easy-to-follow instructions. Let’s jump right in!
Contents
Step 1: Choosing Colors and Planning the Layout
The artist is going to try painting this beautiful scene by Debbie Reeve Art. It feels like an autumn sunset on a lake, with lots of pine trees — gorgeous.
The artist hasn’t watched her tutorial video because they prefer to work just from the picture. So, the artist will see how it turns out!
For this painting, the big sun beams through the middle, so the trees on the edges need to be darker. Here are the colors the artist starts with:
- Orange-red
- Black
- Maroon (made by mixing black with red/orange)
- Red
- Orange
- Yellow
- Gray
- Light blue
- Blue (background suggestion)
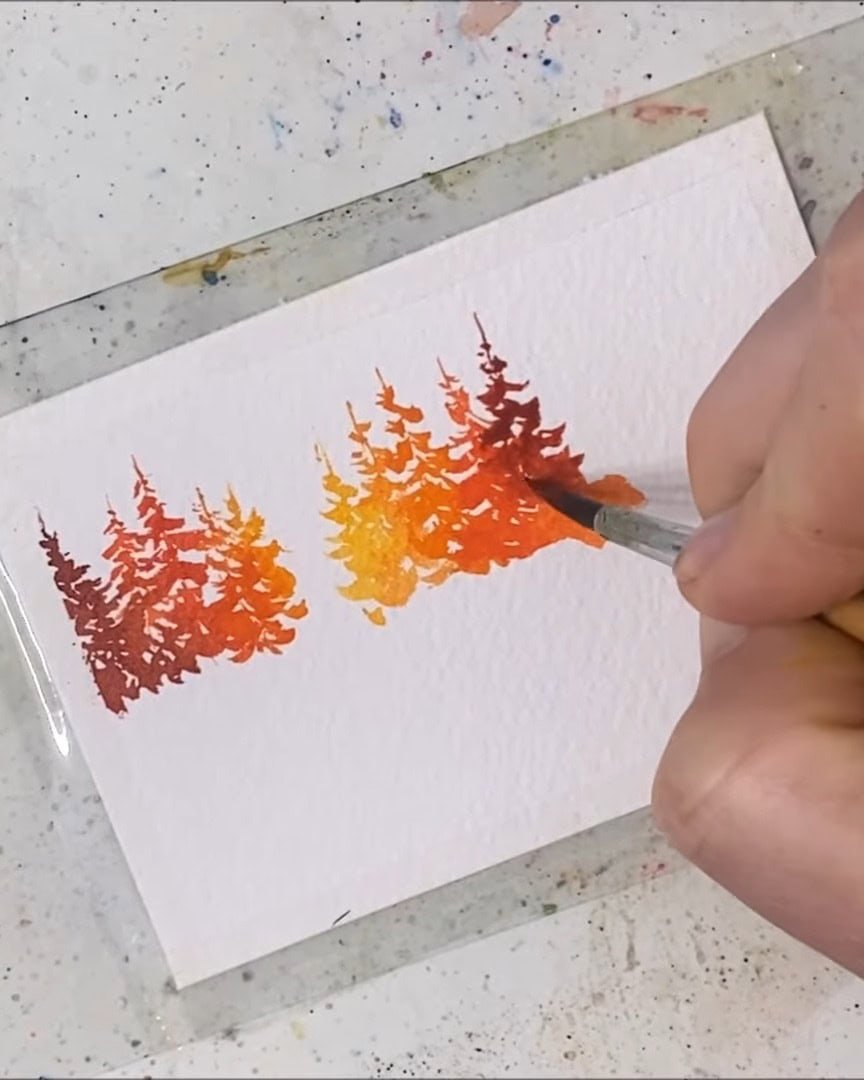
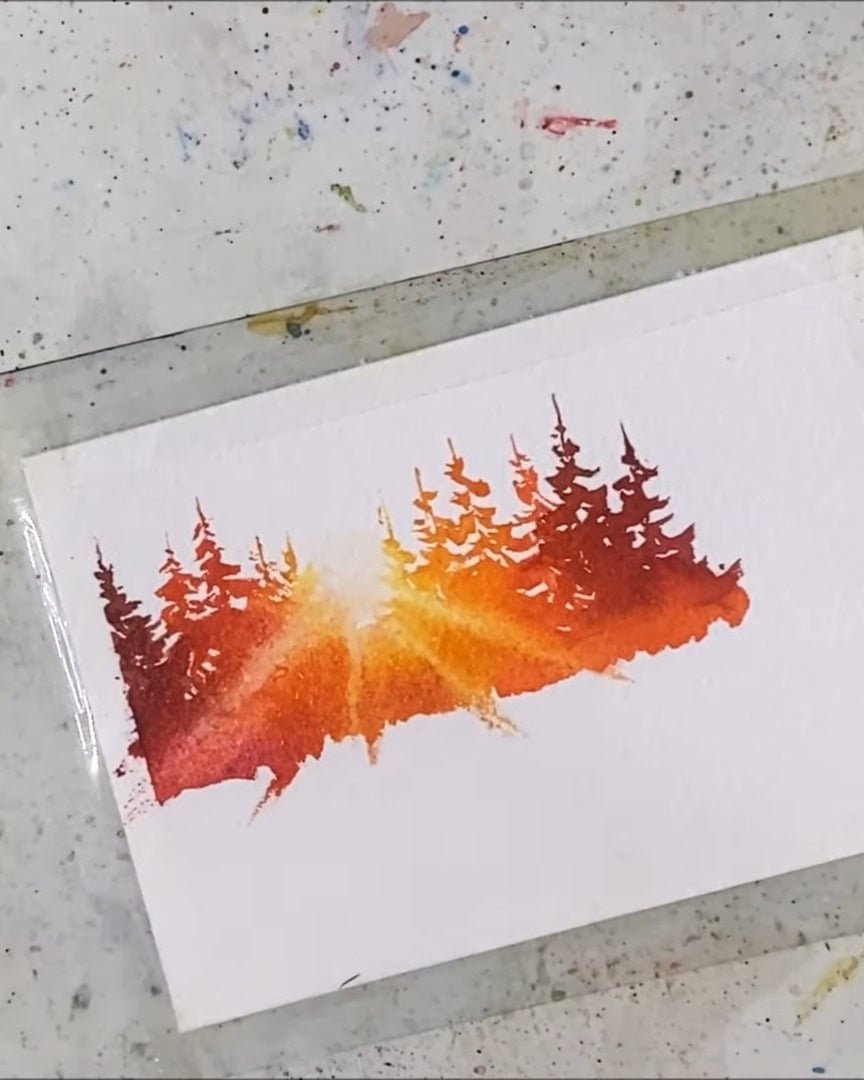
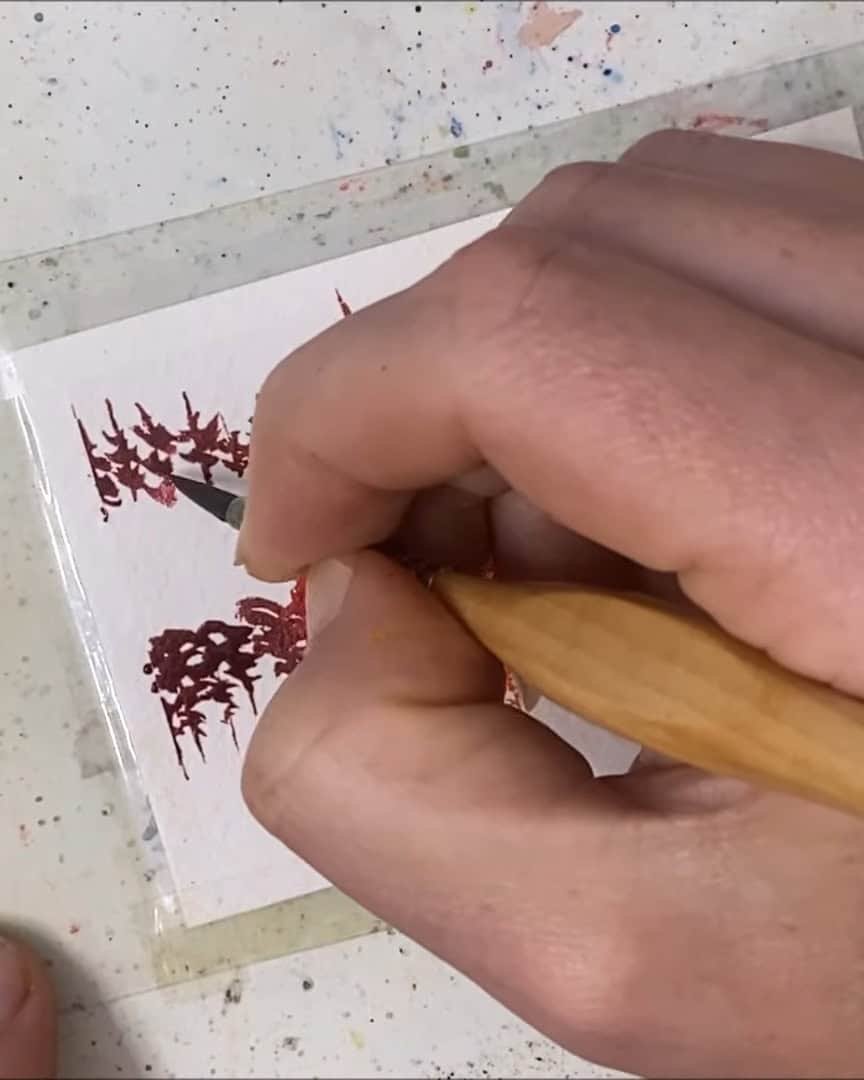
Step 2: Painting the Tree Silhouettes
Now that the colors and layout are ready, it’s time to paint the tree silhouettes. The artist is working just from the picture, so if this doesn’t turn out well, maybe checking out Debbie Reeve’s tutorial would offer a more efficient technique. But the artist will give it their best shot!
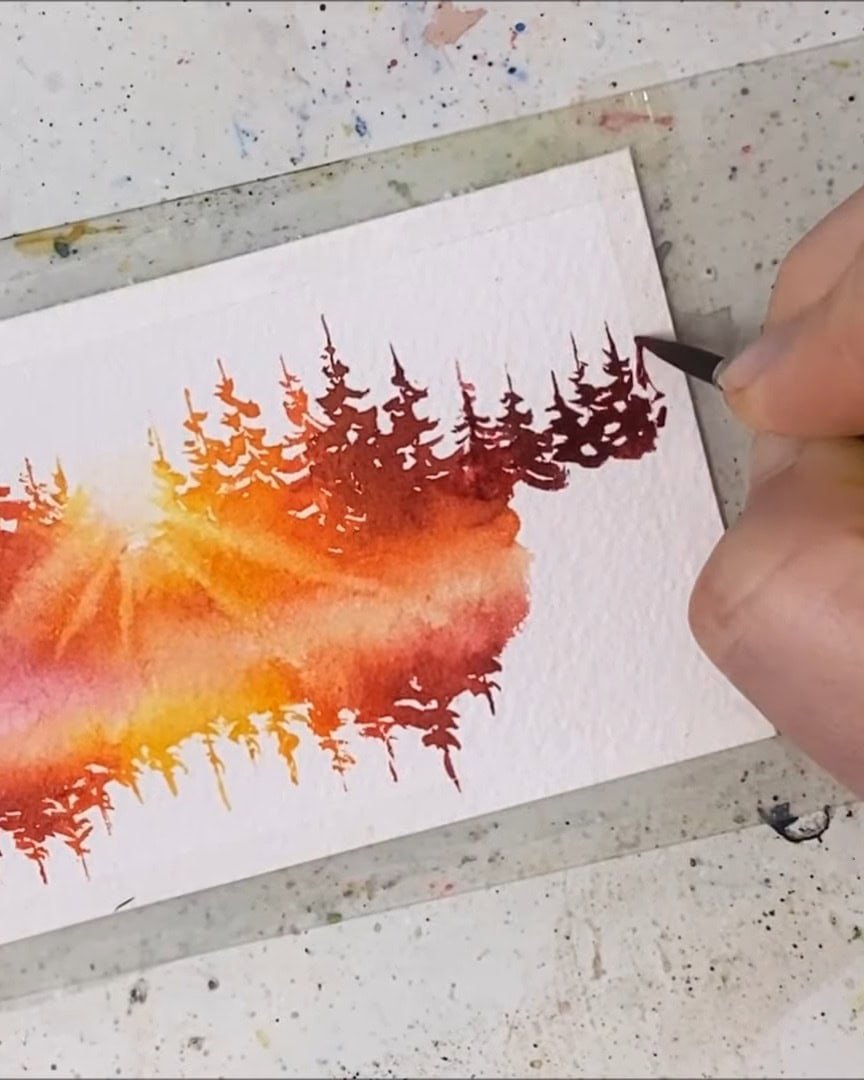
Starting with Dark Edges
Since there’s a big sun beaming through the middle, the trees on the edges need to be darker. The artist begins with:
- Orange-red mixed with a bit of black (or maroon, which is just that mix)
- This dark color is perfect for the outermost trees and sets the tone for shadows
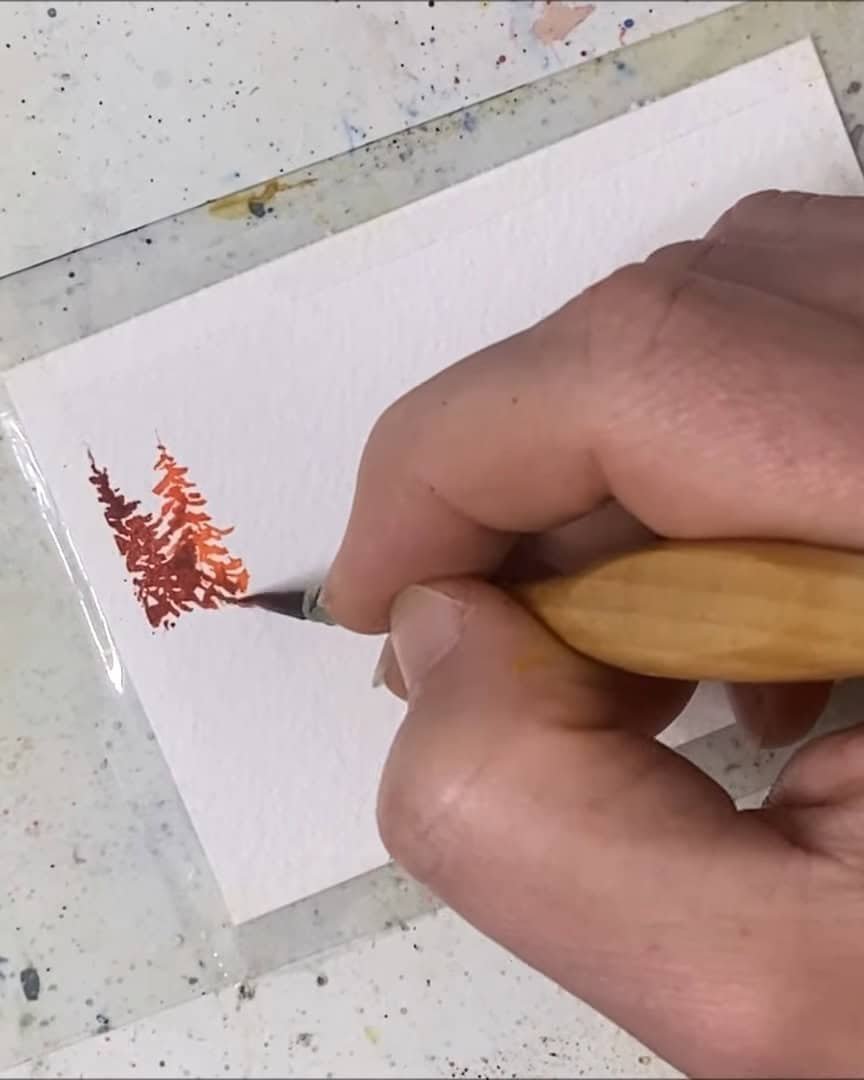
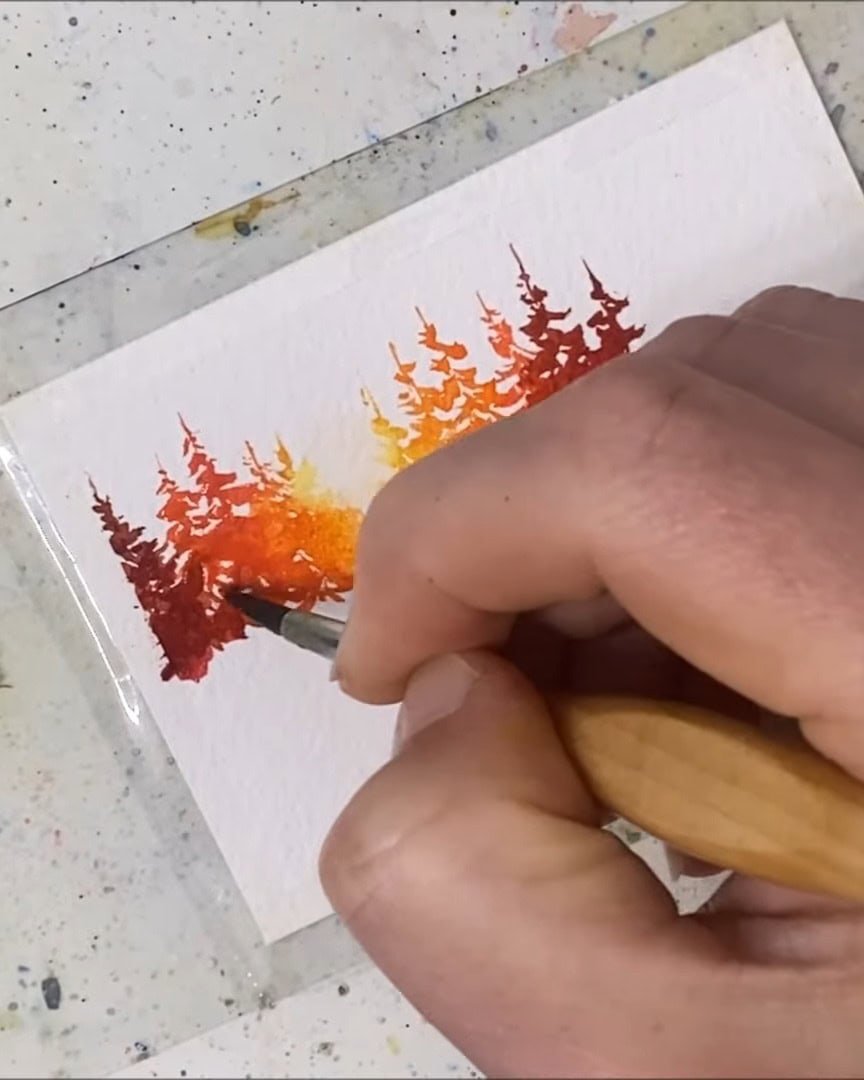
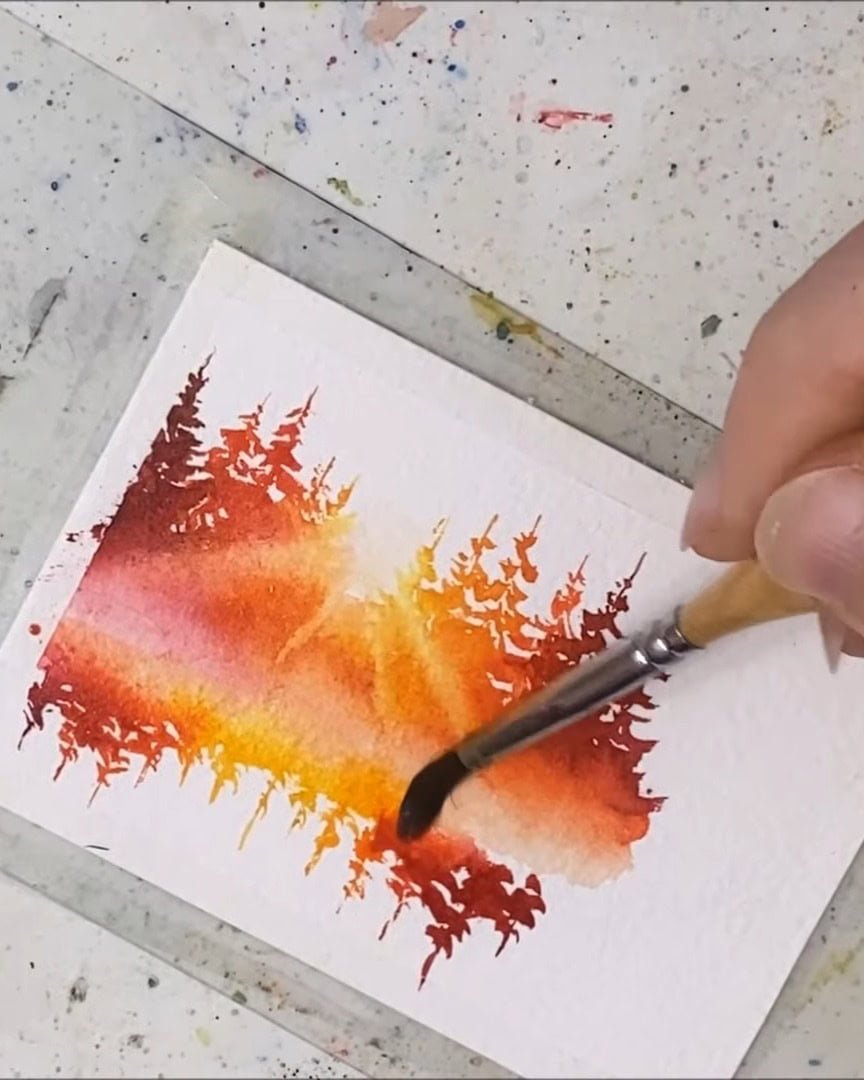
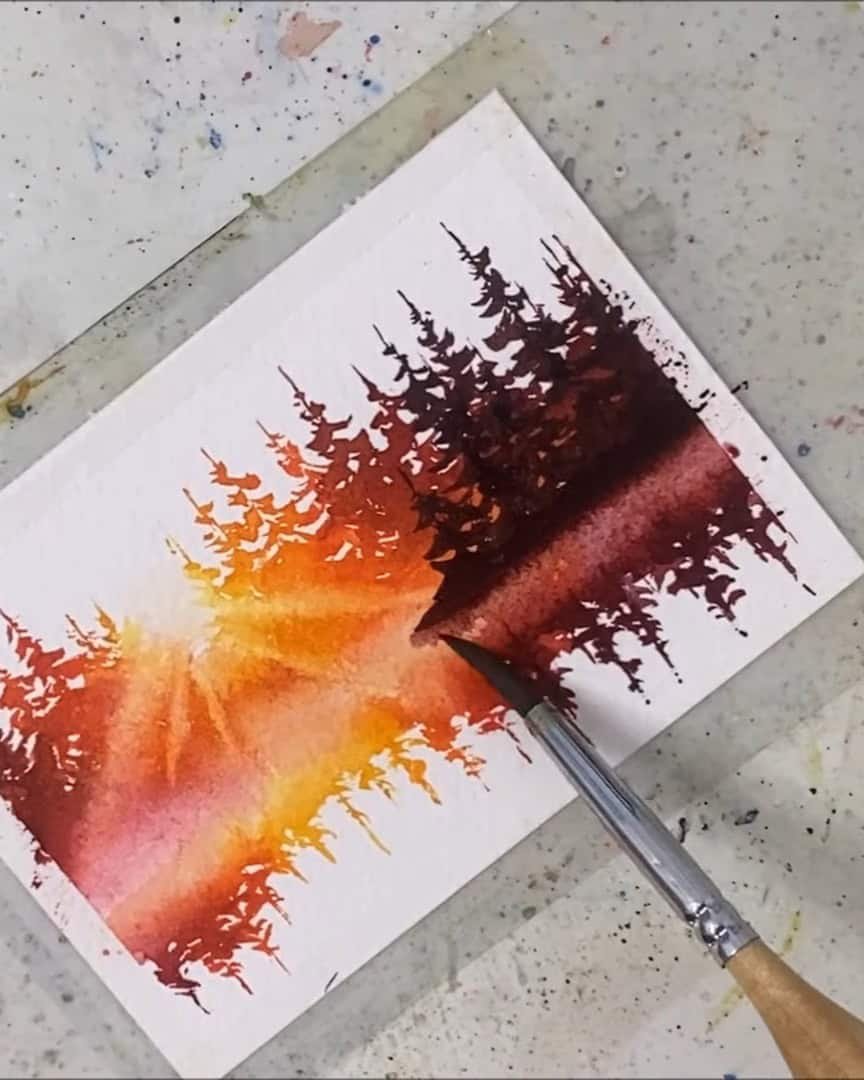
Painting Technique and Timing
The artist uses a technique where a line is painted and then moved back and forth to create the pine shapes. The artist isn’t sure if it’s the most efficient method, since the paint dries fast.
The artist tends to work a bit slowly, so the trees might dry before being finished, but that’s okay — this is a learning process.
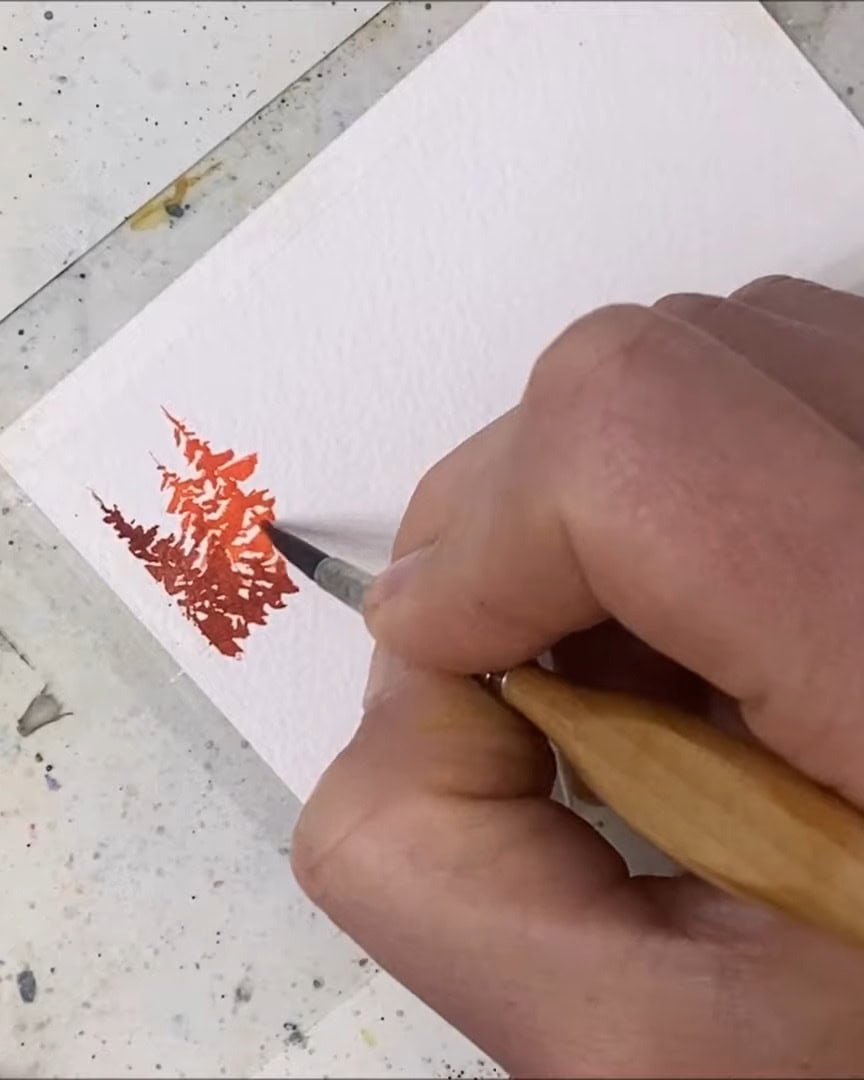
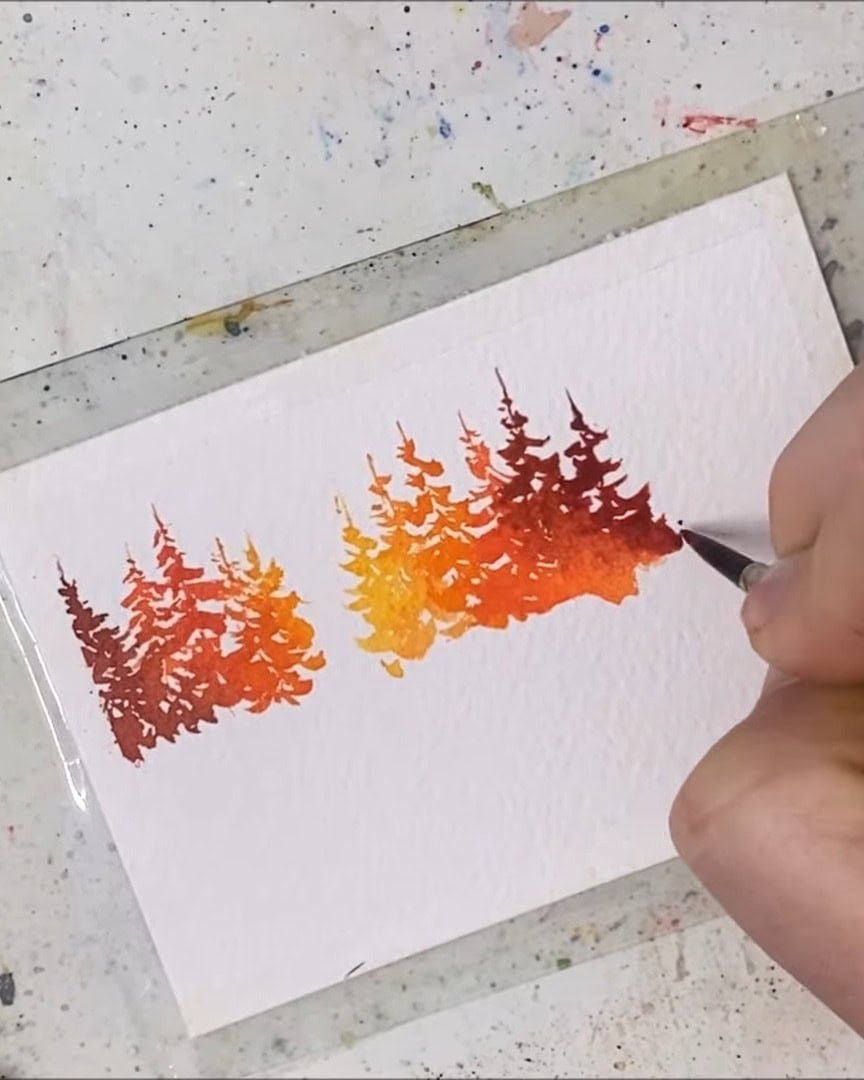
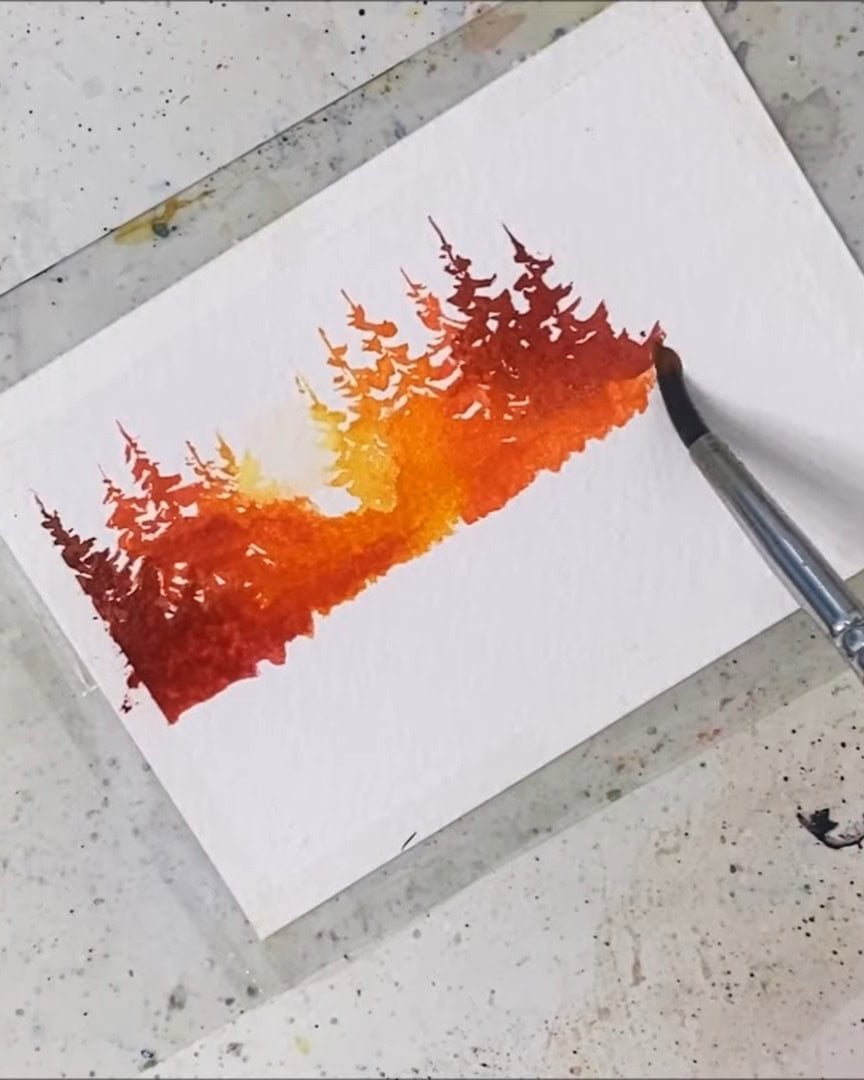
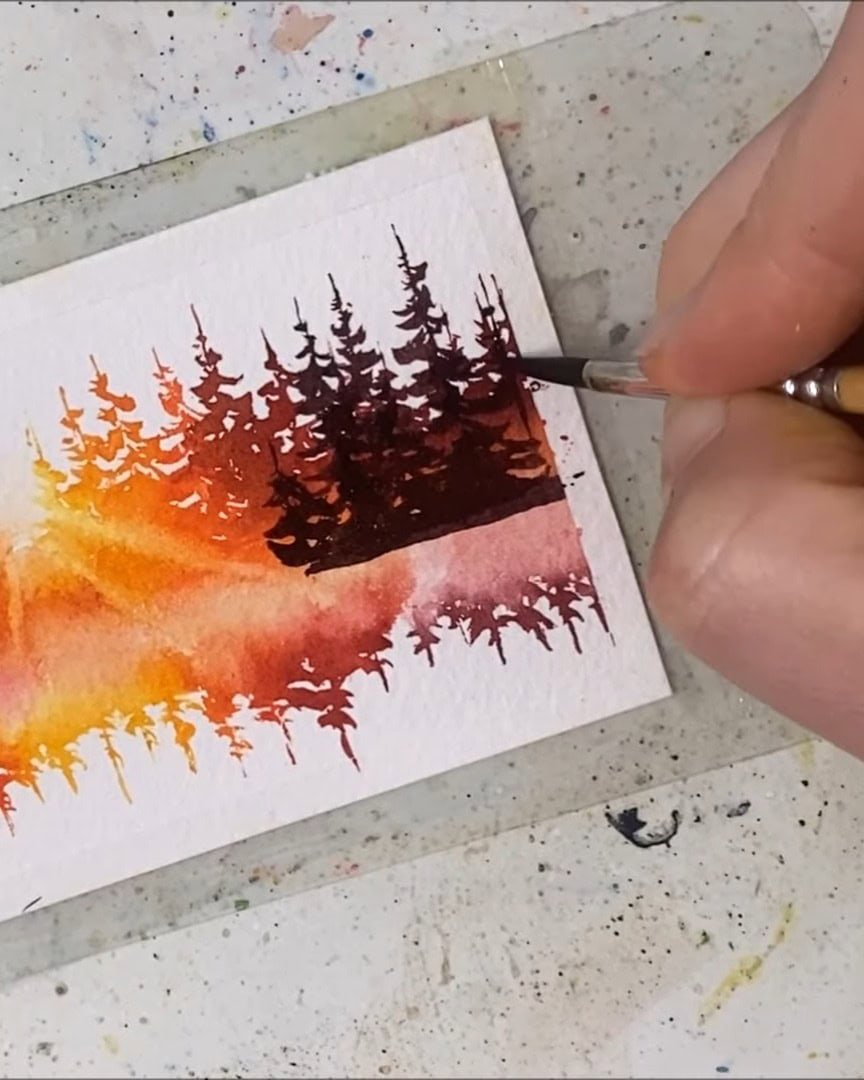
Creating a Color Gradient in the Trees
As the artist moves from the edge inward, the colors lighten gradually:
- Fade maroon into red
- Then, red into orange
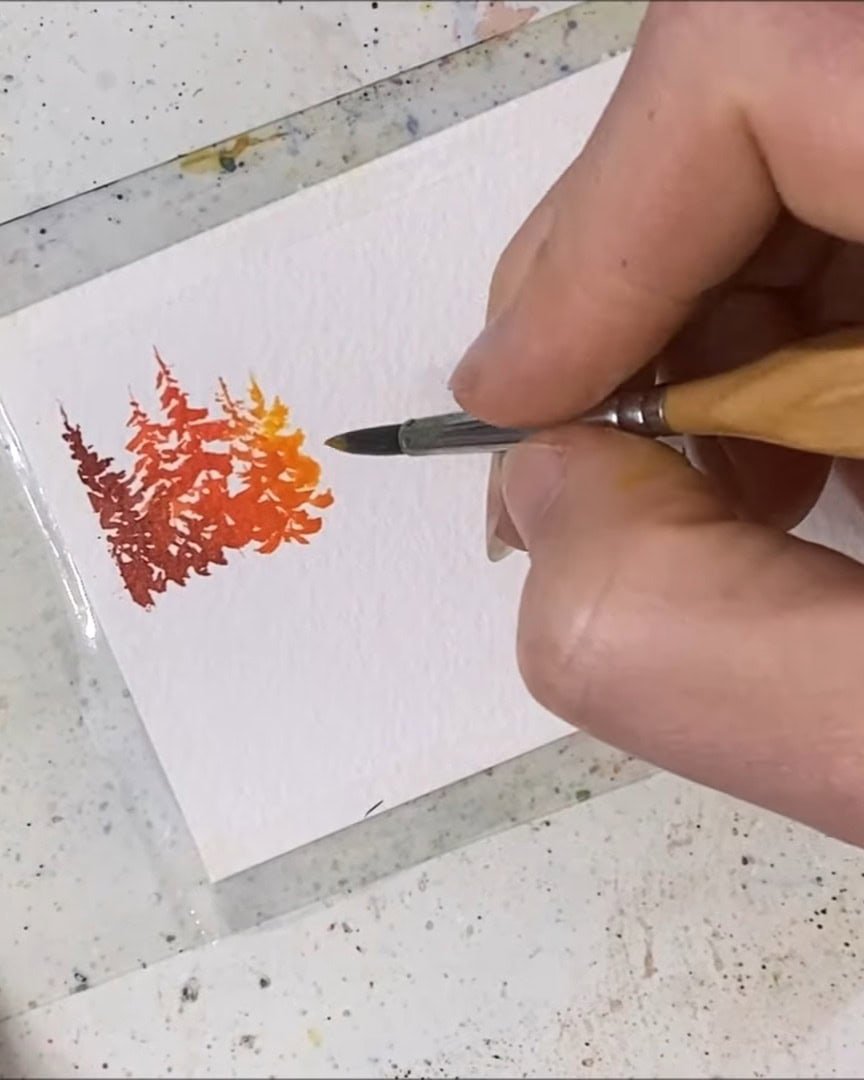
- Next comes yellow, where the sun shines through
- Finally, back to orange on the other side
The artist uses a palette with many red-to-orange shades, but these can be mixed easily by following color-mixing tutorials.
Embracing Imperfection
Honestly, the artist doesn’t always follow strict watercolor rules — everything is done by intuition. So anyone who paints this way shouldn’t worry about being perfect. Beautiful art can come simply from trying.
Next, the artist moves back toward the edges, with maroon fading almost into black, finishing the dark silhouettes.
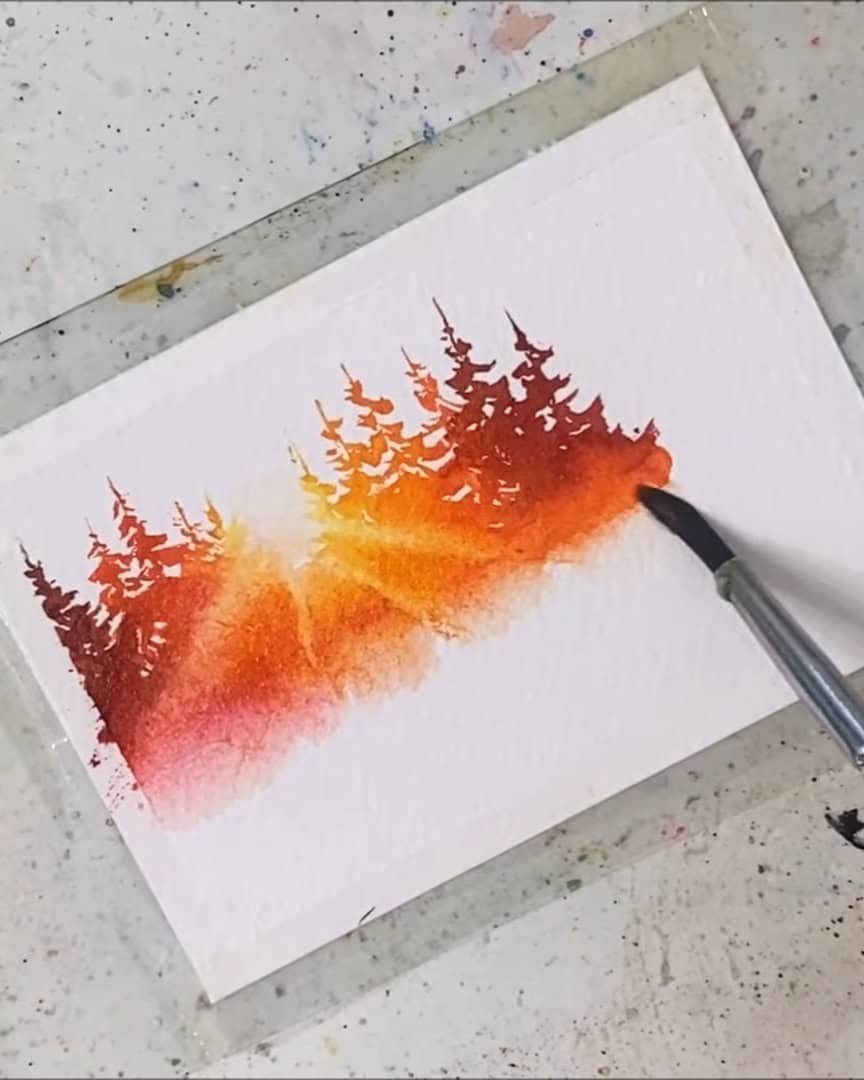
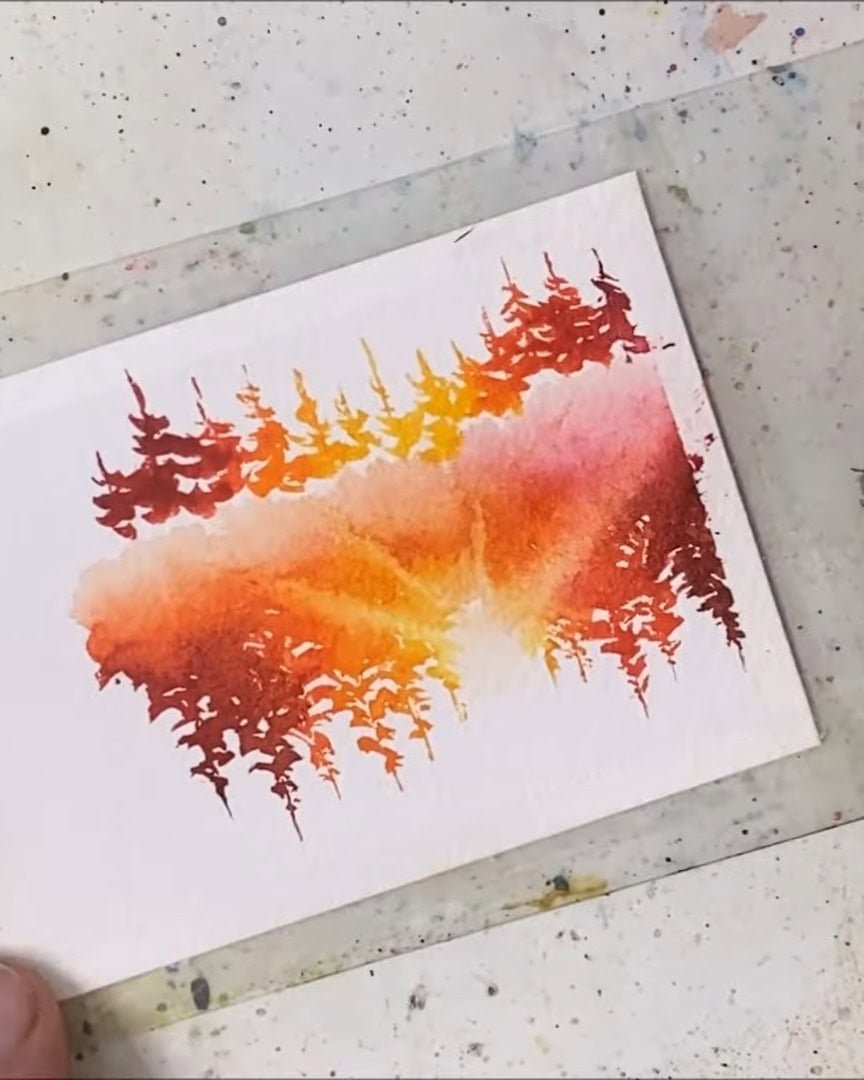
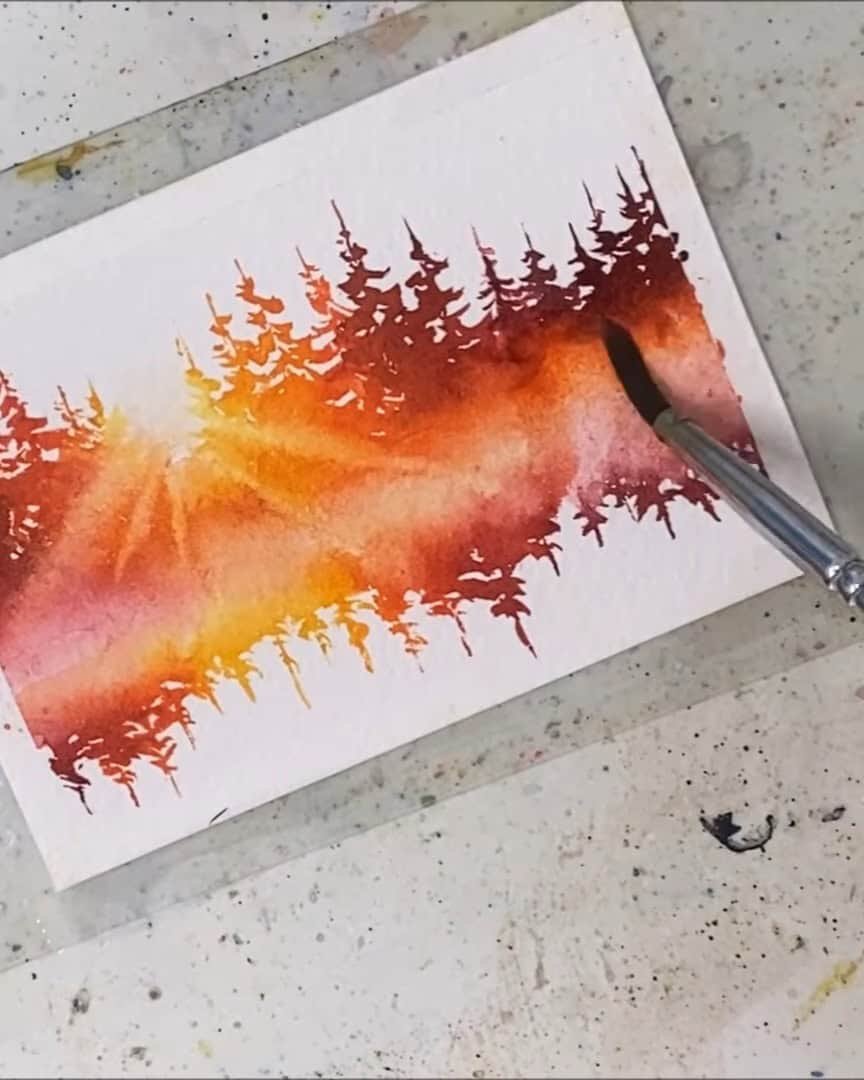
Step 3: Painting the Sunbeam Effect
Now that the tree silhouettes are in place, it’s time to add the glowing sunbeam. This step moves quickly because the paint is already drying, so the artist must work fast.
Creating the Sun Circle
The artist starts by making a rough circle where the sun will shine.

At first, the artist accidentally paints it yellow instead of leaving it white. No worries — a paper towel is used to lift some paint off.
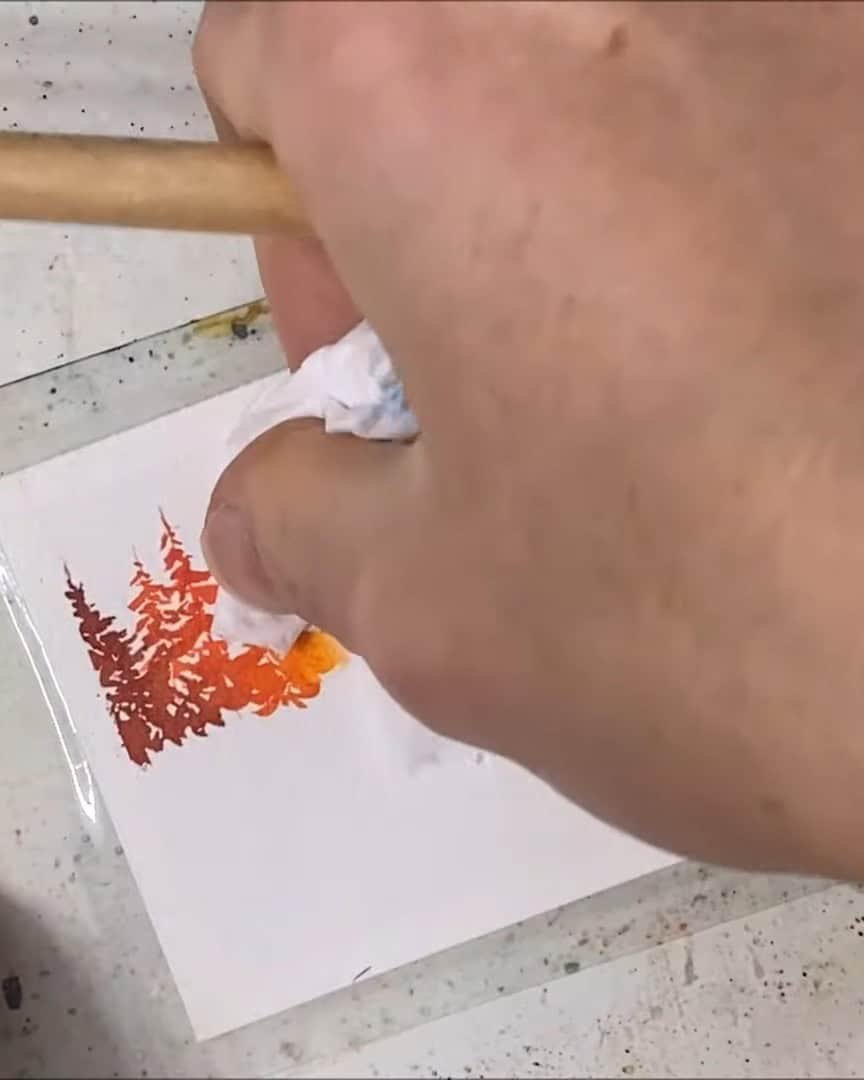
It works well!
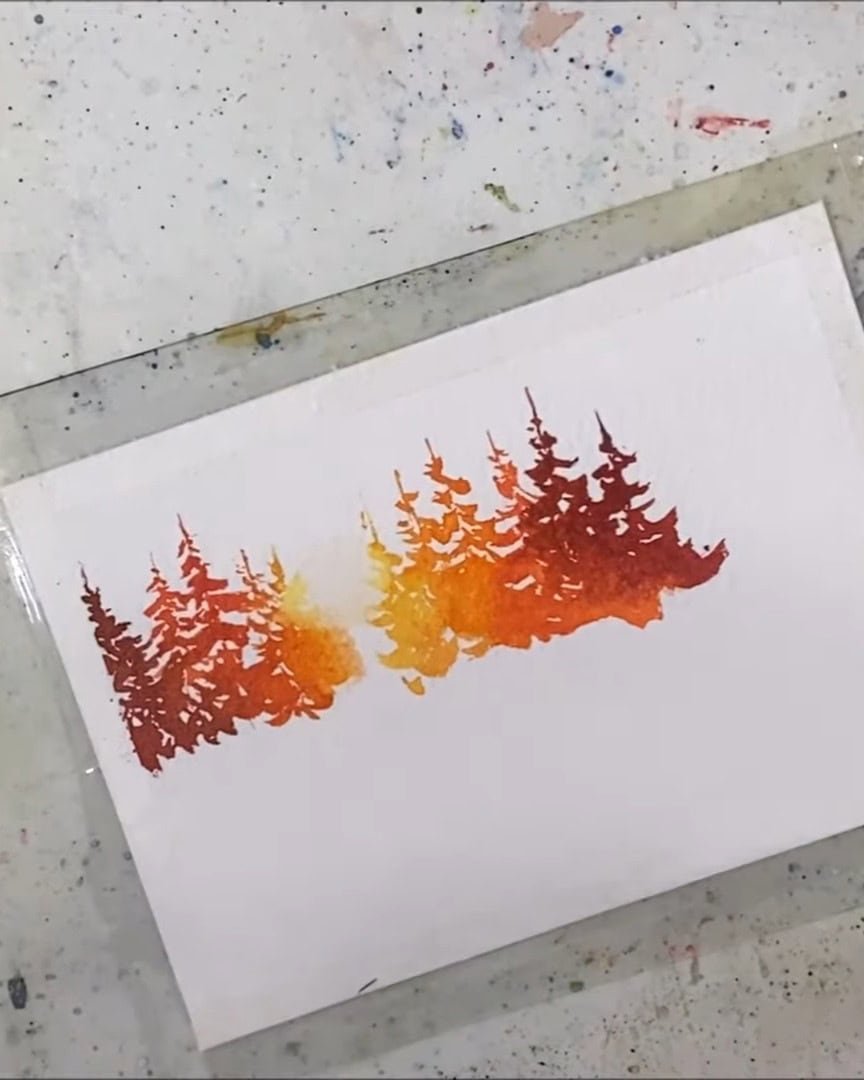
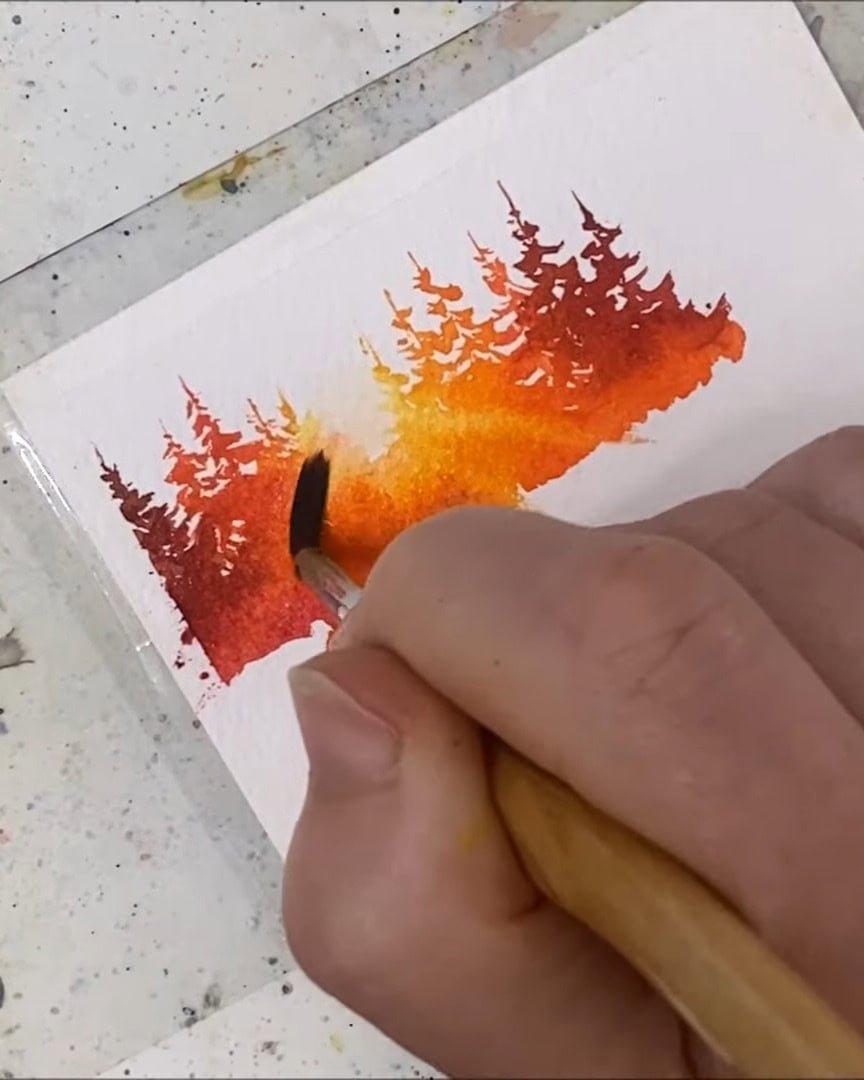
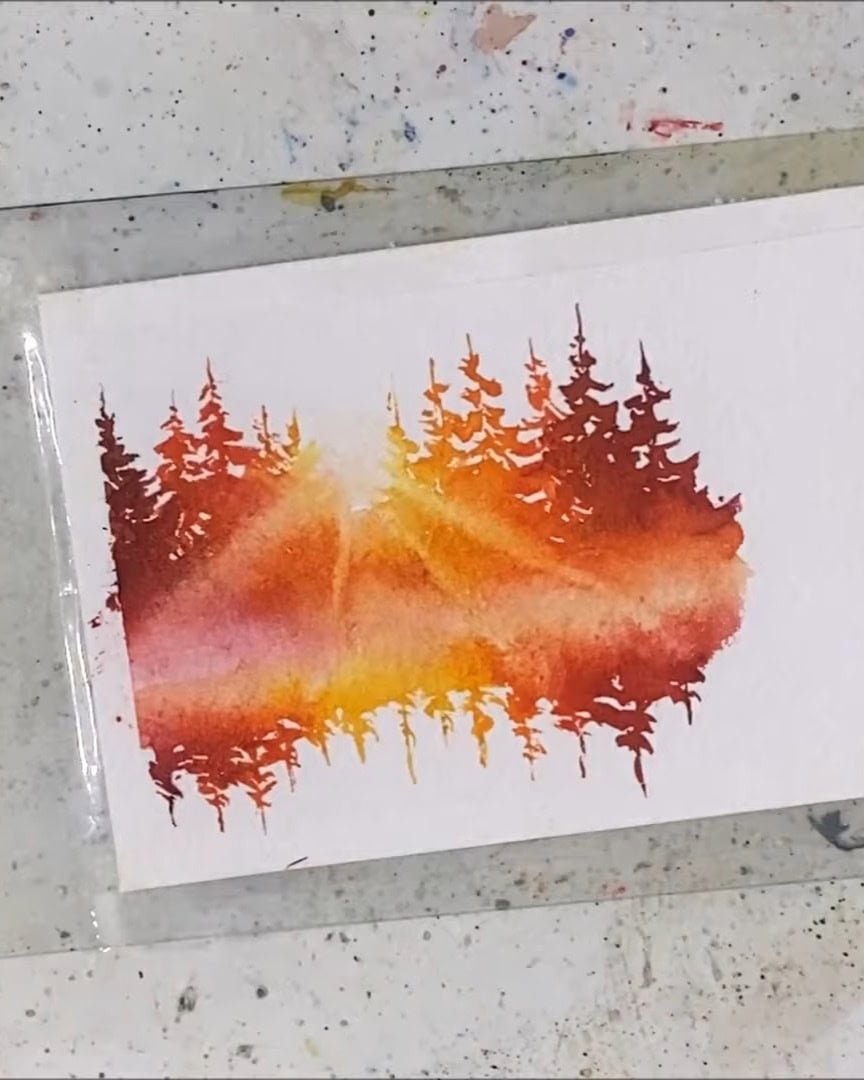
Adding the Glow
Next, the artist goes over the trees lightly again since they’ve dried.
Then, the artist extends the sunbeam colors downward, blending:
- Orange halfway down
- Yellow below that
- Back to orange for a smooth gradient
This layering gives the effect of light spreading through the trees.
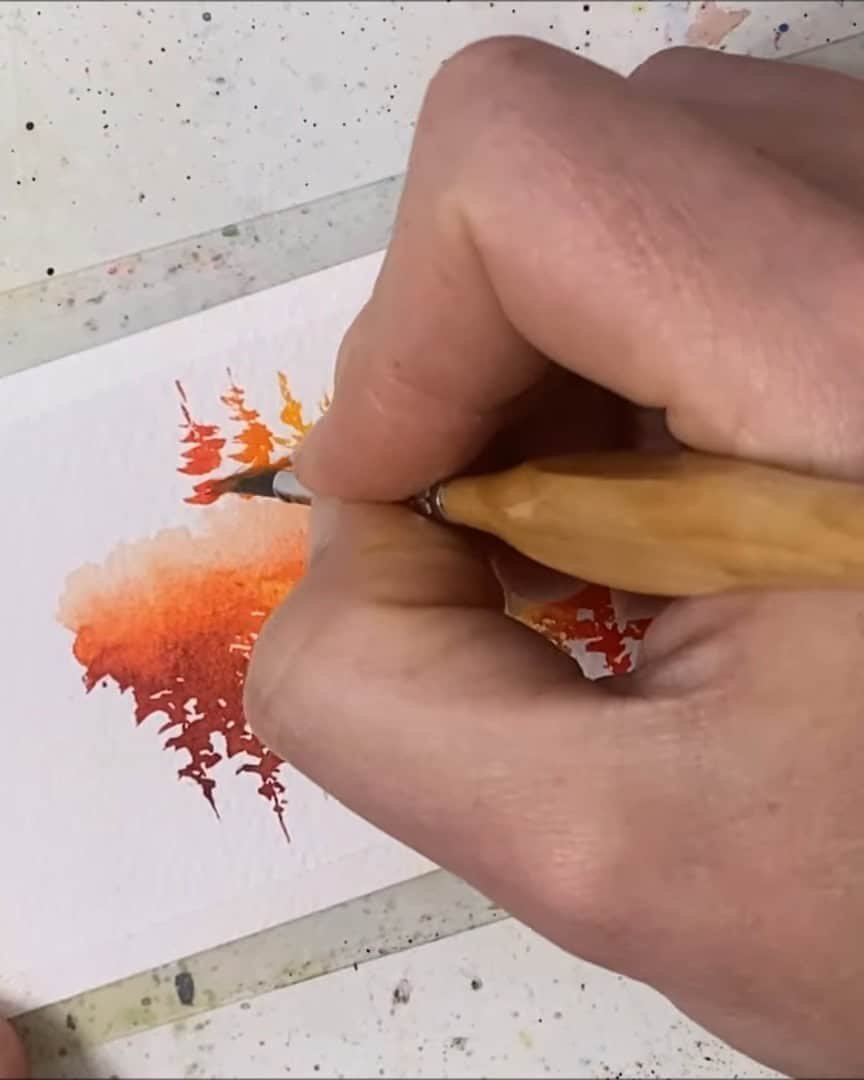
Making the Sun Rays Shine Through
This part is tricky. The artist rinses the brush after every stroke to make the sun’s rays visible through the trees. This keeps the brush clean so fresh colors can be picked up easily.
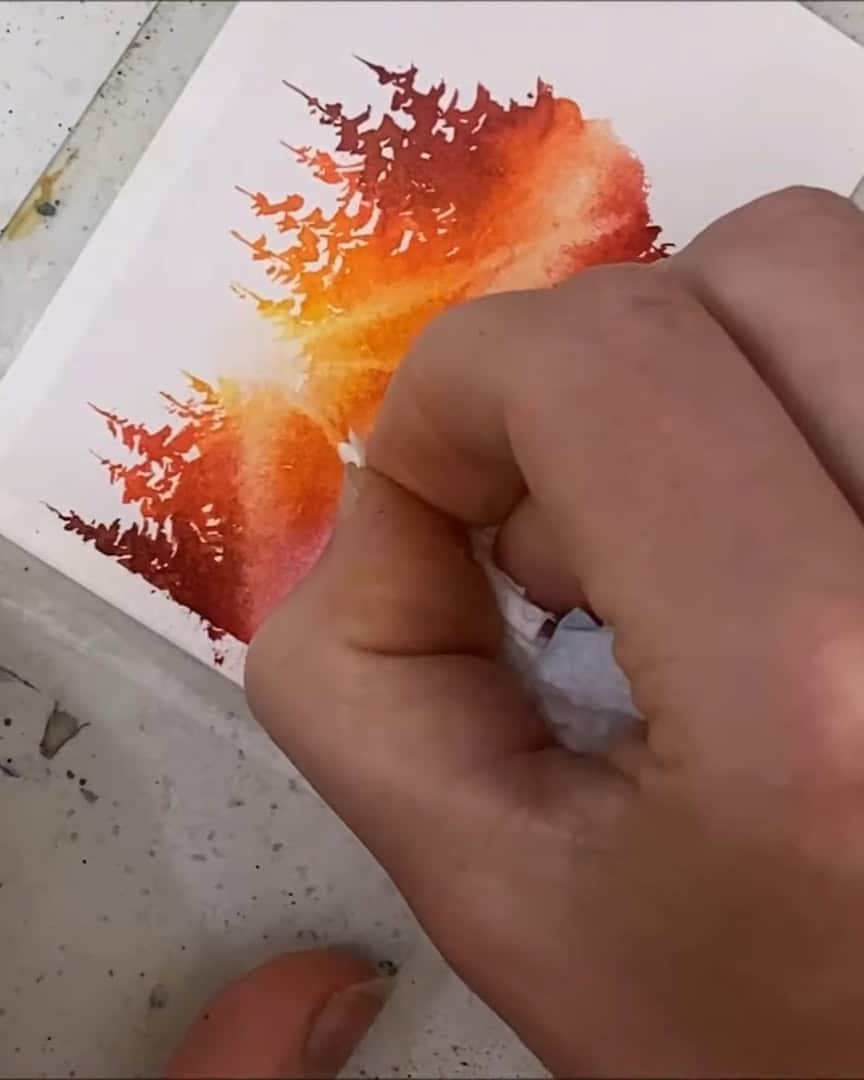
Using A Paper Towel for Highlights
The artist also uses a paper towel again to lift some paint and create bright spots for the sun’s rays. This method works much better than expected!
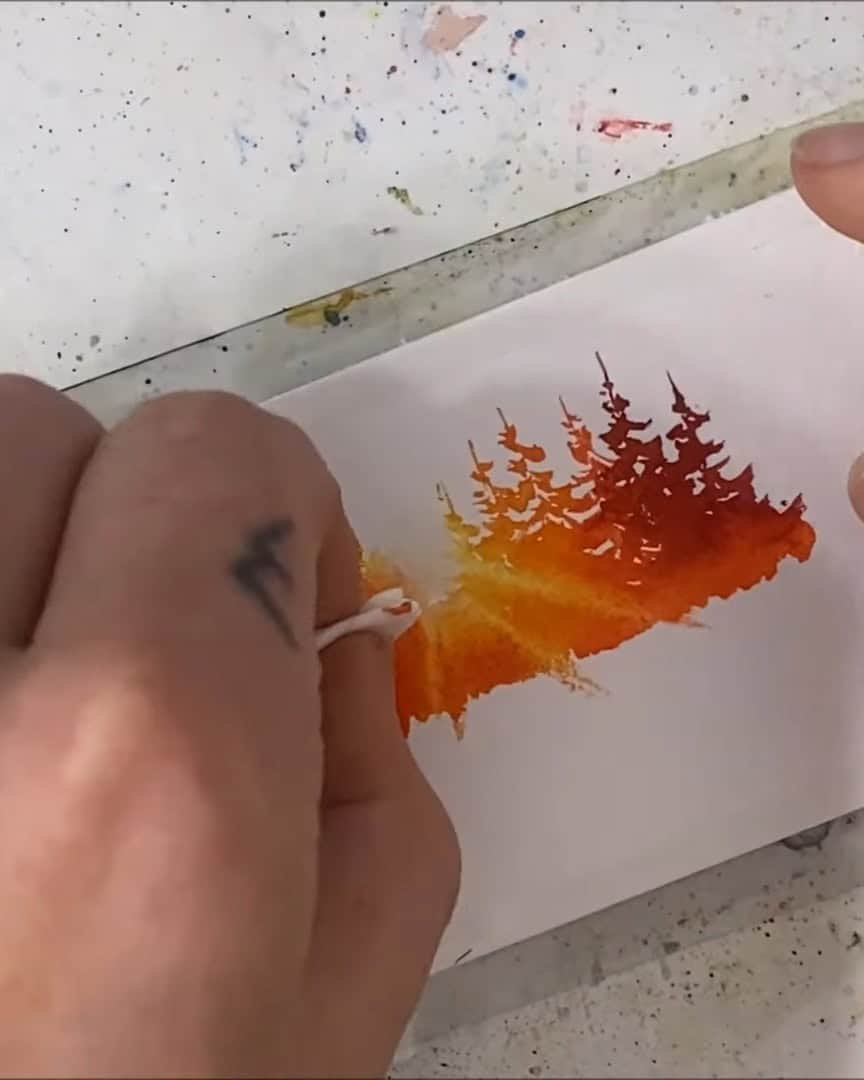
Honestly, The artist is pleasantly surprised with how well this step turned out.
Step 4: Painting the Water and Reflections
Now that the sunbeam effect is done, it’s time to work on the water and its reflections. The artist doesn’t want the bottom part to dry too fast, so water is added to keep it wet for easier blending.
Extending the Reflection
The artist extends the colors below the horizon line to create the reflection. If it helps, the paper can be flipped to mirror the top part by loosely copying the shapes and colors.
Here, the artist focuses more on capturing the feel rather than being super accurate.
Color Blending and Timing
The artist fades the reflection colors into yellow, adds more yellow spots, and finishes with the maroon shade. Timing is essential here because the paint needs to blend smoothly before drying.
That’s why the artist prefers cotton paper—it holds water longer, giving extra time to work.
Adding Sun Rays to the Water
Once the reflection is set, the artist gently extends some sun rays onto the water for a natural glow. If it gets too intense, the artist lightly softens it over the area.
The artist is surprised by how well this step turns out. With more patience, the water and reflections start to bring the painting to life.
Next, the scene continues to build with more details.
Step 5: Finalizing the Background and Adding the Island
We’re almost there! Now, the artist focuses on finishing the background before adding the island to pull the whole painting together.
Deepening the Background Colors
The artist continues working with the maroon, dropping down a little more color on the right side. Strangely, the brush doesn’t pick up much water, no matter how often it’s dipped.
So, the artist mixes some maroon with black to make a darker shade and deepens the background as the painting moves toward the edge.
Since the painting is upside down at this stage, it becomes tricky to work, but the artist continues until everything joins nicely.
To smooth the transition between colors, a little orange—or maybe red—is dabbed in to help connect those areas. The island will mostly cover this part, so perfection isn’t required.
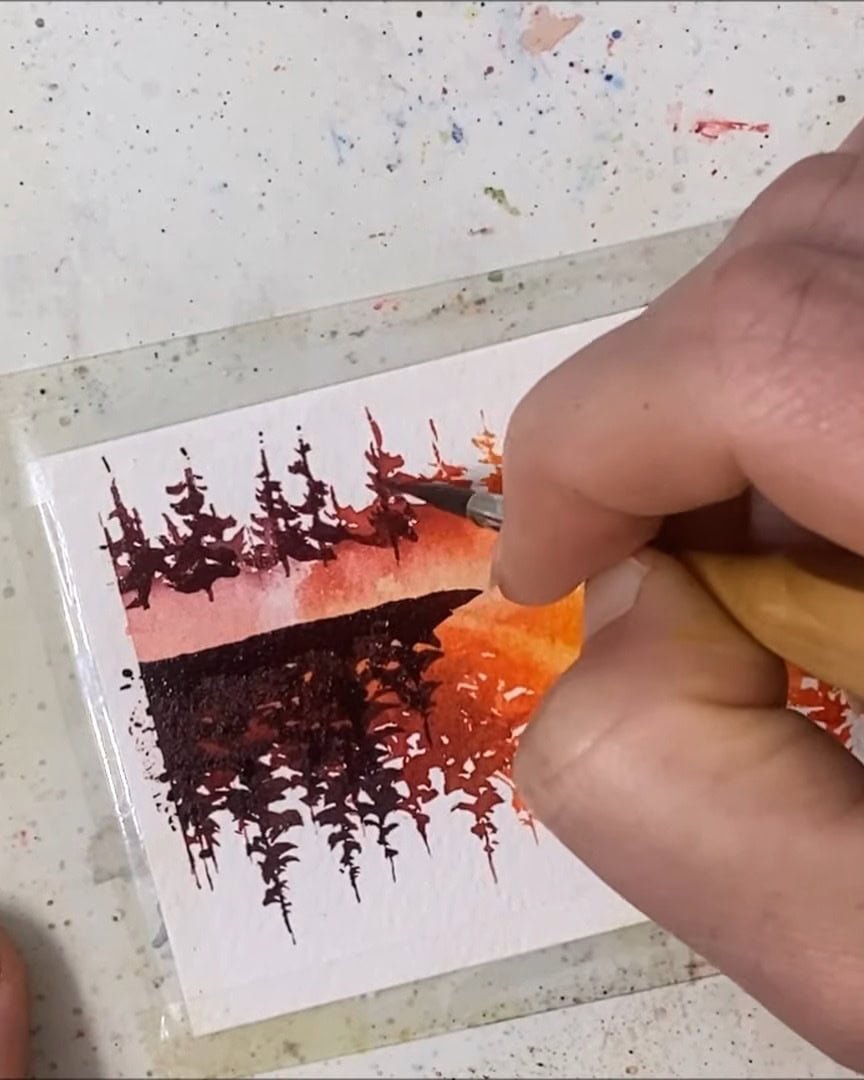
Painting the Island and Pine Trees
Once the background is dry, the artist moves on to painting the island. Black mixed with maroon is used to create a very dark maroon shade for the island’s shape.
Even if the paint isn’t fully dry, the artist trusts their instincts and begins painting anyway.
The island rises roughly in this area, and two to four pine trees are added, overlapping the background. The artist likes how these pine trees turn out—perhaps because of the brush being used.
Its soft bristles create a look that feels different from what the artist is used to.
Another pine tree is added on the side to make the island bigger. This step brings the painting to life and ties the entire scene together beautifully.
Step 6: Adding Finishing Touches
It’s time for the final details that make the painting pop. First, the artist paints the reflections of the trees in the water.
A small gap is left, the trees are added, and then the paper is quickly flipped to paint their reflections.
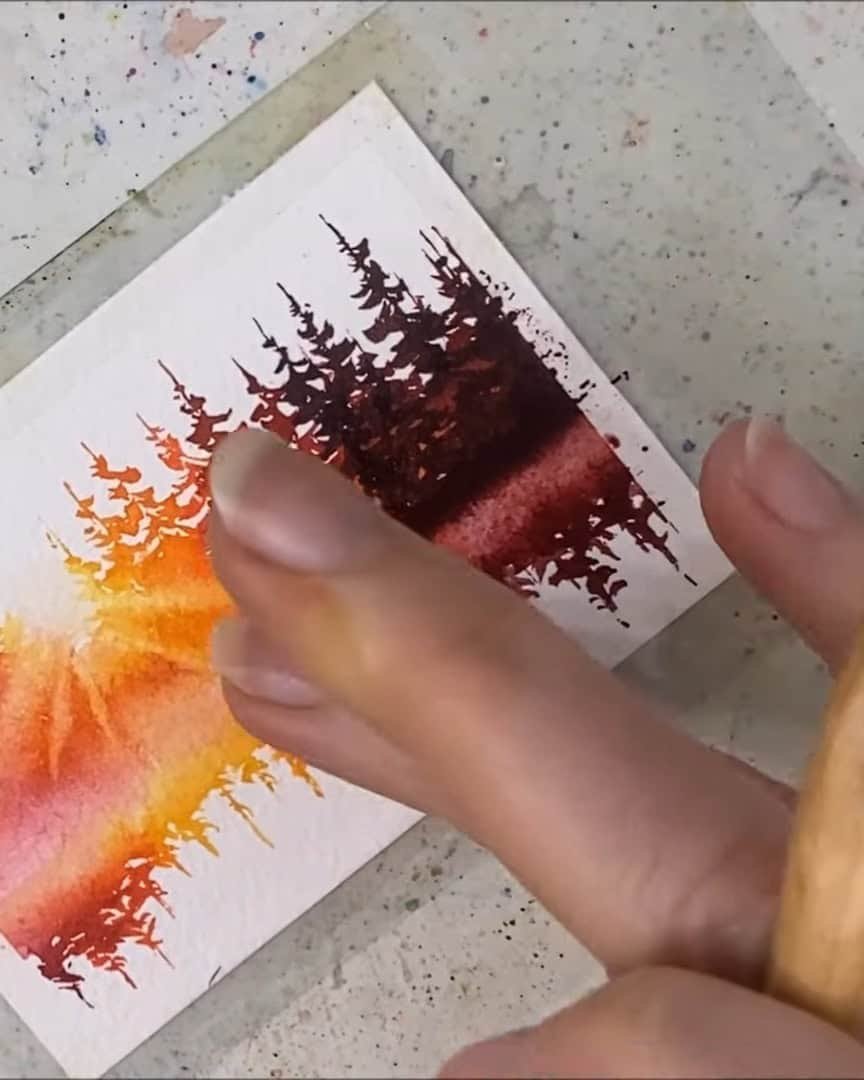
After that, a soft, misty effect is created and the shadows are blended for a natural look.
The artist also gently uses a finger to hide rough spots—this simple trick works surprisingly well.
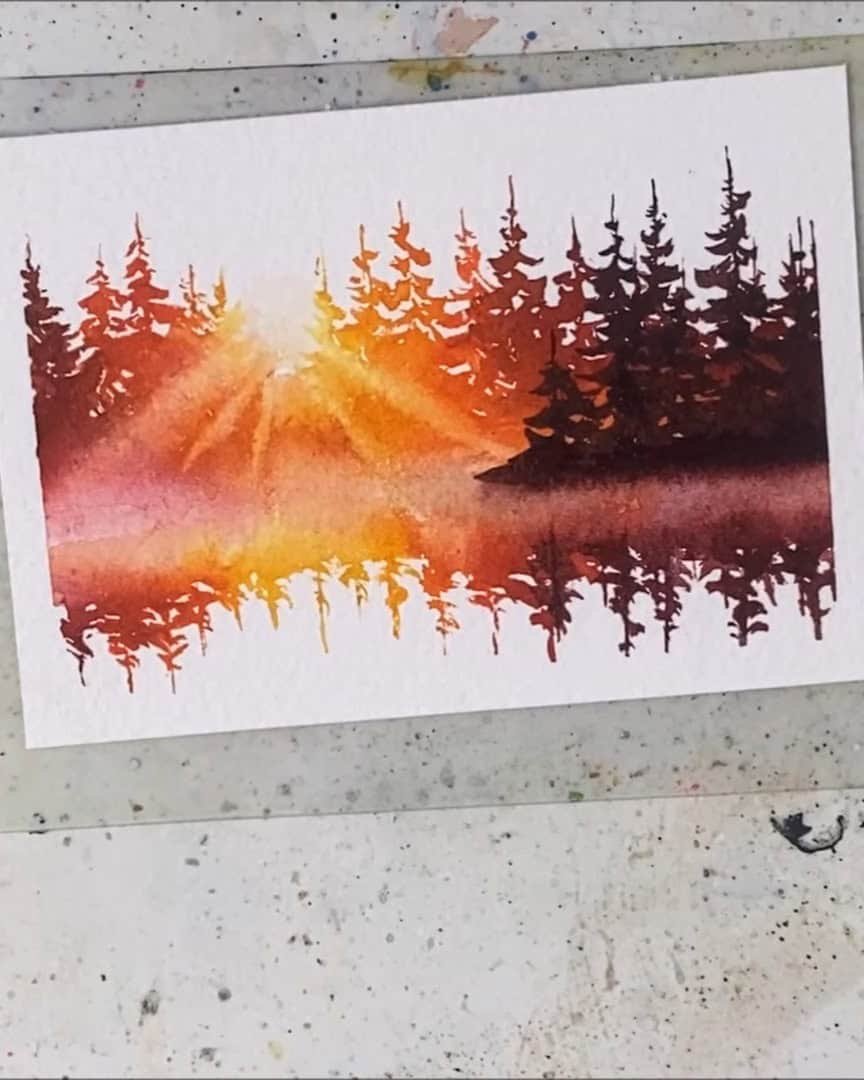
One thing the artist would change next time is adding a light gray or blue background before painting the trees. But for now, the result is satisfying—especially considering it took just 22 minutes.
Finally, the tape is peeled off, revealing crisp borders and a finished painting.
Wrapping Up
Painting sunbeams through pine trees over a calm lake may look complex, but with simple steps, it becomes an enjoyable process.
Each layer brings the scene to life—from choosing colors to adding soft reflections. This method encourages exploration and steady growth.
With practice and patience, anyone can create glowing forest landscapes illuminated by sunset light.