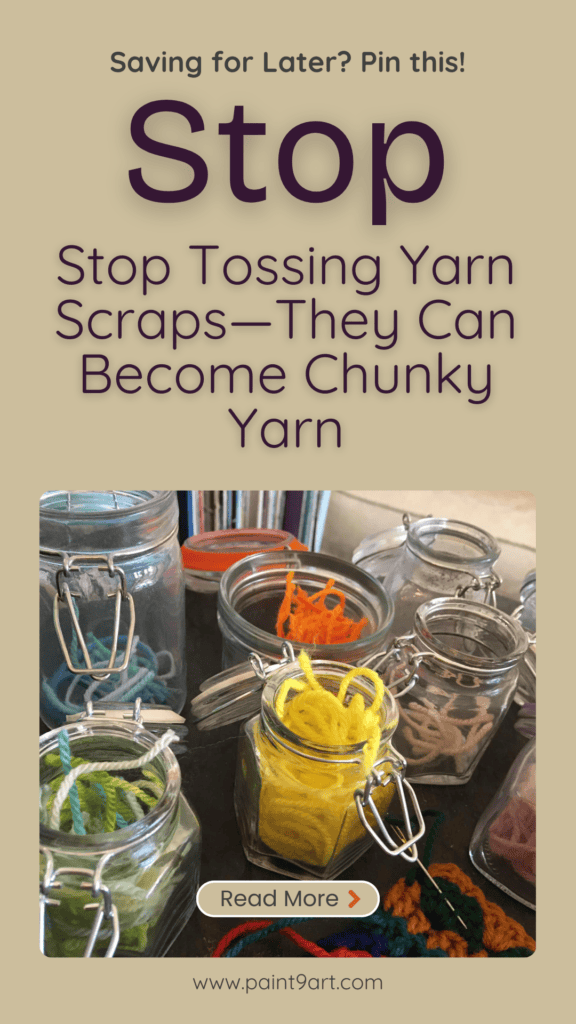
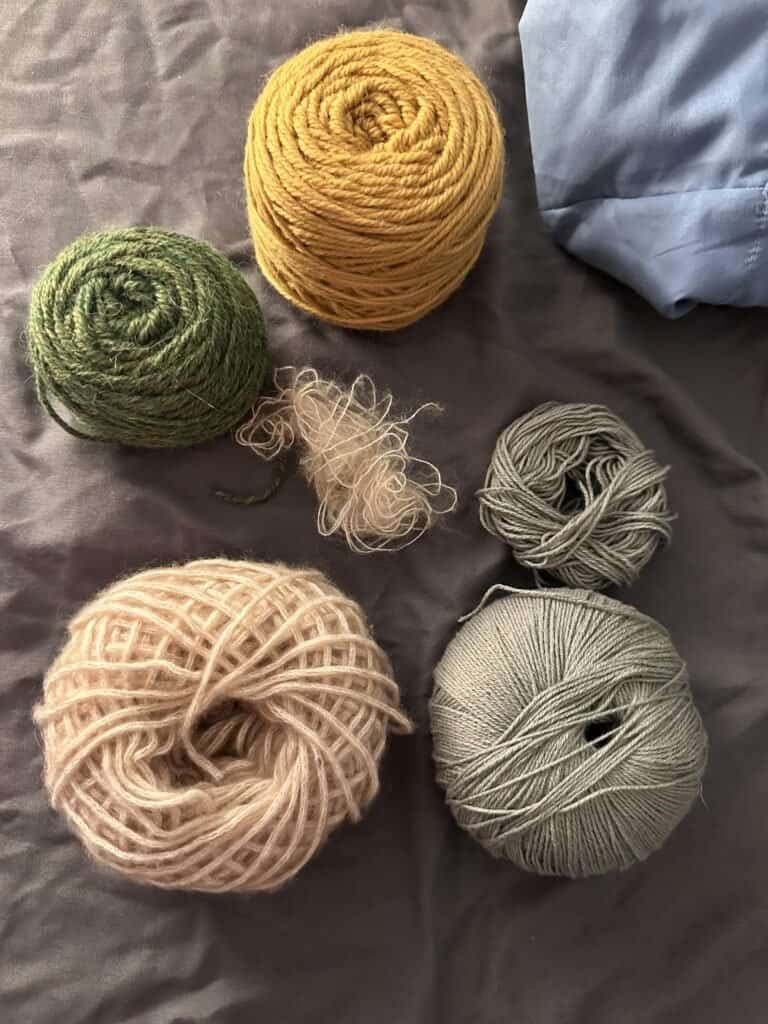
If you knit or crochet, you already know the problem: tiny balls of leftover yarn everywhere.
Too small for a full project, too nice to throw away, and somehow multiplying when you’re not looking.
Tuula Kyrölä from Crochet with Tuula Maaria tackles that exact dilemma and shares a refreshingly simple solution—crochet all those scraps into long chains and use them like chunky yarn. It’s practical, creative, and honestly kind of genius (don’t ask me why we don’t all do this already).
Instead of letting leftover yarn sit in a drawer forever, this method gives it a second life—and a very cozy one at that.
Contents
- 1 Why Crochet Chains From Scraps?
- 2 Joining Yarn Without Knots or Weaving Ends (Yes, Really)
- 3 Playing With Color (Scrappy but Make It Cute)
- 4 Join Method #1: Simple, Secure, and Stress-Free
- 5 Join Method #2: The Twist Join (For Cleaner Color Changes)
- 6 A Quick Note About Thickness (It’s Not a Problem)
- 7 Stitch Ideas That Actually Work Well
- 8 Final Thoughts: Scraps With Purpose
Why Crochet Chains From Scraps?
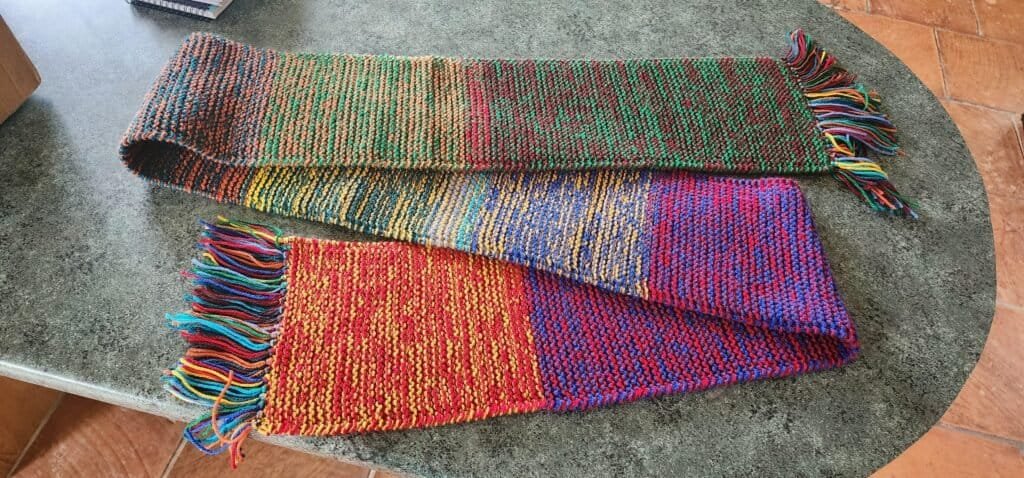
The idea is simple: take all those small yarn balls, join them one by one, and crochet a long chain. Once you’re done, that chain becomes your new “yarn,” ready to be turned into an actual project.
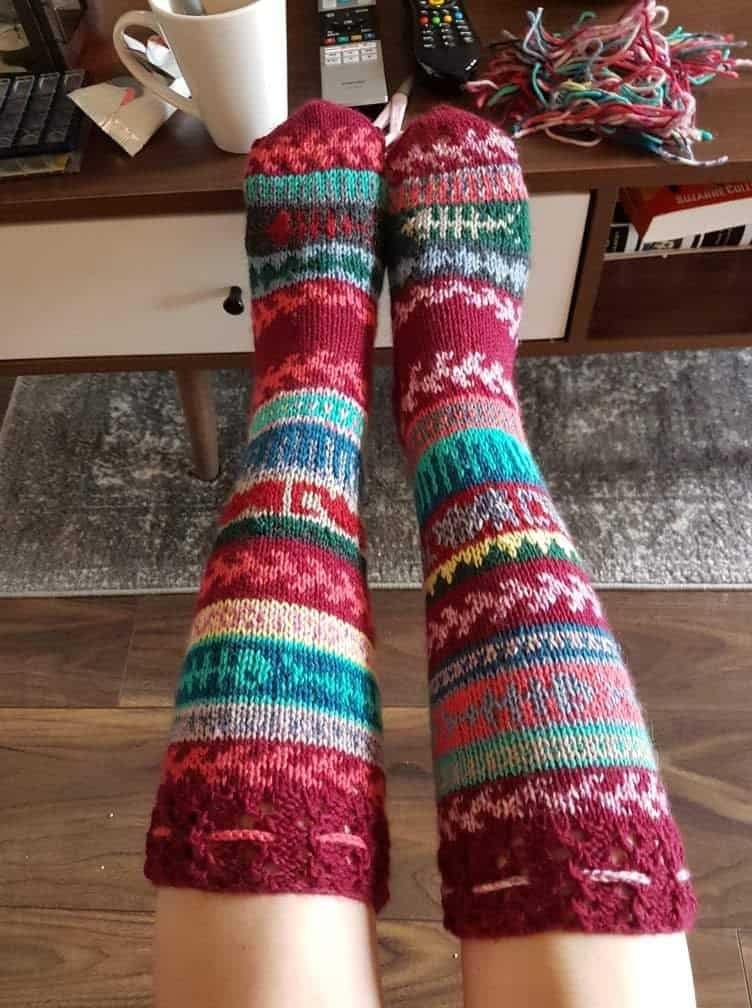
The presenter plans to use hers for a cushion cover and a winter headband, which are perfect matches for the chunky, textured look this technique creates. Best of all, making the chains is incredibly relaxing. This is low-brain-power crafting—something you can do while watching TV, chatting, or teaching a beginner (or a kid!) without stressing about stitch counts.
Another bonus? Since all the yarn joining happens before the project starts, you don’t have to stop every five minutes later to add a new ball. Future-you will be very thankful.
Joining Yarn Without Knots or Weaving Ends (Yes, Really)
Let’s talk about the real magic here: no knots and no weaving in ends. The presenter shares two favorite joining methods that keep everything secure without the most dreaded step in yarn crafting.
Instead of knotting or weaving, the yarn ends are joined directly into the chain and then trimmed. Clean, simple, and way less annoying. This works best for bulky-style projects, where a bit of texture is welcome, and she recommends sticking with basic stitches so the yarn itself gets to shine.
You’ll also want to grab a large crochet hook—around 7 mm or bigger—to comfortably handle the thicker, joined strands.
Playing With Color (Scrappy but Make It Cute)
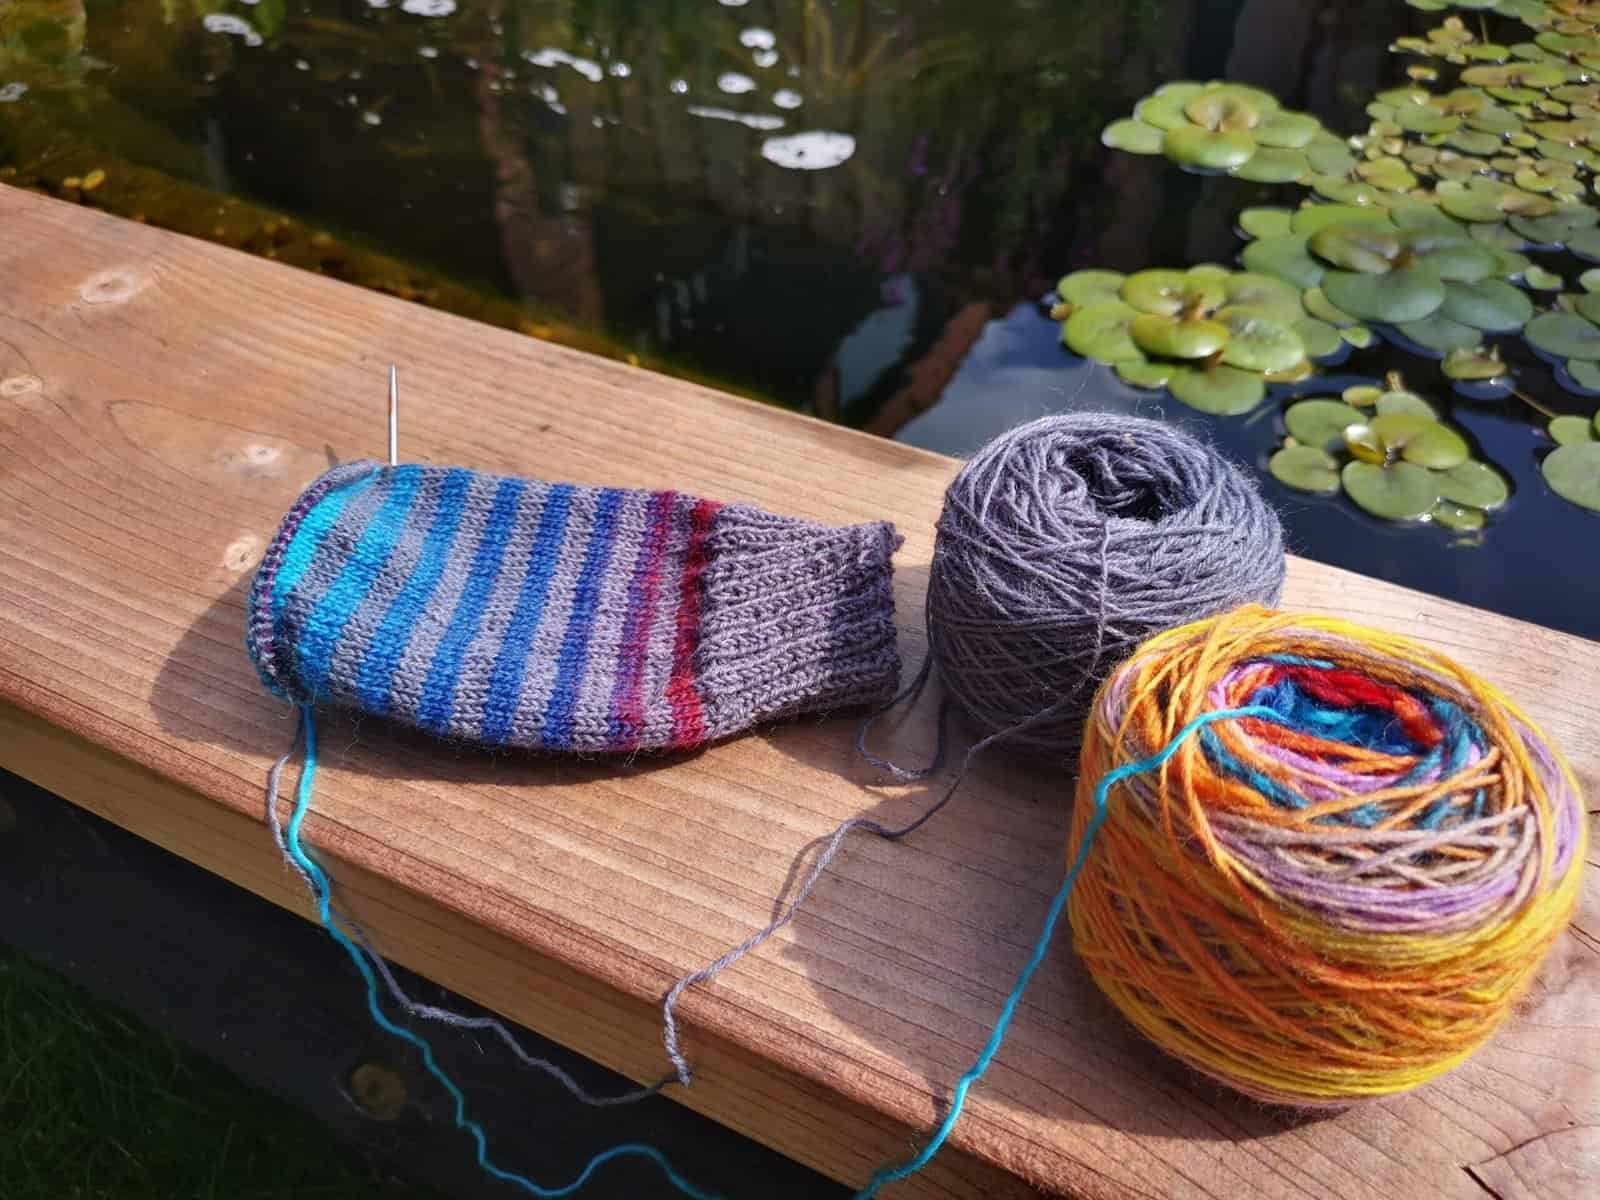
One of the joys of this method is how flexible it is with color. Sometimes a yarn scrap only gives you a short burst of color; other times it hangs around longer. Both look great.
The presenter alternates between short and long color sections depending on how much yarn she has, creating visual interest without overthinking it. And if she wants a color that isn’t hiding in her scrap pile? She just pulls from a full skein. No rules, no pressure—just creativity doing its thing.
Join Method #1: Simple, Secure, and Stress-Free
This is the presenter’s go-to method for this project because it’s quick, easy, and looks good.
Here’s how it works:
- Leave a short tail on your current yarn
- Lay the new yarn on top, also with a short tail
- Crochet five to seven tight stitches using both strands together
- Drop the old yarn and continue with the new one
- Trim the ends close (but not aggressively close—we want secure, not risky)
That’s it. The join stays put, doesn’t unravel, and doesn’t require weaving anything in later. We love an efficient solution.
Join Method #2: The Twist Join (For Cleaner Color Changes)
The second option uses a twisting technique and slightly longer yarn tails (about 6 inches). The two yarn ends are aligned, twisted together, and then crocheted across, which helps create a smoother transition between colors without seeing both strands at once.
This method is very popular in the presenter’s other projects (and shows up in some of her most-watched videos), but for this particular chain yarn idea, she sticks with Method #1 because it’s simpler and fits the look she wants. Both work—pick your favorite.
A Quick Note About Thickness (It’s Not a Problem)
Yes, the joins will be a little thicker than the rest of the chain. No, this is not a deal-breaker. For chunky projects like cushions and headbands, it actually adds character.
If you absolutely need everything perfectly uniform, weaving in ends is still an option. But the presenter personally never uses knots and is happy with the slight variation. I’m just the messenger.
Stitch Ideas That Actually Work Well
To show off the texture of your new chain yarn, simple stitches are your best friend:
- Extended single crochet for crocheters (a single crochet with an extra chain for length and texture)
- Garter stitch for knitters (knitting back and forth—easy, squishy, and perfect here)
No complicated stitch patterns required. Let the yarn do the talking.
Final Thoughts: Scraps With Purpose
The video wraps up by inviting viewers to share their own ideas for using leftover yarn and encouraging a little creative experimentation. This technique isn’t about perfection—it’s about using what you already have, reducing waste, and enjoying the process.
So grab those lonely yarn scraps, chain them together, and turn “leftovers” into something cozy and useful. Until next time—happy stitching, and may your scrap pile finally shrink