
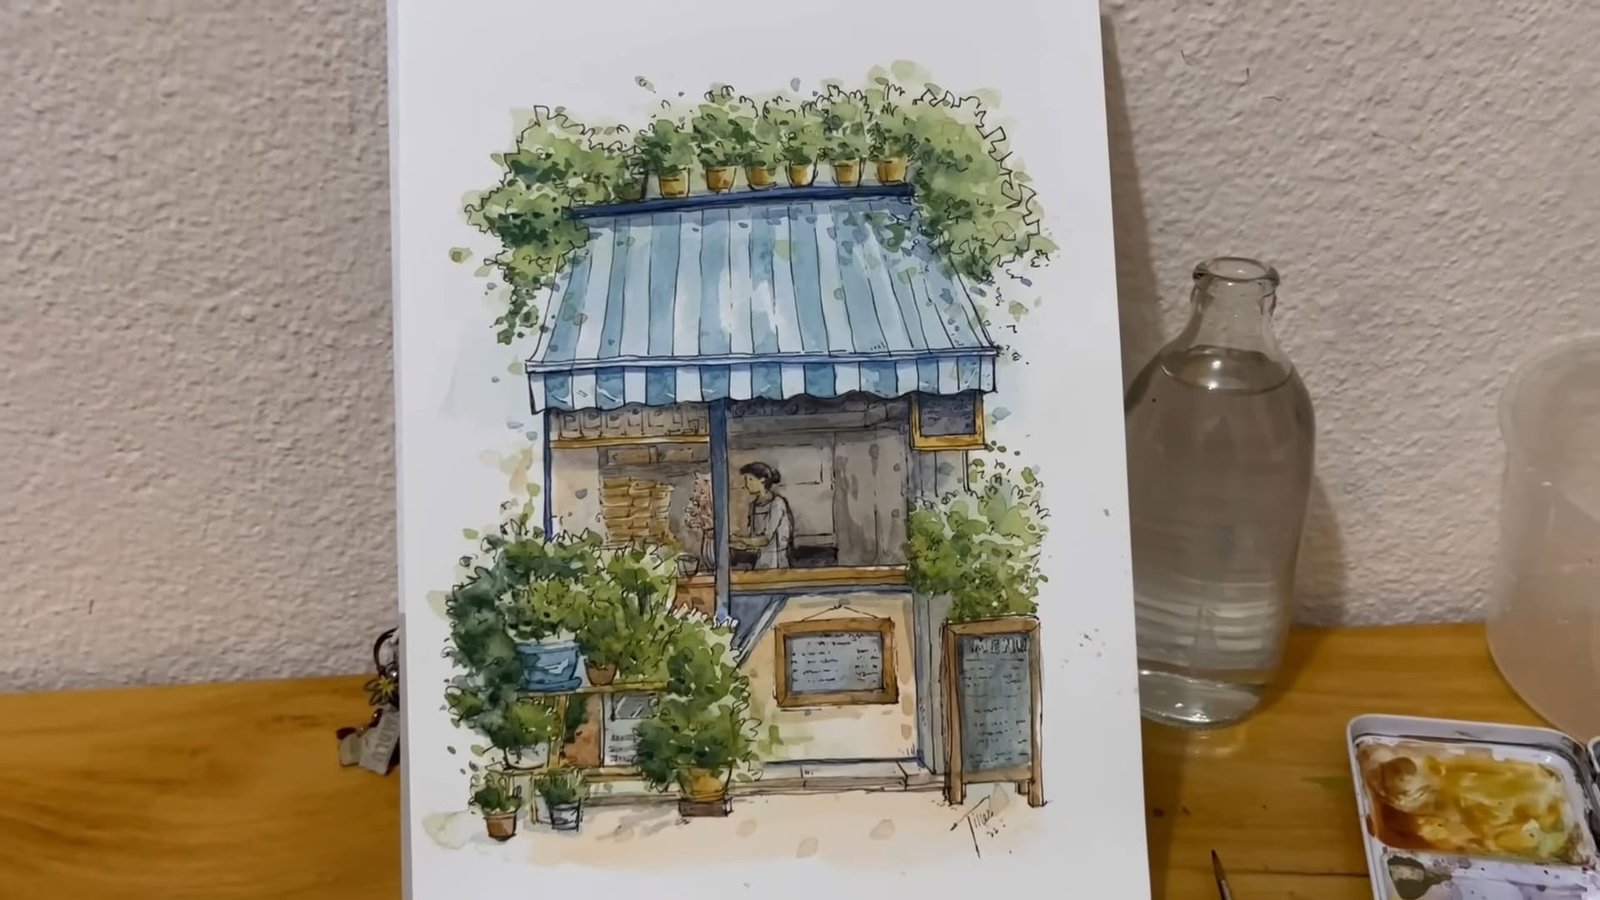
Do you enjoy capturing the atmosphere of a street corner or a favorite café in your sketchbook? Urban sketching can be one of the most rewarding ways to record a place.
In her tutorial, JilLee Arts shows you how she sketches a lively café using loose ink and watercolor. You’ll see how freedom, spontaneity, and layering bring her art to life.
Let’s follow along and try her method today!
Contents
- 1 Step 1: Choosing the Right Paper and Materials
- 2 Step 2: Planning Your Café Sketch with Colors and References
- 3 Step 3: Painting a Loose Watercolor Base Layer
- 4 Step 4: Inking Your Café Sketch with Waterproof Pens
- 5 Step 5: Adding Watercolor Layers Over Ink Sketching
- 6 Step 6: Final Touches to Complete Your Café Sketch
- 7 Closing Words
Step 1: Choosing the Right Paper and Materials
Before you start sketching, the materials you choose will affect how your café illustration turns out. JilLee highlights that preparation helps you feel free while painting.
Choosing Watercolor Paper for Urban Sketching
Paper is your foundation. JilLee shares that sometimes she works in a sketchbook, but for this piece, she prefers a larger sheet of paper. A bigger paper allows you to move more freely and paint loosely.
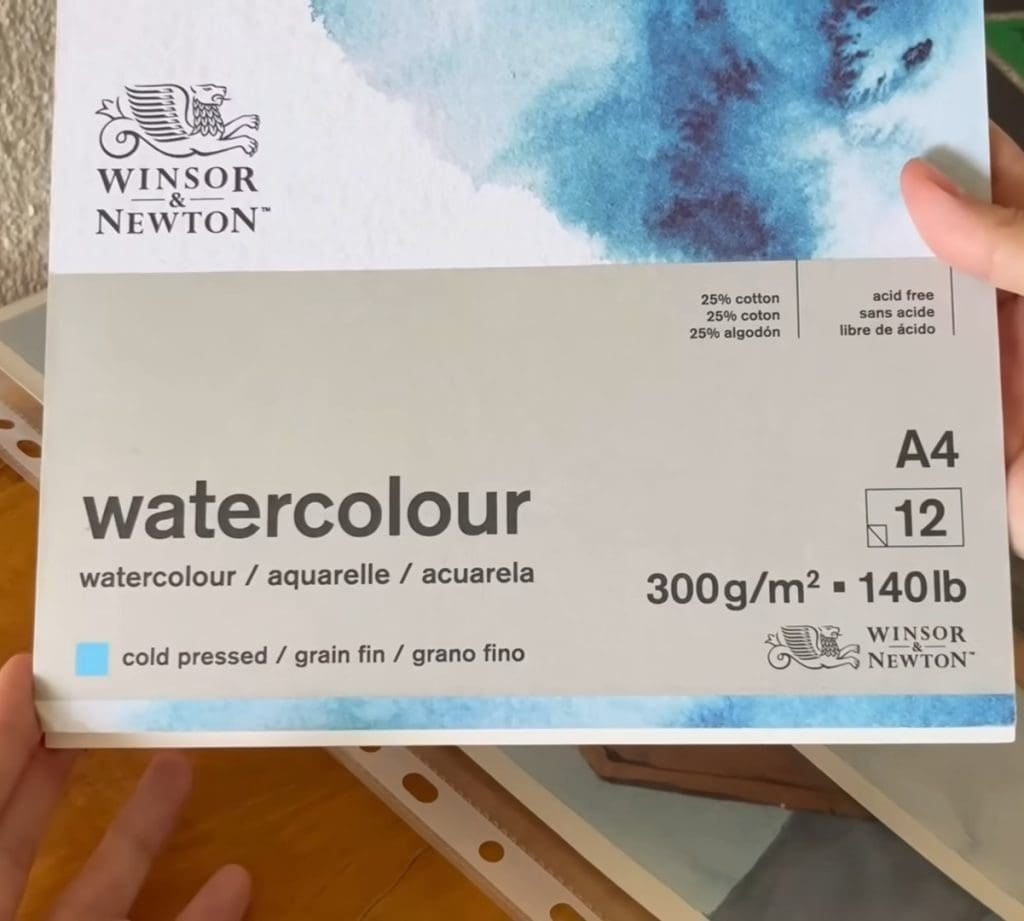
JilLee explains that Arches watercolor paper is one of the best, but it can be expensive.
Instead, she uses Winsor & Newton 25% cotton paper. It’s affordable, archival, acid-free, and museum quality. It won’t yellow over time, and it has a medium-to-rough texture that works well for loose strokes.
Plus, it is FSC certified and made with hydroelectric power, which reduces greenhouse gas emissions.
Essential Tools for Ink and Watercolor Sketching
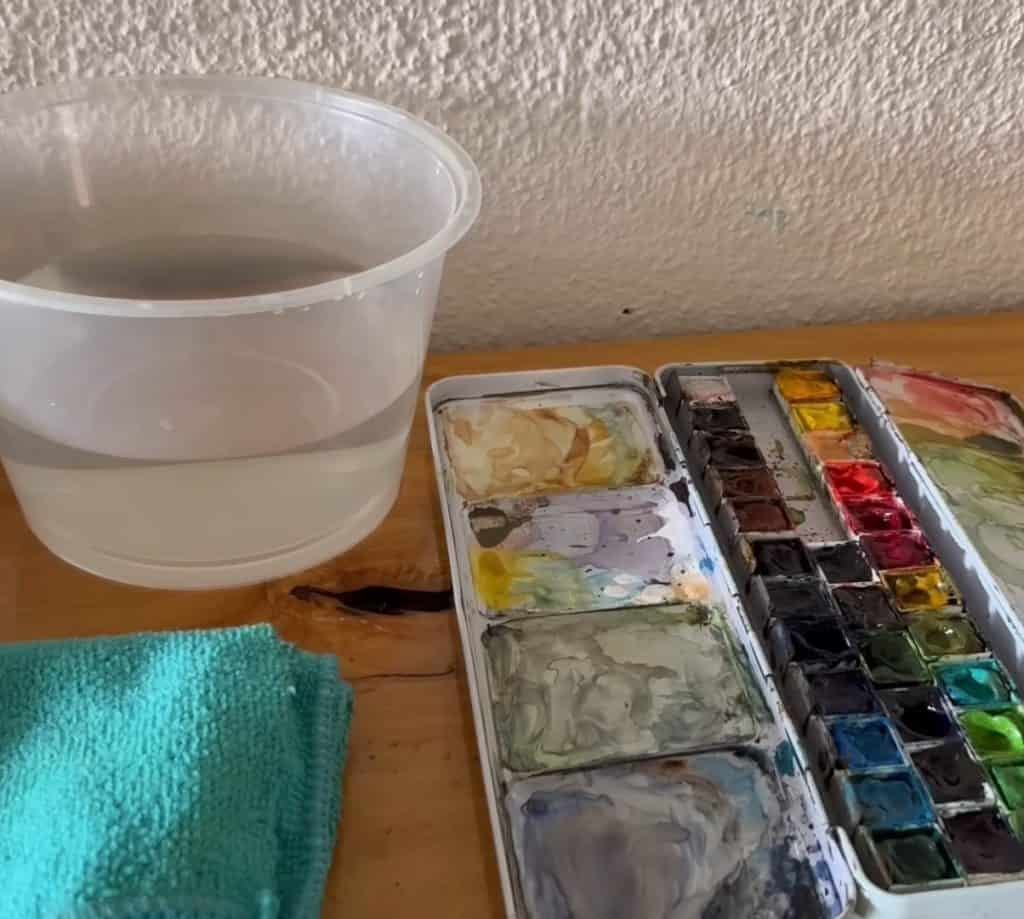
Once you have your paper, you need to prepare your tools. JilLee keeps things simple with:
- A container of clean water
- A reusable cloth instead of tissue paper (she prefers cloth because tissues waste too much)
- A messy watercolor palette filled with Holbein and Van Gogh paints squeezed from tubes into half pans
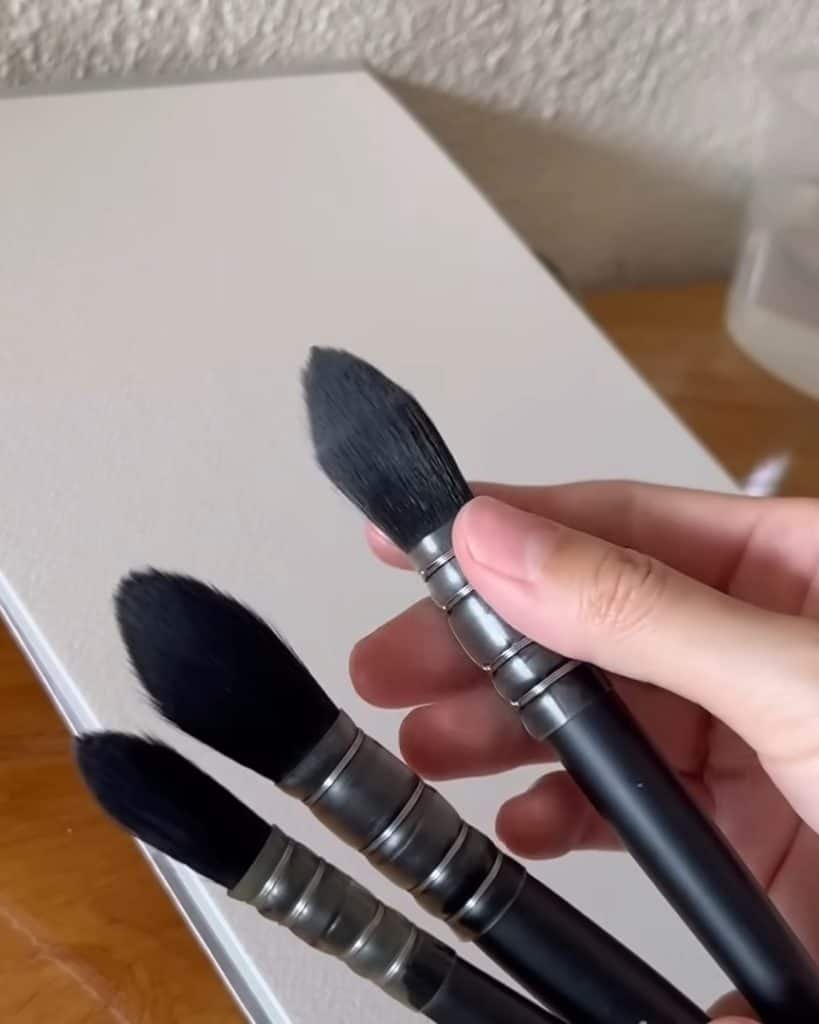
She also recommends synthetic mop brushes. These brushes hold lots of water and pigment, which makes them perfect for broad washes and fast painting.
Step 2: Planning Your Café Sketch with Colors and References
With paper and tools ready, the next step is planning your sketch. JilLee believes inspiration is important, but you don’t need to copy details.
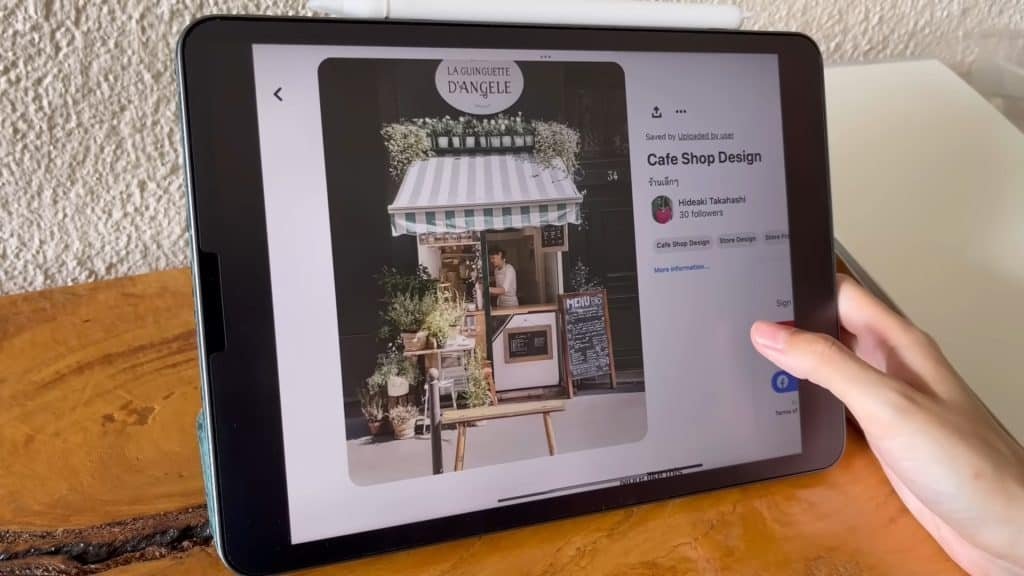
Using Reference Photos for Café Sketch Inspiration
To stay inspired, JilLee often browses Pinterest. For this café piece, she uses photos as a reference but doesn’t follow every detail.
She lets the images guide her mood while keeping her drawing spontaneous.
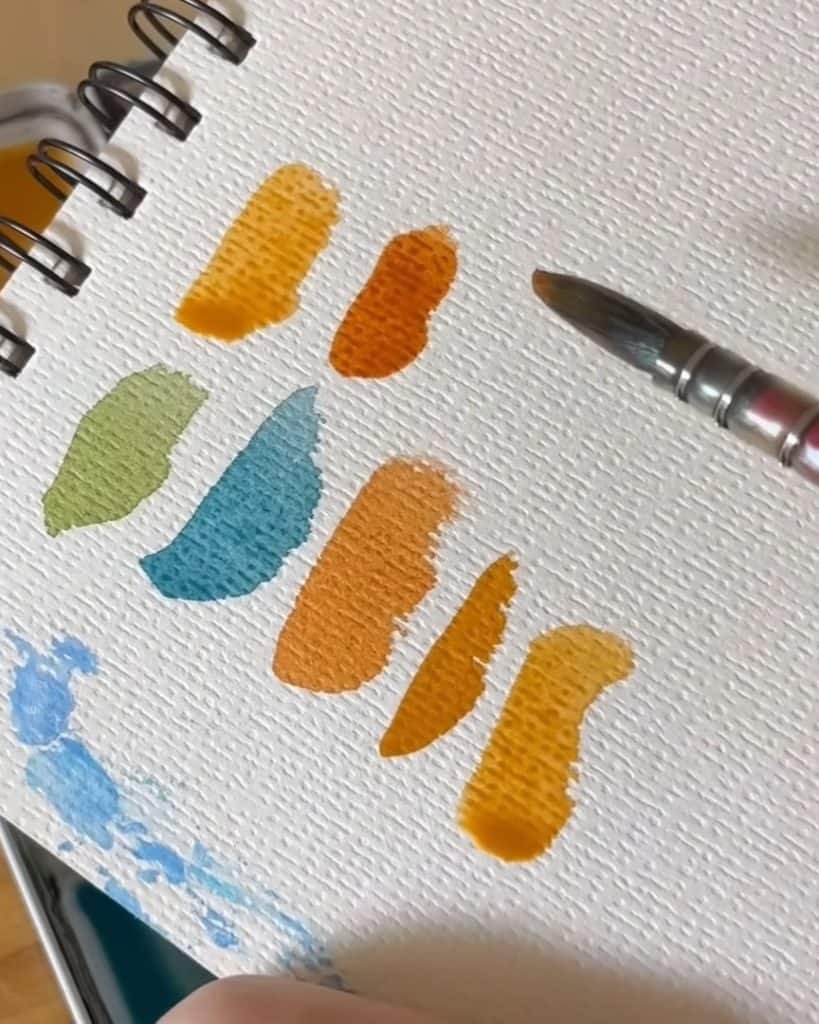
Mixing and Testing Watercolor Shades Before Painting
Before starting the painting, JilLee mixes the three main colors she plans to use. She tests them on scrap paper to make sure they blend well together. In this way, you can avoid surprises once you begin painting.
Step 3: Painting a Loose Watercolor Base Layer
The next step is to lay down your watercolor base. According to JilLee, you should start with loose, energetic strokes to capture the café’s atmosphere.
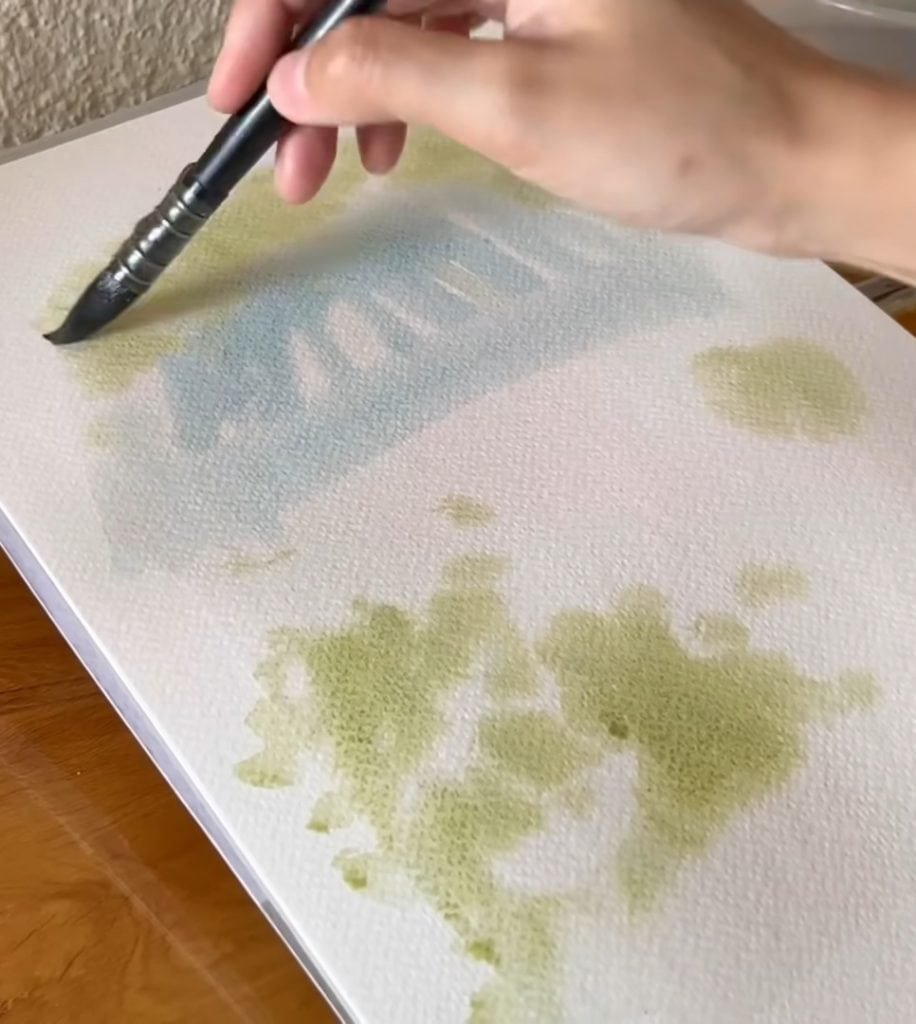
Wet-on-Wet Watercolor Technique for Urban Sketching
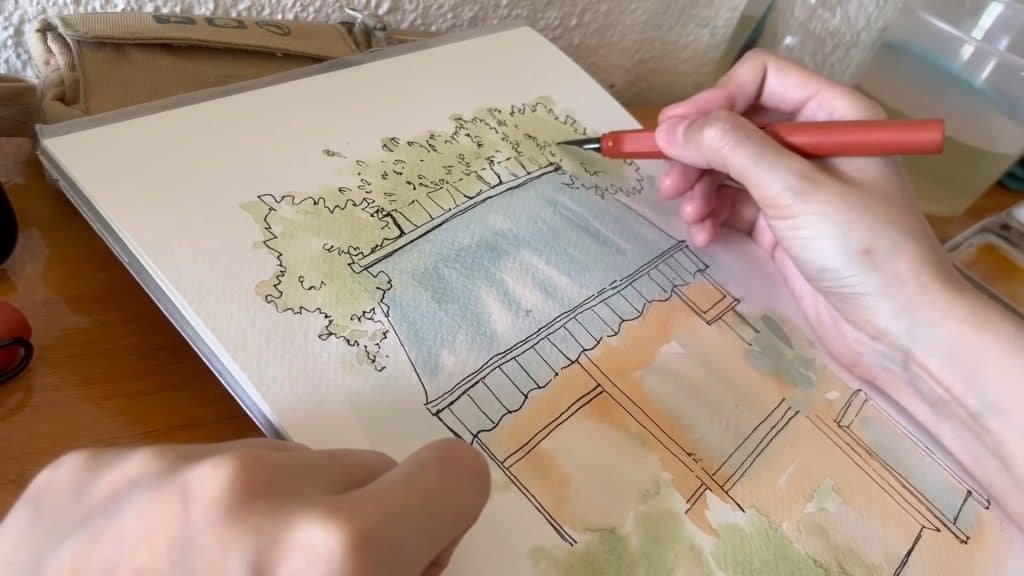
JilLee brushes clean water onto the center of the paper. Then she quickly adds greens, followed by blue for the roof.
Speed matters here because you need the paper to stay wet. This creates soft edges and a natural blending effect.
Building the First Wash for Café Sketching
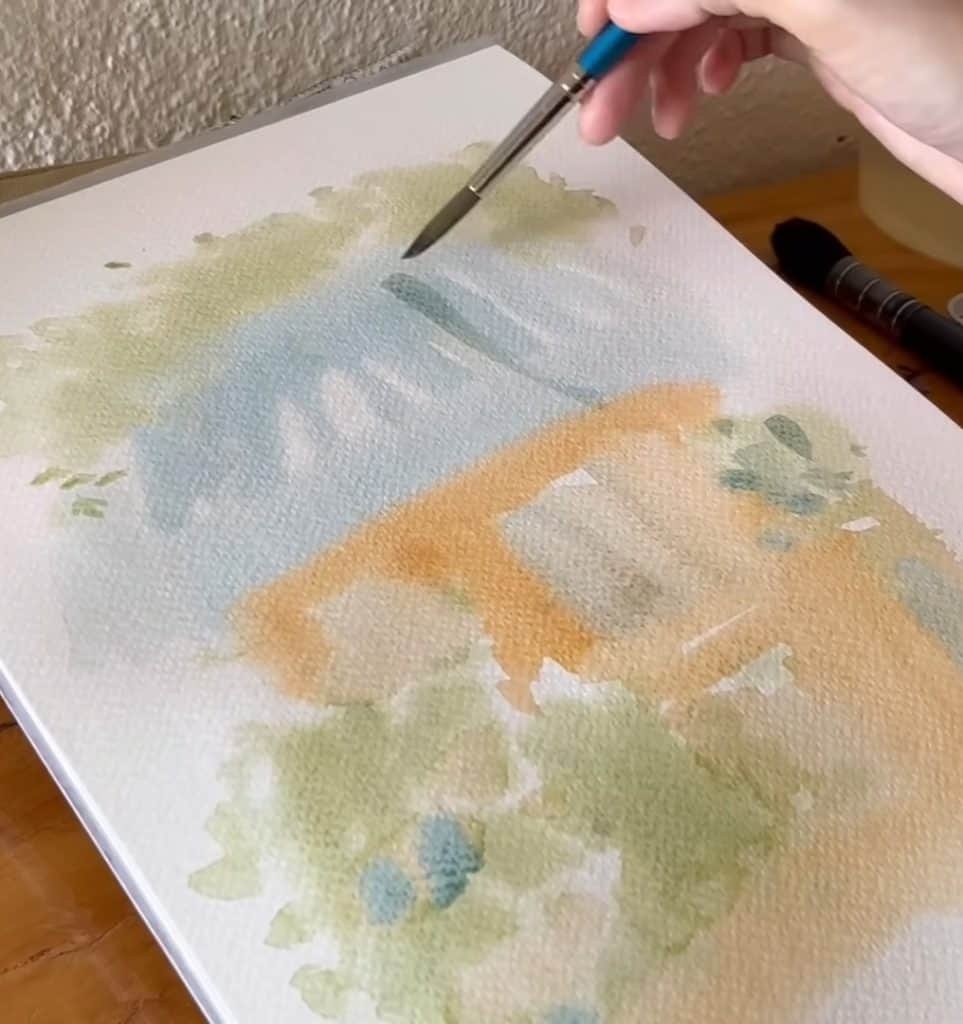
This first wash doesn’t need to be accurate. JilLee adds burnt sienna for structure, then grayish brown for windows and pots. She notes the colors might look intense at first, but they dry lighter.
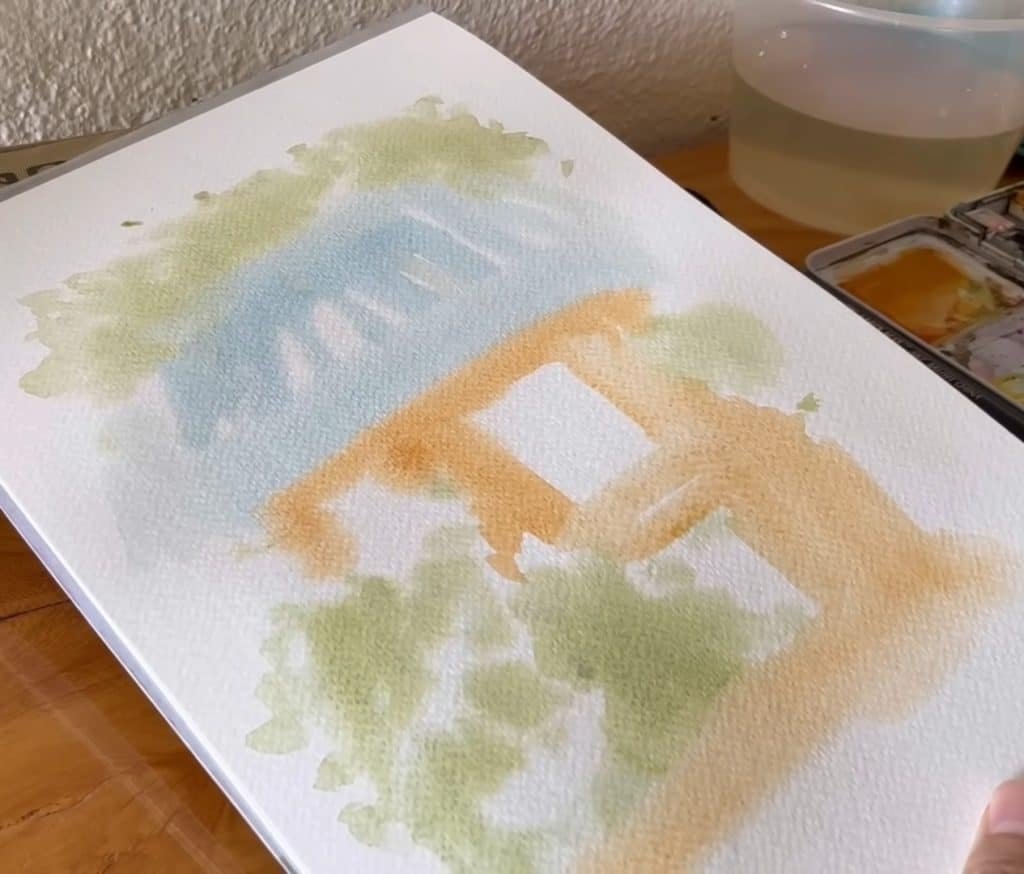
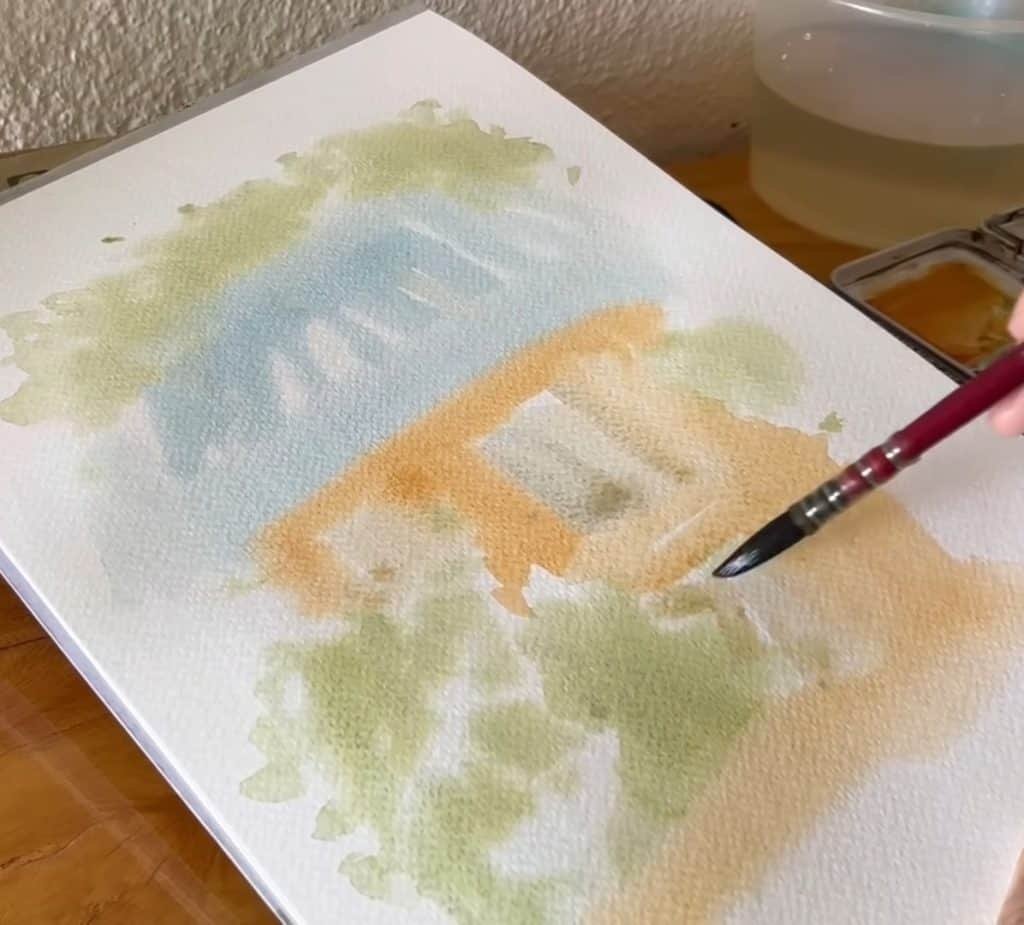
At this point, she also drops in some blue and green to balance the piece. Even though the paint is drying, those extra touches add harmony to the base layer.
Step 4: Inking Your Café Sketch with Waterproof Pens
Once the base layer sets, it’s time to add ink. JilLee stresses that your pen and ink choice make a big difference.
Best Pens and Ink for Ink and Watercolor Sketching
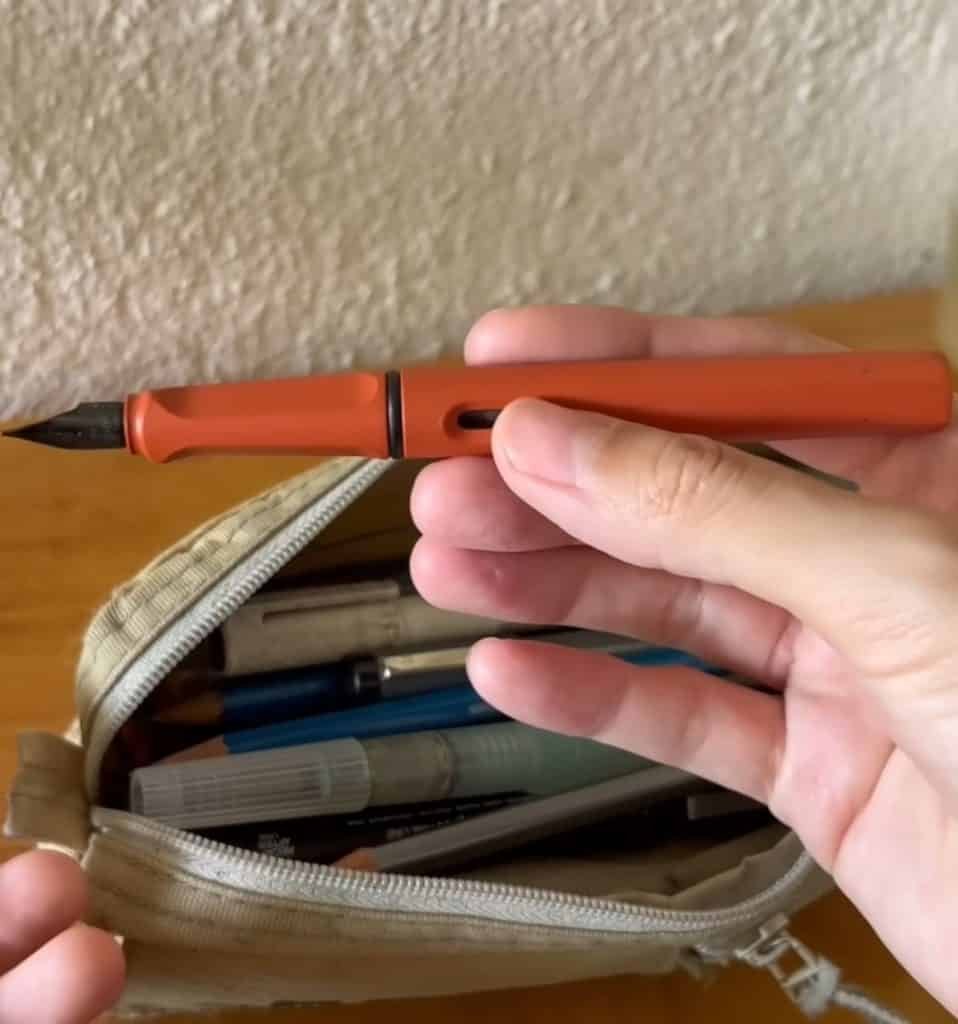
JilLee uses a Lamy Safari fountain pen with a medium nib. The ink is Noodler’s black, which is water-resistant.
She warns that if you don’t use waterproof ink, your lines will smear when you add watercolor later. She’s learned this lesson the hard way.
Drawing Basic Café Shapes with Loose Ink Lines
Instead of starting with a pencil or ruler, JilLee goes straight in with ink. She blocks out the roof and stall first, choosing the easiest parts. If she starts with a hard area and gets it wrong, she risks ruining the whole piece.
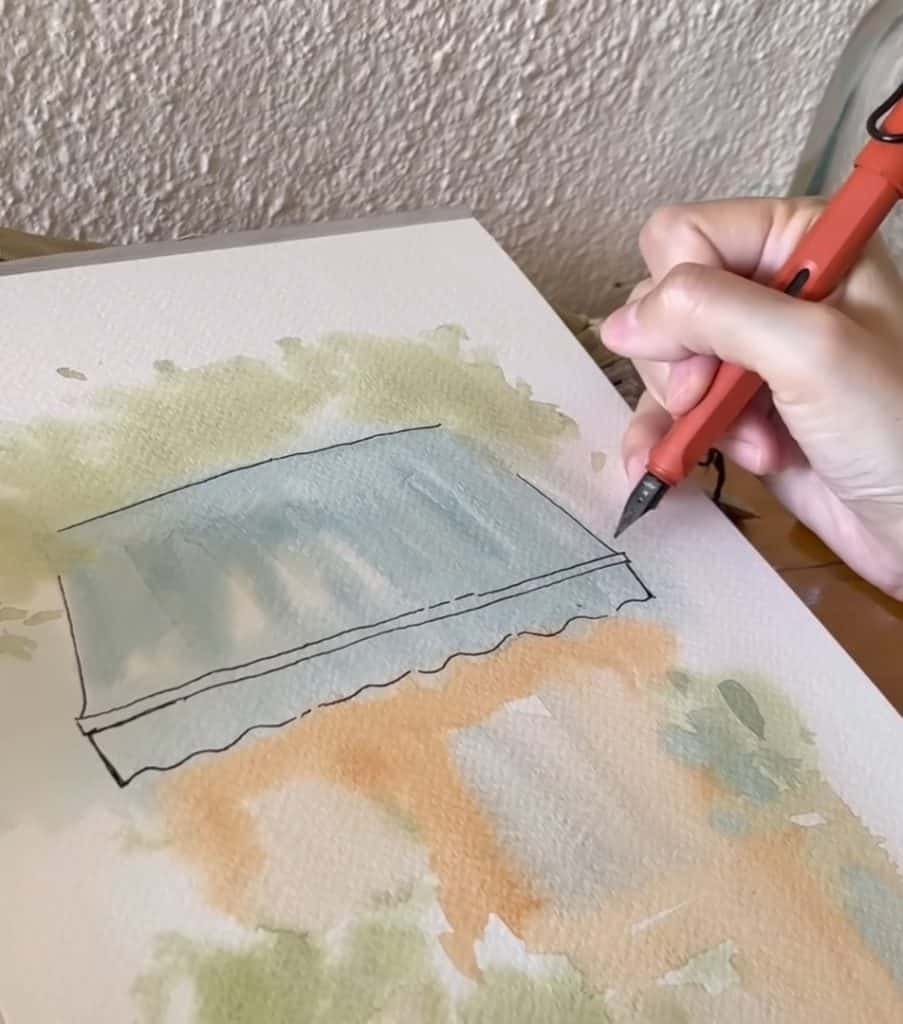
Her lines are loose, not perfectly straight. She explains that this spontaneity adds energy. Using a ruler might create neatness, but it also changes the style.

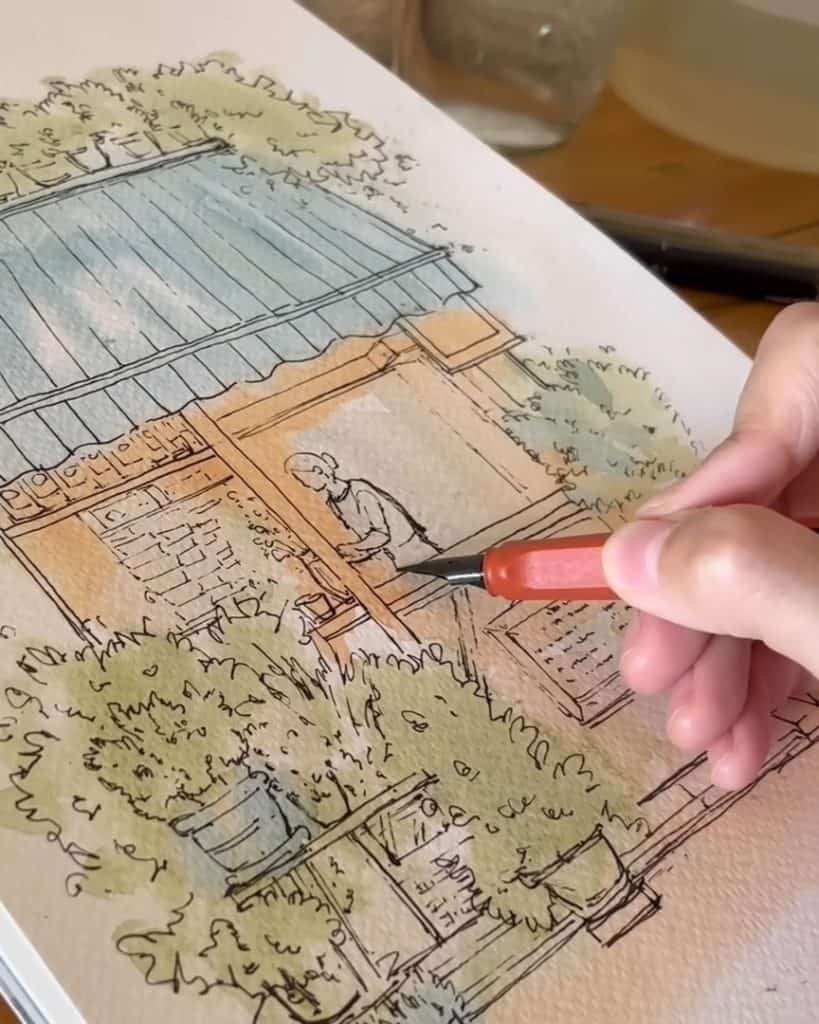
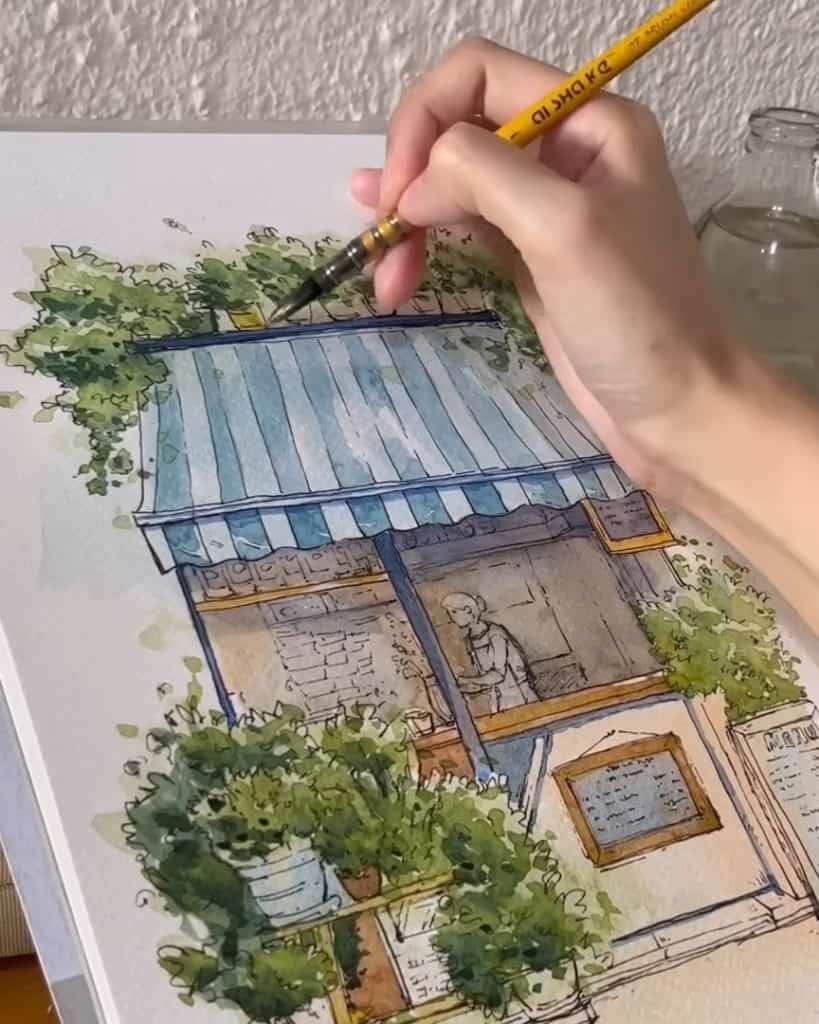
Adding Details and People in Urban Ink Sketching
Next, she sketches the plants around the café. Her strokes look random, but she makes sure to capture natural shapes: bushes, not boxes.
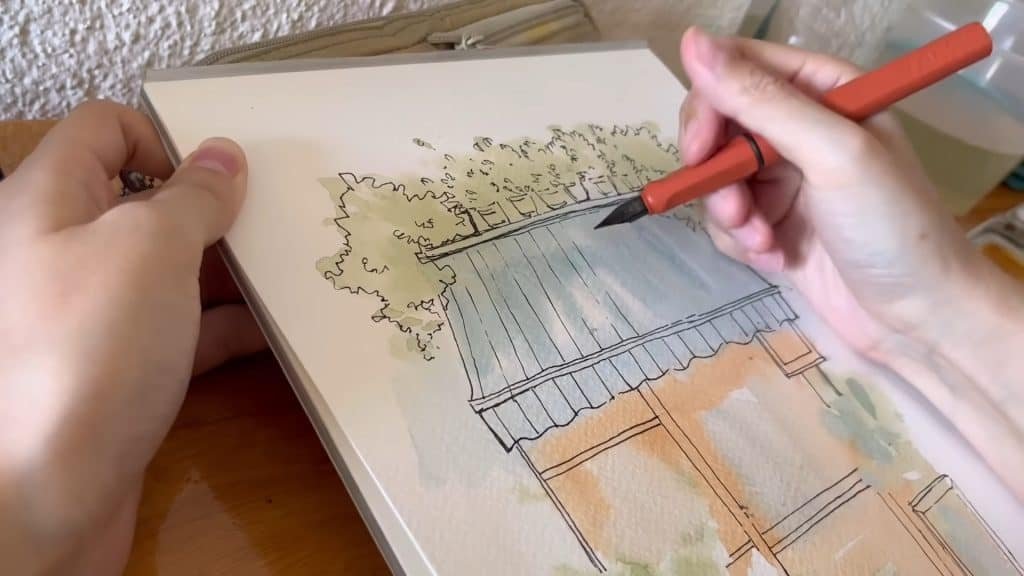
She adds broken lines on the roof, which make the sketch feel more natural and less cartoony.
According to JilLee, this broken-line effect comes naturally when you draw quickly with her pen.
Finally, she draws the shopkeeper. This step is tricky, so she takes extra care. People must look proportional, or the whole sketch will feel off.
Step 5: Adding Watercolor Layers Over Ink Sketching
With ink lines finished, JilLee adds watercolor on top. This step brings the café to life with color and depth.
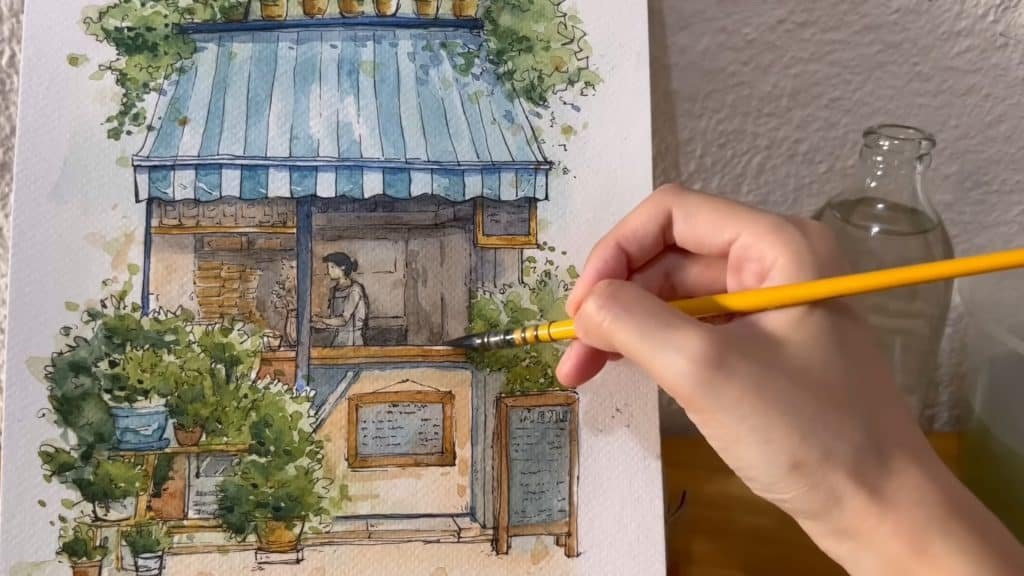
Painting the Café Roof and Wooden Details
JilLee starts with the roof and paints blue stripes. She leaves some gaps to create highlights instead of filling everything solidly. She also paints the wooden areas of the café.
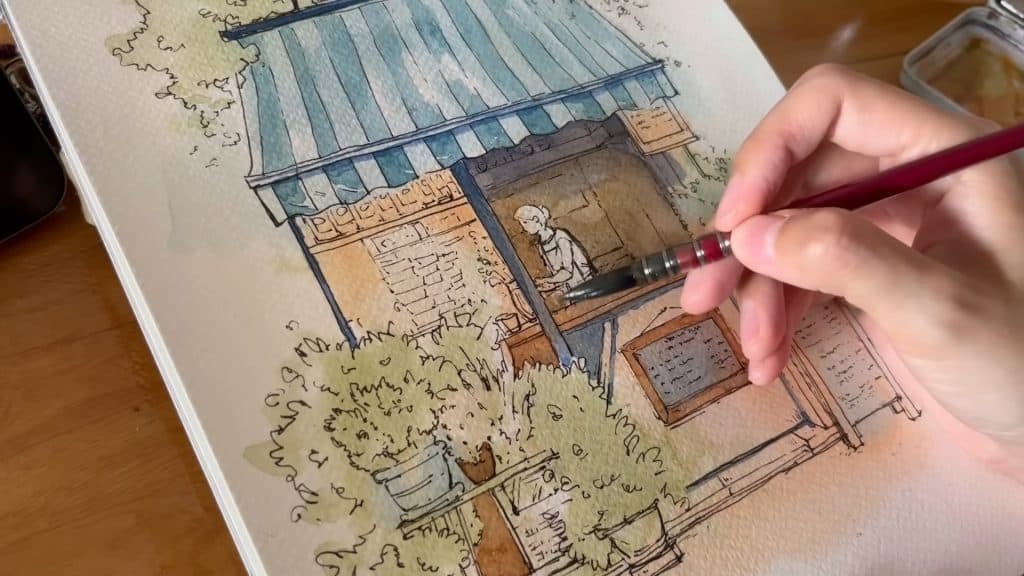
Then she works on the interior, using a mix of ultramarine and burnt umber. It creates a shadowy inside, which makes the outside look bright and sunny.
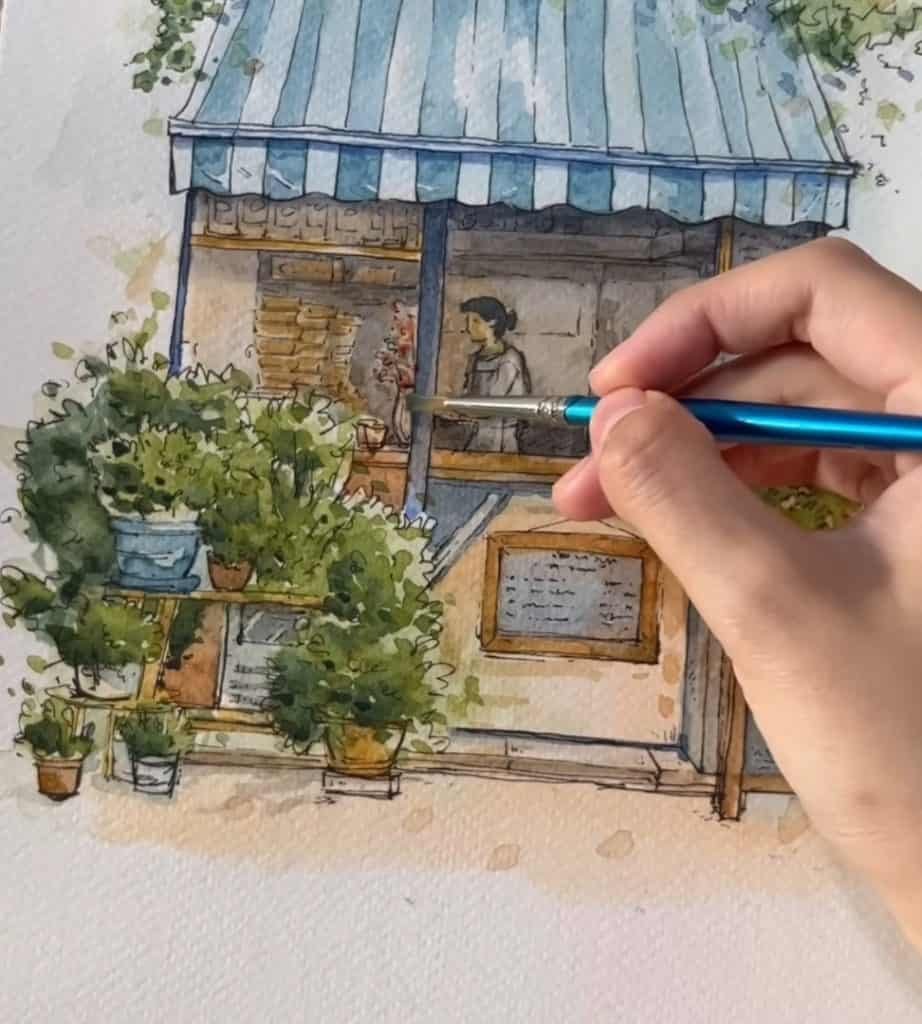
Painting Plants and Foliage in Loose Watercolor
Now she focuses on the greens. The first wash already serves as highlights, so she adds medium green tones with lots of water.
Then she layers darker greens mixed with ultramarine.
To add movement, she paints random leaves floating around, as if it’s a breezy, sunny day. This small touch adds energy and atmosphere.
Enhancing Your Sketch with Shadows and Accent Colors
JilLee feels the café needs more warmth. She uses yellow ochre on some wood and vases.
She also adds deeper shadows with a near-black color mix, especially under vases and on the left side of bushes.
She brightens the center with yellow ochre, burnt sienna, and even red for flowers. These accents make the sketch more vibrant and balanced.
Step 6: Final Touches to Complete Your Café Sketch
At this stage, the piece is almost done. JilLee recommends stepping back and making small refinements.
Refining Details in Loose Ink and Watercolor Art
JilLee notices the plants on the bottom left need tidying. She adds random dots and more color accents to bring balance. These small touches polish the piece without overworking it.
Viewing Watercolor Sketches in Natural Light
According to JilLee, watercolor always looks best in natural sunlight. She takes her café sketch to the balcony to check. Under the sun, the colors look fresher and livelier.
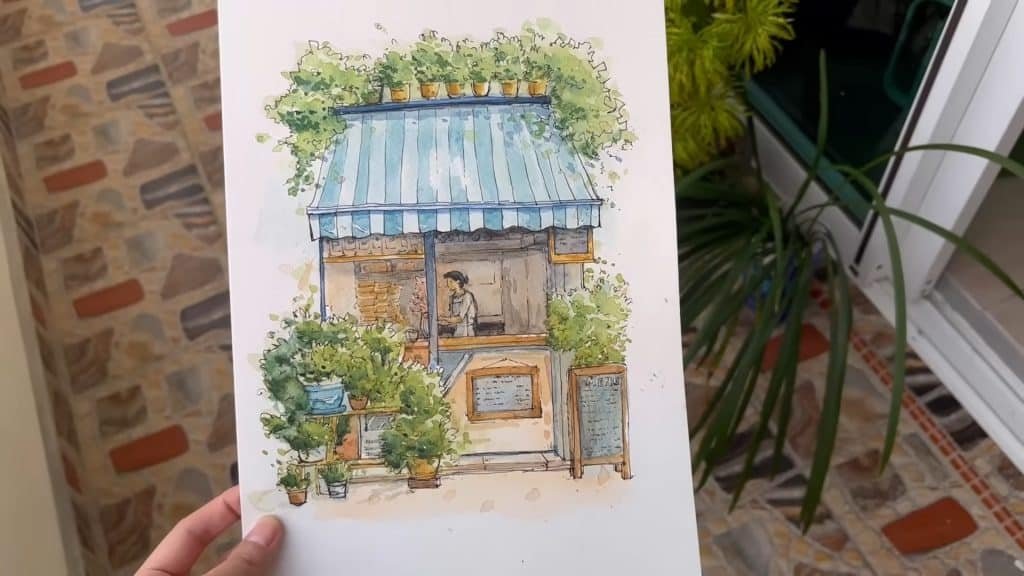
Signing and Dating Your Urban Café Sketch
To finish, JilLee signs her name and adds the date. This marks the piece as complete and personal.

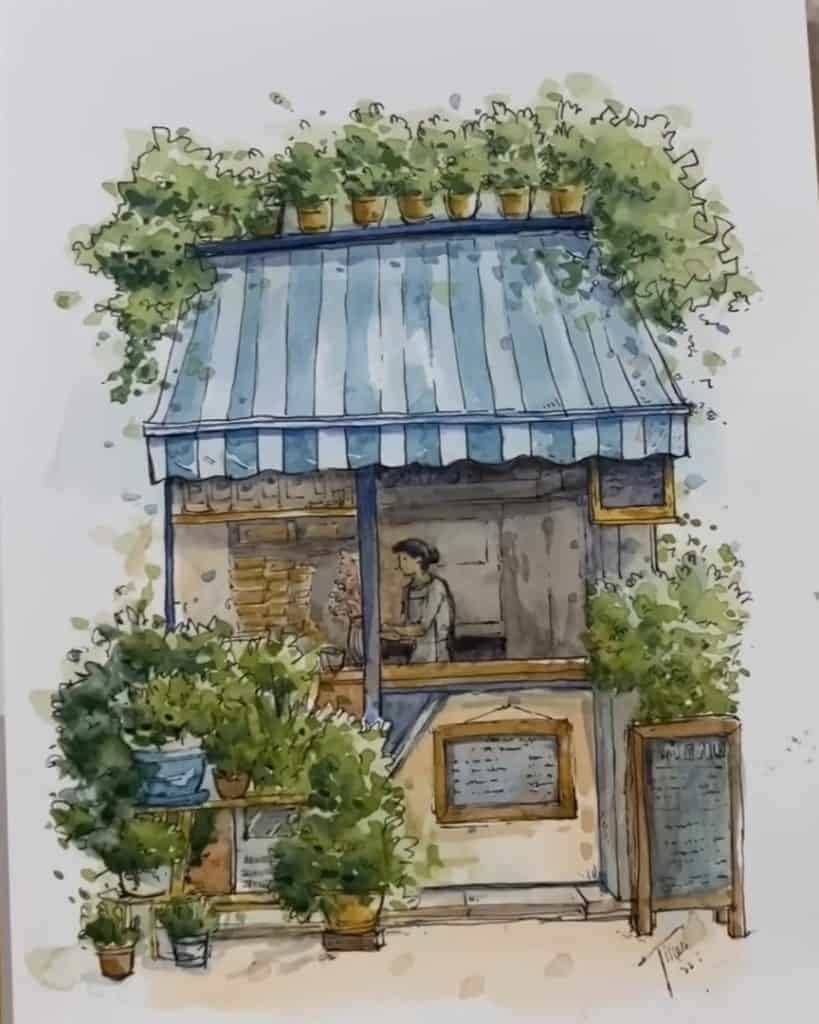
Closing Words
Now that you’ve seen how JilLee brings a café to life with loose ink and watercolor. Each step adds character, from choosing the right paper to layering colors and finishing with ink.
Why not try this method yourself and sketch your favorite café scene today? Share your results and see how free and joyful urban sketching can be.