
Watercolor is a wonderful medium, but it can be tricky. Small mistakes often ruin your work, and sometimes you need quick fixes to save time and stress. That’s where simple hacks make a big difference.
In the article, Kirsty shares 12 watercolor hacks that help you paint better and enjoy the process more. Her tips are practical, easy to try, and perfect for you. Let’s explore them now.
Contents
- 1 Hack 1: Create Natural Starry Skies
- 2 Hack 2: Remove Excess Water with a Pipette
- 3 Hack 3: Prevent Tape from Tearing Paper
- 4 Hack 4: Hide Sketch Lines with Watercolor Pencils
- 5 Hack 5: Keep Water Cleaner with Two Jars
- 6 Hack 6: Preserve Highlights with White Pencils or Wax
- 7 Hack 7: Speed Up Drying with a Hairdryer
- 8 Hack 8: Preserve Subjects with Masking Fluid
- 9 Hack 9: Add Texture with Salt and Cling Film
- 10 Hack 10: Flatten Warped Paper with Dampening and Weight
- 11 Hack 11: Use Gouache for Opaque Highlights and Fixes
- 12 Hack 12: Lift Watercolor with a Damp Brush or Tissue
- 13 Wrapping Up
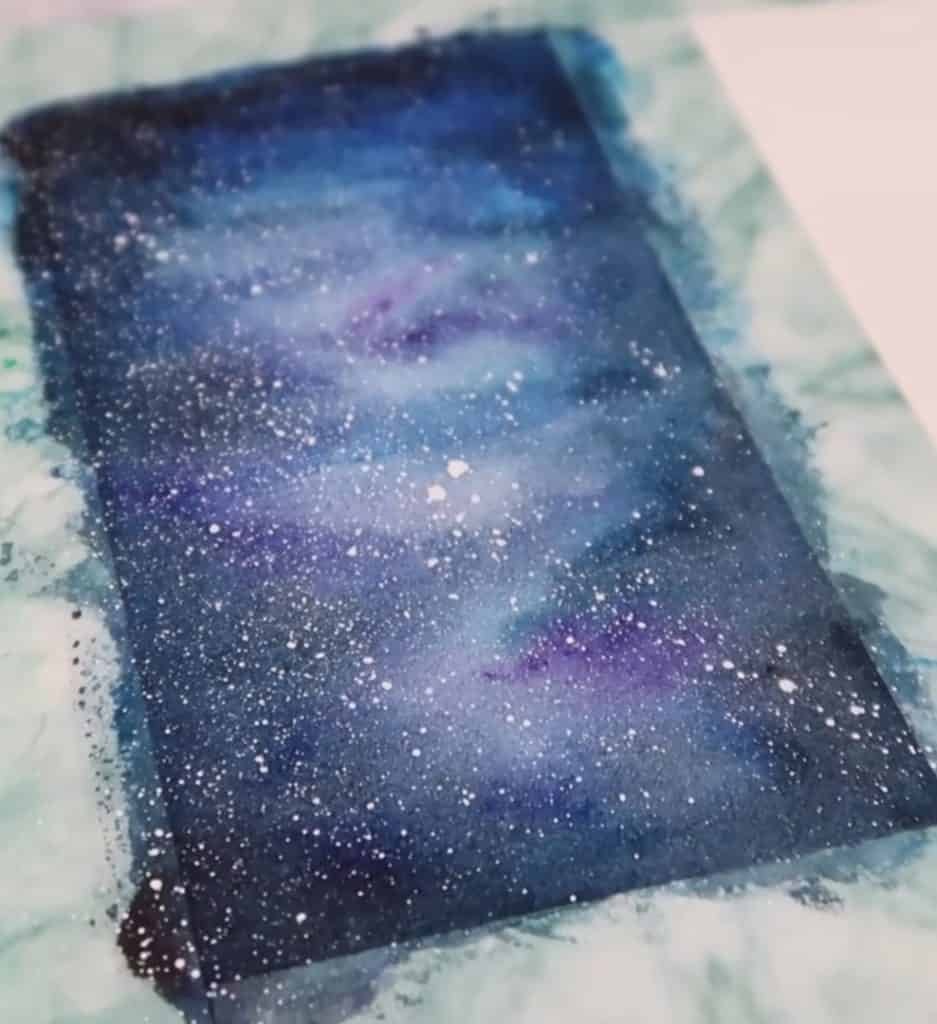
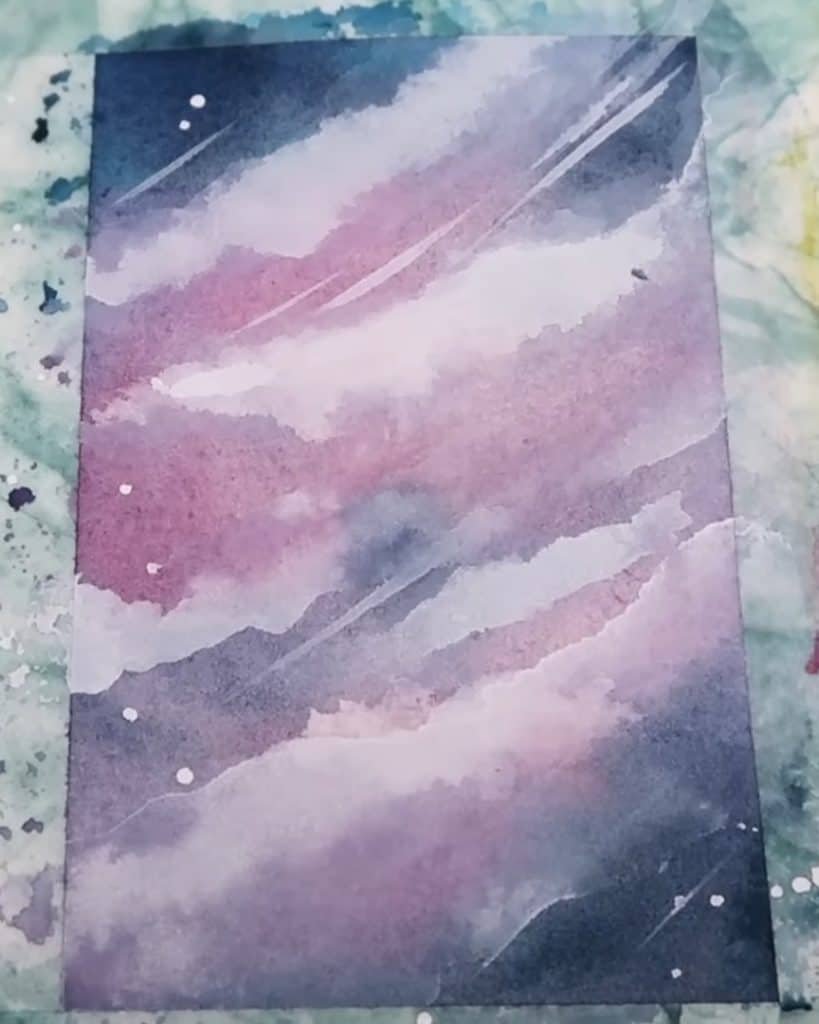
Hack 1: Create Natural Starry Skies
A galaxy or night sky can feel hard to paint. You want stars to look random and natural, but painting them one by one is slow.
Kirsty recommends using white gouache for stars. It is opaque and stands out beautifully. You can load a flat brush with gouache and flick it with your finger.

A toothbrush also works. This creates stars of many sizes in seconds. The result is a realistic starry sky that looks effortless.
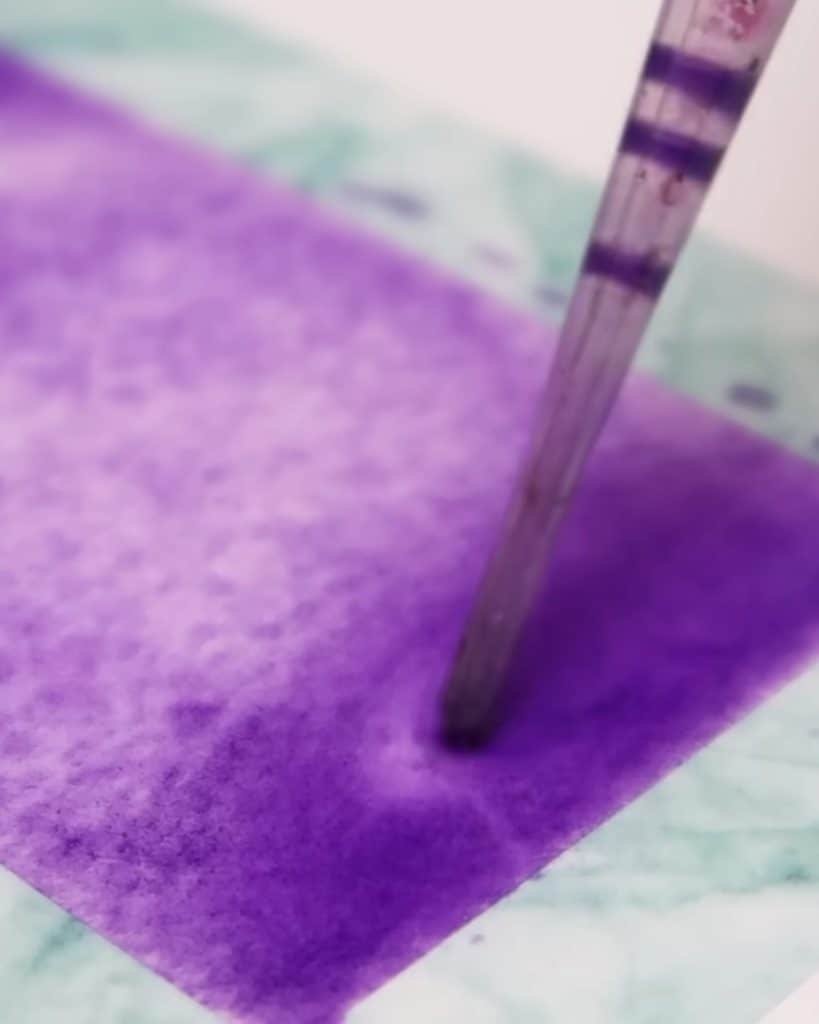
Hack 2: Remove Excess Water with a Pipette
Too much water on your paper can cause puddles. These puddles ruin smooth washes. Tissues often leave uneven marks and disturb your gradients.
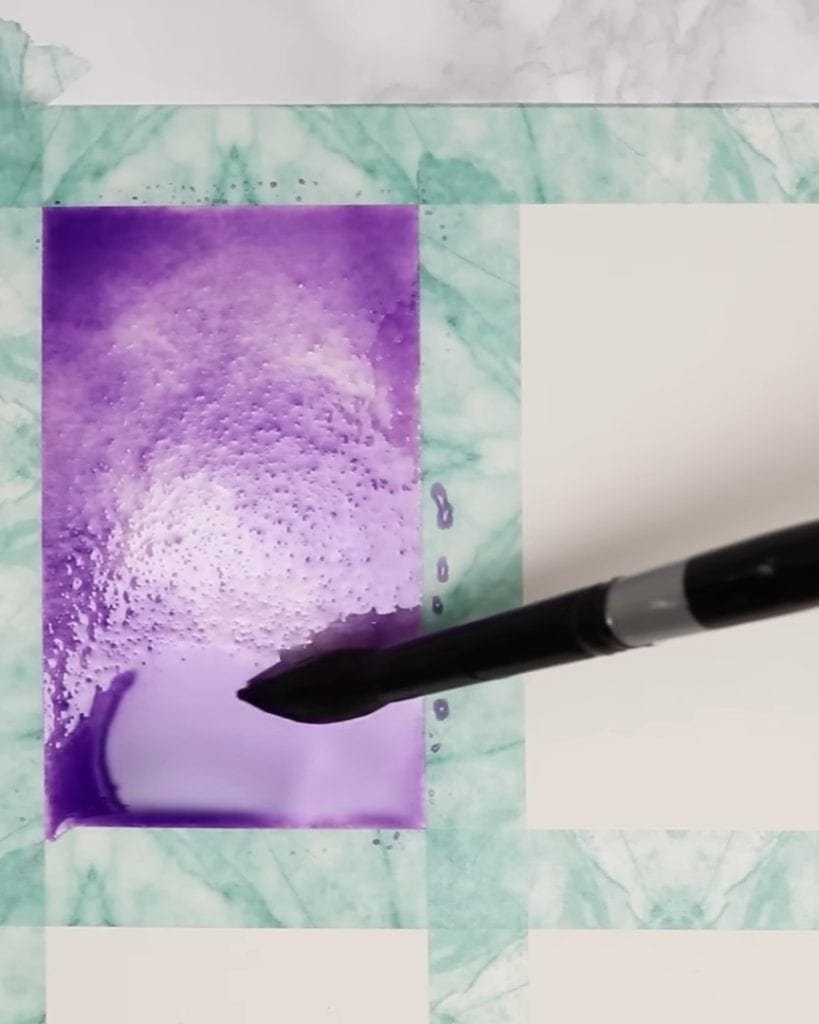
Kirsty suggests using a pipette. This small, inexpensive tool sucks up water without touching the paint below.
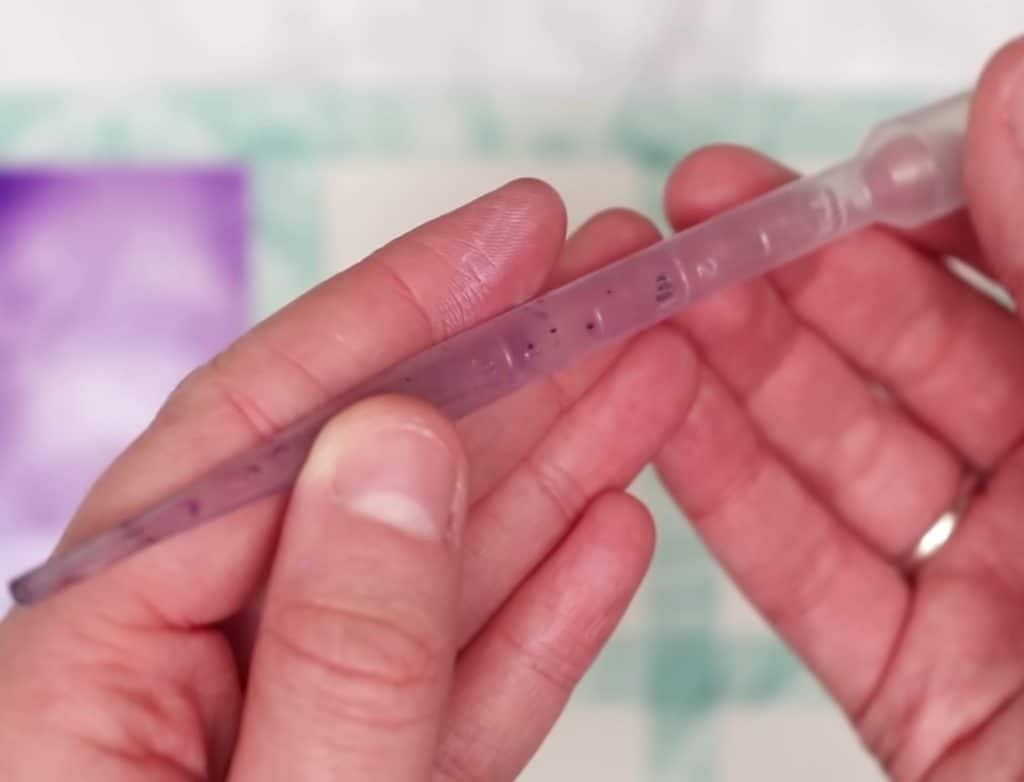
All you need to do is squeeze the pipette, place it on the puddle, and let it absorb the extra water. This keeps your painting neat and smooth.
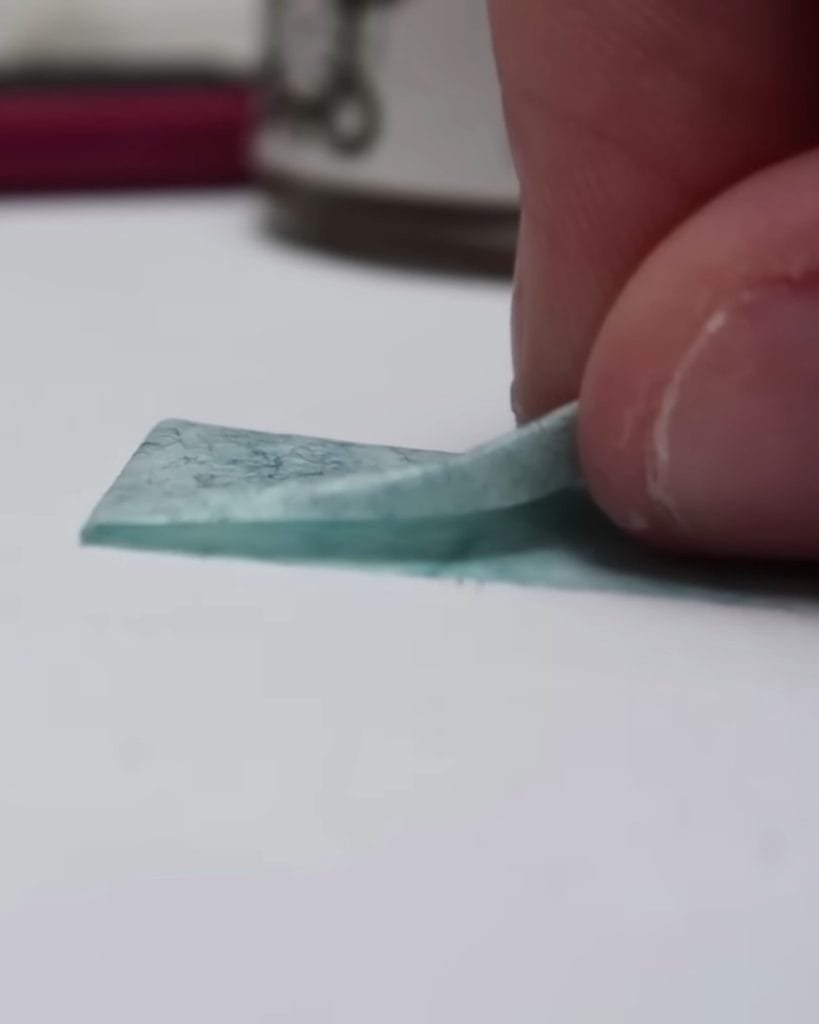
Hack 3: Prevent Tape from Tearing Paper
Masking tape is useful, but it can rip your paper. That is heartbreaking after you spend hours on a painting.
To fix this, Kirsty removes some of the tape’s stickiness before use. She presses the tape onto fabric, jeans, or carpet first. This transfers fibers to the tape and reduces its strength.
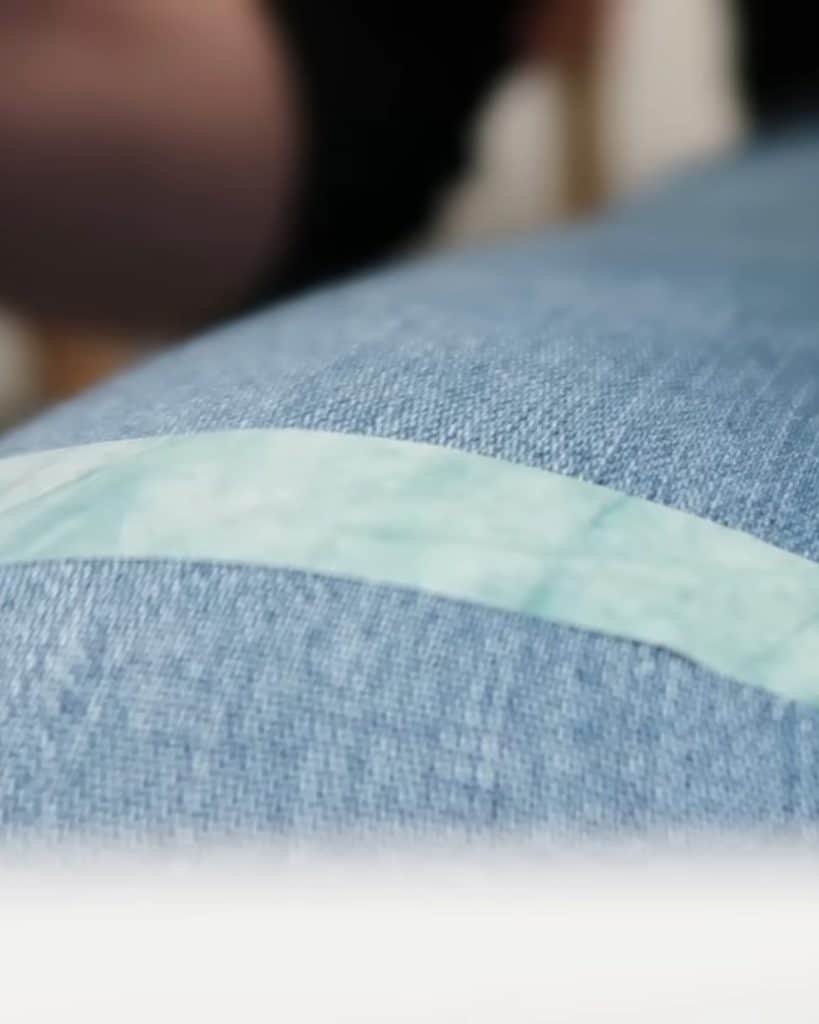
When you peel it off, the tape comes away cleanly. Your paper stays intact, and your edges remain sharp.
Hack 4: Hide Sketch Lines with Watercolor Pencils
Do you see your pencil sketch under the watercolor layer? Graphite lines stay visible because they are not water-soluble. Watercolors are transparent, so gray lines often show through.
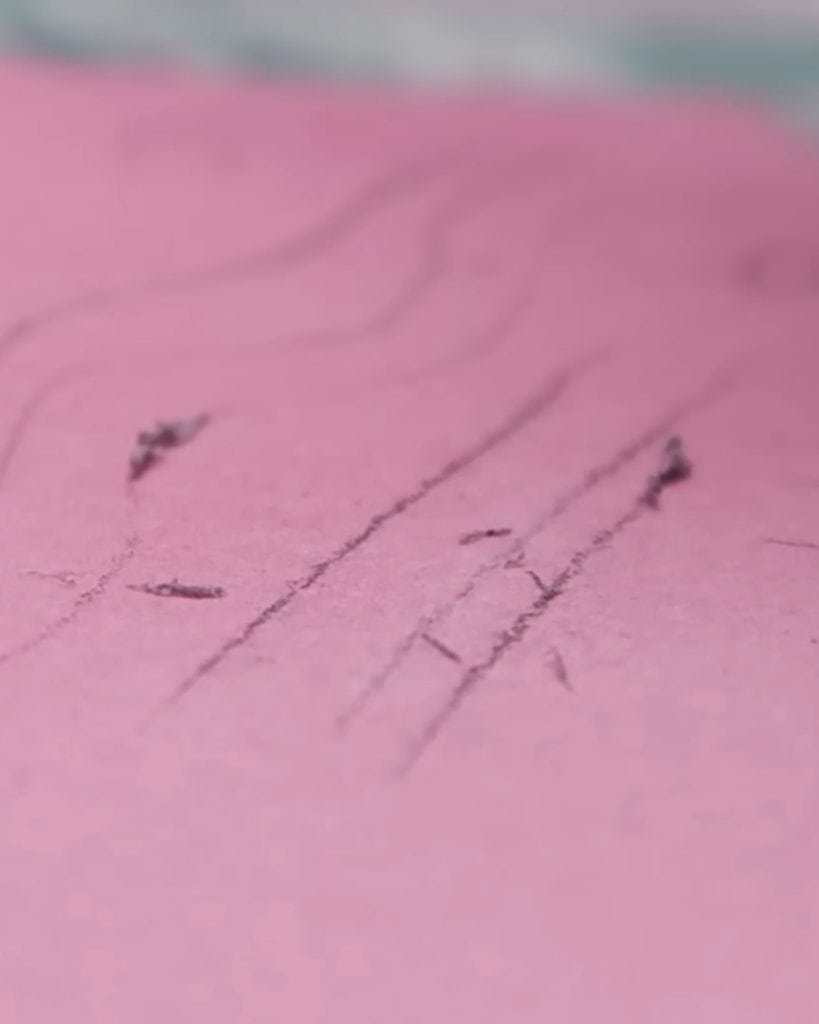
Kirsty suggests replacing graphite with watercolor pencils. Choose a color similar to the paint you plan to use.
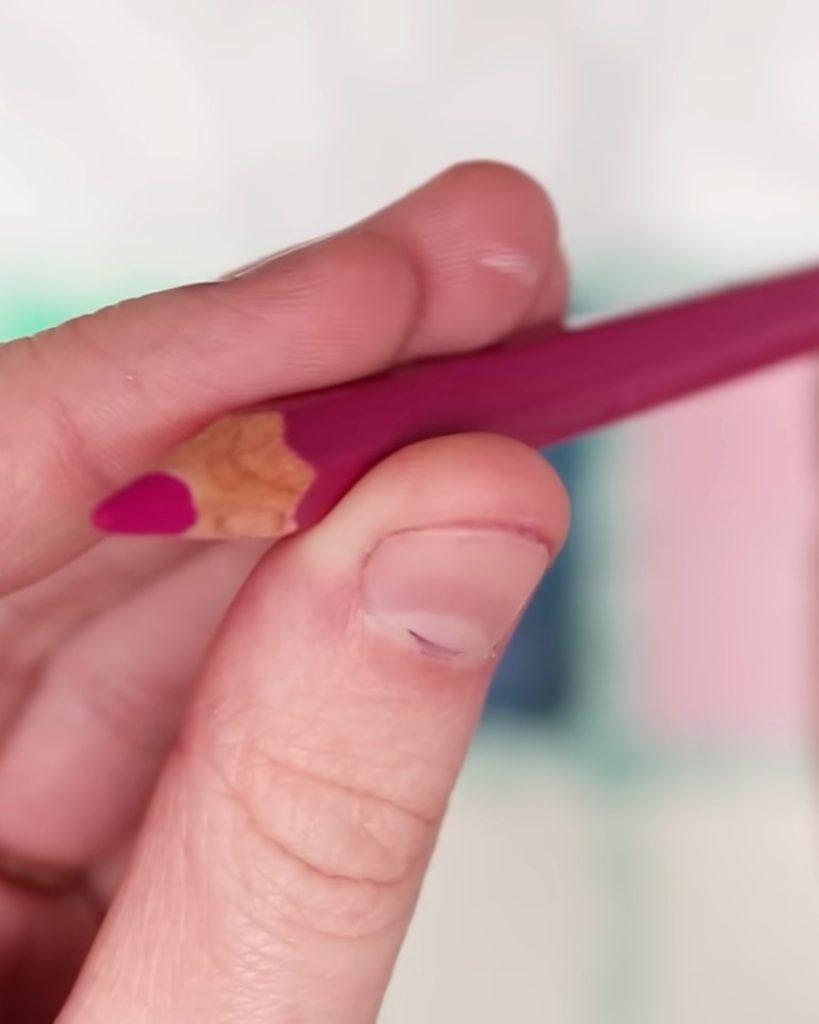
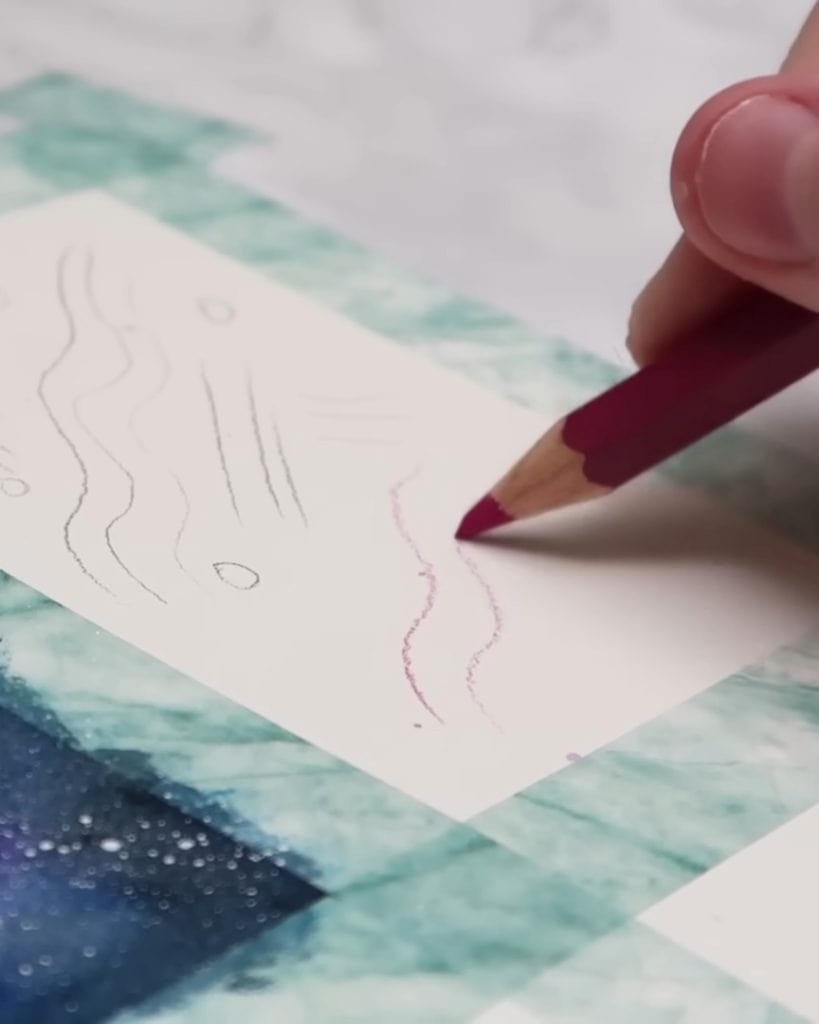
When you apply water, the pencil marks dissolve into the paint. This makes outlines blend in or disappear completely.
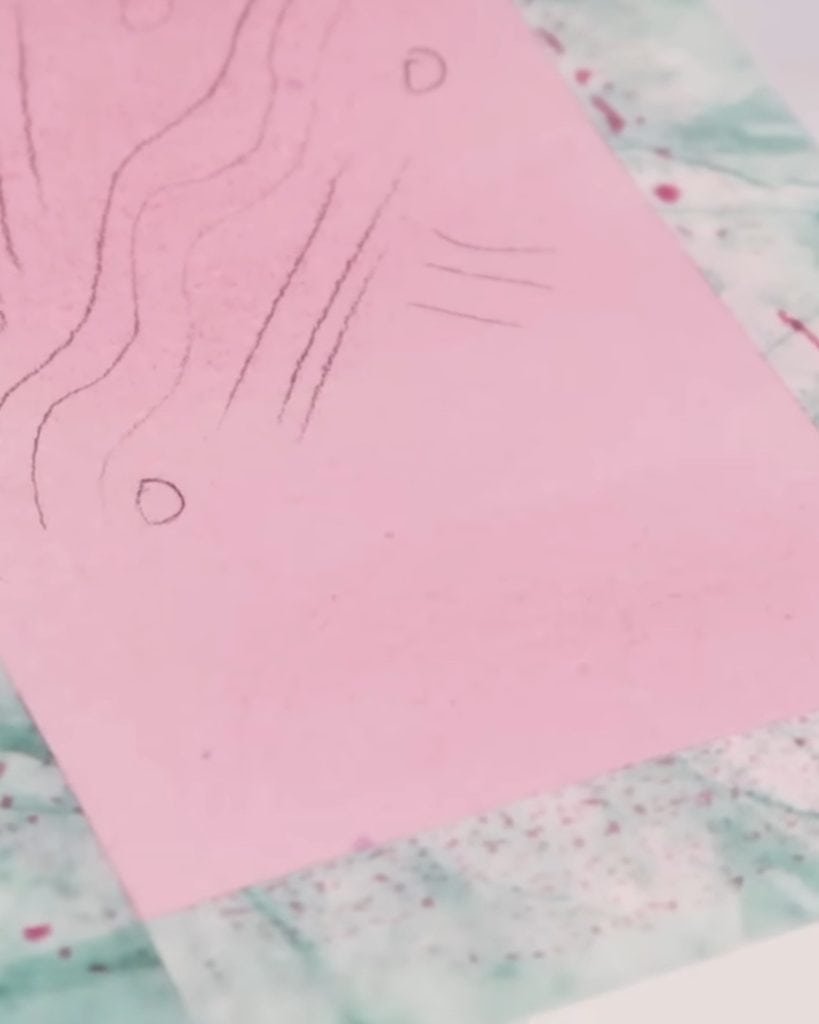
Your final painting looks clean, without harsh gray marks.
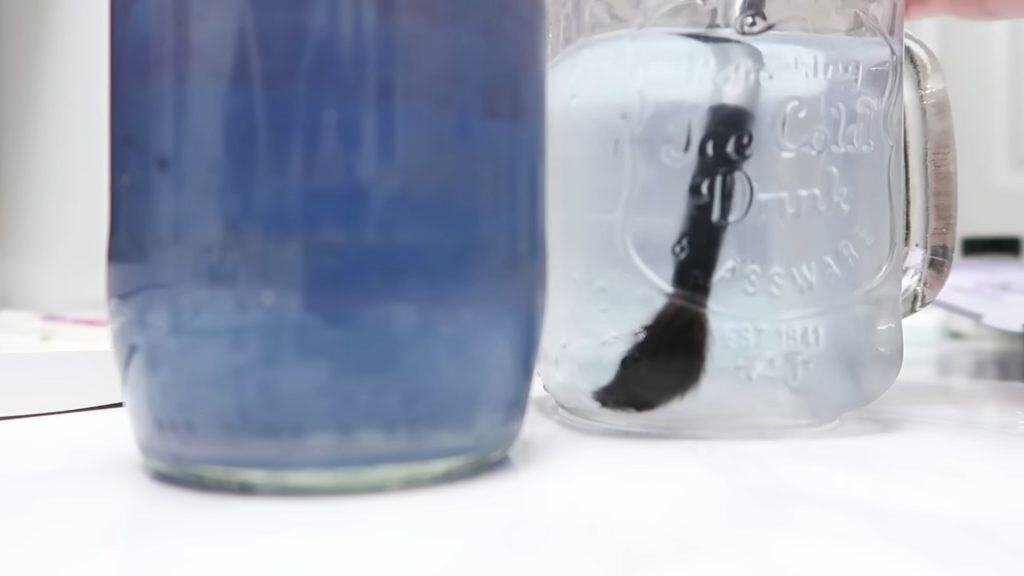
Hack 5: Keep Water Cleaner with Two Jars
Dirty water affects your colors. If you only use one jar, your brush stays muddy, and your colors lose their freshness.
Kirsty uses two jars of water. In the first jar, she rinses her brush thoroughly. In the second, she gives it a final swirl. The second jar stays much cleaner.
This simple trick saves time, keeps colors bright, and reduces the number of trips to the sink.
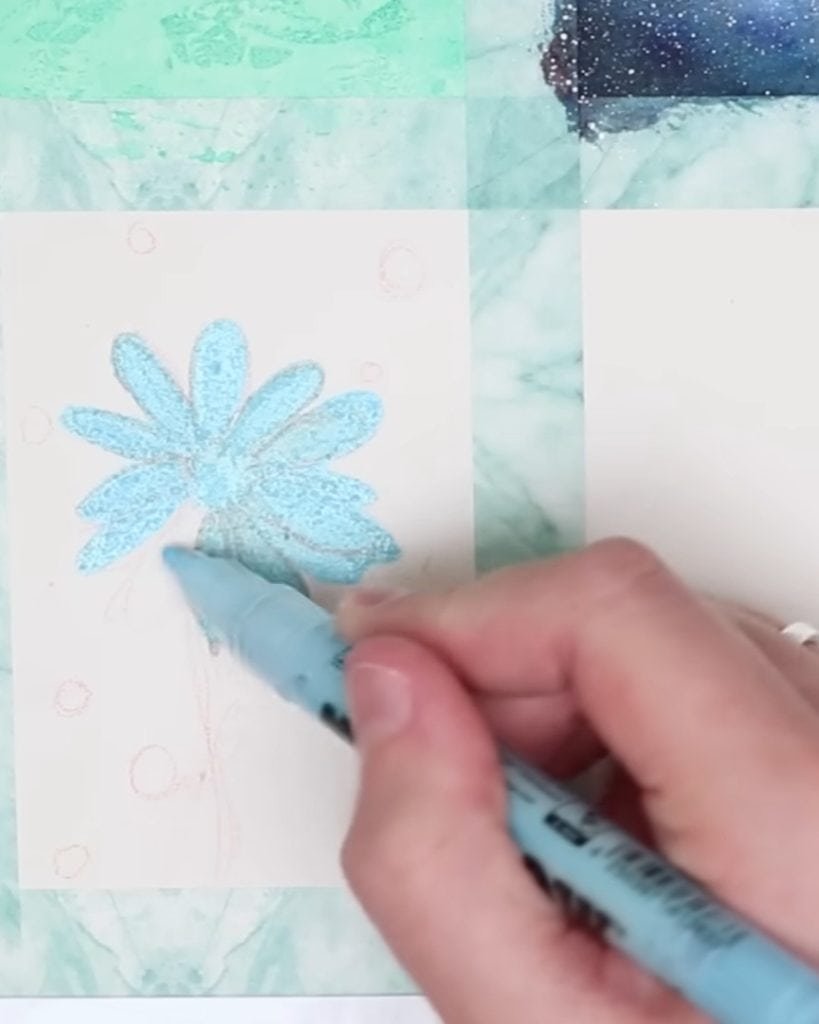
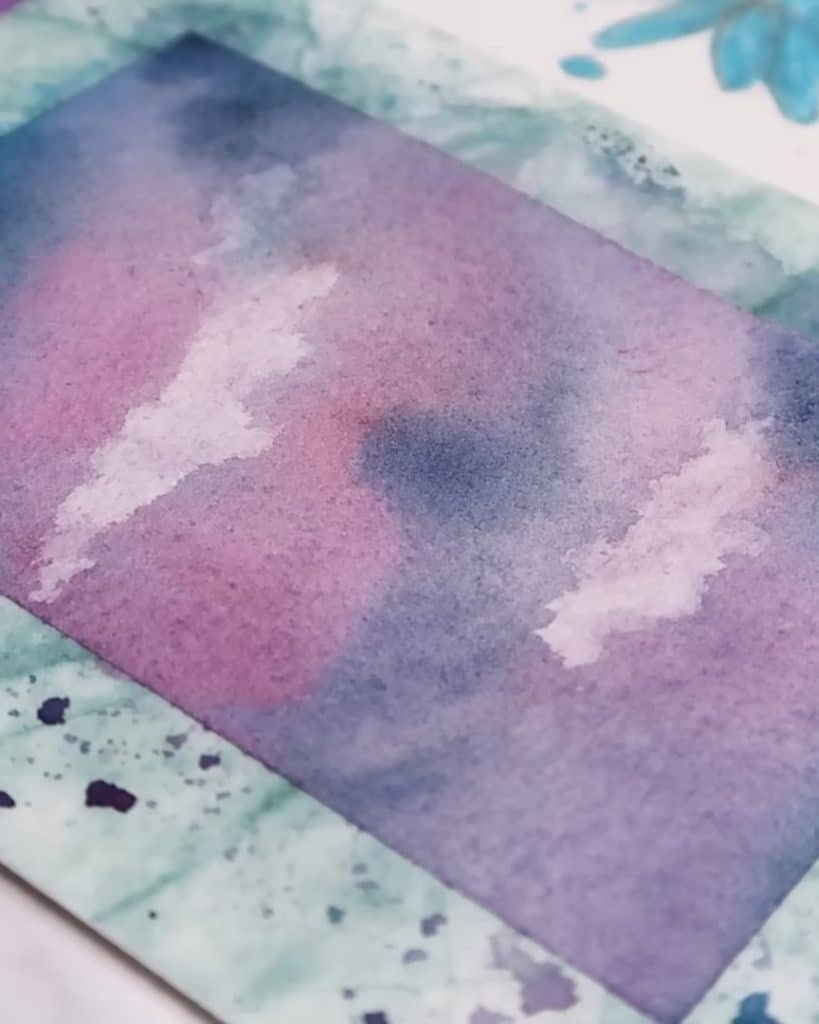
Hack 6: Preserve Highlights with White Pencils or Wax
Highlights bring life to a painting, but keeping them bright is difficult. Watercolor does not allow you to paint white on top easily.
Kirsty uses a white colored pencil or a wax-based pencil. These materials resist watercolor.
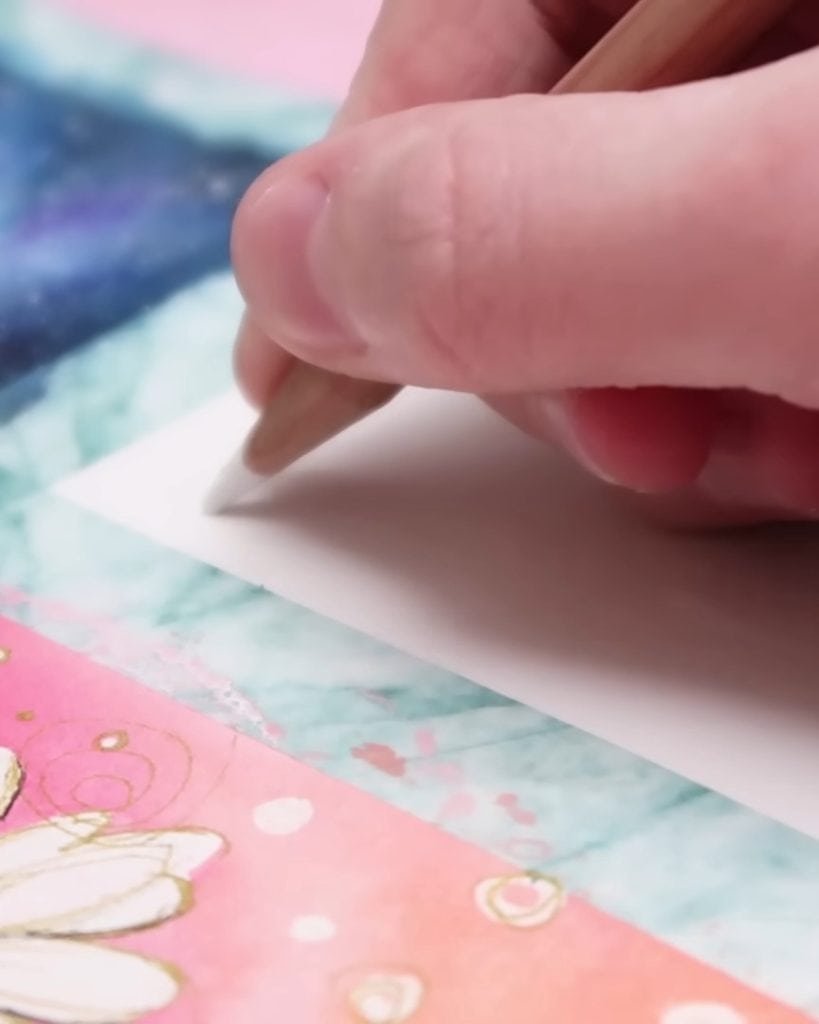
When you paint over them, the paper beneath stays white.
After painting, she erases watercolor stains from the pencil surface.
The highlights appear crisp and bright, perfect for waves or reflections.
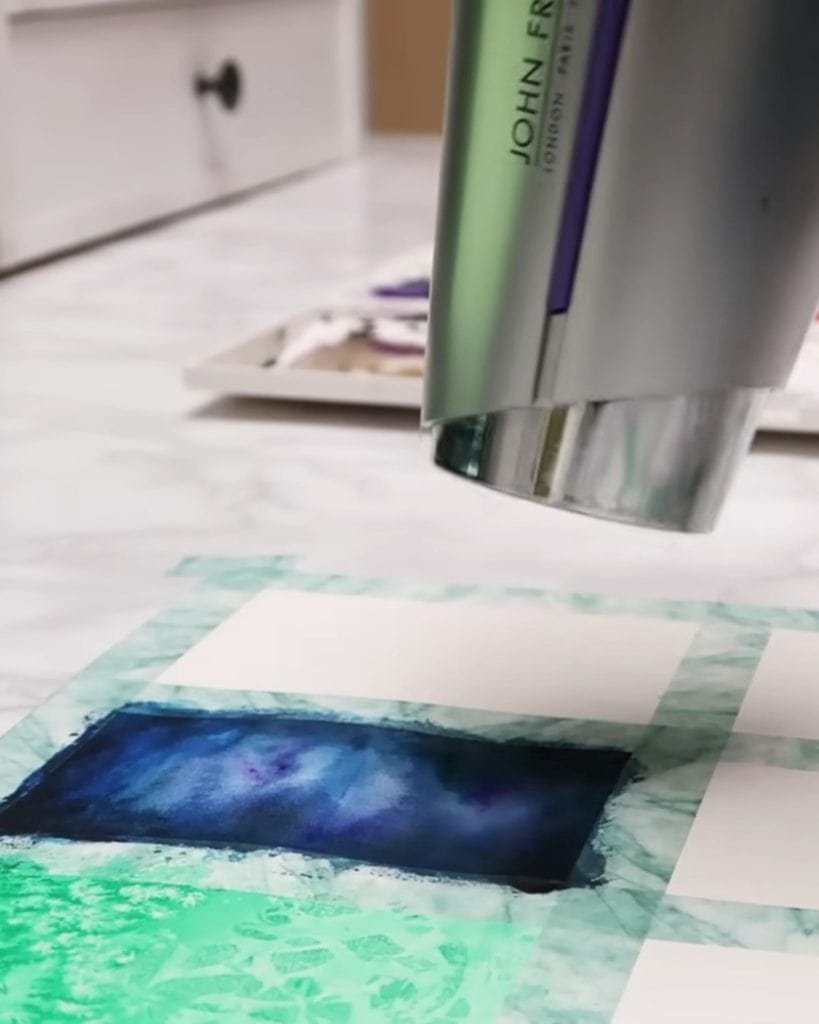
Hack 7: Speed Up Drying with a Hairdryer
Waiting for paint to dry slows you down. You cannot add new layers without smudging.
Kirsty uses a hairdryer. She recommends the cool setting and low speed. Hold it at a safe distance so you don’t blow the paint around or burn the paper.
This method dries layers quickly, letting you move forward without delay. It saves a lot of time during complex projects.
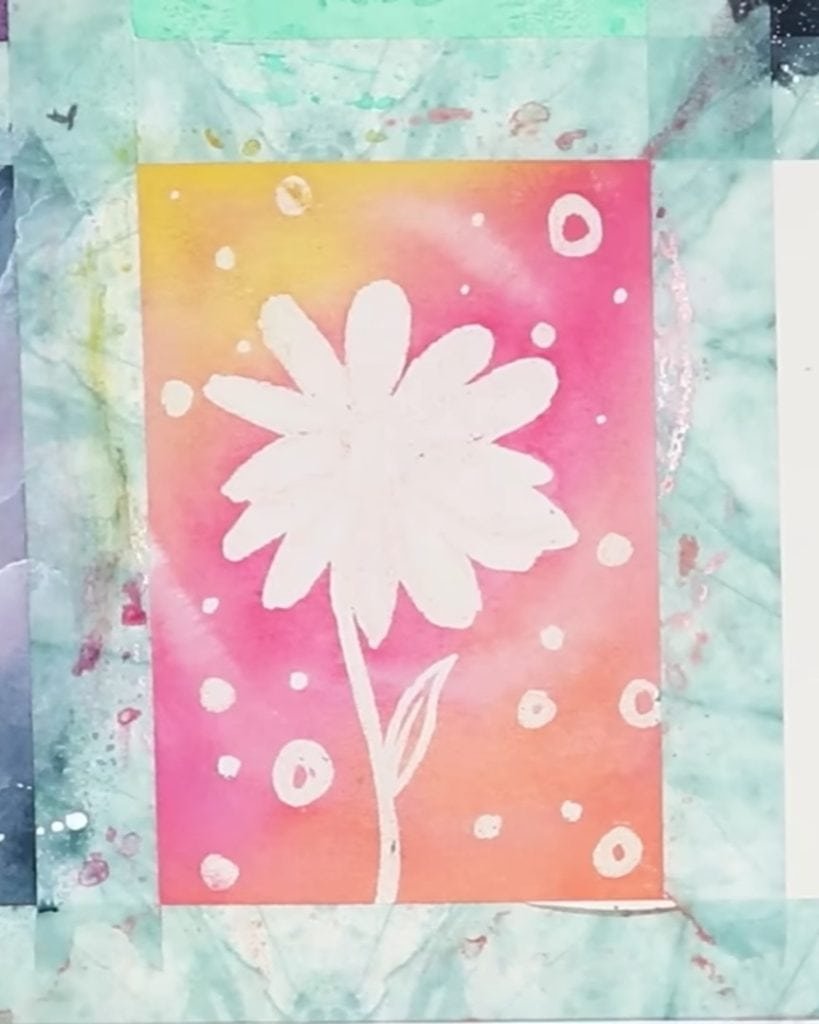
Hack 8: Preserve Subjects with Masking Fluid
Painting backgrounds around a subject can feel stressful. You risk painting over delicate areas and ruining your work.
Kirsty uses masking fluid. Apply it to the subject you want to protect, and let it dry.
Then paint your background freely.
When the paint is dry, peel or rub away the masking fluid. The protected area remains clean and bright. This trick is affordable, long-lasting, and very effective.
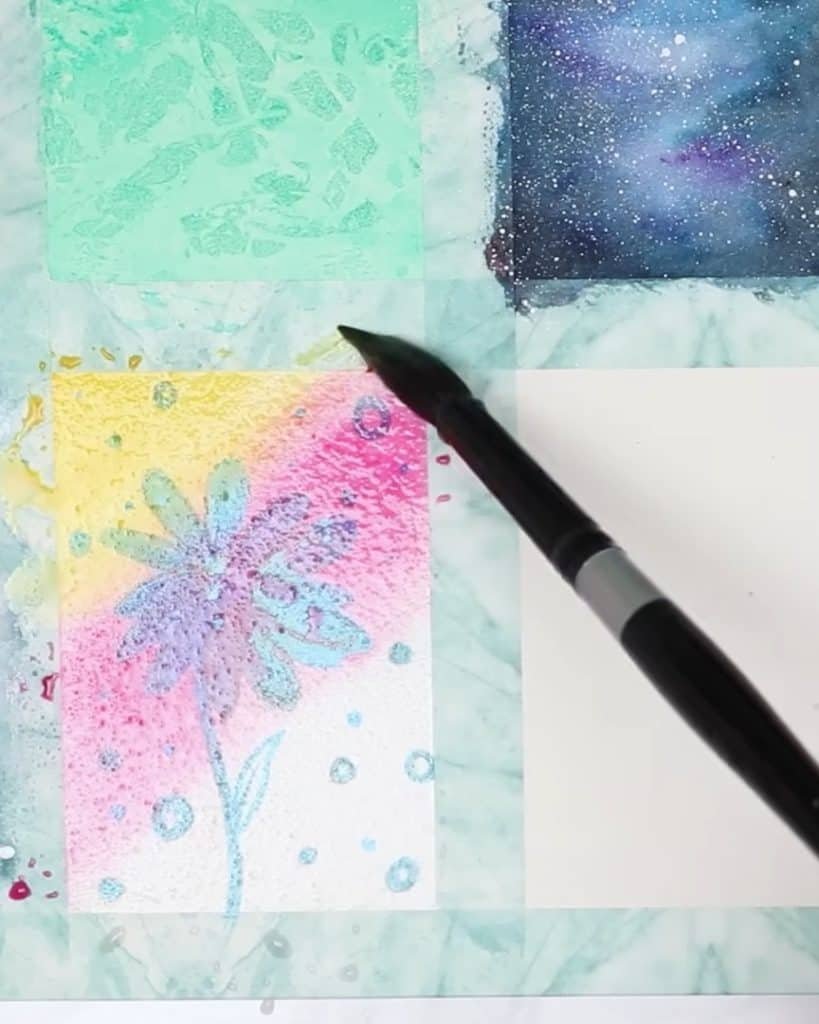
Hack 9: Add Texture with Salt and Cling Film
Flat washes sometimes look plain. Adding texture makes them interesting and expressive.
Kirsty uses salt and cling film. Sprinkle salt onto damp paint, and it creates snow-like clusters. This effect works well for winter scenes or starry skies.
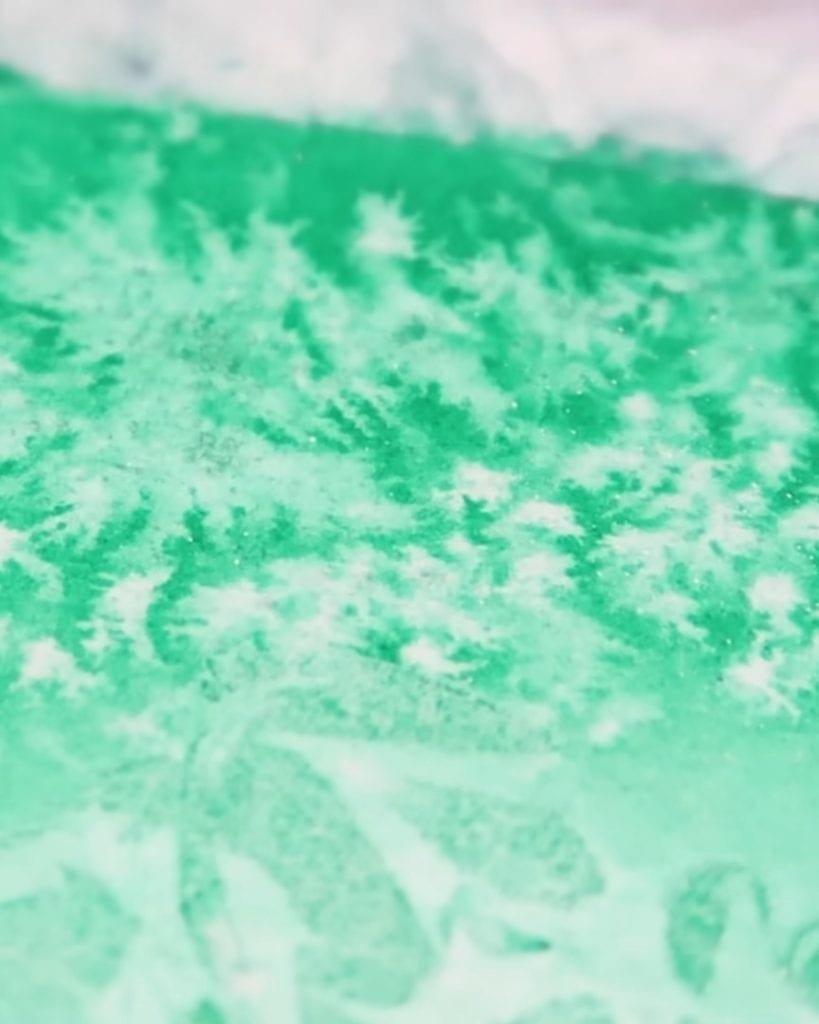
For cling film, press a piece onto damp paint and shape it as you like. When dry, remove it to reveal ice-like or abstract patterns.
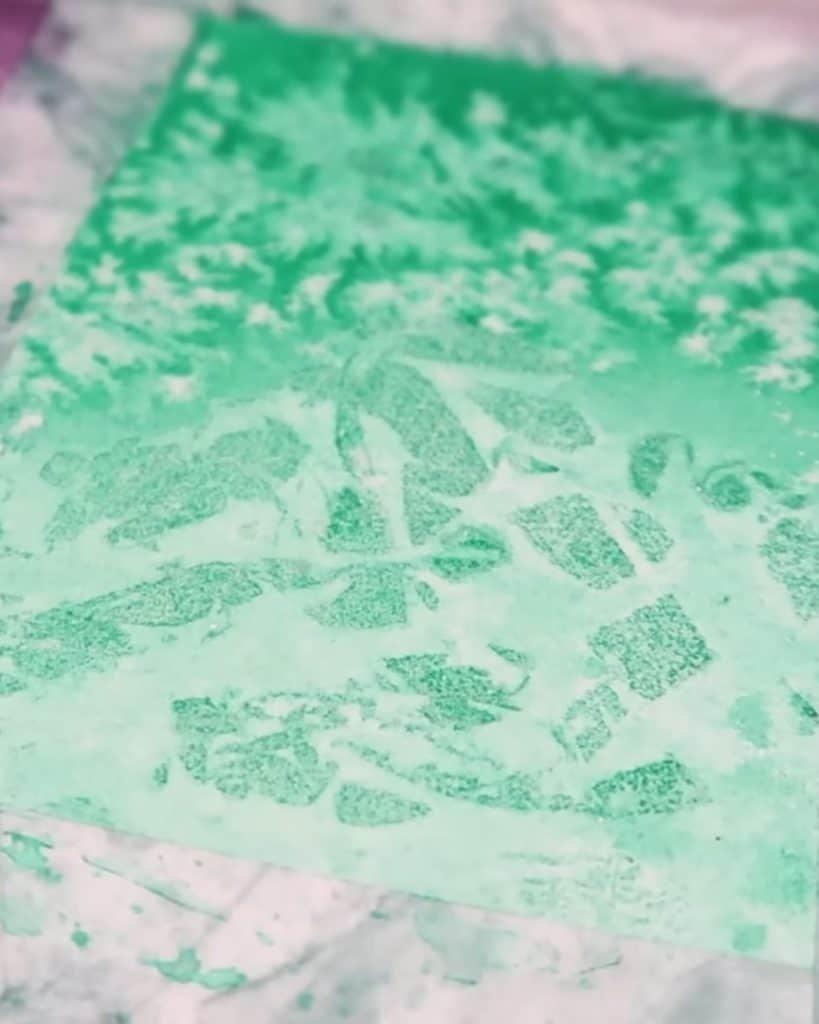
Both tricks are fun ways to add unique textures to your work.
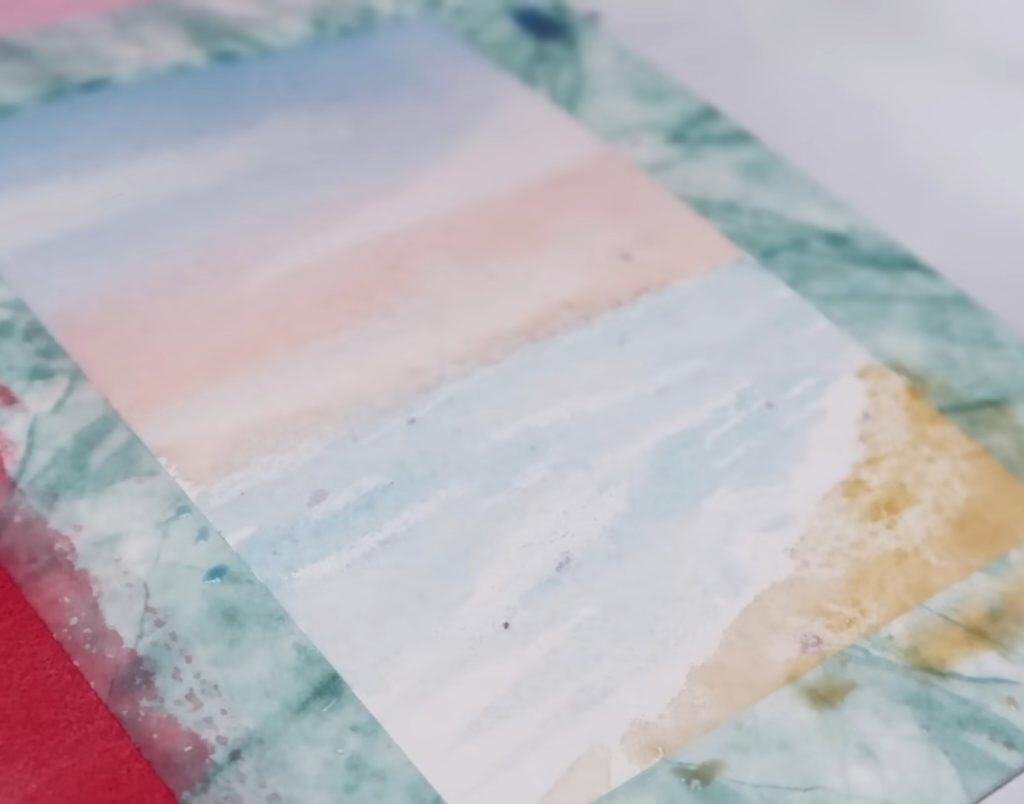
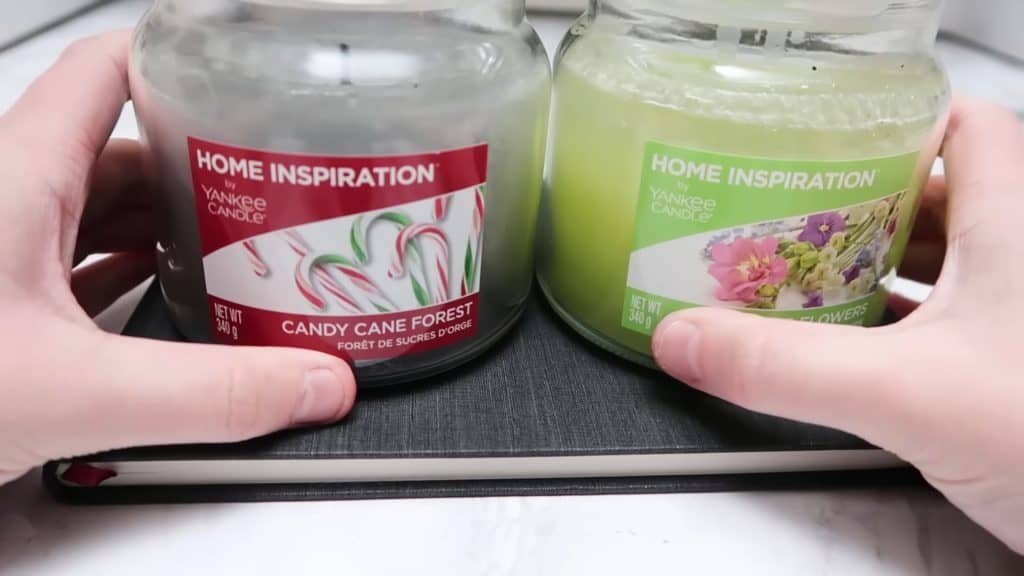
Hack 10: Flatten Warped Paper with Dampening and Weight
Watercolor paper often warps or buckles as it dries. This can spoil the look of your painting.
Kirsty suggests dampening the back of the paper slightly. Then place heavy objects, such as books or candles, on top.
Leave it overnight. By morning, the paper dries flat and smooth. This quick fix prevents uneven surfaces and makes your finished painting look professional.
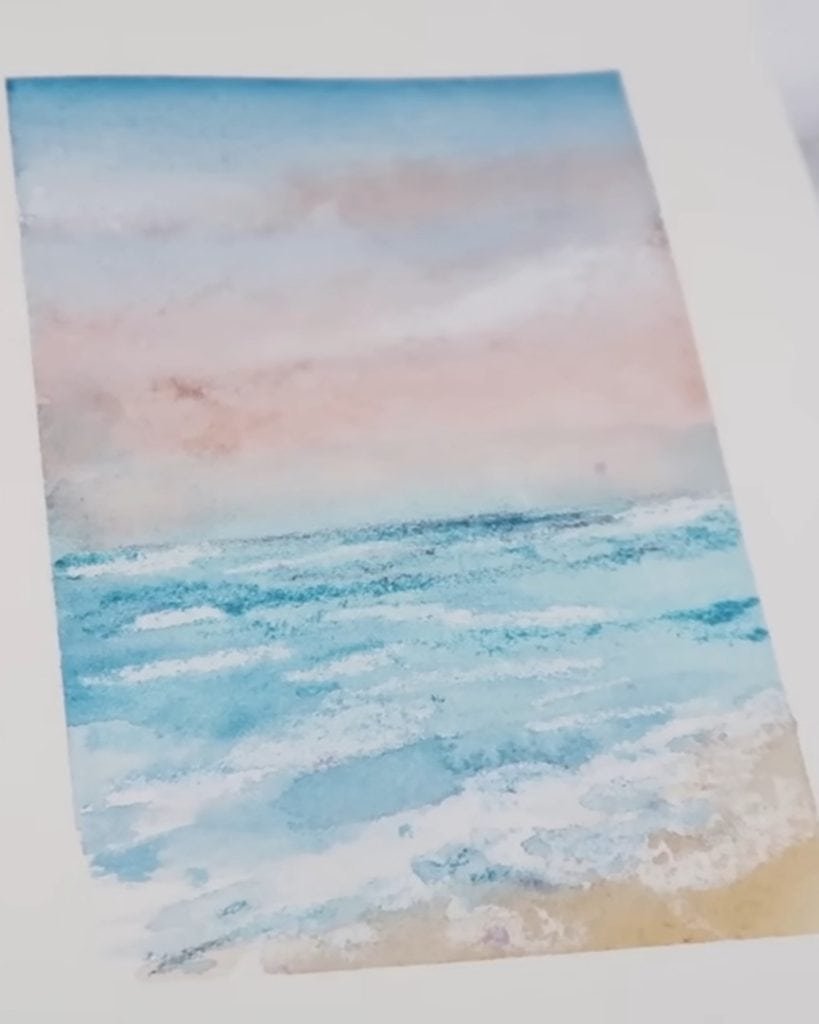
Hack 11: Use Gouache for Opaque Highlights and Fixes
Sometimes your highlights fade, or your painting looks too dark. White watercolor does not cover well enough.
Kirsty uses white gouache. It is opaque and strong.
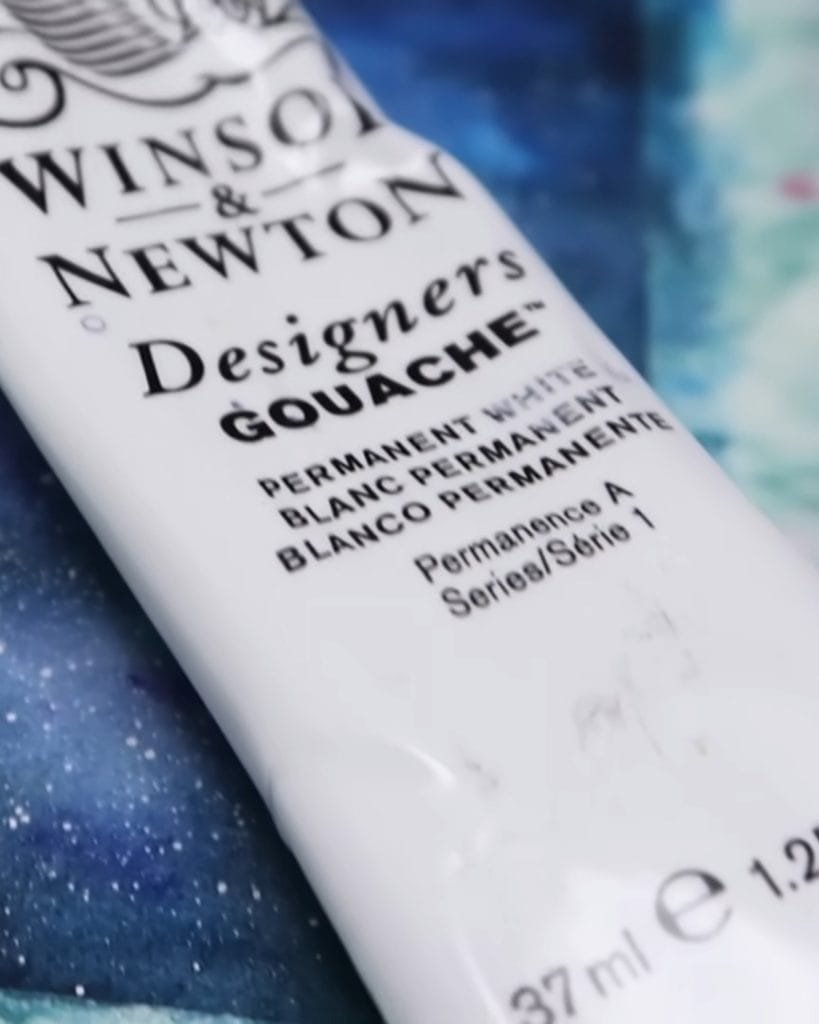
You can layer it thick for bright highlights or mix it with water for a softer look.
Gouache can also be mixed with watercolor to create pastel tones or thicker textures.
Kirsty shows how she fixes clouds by adding gouache.
She also warns that gouache dries slightly darker than when wet. It is a versatile tool for saving and improving paintings.
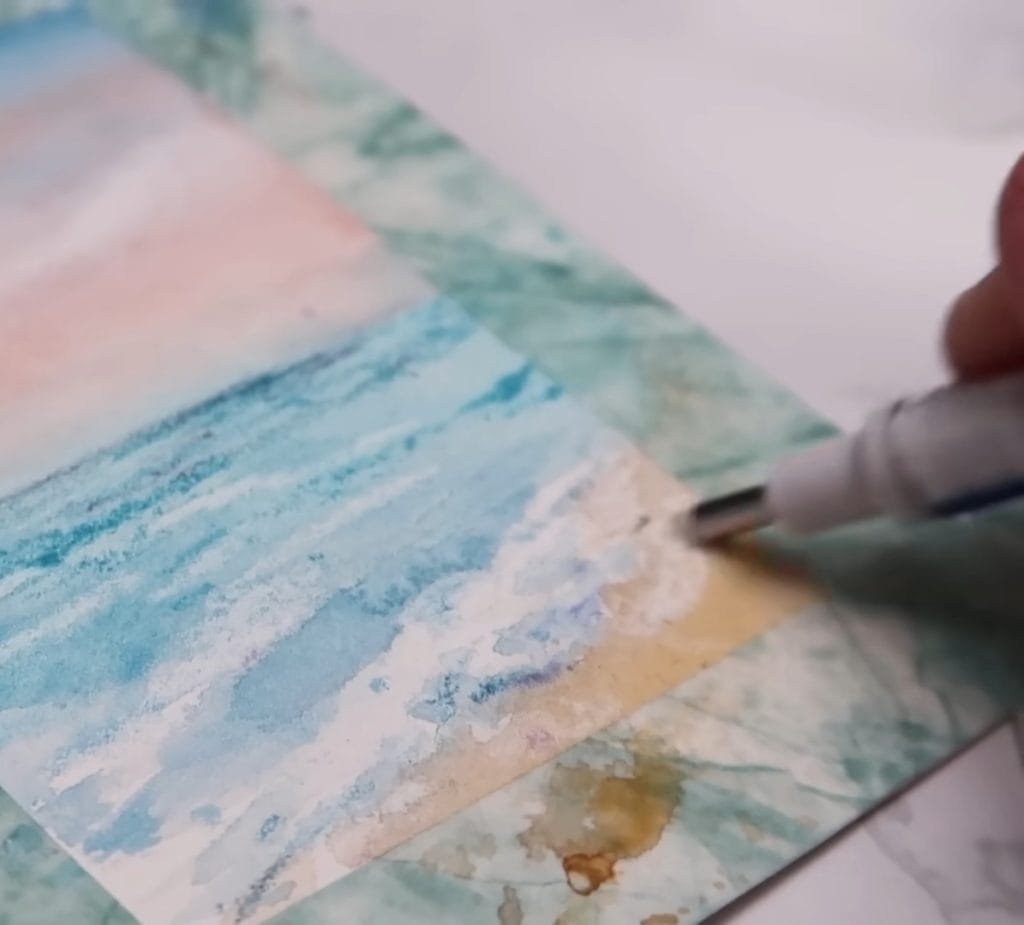
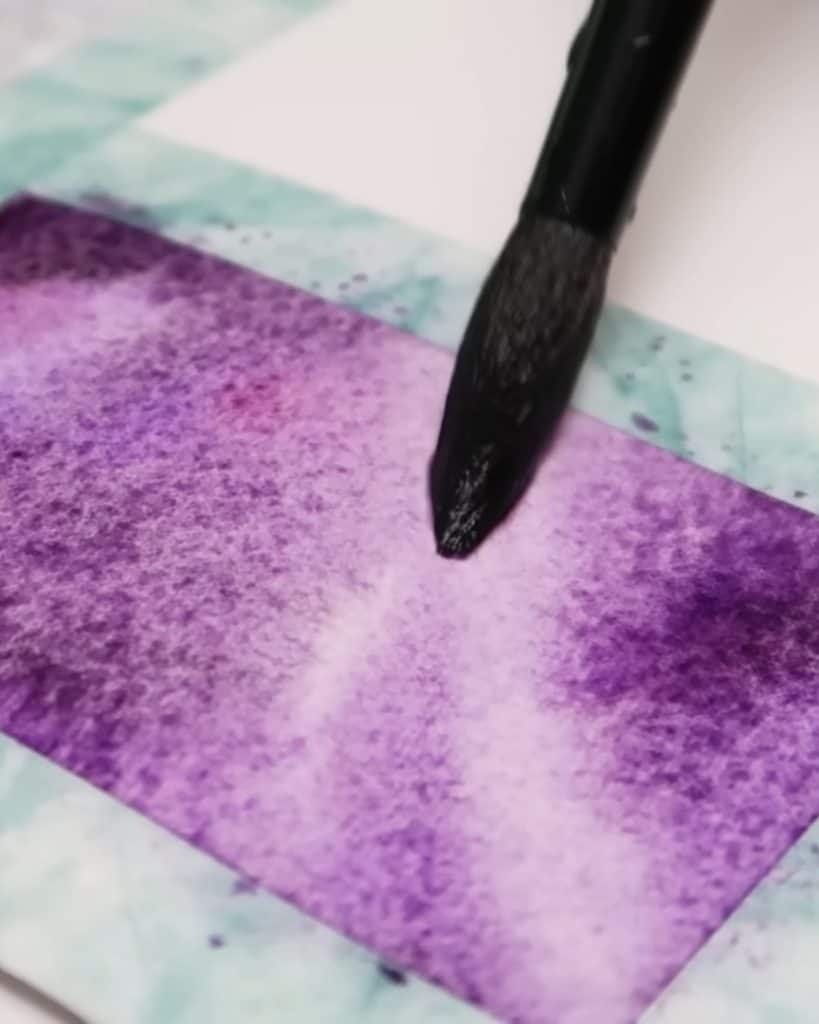
Hack 12: Lift Watercolor with a Damp Brush or Tissue
If you lose highlights, you can still bring them back while the paint is wet.
Kirsty suggests two methods:
- Use a clean, damp brush to lift paint gently. This creates soft edges and subtle highlights.
- Use a tissue for stronger lifting. This removes more paint but leaves harder edges.
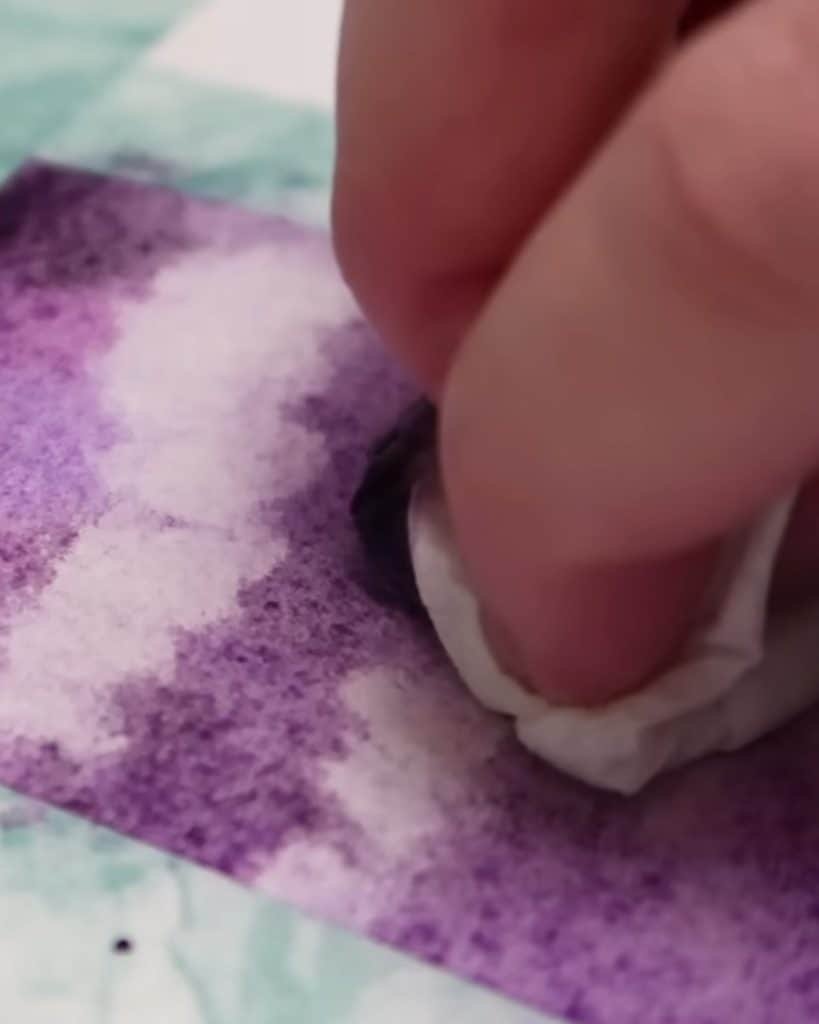
Both methods let you adjust your work. You can create clouds, erase mistakes, or brighten areas. The key is to act while the paint is still wet.

Wrapping Up
The 12 watercolor hacks from Kirsty save time, reduce stress, and make your paintings look more professional. All her tricks are simple but powerful. They improve your results and make watercolor more enjoyable.
Which hack will you try first? Grab your brushes, experiment, and see how Kirsty’s ideas transform your next painting.