
When Olga Koelsch first started getting into watercolor painting, she felt excited but also a little bit confused. She didn’t know what truly mattered and even assumed that only “artsy” people could paint well. But over time, she realized that wasn’t true at all.
With a few simple tips, her watercolor journey became much easier and far more enjoyable. Today, Olga Koelsch is sharing 10 tricks that have helped her paint with confidence—so you can grow your skills and enjoy the process too.
Join her now!
Contents
- 1 Tip 1: Use a Paper Towel to Control Water
- 2 Tip 2: Paint with the Whole Brush, Not Just the Tip
- 3 Tip 3: Be Quick or Be Patient—Never In Between
- 4 Tip 4: How the Brush Is Held Changes Everything
- 5 Tip 5: Use a Small, Limited Palette
- 6 Tip 6: Use the Wrist, Not the Paper
- 7 Tip 7: Think in Layers, Not in Final Details
- 8 Tip 8: Use Two Brushes at the Same Time
- 9 Tip 9: Take Breaks
- 10 Tip 10: Don’t Obsess Over Cleaning Palettes
- 11 Final Thoughts
Tip 1: Use a Paper Towel to Control Water
The first helpful habit that changed everything for the artist: use a paper towel when controlling water. This trick sounds simple, right? But it really works for the artist’s painting.
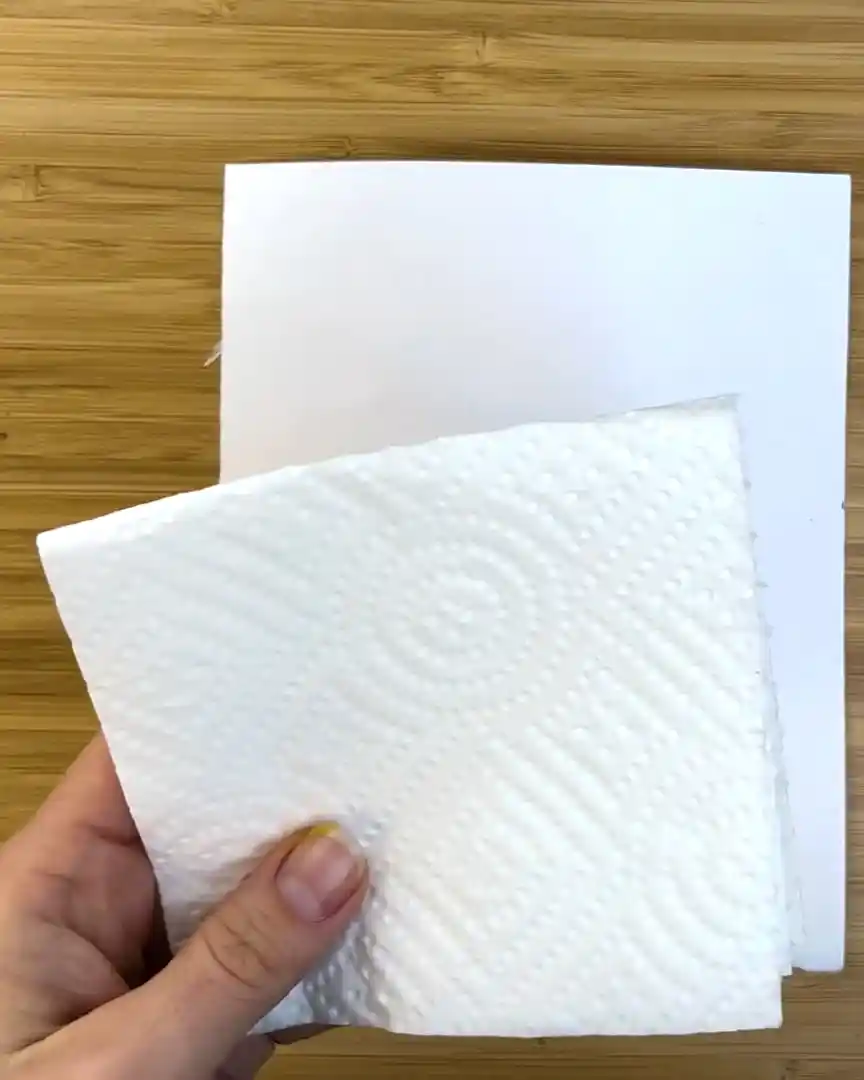
Before, the artist used to touch the brush directly on the paper after dipping it into watercolor. Now, the artist always stops a bit and taps the brush gently on a paper towel, and sometimes a cloth.
In this way, the artist removes extra water, which helps avoid flooding the paper. Here’s the artist’s trick:
- Pick up the paint
- Tap on a paper towel
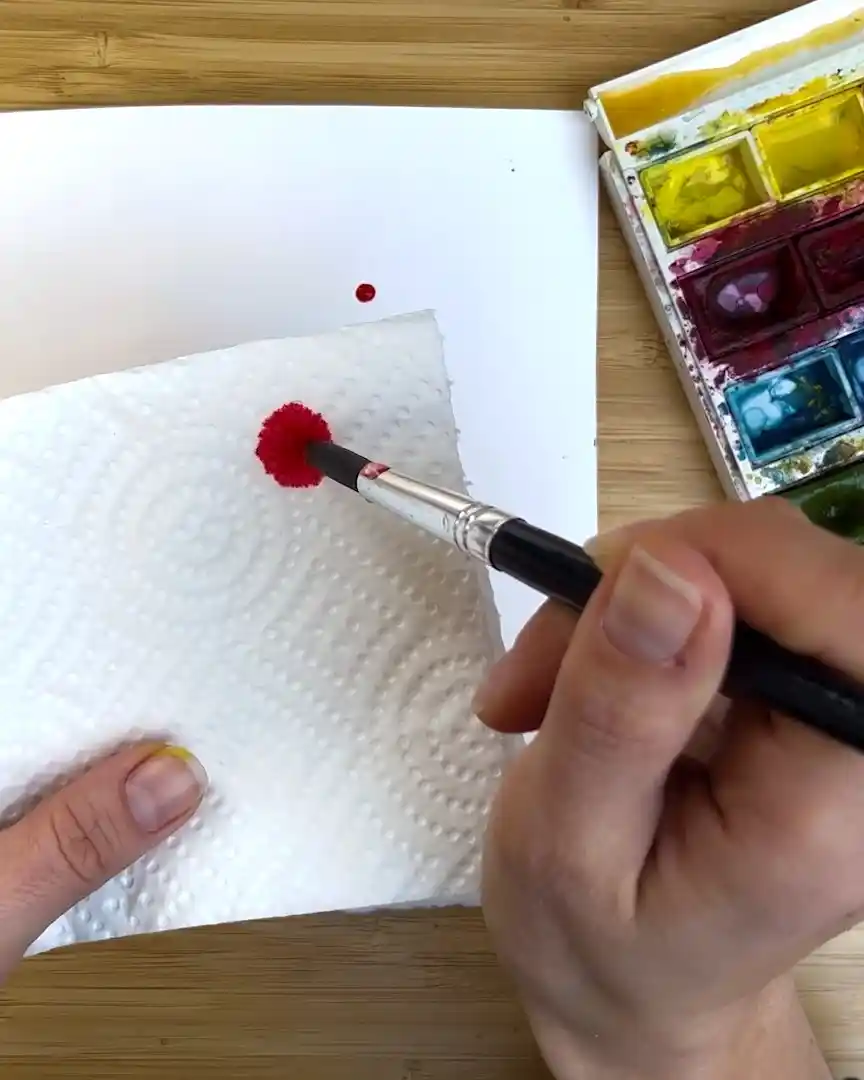
- Start painting

It’s a simple step, but it makes a huge difference! It helps the artist control the water and keep the painting clean.
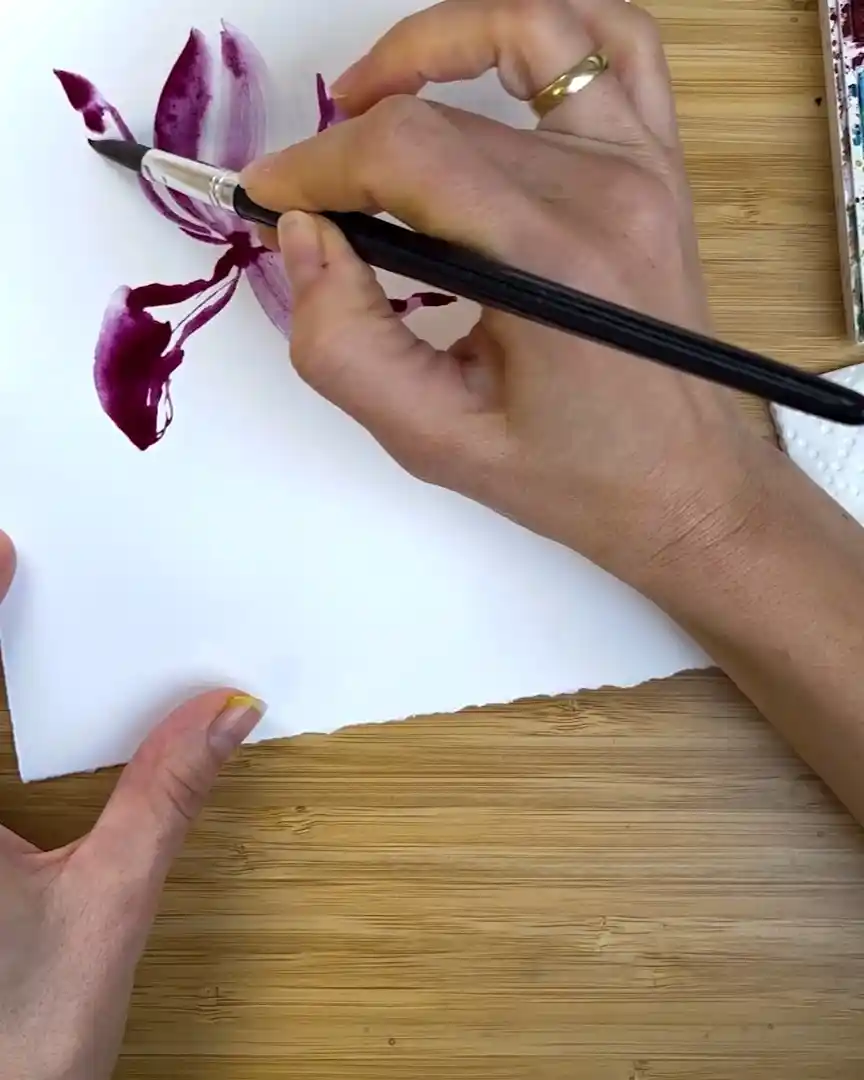
Tip 2: Paint with the Whole Brush, Not Just the Tip
When the artist first started watercolor petals and leaves, only the tip of the brush was used. This is a common mistake. The artist recommends using the body of the brush instead of just the tip.
For certain parts of the flower, the brush tip is still used, such as painting stems. However, when switching to petals or leaves, the artist applies the following steps:
- Touch the brush tip to the paper
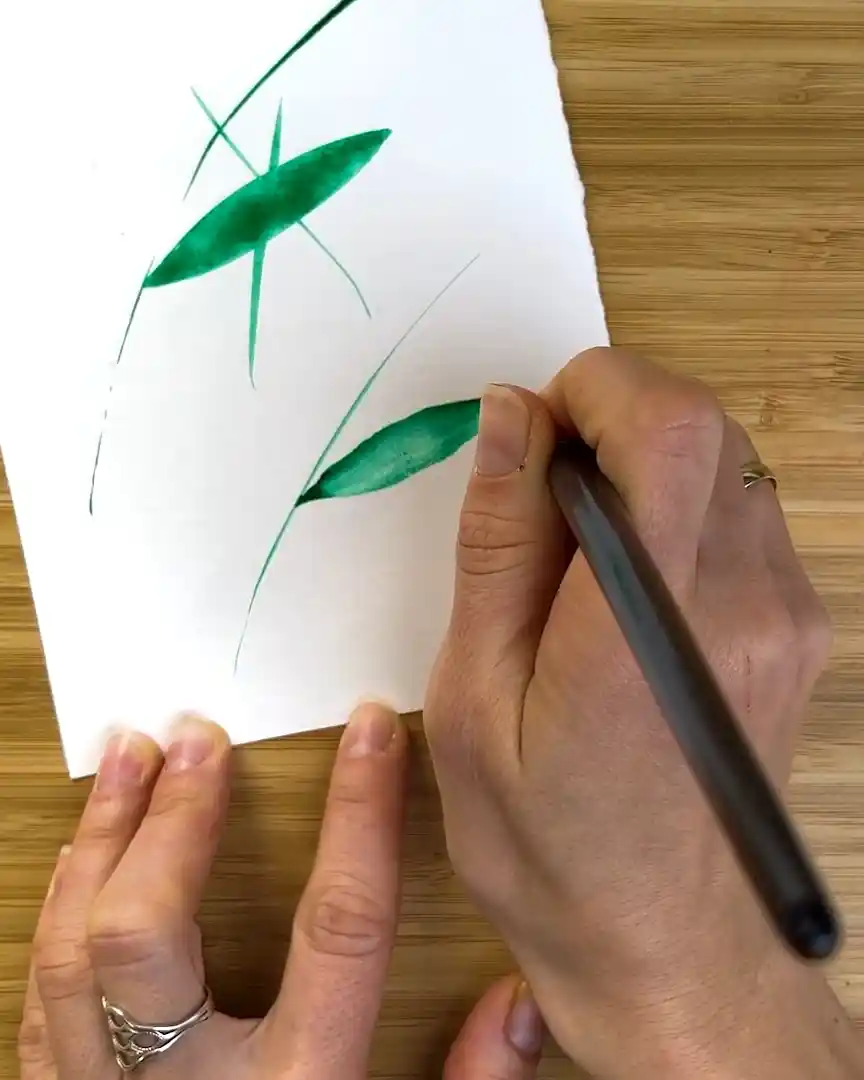
- Press down
- Wiggle a bit
- Lift the brush
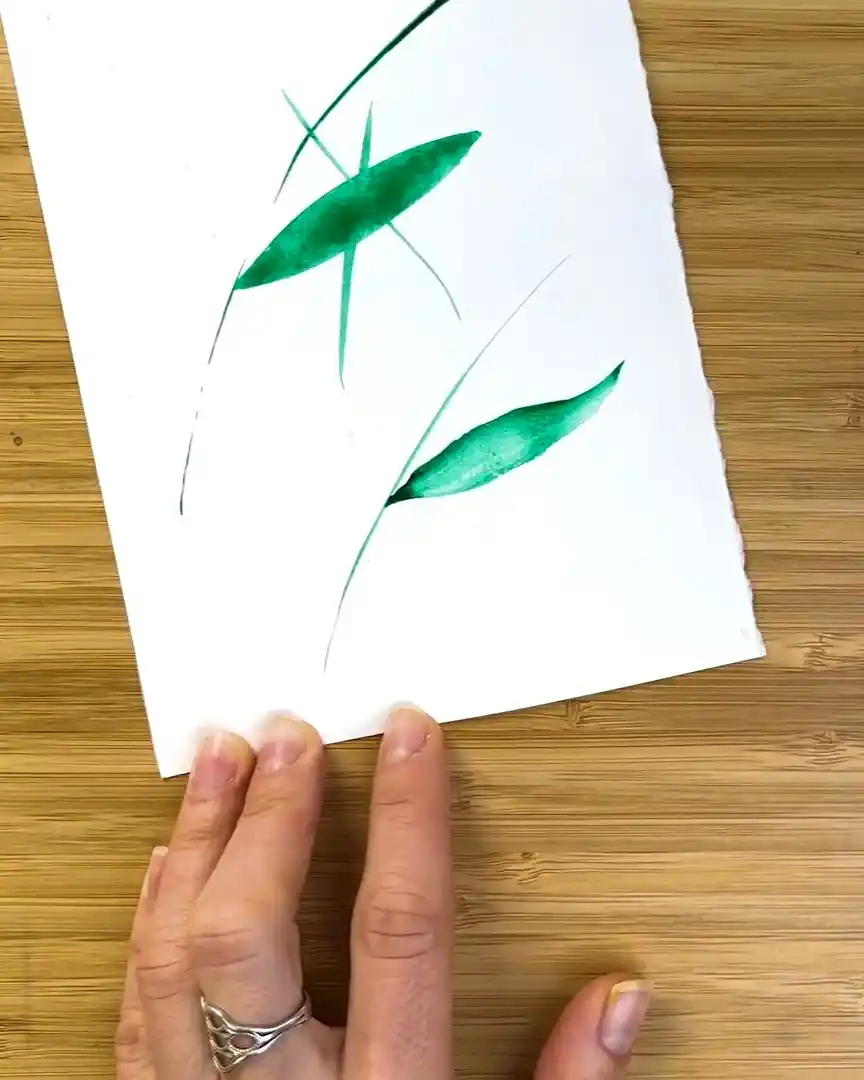
By doing this, the artist can create natural shapes. To achieve beautiful flowers, practicing pressure is essential.
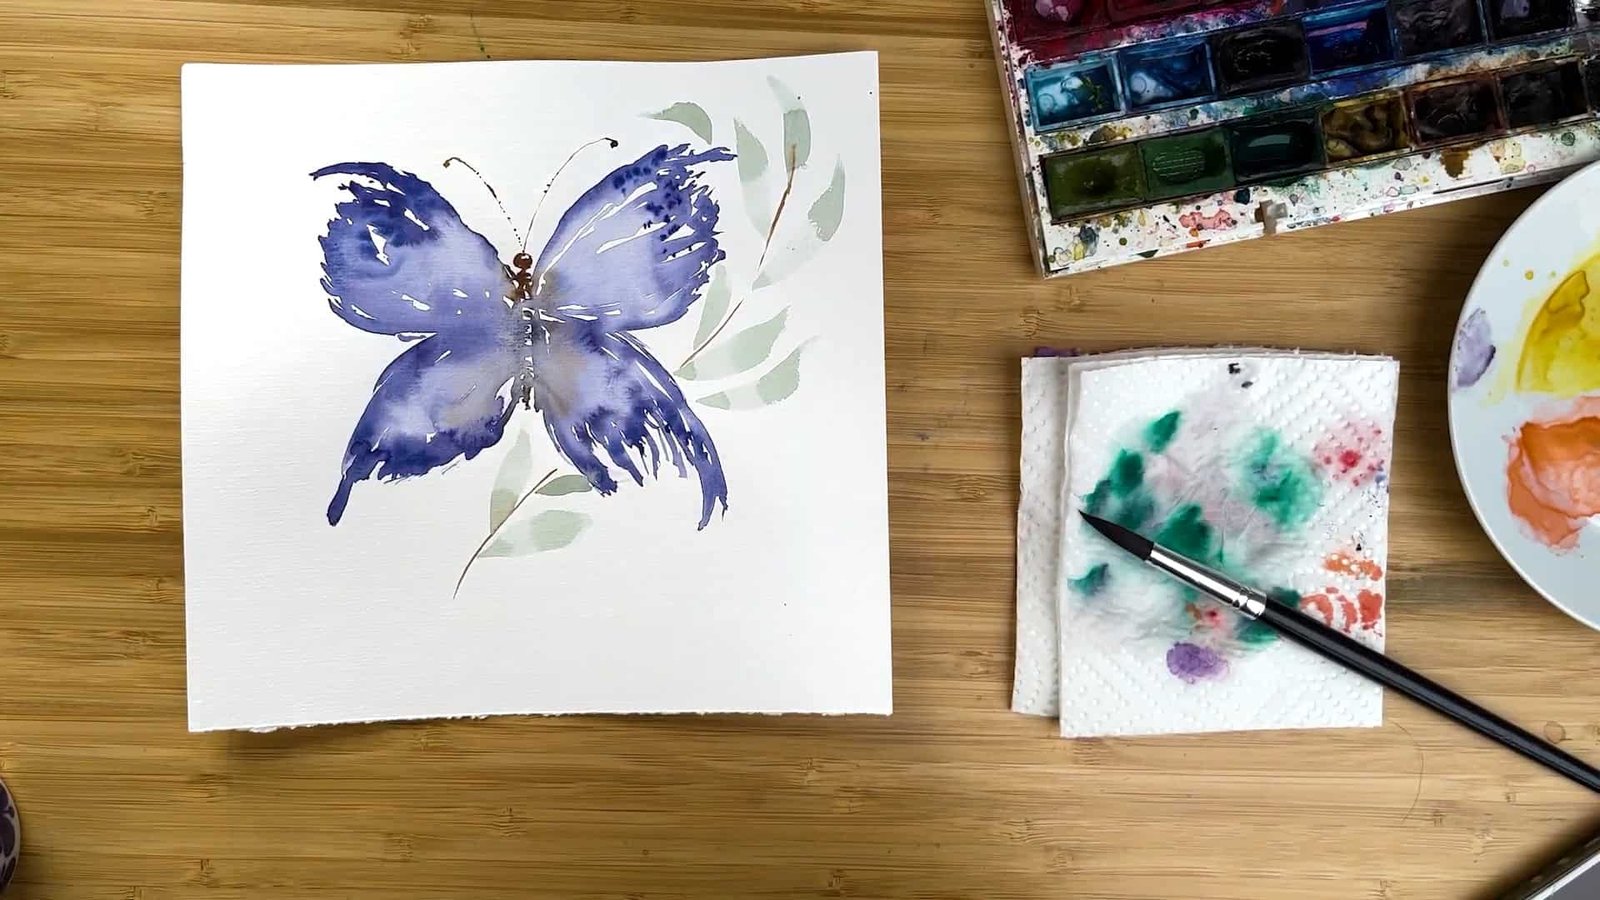
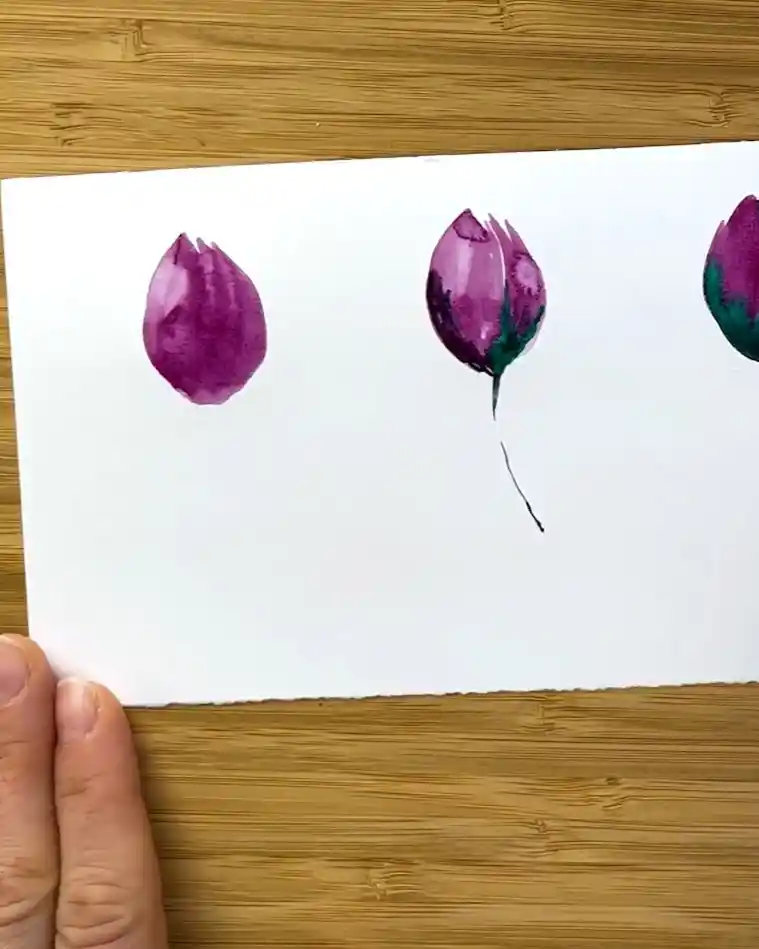
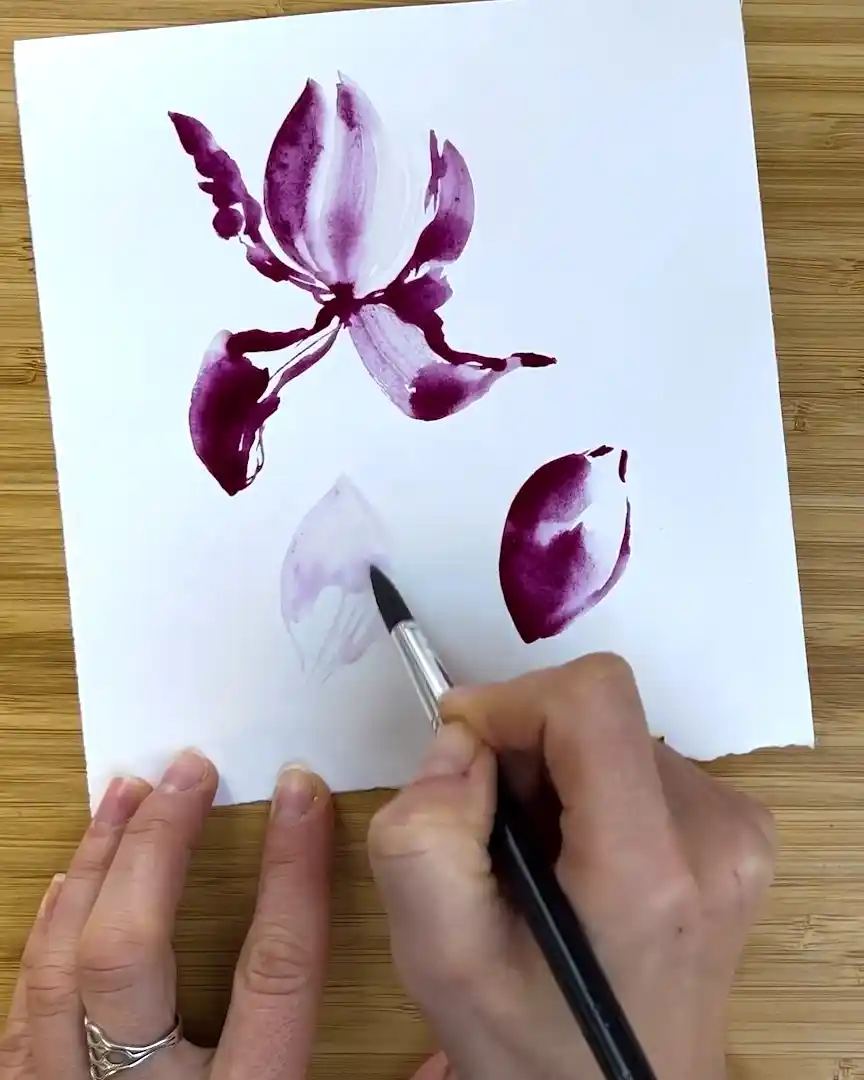
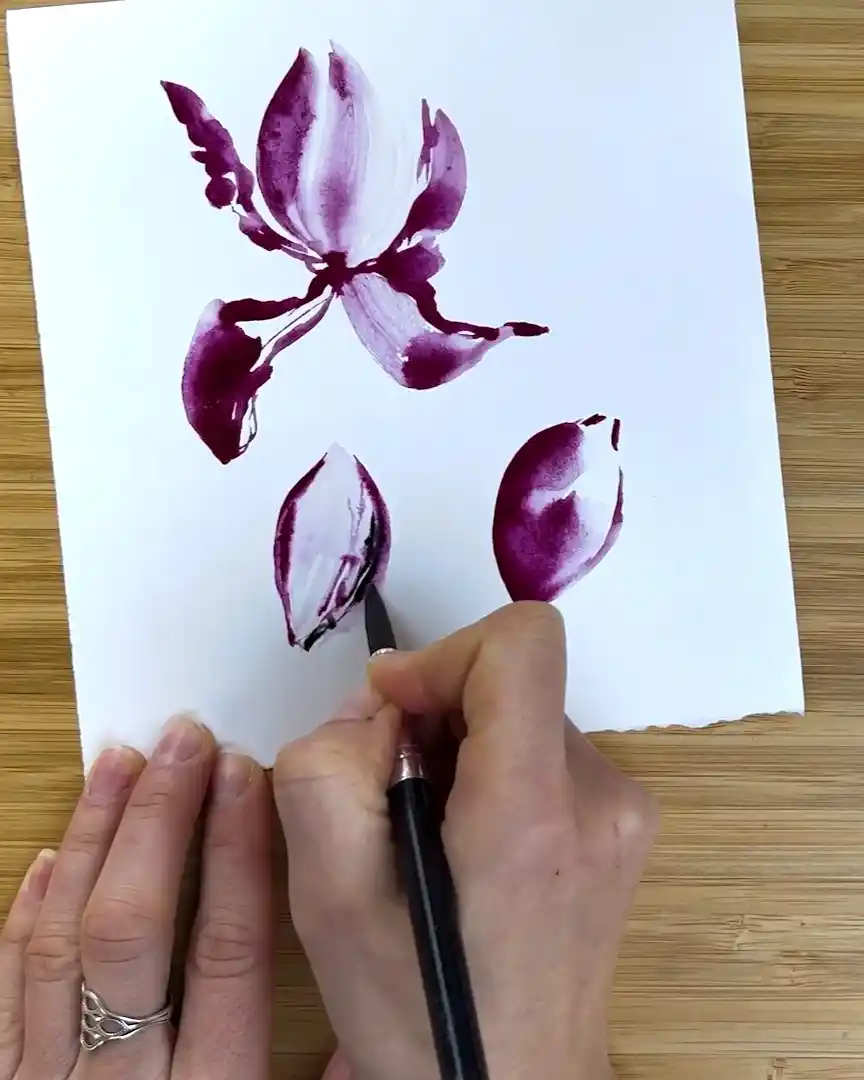
Tip 3: Be Quick or Be Patient—Never In Between
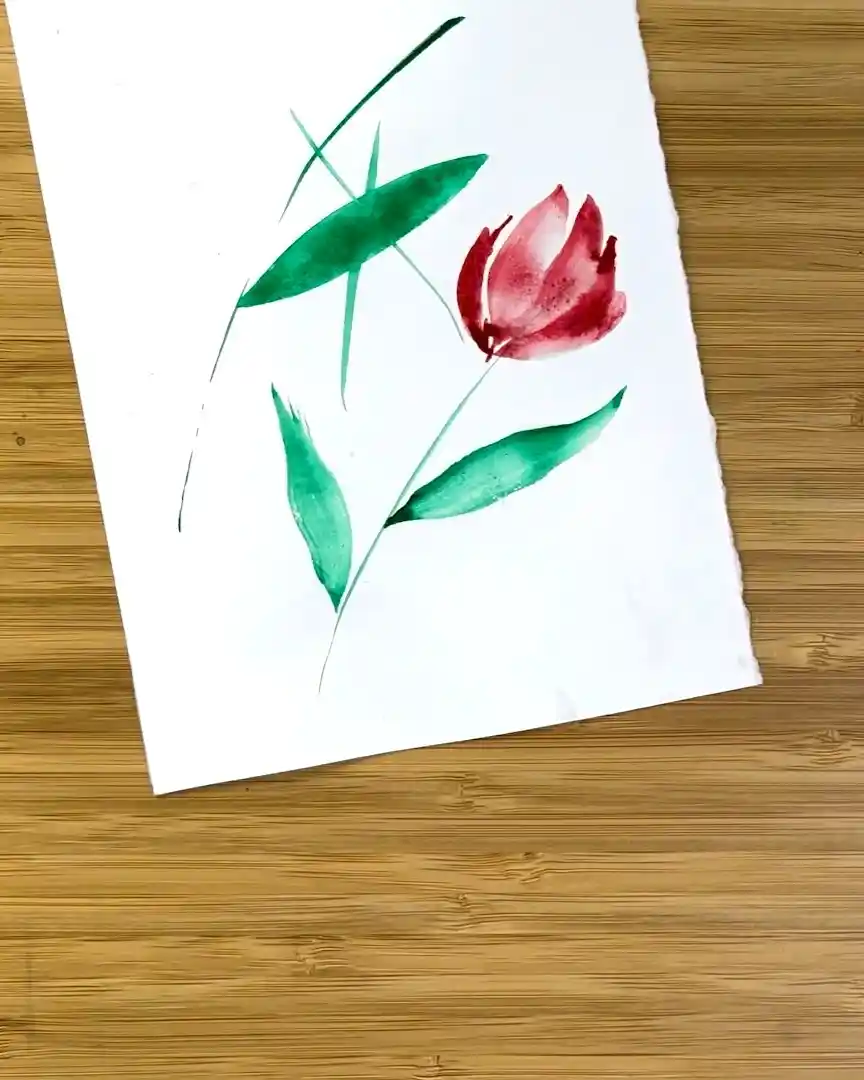
The artist’s third tip: when painting layers, work fast while the paper is wet or wait until everything is dry. Never add anything in between. Why? The artist will paint a tulip to explain the reason.
When painting the flower, the artist loves adding layers for a natural look. There are two options:
1. Add color layers when the paper is wet: This way, the colors blend better, and colors can be added easily.
2. Let the paper completely dry: The artist often uses a hair dryer at this stage. After that, layers can be built up smoothly.
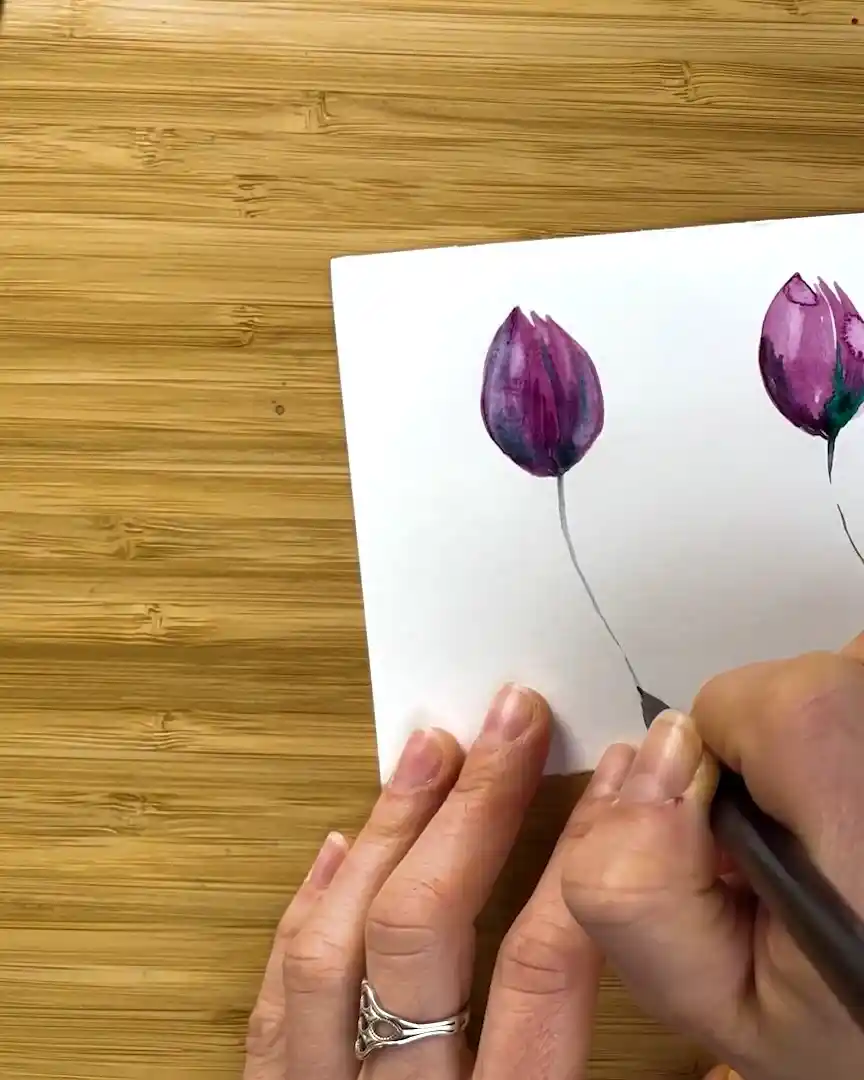
So, what happens if the artist continues painting when it’s half dry? Blooms, spider webs, and hard edges.
Just one drop of water on the damp paper can cause thick borders. These are all the bad things that happen when this mistake occurs.
What if shadows need to be added or unwanted details corrected? The artist waits until the paper dries.
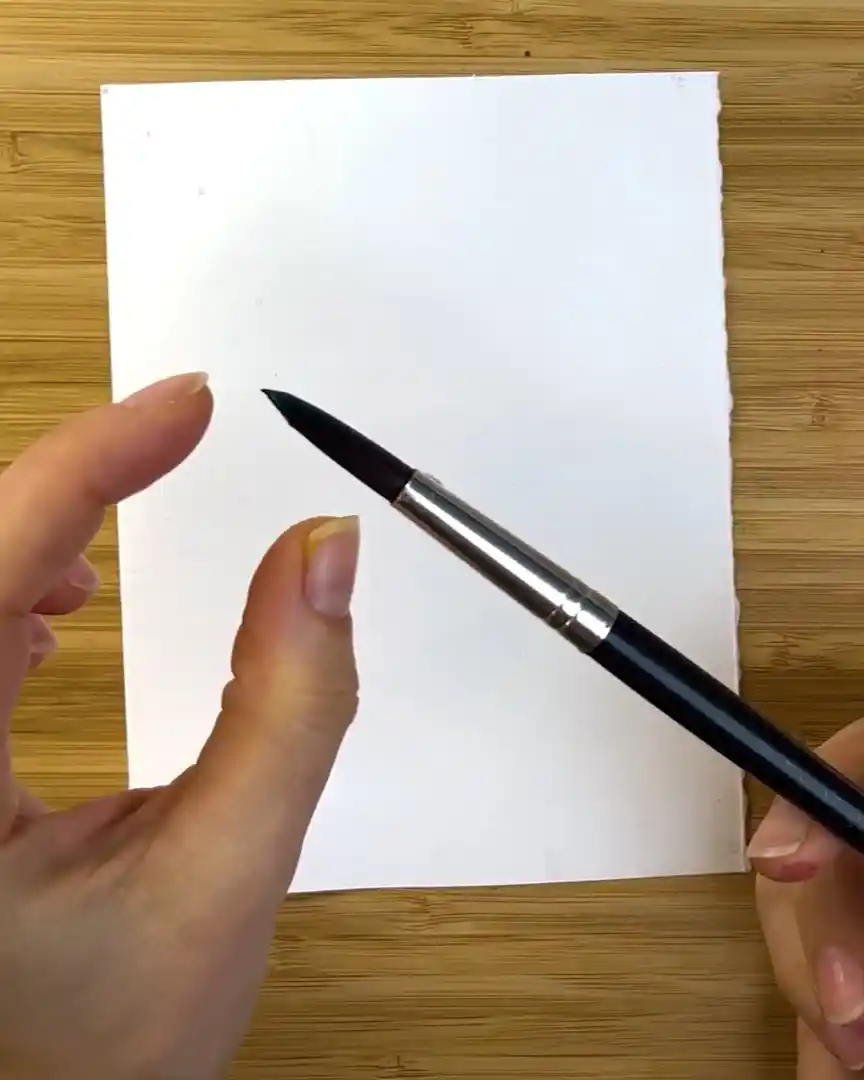
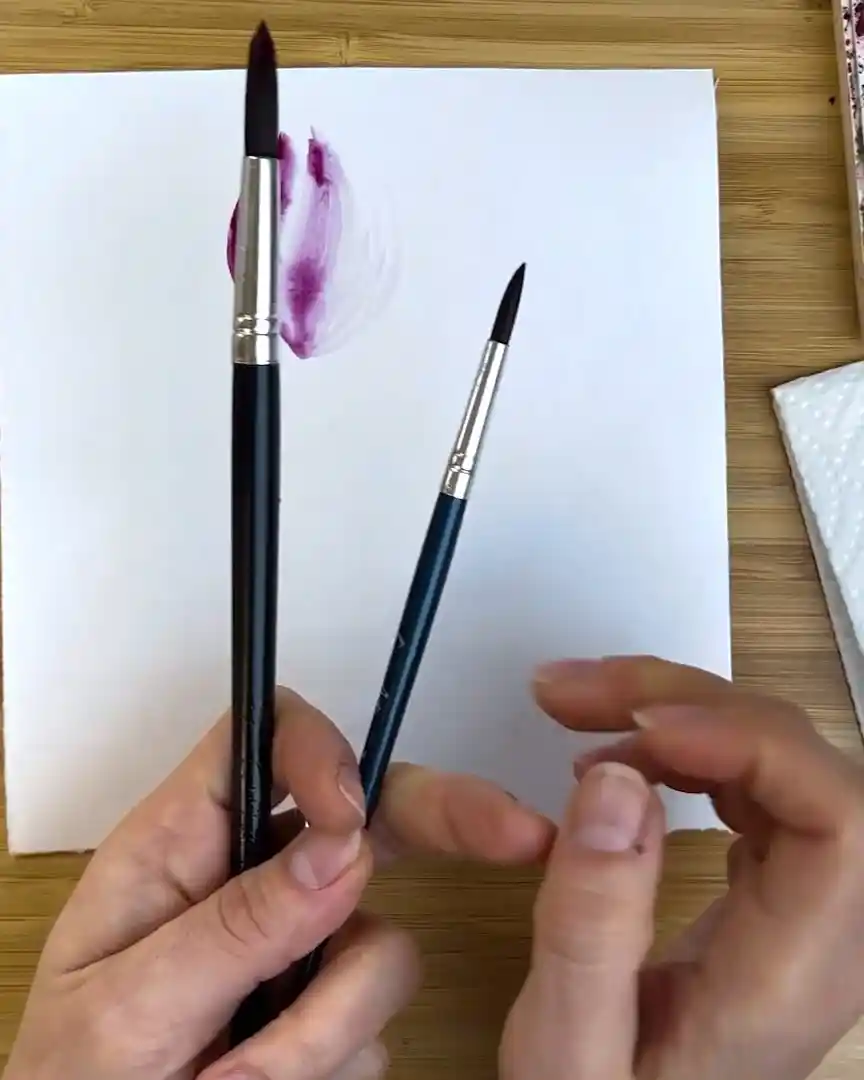
Tip 4: How the Brush Is Held Changes Everything
The next tip: hold the brush correctly. How? Here are the artist’s simple tips.
- To get loose strokes, the artist holds the brush near the end. This way, natural and playful lines appear.
-
What to do if precision is needed? The artist holds the brush close to the bristles. This trick is applied when painting tiny vines or delicate petals.
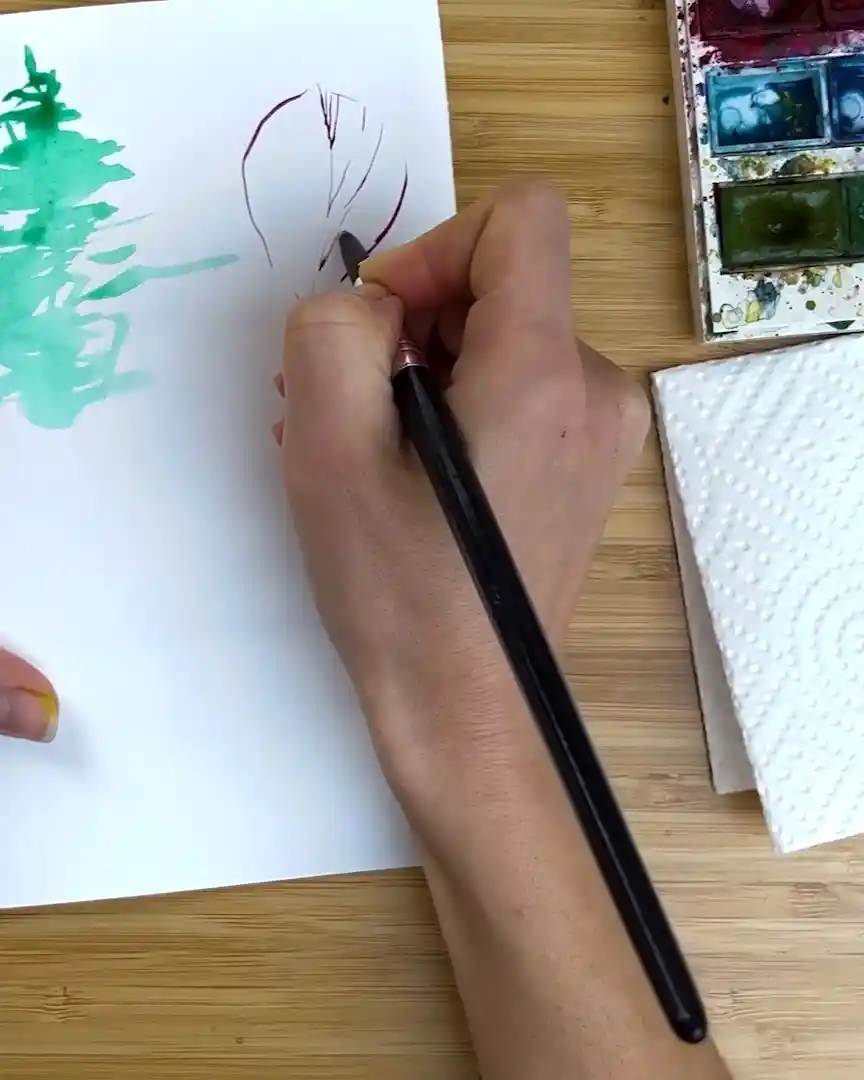
Remember this tip and change the grip depending on the effect desired.
Tip 5: Use a Small, Limited Palette
Use a small watercolor palette? Yes! At first, the artist bought big palettes, but they didn’t help improve the painting. The artist realizes that focusing and painting becomes easier with just a few colors.
Now, the artist keeps around 12 watercolor paints. Here’s how the palette is customized:
- Pick essential colors: Windsor red, phthalo green, burnt sienna, ultramarine blue, and neutral tint.
- Remove unwanted colors.
This way, the artist doesn’t get confused or distracted when choosing colors for the artwork.
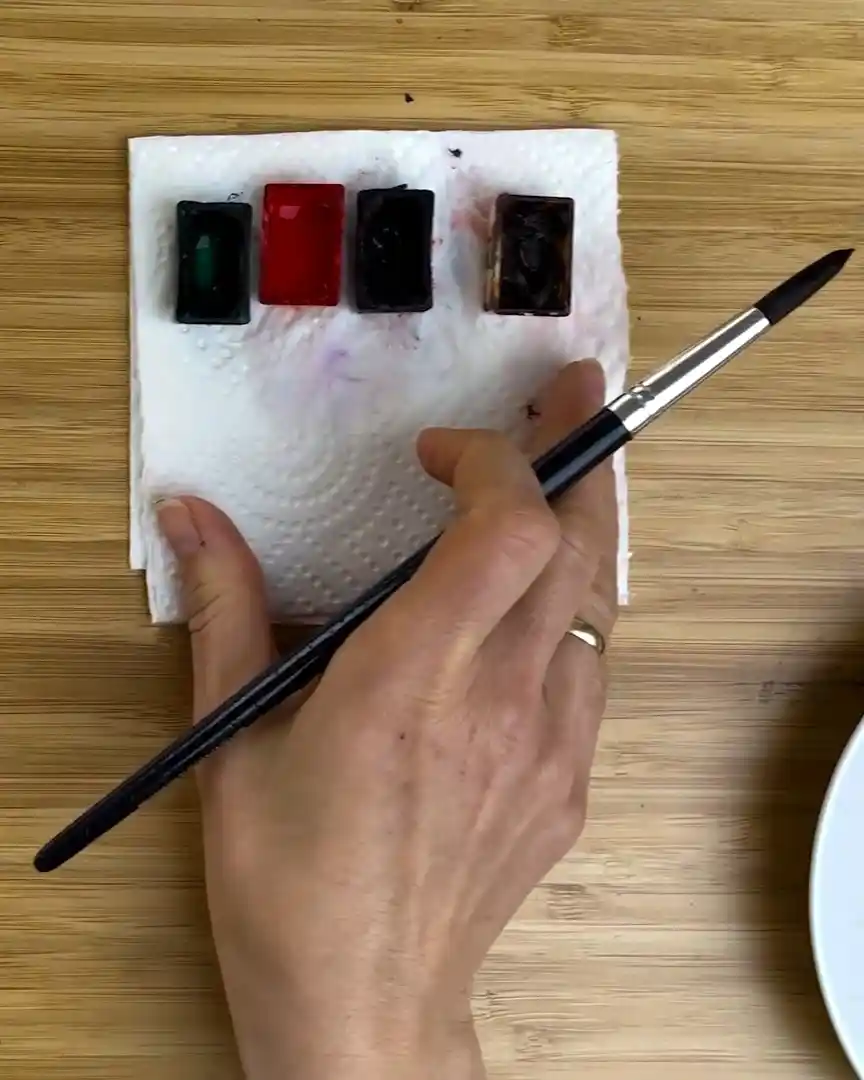
This tip may seem strange, but it soon becomes helpful because it keeps things clean and simple. Wrong paints are avoided, and the artwork stays neat.
Tip 6: Use the Wrist, Not the Paper
The artist admits that turning the paper used to feel easier when painting. But now, it’s clear that this habit changes how the artwork is seen and breaks the flow.
So, what is used to get better angles? The wrist. Here are the reasons:
- Twisting the wrist helps maintain the original view of the artwork.
- The overall feel is not lost.
- The brushstrokes look more natural.
Personally, the artist finds this trick very helpful and essential. It helps improve detail while preserving the full view.
Tip 7: Think in Layers, Not in Final Details
Thinking in layers is important when painting with watercolor. From the artist’s experience, this mindset keeps the colors soft.
Watercolor makes it difficult to add lighter colors over dark ones.
That’s why the artist recommends starting with light colors first. If possible, leave white space where highlights are desired.
After painting the first layer, the artist always lets it dry completely. Next, a darker layer is painted on top. In this way, depth can gradually be built into the painting.
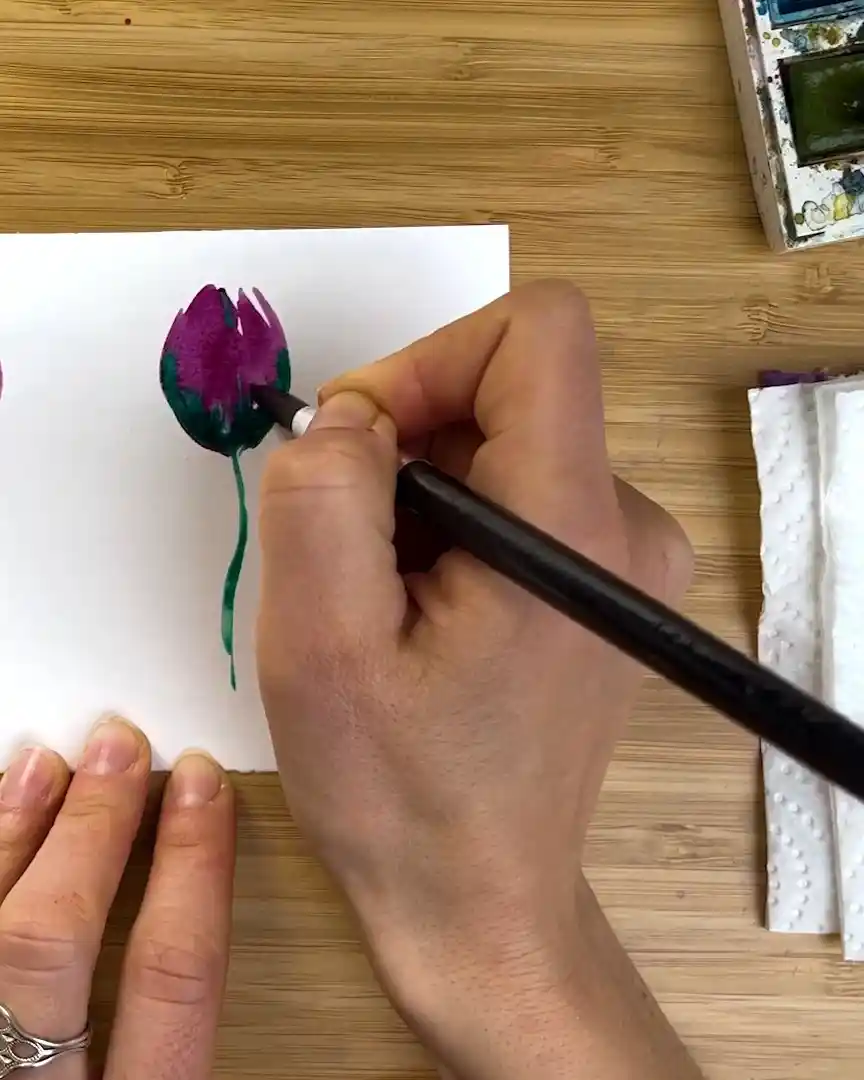
Tip 8: Use Two Brushes at the Same Time
Painting with two brushes at the same time is a technique worth trying. It truly changed how the artist paints—faster strokes and smoother blending.
The first brush is filled with watercolor to paint the shapes. The second brush stays damp and clean to pull the color out or soften the edges.
Note: the second brush must always be rinsed after each stroke to stay clean.
Sometimes, the artist also uses two brushes with two different colors: one for light paint and one for dark paint. This simple trick speeds up the process and saves paint.
Tip 9: Take Breaks
Taking breaks is a habit that helps the artist stay relaxed and calm.
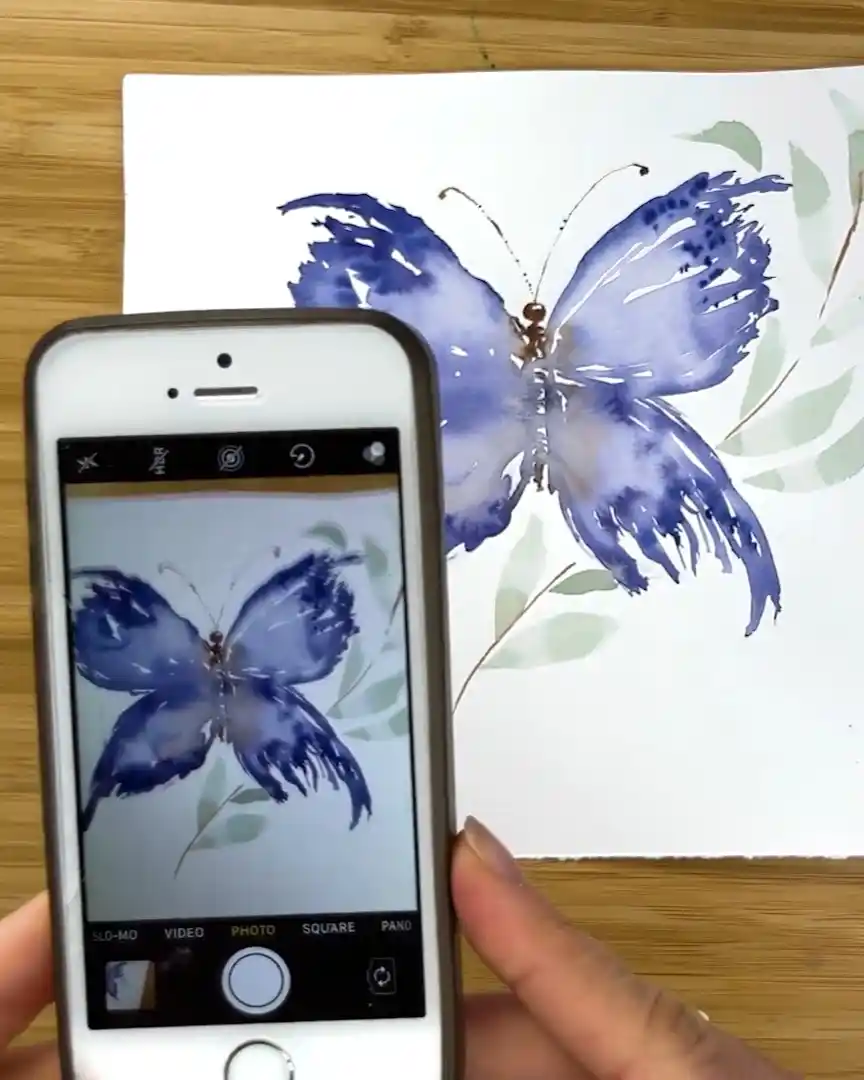
Sometimes, the artist grabs tea, takes a deep breath, or stretches. The artist also loves taking pictures of the paintings. By doing this, details, compositions, and colors can be checked more clearly.
Tip 10: Don’t Obsess Over Cleaning Palettes
As a beginner, the artist often cleaned palettes after completing each artwork. But now, this habit is no longer necessary.
Currently, the artist uses 10–15 white plates. For each idea, a watercolor palette with the same color mixes is kept. The result? Painting can resume immediately—even days later.
This simple tip really saves time. There is no need to stress about cleaning the watercolor palette after every use.

Final Thoughts
The artist hopes that the 10 simple tips shared above can help beginners start their watercolor painting journey more easily.
If watercolor feels difficult at first, these tricks can help improve the artwork.
If more advice is needed or watercolor problems arise, just leave a comment below, and the artist will break it down.