
Watercolor stamping is a wonderful way to bring depth and texture to your artwork. Asia Marquet from LemonCreationART shares her complete process, from preparing paper to finishing touches.
She explains every step clearly and shows how you can stamp with watercolors to create unique designs.
Let’s follow along with her method and start creating your own textured watercolor pieces today.
Contents
- 1 Step 1: Preparing for Watercolor Stamping
- 2 Step 2: Selecting the Right Watercolors for Stamping
- 3 Step 3: Creating the Watercolor Background
- 4 Step 4: Enhancing Watercolor Effects During Drying
- 5 Step 5: Adding Vibrant Colors Before Stamping
- 6 Step 6: How to Stamp with Watercolors Step by Step
- 7 Step 7: Adding Texture and Marks with Watercolor Stamping
- 8 Step 8: Layering and Refining Stamped Watercolor Designs
- 9 Step 9: Adding Splatter and Metallic Highlights
- 10 Step 10: Finishing and Reviewing Your Watercolor Stamping Artwork
- 11 Final Thoughts
Step 1: Preparing for Watercolor Stamping
A good painting begins with the right base. In this first step, you prepare the surface to make stamping easier later.
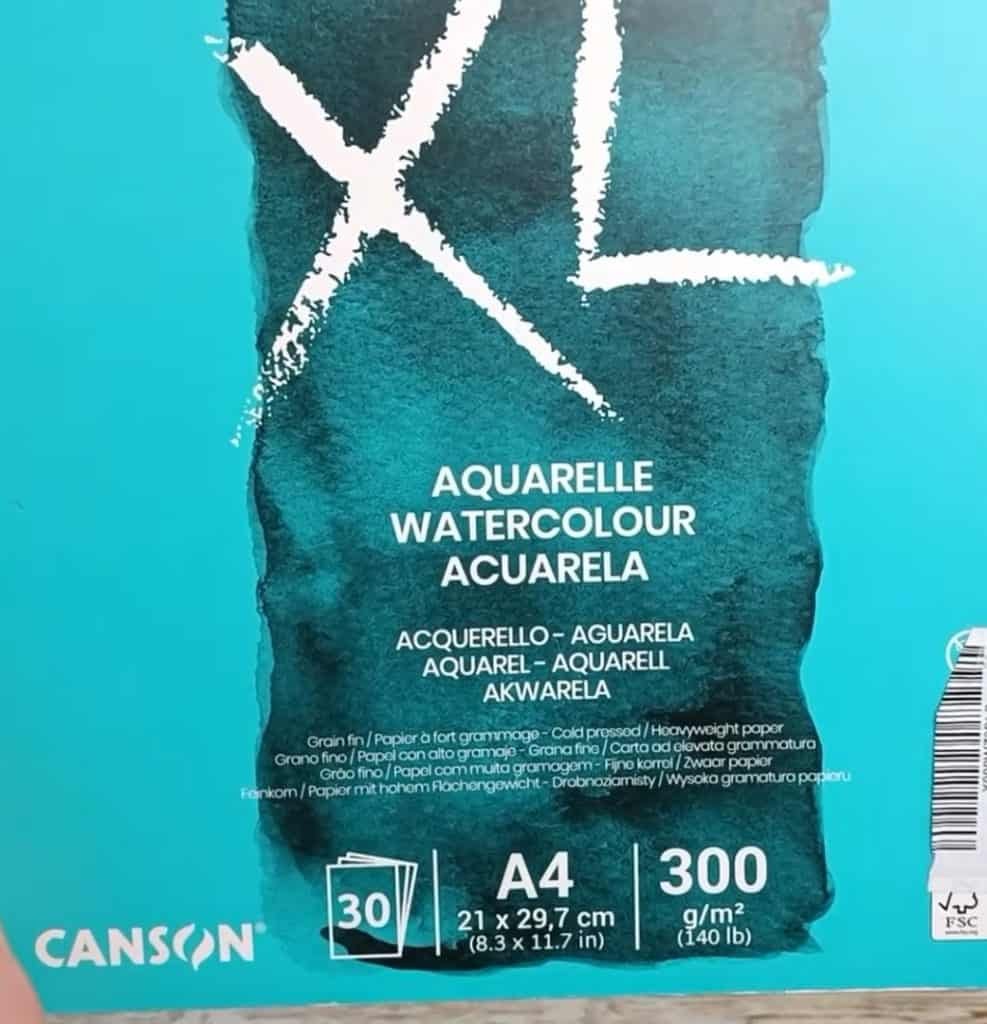
You start with watercolor paper. Asia Marquet recommends Canson XL watercolor paper because it is reliable for beginners and gives a smooth surface.
She uses masking tape to fix the paper onto a board. This helps keep the paper flat when it gets wet and prevents strong warping.
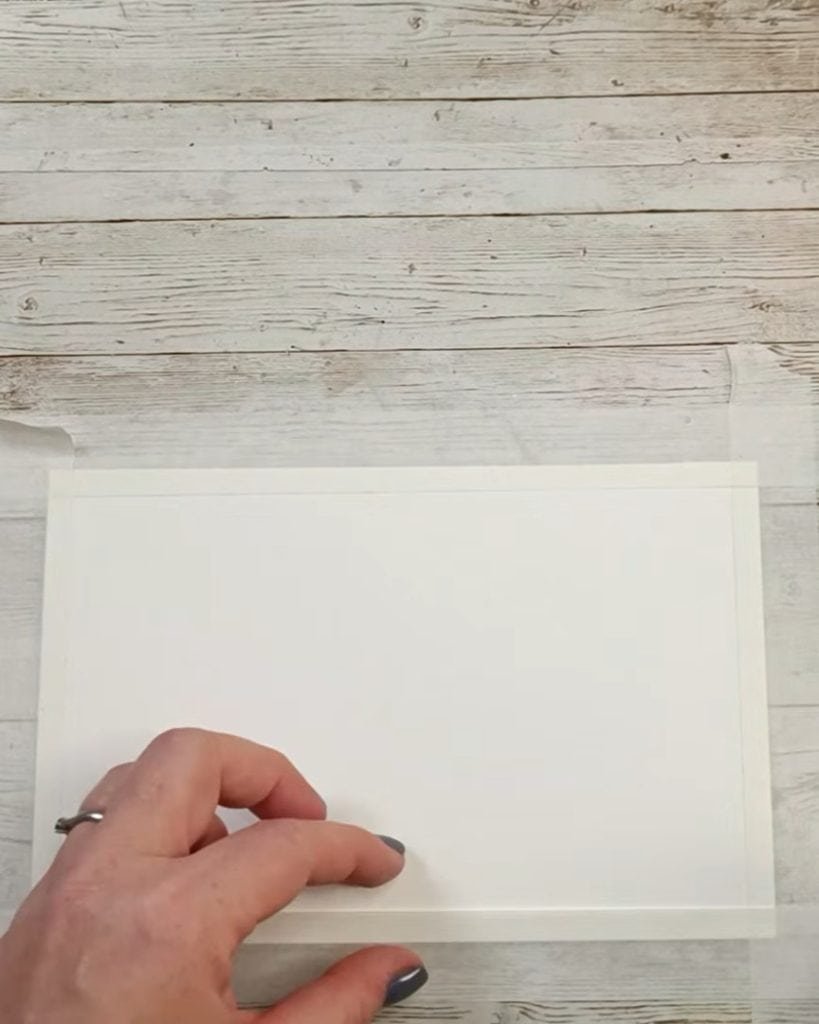
She also shows how to balance white space. By taping the edges, you create a natural frame for your artwork. This simple step makes the final piece look clean and polished without extra effort.
Step 2: Selecting the Right Watercolors for Stamping
Now that your paper is ready, it’s time to choose your paints. Asia Marquet suggests focusing on quality watercolors that give character to your design.
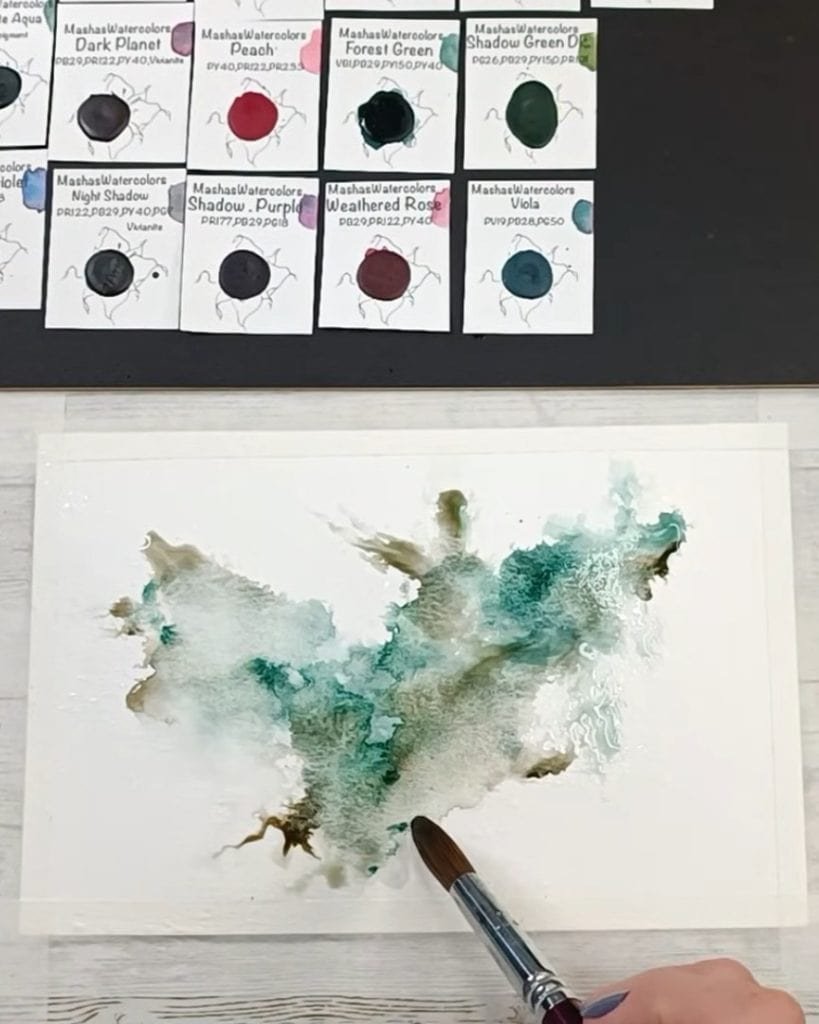
She uses her own handmade paints. According to Asia, they are rich in pigment and have unique textures. She highlights the value of working with small color samples. A limited palette keeps the artwork simple yet effective.
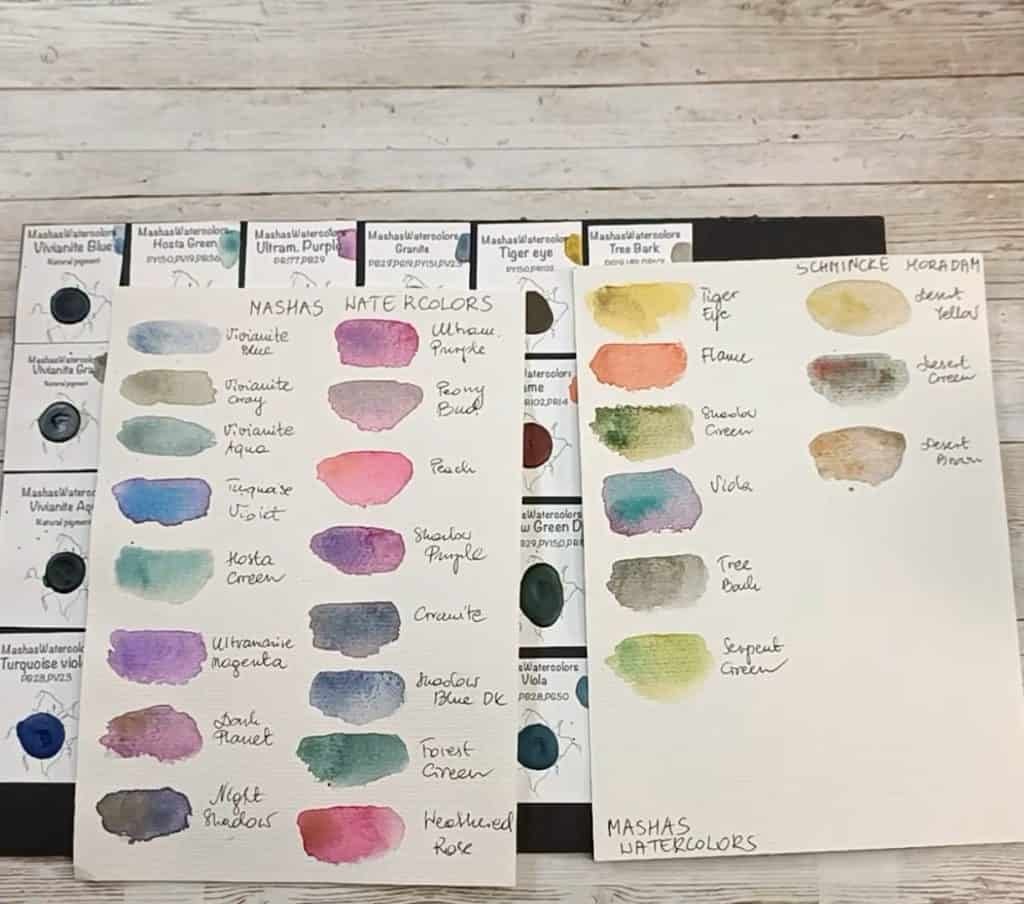
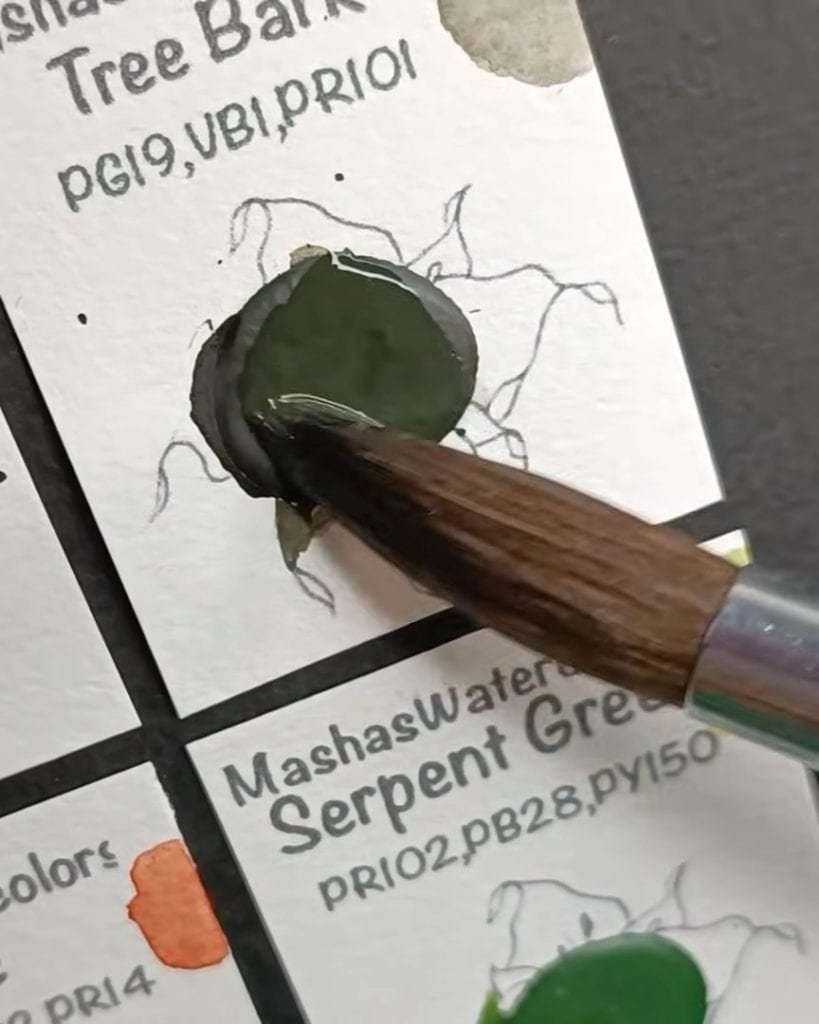
For this project, she selects Forest Green and Tree Bark. These shades offer natural tones that are perfect for layering.
She notices these paints separate slightly as they dry, leaving soft, textured effects that add beauty without extra work.
Step 3: Creating the Watercolor Background
Before stamping, you need a background that supports the textures you’ll add later. Asia Marquet walks you through this stage step by step.
- First, spray the paper lightly with water. This helps the colors move smoothly and blend naturally.

- Try the color on the palette.
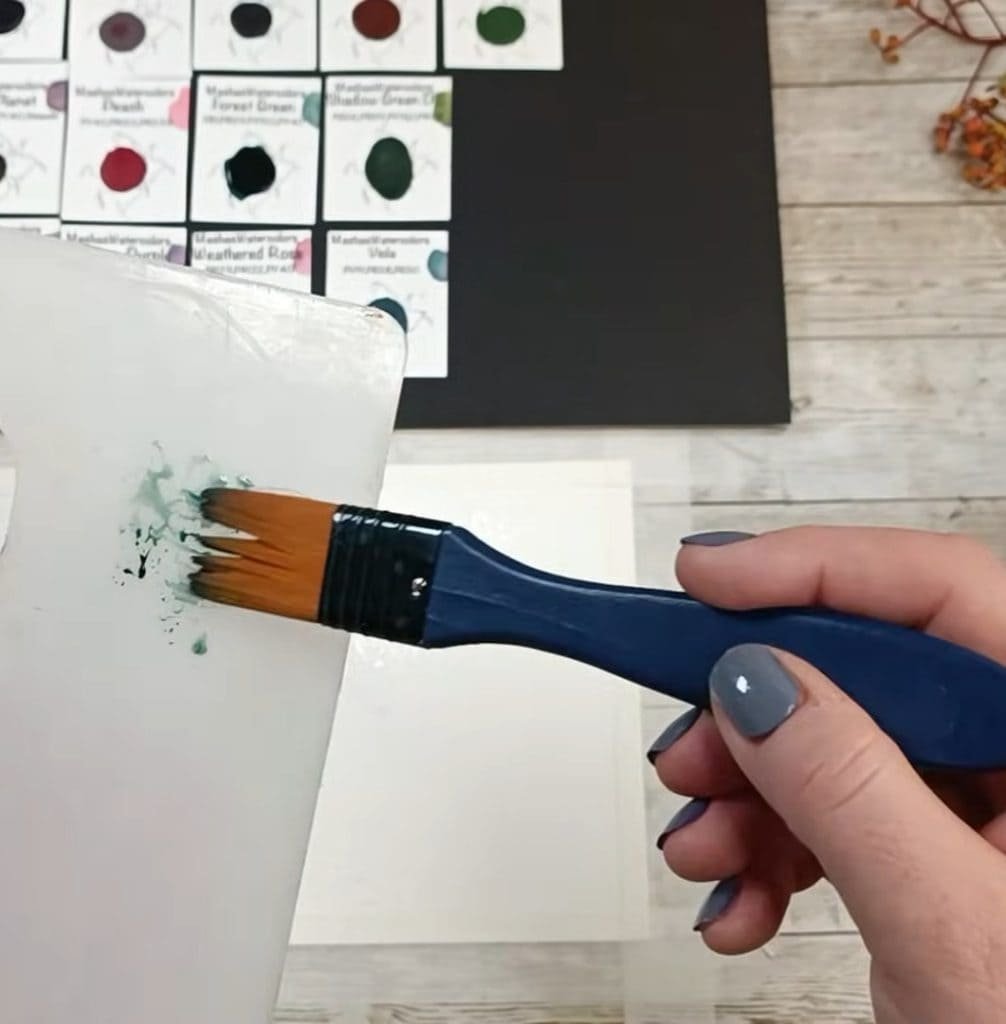
- Transfer the colors from the palette to the paper.
- Then, use brushes to create swirls and soft strokes. Different brush sizes bring variety to the background.
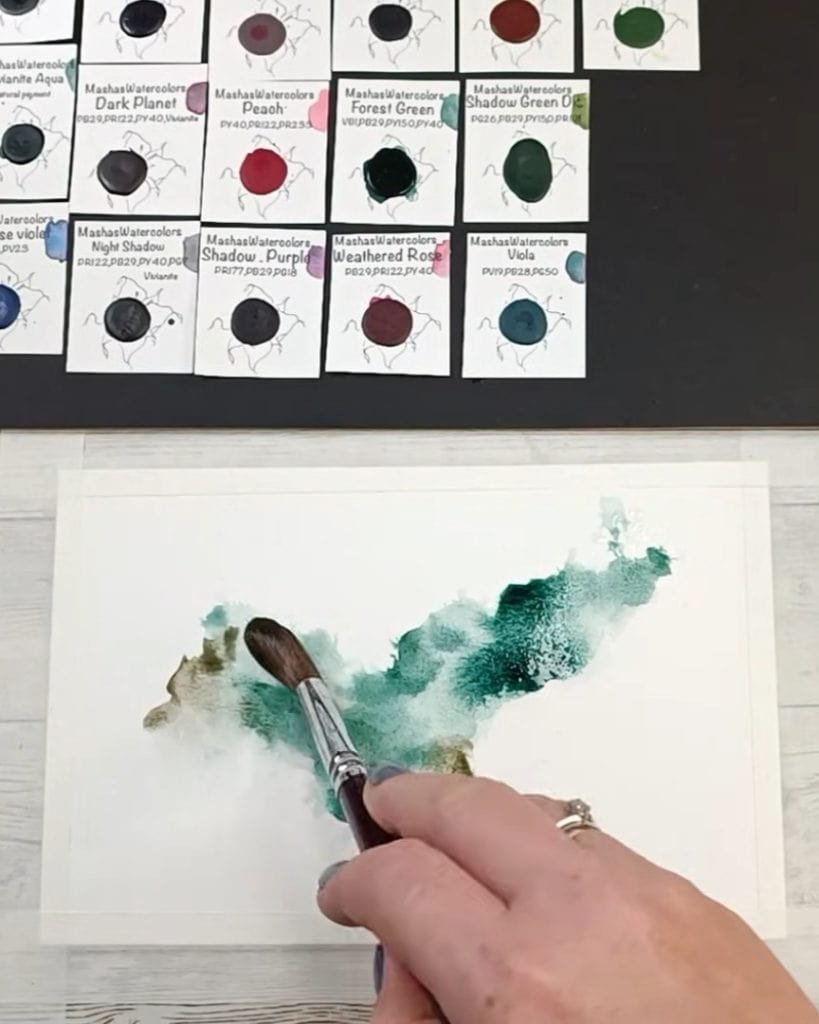
- Use water to spread out the paint.
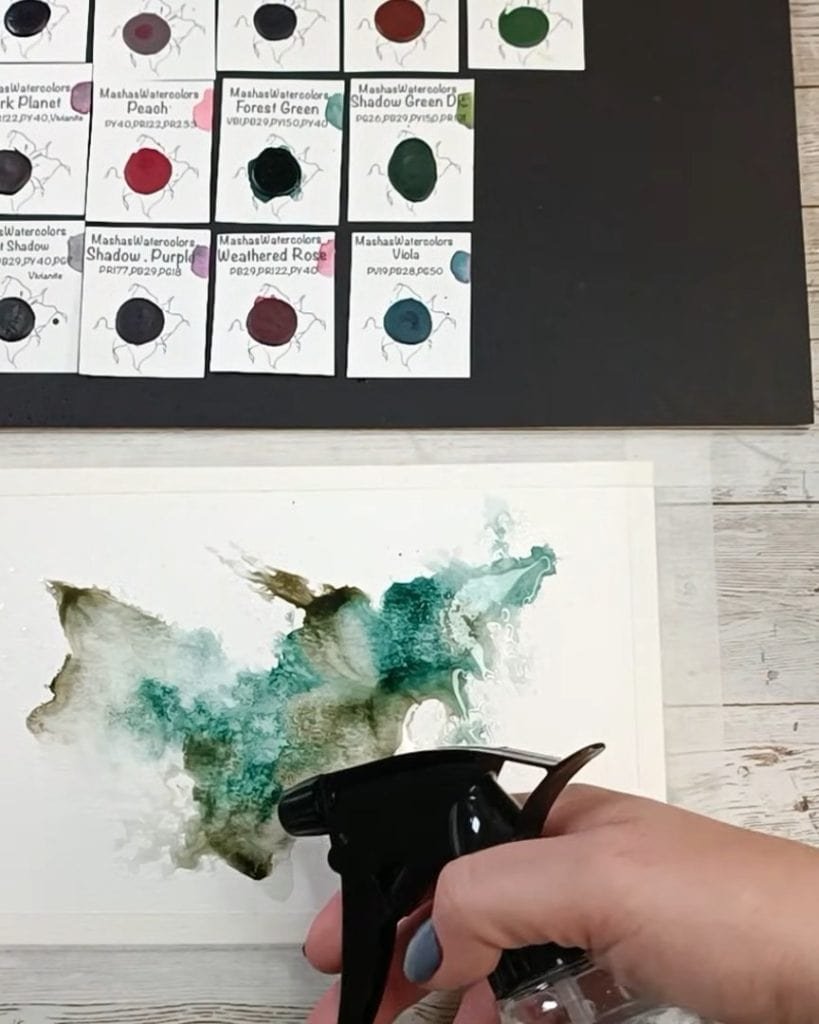
Balance is important. Asia reminds you to control the mix of pigment and water.
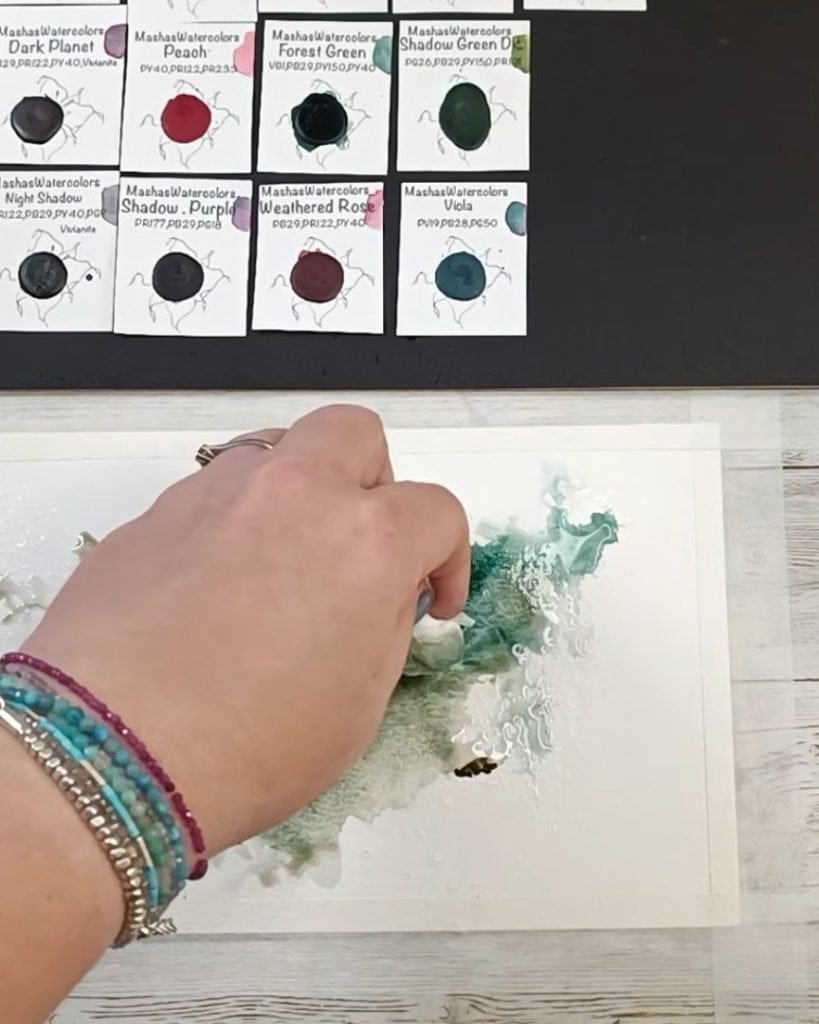
Too much water can wash out the paint, while too little may leave harsh marks. If there is excess water, she uses a paper towel to dab it away. In this way, you can keep the surface clean and ready for stamping.
She also adds more colors and blends them out.
Step 4: Enhancing Watercolor Effects During Drying
Once the first washes are done, let the paper dry. This stage reveals the beauty of the paints.
Asia points out how granulation develops as the paper dries. The pigments settle into the paper texture and create delicate patterns.
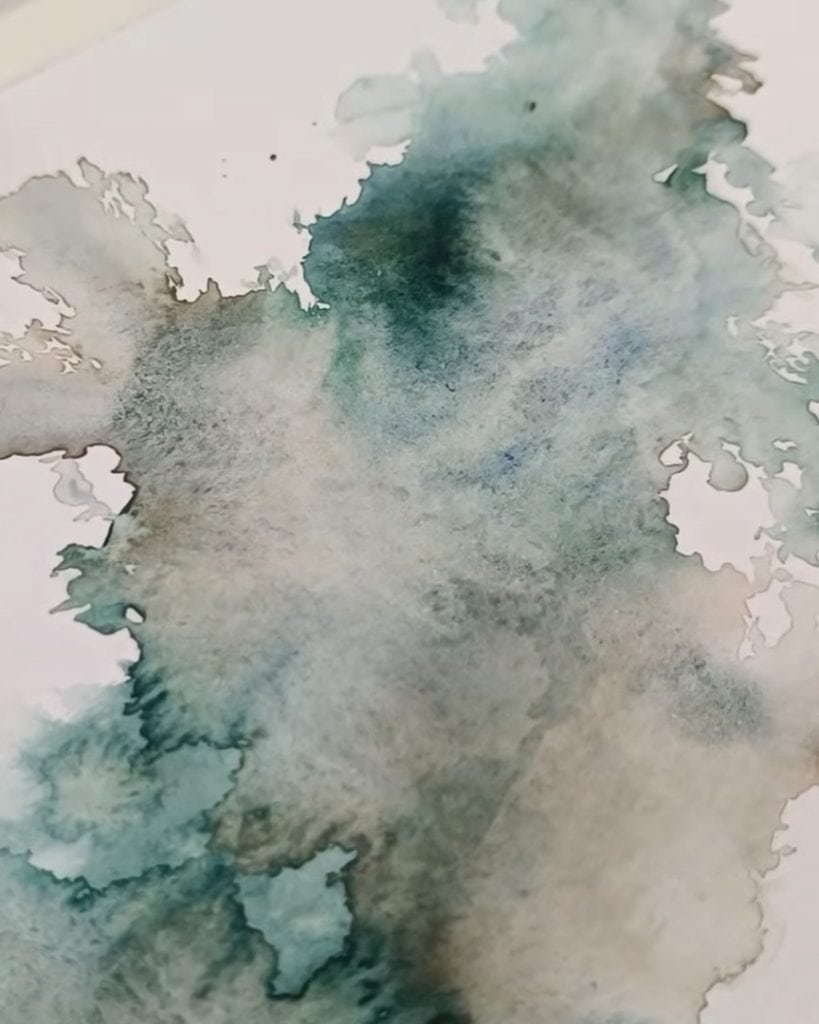
After comparing the effect of her handmade paints with professional watercolor brands, she realizes: Both can work well, but handmade colors often bring a unique personality to the art.
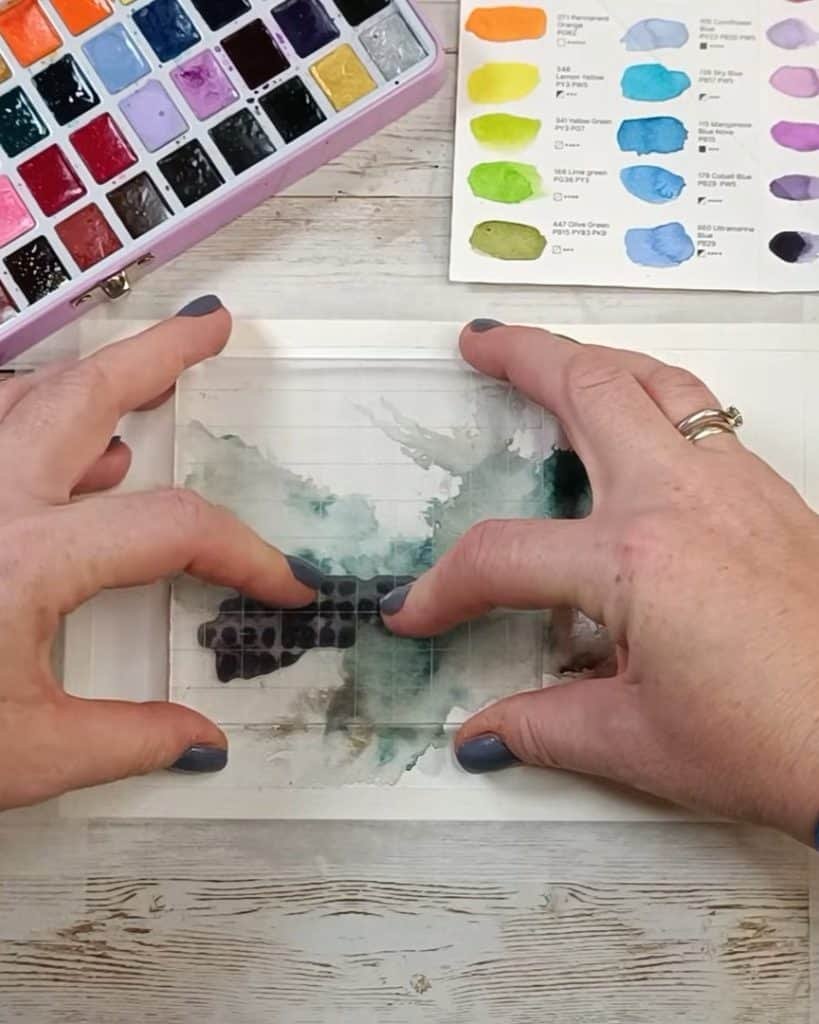
Step 5: Adding Vibrant Colors Before Stamping
The background is now ready for stronger accents. Asia introduces new shades to bring more life to the painting.
She picks a bright turquoise from Meiliang watercolors. Unlike the earlier granulated colors, this one flows smoothly and blends well.
She explains that non-granulated paints are sometimes better because they stamp more clearly on the surface.
At this point, the goal is to build up a layered background. These extra colors prepare the painting for the stamping process. They make the stamped designs stand out instead of blending into the paper.
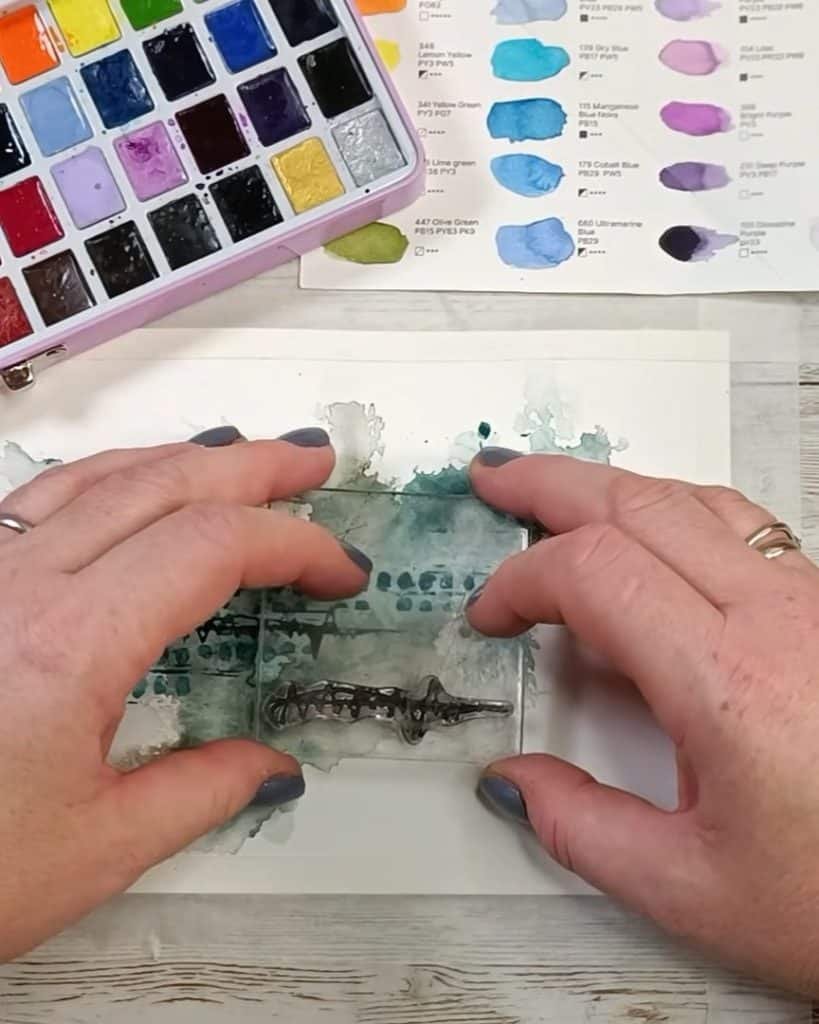
Step 6: How to Stamp with Watercolors Step by Step
Now comes the core of the process: stamping with watercolors. Asia carefully explains each step so you can repeat it easily.
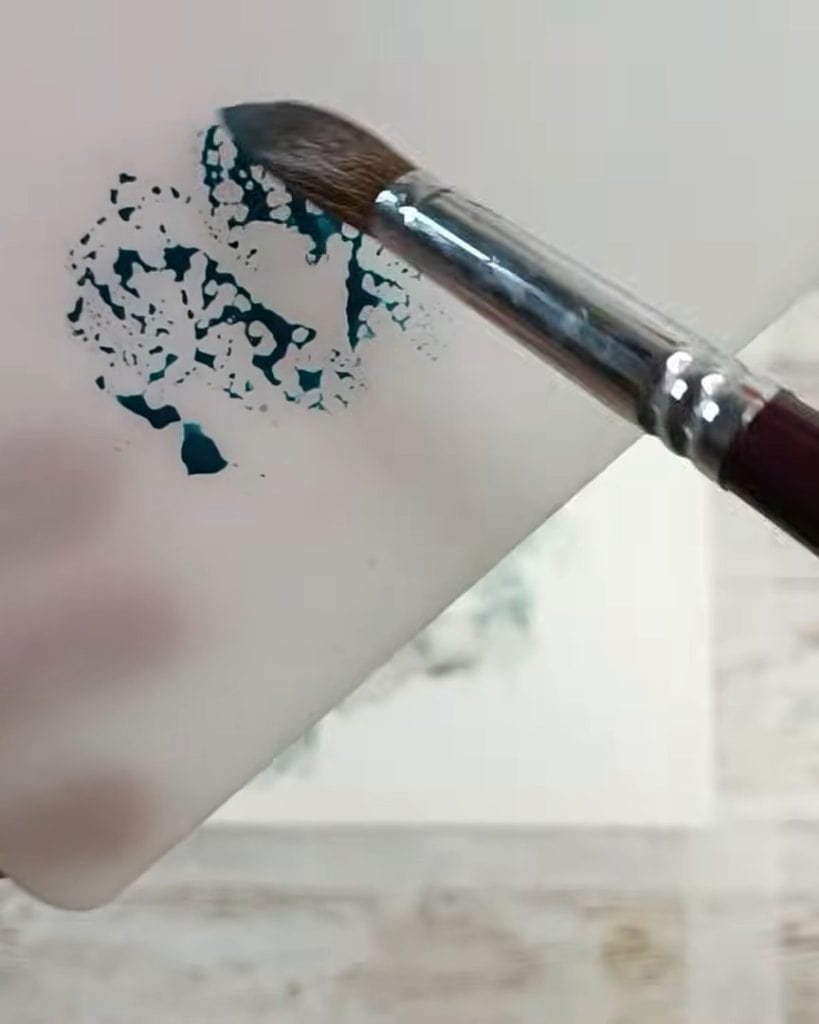
- Mix the paint until it has the right consistency. It should be wet enough to spread but not too watery.
- Apply the paint to the stamp. You can use a brush or dip the stamp directly into the paint on the palette. Asia prefers the brush method for more control.
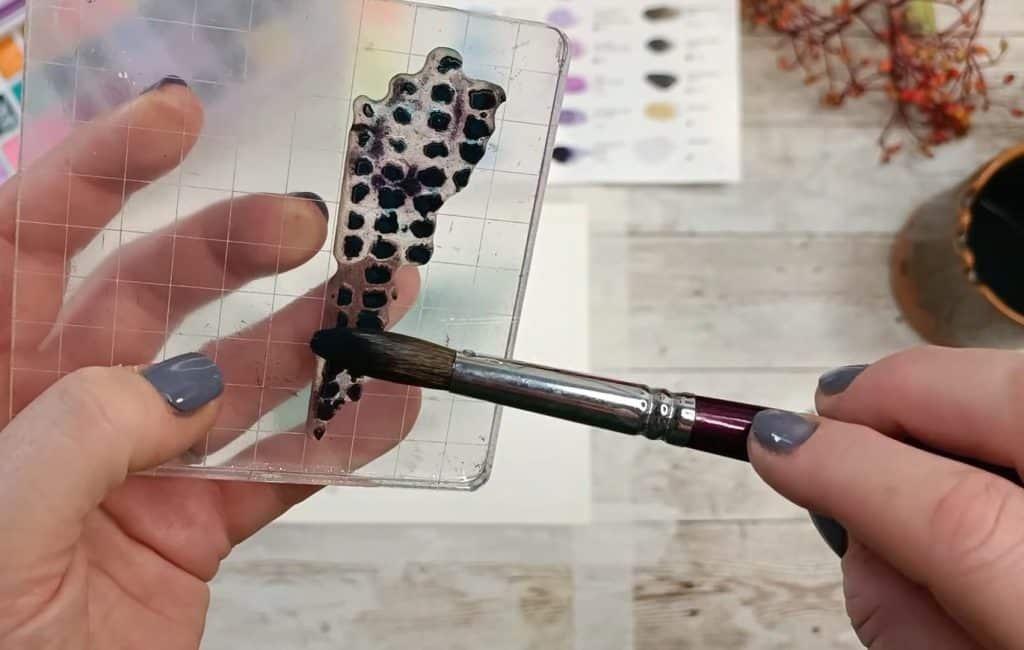
- Press the stamp firmly onto the paper. This makes a clear impression and transfers the design well.
She warns against using too much water. If the stamp is too wet, the shapes become blurry and lose detail.
However, the effect is sharp yet soft with the right balance, perfectly blending into the watercolor background.
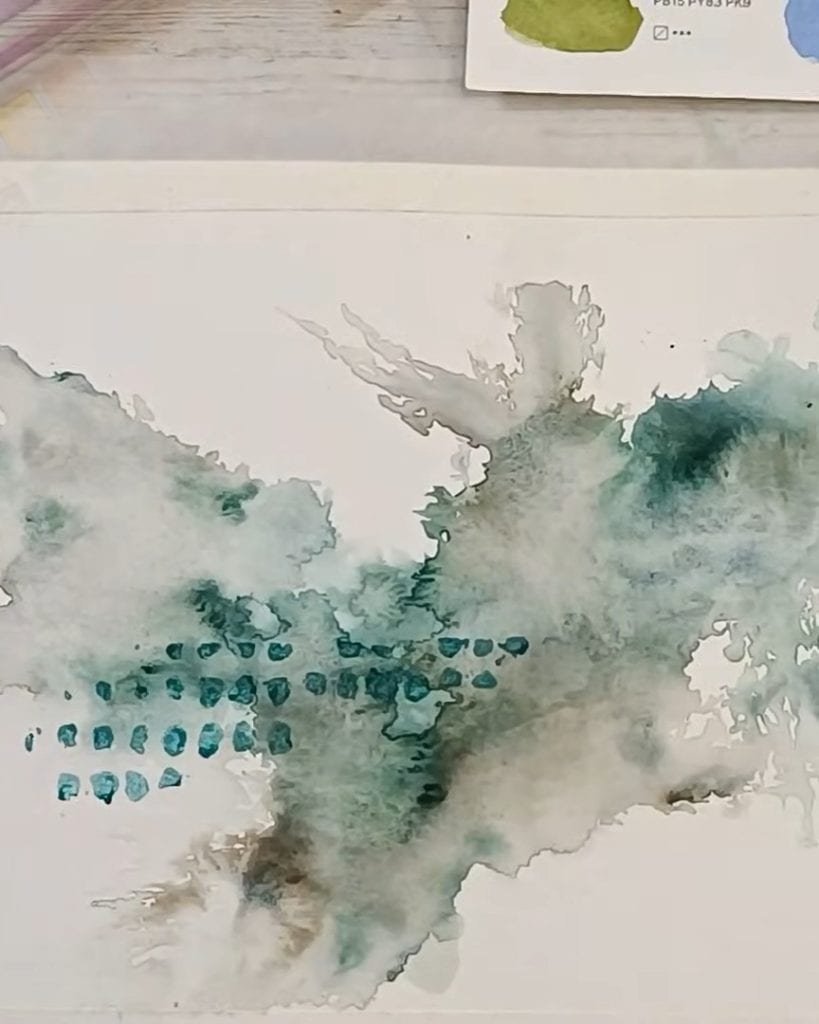
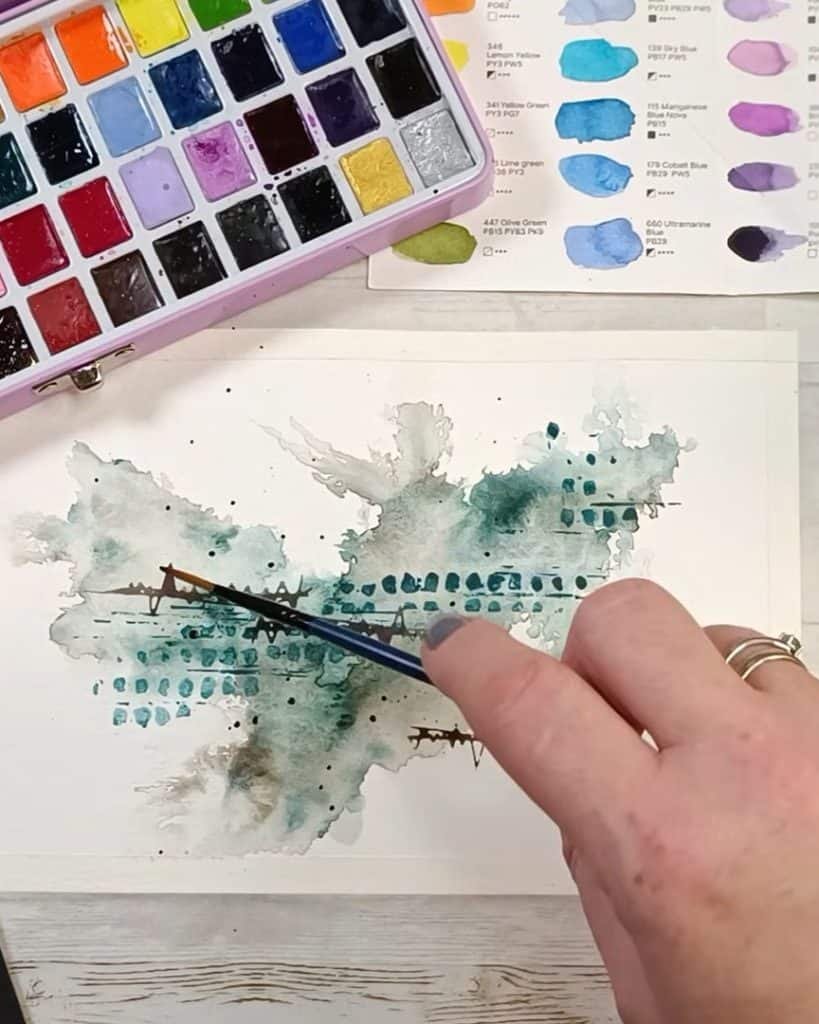
Step 7: Adding Texture and Marks with Watercolor Stamping
After basic stamping, you can experiment with textures. Asia shows several creative ways to add marks.
For example, she uses the edge of a credit card or ruler to drag paint across the paper.
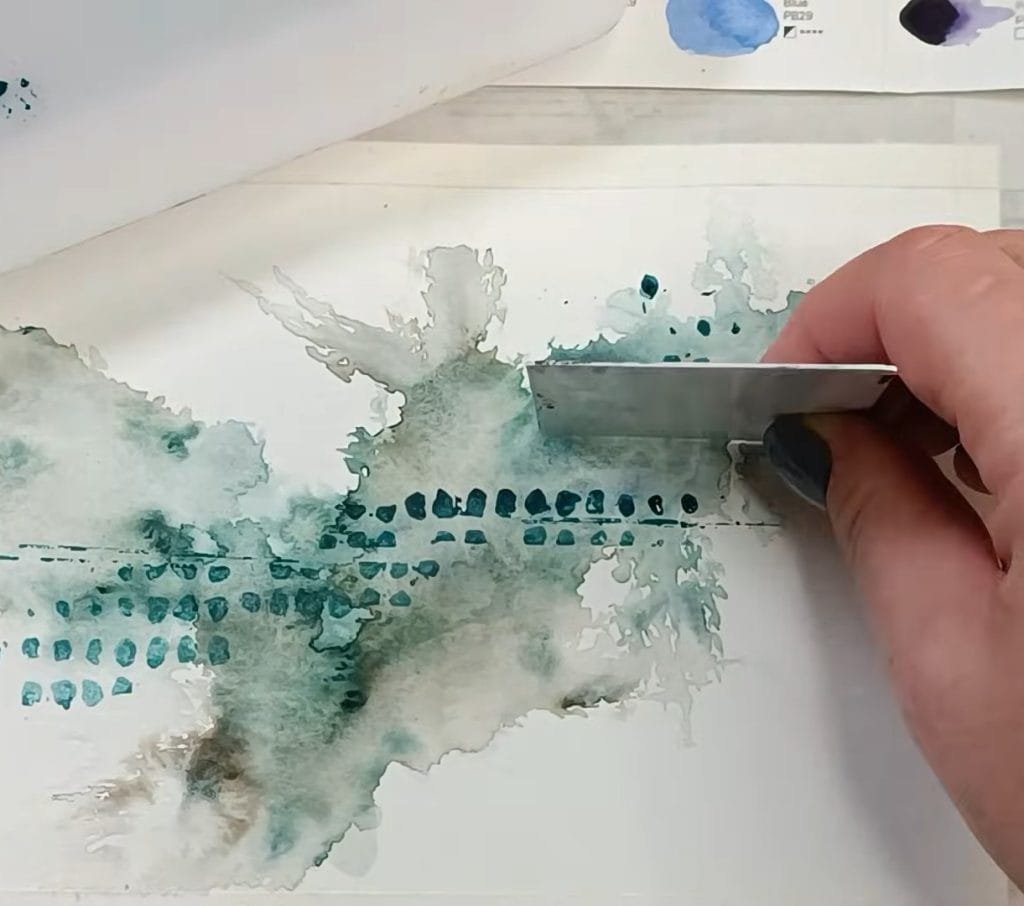
This creates fine linear textures that look natural and dynamic. She also layers different stamps to add organic, earthy designs.
According to Asia, experimentation is part of the fun. So, try different stamp designs and repeat them in layers. All impressions add depth and complexity to the painting.
Step 8: Layering and Refining Stamped Watercolor Designs
Once the first marks are in place, it’s time to refine. Asia adds more depth by returning to earlier colors.
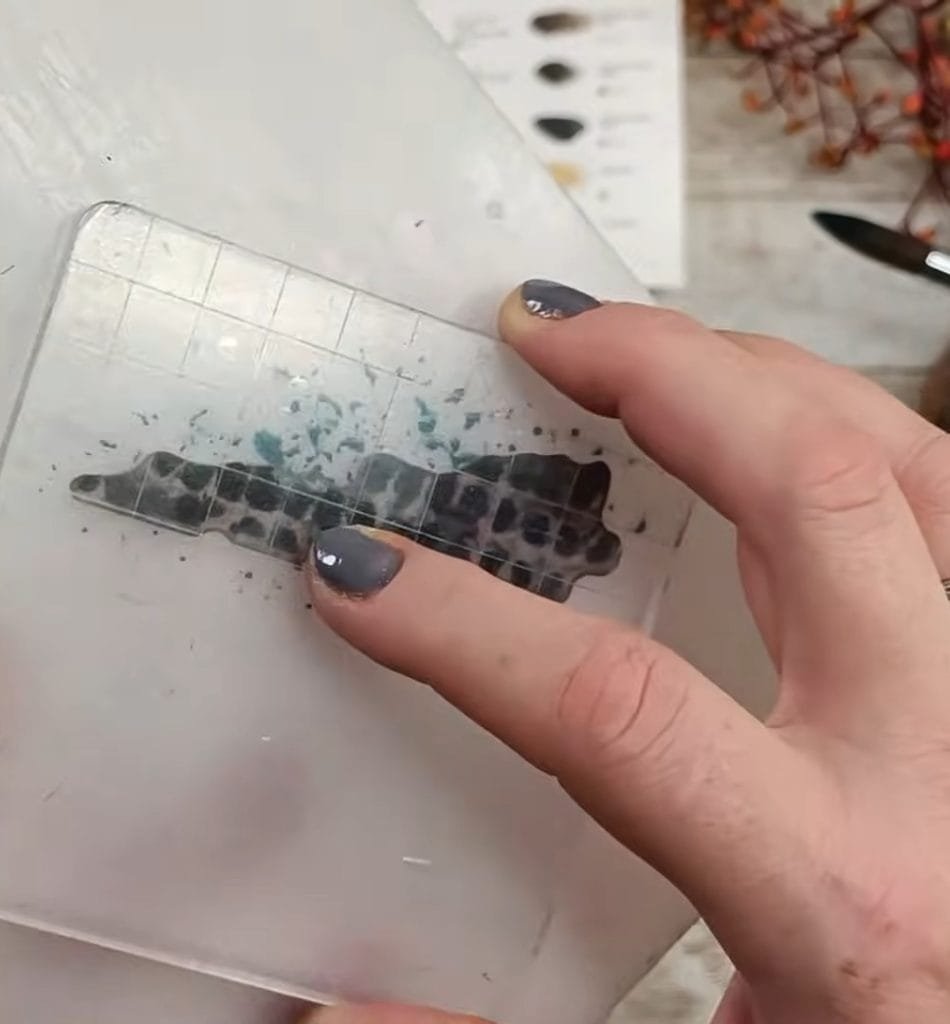
She brings back Tree Bark for darker tones. This creates contrast and helps some areas stand out.
She also compares two methods: applying paint directly with a brush versus palette stamping. She finds that both give different results, so you can choose based on the look you want.
To control where the paint goes, she uses masking tape and tissues. These tools protect parts of the painting and let her stamp only where needed. Thanks to the selective approach, the artwork stays balanced.
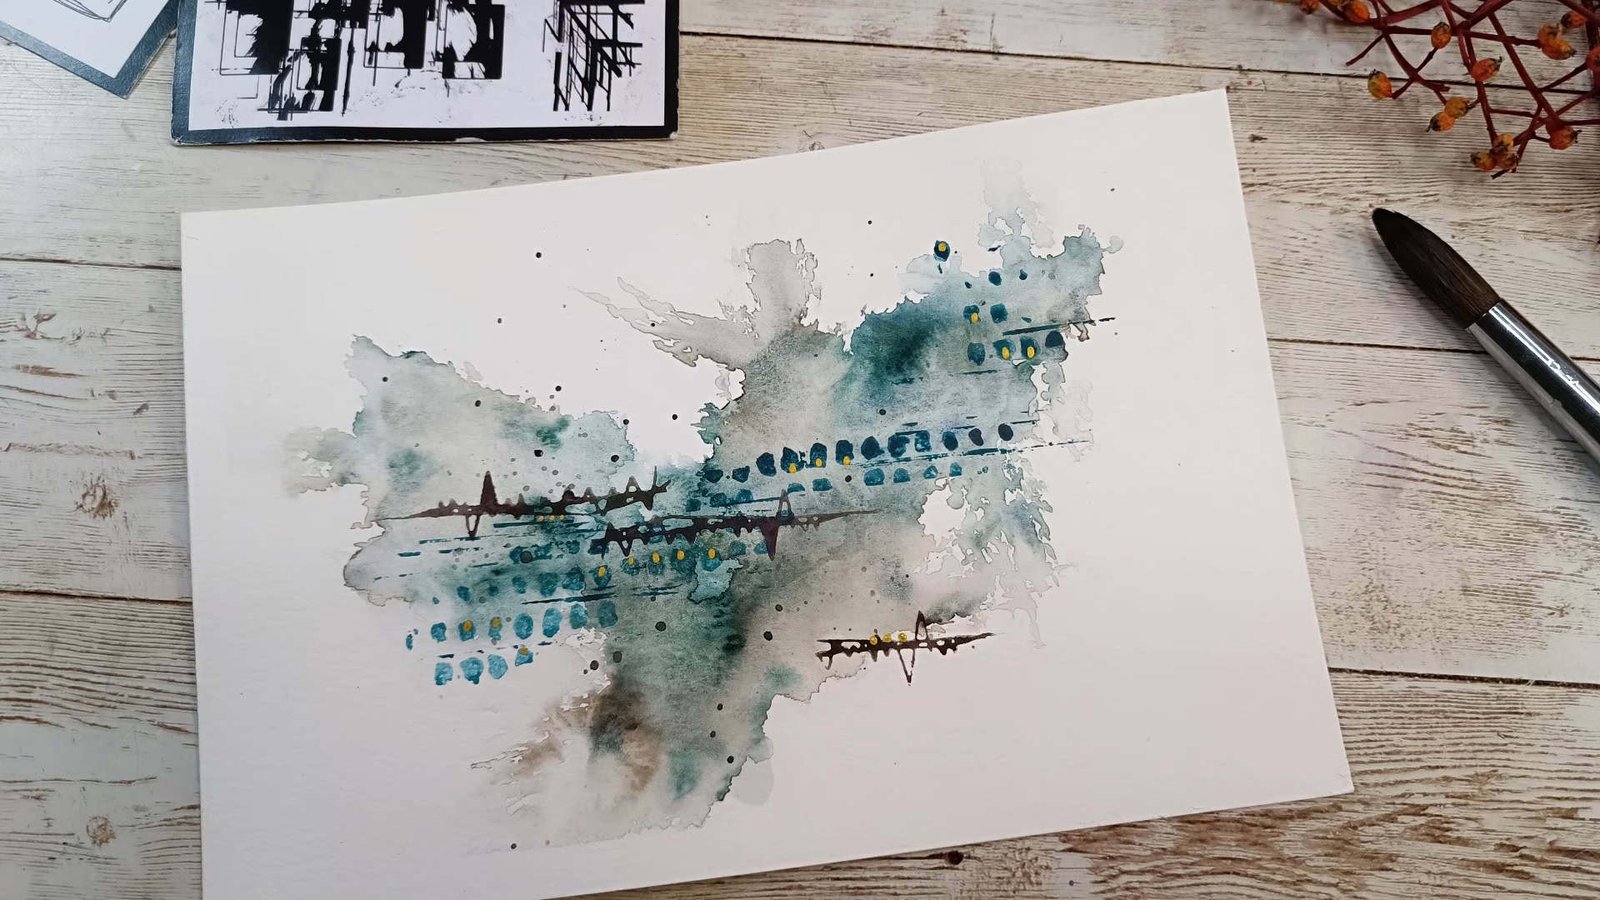
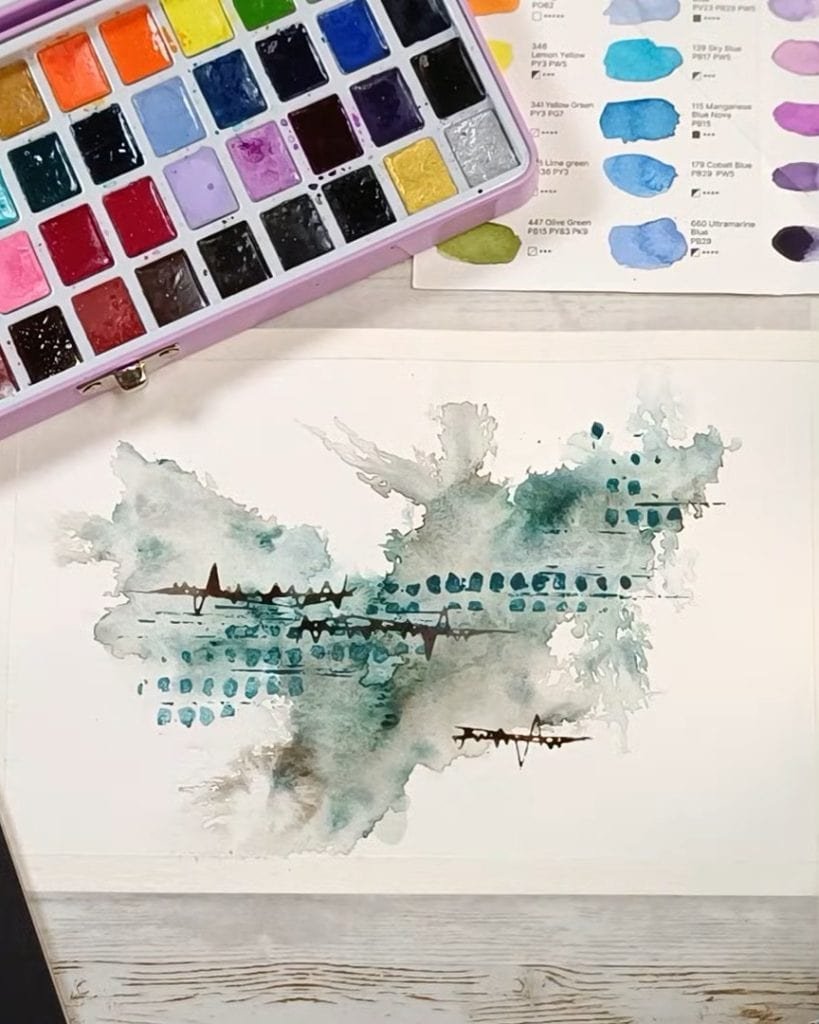
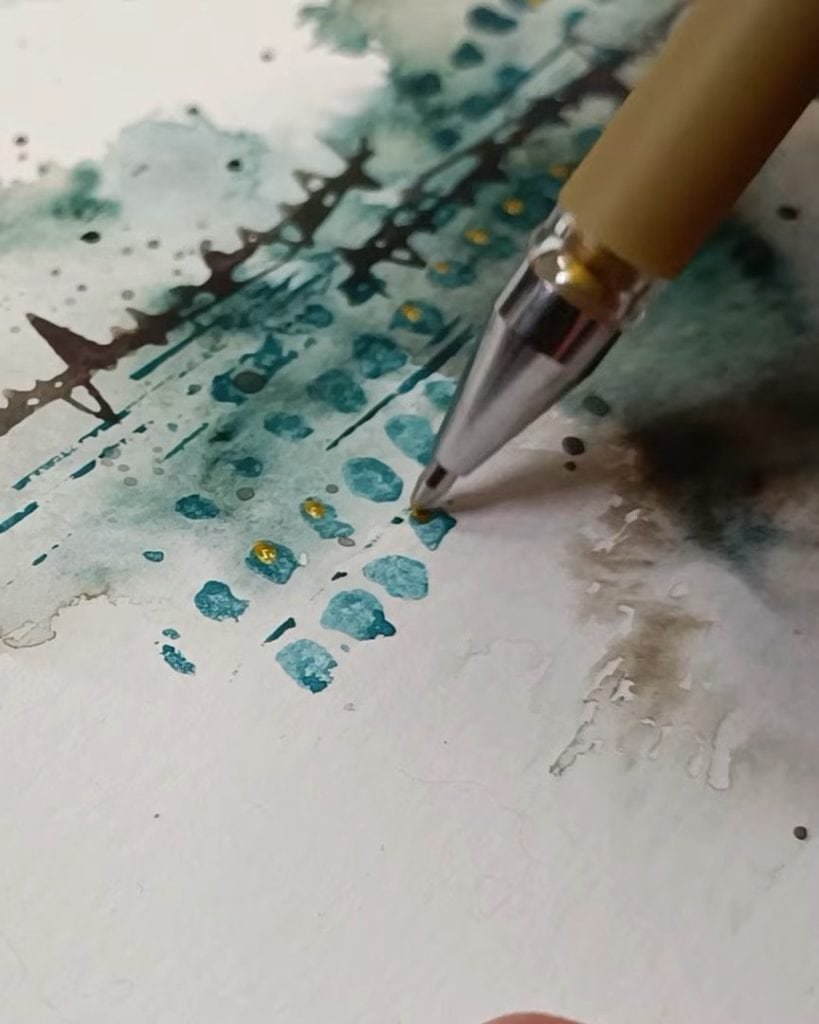
Step 9: Adding Splatter and Metallic Highlights
With the main layers complete, Asia shows how to add energy and sparkle. This step brings the artwork to life.
She creates splatter effects using different brushes. A large brush makes big, bold splashes, while a smaller brush gives tiny dots. These splatters add movement and excitement to the piece.
For highlights, she adds subtle gold accents. Metallic touches reflect light and give the painting a unique charm.
She stresses the importance of balance: just a little gold is enough to enhance without overwhelming the other colors.
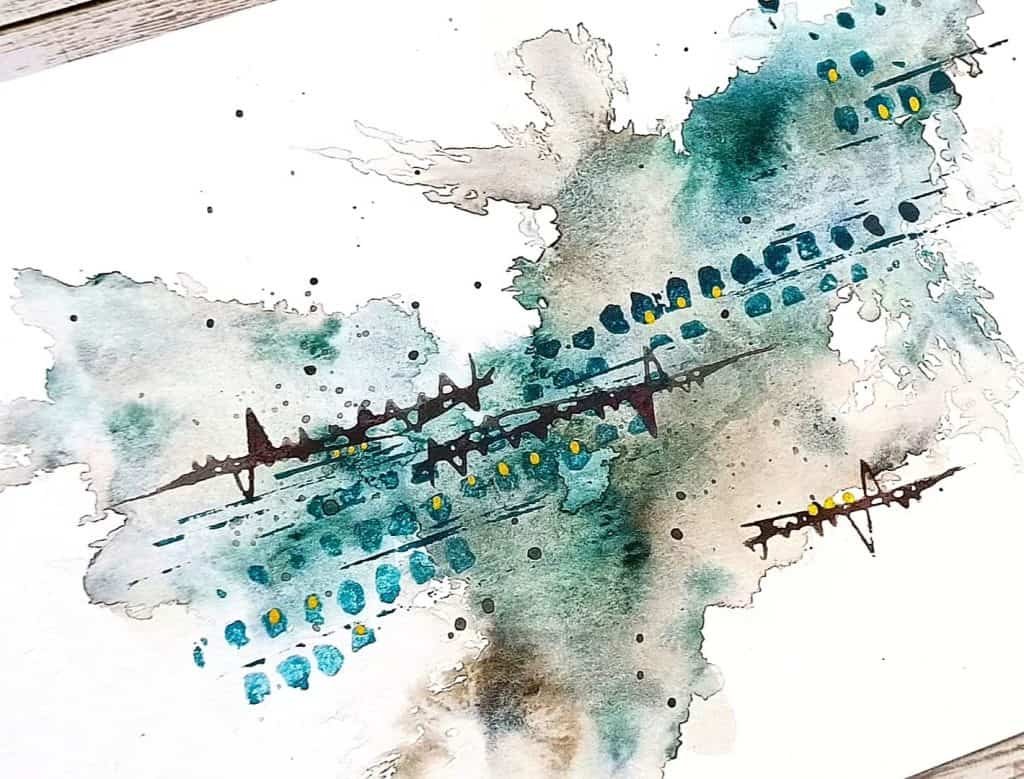
Step 10: Finishing and Reviewing Your Watercolor Stamping Artwork
At the end, Asia steps back and reviews her piece. She encourages you to do the same.
- Look at the balance of colors and textures.
- Check if the layers work together or if some areas need small adjustments.
- Reflect on what you learned during the process.
Asia highlights that watercolor stamping is beginner-friendly. You don’t need perfect skills to enjoy it. The process itself is creative, fun, and forgiving. You will surely grow more confident in combining watercolors with stamping techniques via regular practice.
Final Thoughts
Watercolor stamping lets you explore textures, colors, and marks in new ways. Asia Marquet’s technique shows you can build layered and vibrant artwork with simple steps. Try her method, experiment with stamps, and bring your style to the process.