
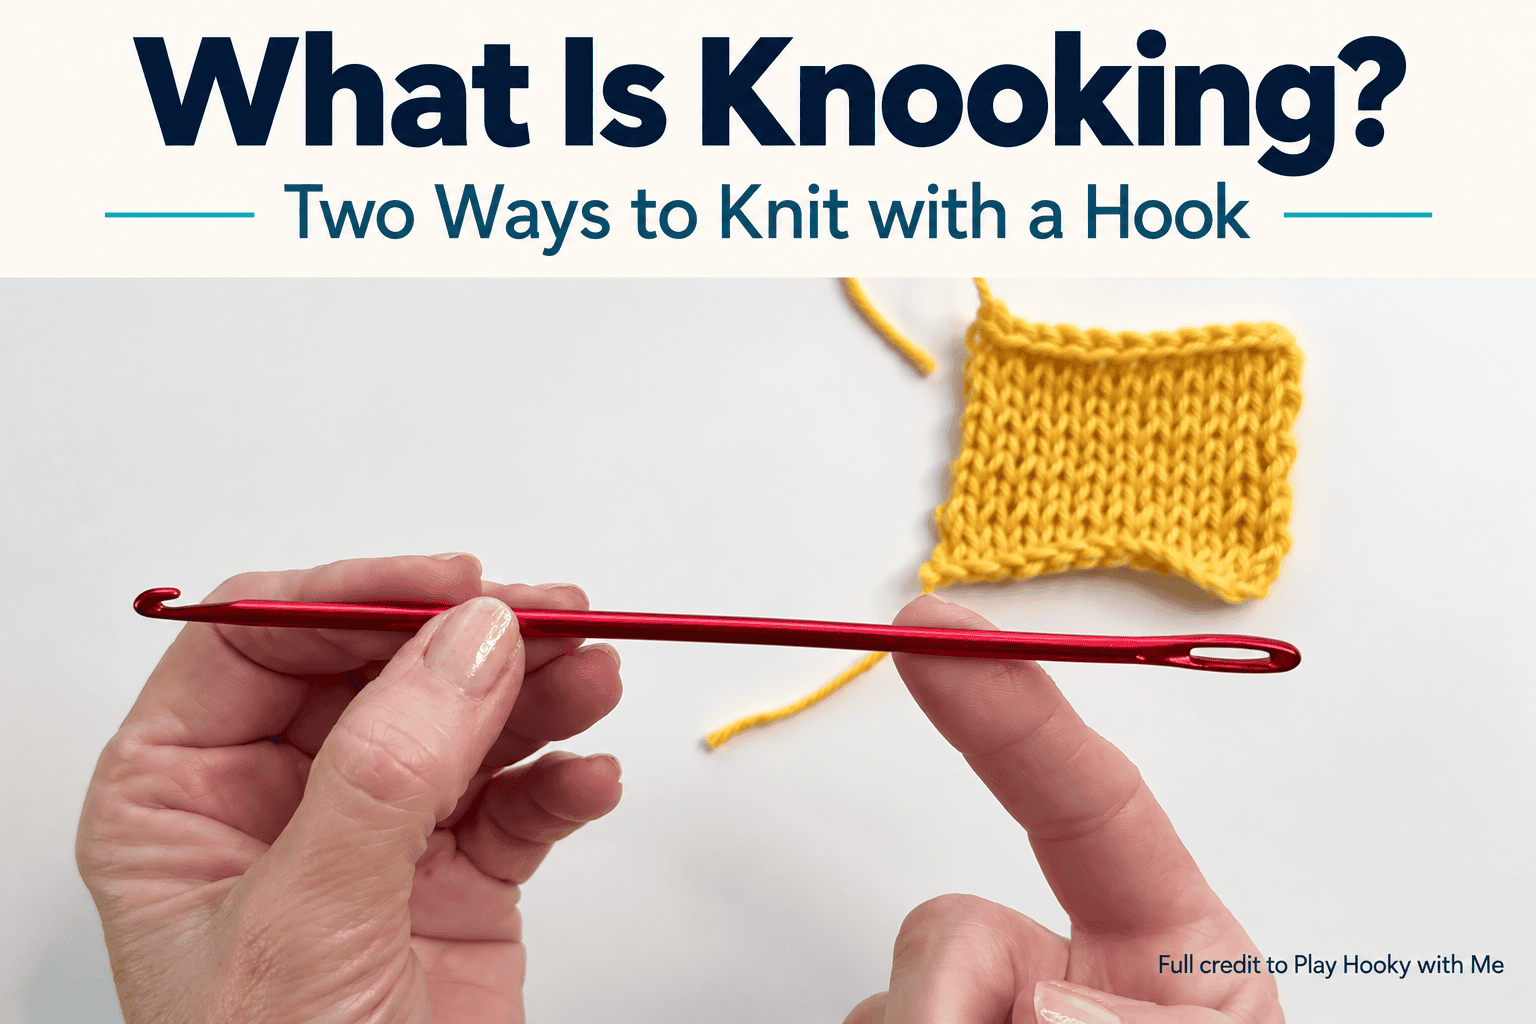
Play Hooky with Me introduces knooking as a way to make knitted fabric with a specialized crochet hook and a cord that holds the live stitches. Aimed at people already familiar with crochet, the demonstration compares two approaches to forming knit and purl stitches.
The familiar hook and starting chain provide an entry point, while tension, stitch orientation, and moving loops onto the cord introduce different demands. The result is an introduction to how knooking works, including the adjustments that made it more manageable for the presenter.
How a Knook Holds Live Stitches
A knook resembles a crochet hook with an eye at its opposite end. A cord or length of yarn passes through that eye and supports the live stitches, serving a role that a needle would perform in knitting. The hook forms new loops, and the attached line holds them between rows.
That arrangement is central to the technique. The work involves managing a row of live loops, rather than treating each loop as a completed crochet stitch. The presenter compares the initial process of collecting loops on the hook to a familiar movement in Tunisian crochet, while describing knooking itself as knitting with a hook.
The Equipment Used in the Demonstration
The presenter describes a purchased set containing 2.75 mm, 4 mm, and 6 mm knooks. The set did not include a cord, so a length of yarn was used instead. The hooks also lacked size markings, prompting the suggestion that their sizes be recorded somewhere accessible.
These details describe the particular equipment used in the video. The demonstration does not establish a required yarn weight or a finished-project gauge. Its focus is the relationship between the hook, working yarn, and supporting cord, followed by the movements that produce the stitches.
A Familiar Beginning with a Different Learning Curve
Both methods start with a slip knot and a chain. The presenter assumes an existing knowledge of crochet, including familiarity with the hook. Either an underhand or overhand grip can be used, depending on comfort.
The presenter’s own yarn-holding position keeps a finger close to the hook. That preference carries into the knooking demonstration and affects how the working yarn is positioned for purl stitches. The lesson therefore includes both the intended yarn position and the adjustments used to maintain it.
Ten Chains and Ten Loops
Each sample begins with 10 chains. The loop already on the hook counts as a stitch, an important detail repeated in both demonstrations. Starting in the second chain from the hook, the presenter draws up additional loops until there are 10 loops in total.
The two methods differ in how the yarn is caught while those loops are formed. The first uses a yarn under, while the second uses a yarn over. This small change is part of a larger difference in the subsequent knit and purl movements.
Why Tension Takes Practice
The presenter identifies tension as an early difficulty. Loops supported by a narrow length of yarn behave differently from loops resting on a knitting needle, and they can become tight while the work is repositioned.
The video describes a frustrating start followed by improvement with practice. It does not present the familiar hook as removing every challenge. Instead, the learning process involves recognizing the loops, keeping them accessible, and allowing enough room to work without letting them slip off the supporting line.
Moving from the Hook to the Cord
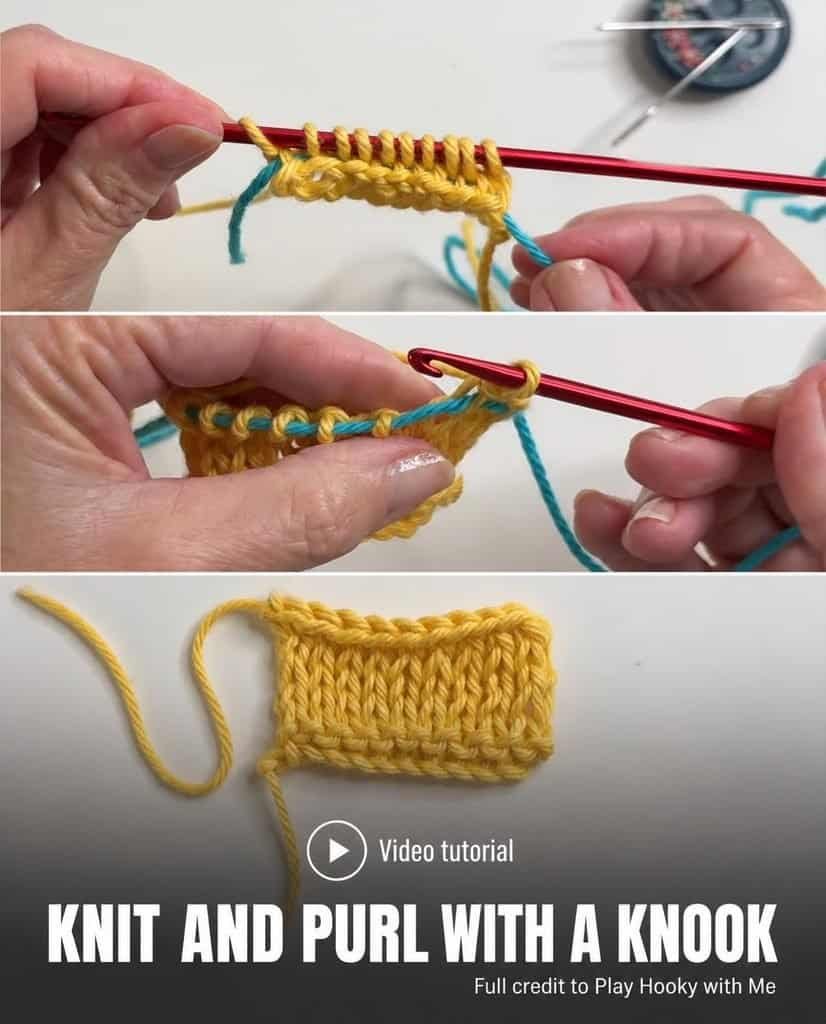
At the end of a row, the loops move from the hook onto the attached line. The work is then turned for the next row. During this transition, the presenter holds the first loop to help prevent it from tightening while the hook and working yarn are brought back into position.
Enough cord is drawn through to provide working room, while a sufficient length remains at the opposite side to keep the stitches supported. The presenter also suggests keeping a thin, pointed tool nearby because tight loops can be difficult to enter during practice.
A Simple Check Before the Next Row
The hook and active yarn should be beside one another when the work is ready to continue. The presenter uses their position as a check after turning. If the working yarn is at the other end, the setup is not ready for the demonstrated next row.
After new loops have been formed across a row, the supporting line is withdrawn from the previous loops and the new stitches are moved onto it. This repeated transfer is as much a part of the technique as the individual knit and purl movements.
Method One: The Western-Style Demonstration
The first approach is called Western style in the video and is associated with the method in the presenter’s Leisure Arts book. The presenter explains that the style names are terms borrowed from knitting, rather than claims about where the methods originated.
For the initial pickup, the hook enters the second chain and draws up a loop with a yarn under. That movement continues across the chain. The presenter emphasizes the yarn under because an experienced crocheter may automatically reach for a yarn over instead.
Knit Stitches with a Yarn Under
After the loops have moved onto the cord and the work has turned, the working yarn stays behind the fabric. The hook enters each loop from left to right as shown in the demonstration, catches the yarn from underneath, and draws a new loop through.
This sequence continues across the row. When loops tighten, the presenter adjusts how the hook enters them rather than treating the tightness as a different stitch. Repeating knit rows produces the garter-stitch appearance described in the video.
Purl Stitches with a Yarn Over
For the purl movement, the working yarn comes to the front. The direction of entry changes to right to left, and the yarn is caught with a yarn over. The presenter draws attention to all three elements: yarn position, hook direction, and how the yarn crosses the hook.
Because the presenter’s usual tensioning position tends to pull the yarn toward the back, the hook is kept behind the working yarn during the stitch. This is the adjustment shown for maintaining the required relationship between yarn and hook. Alternating knit and purl rows produces the stockinette fabric demonstrated in the lesson.
Method Two: The Japanese/Eastern-Style Demonstration
The second method returns to the same 10-chain beginning. The existing loop again counts toward the total of 10. This time, the loops are picked up with yarn overs, a motion the presenter finds closer to familiar crochet movements.
The initial loops slide onto the supporting line, the work turns, and the first stitch is held while the setup is adjusted. The check remains the same: the hook and active yarn belong beside one another before the next row begins.
Knit Stitches with a Yarn Over
With the active yarn behind the work, the hook enters from right to left and draws yarn through with a yarn over. The presenter finds this knit movement particularly approachable because it uses the familiar over-the-hook action.
That preference is presented as the presenter’s response to the method. The comparison gives crocheters two movements to consider, rather than establishing that one approach will feel easier for everyone.
Purl Stitches and Loop Orientation
For the second method’s purl stitch, the active yarn moves to the front. The hook enters from left to right, and the stitch uses a yarn under. The presenter also demonstrates a turning motion to bring the stitch into the intended orientation.
The visual check is an upside-down U, or horseshoe shape, in the loop. The presenter looks for a horizontal bar on the purl side and vertical lines on the opposite side. These observations connect the hand movement to the appearance of the resulting fabric.
Later in the sequence, the presenter checks again that the loops are not twisted. The demonstrated turning action therefore needs to be understood alongside that final orientation check. The intended result is a correctly positioned loop, not a permanently crossed stitch.
Keeping the Two Methods Consistent
The comparison is easiest to follow when each method is treated as a connected sequence. In the first, knit stitches use a yarn under and left-to-right entry, while purl stitches use a yarn over and right-to-left entry. In the second, knit stitches use a yarn over and right-to-left entry, while purl stitches use a yarn under and left-to-right entry with the demonstrated orientation adjustment.
In both approaches, the active yarn stays behind the work for knit stitches and in front for purl stitches. The cord continues to hold live loops between rows. These shared features help explain what remains consistent even when the individual movements change.
Binding Off the Knooked Fabric
Each demonstration returns to the knit side for binding off. The first knit stitch is formed in the chosen method, followed by the next stitch. The new loop is then pulled through the preceding loop, an action the presenter compares to a slip stitch.
This continues across the row. The Western-style example retains its left-to-right entry and yarn under, while the second method retains right-to-left entry and yarn over. The final example releases the work and leaves the choice of fastening-off method open.
An Introduction with Room for Further Practice
The presenter concludes that experience with crochet and some understanding of knitting anatomy can both be helpful. Crochet familiarity supports handling the hook, while recognition of knitted loops helps identify accidental twists.
Working in the round and adapting knitting patterns are described as future areas of study, rather than completed lessons in this video. The demonstration stays focused on the starting chain, live stitches, knit and purl movements, cord transfers, and binding off. Together, those elements show how a familiar-looking tool can produce knitted fabric while requiring a new way of watching and managing the stitches.