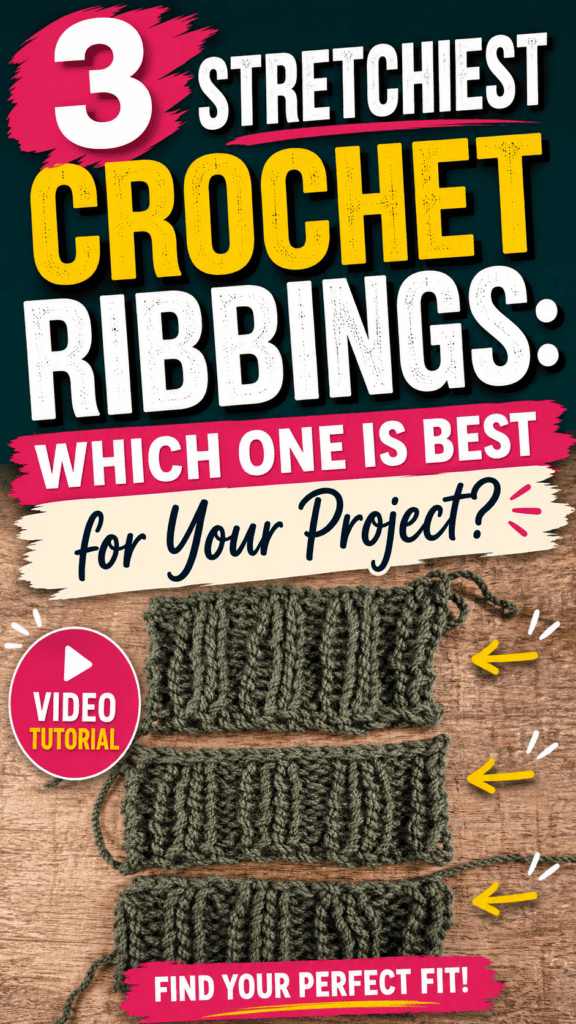
Crochet ribbing appears in countless projects, from sweater cuffs and hat bands to cardigan hems and fitted necklines. Although many crochet stitches can imitate the look of ribbing, not every method offers the same amount of stretch. In her tutorial, Tuula Maaria from Crochet with Tuula Maaria compares three of the stretchiest crochet ribbing techniques and explains how each one behaves.
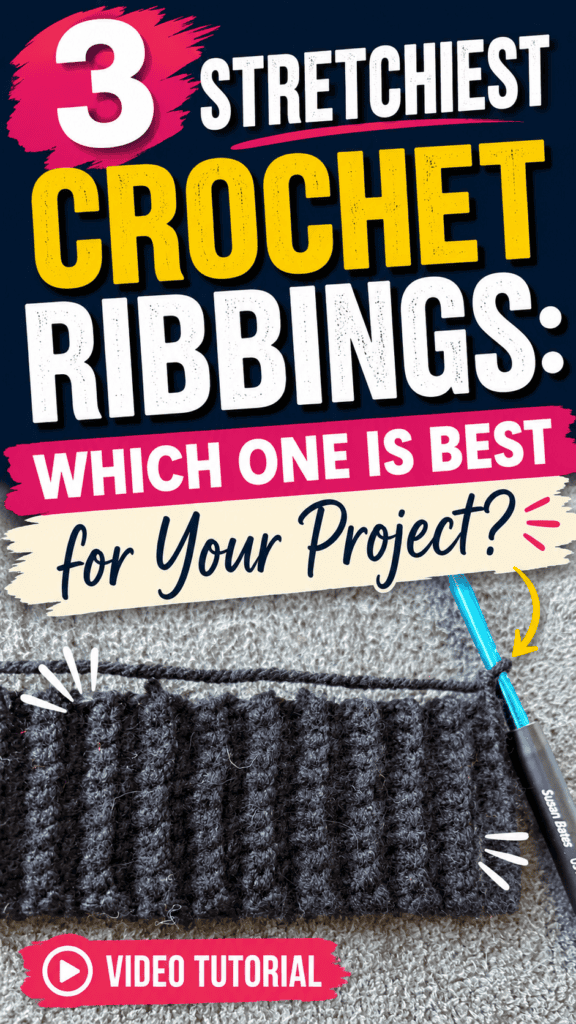
Some ribbing methods are used mainly for texture, while others need to pull a garment edge inward and stretch comfortably when worn. Tuula focuses on three techniques that are especially useful when elasticity matters. The first uses only slip stitches, the second combines two repeating rows, and the third is worked in Tunisian crochet.
Why Stretch Matters in Crochet Ribbing
Ribbing often needs to do more than look decorative. In many projects, it must stretch open and then return close to its original shape.
This is especially important for:
- Sweater cuffs
- Cardigan hems
- Hat bands
- Sock tops
- Necklines
- Fitted waistbands
- Sleeves
The familiar single crochet back-loop-only ribbing is one of the most common choices. It creates a recognizable ribbed texture and works well for many projects, but Tuula notes that it is not among the very stretchiest techniques.
Other crochet stitches can create a knitted appearance, but some of those fabrics offer little elasticity. They may still work beautifully as decorative textures, but they are less suitable when the ribbing needs to pull in the attached fabric.
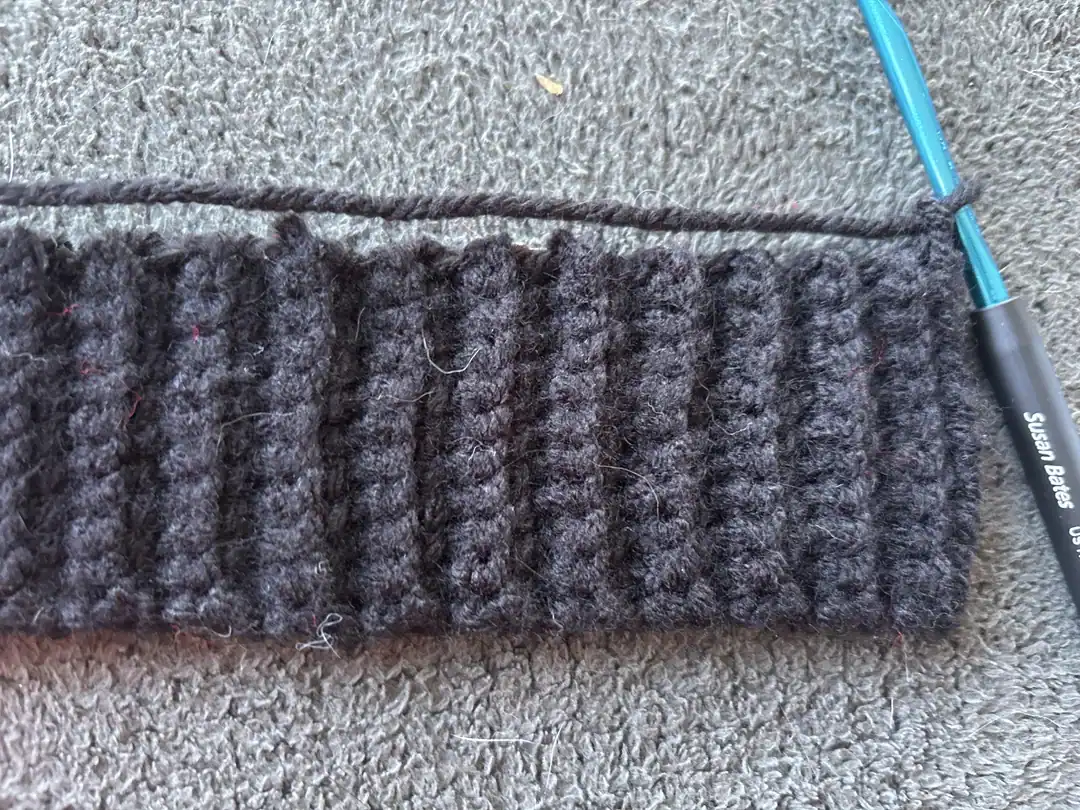
Ribbing #1: Back-Loop Slip Stitch Ribbing
The first technique is one of the easiest and stretchiest options.
It is made entirely with slip stitches worked back and forth through the back loops. The number of starting chains determines the width of the ribbing, while the number of completed rows determines its length.
Why This Ribbing Is So Stretchy
Slip stitches are short and compact. When they are worked through the back loop only, the unused front loops create flexible ridges that can expand significantly.
The finished ribbing is:
- Very stretchy
- Thin and relatively flat
- Reversible
- Identical on both sides
- Suitable for folded edges
Because both sides look the same, this ribbing can be used for hat brims or cuffs that may be folded over.
How to Make It
Begin by chaining the desired width of the ribbing, plus one extra chain for turning.
Tuula demonstrates with ten working stitches and one turning chain.
Start in the second chain from the hook and slip stitch across the foundation chain. At the end of the row:
- Chain one.
- Turn the work.
- Slip stitch through the back loop only of every stitch.
- Repeat the same row for the entire ribbing.
This is a simple one-row repeat.
Do Not Miss the Last Stitch
The final stitch in each row can be difficult to see because it may hide behind the turning chain.
Missing that stitch will gradually decrease the width of the ribbing. Accidentally working an extra stitch can make the ribbing wider.
Tuula recommends counting the stitches during the first several rows to make sure the stitch count remains consistent.
Although this technique is easy, it is also the slowest of the three because every row is made with small slip stitches. Once the fabric becomes longer, however, the stitches become easier to identify and the work generally moves faster.
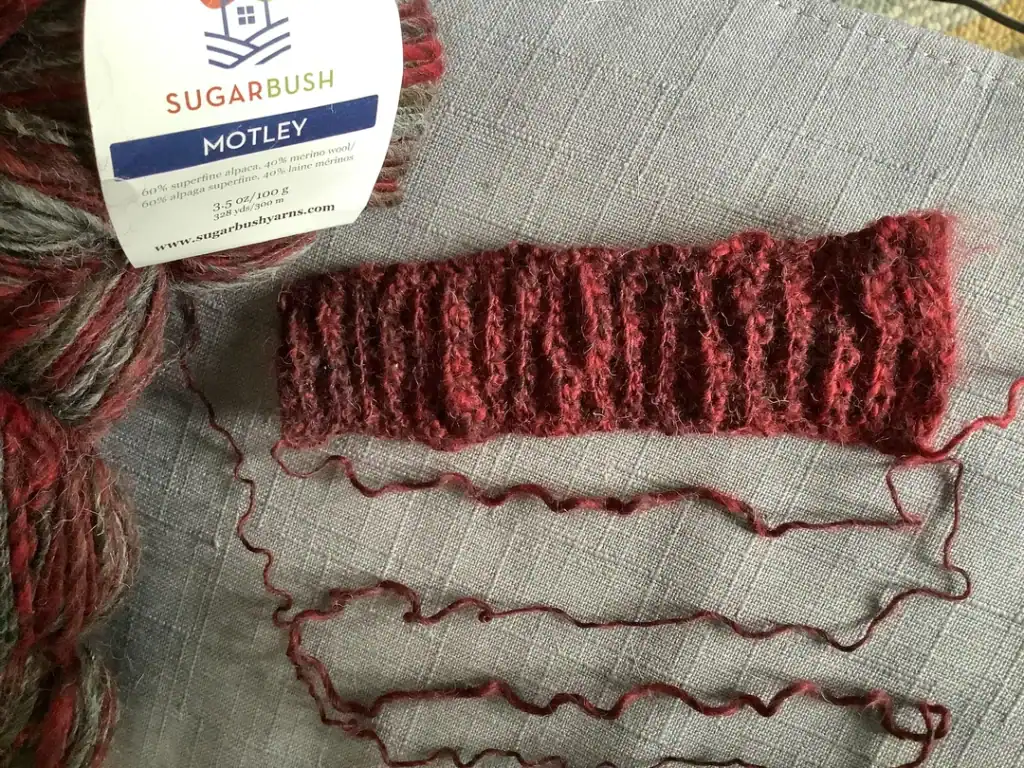
Ribbing #2: A Two-Row Knit-Look Ribbing
The second ribbing is one Tuula uses frequently.
It is similar to the first method, but it is slightly thicker, faster to make, and more visibly textured. Unlike the slip stitch version, the two sides do not look exactly the same.
The ribbing uses a two-row repeat:
- One row of a taller modified stitch
- One row of back-loop slip stitches
Working the First Row
Begin with a foundation chain equal to the desired ribbing width, plus one turning chain.
Yarn over, insert the hook into the second chain from the hook, and pull up a loop. The hook will now hold three loops.
Instead of completing a standard half double crochet, pull the loop closest to the hook through the other two loops.
Repeat this movement across the row:
- Yarn over.
- Insert the hook into the next stitch.
- Pull up a loop.
- Pull the nearest loop through the remaining two loops.
The first row may feel awkward, especially with yarn that splits easily. Tuula explains that later rows become easier as the stitch structure becomes clearer.
Working the Second Row
Chain one and turn.
Work a slip stitch through the back loop only of every stitch across the row. As with the first ribbing, the last stitch can be hidden, so it is important to include it.
After turning again, repeat the modified stitch row through the back loops. Then alternate between the two rows for the desired length.
A Helpful Row Reminder
Because the pattern alternates between two different rows, it can be easy to forget which row comes next.
Tuula uses the starting yarn tail as a visual reminder. When she begins from the side where the tail is visible, she knows it is time to work the slip stitch row.
The finished ribbing has a strong knit-like appearance, excellent stretch, and a little more thickness than the all-slip-stitch version. It has a clear right side, although both sides remain equally elastic.
Ribbing #3: Tunisian Crochet Ribbing
The third method is very different because it uses Tunisian crochet.
This ribbing is thicker and chunkier than the first two. It creates clearly raised and recessed sections and can pull attached fabric inward effectively.
Tuula demonstrates a two-by-two rib, made with:
- Two rows of Tunisian knit stitch
- Two rows of Tunisian reverse purl stitch
A one-by-one version could also be made by alternating after every row.
Tools for Tunisian Ribbing
Tunisian crochet requires a straight hook because multiple loops remain on the hook at the same time.
A long Tunisian hook is useful, but a standard crochet hook can also work for a narrow ribbing as long as it has no bulky handle in the middle.
Tuula uses a larger hook for visibility and explains that Tunisian crochet often requires a hook one or two sizes larger than the size normally recommended for the yarn.
Using a larger hook also helps prevent the fabric from becoming too stiff.
Creating the Tunisian Foundation Row
Chain the desired width of the ribbing plus one extra chain.
Beginning in the second chain from the hook, insert the hook into each chain, pull up a loop, and leave every loop on the hook.
This is called the forward pass.
For the return pass:
- Yarn over and pull through one loop.
- Yarn over and pull through two loops.
- Continue pulling through two loops at a time until one loop remains.
The return pass stays the same throughout this ribbing, even when the forward-pass stitch changes.
Tunisian Knit Stitch Rows
To make a Tunisian knit stitch, identify the two vertical bars of the next stitch.
Insert the hook from front to back between those bars and under the top strand. Yarn over, pull up a loop, and leave it on the hook.
Repeat across the row, working the final stitch carefully through the edge loops.
Complete the standard return pass.
For a two-by-two rib, work two rows of Tunisian knit stitch before changing to the reverse purl stitch.
Tunisian Reverse Purl Stitch Rows
The reverse purl stitch creates the raised section of the ribbing.
Bring the working yarn to the front. Insert the hook into the next stitch from the back, yarn over, and pull up a loop.
Keep the yarn toward the front while repeating across the row.
This movement brings the chain-like return-pass section forward, forming a pronounced ridge.
After the forward pass, complete the standard return pass. Work two reverse purl rows, then return to two knit stitch rows.
The repeating sequence is:
- Two Tunisian knit stitch rows
- Two Tunisian reverse purl stitch rows
Comparing the Three Ribbing Methods
Each technique offers a different balance of stretch, thickness, speed, and appearance.
Back-Loop Slip Stitch Ribbing
This is the thinnest and most reversible option. It is extremely stretchy and works well for folded cuffs and fitted hems, although it takes longer to crochet.
Two-Row Knit-Look Ribbing
This ribbing works up faster and creates a more substantial fabric. It has a polished knit-like right side and remains highly elastic.
Tunisian Crochet Ribbing
This is the thickest of the three. It creates deep, visible ribs and works well when the edging needs to pull the main fabric inward. However, its bulk may make it less suitable for folded edges.
Attaching Ribbing to a Project
The best joining method depends on the project and the ribbing.
Tuula explains that stitches are often worked along one edge of the finished ribbing while gently stretching it open. In many cases, one stitch is placed into each ribbing row, including both raised and recessed sections.
However, the exact ratio may need to be adjusted depending on:
- The main stitch pattern
- Yarn thickness
- Hook size
- Desired fit
- The amount of gathering needed
A small test section can help determine whether the ribbing pulls the fabric in evenly without creating puckering.
Conclusion
Crochet ribbing can vary dramatically in elasticity, thickness, and appearance. A technique that works beautifully for a decorative hem may not be stretchy enough for a fitted cuff, while a thick Tunisian rib may be too bulky for a folded hat band.
As demonstrated by Tuula Maaria from Crochet with Tuula Maaria, back-loop slip stitch ribbing offers exceptional stretch and reversibility, the two-row knit-look version provides speed and texture, and Tunisian ribbing creates bold, structured elasticity.
By learning all three methods, crocheters can choose a ribbing based not only on appearance, but also on how the finished project needs to fit, stretch, and perform.