How do you get super clean and straight lines on paintings? This is something that a lot of artists and creators deal with.
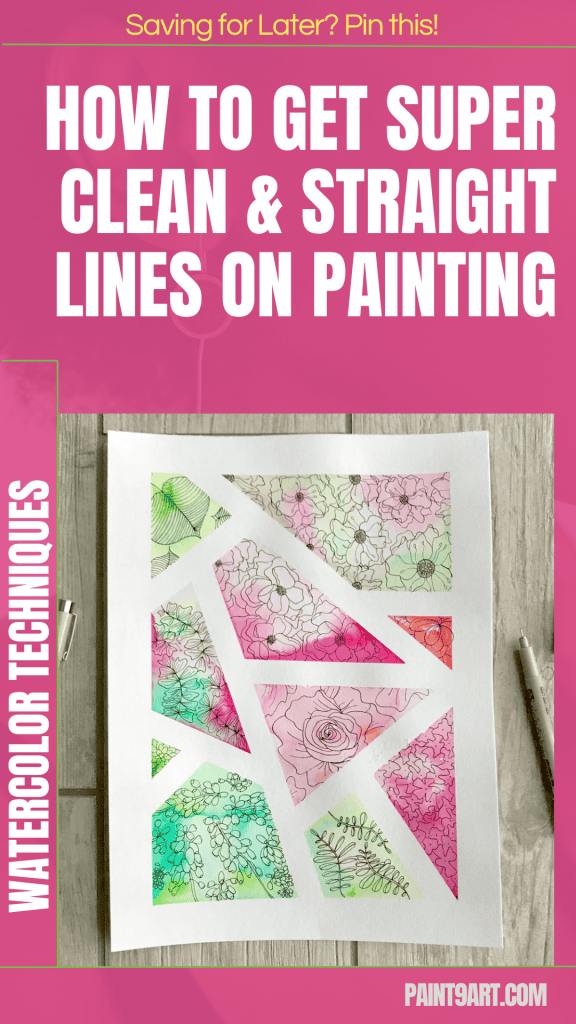
I enjoy using masking tape in my watercolor paintings. It’s easy to use and makes a big impact.
With some helpful tips, you can create sharp edges, keep your paper safe, and create super clean and straight lines.
Let’s explore how!
Contents
4 Must-Know Masking Tape Tips
Tip 1: Keep your paper flat with masking tape

Masking tape stops paper from curling or moving while you work. Use it to keep your focus on creating, not fixing sliding sheets!
Preventing paper buckling with masking tape
Paper buckling is a real pain for artists like me. Wet media can warp paper, but masking tape saves the day.
Tape each edge of your paper to a sturdy surface like a board or table. This holds it steady during wet painting.
Keep the tape equally tight on all sides to prevent bubbles or wrinkles forming underneath.

Press the tape firmly with your fingers for secure adhesion. Loose tape can lift during painting.
Use good-quality masking tape that peels off cleanly without damaging paper edges.
Try taping your paper at an angle on a small board for easier adjustments while working.

Remove the tape slowly and carefully after drying to avoid tearing off corners of your art.
Stretch thinner sheets of paper slightly before taping if you want extra smoothness for drawing or painting later.
Proper technique for taping paper to a flat surface
Sometimes, paper tends to buckle or move while working. Masking tape can solve this issue and keep it in place.
Tear a piece of masking tape slightly longer than the edge you need to cover. This helps with easier handling.
Place half of the tape on the paper edge. The other half should stick firmly to your surface.

Press down on the tape using your fingers. Smooth out any air gaps as you go along.
Keep the tape straight all around for an even look and better grip.
Avoid pulling too tightly while taping, as this might curl or warp your paper edges.
After finishing your work, remove the tape slowly at an angle to prevent peeling off any paper fibers.
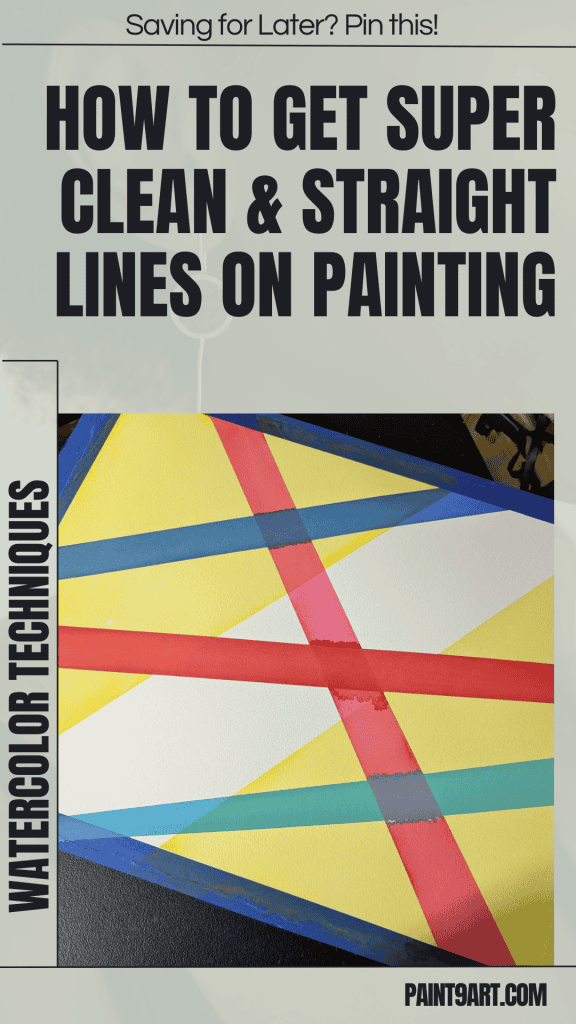
Tip 2: Creating White Borders and Separations
Masking tape works magic for sharp, clean edges. It’s like framing your art before you even start painting!
Using masking tape for crisp white borders and separate paintings

I love using masking tape to create neat, clean borders. It gives my artwork a sharp, professional finish.
I place the tape carefully along the edges of the paper. This leaves crisp white lines once removed.
Pressing down firmly on the tape helps stop paint from bleeding underneath it.

I use it to divide larger paper into smaller sections for multiple paintings. These divisions keep each mini painting separate and tidy.
Lifting the tape slowly avoids tearing or damaging the paper.
Choosing good-quality painting tape ensures smooth removal and precise boundaries every time!

Enhancing creativity with different painting formats
Masking tape helps me try fun painting formats, like Polaroid-style pieces. It lets me create clean edges and separate sections for mixed media art or layered designs.

This technique gives my work neat borders while sparking fresh ideas for composition styles and artistic experimentation.


Tip 3: Separating Different Painting Areas
Masking tape makes dividing painting areas a breeze. It helps you keep edges sharp and colors neat, even in tricky spots.
Using masking tape for distinct sections and clean edges
Clean edges make art stand out. Taping helps keep sections neat and separates colors easily.
Place the tape firmly on the paper. Press it down well to stop paint from bleeding underneath.

Use tape to split areas like sky and ground in landscapes. This gives each section clear lines.
Peel the tape off slowly after painting dries. This avoids tearing the paper or ruining edges.

Test the tape on a small spot first, especially with sensitive surfaces like watercolor paper.
Choose painter’s tape for precision painting and edge protection. It works well for sharp, clean lines!

Addressing potential paint bleed and solutions
Paint bleed can ruin the edges of a painting. I use a few tricks to fix it and keep my work smooth.
Use a dry brush before painting. It helps remove dust or oils from the surface that might cause paint to run under the tape.

Press tape down firmly with your fingers or a tool. This seals the edges and stops paint from sneaking under.
Paint lightly on edges first. Too much paint at once increases bleeding risks.

Work in the right order—light colors first, then dark, to avoid messy overlaps.
If bleeding happens, grab a clean brush, dip it in water or white paint for touchups on wet areas.

Let tape stay until the paint is fully dry but not hardened. Removing it early keeps lines sharp without tearing paint away.
Good prep and small steps make all the difference for crisp results!

Tip 4: Preserving White Space and Creating Shapes
Masking tape works wonders for keeping areas clean and fresh.
You can even use it to outline shapes, adding fun designs or accents to your art.

Forming unique shapes and adding texture post-tape removal
Creating shapes with tape adds flair to any art piece. Peeling it off later can reveal surprises and textures.
Use tape to form tree trunks. After removing it, paint dots or lines for bark details. This adds depth to the piece.


Make geometric shapes like triangles or squares for modern designs. Post-tape removal, add shading for 3D effects.
Create negative spaces by taping areas before painting over them. These empty spots enhance contrast and balance.


Peel the tape carefully after the paint dries to avoid tearing the paper or canvas edges.
Experiment with ripping tape instead of cutting straight lines. The jagged edges create a playful, organic look in mixed media art.


Add texture where the taped areas were blank by using sponges or splatter techniques. It brings life and movement into detailed artwork.


Choosing the right tape
Picking the perfect tape makes all the difference in art. I stick with Japanese washi tape because it’s gentle and peels off smoothly, avoiding damage.
For larger white borders or big paintings, 1.5 cm works best.
Smaller details call for 7 mm or even tiny 2 mm sizes for sharp precision.
Conclusion
Masking tape can do wonders for your art. With these tips, you’ll get cleaner lines, better borders, and smoother paper.
Give it a try—your paintings will thank you!