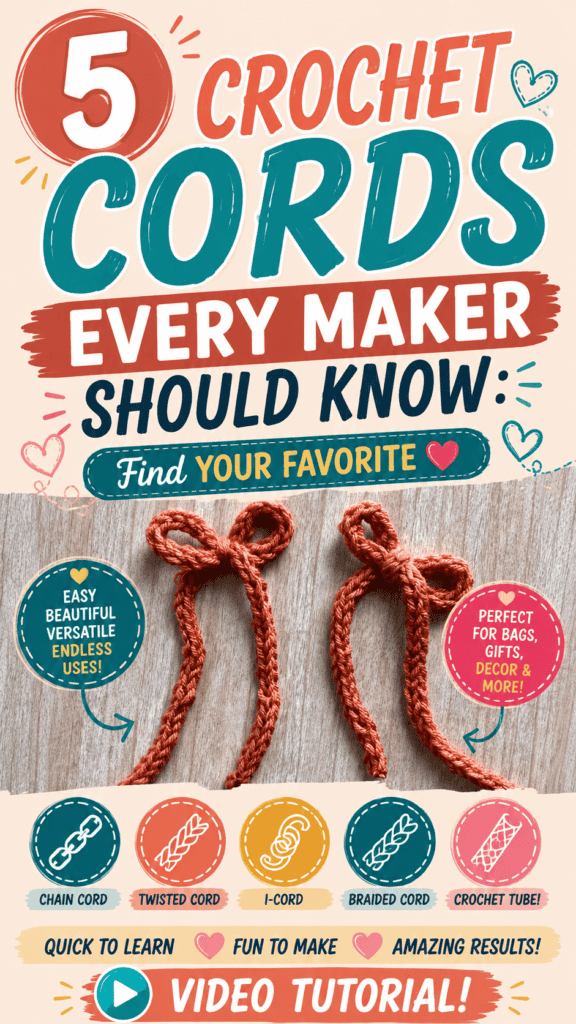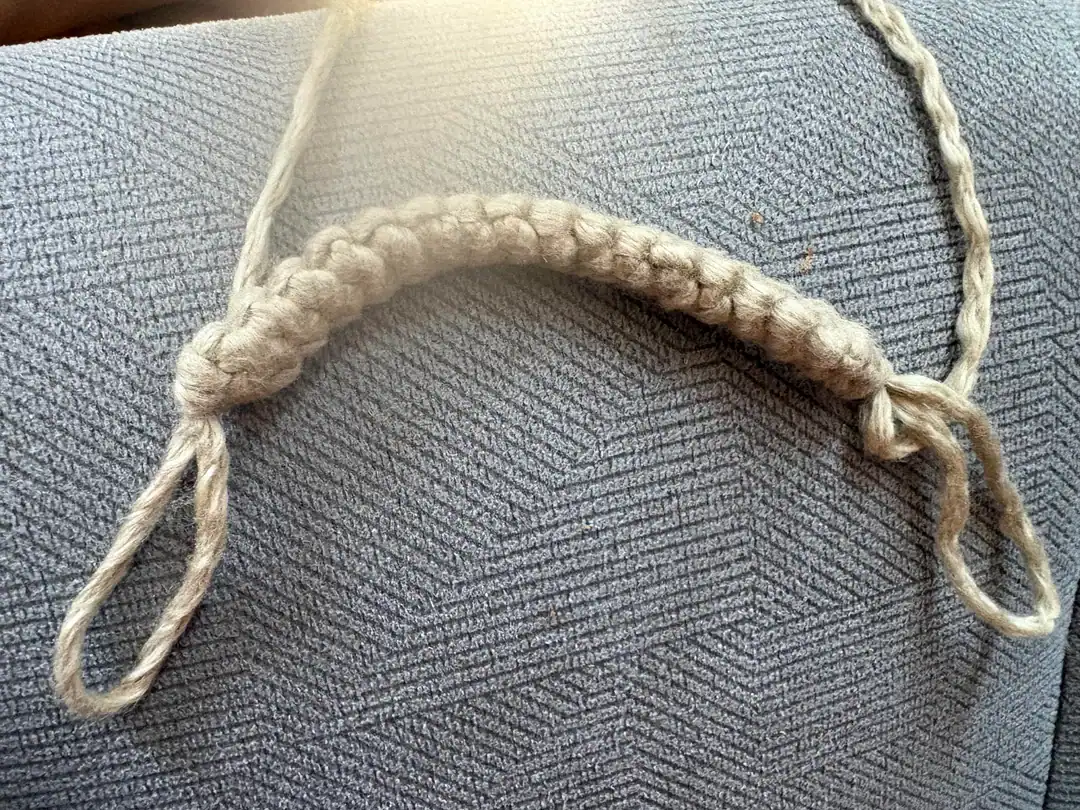
Crochet cords may seem like small details, but they often play an important role in the function and appearance of handmade projects. Whether you’re making sturdy bag handles, decorative ties, jewelry, or drawstrings, choosing the right cord can elevate your finished piece.
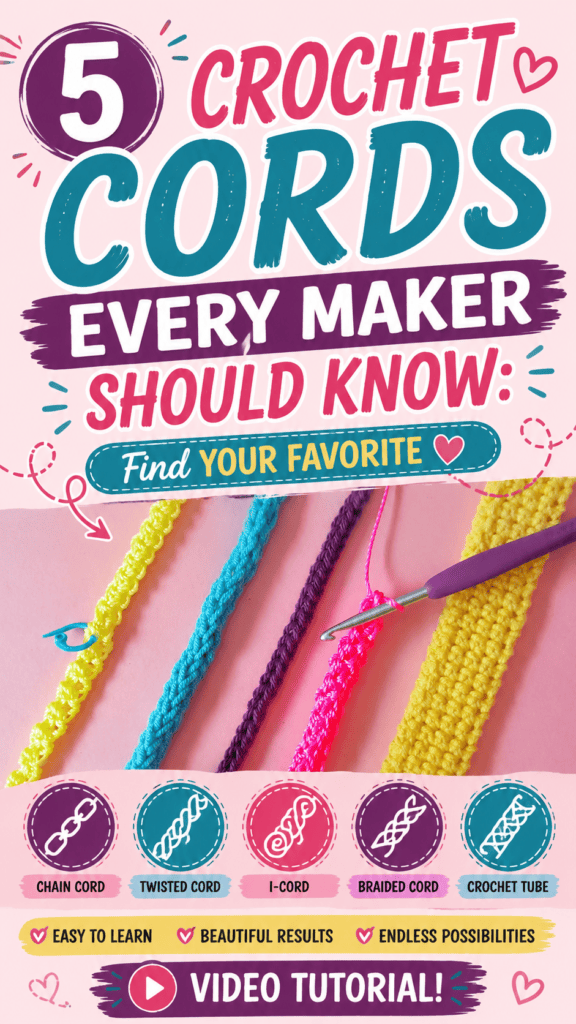
In this practical tutorial, Tuula Maaria from Crochet with Tuula Maaria introduces five different crochet cord techniques, each with its own texture, strength, and purpose. By exploring these versatile methods, crocheters can confidently select the cord that best suits their next project.
Choosing the Right Yarn for Crochet Cords
Before demonstrating the techniques, Tuula explains that the finished appearance of a crochet cord depends heavily on the yarn used.
She showcases several materials, including:
- Standard crochet yarn
- Cotton yarn, which offers minimal stretch and excellent durability
- Felting roving for creating soft, ribbon-like cords
- Hard twine suitable for sturdy projects
- Glitter yarn for decorative or jewelry applications
- Thick cotton mop yarn for oversized cords
The same cord technique can produce dramatically different results depending on the chosen fiber, making yarn selection just as important as the stitch itself.
Cord #1: Twisted Single Crochet Cord
The first technique creates an attractive cord by twisting the work after every stitch.
Version One: Zigzag Texture
The cord begins with a loose slip knot and a single crochet. After each stitch, the work is twisted before inserting the hook from the back into the next stitch.
This repeated twisting creates a narrow cord with a subtle zigzag appearance.
One important tip Tuula shares is to avoid crocheting too tightly. Loose tension makes it much easier to insert the hook throughout the project.
The finished cord:
- Looks identical on both sides
- Has a slight zigzag texture
- Works well with many yarn types
Version Two: A Thicker, Smoother Cord
The second variation uses nearly the same technique with one small difference.
Instead of inserting the hook into the previous single crochet, the hook is inserted through the two loops located at the bottom of the V-shaped stitch.
Although the adjustment is minimal, the finished cord becomes:
- Thicker
- More structured
- Smoother in appearance
- Slightly slower to grow
Tuula points out that this version would look especially beautiful when worked with metallic or glitter yarn for decorative projects.
Cord #2: Crochet I-Cord
The second technique recreates the appearance of a knitted I-cord using crochet hooks.
Unlike some traditional methods that require dropping live stitches, Tuula demonstrates a more controlled approach using two crochet hooks of the same size.
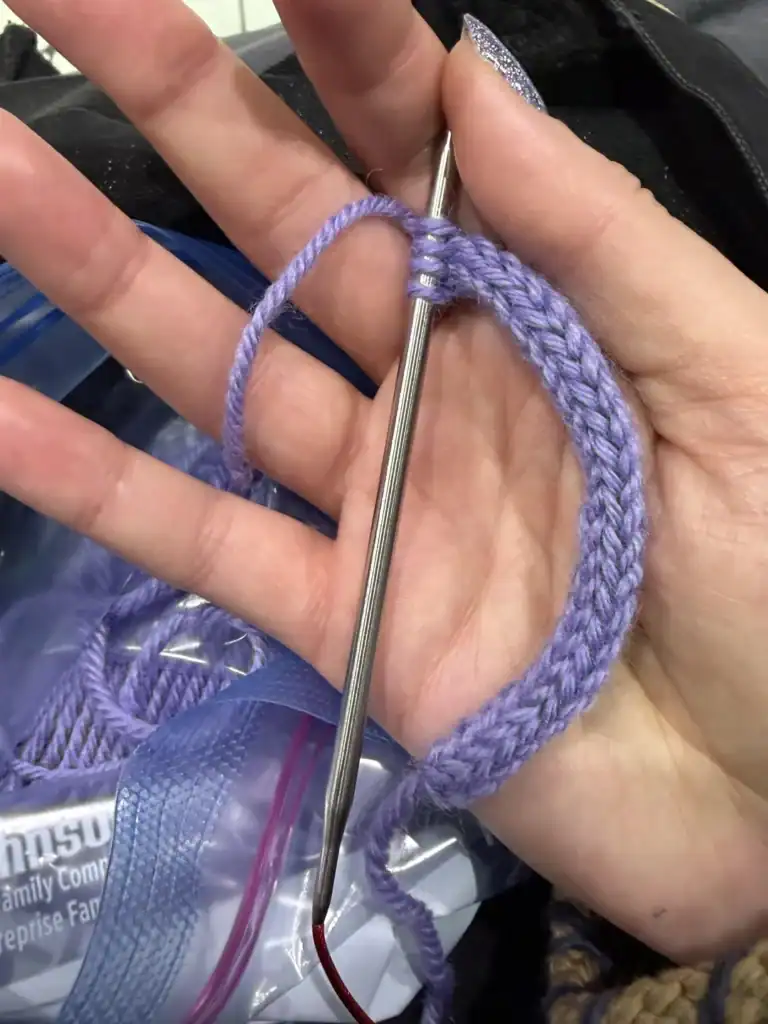
How the Technique Works
The process begins by:
- Making a slip knot.
- Chaining the desired number of stitches.
- Picking up loops from the foundation chain.
- Sliding the stitches to the opposite end of the hook.
- Working every row from the same side using the second hook.
As the rows build, the working yarn naturally pulls the edges together, creating a perfectly round cord.
Why It Works
The finished I-cord has the familiar appearance of knitted stitches while being created entirely with crochet tools.
After several rows, gently pulling the cord helps the stitches settle into their rounded shape, hiding the carrying yarn inside.
This method is ideal for decorative trims, drawstrings, garment ties, and polished finishing details.
Cord #3: Fast Two-Yarn Cord
For projects that need a quick and practical cord, Tuula introduces one of the fastest techniques in the tutorial.
This cord uses:
- The working yarn
- A long tail approximately three times the desired finished length
Rather than beginning with a traditional slip knot, the cord can even be started directly from a project.
Quick and Versatile
The technique involves weaving the hook around both strands before creating each stitch.
Once the rhythm becomes familiar, the cord works up very quickly.
Its slim profile makes it especially suitable for:
- Bikini straps
- Barefoot sandal ties
- Drawstrings
- Decorative ties
- Lightweight accessories
A Hidden Bonus
One of Tuula’s favorite uses for this cord is as a foundation chain alternative.
Instead of crocheting into a regular chain, stitches can be worked directly into the completed cord.
This creates a cleaner starting edge while avoiding some of the stretching and unevenness often associated with traditional foundation chains.
Cord #4: Square Utility Cord
The fourth cord is designed with durability in mind.
Unlike round cords intended mainly for decoration, this version creates a sturdy, slightly square-shaped structure that resists stretching.
Construction
The cord begins with a short foundation chain worked into a small round.
From there, each stitch is worked through:
- The back loop of the previous stitch
- The matching loop located directly behind it
Although finding the correct loops can feel challenging during the first few rounds, the stitch placement becomes much easier as the cord grows.
Best Uses
Because of its firm construction, this cord is an excellent choice for:
- Handbag handles
- Tote bag straps
- Utility cords
- Carrying handles
- Projects that need additional strength
The finished cord maintains its shape well and stretches very little under weight.
Cord #5: Thermal Stitch Strap
The final technique differs significantly from the others because it creates a flat, wide strap rather than a narrow cord.
Tuula includes this method because of its exceptional strength and stability.
Building the Strap
The process begins with:
- A foundation chain.
- A row of single crochet.
- A second row worked through the back loops.
From that point onward, each stitch is worked through:
- The back loop of the current row.
- The corresponding loop from the previous row.
This creates the well-known thermal stitch, which produces an exceptionally dense fabric.
Why It’s Ideal for Heavy Projects
The thermal stitch essentially forms a double layer of crochet fabric.
As a result, the finished strap is:
- Thick
- Durable
- Comfortable to hold
- Highly resistant to stretching
Tuula also recommends turning the work without chaining to keep the edges as stable as possible.
This method is particularly well suited for:
- Tote bag straps
- Backpack handles
- Belts
- Heavy handbags
How to Choose the Best Crochet Cord
Each cord offers unique characteristics, making it suitable for different types of projects.
If appearance is the priority, the crochet I-cord provides a polished, knit-like finish.
For decorative ties and lightweight accessories, the fast two-yarn cord is an excellent choice.
Projects requiring durability may benefit from the square utility cord or the thermal stitch strap, while the twisted single crochet cords offer attractive texture with minimal complexity.
Ultimately, the best cord depends on the yarn, the intended use, and the desired look of the finished project.
Conclusion
A crochet cord may be a small component of a project, but it can greatly influence both function and style. By learning several different techniques, crocheters gain the flexibility to choose the most appropriate cord for every design.
In this informative tutorial, Tuula Maaria from Crochet with Tuula Maaria demonstrates five distinctive crochet cord methods, ranging from decorative I-cords to heavy-duty thermal stitch straps. Whether creating elegant drawstrings, sturdy handbag handles, or stylish accessories, these versatile techniques provide valuable options that every crocheter can add to their skill set.