
Why does layering with colored pencils sometimes feel tricky, even when doing everything “right”?
I’ve asked myself that more times than I can count. I’d follow all the advice—use better pencils, try smooth paper, blend like a pro—and still end up with results that felt off.
Sound familiar? I’ve been through all those frustrating steps, and now I’m sharing what helped me fix them. Let’s walk through it together, mistake by mistake.
Contents
#1. The Hidden Challenge of Layering with Colored Pencils
Colored pencils can be harder than they look. I know that feeling—you pick up better quality pencils, use smoother paper, and try new tips you’ve learned.
You sit down, ready to create something better this time. But even then, something still feels off. I’ve been there too.
That’s why I want to show you the mistakes I used to make and how I started fixing them.
#2. How Poor Color Choices Affect Your Final Drawing
When I first started layering colored pencils, I thought it was all about pressure and technique. But I quickly learned something else matters just as much—color choice.
Picking the wrong color can throw off your whole drawing, even if your layering is spot on. Let me break it down for you so you don’t fall into the same trap I did.
Choosing the Right Color Takes Practice
Layering only works well if you understand which colors play nicely together. I used to think I could grab any pencil that looked “close enough,” but that doesn’t always work.
Some of you have told me you struggle with picking the right colors, and I get it—I’ve been there, too.

The problem isn’t just using the wrong color. The bigger issue happens when you use too much of it.
It’s easy to assume a color is right, lay down a bunch of it, and then realize it reacts with the colors underneath in a way you didn’t expect.
How Color Mixing Can Go Wrong
Here’s what I learned: every pencil color has yellow, red, or blue in it. When you layer a new color over others, these undertones can mix and create different results than what you had in mind.
For example:
- When I mix oranges, I have to be careful. Some have more red, others more yellow.
- If I pick the wrong one, I either get too much red or too much yellow.
- Same with greens. I once used a green that looked right but had way too much blue, and the final look was off.
So if layering feels like a mystery, it might not be your technique. It could just be your color choices.
#3. A Smarter Way to Layer: Small Increments First
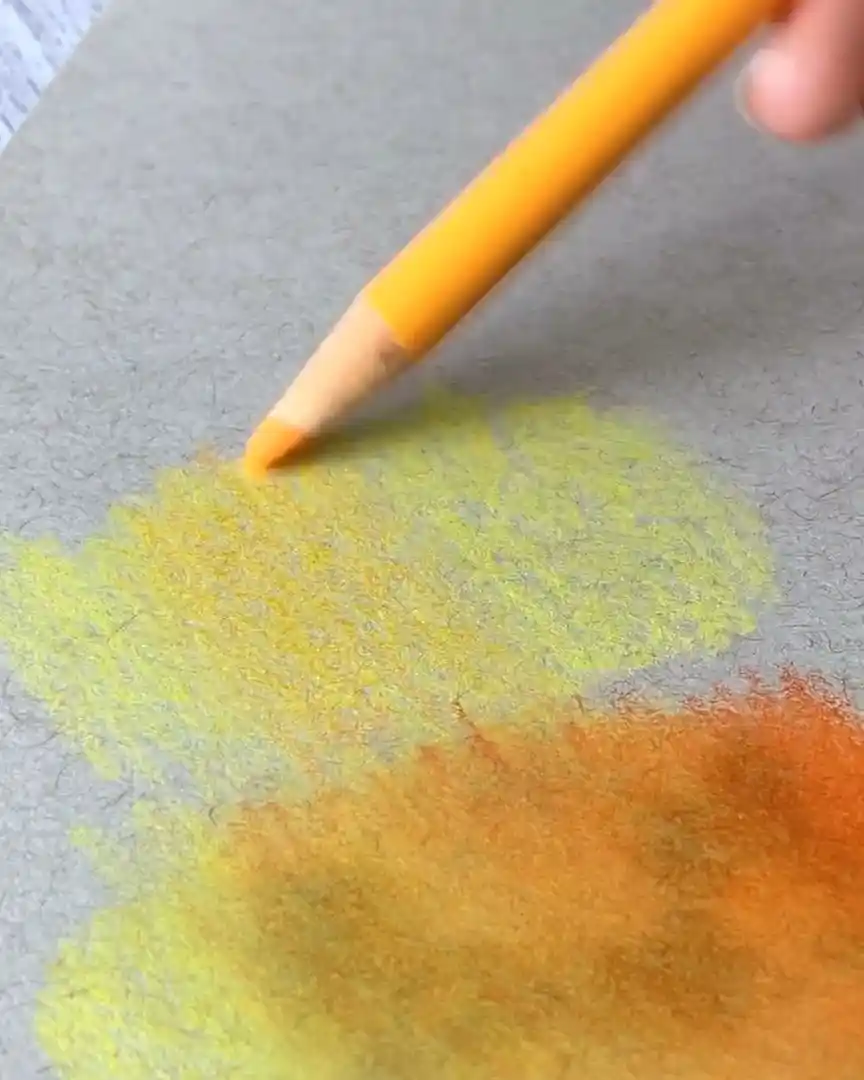
If layering still feels frustrating, don’t worry—this change has dramatically helped me. Instead of immediately laying down thick, bold colors, I start with small increments.
It might seem slow, but it makes all the difference. Let me walk you through how I do it and why it works.
Start with Light Layers
I always begin with soft, light layers—especially when unsure if a color will work. If you’ve seen my tutorials (like Patreon or even the shorter ones on YouTube), you’ll notice I rarely go in heavy from the start.
Most of the time, I use thin layers and then blend each one as I go.
This approach helps me test colors before I commit. I might only lay down one or two very light layers to see how a shade reacts with what I already have on the paper.
That quick test tells me whether I’ve picked the right pencil or need to switch.
Why Light Increments Matter
When I use light increments, I give myself room to adjust. If the color’s wrong, it’s easy to fix because I haven’t put down too much. I can just:
- Pick a better color,
- Add it on top,
- And balance out the mistake.

But if I go in with a heavy layer of the wrong color? That’s where things get messy. Fixing it takes more time and sometimes doesn’t even work completely.
Too much of the wrong color can muddy everything.
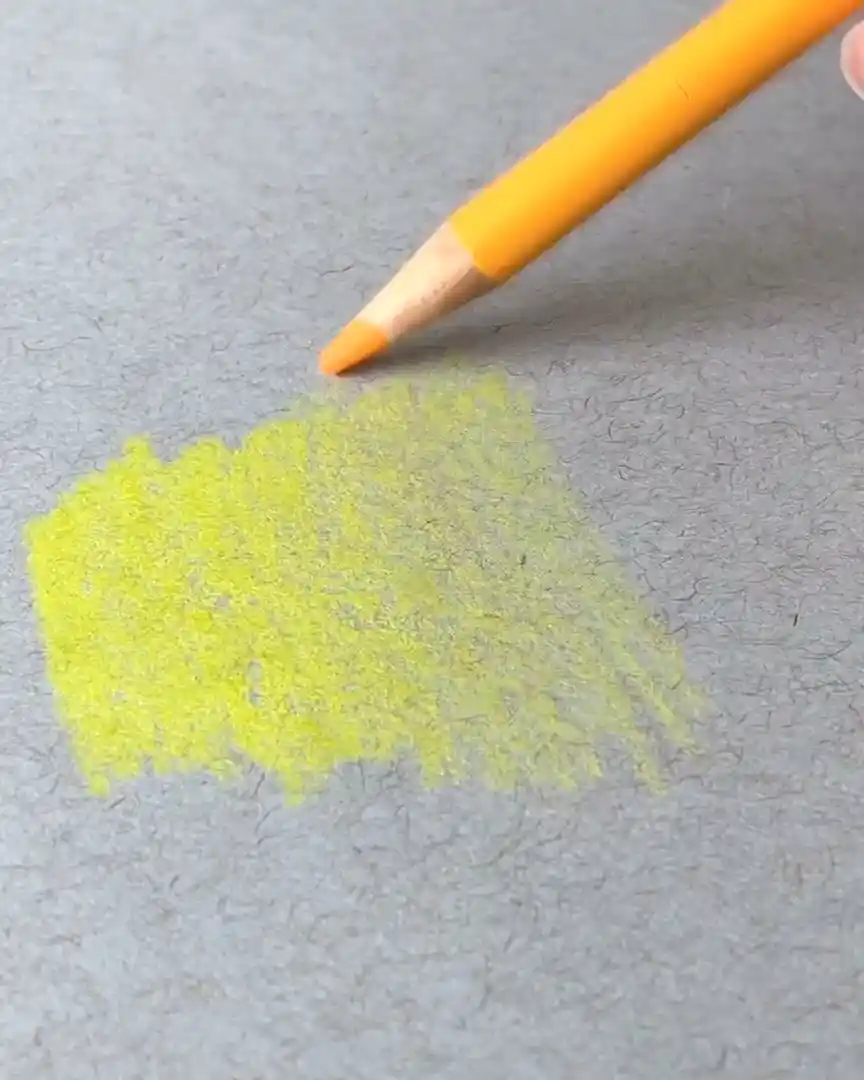
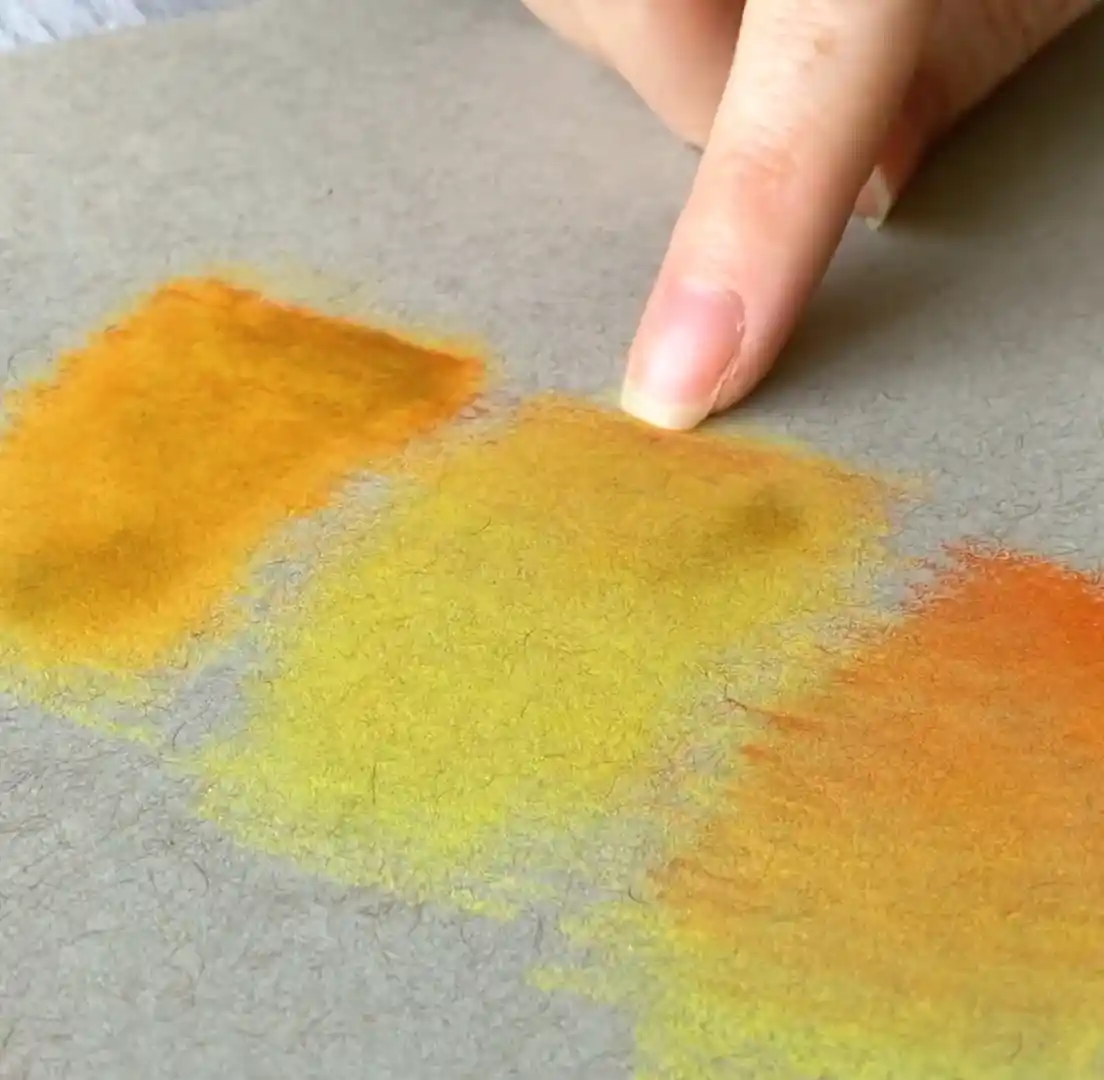
A Real Example with Color Swatches
Let me share a simple example. I made three swatches to show how small changes can make a big difference.
Swatch 1
I layered two different colors lightly, creating a soft gradient. This is what I aim for—balanced and smooth.
Swatch 2
Here, I used a very light layer of the wrong orange. I realized it looked too pale, so I added a bit of red to correct it. Then, I blended the two.
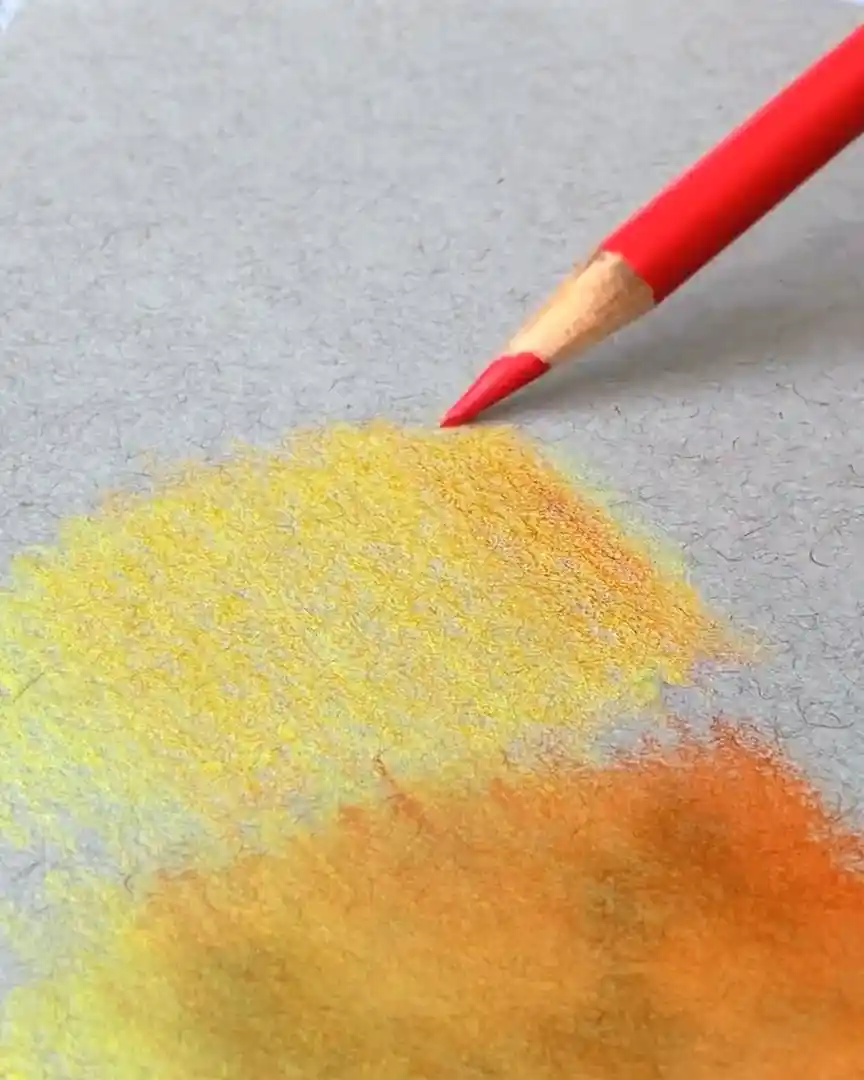
The result wasn’t perfect, but it was still fixable. The light orange didn’t overpower the rest.
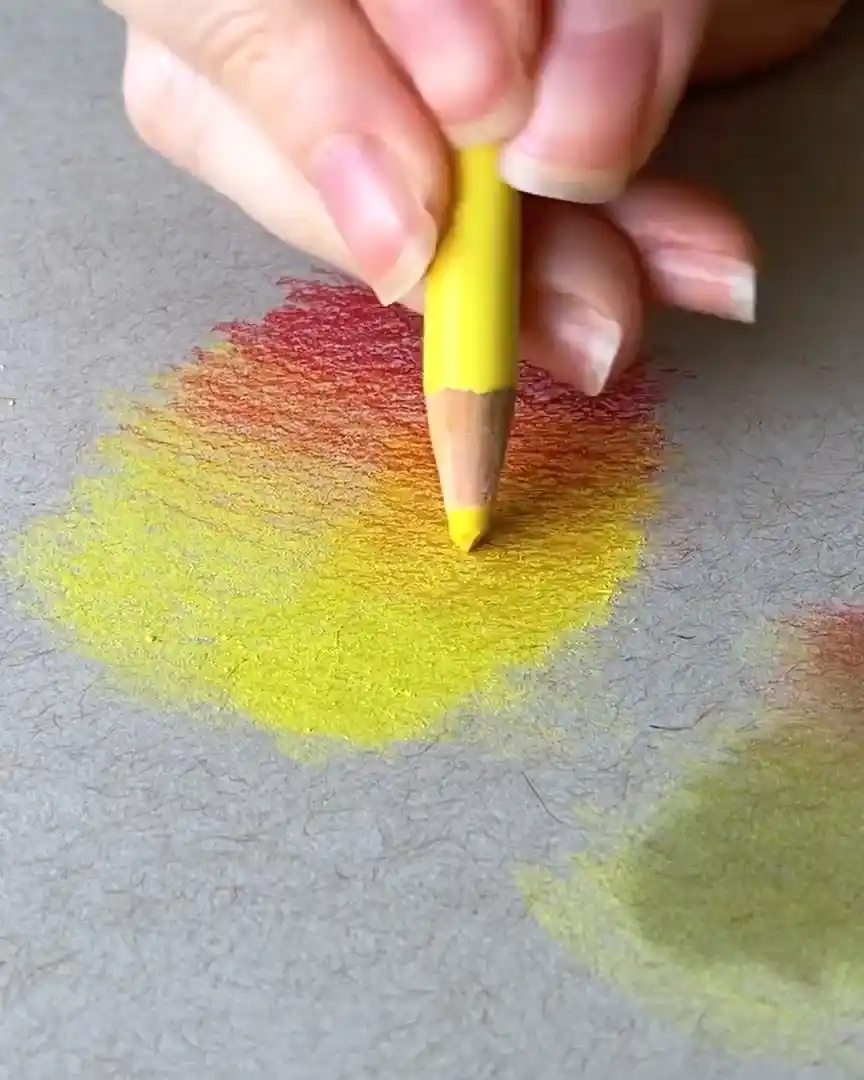
Swatch 3
This is where I went heavy with the wrong orange. I added a lot of it, thinking I could fix it later. Then I realized it wasn’t the right shade, so I chose the correct color and lay it on top.
I blended everything, but the whole area turned muddy. Even after using the right color, the result still didn’t match the original look from Swatch 1.
That third swatch is a perfect example of what not to do. Once you add too much of the wrong color, it’s hard to bring it back.
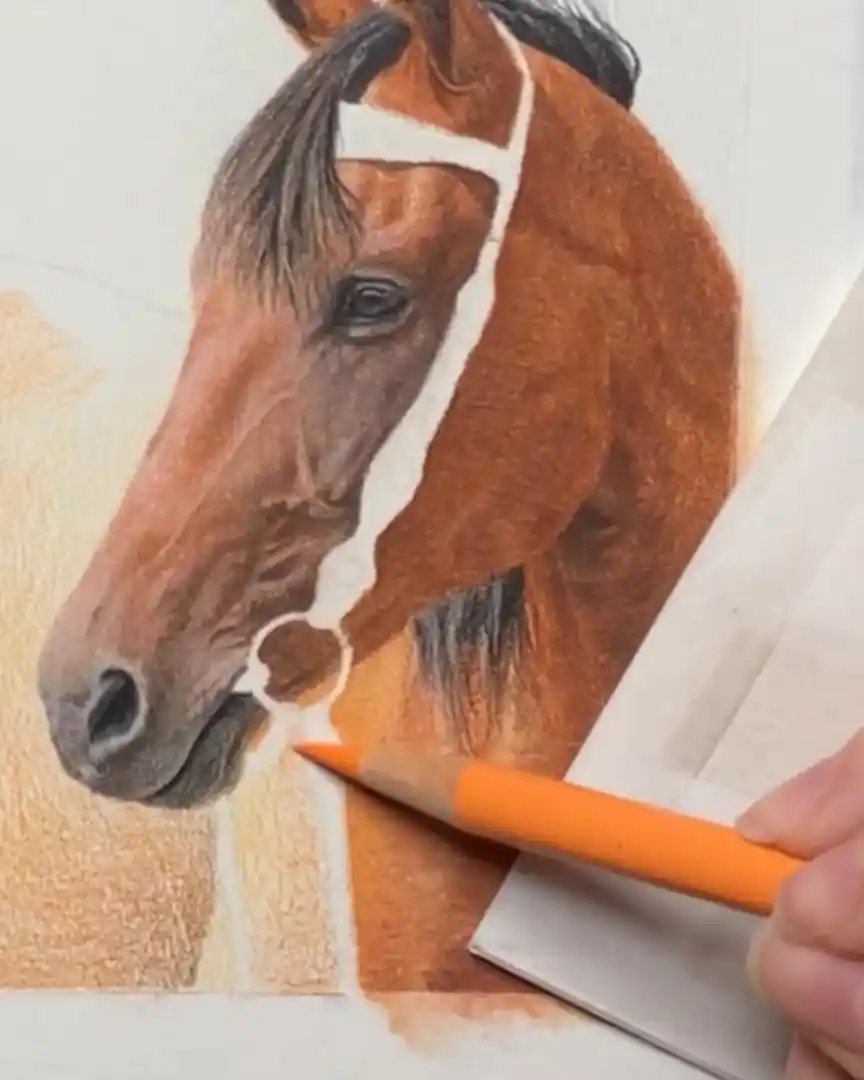
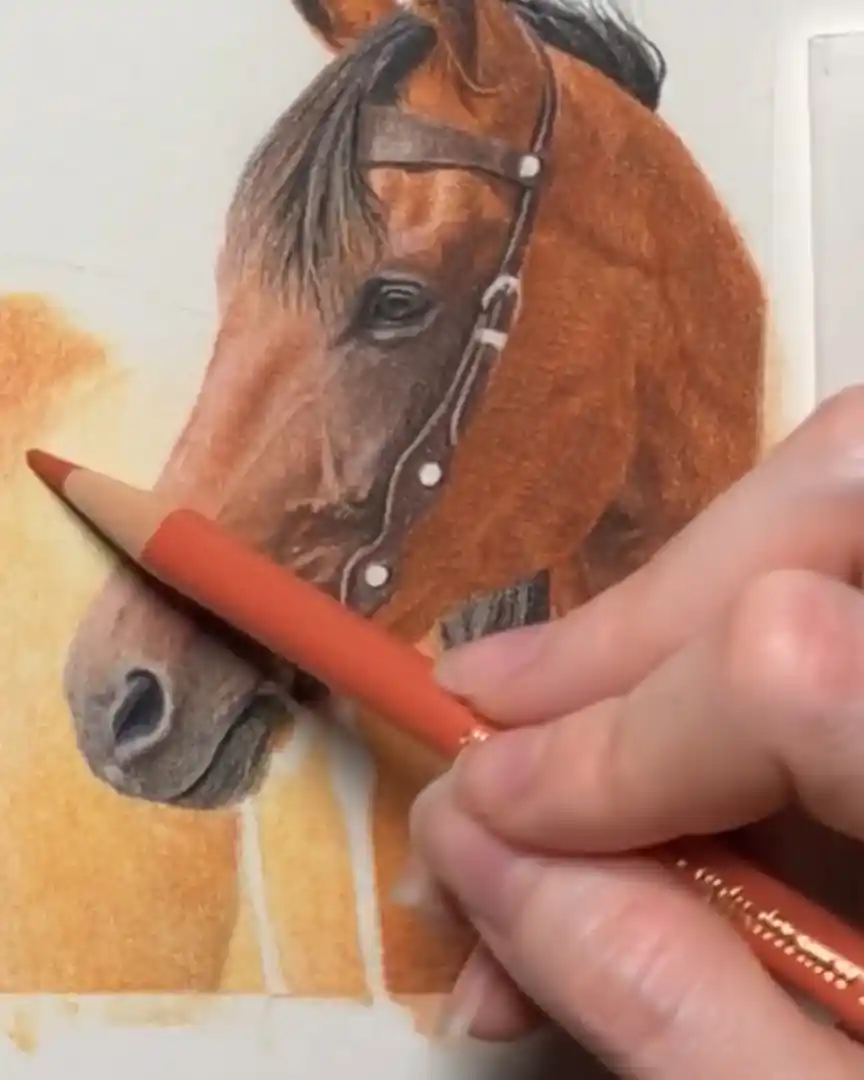
I Learned the Hard Way
I’ve made this mistake in real drawings, too. One time, I was working on a horse. I picked the wrong orange and rushed into it, laying down too much without stopping to test it first. Big mistake.
The color was off, especially on the horse’s back. And because I added so much, I couldn’t just blend it away. I had to erase as much as possible and repeat it with the right color.
That took a lot of extra time and could’ve been avoided.
#4. Blending Techniques That Change Everything
Blending can make or break your drawing. It doesn’t just change how your colored pencil piece looks—it completely changes how it feels to draw.
I’ve tried all kinds of techniques, and I’ve found what works. Here’s everything I’ve learned, including the common mistakes and the game-changing tools that changed everything for me.
Burnish Blending: The Classic Way
Let’s start with the most common method: burnish blending. This is probably what most artists try first. With burnishing, I layer color after color, overlapping them while pressing hard with the pencil.
Usually, I use a lighter pencil on top of the darker ones to help them blend smoothly.
But it takes a lot of layers to get that soft, polished finish—and a lot of pressure, too. Honestly, it can be rough on your hands.
That’s why burnish blending works best with wax-based pencils. If you’re using oil-based pencils like I often do, it’s a more challenging process and doesn’t give the best results.
If you enjoy layering and working slowly, burnishing might be your thing. But once I learned another technique, everything changed for me.
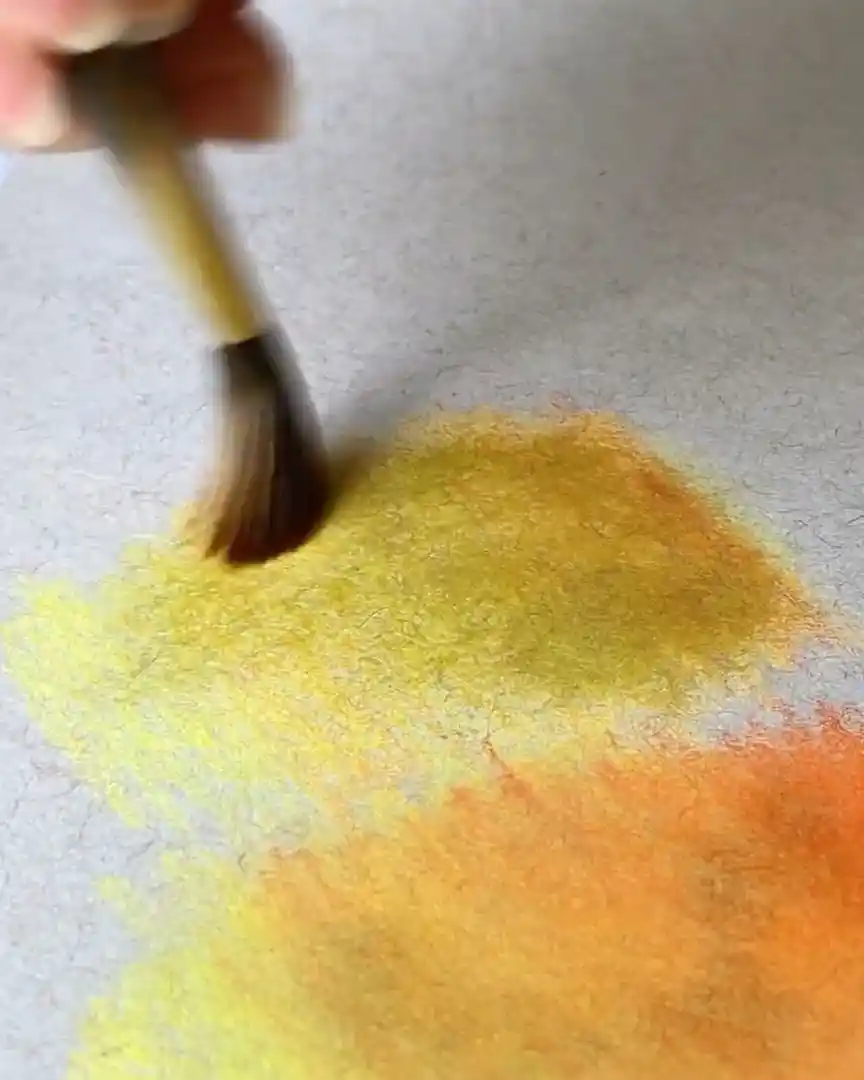
Solvent Blending: My Favorite Method
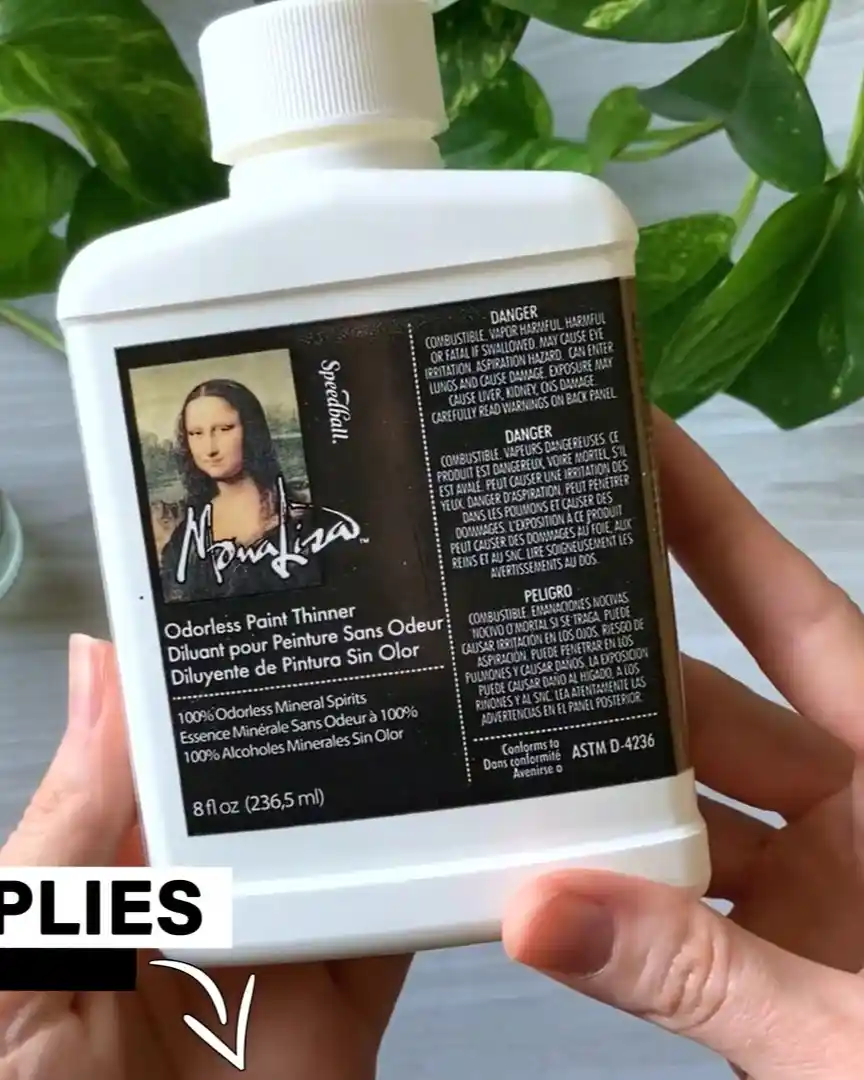
Here’s where things get exciting. If you’ve never tried blending with solvent, this might be news to you—but it’s my go-to.
I use odorless mineral spirits, and it’s so much easier than burnish blending. It saves time, gives fantastic results, and won’t leave your hand sore.
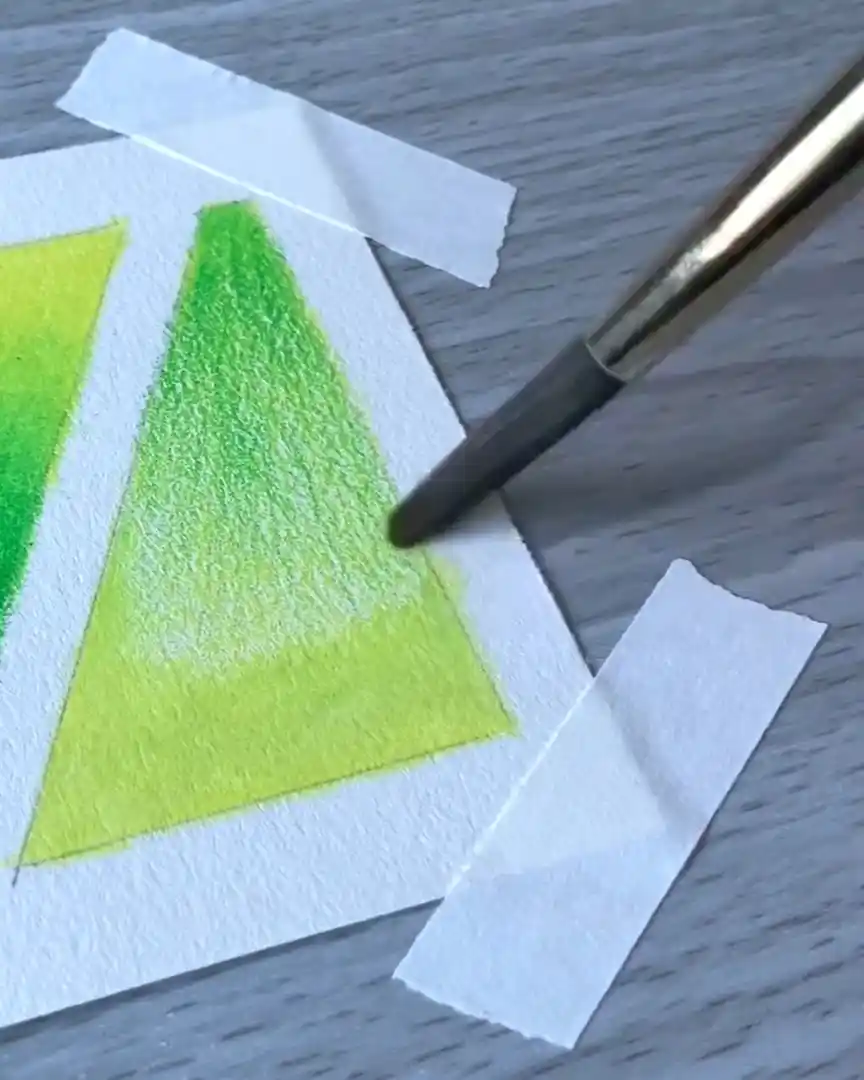
Here’s how I do it:
- I lay down a few layers of colored pencil, just enough to build a base.
- Then, I dip a clean paintbrush into the mineral spirits.
- I wipe off excess and gently swirl the brush over the pencil marks.
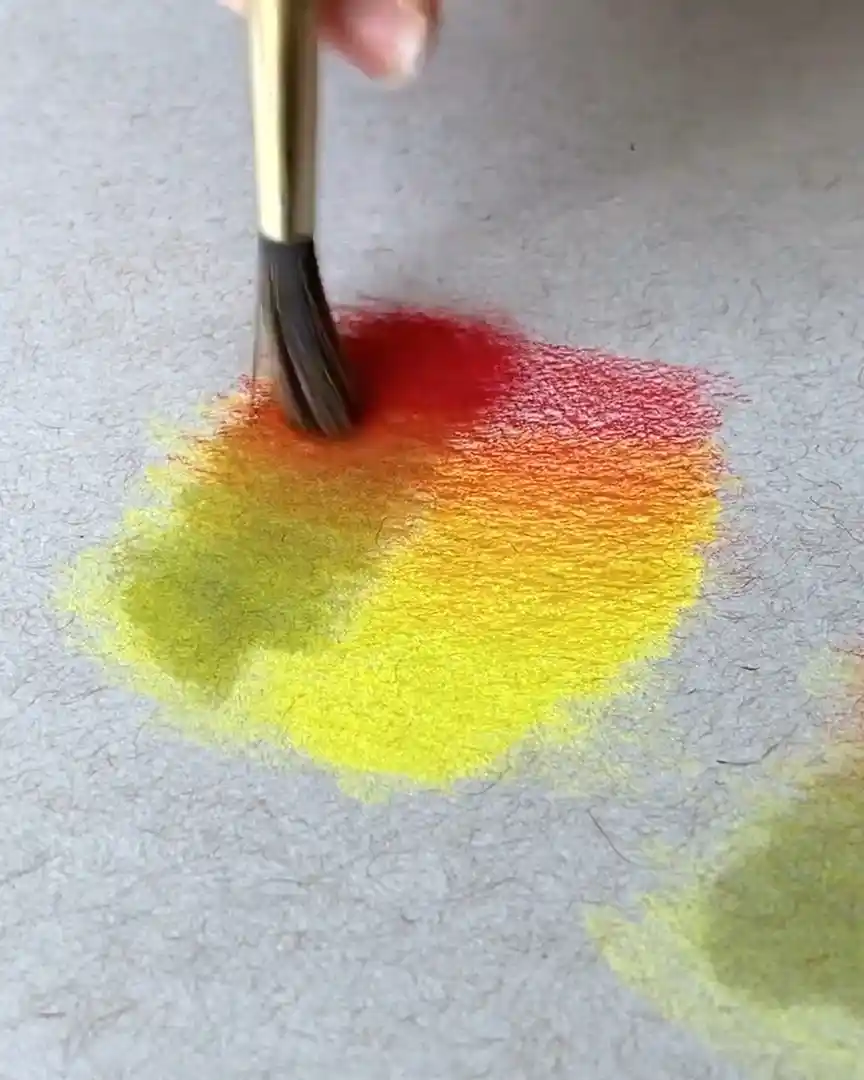
That’s it. The pencils melt together and blend beautifully on the paper. After that, I wait 10 to 15 minutes for it to dry. Then, I go in and add more layers on top.
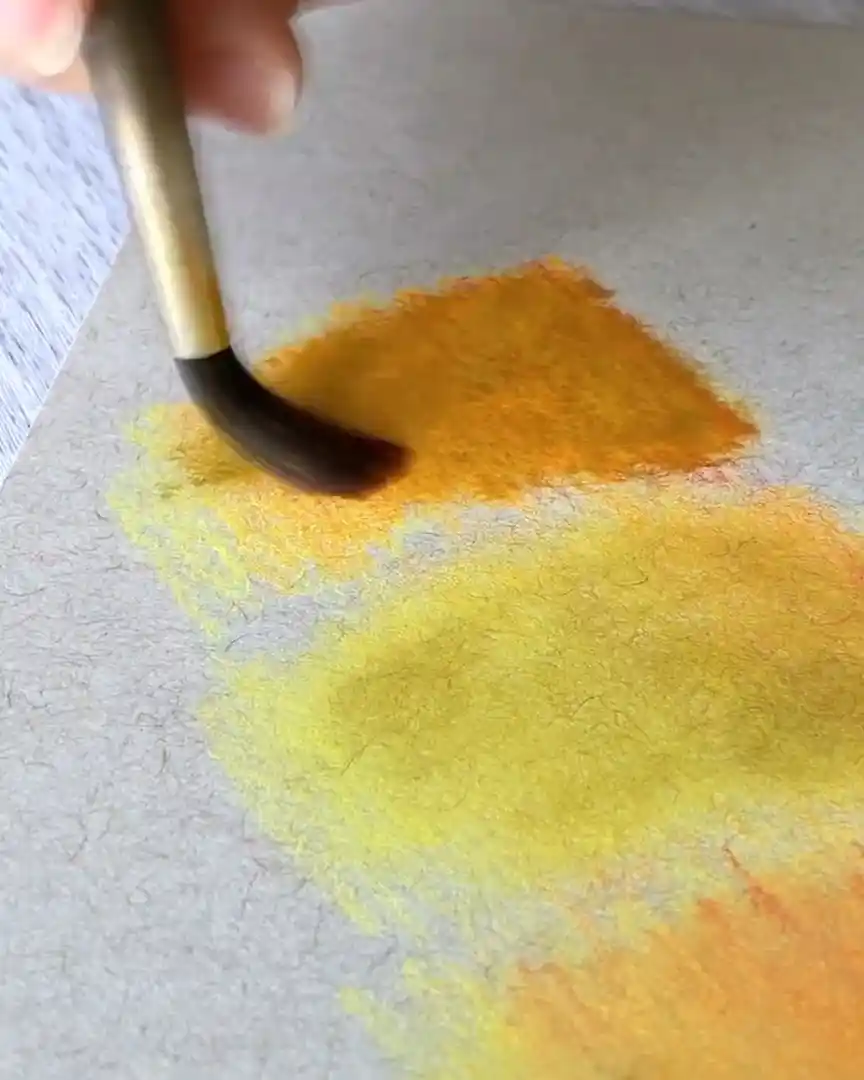
When I do this again—adding a second round of color and blending—I often get rich, vibrant colors that I couldn’t get with burnishing alone.
And here’s a fun trick: once I’ve done a couple of layers and blended with solvent, any burnishing I do on top works better. You get the best of both worlds—smooth blends and bold colors.
But I end up with that dry, grainy look if I don’t have enough layers before using solvent. That’s something I try to avoid.
Tips and Mistakes to Avoid
You don’t need tons of layers to blend. In fact, I often blend light layers and still get smooth results.
I do this when drawing subjects with minimal shading, like light-colored fur on a wolf. For those, I might only use a few soft layers of warm or cool gray.
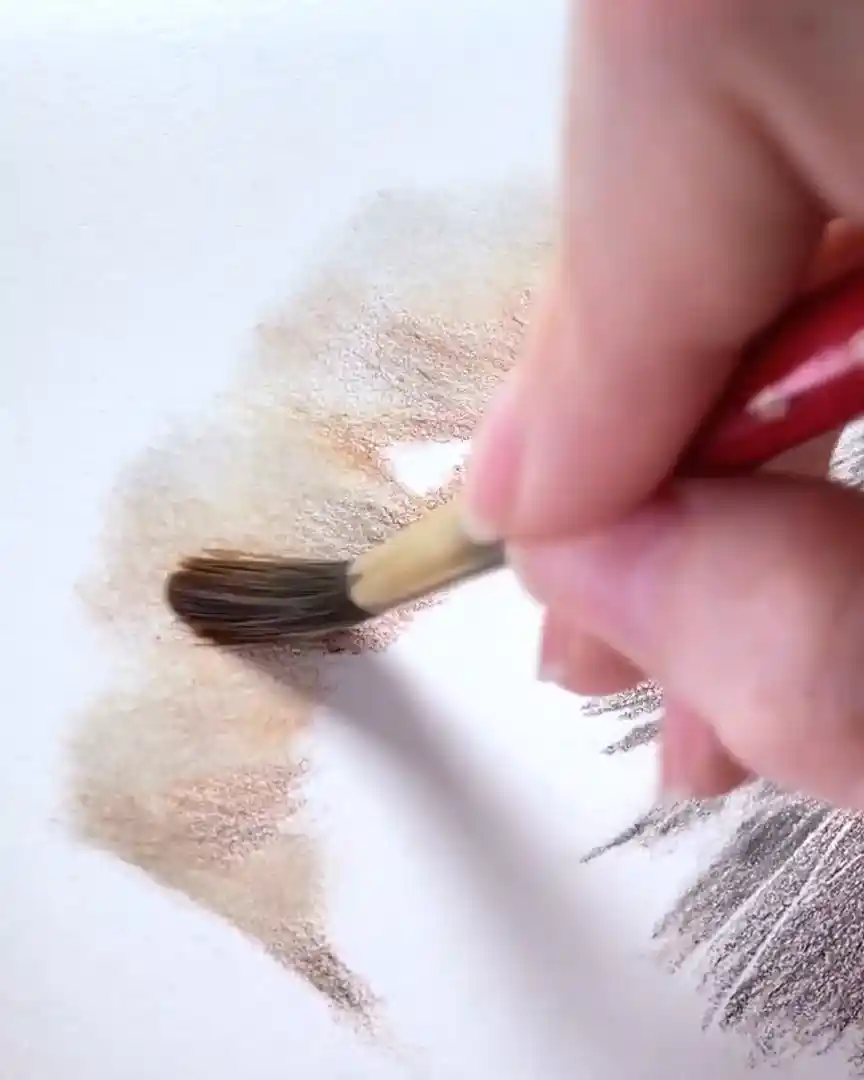
Even though those colors are close to white, I always blend them to remove the grainy pencil texture. Solvent helps me smooth it out without adding too much pigment.
It works even with very light pressure.
But, this is important: the solvent brush picks up the pigment. That means if I blend something dark and don’t clean the brush, then use it on a light area, I’ll accidentally stain it.
I’ve done this before, and it’s frustrating.
So always:
- Wipe off your brush thoroughly after using dark colors.
- Use a clean brush for light or white areas.
Also, dark colors can fade a bit when blended with solvent. It happens to me all the time with black, walnut brown, and dark blue.
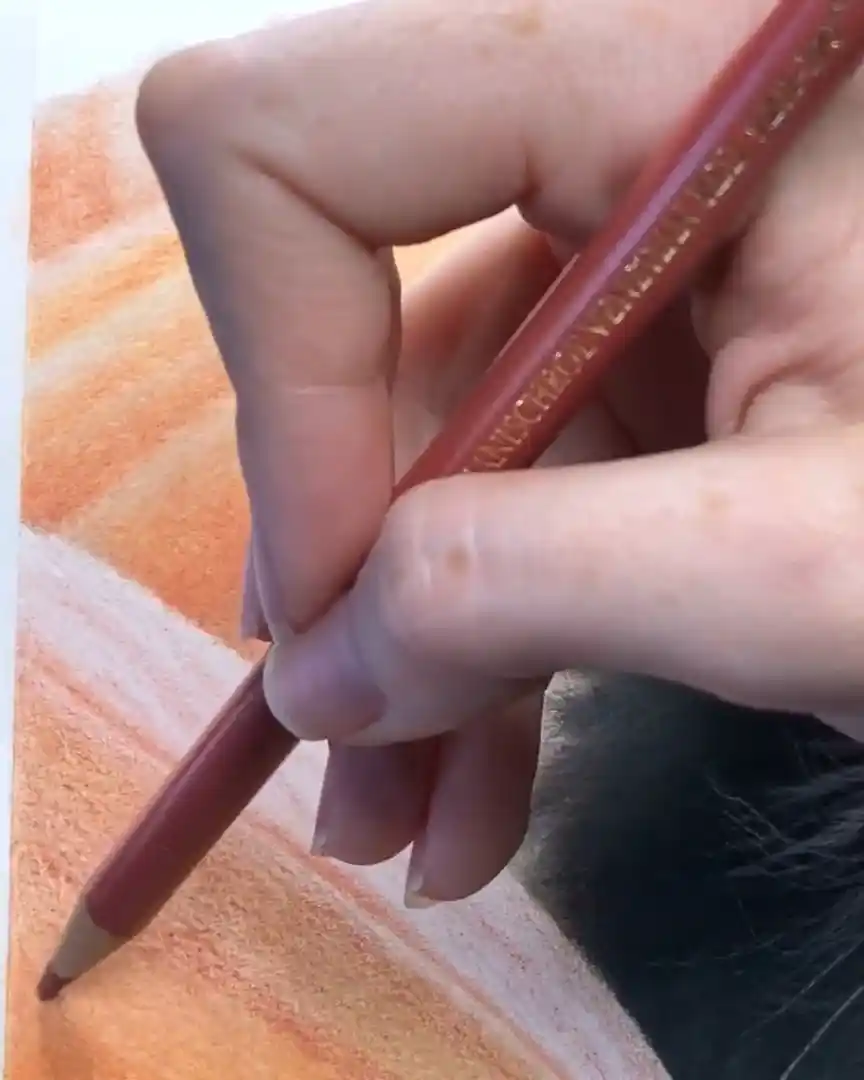
Even with many layers, the solvent still lightens those shades a little. To fix this, I never leave solvent as the final step for dark tones. Instead:
- I go back and add one last layer of pencil.
- I use a dull pencil tip—this helps avoid harsh strokes and gives a smooth finish.
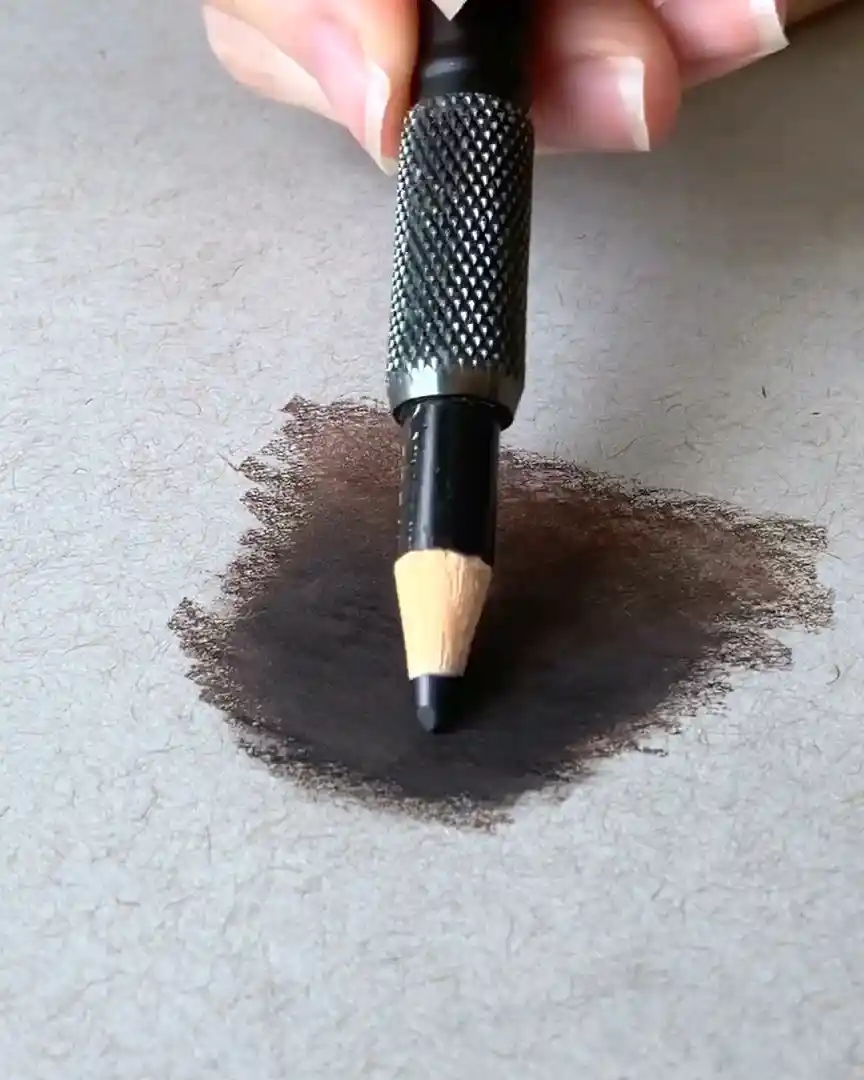
Since the paper already has several layers, the dull pencil glides right on without that rough, scratchy look.
#5. Tools That Make a Real Difference
Some tools do change the way I draw. They save me time, reduce frustration, and help me get better results with colored pencils.
Today, I want to share two tools that have made a big difference for me: the embossing and slice tools.
Drawing Fine Hairs with an Embossing Tool
Let’s face it—drawing tiny white hairs or whiskers is a pain.
To get them right, I must be careful about the curve, the placement, and the details around them. Those whiskers look crooked or scraggly if I mess up even a little.
And trying to fix them later? Nearly impossible. That’s where my embossing tool comes in.
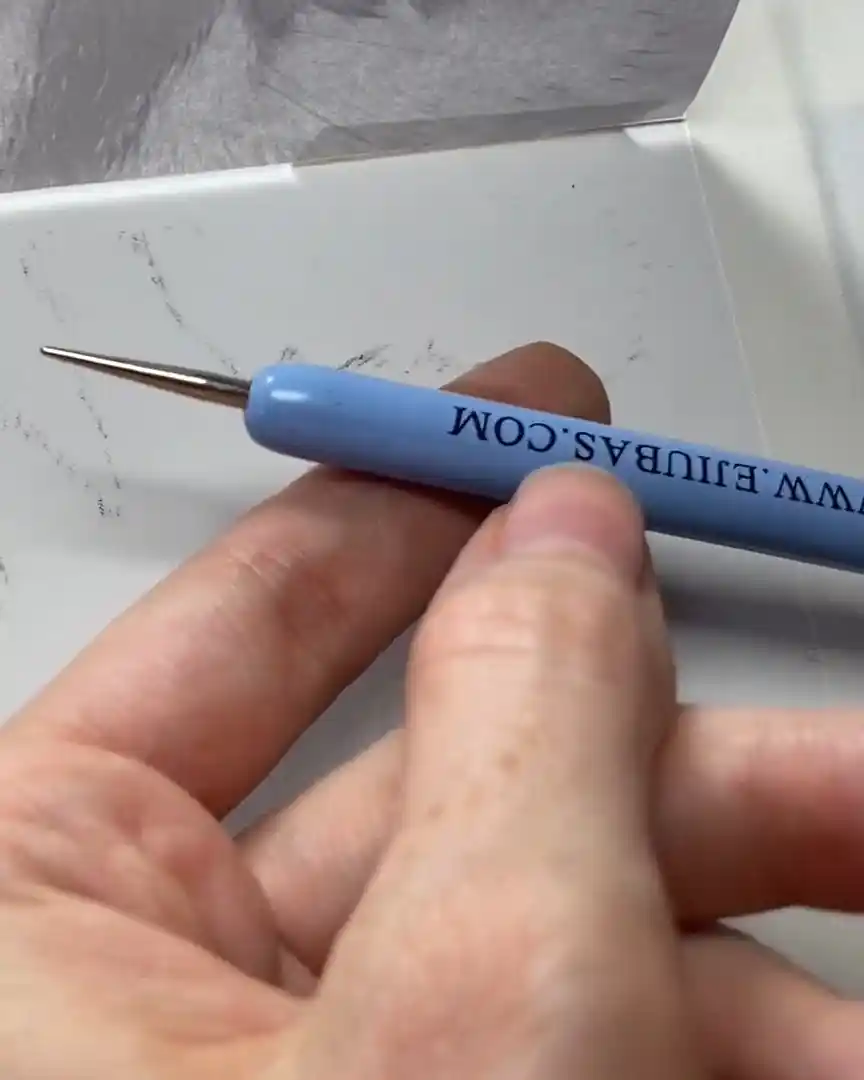
Here’s how I use it:
- I hold the embossing tool like a pencil.
- I press firmly and draw whisker shapes directly into the paper.
- These create small indentations that stay white even after I color over them.
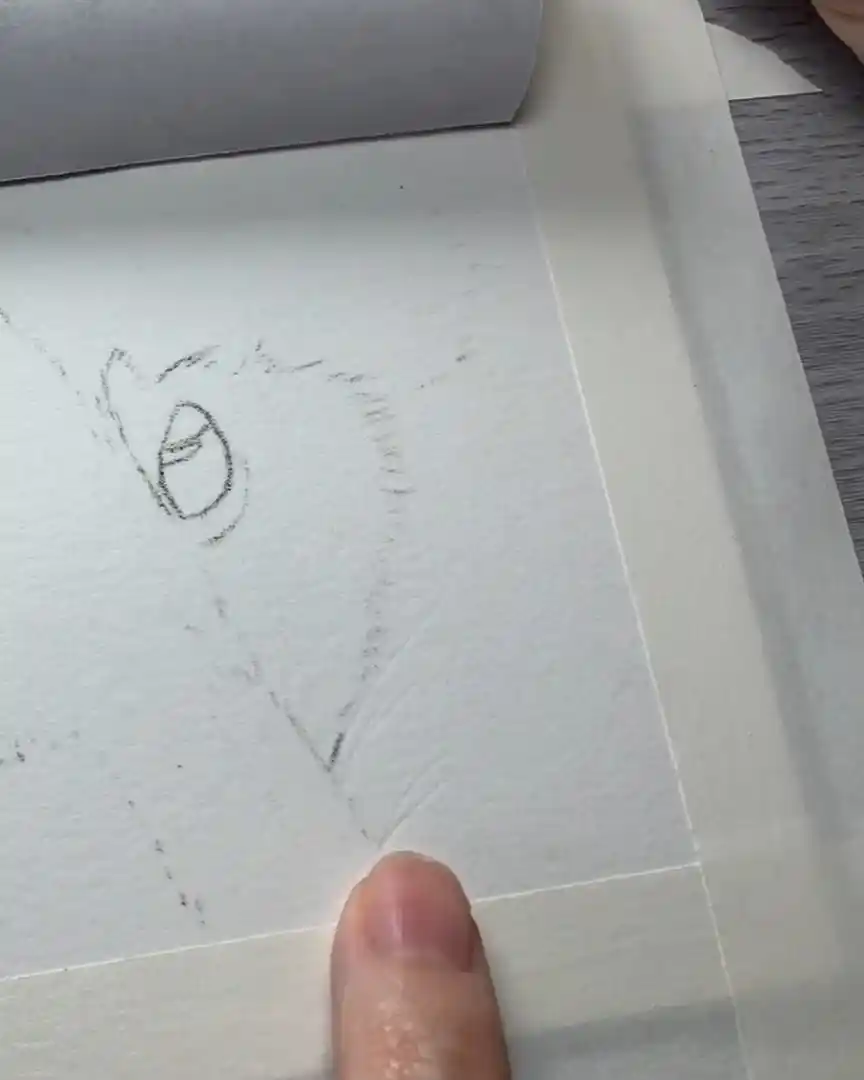
This saves me from drawing around the whiskers or white hairs so precisely. If I accidentally go over them with a colored pencil, it’s fine.
The white lines are pressed into the paper and won’t hold much pigment. That’s a huge relief, especially since getting white back over dark colors with colored pencils doesn’t work like starting with white paper.
But I will say this: the embossing tool isn’t perfect. If I don’t press hard enough, the groove might not be deep, and some color could still settle in.
Still, most of the time, those lines stay clean, and it’s way easier than drawing around every single hair.
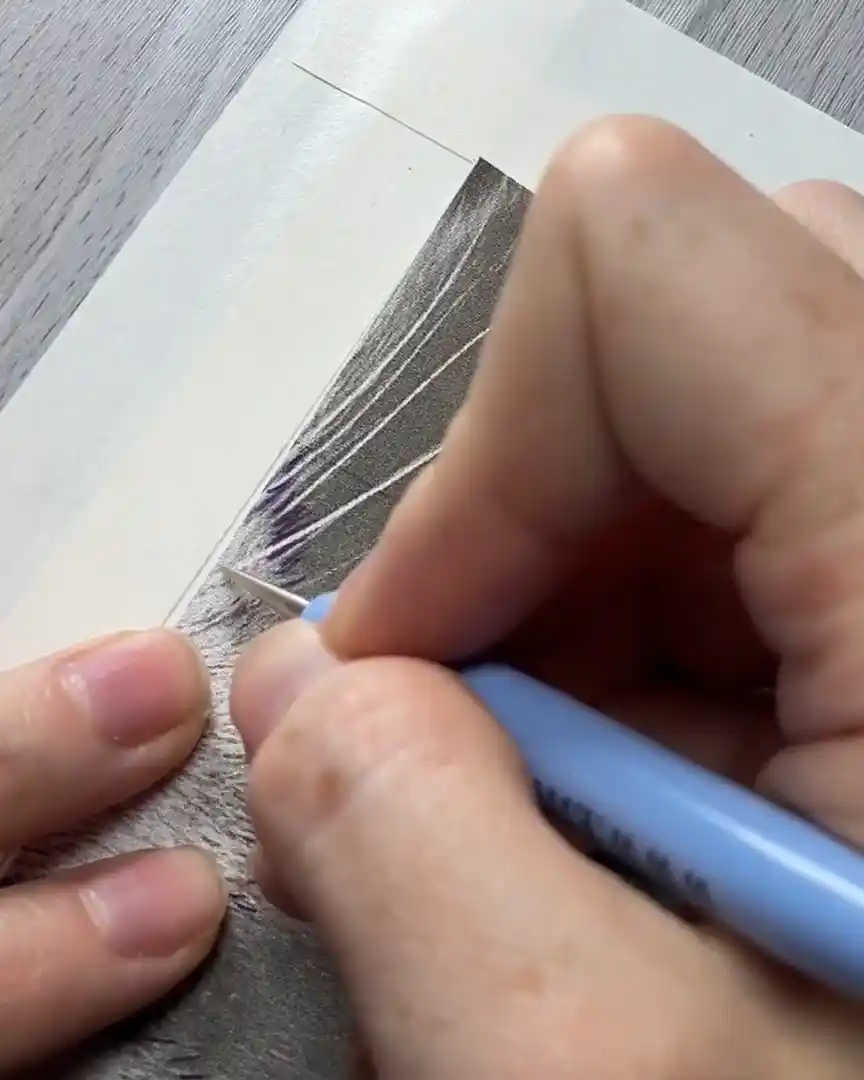
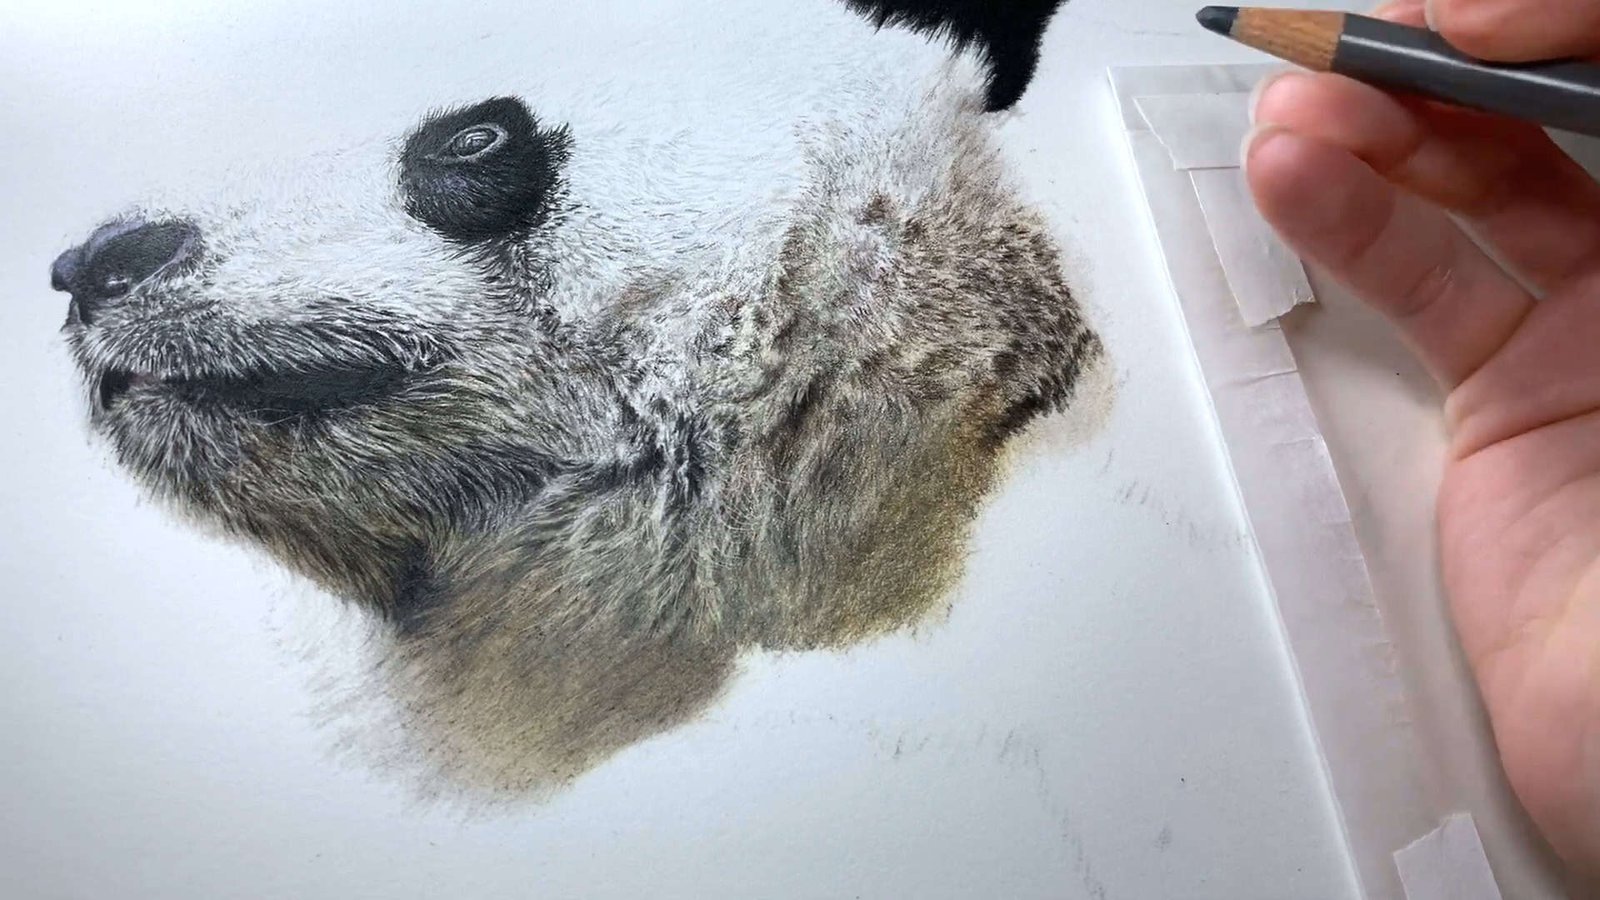
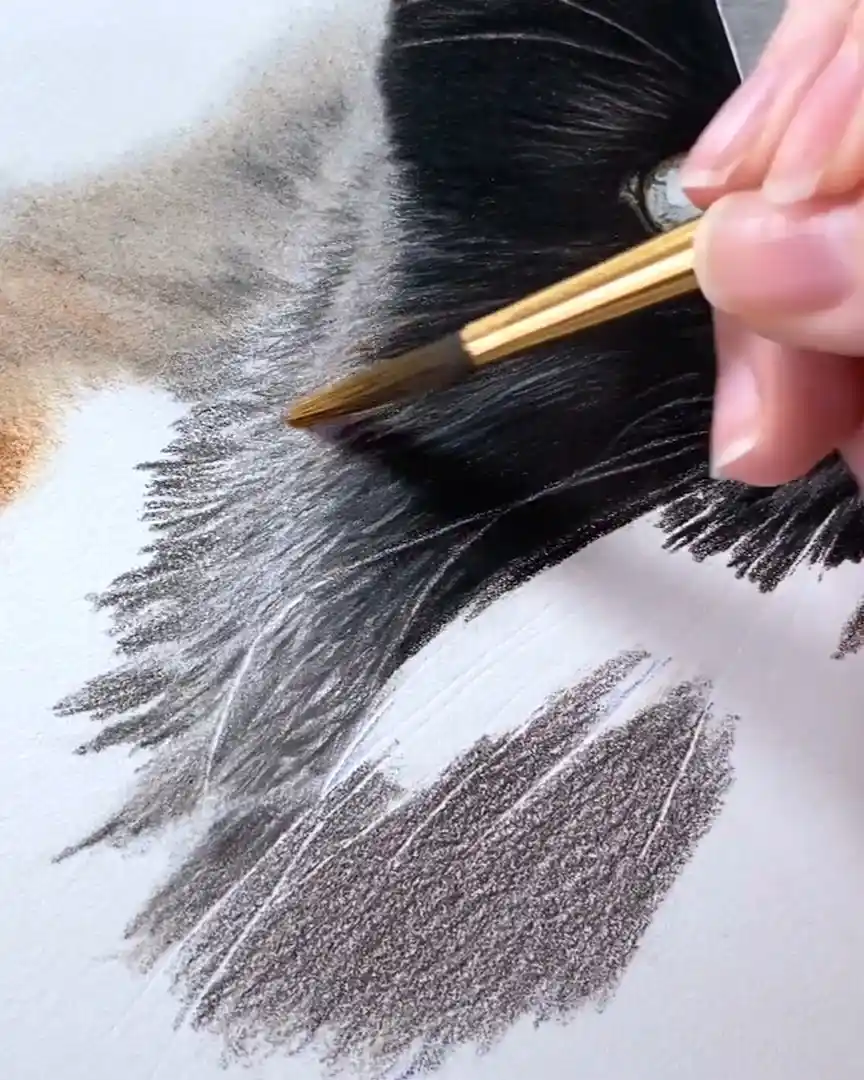
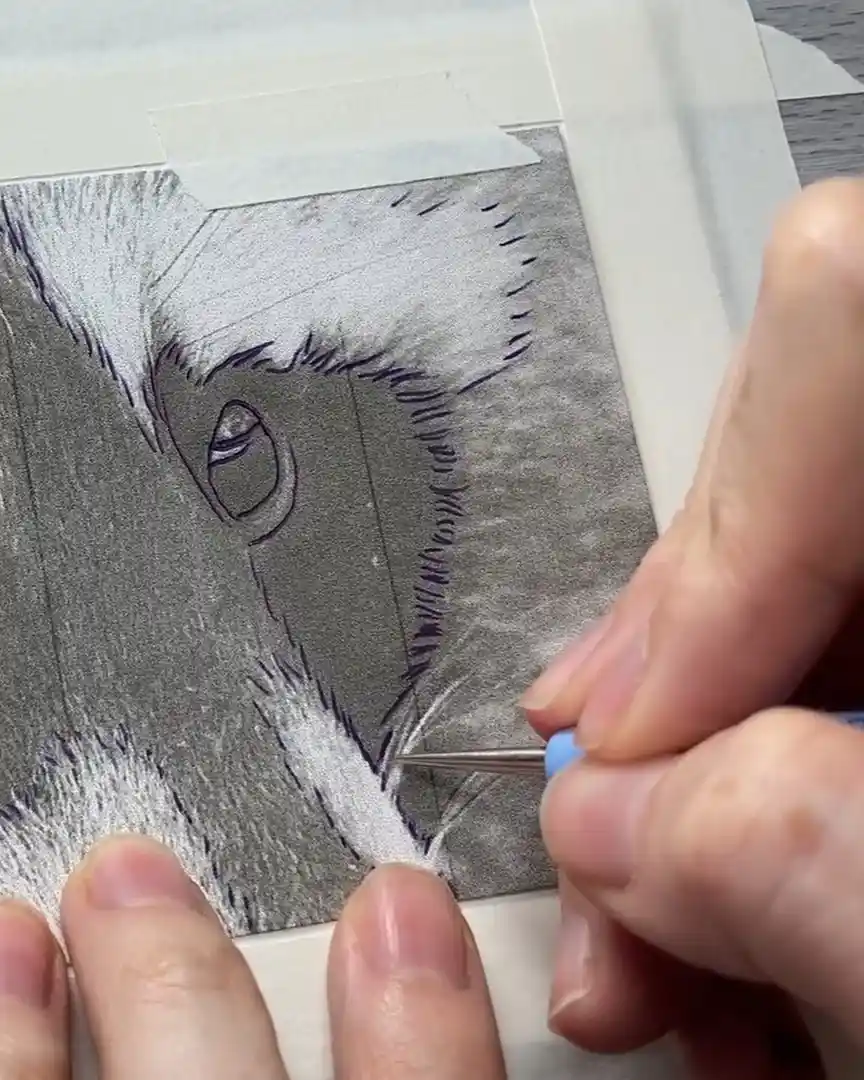
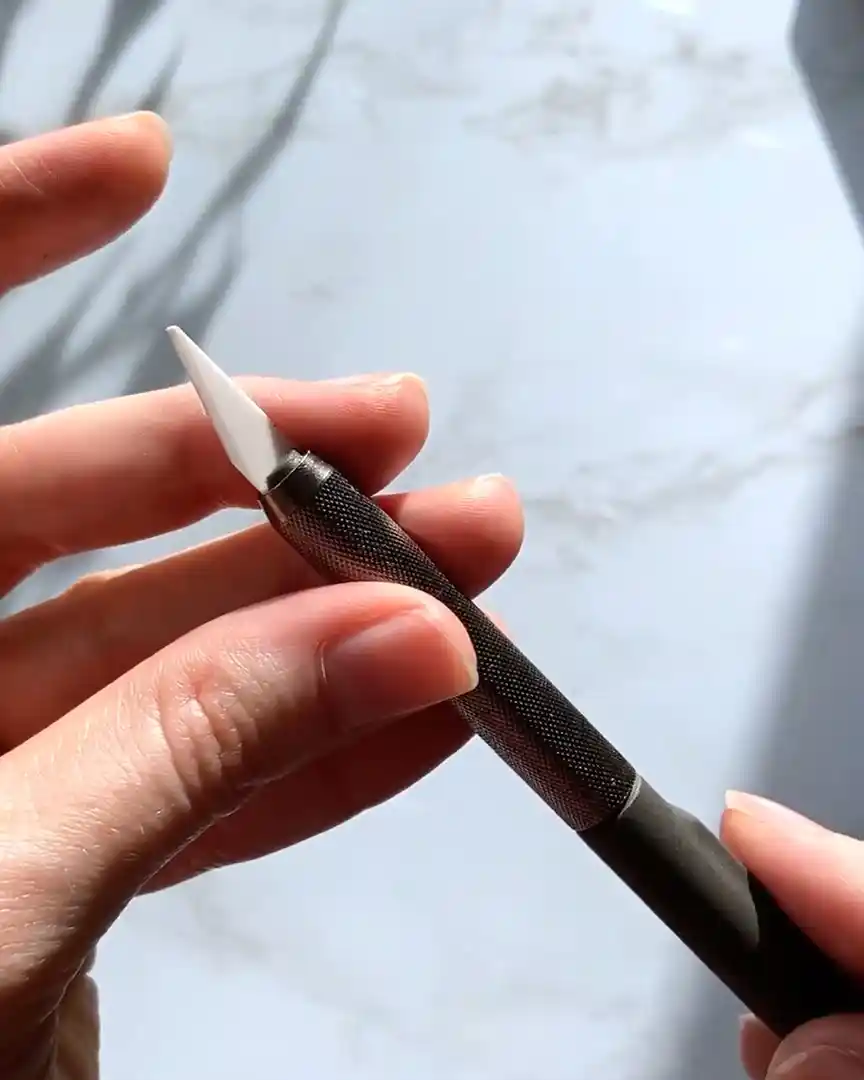
Creating Fur Details with a Slice Tool
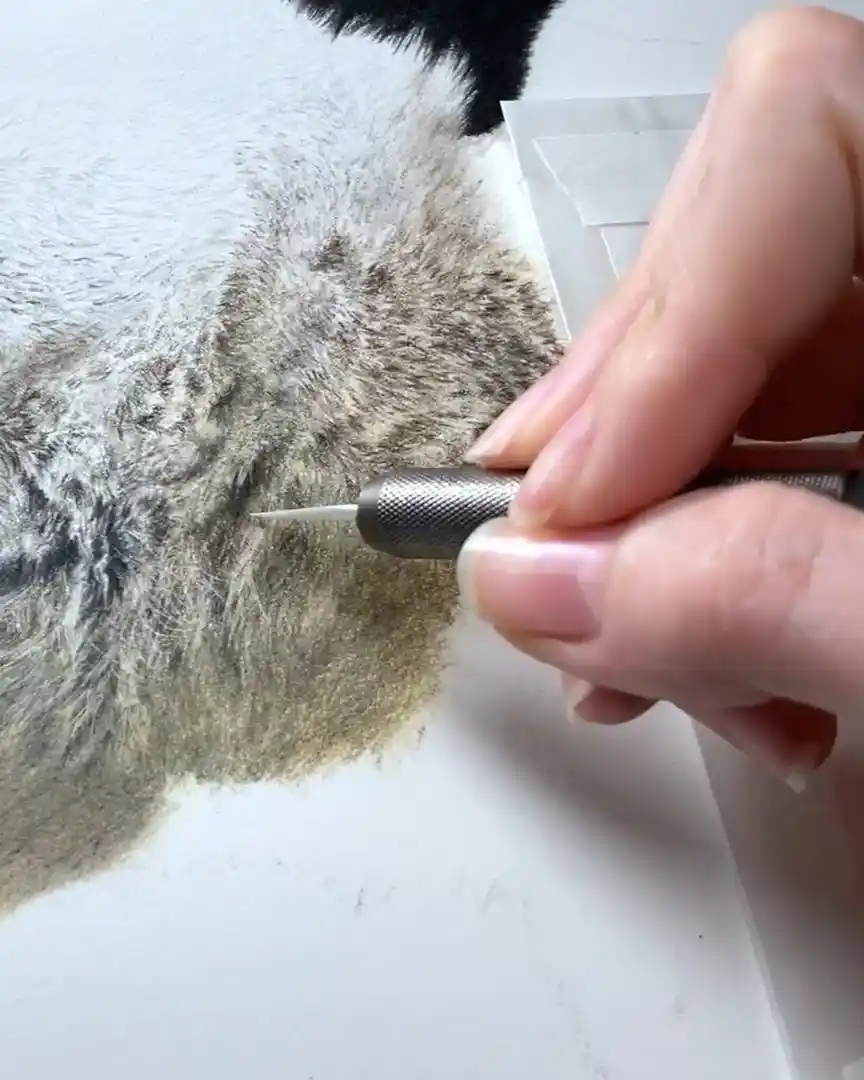
Now, here’s another game-changer: the slice tool. This one honestly feels like a secret weapon when I’m drawing fur.
Drawing fur with colored pencils is hard. It takes:
- Careful color mixing
- Multiple layers
- Intricate strokes to mimic hair
But even with all that effort, I often end up covering areas that should have stayed lighter. That’s why this sleek little tool is a lifesaver.
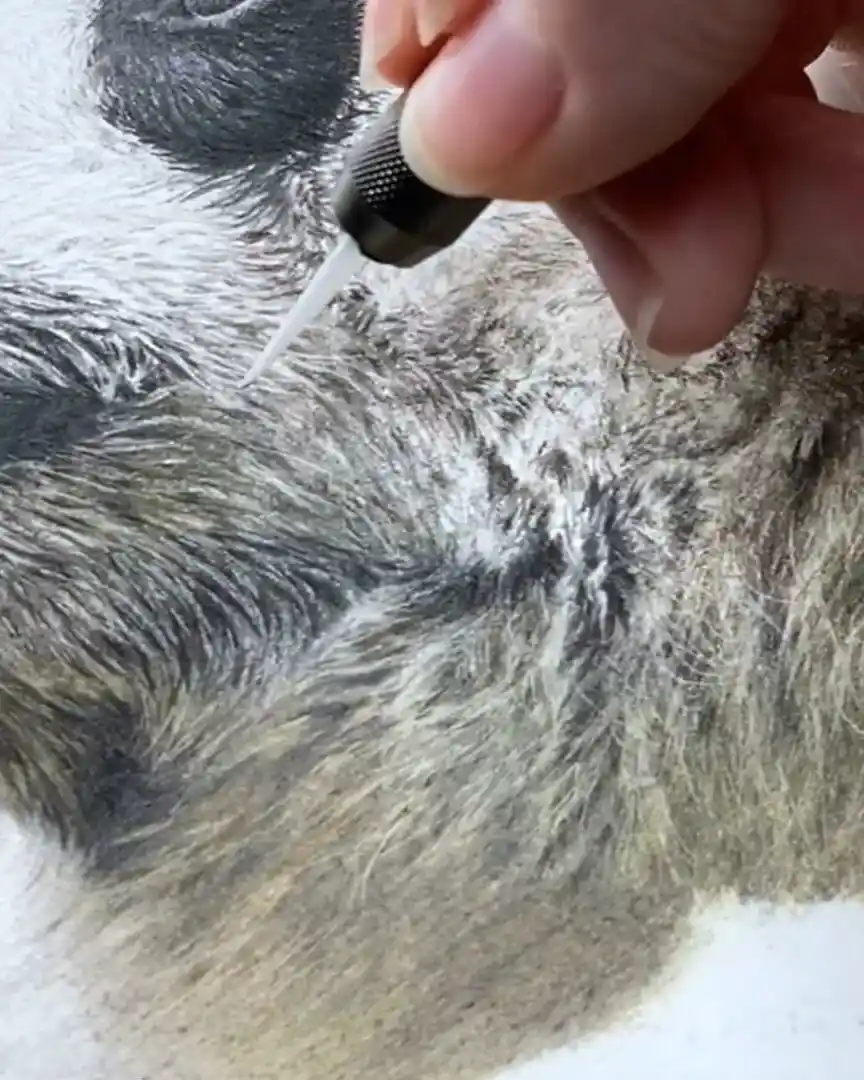
After I’ve built up all my mid-tones and shadows, I take the slice tool and scrape away just the top layer. This reveals lighter lines underneath, making them look like tiny strands of fur.
What I love about my model is the rounded tip. It gives me control over the stroke size and direction. Depending on how I hold it, I can:
- Create thin or broad lines
- Use the side for softer, blunter effects
- Carve subtle textures that mimic real fur
It’s versatile and easy to use once you get the hang of it.
Bonus Use: Fixing Mistakes
Here’s something else that makes the slice tool awesome—it helps me fix mistakes.
No, it’s not technically an eraser. But if I mess something up, I can lightly scrape off the top pigment layer and start over. It’s not perfect, but it’s saved me more times than I can count.
Wrapping Up
Mastering colored pencil layering takes patience and the right approach, but it’s worth it. Now that you know the common pitfalls and my favorite tools and techniques, I hope you feel ready to try these tips yourself.
What will you experiment with first in your next drawing? Keep practicing—you’re getting closer with every stroke!