

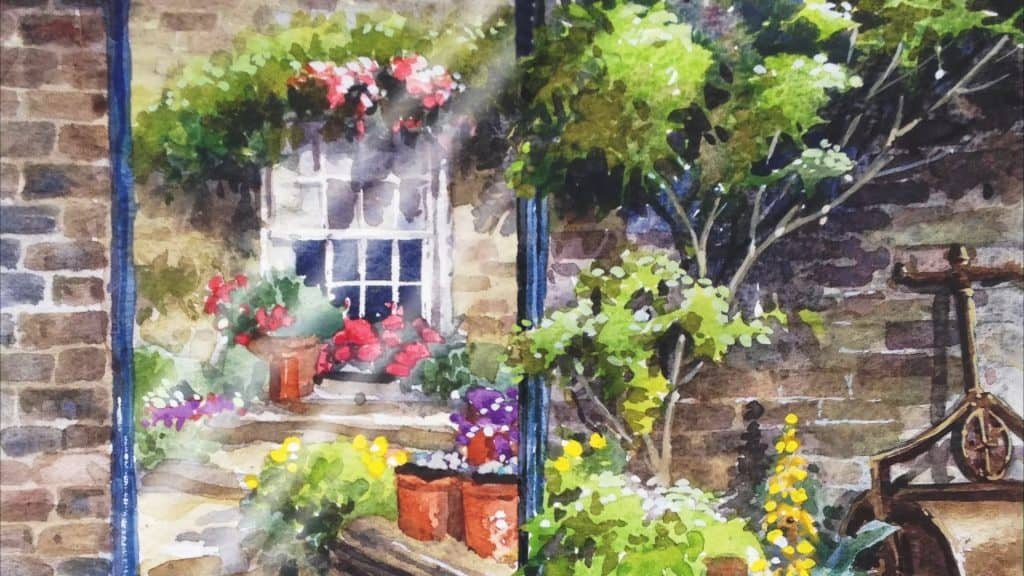
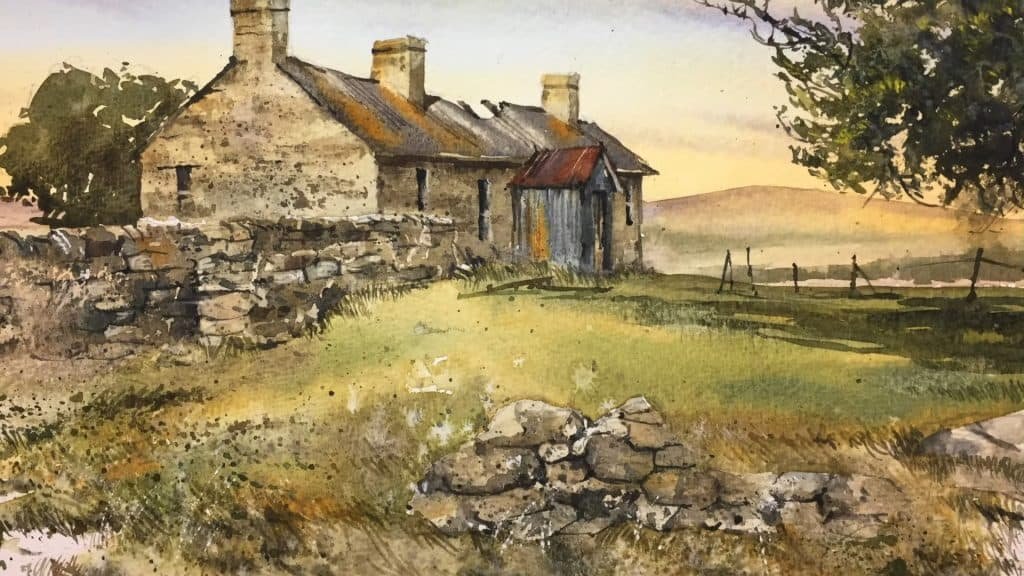
Different wall textures can bring so much life to your watercolor scenes. Each surface tells a unique story.
Now, Paul Clark shares five simple but powerful ways you can paint walls in watercolor. His methods are fun and innovative. They are also ideal for experimenting with your own artwork.
Ready to explore them? Let’s dive in together.
Getting Started: Materials and Preparation
Paul Clark suggests a few simple items that make the techniques easier:
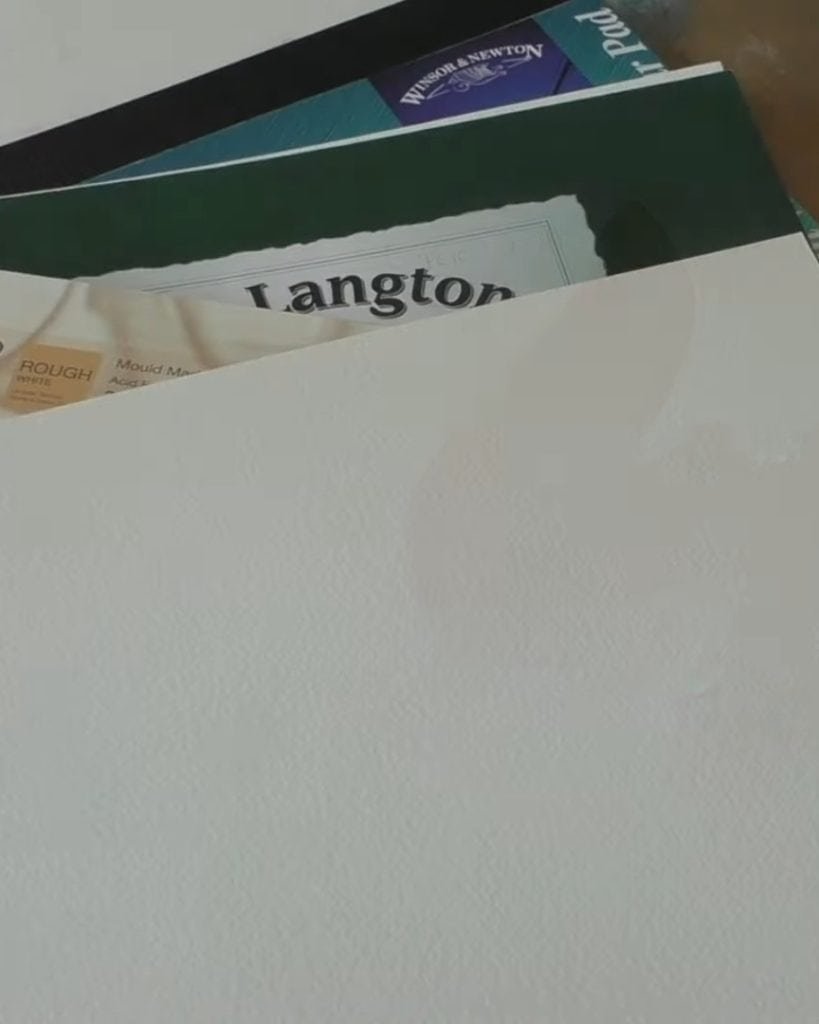
- Paper: Use rough or cold-pressed watercolor paper for natural texture.
- Brushes: A number 12 round brush works well for washes and details.
- Colors: Useful shades include yellow ochre, burnt umber, Payne’s grey, alizarin crimson, and cadmium yellow.
- Extras: Clean water, tissues, masking fluid (or drawing gum), ordinary table salt, and cling film (Saran Wrap).
- Tools: A scalpel for sharp highlights and a soft finger rub for removing masking fluid.
With the tools at hand, you are ready to explore the five wall textures.
Technique 1: Grotty Old Plaster Wall
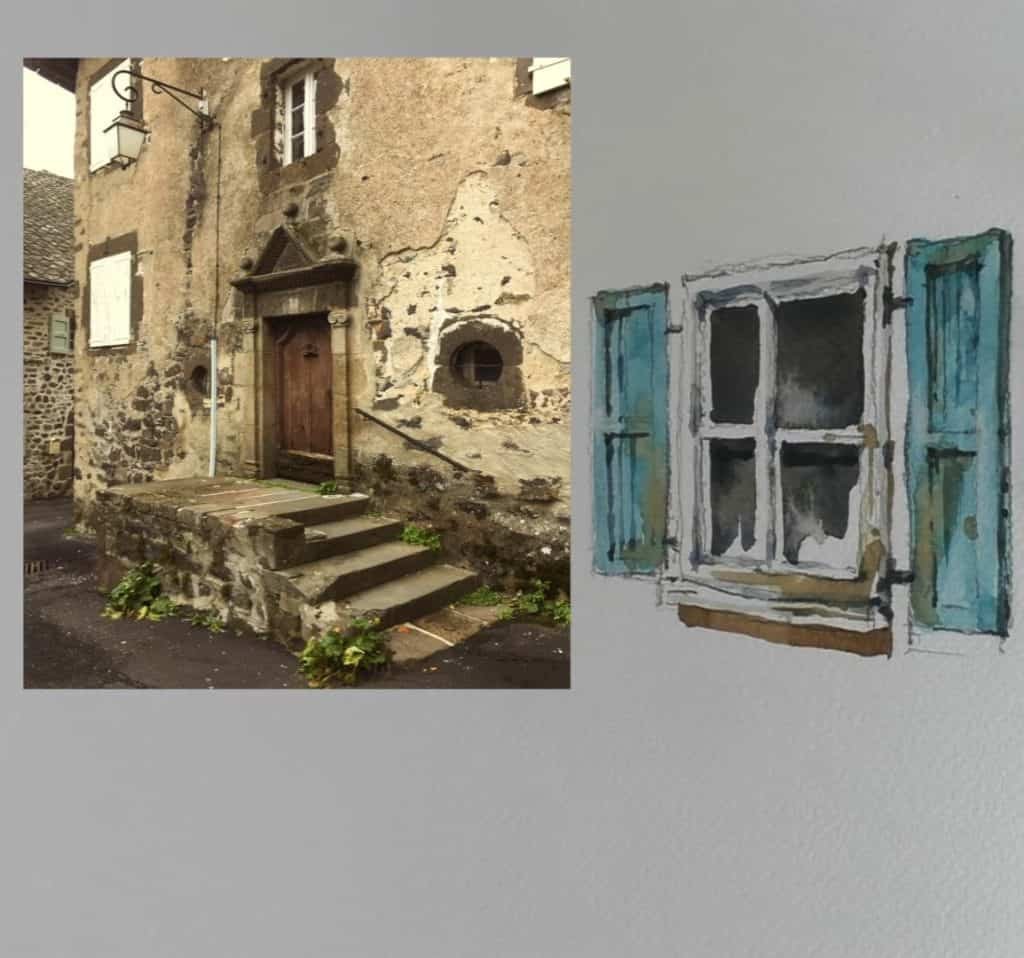
Let’s begin with a wall that looks worn and weathered. Paul Clark describes this as a surface you might see in small French villages.
Steps
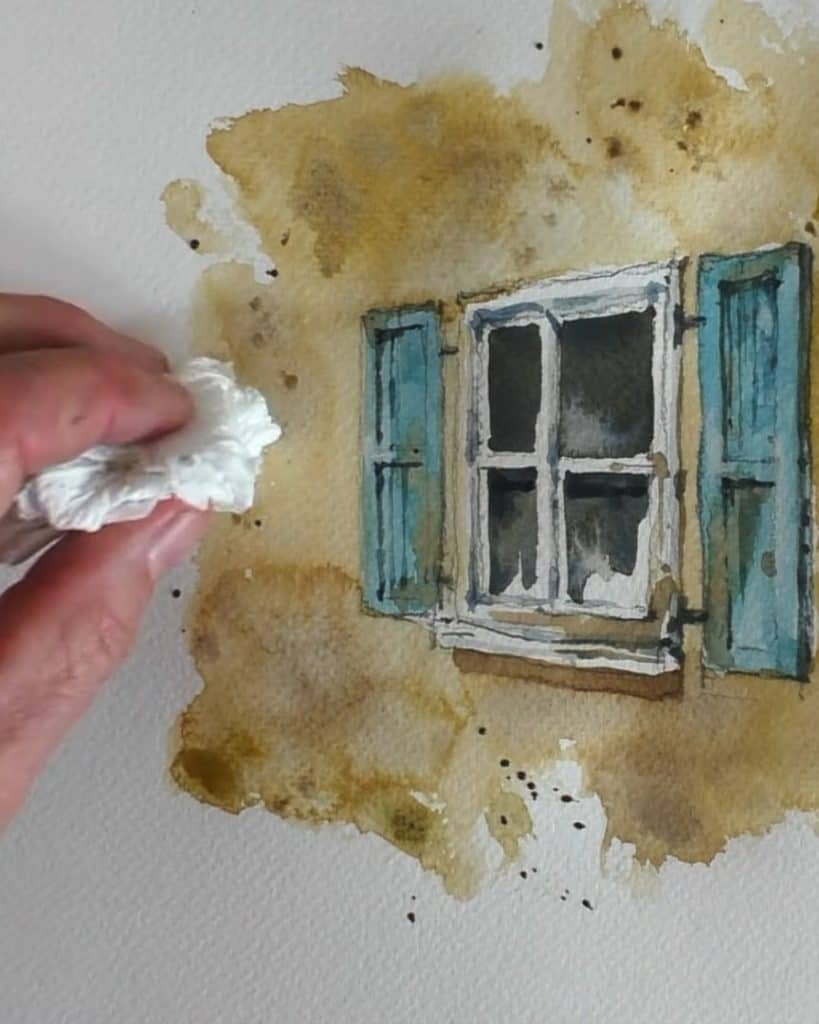
First, wet part of your paper with clean water. Use your round brush generously.
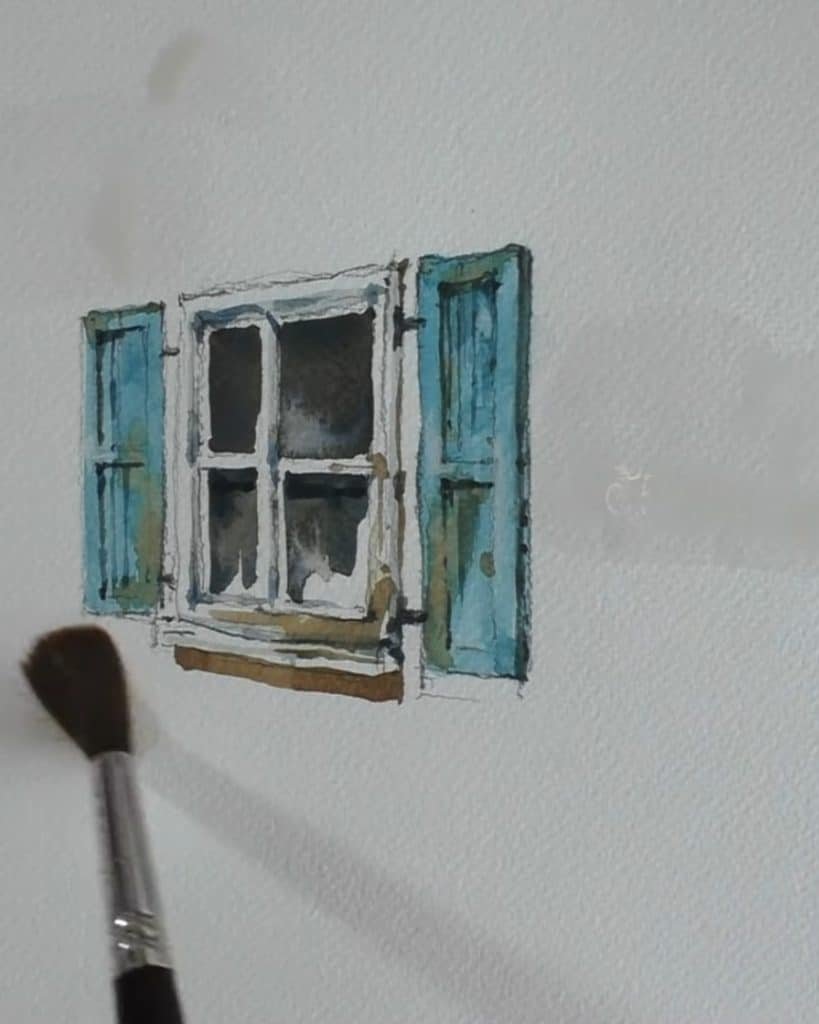
Then apply a wash of yellow ochre, followed by a touch of burnt umber.
To create interesting effects, drop in clean water directly into the paint. This forms natural backruns or “cauliflowers.”

After that, splatter burnt umber onto the wet surface. Some splashes will blend softly, while others dry with sharper edges.

If an area looks too heavy, dab gently with a tissue to soften it.
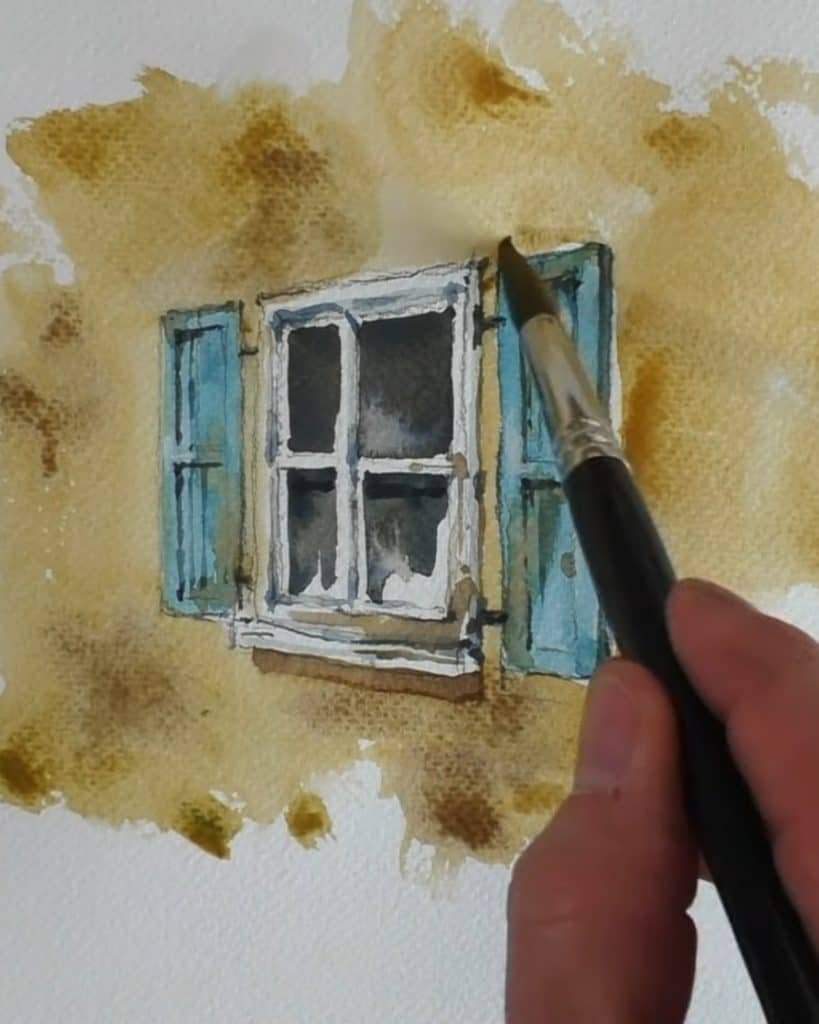
Result
This method gives you the look of old plaster peeling off walls. According to Paul Clark, the backruns add broken textures that really mimic damaged surfaces.
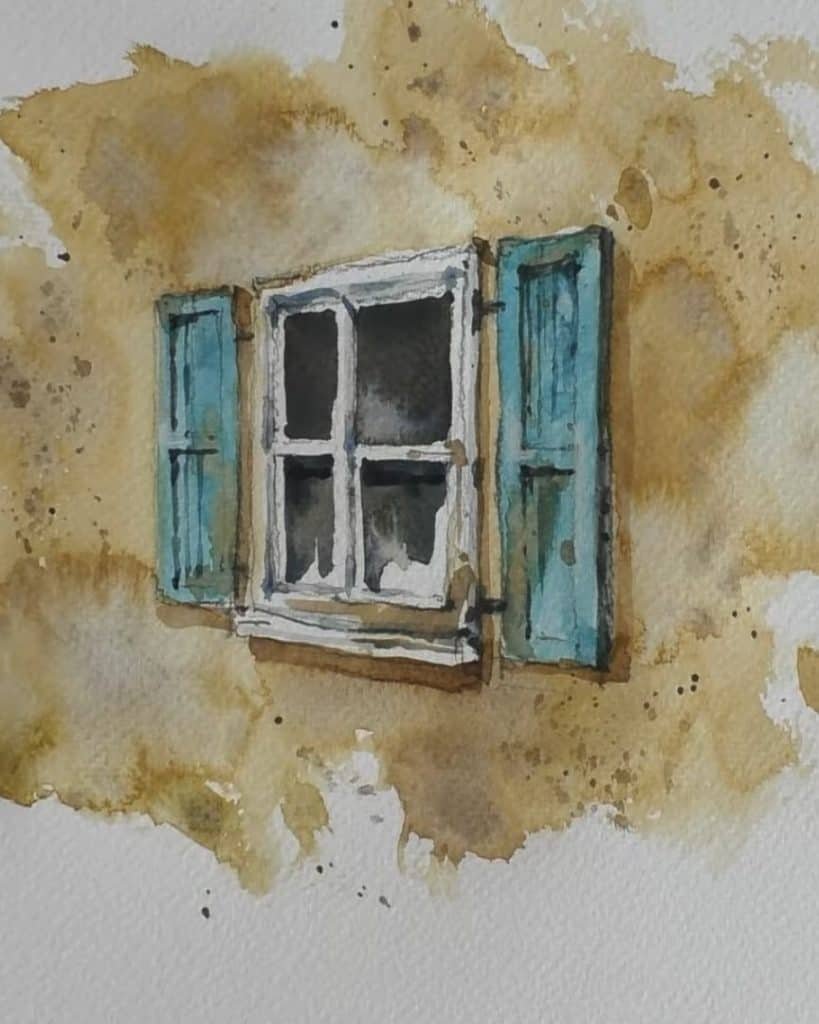
He uses this technique in his paintings to capture rustic character.
Technique 2: Classic Brick Wall
Next comes a structured wall. A brick wall may sound simple, but watercolor makes it vibrant and realistic.
Steps
Start by sketching the wall lightly in pencil.
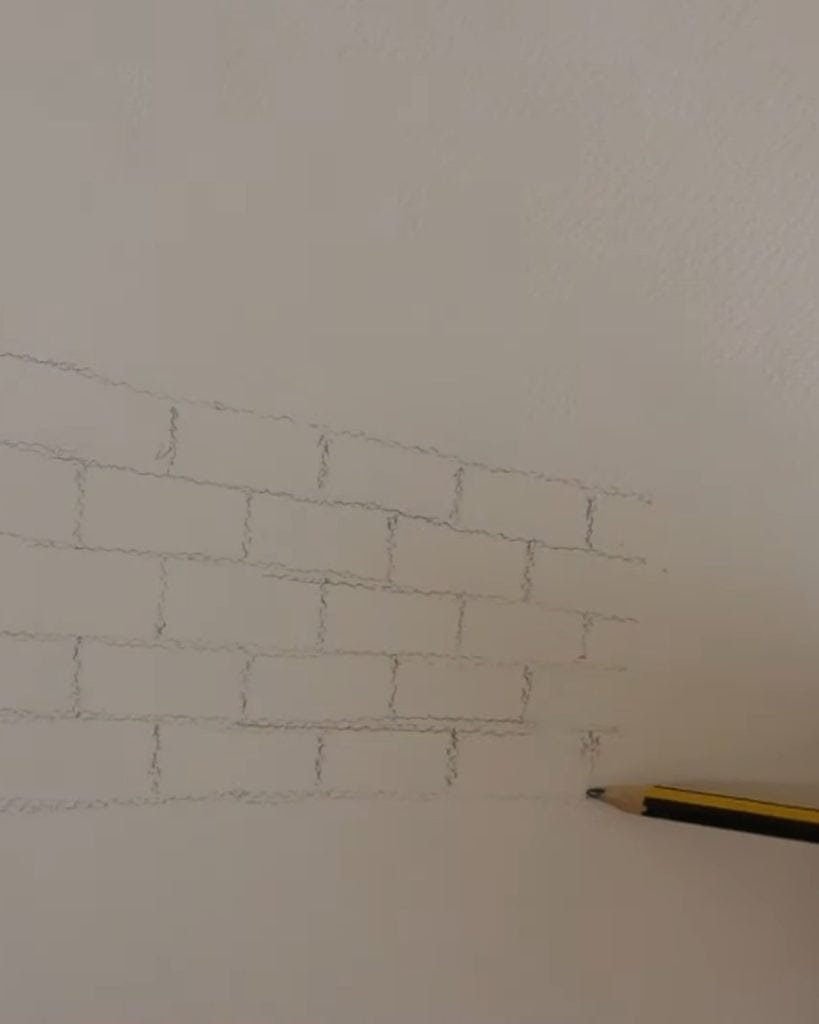
Then paint a flat wash of yellow ochre. It becomes the mortar between the bricks.

Once dry, apply masking fluid or drawing gum over your pencil lines. Keep them slightly uneven. Paul Clark suggests wobbly lines make the wall feel more natural.

Mix burnt umber with cadmium yellow and alizarin crimson for the bricks. Apply these shades quickly. Add darker tones of burnt umber for contrast.
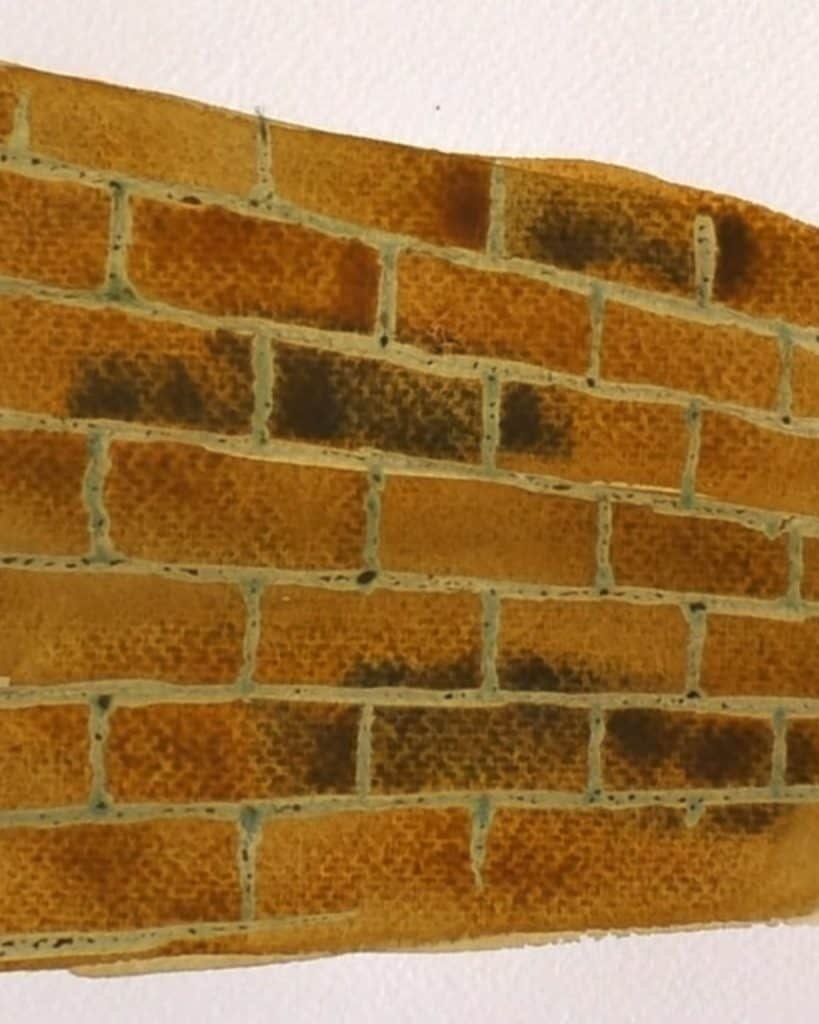 Then, splatter some clean water over the surface. This creates subtle backruns.
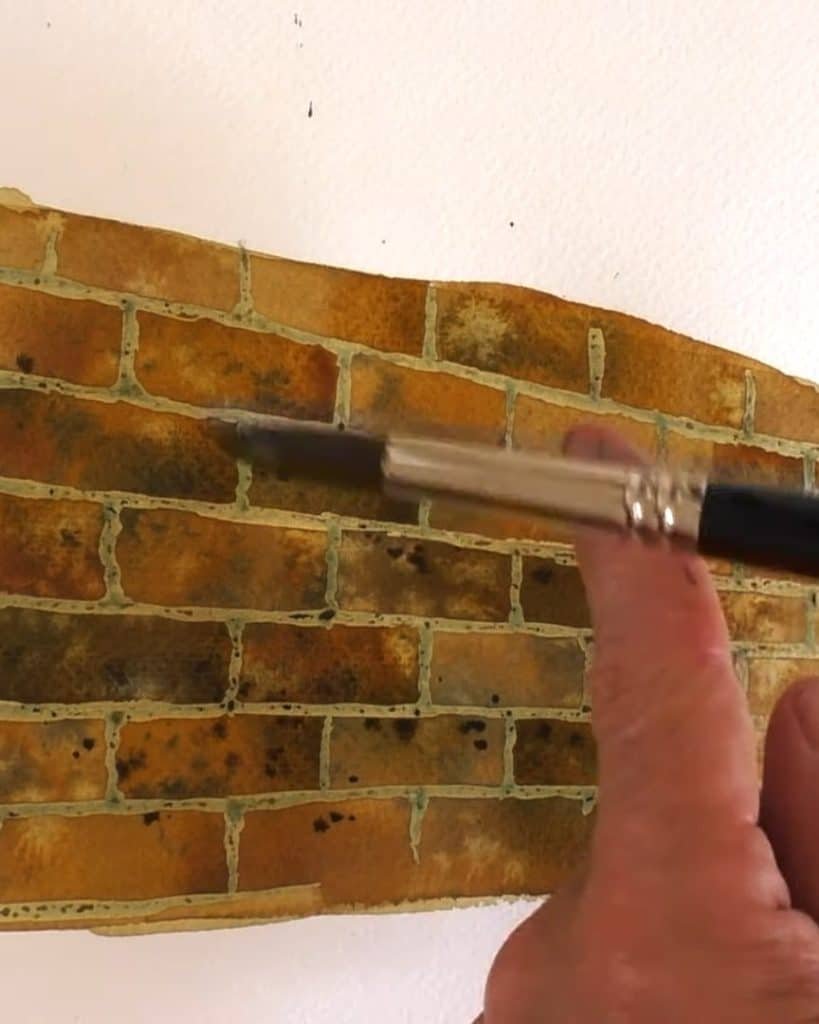
When everything dries, rub gently with your finger to remove the masking fluid. Be careful not to tear the paper.
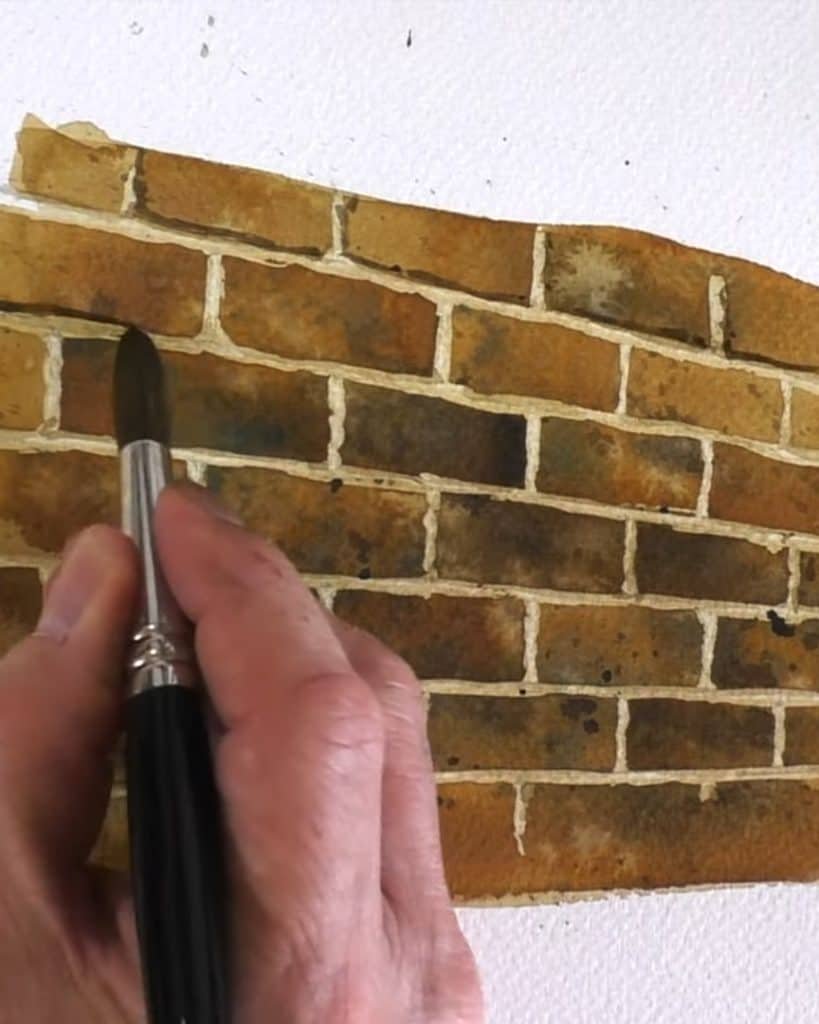
Finally, paint a light tint under each brick to give shadow. Add deeper tones on the bricks themselves for dimension.
Result
The finished wall shows clear mortar lines and textured bricks.
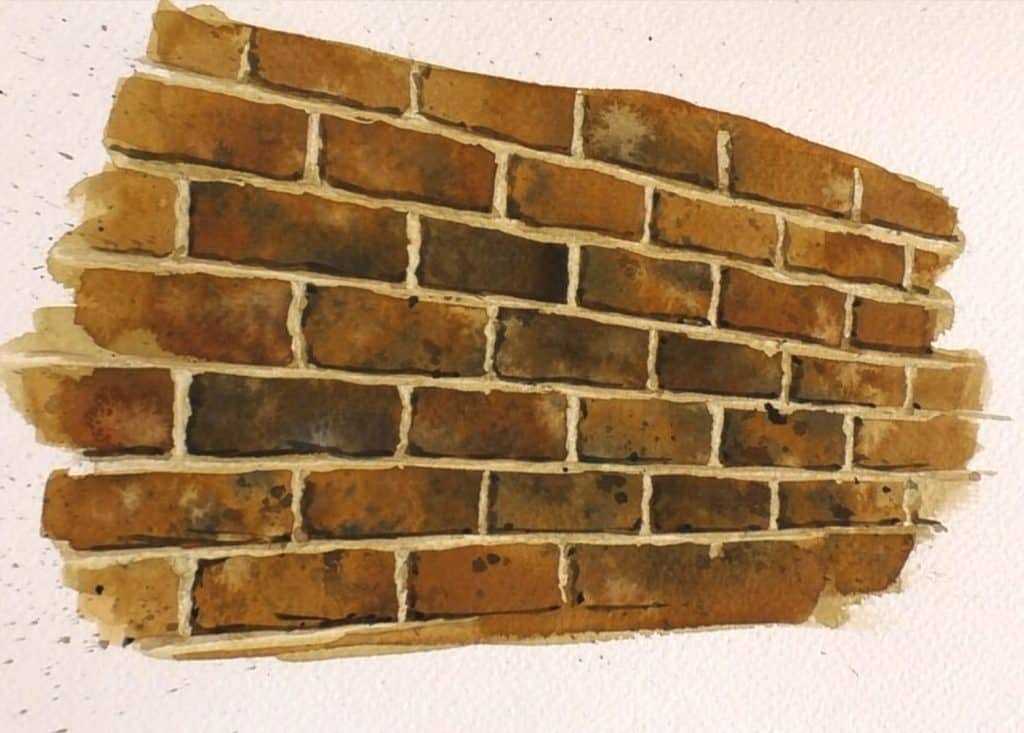
Paul Clark highlights that this technique makes architectural details stand out in your painting.
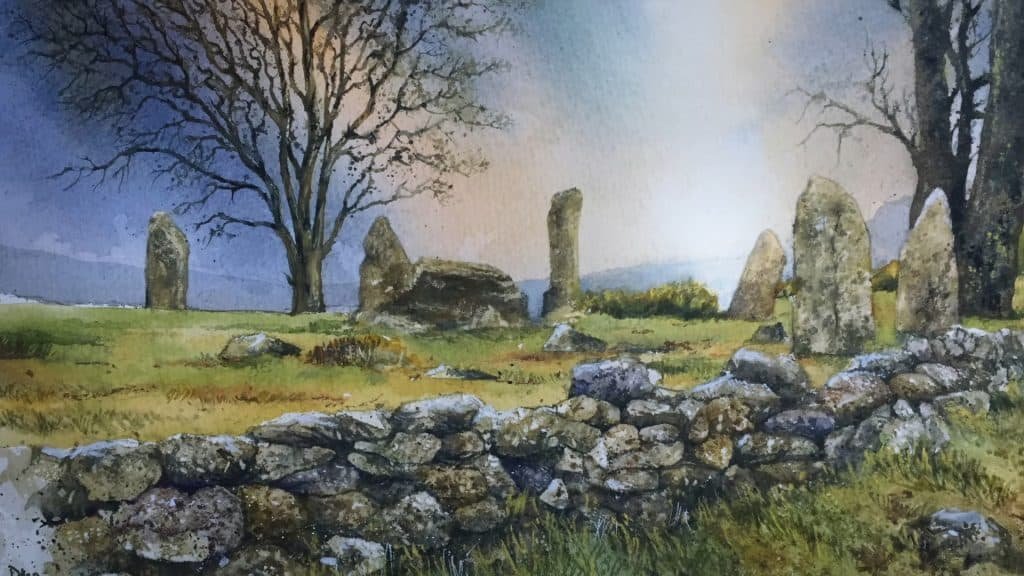
Technique 3: Old Roman Wall
Now let’s move to a wall with more history. An old Roman wall needs soft tones and aged texture.
Steps
Make a quick sketch. Wash the surface with watery Payne’s grey.

While still damp, drop in yellow ochre and more Payne’s grey. Let the pigments merge but not dry.
Then dab lightly with tissue to lift out lighter textures.
When dry, deepen the shadows with stronger Payne’s grey under each stone. Use clean water to soften some edges.
Add random splatters for irregular effects.
Paul Clark also uses dry brush here. Keep your brush flat and skim the surface of the paper. This creates a mottled look that feels like weathered stone.
For highlights, scratch carefully with a scalpel to reveal lighter marks.
Result
This approach gives you strong textures with both shadows and highlights.
According to Paul Clark, it works beautifully for ruins or ancient stonework.
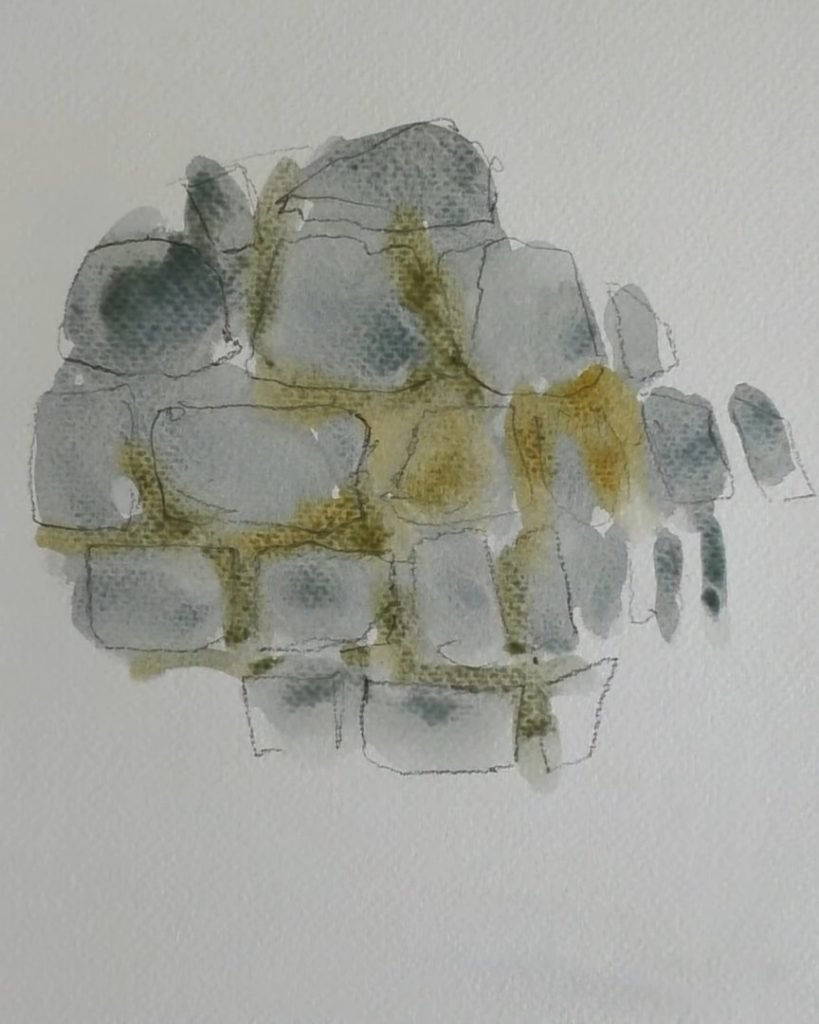
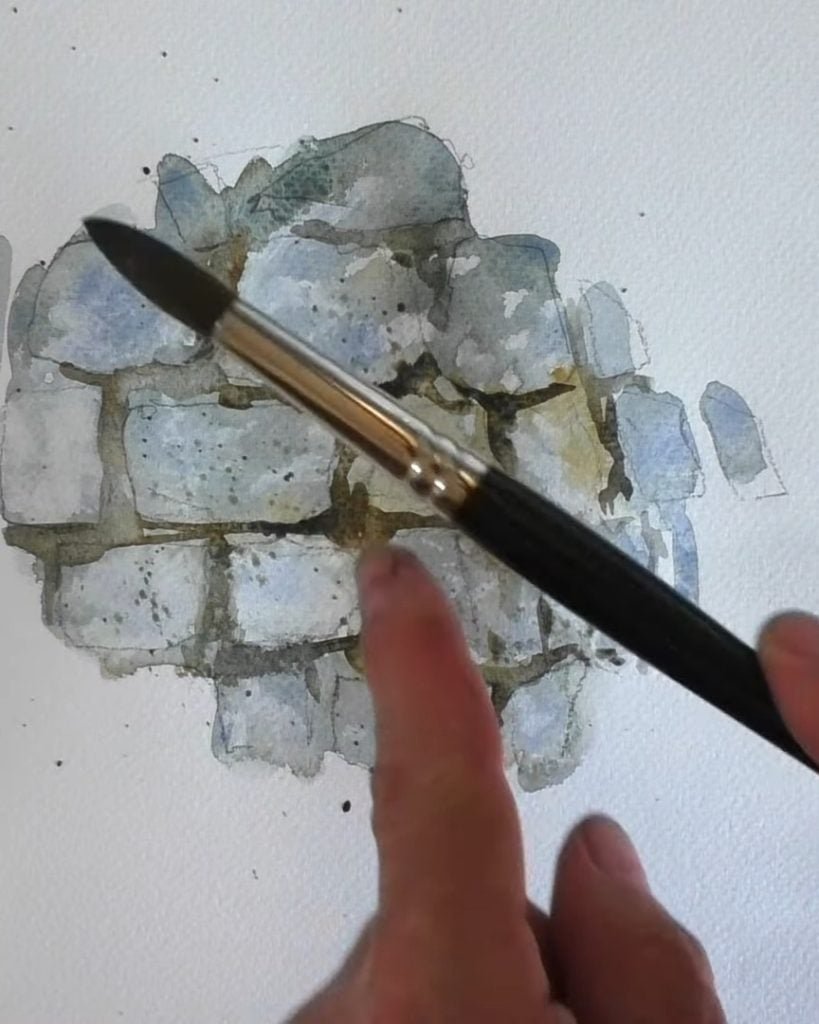
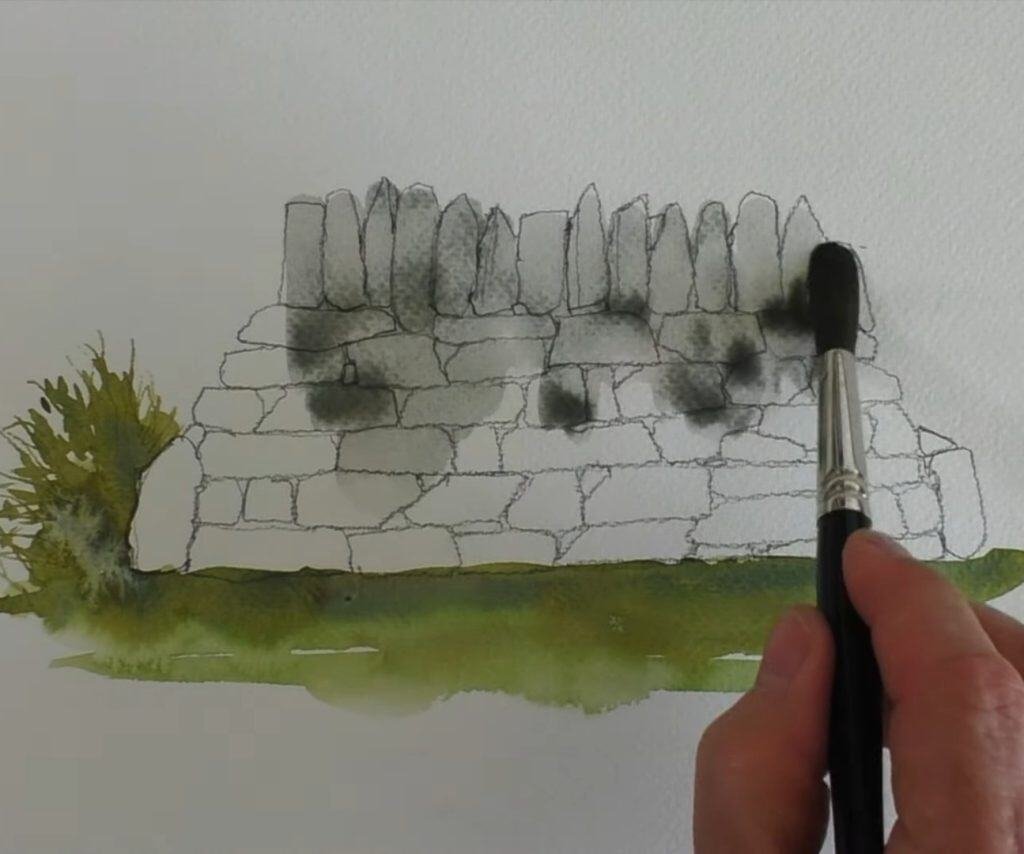
Technique 4: Dry Stone Wall
If you want a more natural stone effect, this method is perfect. Paul Clark compares it to walls seen in the Lake District in northern England.
Steps
Begin with a light wash of watery Payne’s grey.
Add touches of yellow ochre and deepen some parts with darker tones.
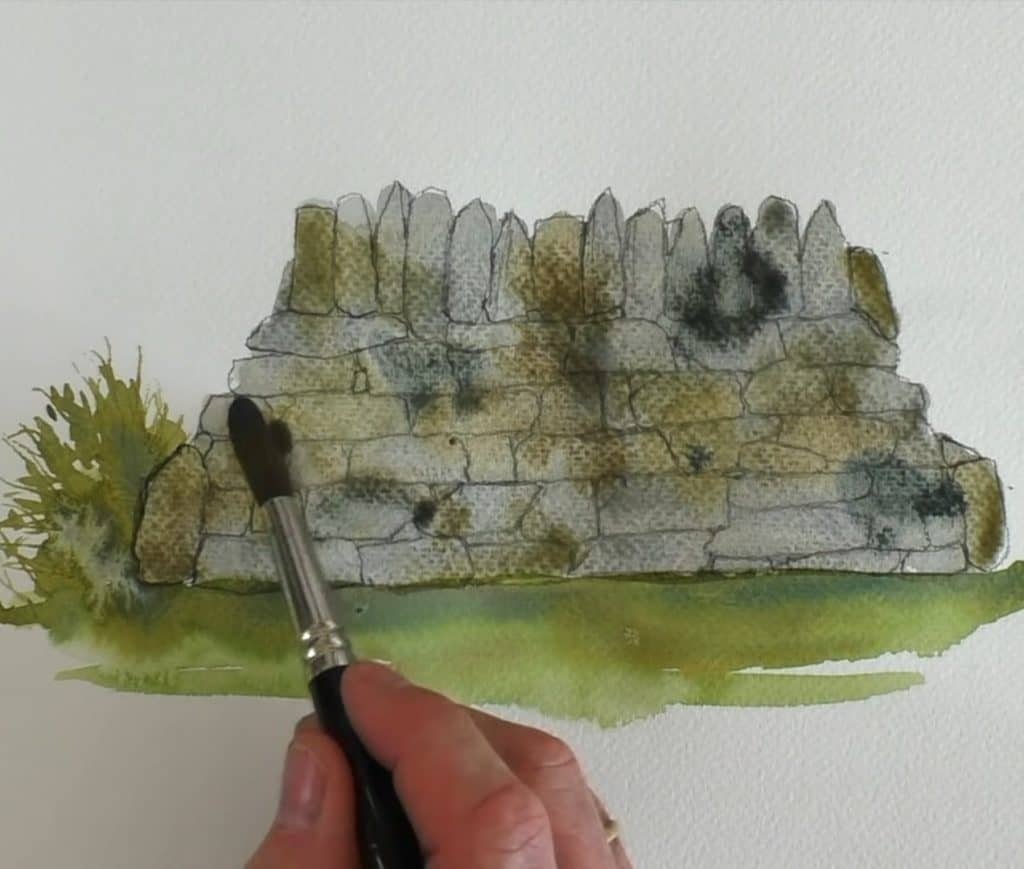
While the paint is still wet, sprinkle table salt evenly across the wall. As the paint dries, the salt absorbs pigment and leaves unique patterns.
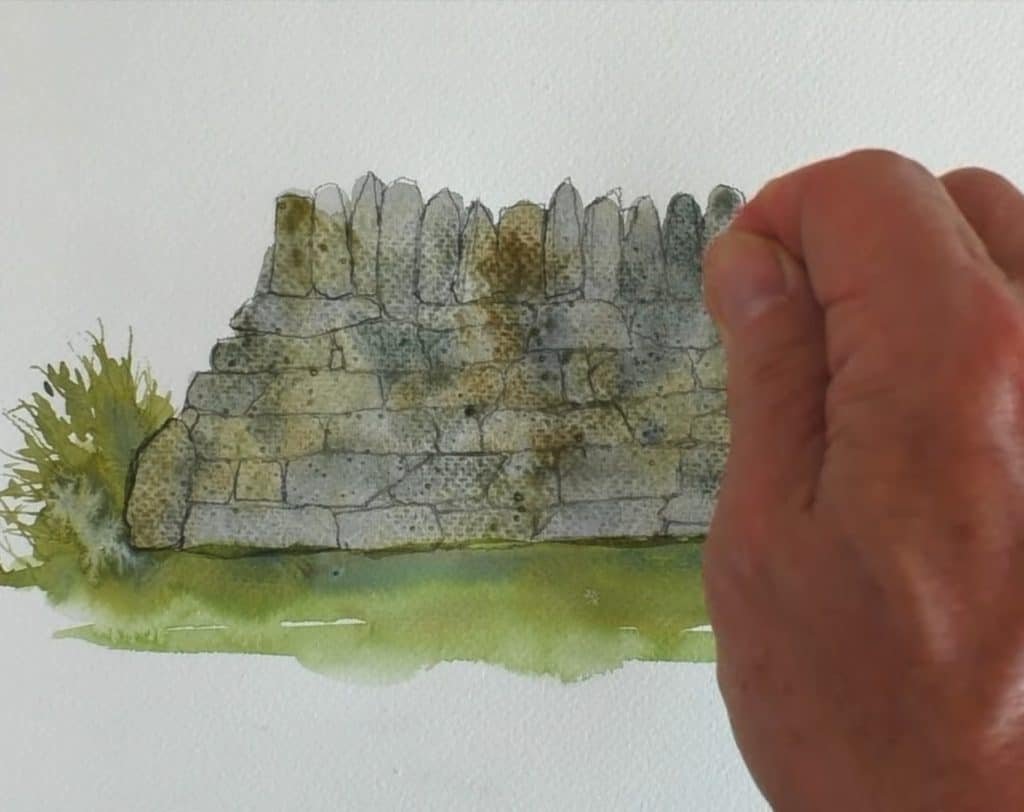
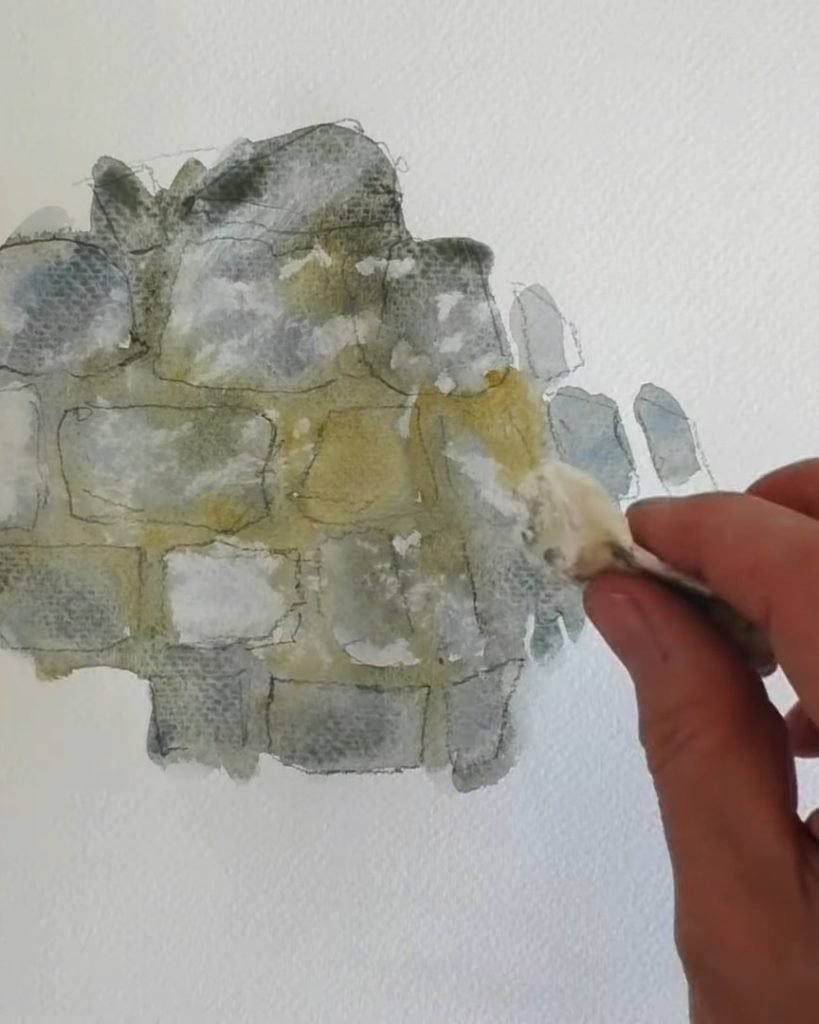
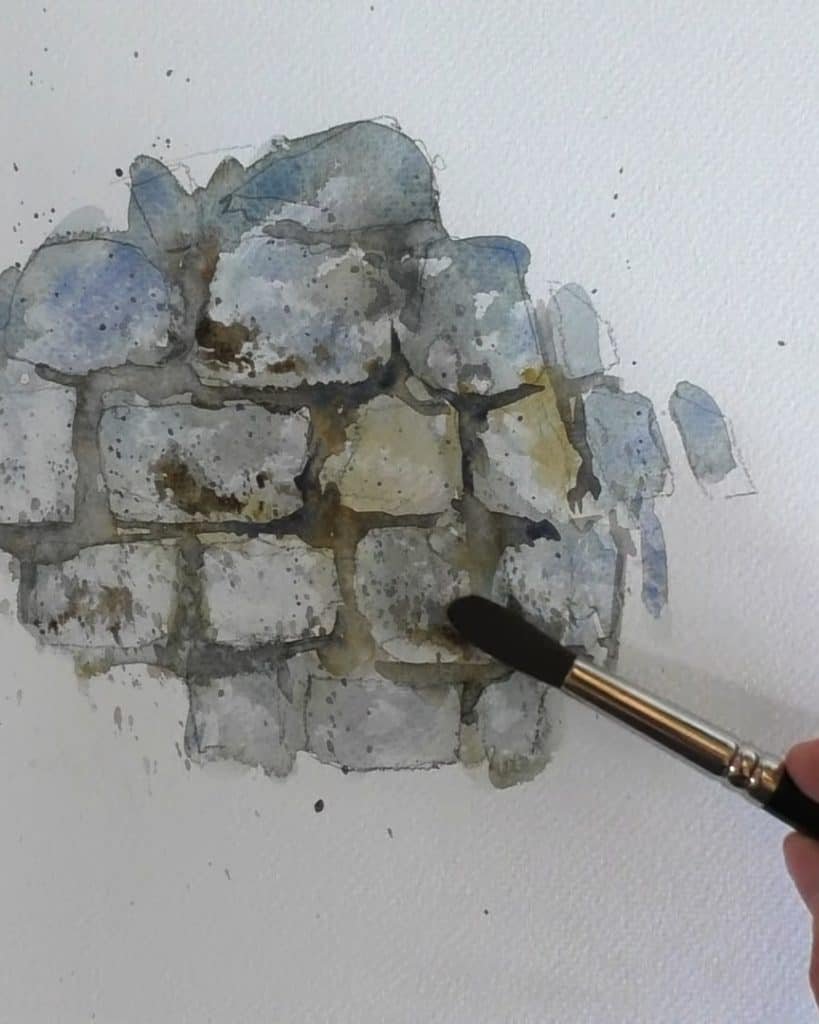
If the timing is right, the salt dissolves on its own. Otherwise, brush off the grains once dry.
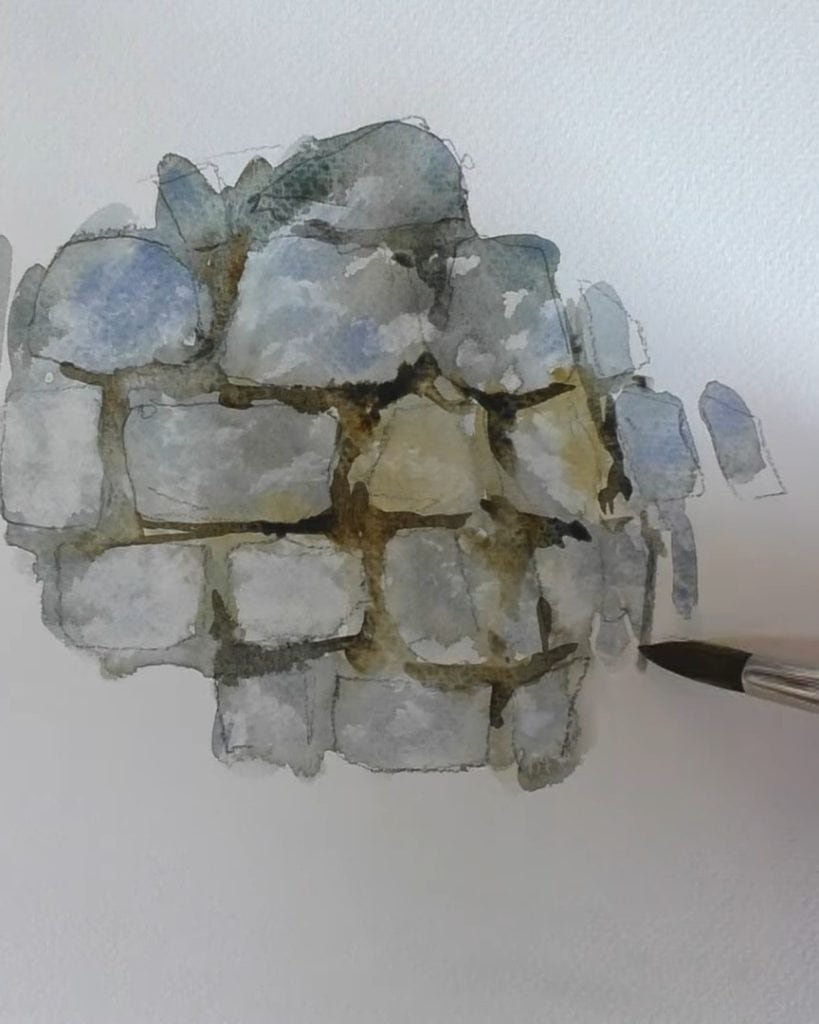
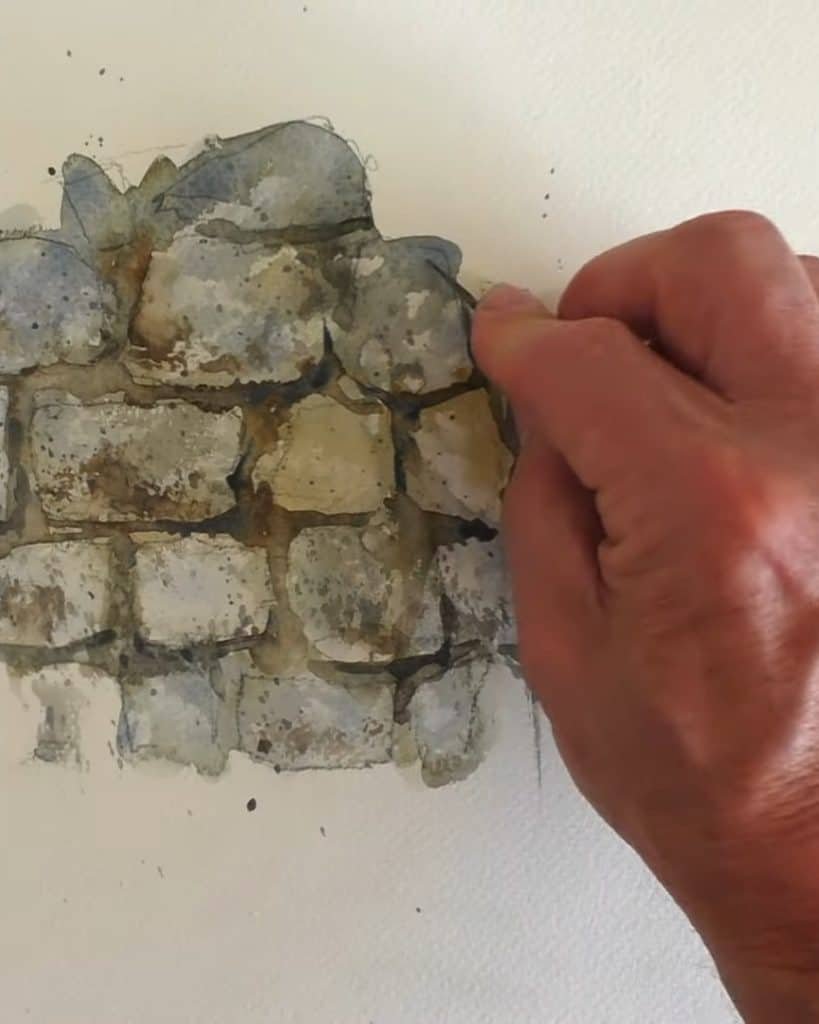
Then use Payne’s grey to paint darker lines and add stone details. Finish with shadows under certain stones to make them stand out.
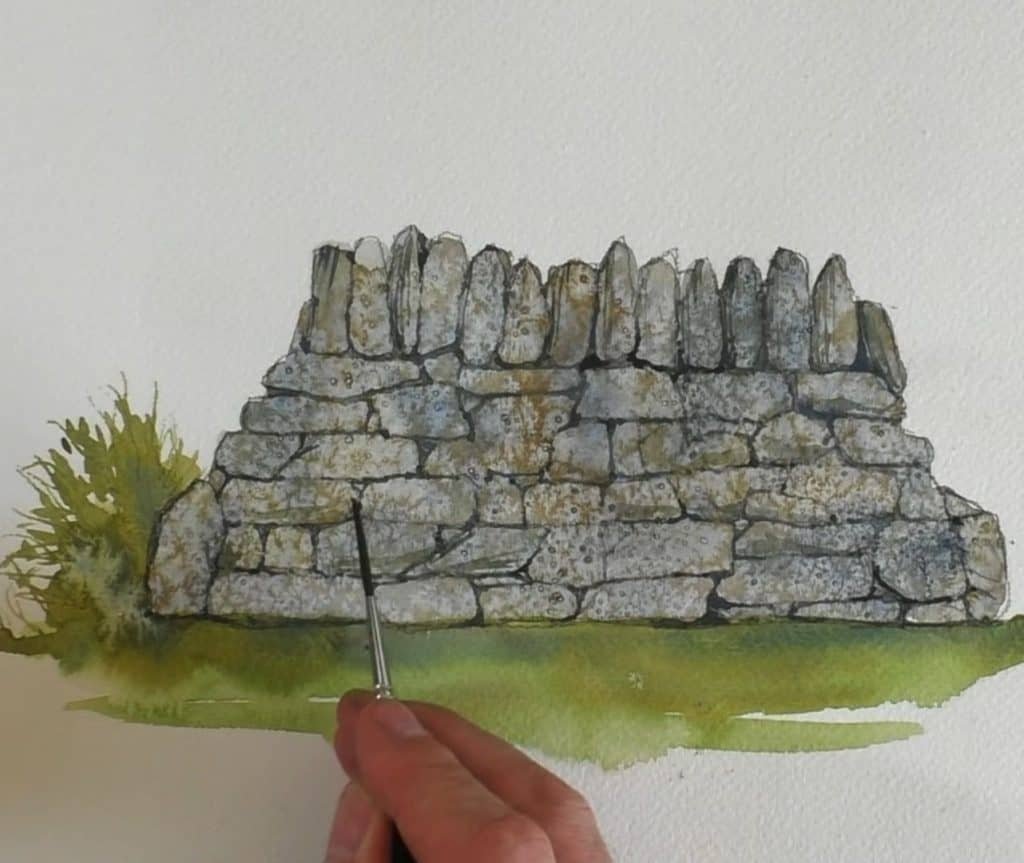
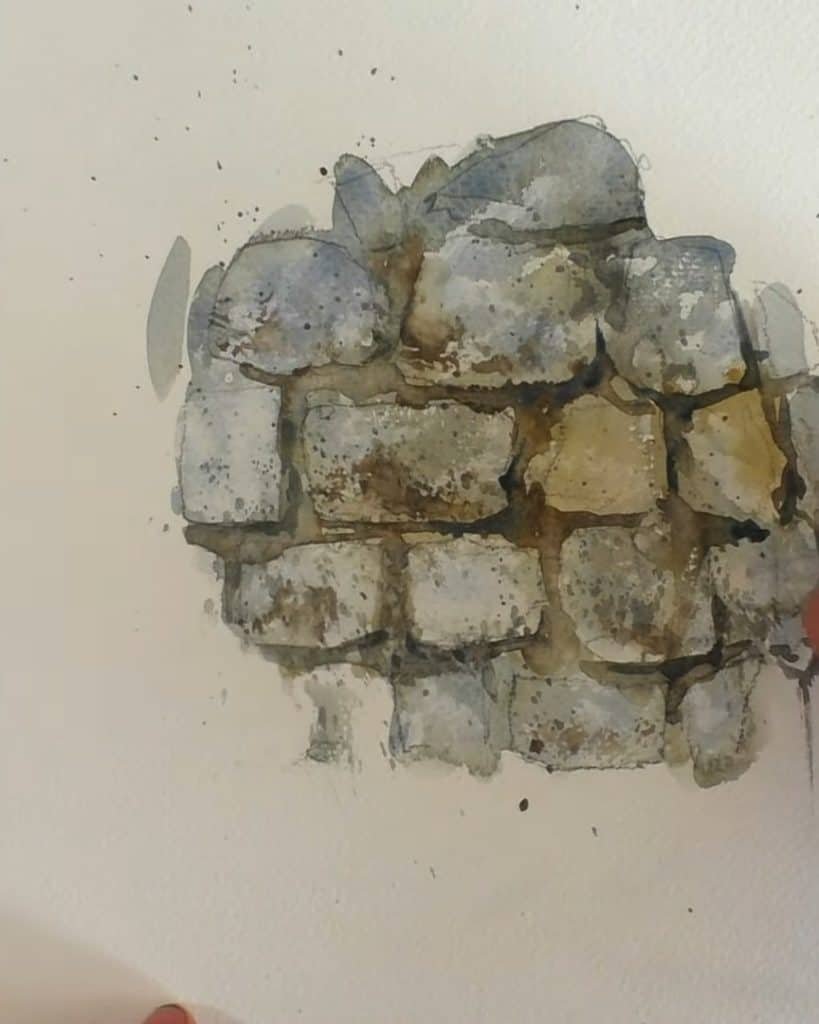
Result
The salt creates a crystallized, irregular texture that looks like real stone.
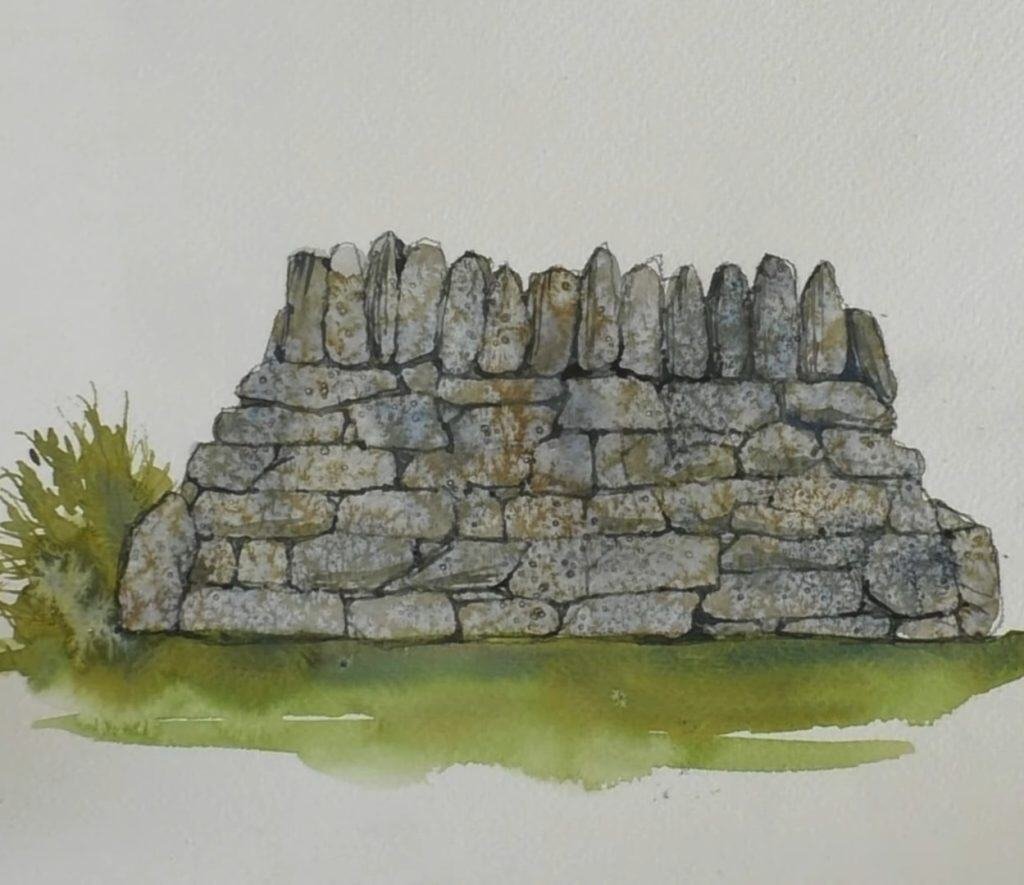
Paul Clark points out that this effect makes dry stone walls feel natural and rugged.
Technique 5: Stone Textured House Wall
Finally, here is the most unpredictable yet rewarding method. Paul Clark calls this technique “in the lap of the watercolor gods.”
Steps
Apply wet-in-wet washes in several stony colors.
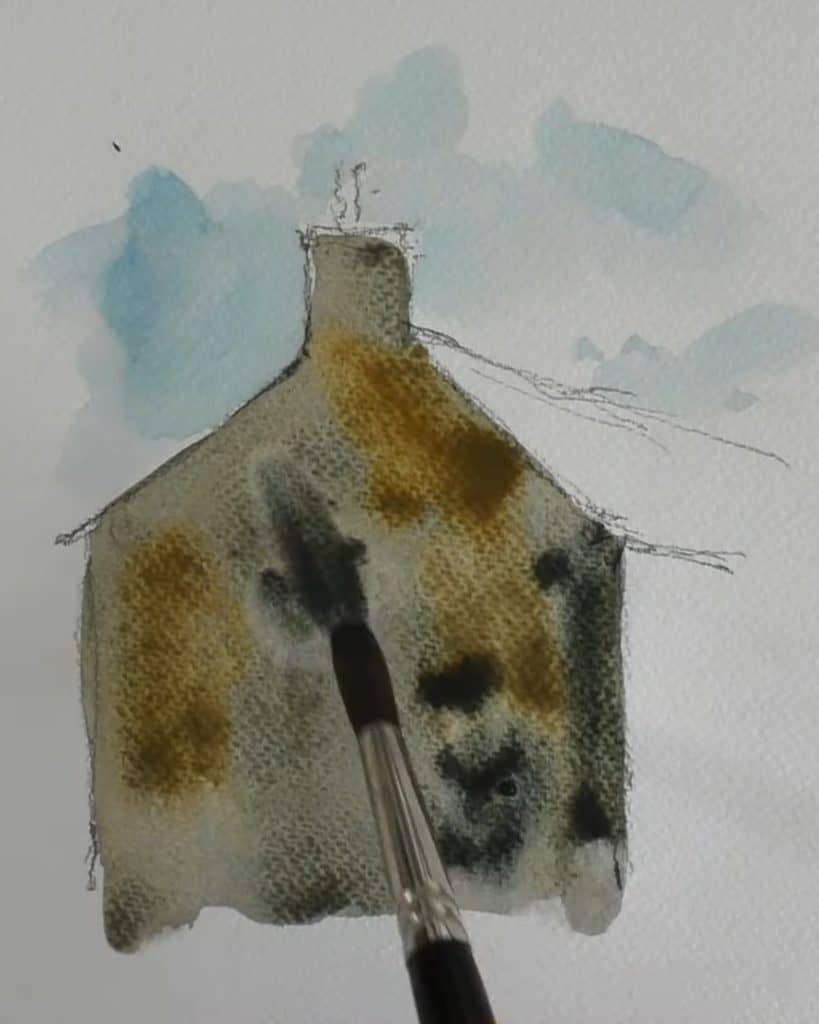
While still wet, take cling film (or Saran Wrap in the US).
Scrunch it into a ball, then spread it loosely and press it firmly on the wash. Leave it for about 20 minutes until dry.
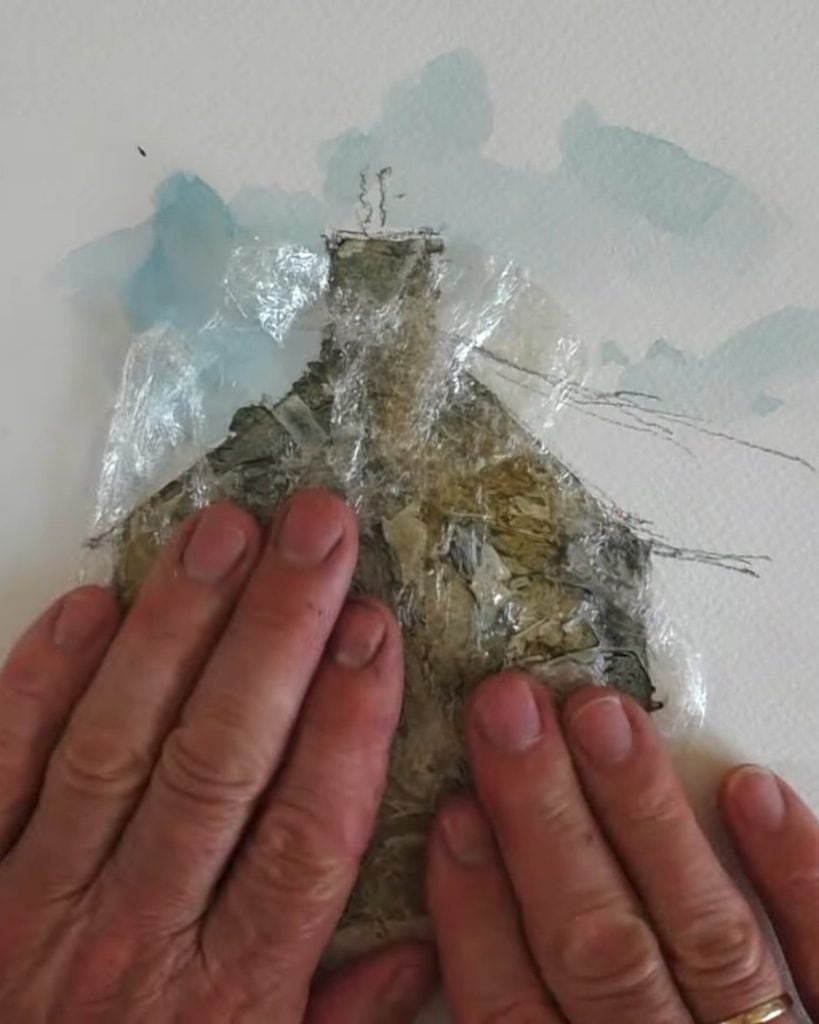
Once ready, peel the cling film away slowly. Underneath, you will find surprising, abstract textures.
Result
This method creates bold, random shapes that look like stone walls or even distant rocks.
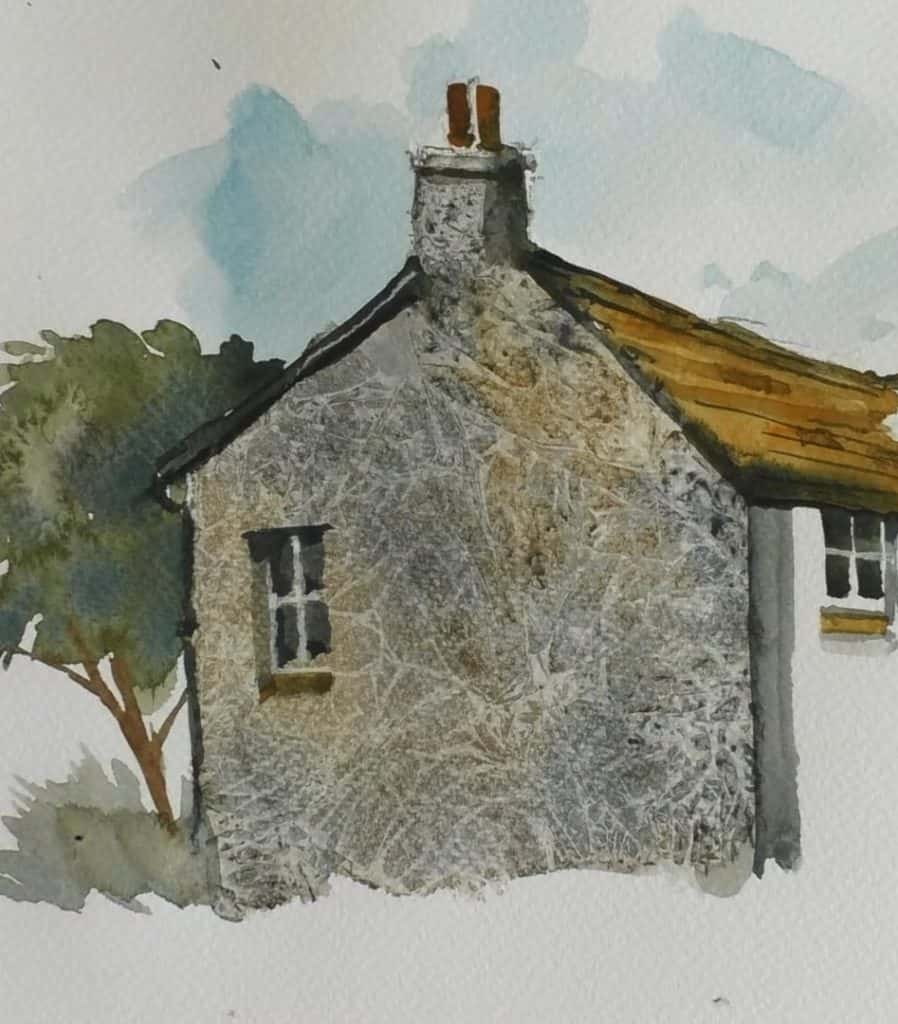
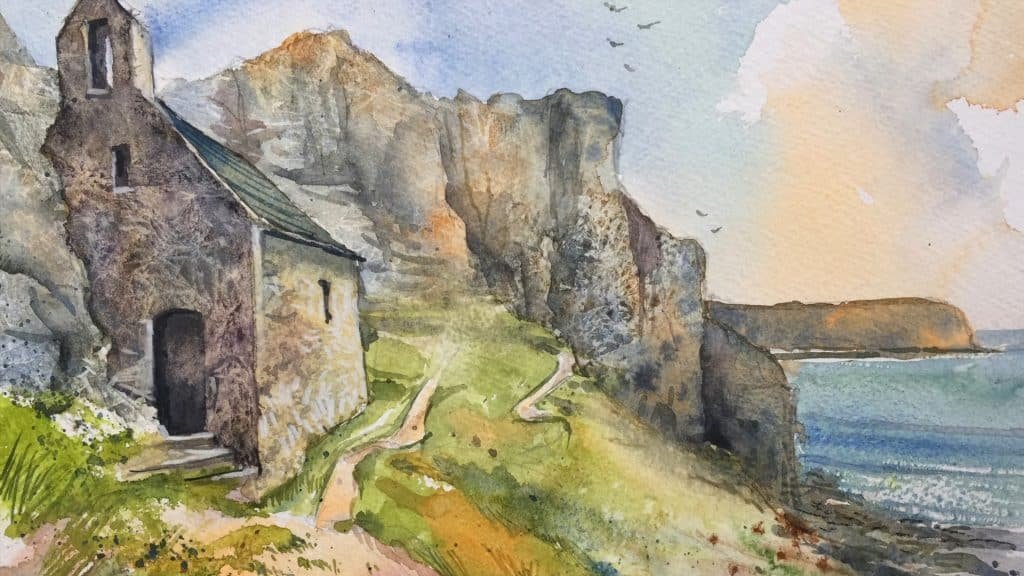
Paul Clark demonstrates it with the walls of St. Govan’s Church. He admits the result is unpredictable but often very effective.
Tips for Success
Before you finish, keep these reminders in mind. They can make your wall painting experience smoother.
- Pay attention to timing: knowing when to lift, peel, or sprinkle is key.
- Don’t be afraid to experiment. Some effects are unpredictable, but that’s part of the charm.
- Combine techniques in one painting to add variety.
- Test each idea on scrap paper before using it in a final artwork.
Paul Clark emphasizes that practice and play are essential in watercolor. The more you try, the more confident you will feel.
Wrapping Up
The five techniques from Paul Clark give you powerful ways to add texture and character to your watercolor art. Each one tells a story and brings a different mood to your scene.
Which wall texture will you try first? Share your thoughts, and let these methods inspire your next painting project!