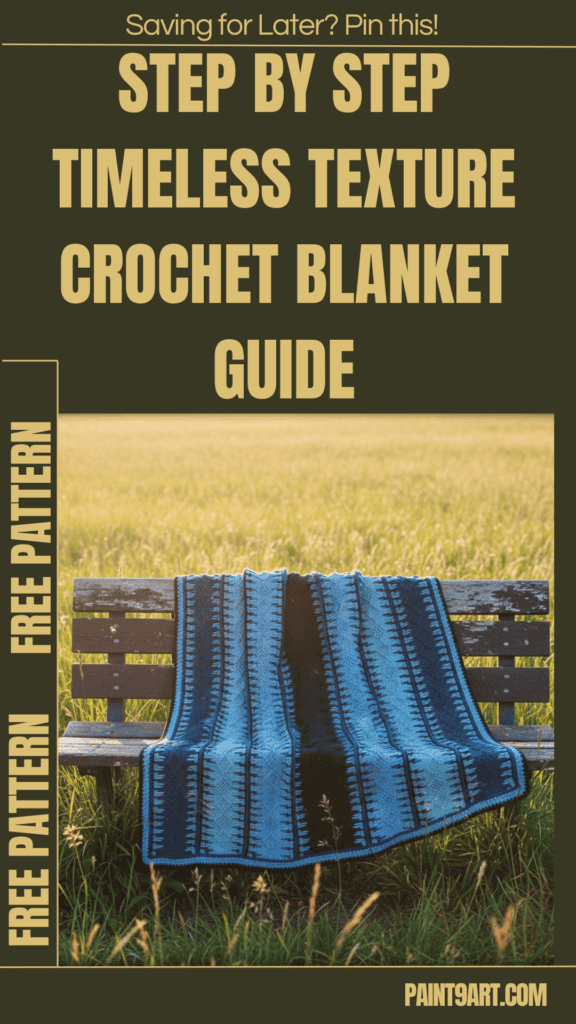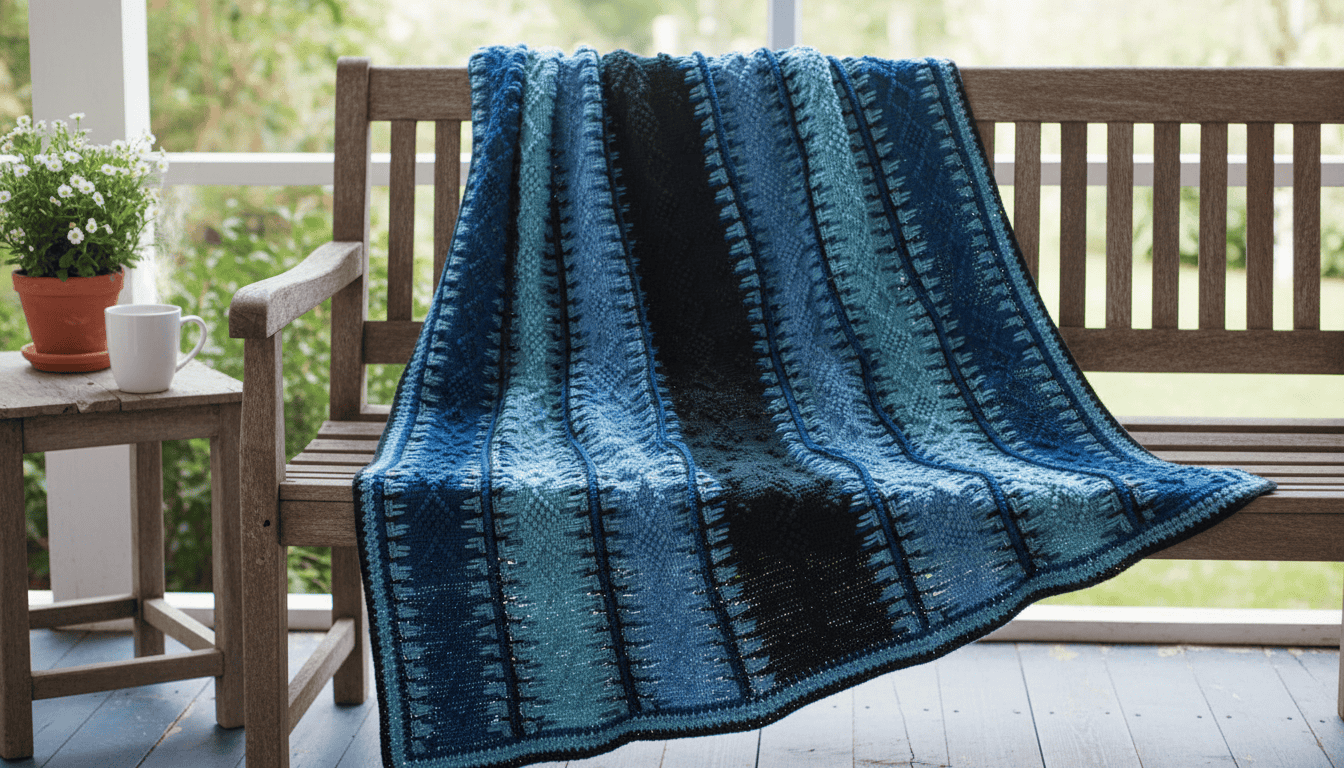
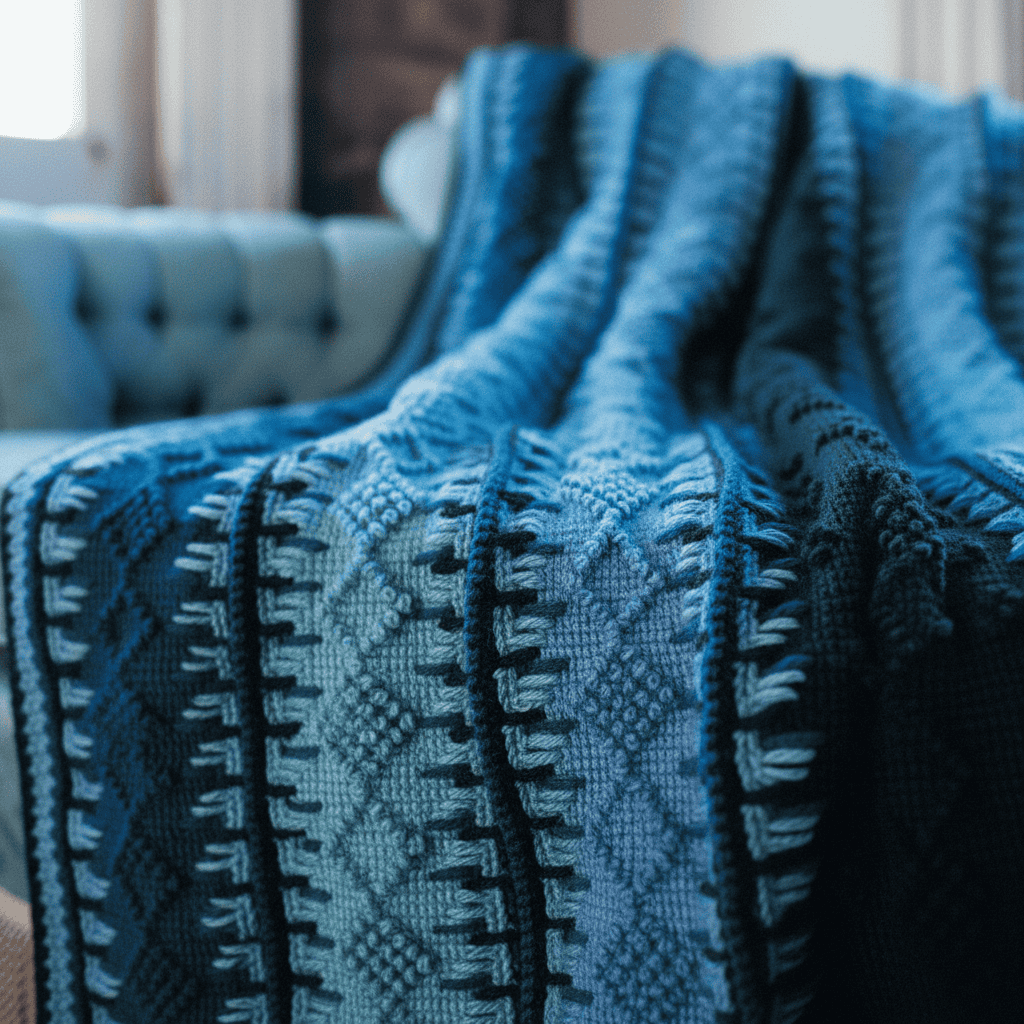
Elevate your crochet game with this Free Timeless Texture Crochet Blanket Pattern! Featuring rich Tunisian stitches and elegant colorwork, this blanket creates a cozy, modern look that’s perfect for home décor or gifting.
You can find the free pattern below, or you can purchase the ad-free printable PDF from my shop.
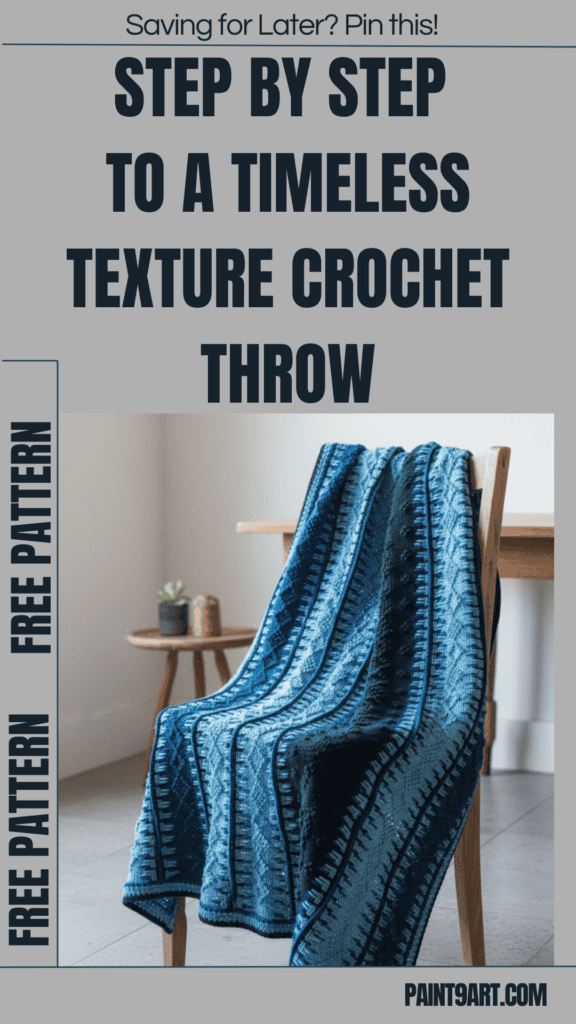
Size & Skill Level
- Skill Level: Intermediate
- Finished Size: Approx 54″ x 75″ (137 cm x 190.5 cm)
Gauge
17 Tss + 14 rows = 2″[5 cm] using size G-6 (4mm) crochet hook.
Materials Needed
- Yarn: Medium Weight 4
- Red Heart® Super Saver® (364 yds / 333 m per skein)
- Contrast A: Dark Sage – 5 balls
- Contrast B: Country Blue – 4 balls
- Contrast C: Light Sage – 4 balls
- Contrast D: Windsor Blue – 4 balls
- Size U.S. G/6 (4 mm) Tunisian/Afghan hook and G/6 (4 mm) crochet hook or size needed to obtain gauge. Yarn needle.
You can find the free pattern below, or you can purchase the ad-free printable PDF from my shop.
Abbreviations
- Ch = Chain(s)
- Beginning cluster (beginning cl) = Ch 2, yo, insert hook in ame sp as joining, yo and draw up a lp to height of ch-2, yo and draw through all lps on hook.
- Beginning joint st = ch 2, skip next st, yo, insert hook in next st, yo and draw up a lp to height of ch-2, yo and draw through all lps on hook.
- Cluster (cl) = [yo, insert hook in specified st, yo and draw up a lp to height of ch-2] twice, yo and draw through all lps on hook.
- Dc = Double crochet
- Long dc = Yo, insert hook under specified st, yo and draw up a lp to height of row in work, [yo and draw through 2 lps on hook] twice.
- Lp(s) = Loop(s)
- Sc = Single crochet
- Sk = Skip
- Sl st = Slip stitch
- St(s) = Stitch(es)
- Tss (Tunisian simple stitch) = One row of Tunisian simple stitch is worked in two steps as follows:
- Forward Pass (step 1): Sk first vertical bar; *insert hook under next vertical bar, yo and draw up a lp; repeat from * across.
- Joint st = Yo, insert hook in same st where last lp was drawn up, yo and draw up a lp to height of ch-2, sk next st, yo, insert hook in next st, yo and draw up a lp to height of ch-2, yo and draw through all 5 lps on hook.
- Return Pass (step 2): Yo and draw through one lp on hook; *yo and draw through 2 lps on hook; repeat from * until only one lp remains on hook (one row of Tss complete).
- Yo = Yarn over
You can find the free pattern below, or you can purchase the ad-free printable PDF from my shop.
Instructions
Notes:
- Chart shows Tss return pass of each row only.
- Each vertical line on each row on chart represents a vertical bar of an afghan st.
- Each dot on chart represents ch-3 for picot.
Center Panel
With A and afghan hook, ch 40.
1st row: Insert hook in 2nd ch from hook, yo and draw up a lp; *insert hook in next ch, yo and draw up a lp; repeat from * across – 40 lps on hook. Work Tss return pass – 40 Tss.
2nd to 5th rows: Work Tss forward pass and return pass.
6th row: Work Tss forward pass – 40 lps on hook. For Tss return pass: yo and draw through one lp on hook, [yo and draw through 2 lps on hook] 19 times; ch 3 to be formed into picot on forward pass of next row; [yo and draw through 2 lps on hook] 20 times – 39 Tss and 1 Tss with picot.
7th row: Work Tss forward pass, holding ch-3 lp toward front to form picot – 40 lps on hook. For Tss return pass: yo and draw through one lp on hook, [yo and draw through 2 lps on hook] 18 times; ch 3 for picot, [yo and draw through 2 lps on hook] twice; ch 3 for picot, [yo and draw through 2 lps on hook] 19 times – 38 Tss and 2 Tss with picots.
Follow each row on chart from A to D. Working Tss forward pass as before and starting with 8th row of chart for Tss return pass, follow chart until Tss return pass of row 23 is completed, then repeat rows 6th to 23rd twelve times more, rows 6th to 14th once and 2nd row five times more.
Last Row: Sk first vertical bar, sl st in next vertical bar and in each vertical bar across. Fasten off.
Narrow Panels
(make 2 panels each with B, C and D)
With appropriate color yarn and afghan hook, ch 20.
1st row: Insert hook in 2nd ch from hook, yo and draw up a lp; *insert hook in next ch, yo and draw up a lp; repeat from * across – 20 lps on hook. Work Tss return pass – 20 Tss.
2nd to 5th rows: Work Tss forward pass and return pass.
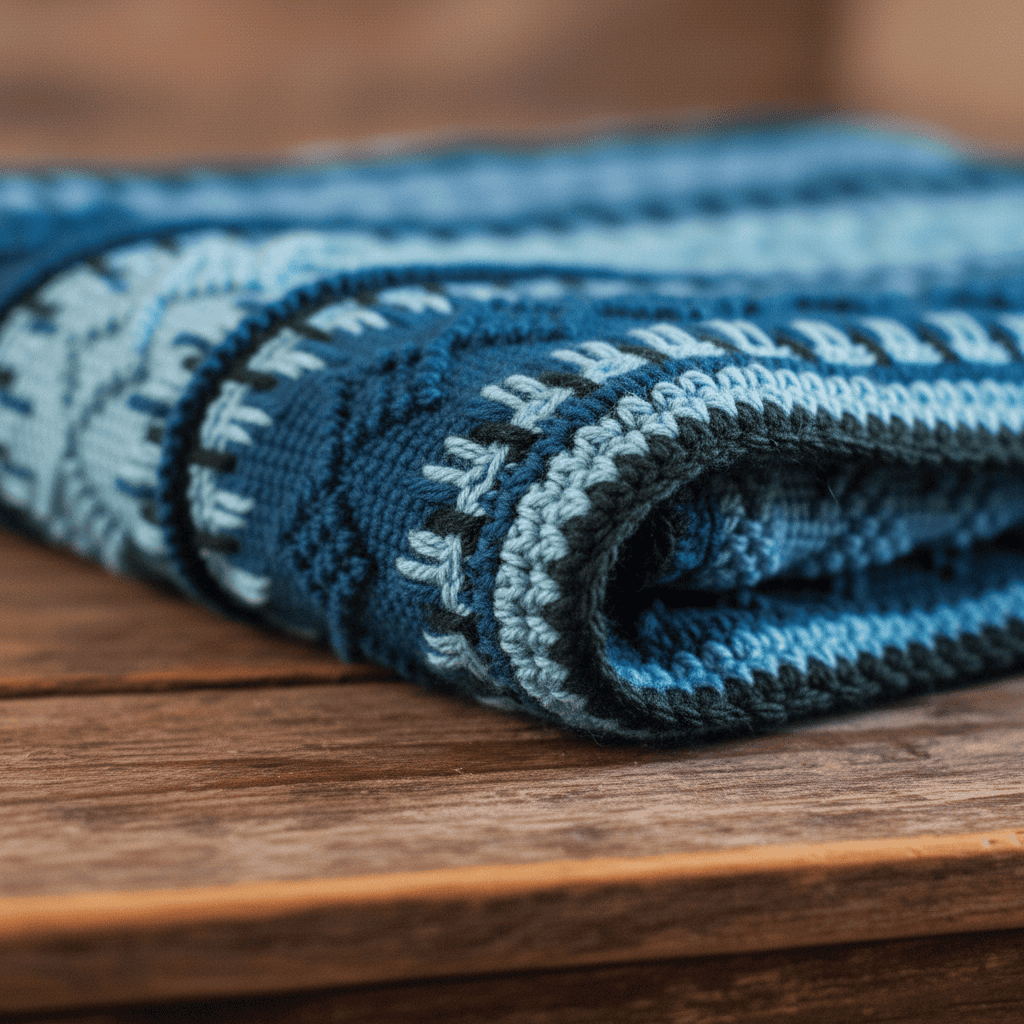
6th row: Work Tss forward pass – 20 lps on hook. For Tss return pass: yo and draw through one lp on hook, [yo and draw through 2 lps on hook] 9 times; ch 3 to be formed into picot on forward pass of next row; [yo and draw through 2 lps on hook] 10 times – 19 Tss and 1 Tss with picot.
7th row: Work Tss forward pass, holding ch-3 lp toward front to form picot – 20 lps on hook. For Tss return pass: yo and draw through one lp on hook, [yo and draw through 2 lps on hook] 8 times; ch 3 for picot, [yo and draw through 2 lps on hook] twice; ch 3 for picot, [yo and draw through 2 lps on hook] 9 times – 18 Tss and 2 Tss with picots.
Follow each row on chart from B to C. Working Tss forward pass as before and starting with 8th row of chart for Tss return pass, follow chart until Tss return pass of 23rd row is completed, then repeat rows 6th to 23rd twelve times more, rows 6th to 14th once and 2nd row five times more.
Last Row: Sk first vertical bar, sl st in next vertical bar and in each vertical bar across. Fasten off.
Panel Border
1st row: With crochet hook and right side facing, join D with sl st in lower-right-hand corner of any panel; working across long edge, ch 1, sc in corner, sc in end st of next row; *long dc under 4th afghan st bar below next end st; sk end st behind long dc, sc in end st of next 3 rows; repeat from * across, ending with sc in end st of last 2 rows – 253 sts. Fasten off. Do not turn.
2nd row: With right side facing, join C with sl st in first sc, ch 1, sc in back lp of same sc, sc in back lp of next 2 sts; *long dc under 3rd afghan st bar below next st, sk st behind long dc, sc in back lp of next 3 sts; repeat from * across, ending with sc in back lp of last 5 sts. Fasten off. Do not turn.
3rd row: With right side facing, join B with sl st in first sc, ch 1, sc in back lp of same sc, sc in back lp of next 3 sts; *long dc under 2nd afghan st bar below next st, sk st behind long dc, sc in back lp of next 3 sts; repeat from * across, ending with sc in back lp of last 4 sts. Fasten off. Do not turn.
4th: With right side facing, join A with sl st in first sc, ch 1, sc in back lp of same sc, sc in back lp of next 4 sts; *long dc under first afghan st bar below next st, sk st behind long dc, sc in back lp of next 3 sts; repeat from * across. Fasten off.
Work 1st to 4th rows of Panel Border across other long edge of same panel. Work Panel Border on
both long edges of each remaining panel
Joining
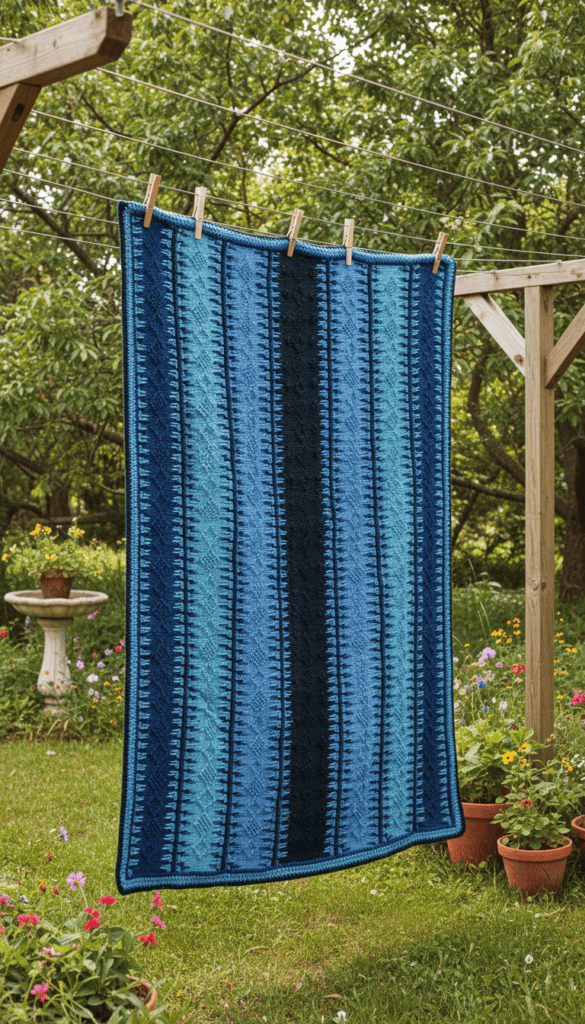
With lower edge of each panel at same end and right sides facing, join panels along long edges in following order: D, C, B, A, B, C, D.
To join panels: Place first two panels side by side. Join D with sl st in lower-right-hand corner of first panel. Working loosely throughout, sl st in back lp of same st as joining; *sl st in back lp of corresponding st on second panel, sl st in back lp of next st on first panel; repeat from * across. Fasten off.
Edging
1st rnd: With crochet hook and right side facing, join D with sl st in upper-right-hand corner; working in sts of Panel Border and in end sts of rows along narrow edge; work beginning joint st, ch 1; *work joint st, ch 1; repeat from * across to next corner; work cl in corner, ch 1; repeat from * around, working joint sts in back lp of sts along Panel Border. Join with sl st in top of beginning joint st. Fasten off.
2nd rnd: Join C with sl st in last ch-1 sp made; work beginning cl; ch 1; work joint st in same sp where last lp was drawn up and in next ch-1 sp; ch 1; repeat from * across to next corner, working end of last joint st in ch-1 sp before next cl; work cl in same sp where last lp was drawn up, ch 1, joint st in same sp where last lp was drawn up and in next ch-1 sp for corner, ch 1*; cl in same sp where last lp was drawn up, ch 1; repeat from * around, ending final repeat at **. Join with sl st in top of beginning cl. Fasten off.
3rd rnd: With B, work same as 2nd rnd.
4th rnd: With A, work same as 2nd rnd.
Finishing
Weave in all ends.
Conclusion
This Timeless Texture Crochet Blanket is a true statement piece that blends classic Tunisian techniques with modern texture. It’s a rewarding project that results in a cozy, heirloom-quality blanket you’ll cherish for years.