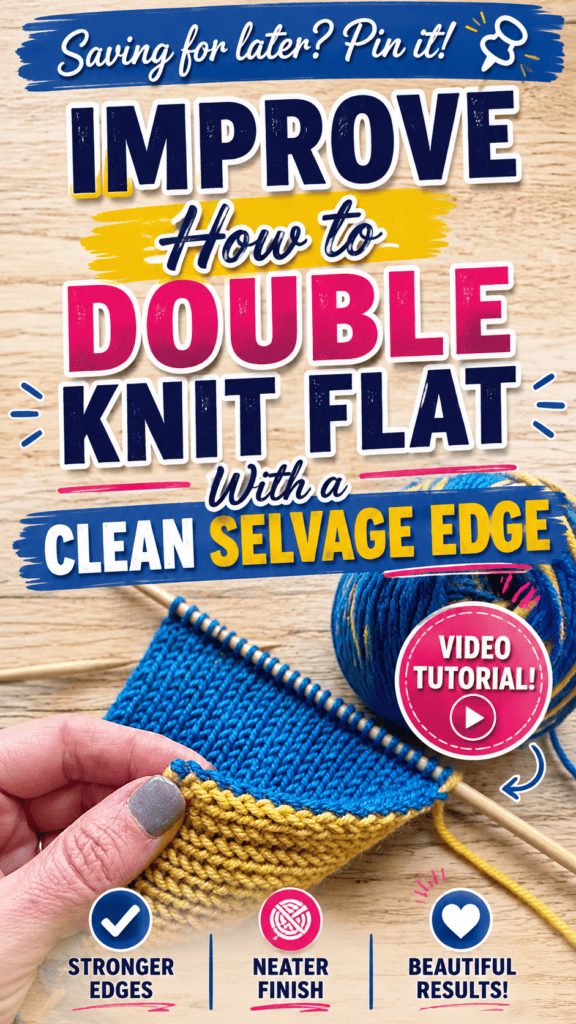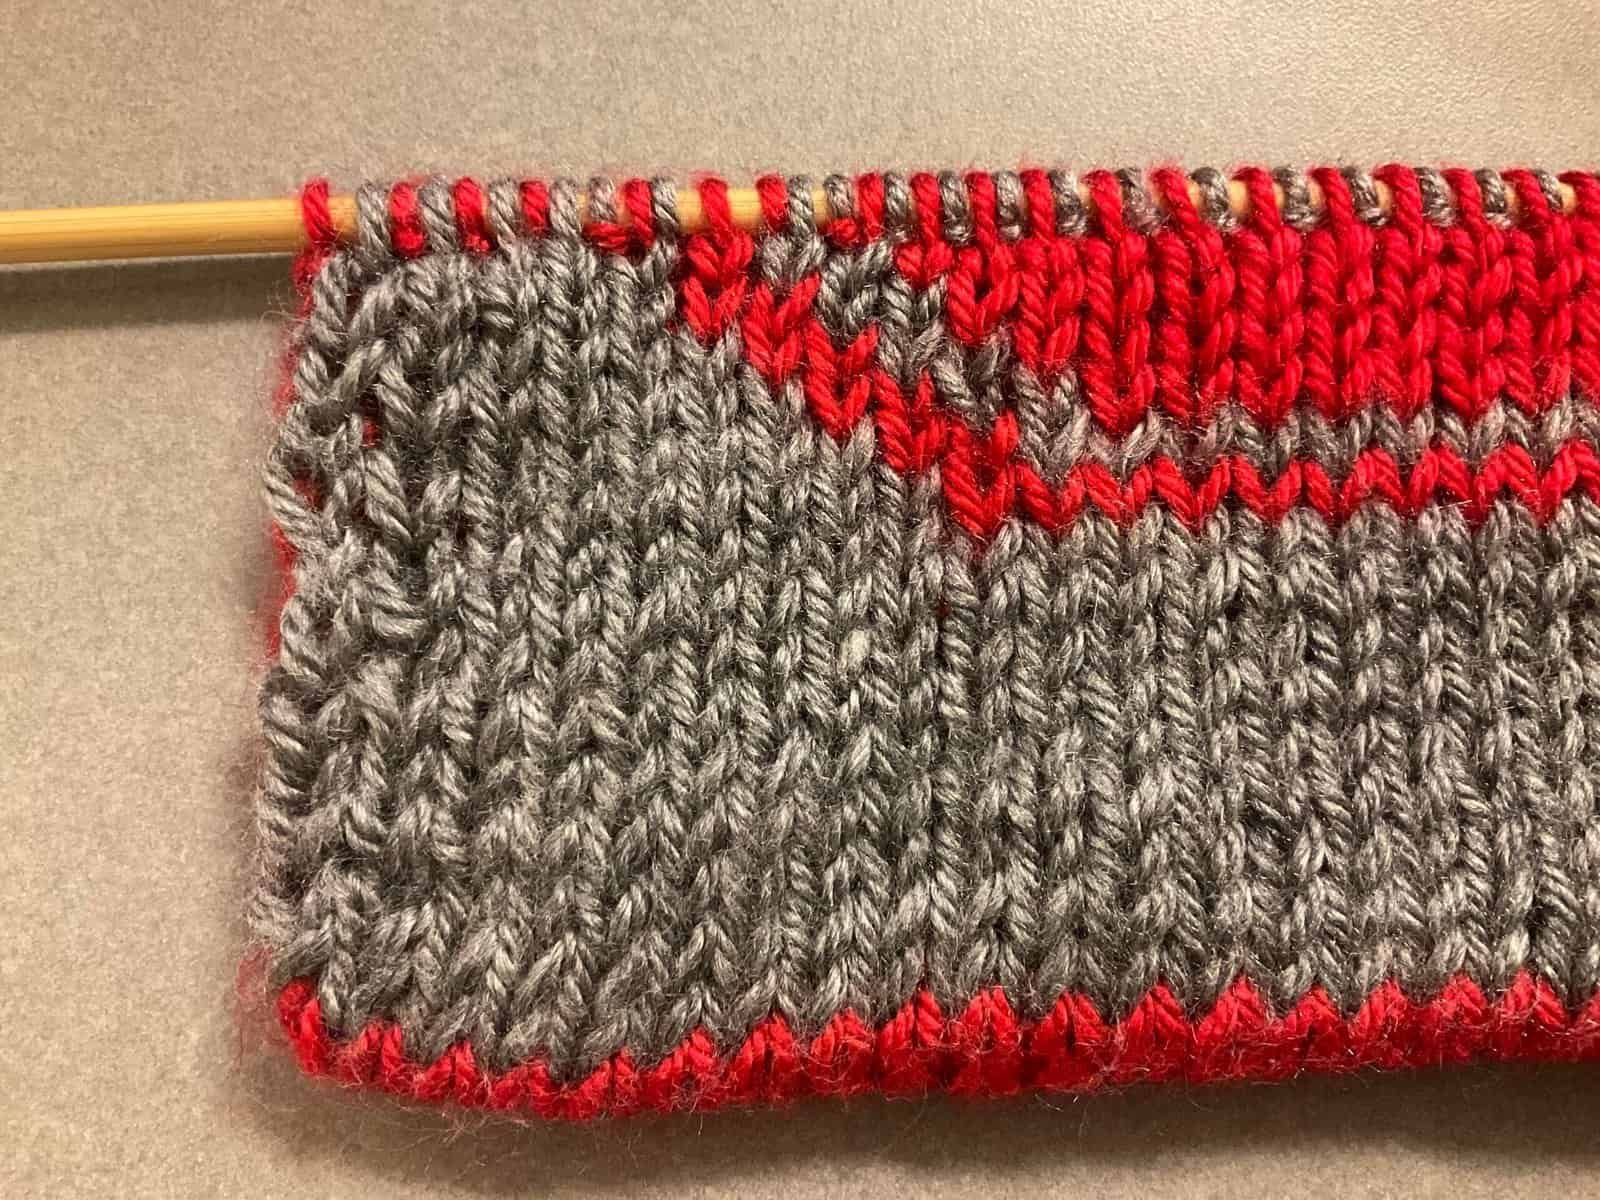
Double knitting creates a fabric with two distinct sides at the same time, often with one color showing on one face and another color on the reverse. The result can look polished and impressive, but knitting double fabric flat introduces one important challenge: the two layers need to stay separate in the middle while still being connected neatly along the edges.
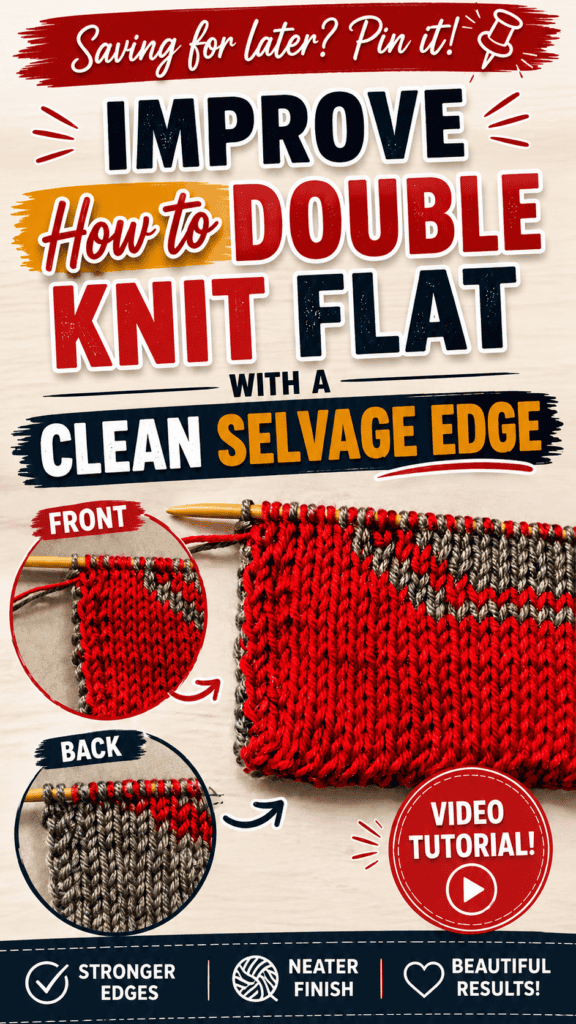
In her tutorial, Jaclyn from Jacq Knits explains how to handle that challenge step by step. She covers a simple double knitting cast-on, the basic knit-and-purl rhythm, how to hold both yarns, and most importantly, how to create a clean selvage edge that connects the two sides of the fabric.
She also finishes with a straightforward bind-off and recommends practicing the full process on a swatch before beginning a larger project.
Why Flat Double Knitting Needs a Special Edge
Jaclyn begins by explaining the structural difference between double knitting in the round and double knitting flat.
When double knitting, the knitter is effectively creating two layers of fabric at the same time. Those layers are not connected through the middle.
When working in the round, that separation is not a major problem. When working flat, however, the two layers must still be joined at the sides.
Without a special edge treatment, the result would be two flaps of fabric that are not connected along the edges.
The Role of the Selvage Stitch
To solve this, Jaclyn uses a special selvage treatment at the beginning and end of every row.
The first pair of stitches is worked differently to twist and connect the two colors.
The last pair of stitches is slipped rather than worked.
Together, those two actions create the neat side connection that makes flat double knitting look finished.
Start With a Double Knitting Cast-On
Jaclyn notes that there are several ways to cast on for double knitting, but she demonstrates a method that closely resembles the long-tail cast-on.
She likes this version because many knitters already know the hand position and basic movement.
Her sample uses two colors, green and pink, held together at the beginning.
Begin With a Temporary Slip Stitch
The two yarns are first joined with a slip stitch and placed on the needle.
Jaclyn emphasizes that this slip stitch does not count toward the stitch total.
Its only purpose is to hold the yarns together while the cast-on is being established.
Later, once the first row is worked, the slip stitch is removed and unraveled.
Cast On in Knit-and-Purl Pairs
Double knitting is worked in pairs of stitches: one knit stitch and one purl stitch.
Because of that, the cast-on is also created in pairs.
Jaclyn first casts on a knit stitch using a movement similar to a long-tail cast-on. She then creates a purl stitch using a reverse-style movement around the finger.
The sequence continues:
Knit stitch, purl stitch, knit stitch, purl stitch.
How to Count Double Knitting Stitches
If a pattern says to cast on 20 stitches for this style of double knitting, Jaclyn explains that this means 20 pairs of stitches.
Again, the initial slip stitch does not count.
The important idea is that every pair represents one stitch for one side of the fabric and one stitch for the opposite side.
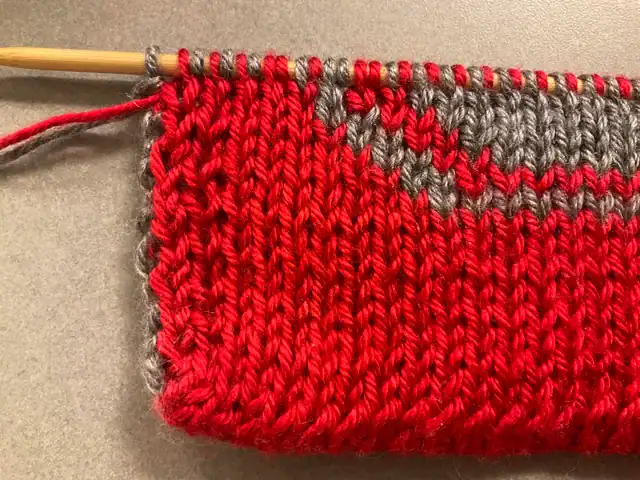
How to Hold Two Yarns for Double Knitting
Once the cast-on is complete, Jaclyn demonstrates how she holds both colors in one hand.
She wraps the yarns around her pinky for stability and then separates the two strands with her middle fingers.
The yarn used for the knit stitch rests on the left side of her index finger, while the yarn used for the purl stitch rests on the right.
This arrangement helps keep the colors organized and makes the alternating rhythm easier to maintain.
The Basic Double Knitting Stitch
On the first side, the green stitch is the knit stitch and the pink stitch is the purl stitch.
The basic pattern is simple:
Knit the green stitch, then purl the pink stitch.
But there is one crucial movement that must happen with both yarns.
Move Both Yarns Together
For a knit stitch, both yarns stay in the back.
Only the green yarn is actually used to form the knit stitch.
Then, before working the purl stitch, both yarns move to the front.
Only the pink yarn is used to purl.
This continues across the row:
Both yarns back, knit one color.
Both yarns front, purl the other color.
Jaclyn compares the rhythm to ribbing because it alternates knit and purl stitches, but the colors are also alternating.
What Happens on the Reverse Side
After the first row, the work is turned.
Now the color roles reverse.
The pink stitch is the knit stitch, and the green stitch is the purl stitch.
The hand position also changes so that the pink yarn is on the left side of the finger and the green yarn is on the right.
The same basic rule still applies:
Both yarns move to the back for knitting and to the front for purling.
This is how the two separate faces of the fabric begin to form.
How to Create the Clean Selvage Edge
Once the basic double knitting rhythm is established, Jaclyn introduces the most important part of flat double knitting: the selvage.
At the beginning of the row, the first knit stitch is worked differently.
Knit the First Stitch Through the Back Loop
Instead of knitting the first stitch normally, Jaclyn knits it through the back loop.
Then both yarns move to the front for the next purl stitch.
But before purling, she uses the needle to reposition the knit-color yarn around the purl-color yarn.
This creates the twist that connects the two fabric layers at the edge.
Twist the Yarns Before Purling
Jaclyn inserts the needle as if to purl, pauses, and uses the needle tip to move the other yarn underneath and to the opposite side.
She then purls the stitch normally.
That movement traps the previous color and creates the edge connection.
After this first pair, the row continues in regular double knitting.
Slip the Final Pair of Stitches
The last pair of stitches is not worked.
With both yarns in the back, Jaclyn slips the knit-color stitch purlwise.
Then both yarns are moved to the front, and the purl-color stitch is also slipped purlwise.
That is how every row ends.
Repeat the Same Edge Treatment on Every Row
After turning the work, the same process is repeated with the opposite colors.
The first knit stitch is worked through the back loop.
The yarns are twisted before the first purl stitch.
The middle of the row is worked normally.
The final pair is slipped.
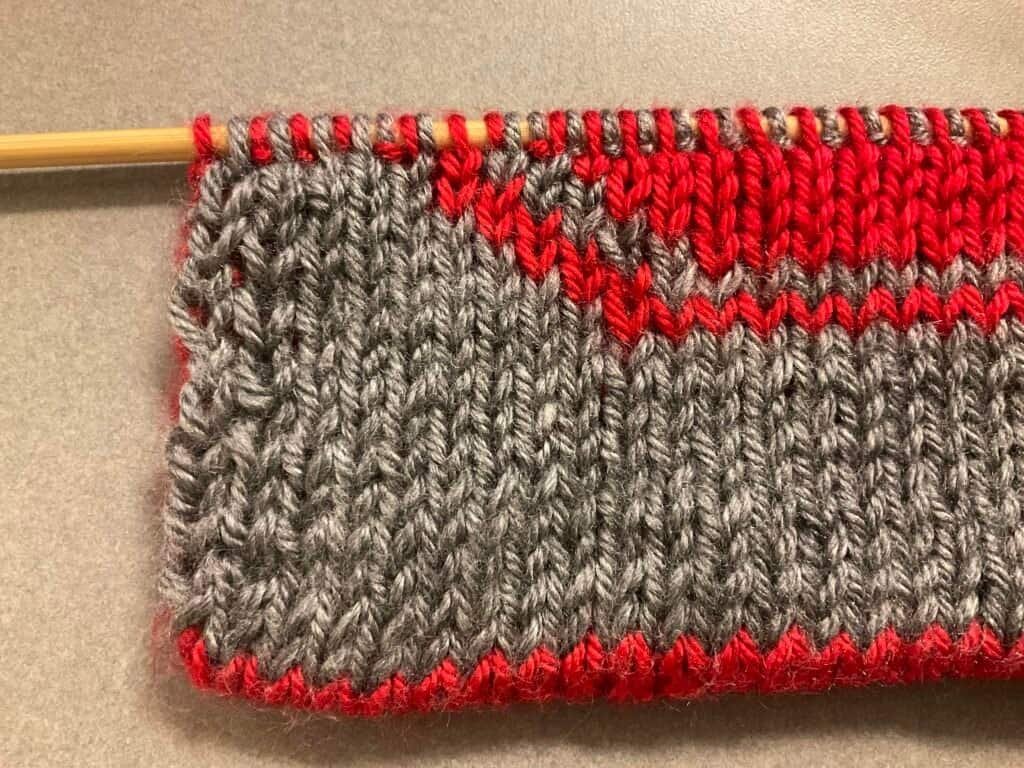
Once several rows have been completed, Jaclyn shows that the edges form a clean single column of stitches and the two fabric layers are connected neatly.
How to Tell If the Selvage Is Working
Jaclyn compares the section worked with the special selvage to the earlier rows where she ignored the edge treatment.
The difference is easy to see.
Where the special edge was not used, there is a visible opening along the side because the two fabric layers are not connected.
Where the selvage technique was added, the edge is closed and tidy.
She explains that a single neat row of edge stitches on each side is a good sign that the method is being worked correctly.
A Simple Double Knitting Bind-Off
To finish the swatch, Jaclyn demonstrates a basic bind-off.
For this section, the special selvage treatment is no longer used.
She simply works the stitches according to their type and binds them off one at a time.
Knit, Purl, and Pass Over
She knits the first stitch and purls the next.
Once two stitches are on the right needle, the first stitch is passed over the second.
The next stitch is worked according to whether it is a knit or purl stitch, and the previous stitch is passed over again.
When working a purl stitch, both yarns move to the front. Before passing the previous stitch over, both yarns are moved back again.
This continues until the final stitch is bound off.
The yarn is then cut and pulled through the last loop.
The resulting bind-off shows both colors and visually relates to the two-color cast-on edge.
Practice Before Starting a Larger Project
Jaclyn strongly recommends making a small swatch before attempting a full double knitting project.
There are several movements to become comfortable with:
The cast-on, alternating knit and purl stitches, holding both yarns, moving both strands together, creating the selvage twist, and slipping the final pair of stitches.
Focus on Tension and Edge Consistency
A practice swatch also gives the knitter time to improve tension.
Because both sides of the fabric are being created at once, consistent yarn control makes a noticeable difference.
Jaclyn encourages knitters to practice until the selvage edges are connecting correctly and the fabric has the appearance they want.
Conclusion
Flat double knitting is built around a simple concept: two layers of fabric are created at the same time, with alternating knit and purl stitches forming opposite-colored sides.
The challenge is keeping those layers separate through the center while connecting them cleanly at the edges.
In Jacq Knits’ method, that connection comes from a specific selvage routine. The first knit stitch is worked through the back loop, the yarns are repositioned before the first purl stitch, and the final pair of stitches is slipped.
Combined with a paired cast-on, careful two-yarn handling, and a simple bind-off, the technique creates a clean double-sided piece with neat connected edges.
For knitters new to double knitting, Jaclyn’s strongest recommendation is straightforward: practice on a swatch first. Once the cast-on, yarn handling, and selvage movements become familiar, a full flat double knitting project becomes much easier to approach with confidence.