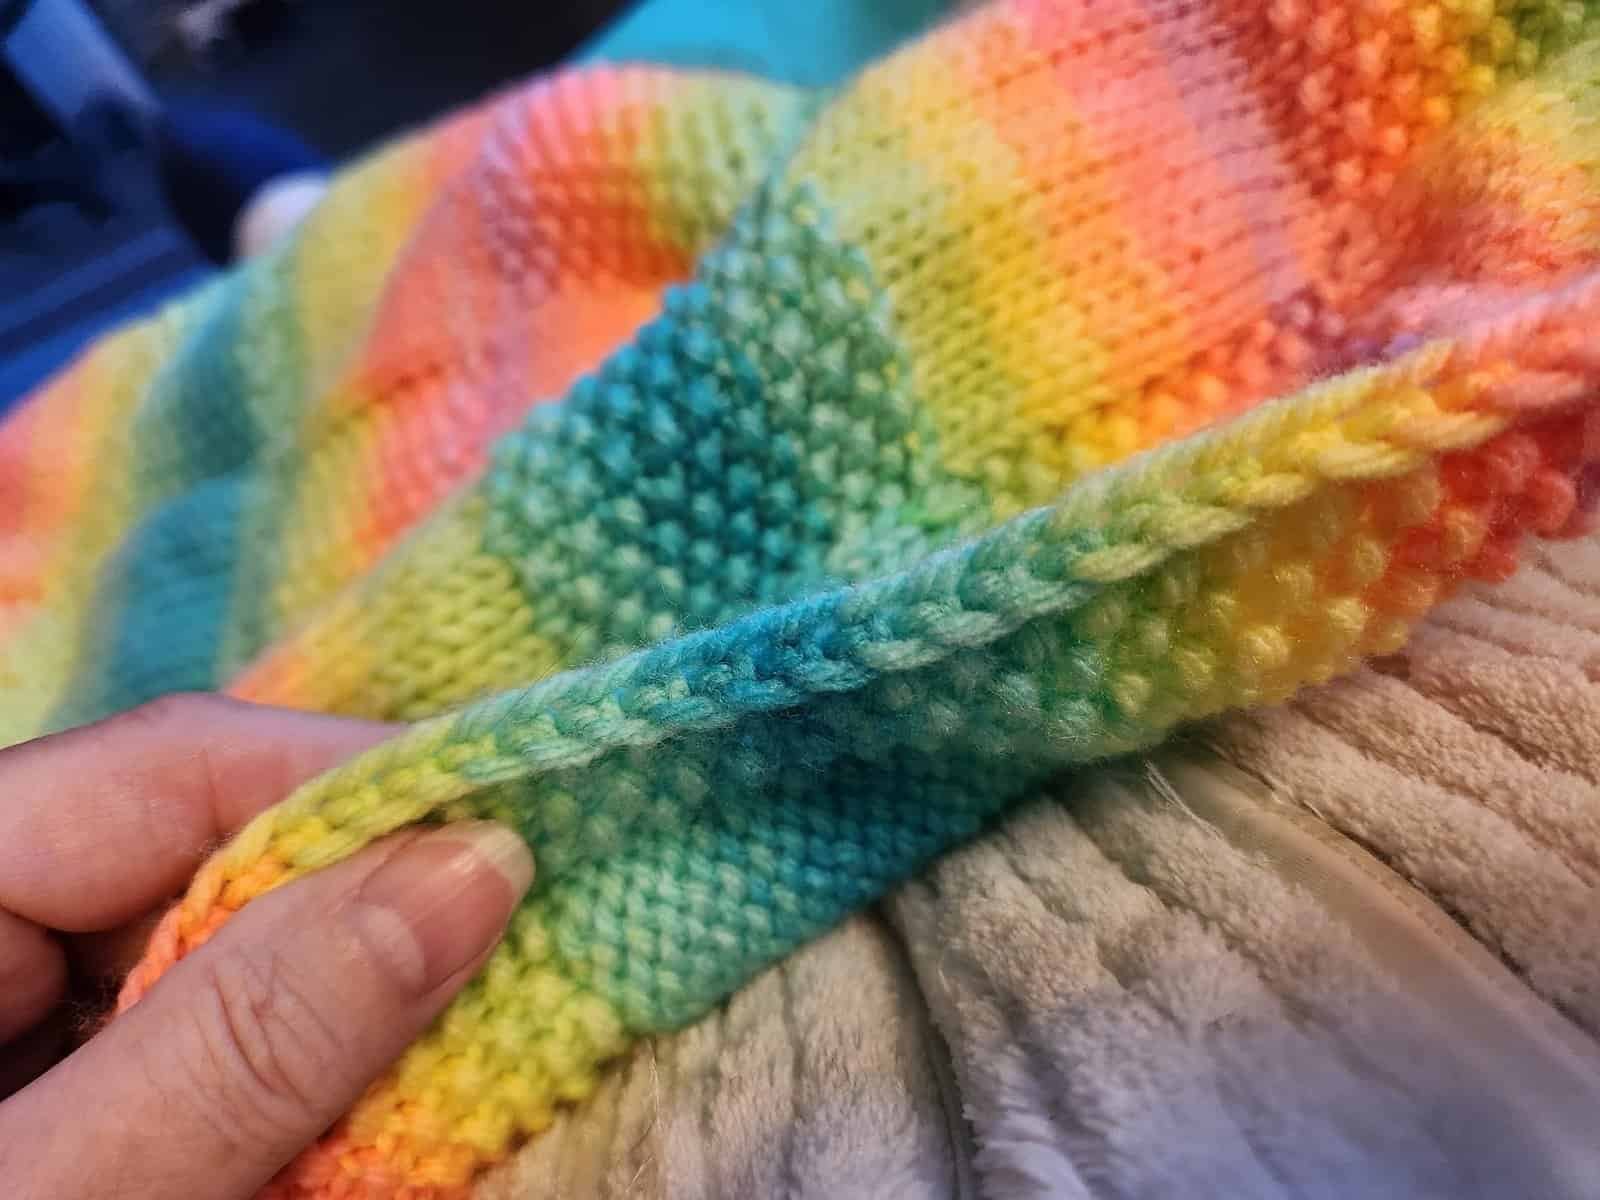
A neat edge can make a surprisingly big difference in the appearance of a knitted project. Even when the stitch pattern itself looks beautiful, bumpy or irregular sides can make the finished piece feel less polished.

In her tutorial, Jacqueline from Jacq Knits demonstrates a simple selvage method that creates clean, consistent edges on flat knitting projects. According to Jacqueline, the technique can be used with different yarn weights and a wide range of stitch patterns, including garter stitch, seed stitch, and ribbing.
The method is based on treating the first and last stitch of every row in a specific, repeatable way. Once the sequence becomes familiar, it can become an easy addition to everyday flat knitting.
Why Clean Knitting Edges Matter
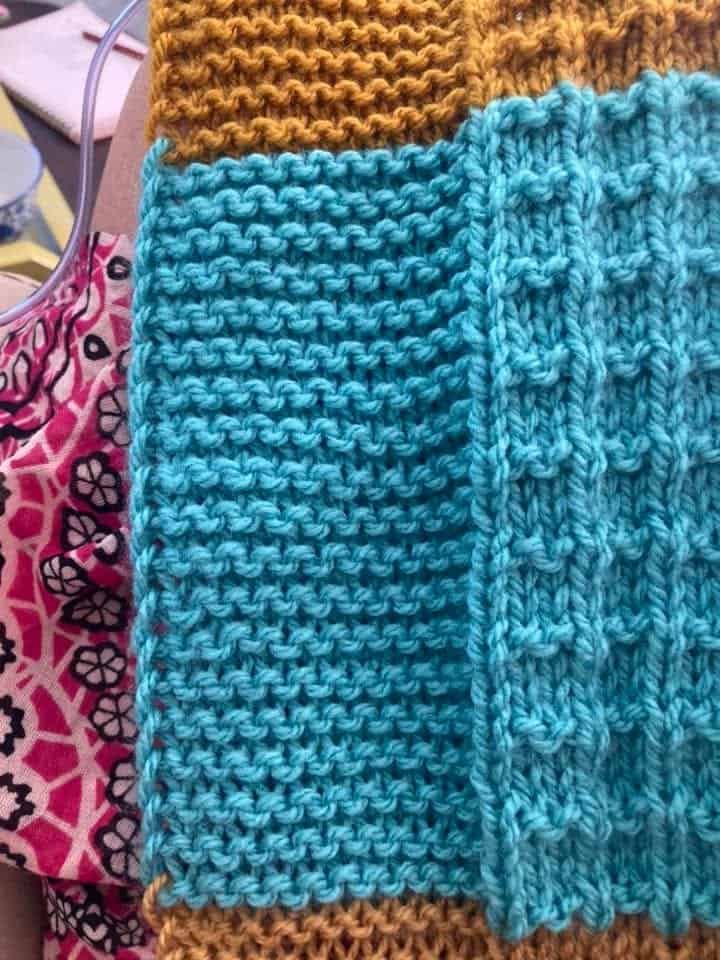
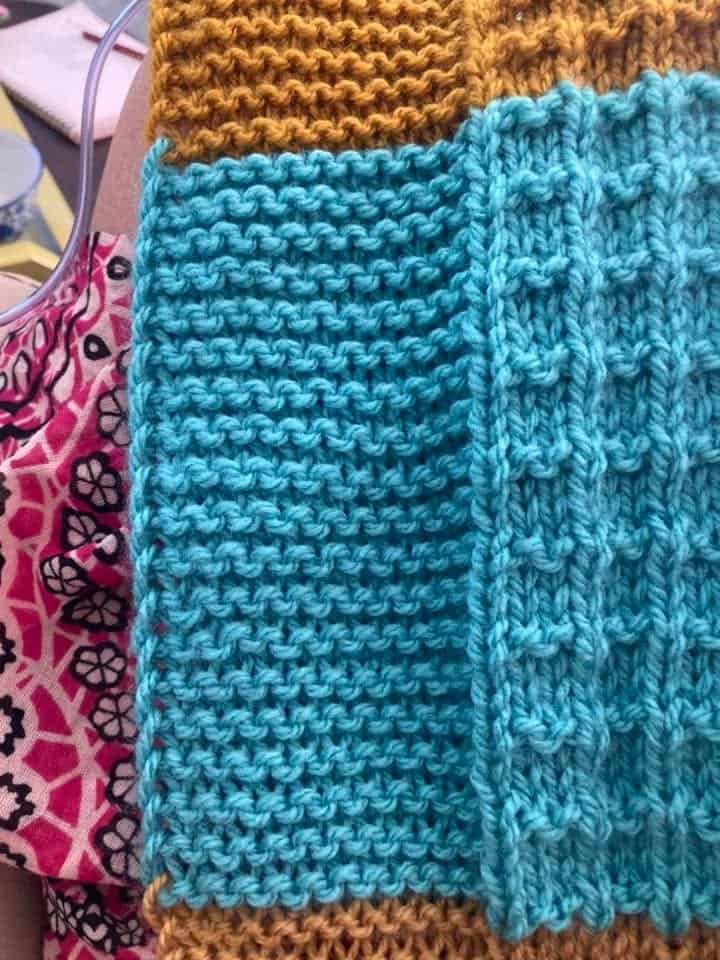
Jacqueline begins by comparing swatches worked with and without the special edge treatment.
The swatches using the method have smooth, clearly defined side edges. By comparison, the untreated edge looks more uneven and slightly scraggly.
That irregular look is not necessarily wrong. Some knitters may even prefer it depending on the project.
However, when the goal is a crisp, professional-looking finish, Jacqueline recommends using the selvage method.
The Method Works With Different Stitch Patterns
One of the useful features of this technique is that it is not limited to a single knitting pattern.
Jacqueline shows examples worked in:
Garter stitch, seed stitch, and ribbing.
The selvage treatment remains the same even though the stitches in the center of the row change.
That means the knitter can continue following the main pattern instructions while handling only the first and last stitch differently.
Add Two Extra Stitches to Your Cast-On
Before using this edge treatment, Jacqueline recommends adding two stitches to the number required for the main pattern.
One extra stitch is reserved for the beginning of the row.
The other extra stitch is reserved for the end.
These two stitches create the selvage and are handled independently from the central stitch pattern.
Keep the Main Pattern Between the Edge Stitches
For example, if the center of the project is worked in garter stitch, seed stitch, ribbing, or another pattern, those instructions continue normally between the two selvage stitches.
Only the first and last stitches follow the special edge sequence.
This makes the technique easy to apply without changing the structure of the main fabric.
The Four-Step Selvage Pattern
Jacqueline’s method can be summarized with four actions, depending on whether the knitter is working a right-side or wrong-side row.
On the right side:
The first stitch is knitted.
The final stitch is slipped knitwise with the yarn held in back.
On the wrong side:
The first stitch is purled.
The final stitch is slipped purlwise with the yarn held in front.
These four actions are repeated consistently throughout the project.
How to Work the Right-Side Row
Jacqueline demonstrates the method using a garter-stitch swatch.
She first identifies the right side of the work.
Because garter stitch looks similar on both sides, she uses the cast-on tail as a reference. In her example, the tail is positioned at the end where she begins knitting the right-side row.
Knit the First Stitch
At the beginning of every right-side row, the first stitch is simply knitted.
After that, the knitter continues across the row using whatever stitch pattern the project requires.
In the demonstration, that means knitting every stitch because the sample is worked in garter stitch.
Slip the Final Right-Side Stitch Knitwise
When only one stitch remains on the right-side row, Jacqueline does not work it normally.
Instead, she keeps the working yarn in the back and slips the final stitch knitwise.
The stitch is transferred from the left needle to the right needle without being worked.
Jacqueline describes this movement as giving the stitch a slight twist.
Once that stitch has been slipped, the right-side row is complete.
How to Work the Wrong-Side Row
After turning the work, the knitter begins the wrong-side row.
Again, Jacqueline identifies the side by looking at the location of the cast-on tail in her garter-stitch example.
Purl the First Stitch
At the beginning of every wrong-side row, the yarn is brought to the front and the first stitch is purled.
Only that first stitch is treated this way.
The knitter then continues with the main stitch pattern.
For Jacqueline’s garter-stitch swatch, she goes back to knitting every stitch across the row.
Slip the Final Wrong-Side Stitch Purlwise
When the last stitch of the wrong-side row is reached, the yarn is moved to the front.
The final stitch is then slipped purlwise.
The stitch is transferred to the right needle without being worked.
That completes the wrong-side row.
The sequence then starts again on the next right-side row.
The Pattern Becomes Easy to Remember
Jacqueline emphasizes that the method becomes very natural after only a few rows.
The sequence remains consistent:
Right Side
Knit the first stitch.
Work the main pattern.
Slip the final stitch knitwise with the yarn in back.
Wrong Side
Purl the first stitch.
Work the main pattern.
Slip the final stitch purlwise with the yarn in front.
Because the same actions repeat row after row, knitters do not need to continually rethink the edge treatment once the rhythm becomes familiar.
Why This Selvage Creates a Cleaner Finish
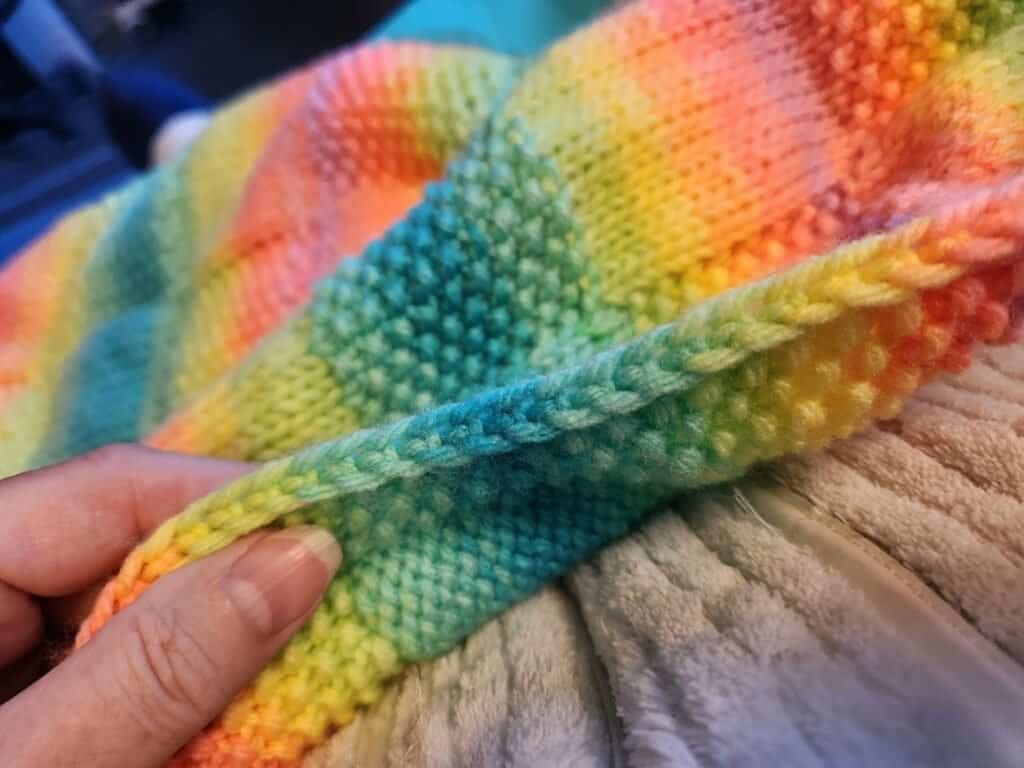
The repeated treatment of the first and last stitch produces a more structured-looking side edge than working every stitch normally.
Jacqueline shows that the resulting edge appears smooth, crisp, and consistent.
The effect can make a simple flat knitted piece look more finished.
This is especially helpful when the sides of the knitting will remain visible in the final project.
Clean Edges Can Also Help With Seaming
The method has another benefit beyond appearance.
Jacqueline explains that clean selvage edges can make it easier to seam flat knitted pieces together later.
A Better Edge for Picking Up Seaming Stitches
When two knitted panels need to be joined, a consistent edge gives the knitter a clearer place to work into.
Instead of trying to pick up stitches along a bumpy or irregular side, the knitter has a cleaner line available for seaming.
That makes the method particularly useful for flat pieces that will eventually be assembled into a larger project.
Use the Same Edge Treatment With Other Stitches
Although Jacqueline demonstrates the process on garter stitch, she repeatedly stresses that the same approach can be used with other stitch patterns.
The center of the fabric can be worked according to the pattern while the first and last stitch retain their dedicated edge treatment.
She specifically shows that the technique can produce clean sides on seed stitch and ribbing as well.
Yarn Size Does Not Change the Basic Method
Jacqueline also states that the technique works with different yarn sizes.
The core sequence remains unchanged.
What matters is reserving one stitch on either side and treating those stitches consistently on right-side and wrong-side rows.
Consistency Is the Key
The success of this method depends less on complexity and more on repetition.
Each right-side row begins and ends the same way.
Each wrong-side row does the same.
Because those edge stitches are treated predictably, the side of the fabric develops a uniform appearance as the project grows.
Jacqueline presents the technique as a small adjustment that can noticeably improve the overall finish of a knitted piece.
Conclusion
Creating clean knitting edges does not require a complicated border or an entirely different stitch pattern.
In Jacq Knits’ method, the improvement comes from reserving one stitch at each side of the work and treating those edge stitches consistently.
On right-side rows, the first stitch is knitted and the last stitch is slipped knitwise with the yarn in back. On wrong-side rows, the first stitch is purled and the last stitch is slipped purlwise with the yarn in front.
The main stitch pattern continues normally between those edge stitches.
Jacqueline demonstrates that this simple technique can work with garter stitch, seed stitch, ribbing, different yarn sizes, and other flat knitting patterns. It can also create a cleaner foundation when pieces need to be seamed together later.
For knitters who prefer a smooth, tidy, professional-looking finish, this small change can make the edges of a project look noticeably more refined.