
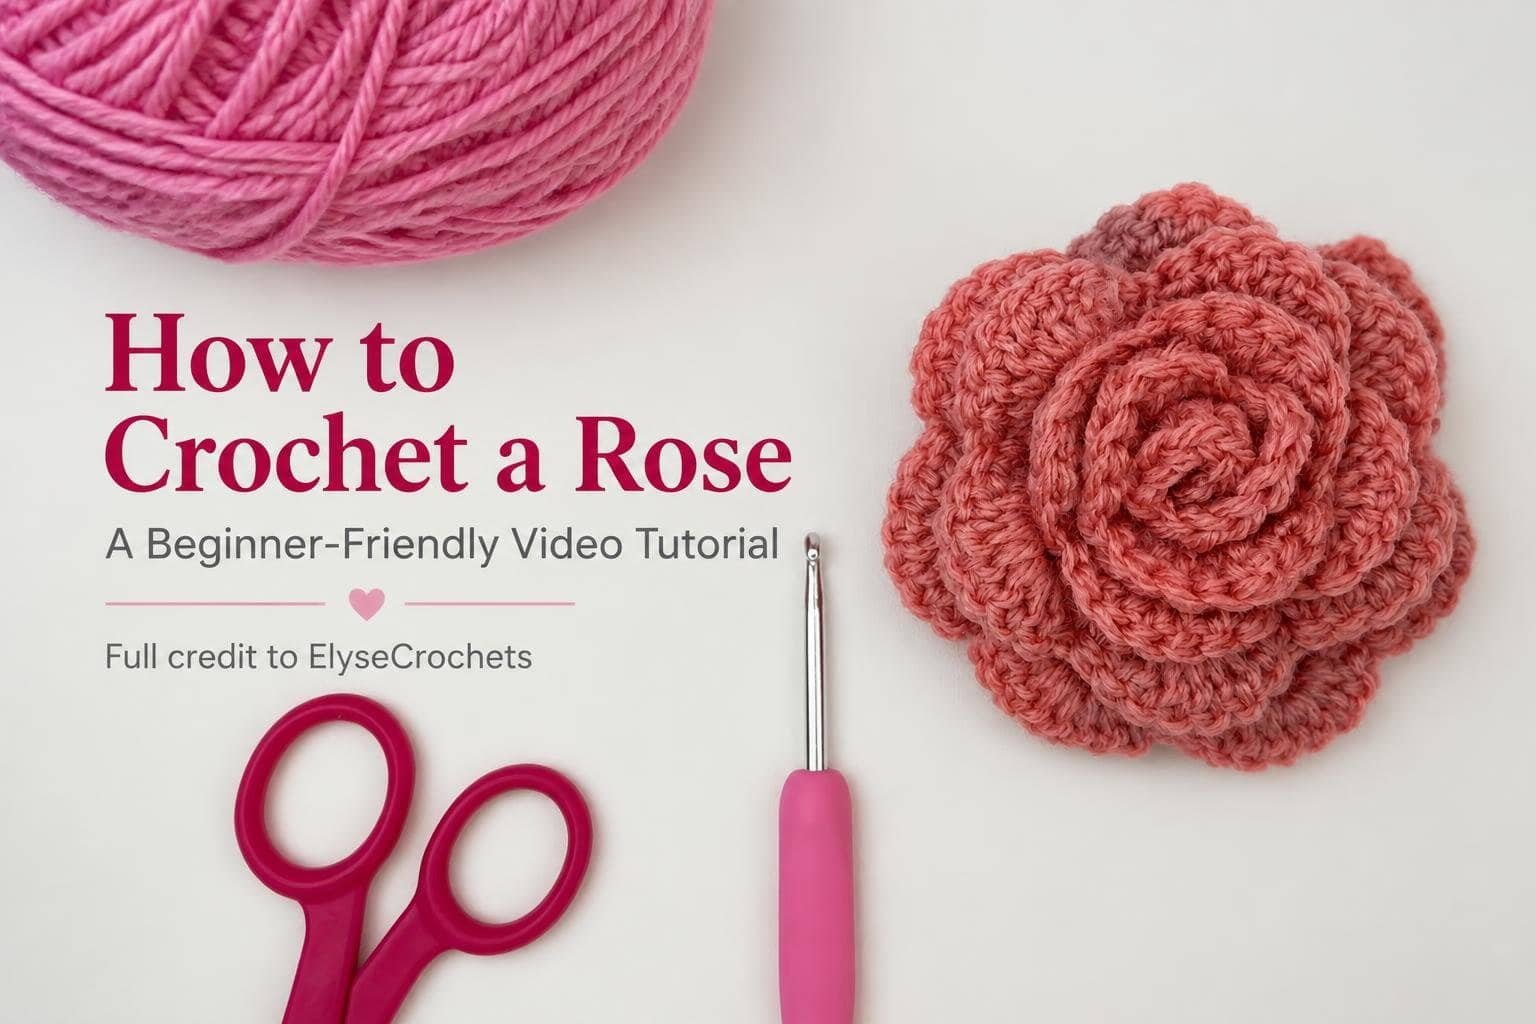
ElyseCrochets demonstrates a crochet rose that begins as a long strip and becomes a flower when rolled into shape. The tutorial introduces the stitches as they appear, making the process approachable for beginners while showing the details that determine the finished flower’s appearance.
Three rows build the foundation and petals, followed by a choice between a compact rose and a more open bloom. The finished flower can stand alone or become part of another crochet project.
A Rose Built from a Crochet Strip
The flower takes shape in two stages. First, ElyseCrochets works back and forth along a foundation chain, creating a strip with a repeating petal edge. Then the strip is rolled, arranged, and secured across its base. The rose does not emerge as a complete flower during the crochet rows; its final shape comes from the assembly that follows.
This distinction explains why the work initially looks quite different from a rose. The early rows establish spaces and groups of stitches. The last row adds rounded sections along the strip, and those sections become the visible petals when the fabric is rolled.
Materials in the Demonstration
ElyseCrochets starts with worsted-weight acrylic or cotton yarn, a 4 mm crochet hook, and scissors. A tapestry needle is mentioned later as one option for securing the rolled flower. Hot glue is presented as an alternative finishing method.
The tutorial explains chains, double crochet, and single crochet as they are used. Each stitch has a particular role: chains create the foundation and spaces, double crochets build the strip and petal groups, and single crochets separate the rounded petals along the final row.
The Slip Knot and Foundation Chain
The project begins with a slip knot. ElyseCrochets wraps the yarn around two fingers so that the strands cross, then holds the tail in place with a thumb. A finger from the opposite hand moves beneath the first strand and over the second before lifting the second strand into a loop. Tightening that loop completes the knot.
The demonstration repeats this movement before placing the loop on the hook. Pulling the yarn tail brings the loop down around the hook, preparing it for the foundation chain.
A Foundation of 66 Chains
A chain is formed by catching the yarn and pulling it through the loop already on the hook. ElyseCrochets repeats this movement until the foundation contains 66 chains.
The next step begins in the sixth chain from the hook. The artist counts down the chain before working the first double crochet, making the starting position explicit. That opening placement matters because the row begins differently from the repeated V-shaped groups that follow.
Row One Establishes the V-Shaped Spaces
ElyseCrochets works the first double crochet into the sixth chain from the hook. The stitch begins with a yarn over, followed by inserting the hook into the chain and drawing up a loop. With three loops on the hook, the artist pulls yarn through the first two loops, then through the remaining two.
After this opening stitch, the next two chains are skipped. A double crochet is worked into the following chain, then two chains are made, and a second double crochet is placed into the same foundation chain. Those stitches form a V with a chain-two space between its two sides.
The Repeating V Groups
The repeated portion of the row follows the same arrangement: two foundation chains are skipped, and the next chain receives a double crochet, two chains, and another double crochet. Both double crochets belong to the same foundation chain.
ElyseCrochets continues this sequence along the foundation and places the final V in the last chain. The result is a row of open spaces ready for the next stage. The important feature is the opening inside each V, since the following row is worked into those spaces rather than into individual stitch tops.
Row Two Expands the Foundation
At the start of row two, ElyseCrochets makes three chains and turns the work. This chain-three counts as one double crochet. The artist then works a double crochet into the first chain-two space, adds two chains, and places two more double crochets into that same space.
Counting the starting chain-three as a stitch gives the first group two double crochets on each side of a chain-two opening. The opening remains central to the structure, even as the groups become fuller.
Working into Spaces Rather Than Stitch Tops
ElyseCrochets specifically distinguishes the chain-two spaces from the chains themselves and from the tops of the double crochets. The hook goes into the opening beneath the chain-two section.
In each remaining chain-two space, the artist works two double crochets, two chains, and two more double crochets. This repeat continues directly from one space to the next until the row is complete. The final space receives the same four double crochets divided by two chains.
Toward the end of the row, the strip begins to curl. ElyseCrochets notes that this is fine. The work is still a strip at this stage, and the final petal row has yet to be added.
Row Three Creates the Petal Edge
The third row begins with two chains and another turn. Unlike the chain-three at the start of row two, this chain-two does not count as a stitch. ElyseCrochets then works seven double crochets into the first chain-two space.
These seven stitches create a rounded petal section. A single crochet follows in the space between that group and the next chain-two space, separating one petal from the next.
Seven Double Crochets for Each Petal
The artist repeats seven double crochets in every chain-two space, with a single crochet in each intervening space. The repetition gives the strip its scalloped edge: full groups of double crochets alternate with the shorter joining stitches between them.
For the single crochet, ElyseCrochets inserts the hook into the space, catches the yarn, and pulls up a loop. With two loops on the hook, another yarn over is pulled through both loops to complete the stitch.
After the last group of seven double crochets, a final single crochet is worked beneath the end chain shown in the demonstration. The crochet portion is then complete. The piece has a defined petal edge but still needs rolling and securing before it holds the shape of a flower.
Fastening Off Before Shaping the Flower
ElyseCrochets makes one chain, cuts the yarn, and draws the cut end through that chain. Pulling it tight fastens off the strip. The artist then mentions weaving in the yarn tails before showing the rolling stage.
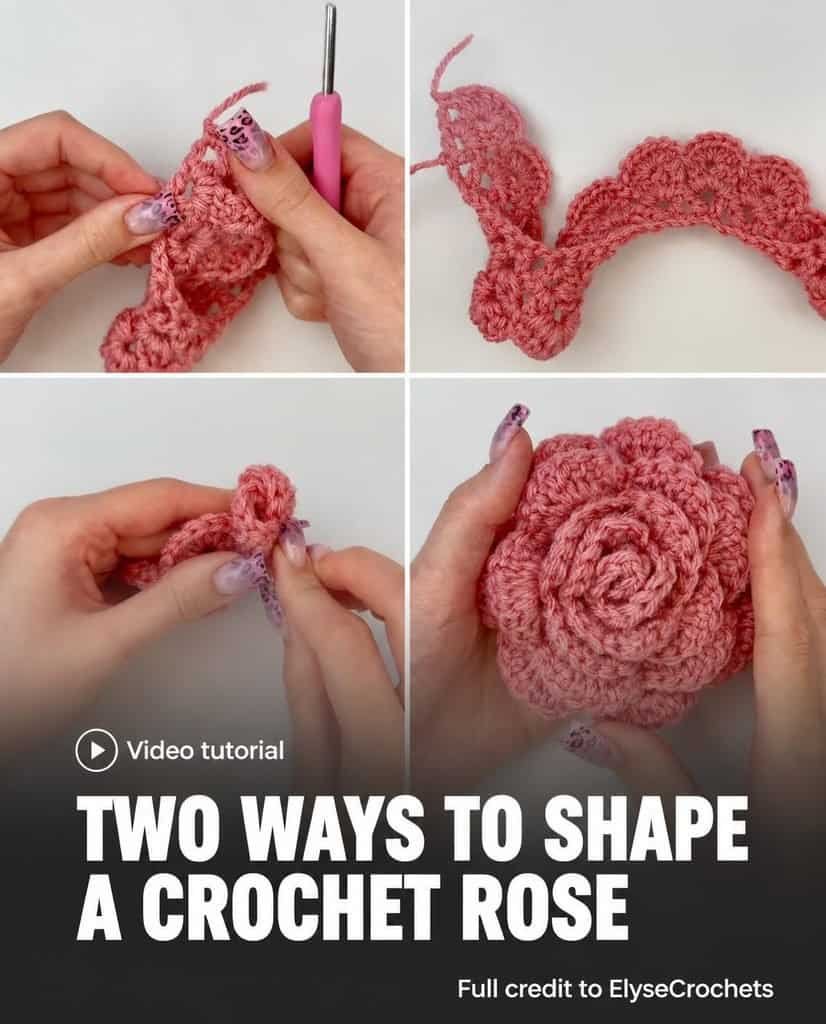
The completed strip makes the construction especially clear. Its petals are already present along the edge; assembly brings them together around a center. The direction in which the strip faces during rolling changes how those petals sit.
Two Rolling Options for Two Rose Shapes
ElyseCrochets demonstrates both orientations using the same crocheted strip. The artist identifies the right side by the visible tops of the stitches along the petal edge. On the wrong side, those stitch tops are not visible in the same way.
Right Side Facing for a Compact Rose
With the right side of the petals facing the artist during rolling, the flower develops a tighter, more condensed appearance. ElyseCrochets rolls the strip into a rose and adjusts the arrangement until satisfied with its shape.
This version gathers the petals closely around the center. The compact result comes from the orientation during assembly, rather than from a different stitch sequence or an additional crochet row.
Wrong Side Facing for an Open Rose
The second option begins with the wrong side of the petals facing the artist. As the strip is rolled, the petals fold outward more, giving the flower a more open appearance.
The demonstration shows that either orientation is acceptable. The choice rests on the preferred look of the finished rose. A single strip therefore provides two shaping possibilities without changing the foundation, stitch groups, or petal count during the crochet work.
Securing the Finished Rose
Once the flower is rolled and arranged, ElyseCrochets presents two ways to hold the layers together. With a tapestry needle, the artist describes sewing across the bottom and passing through all the layers a couple of times until the rose is secure.
Hot glue is offered as the other option. Both methods belong to the assembly stage, after the desired shape has been established. The tutorial leaves the choice of method to personal preference.
The finished rose can remain an individual flower or be added to another project. Its construction moves from an open foundation to fuller stitch groups, then to a petal strip and finally a rolled bloom. The two rolling demonstrations provide the final visual choice: a close, compact rose or a flower with petals that open outward.