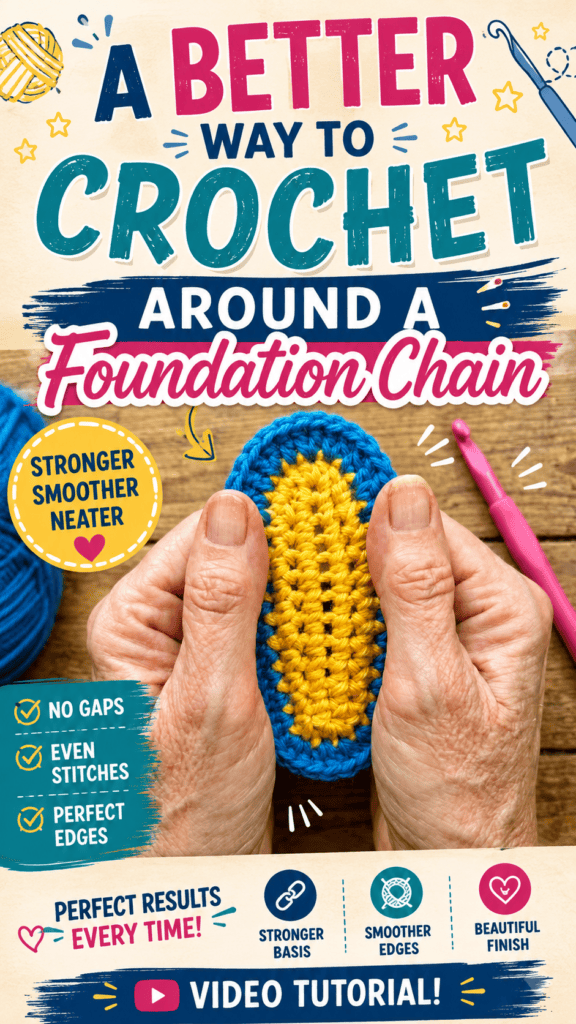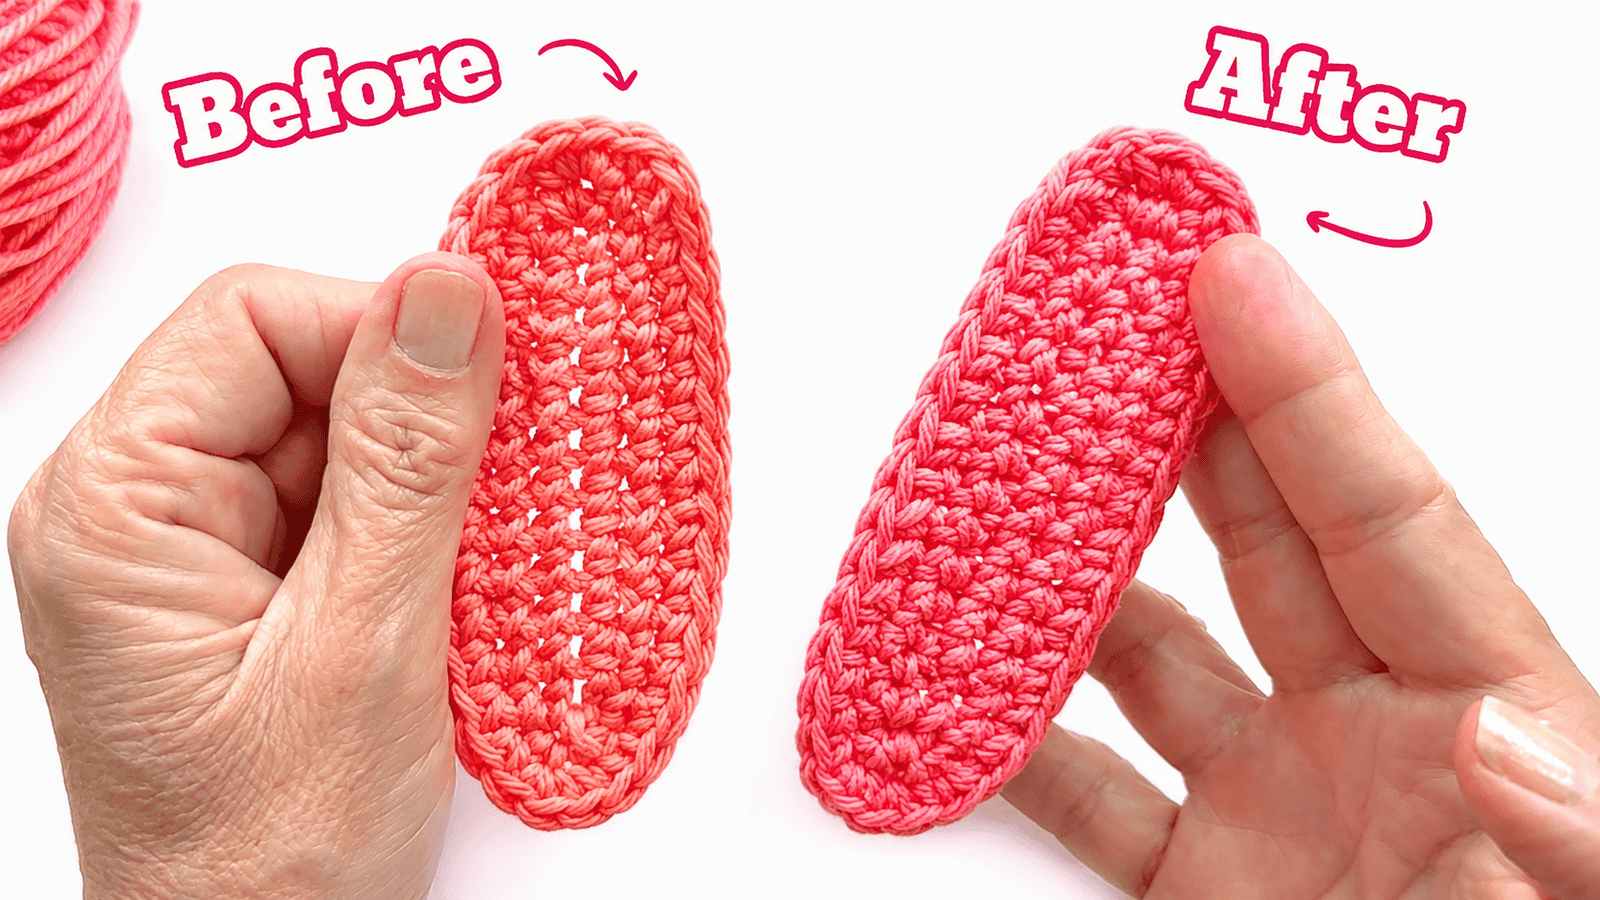
When crocheting projects that require working around both sides of a foundation chain, many crocheters notice small gaps forming along the starting edge. While these gaps are a natural result of the traditional method, there is a simple technique that creates a cleaner, sturdier foundation without adding extra complexity.
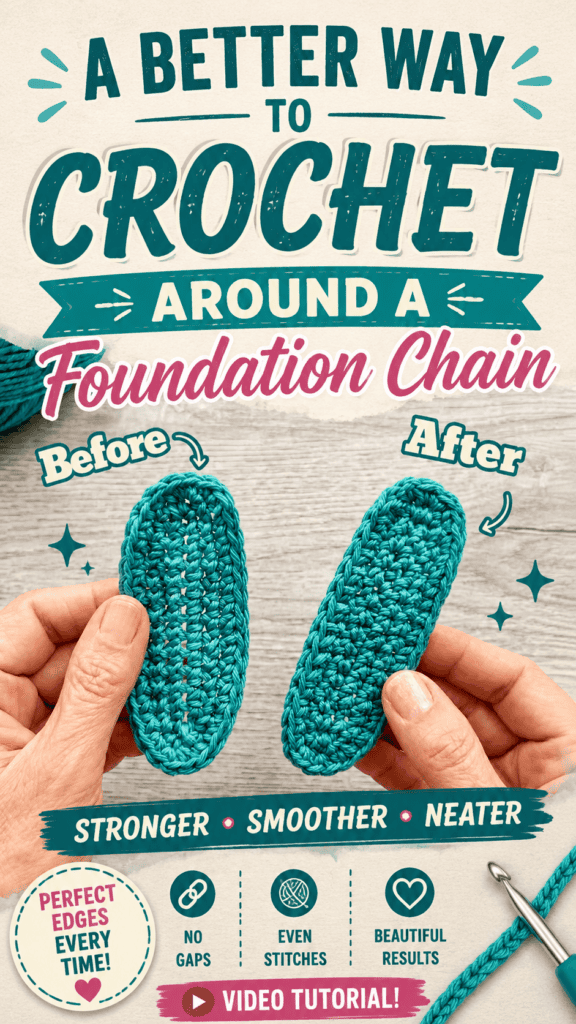
In this helpful tutorial, Roz from Play Hooky with Me demonstrates an easy adjustment that can make a noticeable difference in the appearance and durability of crochet projects. Her approach is beginner-friendly, works with a variety of stitches, and is especially useful for patterns that begin by crocheting around a foundation chain.
Why the Traditional Method Creates Gaps
Many crochet patterns begin with a foundation chain before instructing crocheters to work stitches along one side of the chain, turn the corner, and continue crocheting along the opposite side.
Using the traditional approach, crocheters typically:
- Create the required foundation chain.
- Work stitches directly into the front loops of the chain.
- Add multiple stitches into the last chain to create a rounded corner.
- Continue working along the opposite side of the foundation chain.
Although this method is widely used and perfectly functional, it often leaves a visible gap where the stitches wrap around the foundation chain. The gap isn’t a mistake—it is simply a characteristic of working directly into the chain.
For some projects, this isn’t an issue. However, when creating items where the starting edge remains visible, a cleaner finish can significantly improve the overall appearance.
A Better Alternative: Crochet into the Back Bump
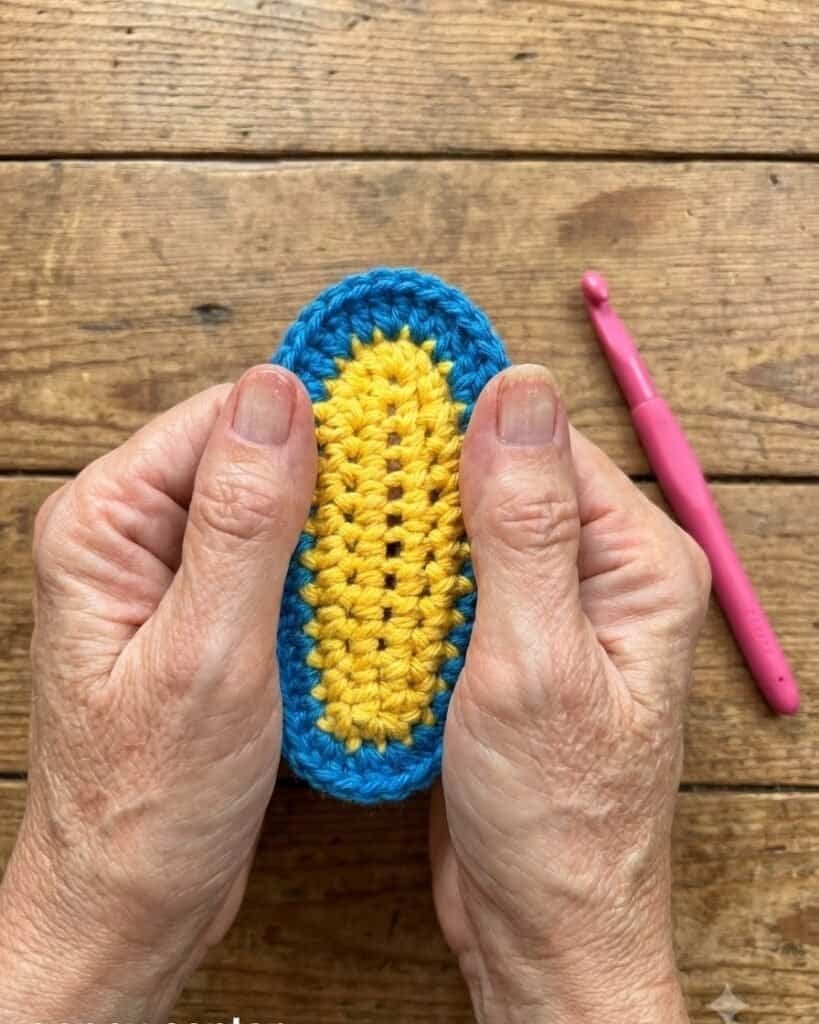
Roz introduces a simple but effective alternative: work into the back bump, also called the back bar, of the foundation chain instead of the front loops.
Rather than inserting the hook into the front of each chain, the hook goes through the small ridge located on the back of every chain stitch. The chains are counted exactly the same way as usual.
For example, when working single crochet:
Count the Chains Normally
Even though the stitches are worked into the back bump, the counting doesn’t change.
For a single crochet foundation:
- Count the chains as usual.
- Skip the first chain.
- Begin working into the second back bump.
This makes the technique easy to learn because it doesn’t require changing stitch placement or altering the pattern.
Continue Across the Foundation
Work each single crochet into the back bump of every chain until reaching the end of the foundation.
Some crocheters may find the back bumps slightly tighter than working into the front loops. If that happens, Roz recommends using a crochet hook one size smaller for this step. A smaller hook can make it easier to insert the hook through each back bump while maintaining even tension.
Creating Rounded Corners
Projects such as baskets, bags, pouches, and certain amigurumi pieces often require crocheting around both sides of the foundation chain.
When reaching the final chain:
Add Multiple Stitches into the Same Back Bump
Instead of working into the front of the chain, place the corner stitches directly into that final back bump.
For rounded corners, Roz uses three single crochet stitches in the last back bump before continuing around the opposite side.
This creates the turning point while preserving the cleaner structure established by working into the back bumps.
Working Along the Opposite Side
After completing the corner, the process becomes familiar again.
Instead of working into unused chains, crocheters now work into the corresponding stitches created by the first row. At this stage, two strands of yarn are already available to crochet into, making stitch placement easier and more secure.
One of the biggest advantages becomes immediately noticeable:
There is little to no visible gap where the work transitions around the foundation chain.
The resulting edge not only looks neater but also feels stronger and more stable.
Why This Technique Works So Well
Although the adjustment seems minor, it offers several important benefits.
A Cleaner Appearance
The finished foundation looks much more polished because the visible gaps commonly seen in the traditional method are greatly reduced.
This creates a professional-looking starting edge that enhances the overall project.
Improved Structure
Working into the back bumps creates a sturdier foundation. Since the stitches are positioned differently, the base feels more solid and supportive.
This added stability can be especially helpful for projects that experience frequent handling or need to maintain their shape.
Easy to Learn
The technique doesn’t require learning new stitches.
The only change is where the hook is inserted during the first row. Everything else—from counting chains to creating corners—remains essentially the same.
That makes it an excellent skill for beginners while still being valuable for experienced crocheters seeking a cleaner finish.
A Helpful Tip for Corner Gaps
Even with the back bump method, an occasional corner may still appear slightly loose depending on yarn tension.
Roz shares a simple solution.
If a small gap appears at the corner:
- Undo the slip knot attached to the starting tail.
- Gently tighten the tail until the gap closes.
- Weave the yarn end back into the project using your preferred finishing method.
This quick adjustment can make the corner look even cleaner without affecting the rest of the stitches.
Projects That Benefit from This Method
Working into the back bump is useful whenever a crochet pattern begins by working around a foundation chain.
Examples include:
- Crochet baskets
- Bags and totes
- Pouches
- Oval rugs
- Baby booties
- Amigurumi bases
- Decorative home accessories
Because the foundation appears smoother and stronger, the finished project often has a more refined appearance from the very beginning.
Conclusion
Sometimes the smallest adjustments make the biggest difference in crochet. By simply working into the back bump of the foundation chain instead of the front loops, crocheters can create a stronger, neater starting edge while minimizing the gaps that often appear with the traditional method.
As demonstrated by Roz from Play Hooky with Me, this technique is easy to incorporate into existing patterns and works beautifully with single crochet and many other stitch types. Whether you’re just beginning your crochet journey or looking for ways to improve the finish of your handmade projects, this simple tip is well worth adding to your crochet toolkit.