
Have you ever wondered how to get started with colored pencils without feeling overwhelmed?
I’ve been there too! In this guide, I’ll walk you through everything—from picking the right pencils and paper to basic techniques that work.
Whether you want to create detailed art or just have fun coloring, I’ll share simple tips to help you build your skills with confidence.
Contents
#1. Choosing the Right Colored Pencil Set
Picking a colored pencil set can feel overwhelming—there are so many brands out there! Let me help you make it easier, especially if you’re just starting.
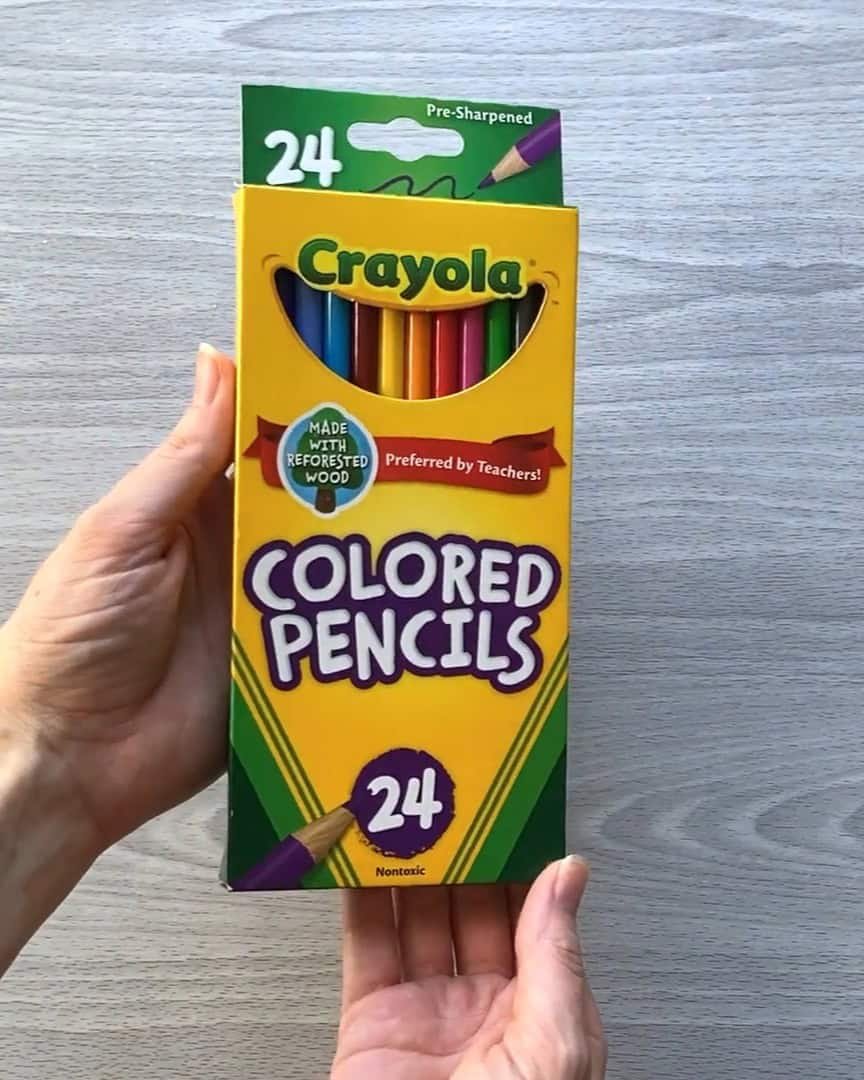
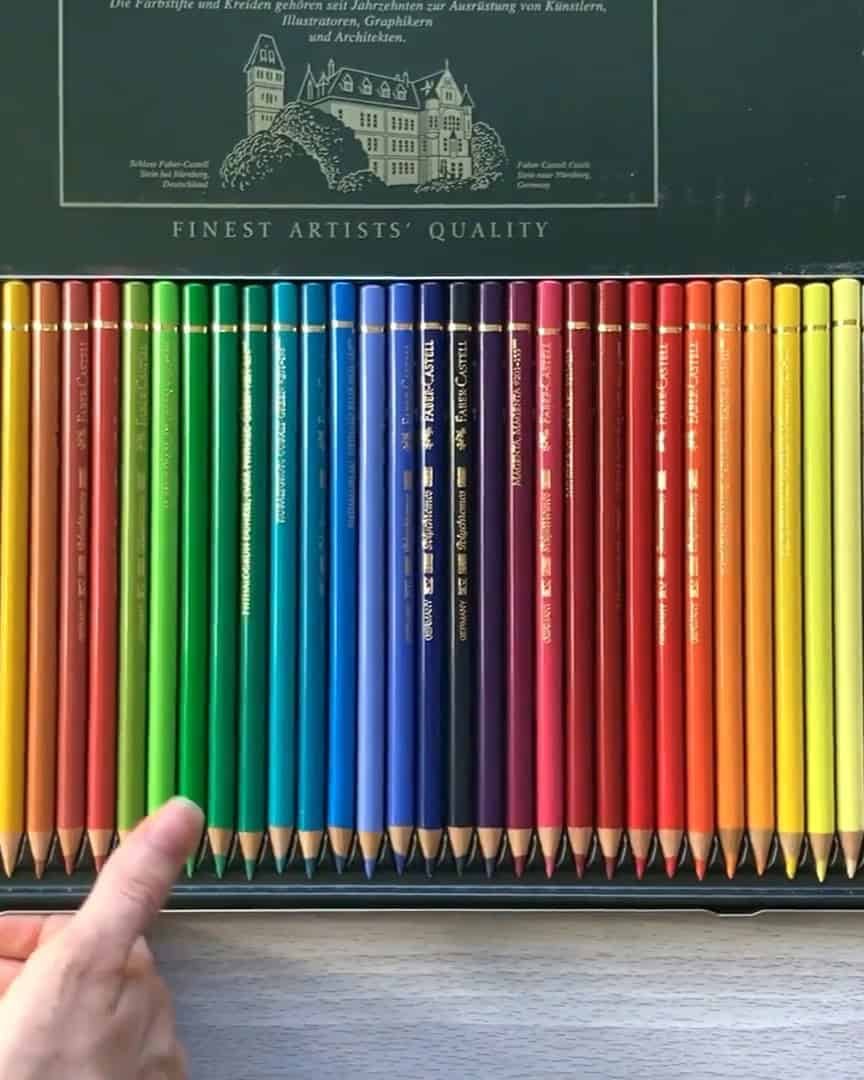
Start with at Least 24 Colors
When you’re new to colored pencils, you don’t need a giant set. I recommend choosing a set with at least 24 pencils. This gives you a good range of basic colors to work with.
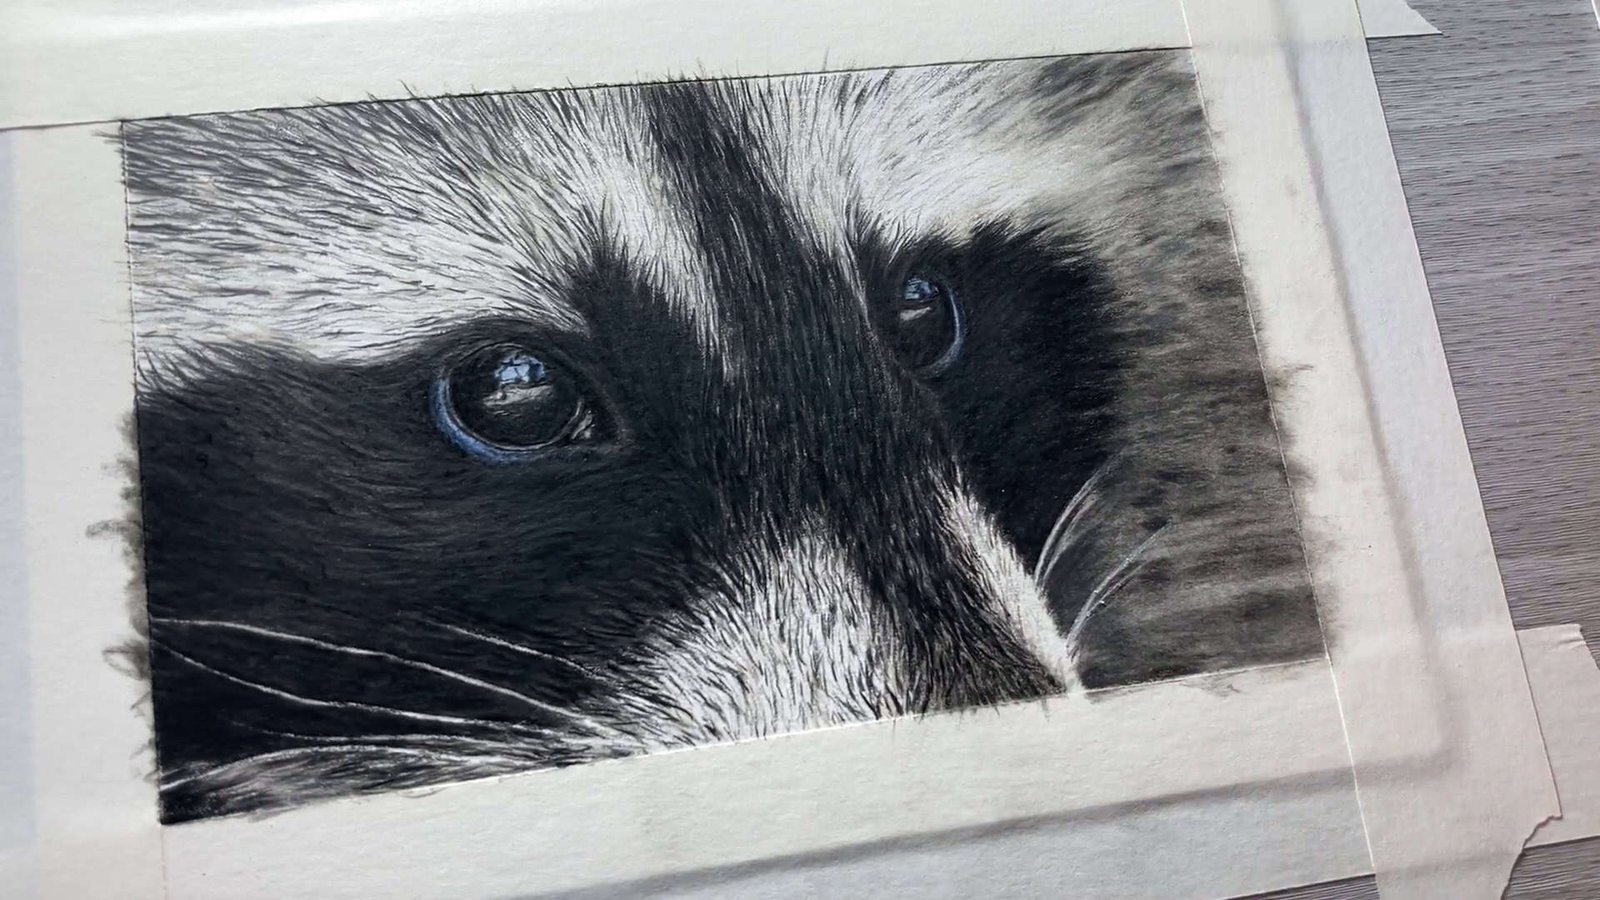
You don’t need tons of complex shades to create fantastic art. I’ve seen beautiful, realistic drawings done with just 24 colors.
Of course, if you want more, that’s fine—but it’s not required to get started.
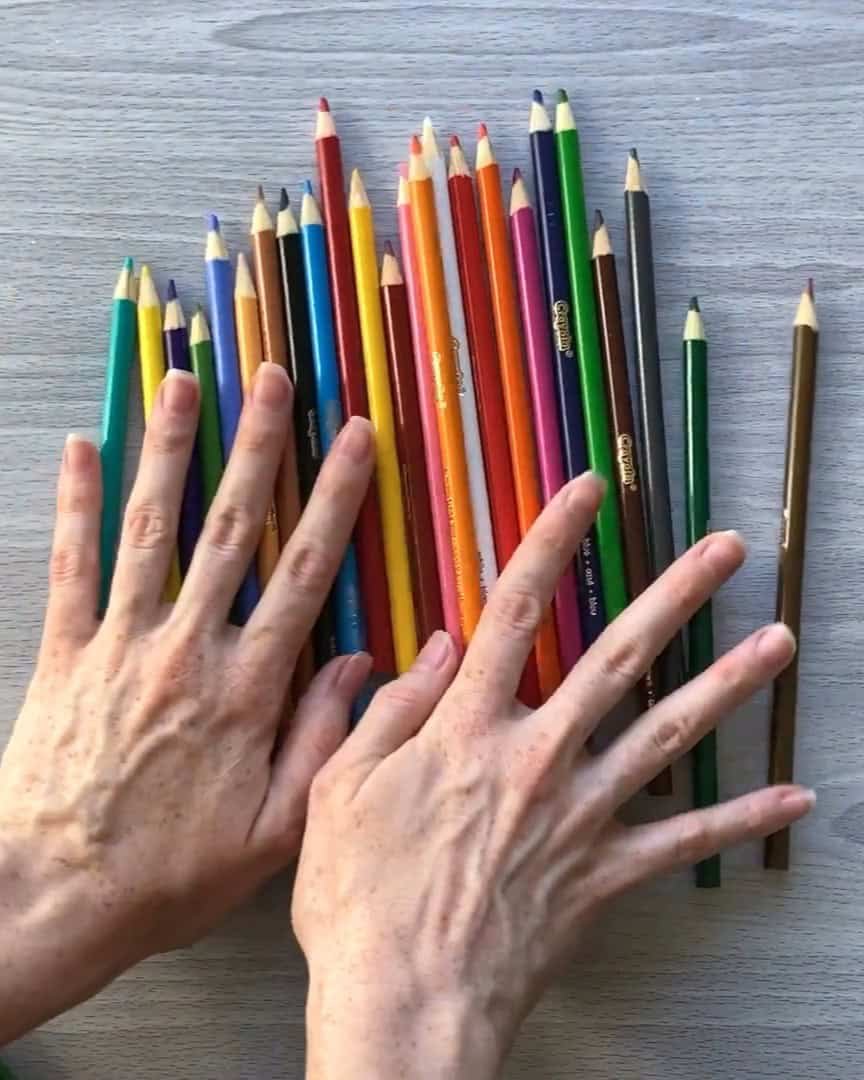
Look for Light and Dark Shades of Each Color
The next thing I always look for in a set is variation in value. What do I mean? I like to have:
- Two shades of gray
- Two shades of brown
- Light and dark versions of each primary color (like light red and dark red)
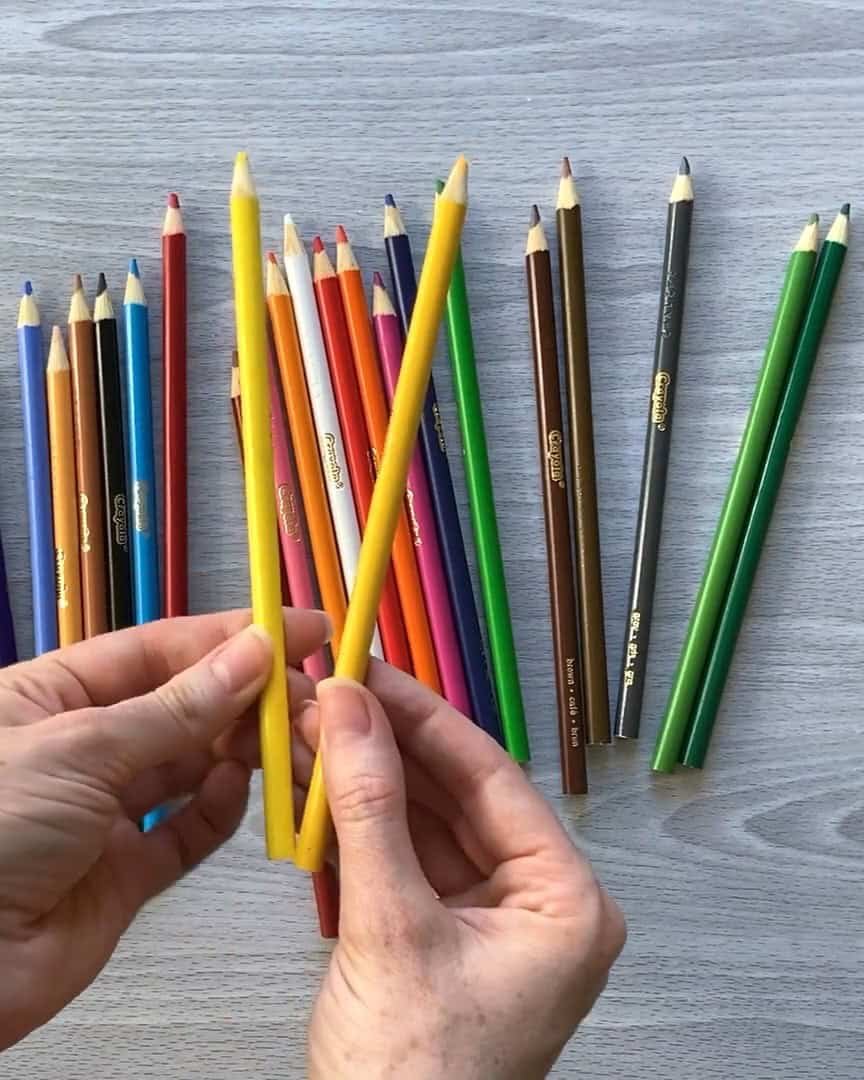
This makes shading and adding depth so much easier. A light and dark version of each color lets you show contrast and volume in your drawings without mixing colors.
Big Sets Aren’t Always Necessary
Large sets can be tempting, I know. But honestly, you don’t need a vast collection to make beautiful art.
Still, some larger sets offer better quality. So, if you want to invest in a bigger set, you’ll enjoy using them as much as a professional artist.
Before you decide, ask yourself one simple question: Do I want to create high-detail drawings or just enjoy general coloring?
That answer can help you narrow things down and pick the best set for your style.
#2. Understanding Colored Pencil Types
There are two main types of colored pencils, and knowing the difference can help you choose the best set for your drawing style, especially if you want to do high-detail artwork.
Oil-Based vs. Wax-Based Colored Pencils
Let’s start with the basics. All colored pencils have wax and oil, but what sets them apart is which is used more in the core.
- Oil-based pencils have more oil in the mix.
- Wax-based pencils have more wax.
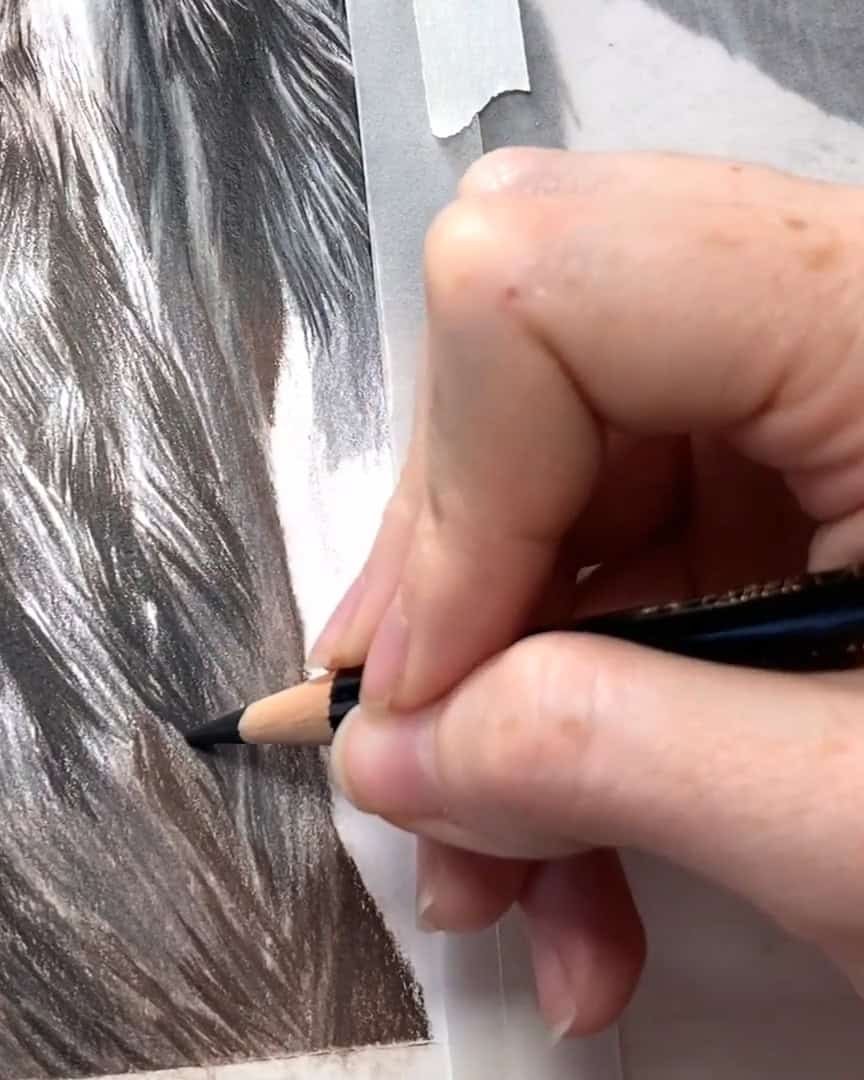
If you’re into super detailed drawings, oil-based colored pencils are your best bet. They let you make finer lines and give you more control over small areas.
That doesn’t mean wax-based pencils can’t handle detail. They can—but it’s just a bit harder. You’ll have to work more to get those clean, fine lines.
How to Tell What Type You’re Getting
Sadly, not all brands tell you if their pencils are oil- or wax-based. But some do—and I’m always thankful when they include that info! You can usually find it in the product description.
If the brand doesn’t say, you can look for clues:
- If the pencils are described as really soft, they’re most likely wax-based.
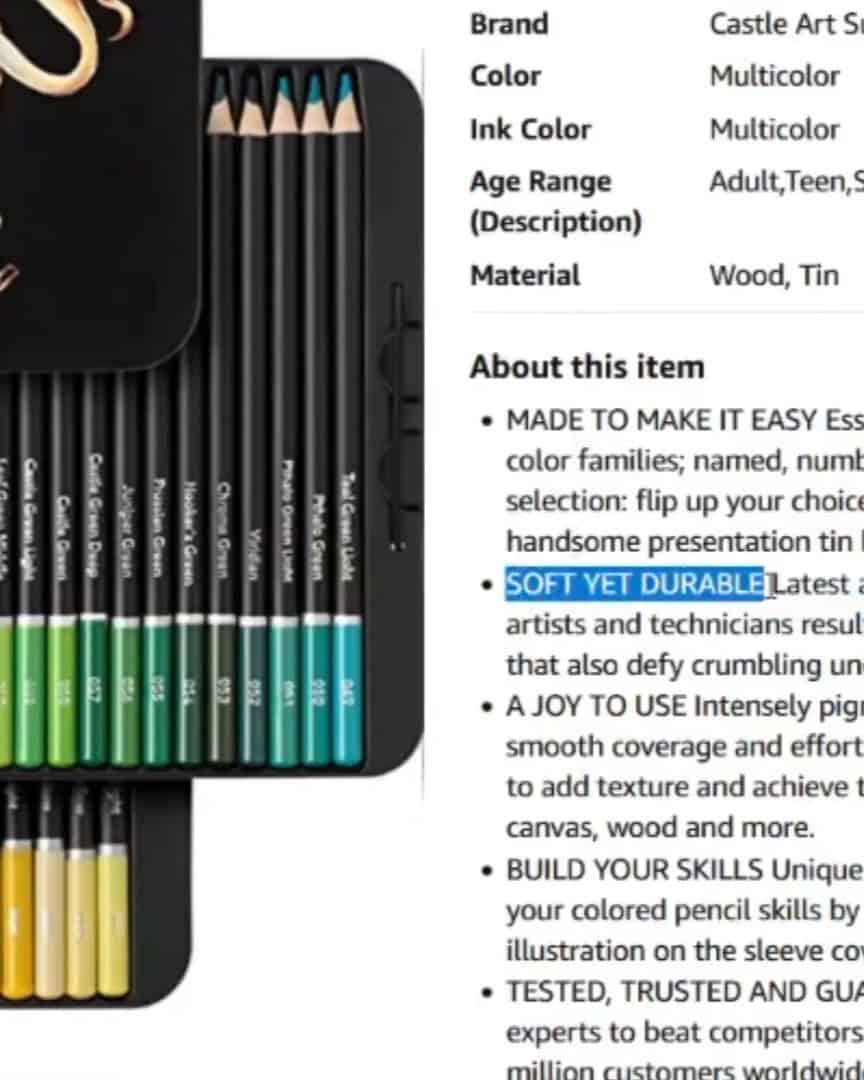
That small tip has saved me a lot of time while shopping for colored pencils!
I also like to check lists online where brands are grouped by type. These lists help me figure out which ones to try based on the kind of work I want to do.
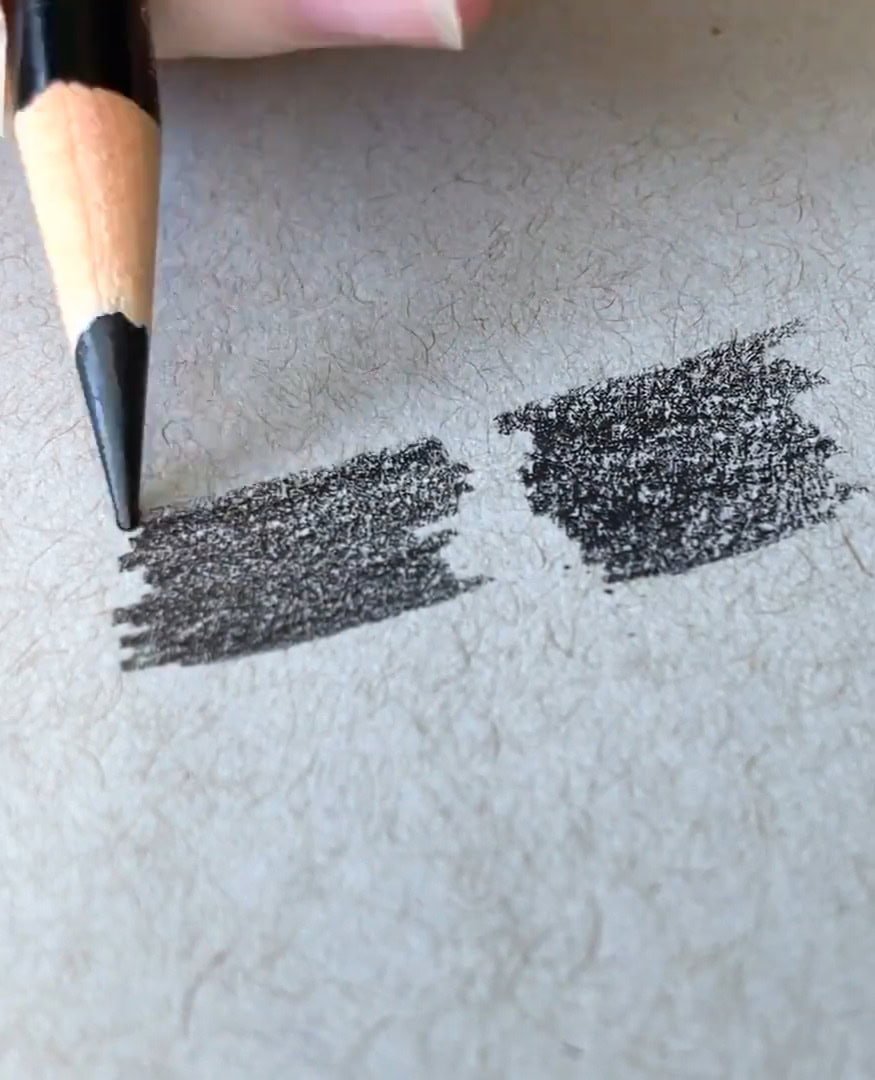
Pros and Cons of Each Type
Each type of colored pencil has its strengths and downsides. Here’s what I’ve learned from using both.
Oil-Based Colored Pencils
- Pro: Great for detail—sharp, thin lines are easier to make.
- Con: They can feel a little scratchy because the core is harder. You may need to apply more pressure to build layers.
But here’s a tip I love: If you use solvent or odorless mineral spirits, you don’t need to press hard. The solvent breaks down the binder, letting the pigment sink into the paper without force.
Wax-Based Colored Pencils
- Pro: These pencils are usually softer and easier to apply.
- Con: They can be crumbly, which makes it harder to get a sharp point. The tip may break if you try to press hard for fine, dark lines.
So, when working on a piece that needs very clean detail, I usually go for oil-based. But if I just want a soft blend and smooth coverage, wax-based pencils can work well.
Understanding the pencil types helps me choose the right tools for each project—and saves me from much frustration.
#3. Picking the Right Paper for Colored Pencils
Choosing the right paper is just as important as picking your pencils. With so many paper types out there, I always start by thinking about what I want to draw and how much detail I need.
Match the Paper to Your Drawing Style
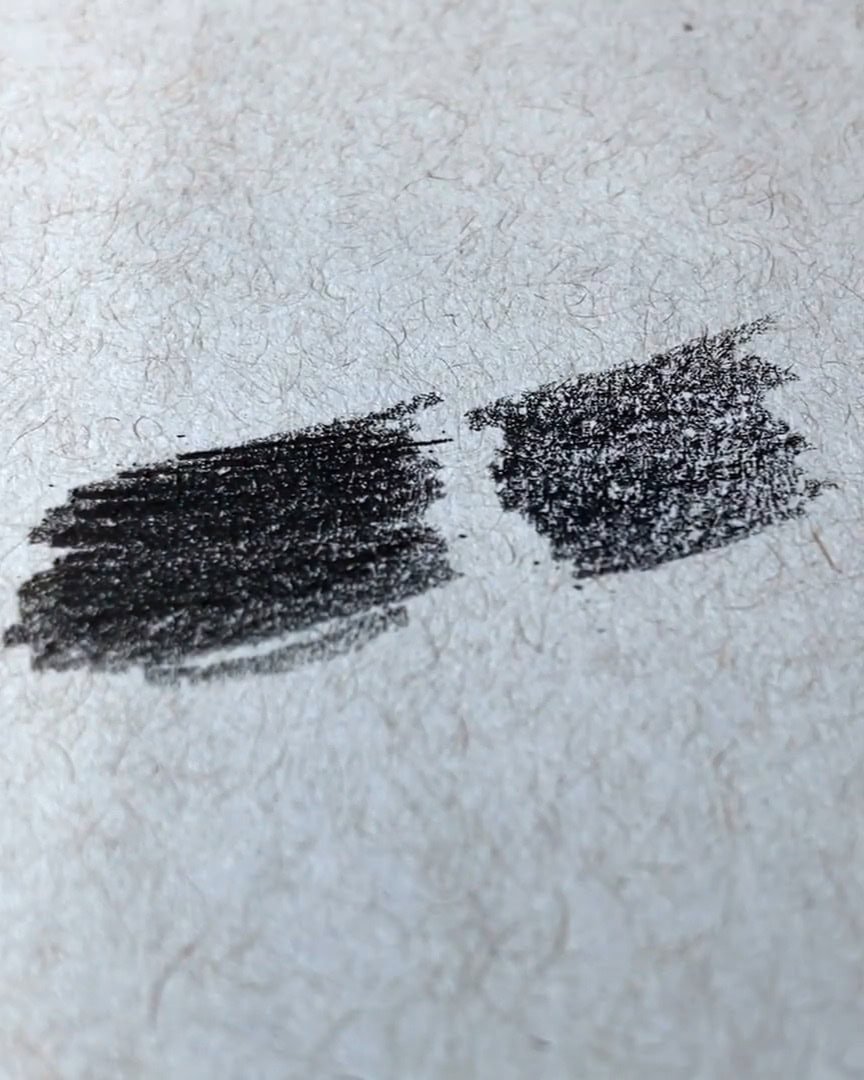
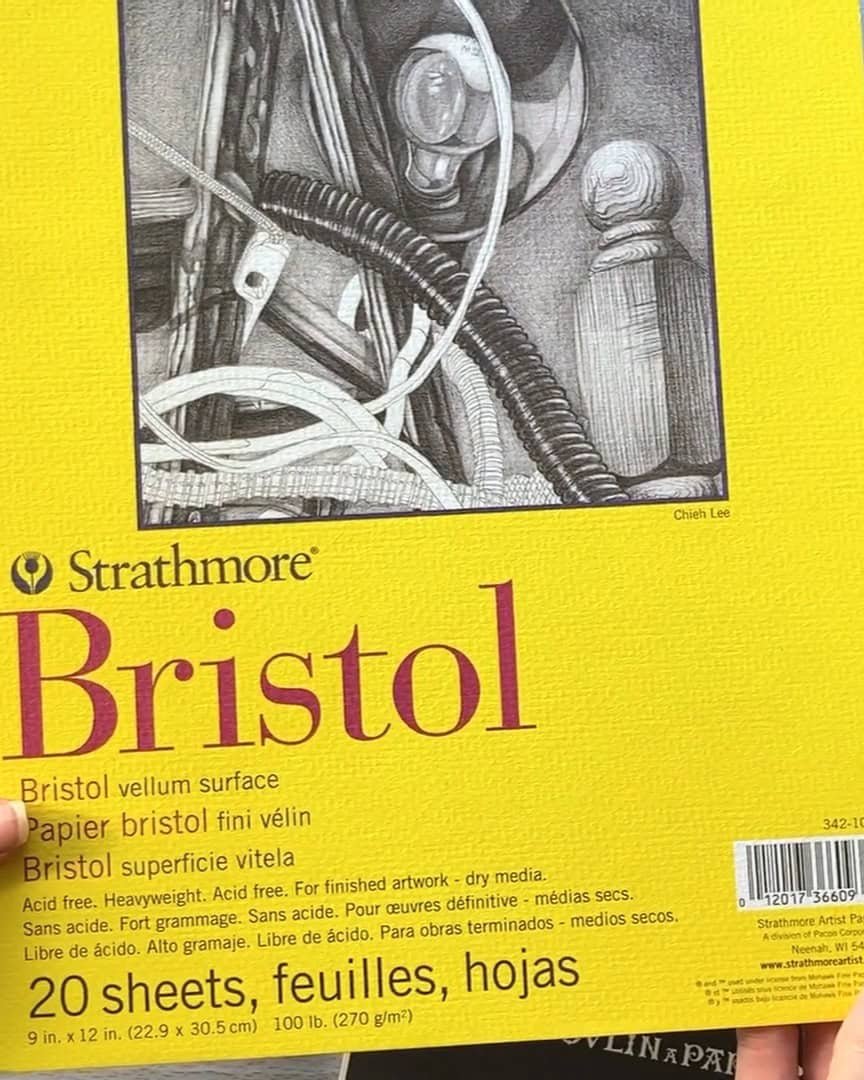
If you want to create super detailed drawings, go for smooth paper. Smooth paper has a fine, even surface, so it’s easier to get clean, soft lines without gaps.
The texture—or “tooth”—is low, meaning there aren’t many deep crevices for your pencil to skip over.
Here are two of my favorite smooth papers:
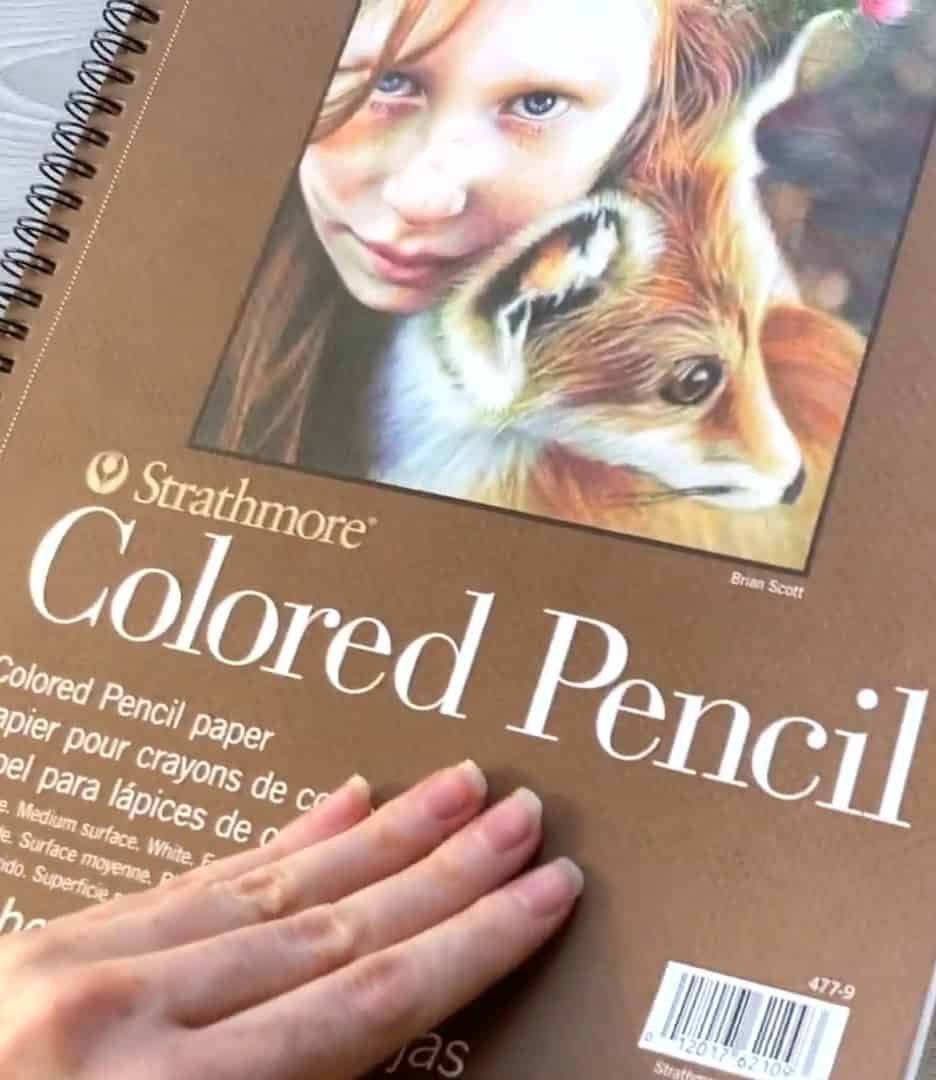
- Strathmore Bristol Vellum (300 Series): This one is perfect for beginners. It’s smooth but still holds the pencil well.
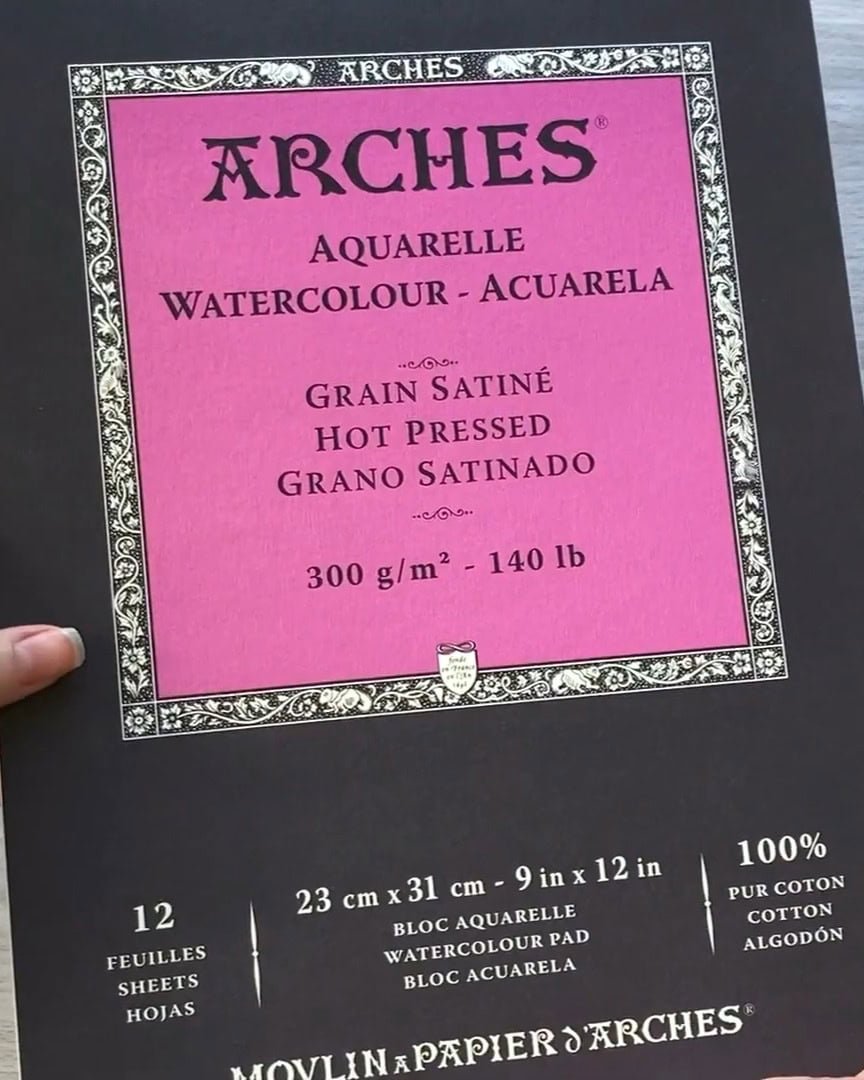
- Arches Hot Pressed Watercolor Paper: My go-to paper! It has two sides. One is smooth, which I prefer for detail. The other has a medium texture, which can be helpful if adding more textured elements like plants or busy backgrounds.
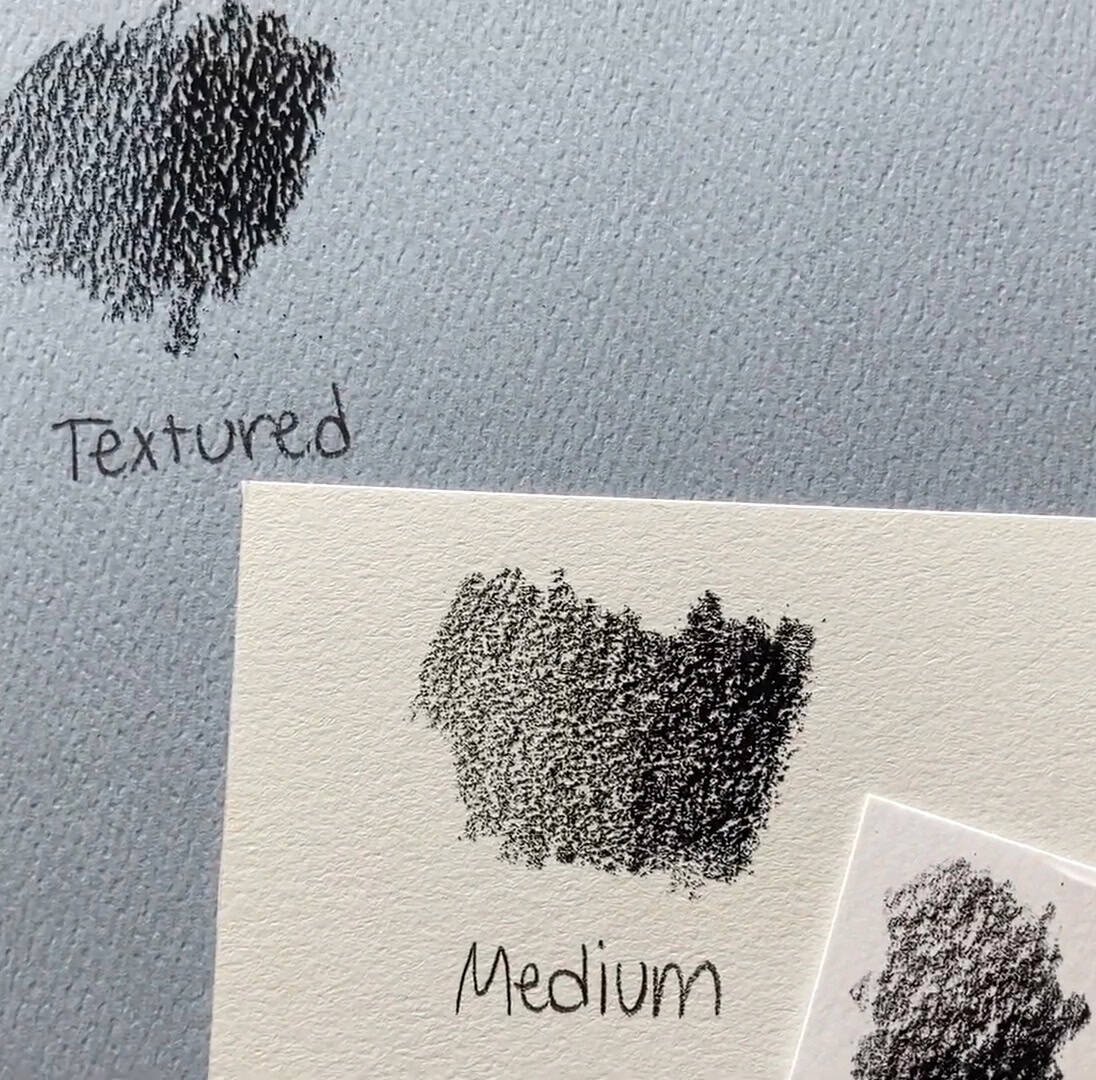
When to Use Medium Texture Paper
Medium-textured paper gives you a bit more grip and lets you add more layers. If your subject has a lot of depth, like nature scenes or complex backgrounds, this paper might work better.
But here’s the thing: medium texture means more tooth, so it’s harder to get even color without help.
That’s why I always use solvent or odorless mineral spirits when I draw on medium-textured paper. It helps the pencil pigment settle into the paper evenly without pressing hard.
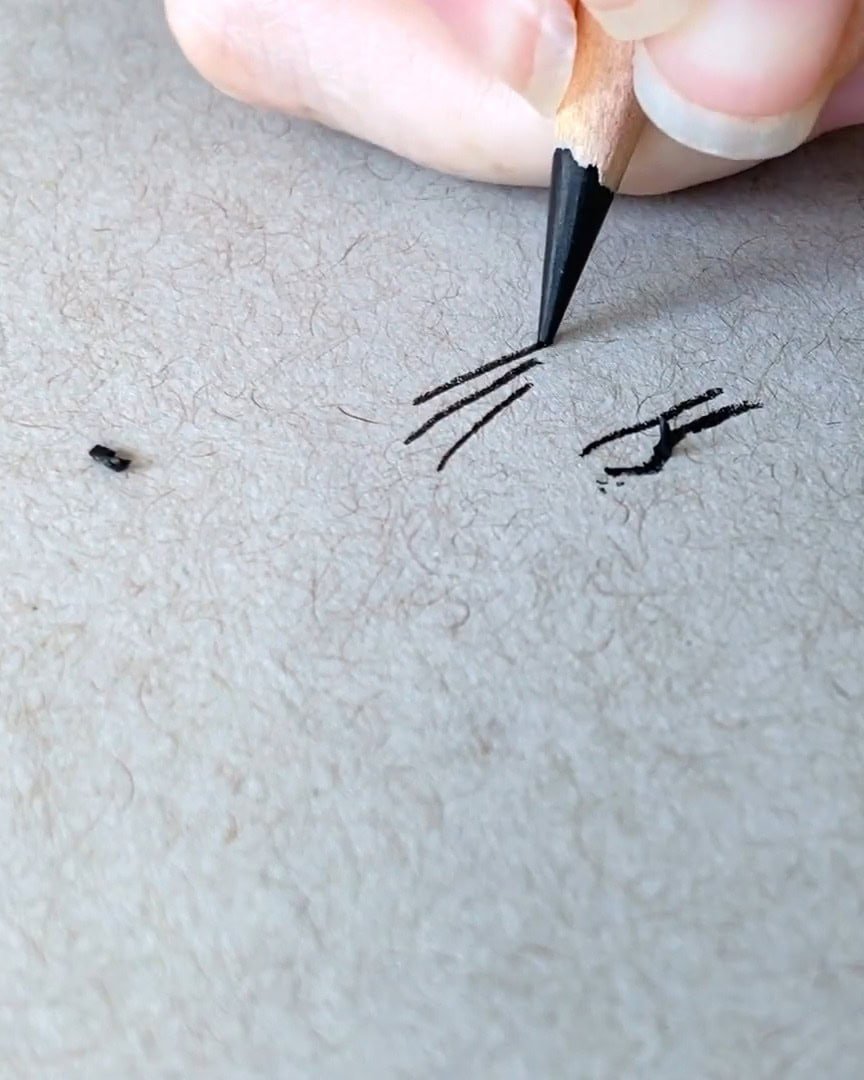
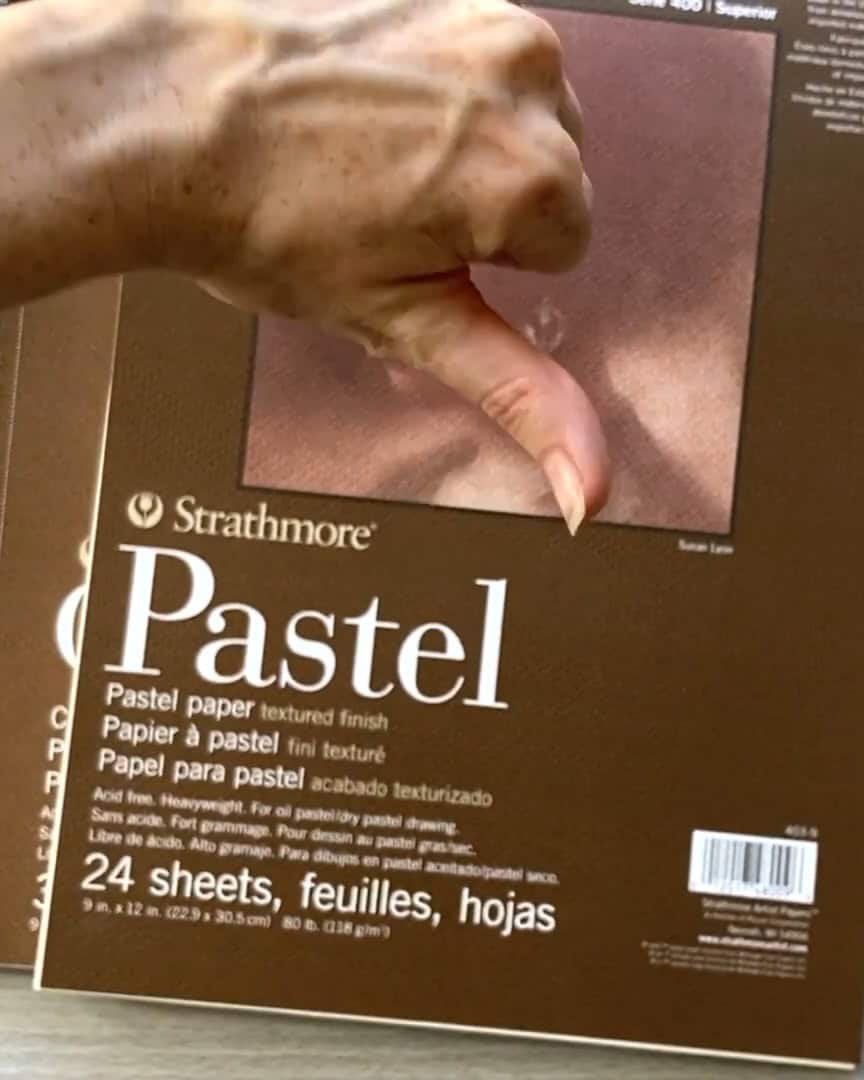
Avoid This Type of Paper
There’s one kind of paper I always avoid: pastel paper. It’s way too rough. You won’t be able to get fine details no matter how hard you try.
Colored pencils just don’t perform well on that much texture.
#4. Essential Tools to Go Along with Your Pencils
Once you’ve got your colored pencils and paper, there are a few more must-have tools to make drawing more manageable and smoother. Let me walk you through the ones I use every time.
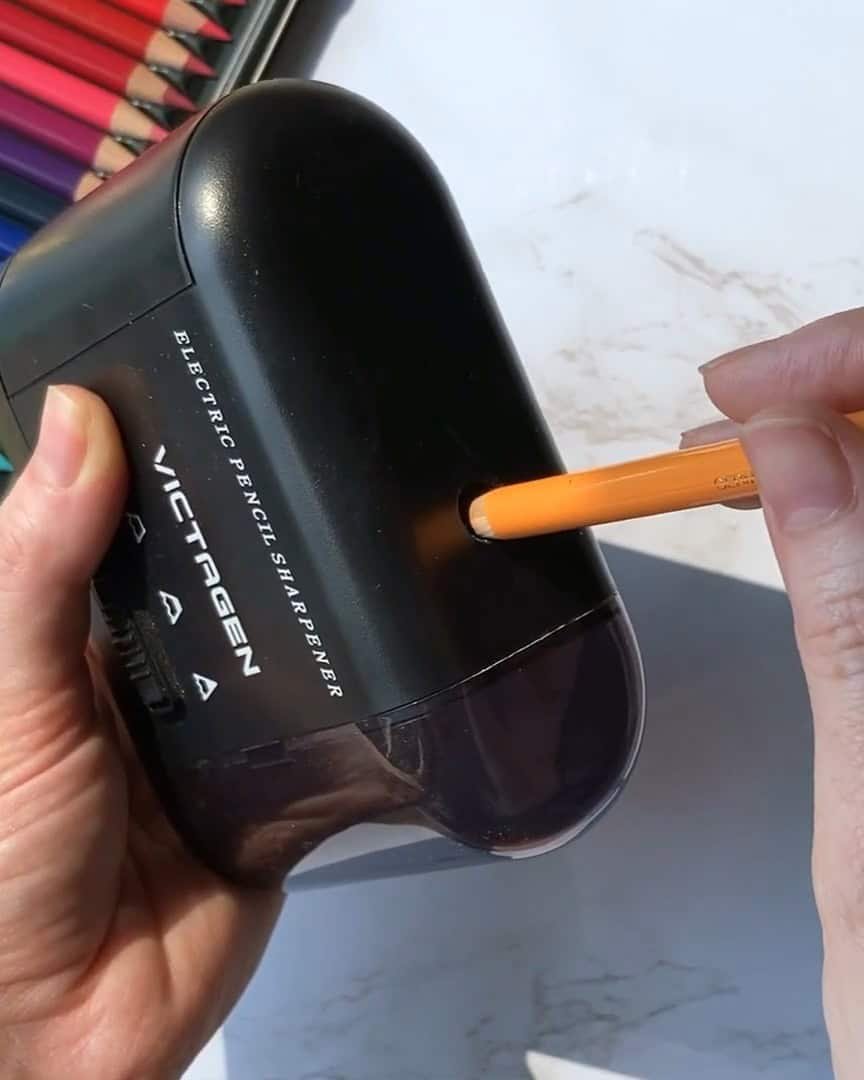
Get the Right Pencil Sharpener
The most crucial tool you’ll need is a pencil sharpener. You can’t draw without a sharp pencil, right?
I highly recommend using an electric sharpener. It’s a game-changer. Just pop the pencil in, and boom—it’s sharp in seconds. You don’t have to waste time turning a crank like manual sharpeners.
That said, manual sharpeners still come in handy, especially when your pencils get too short to use in the electric one. I’ve been there—those tiny pencils get lost inside the machine.
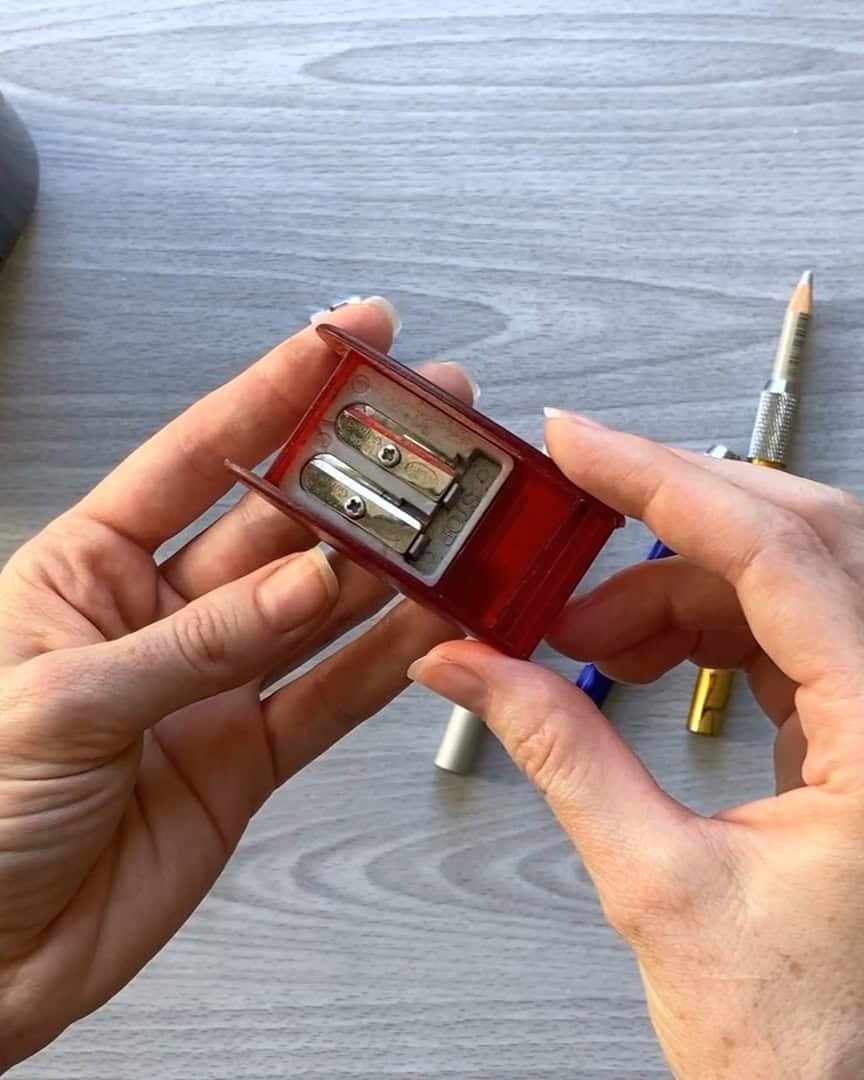
Here’s what I look for in a good manual sharpener:
- Made entirely of metal (both the casing and the blade).
- Metal casing means the shape stays firm over time.
- No warping or uneven pressure that causes the pencil core to break.
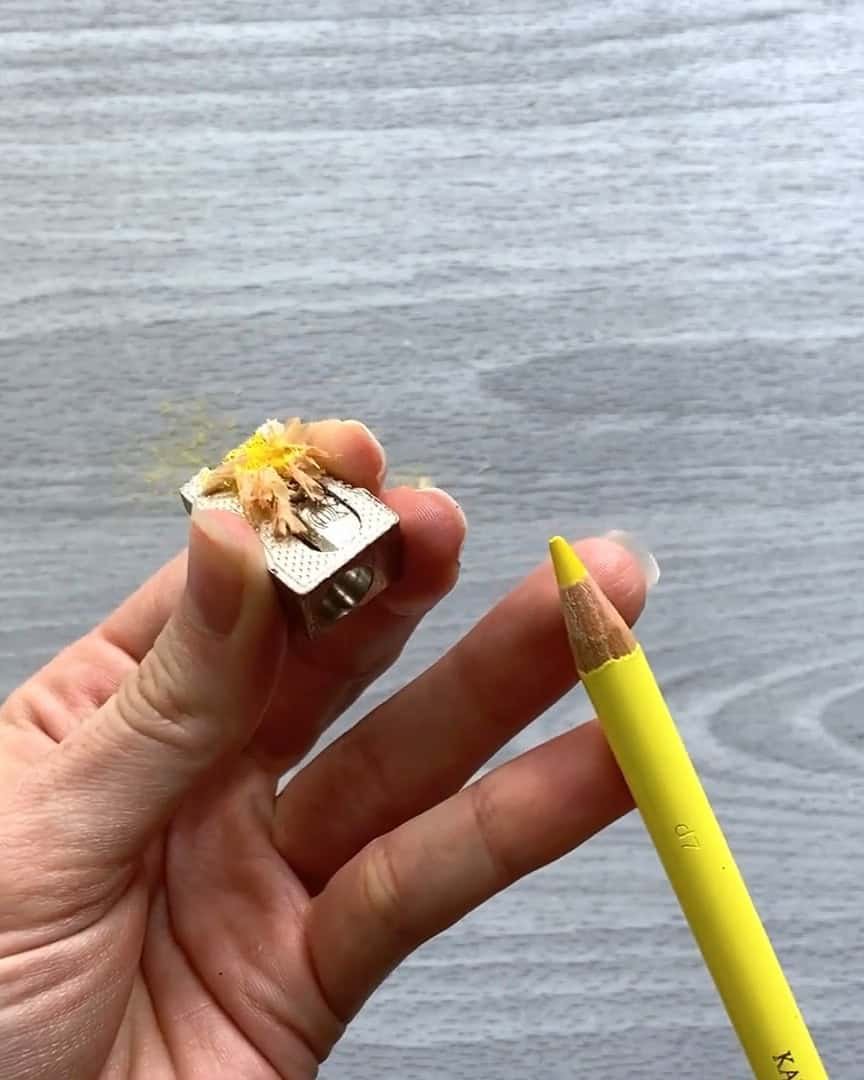
Avoid plastic ones. They can bend, which leads to broken leads, even if you’re careful. But even with the best sharpener, if your colored pencils are poor quality with uneven cores, like some
Prismacolors, you might still deal with breakage.
Use Pencil Extenders
A pencil extender can save the day when your pencil gets too short to hold. I use one that works with most colored pencil brands.
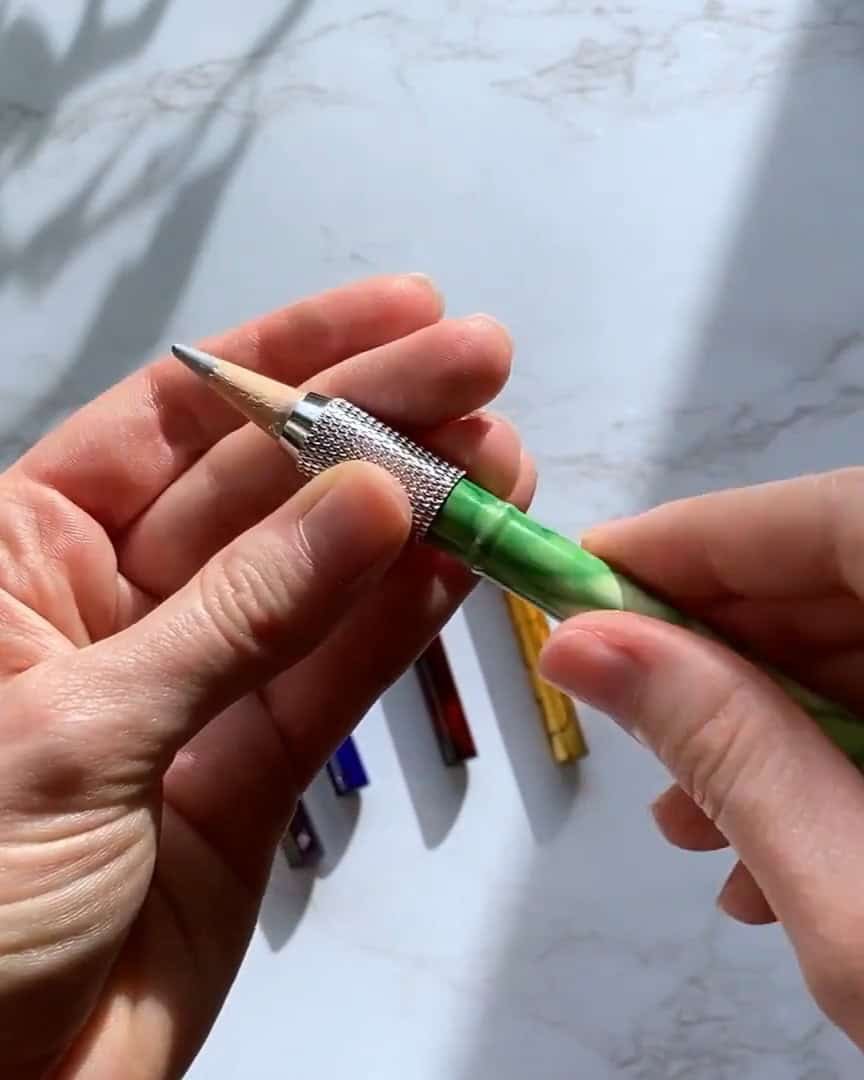
The only exception is Caran d’Ache Luminance pencils—they’re a bit thicker. But don’t worry—Derwent makes extenders that fit those perfectly.
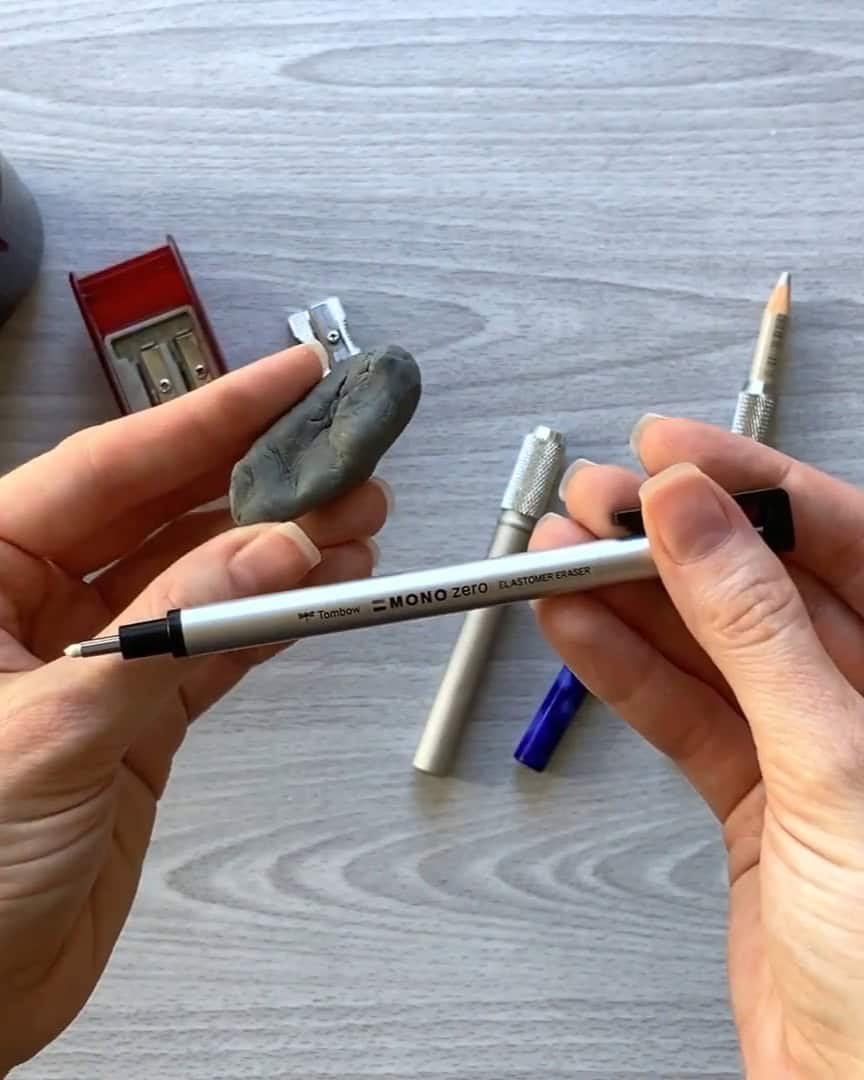
Don’t Forget Erasers
Erasers are another essential. I keep two kinds in my kit:
- Kneadable eraser: You can shape it into any form. It lifts color off the paper well without smudging.
- Tombow Mono Zero eraser: This is a small, precise eraser. I use it to erase tiny details, but honestly, I love it so much I use it for everything!
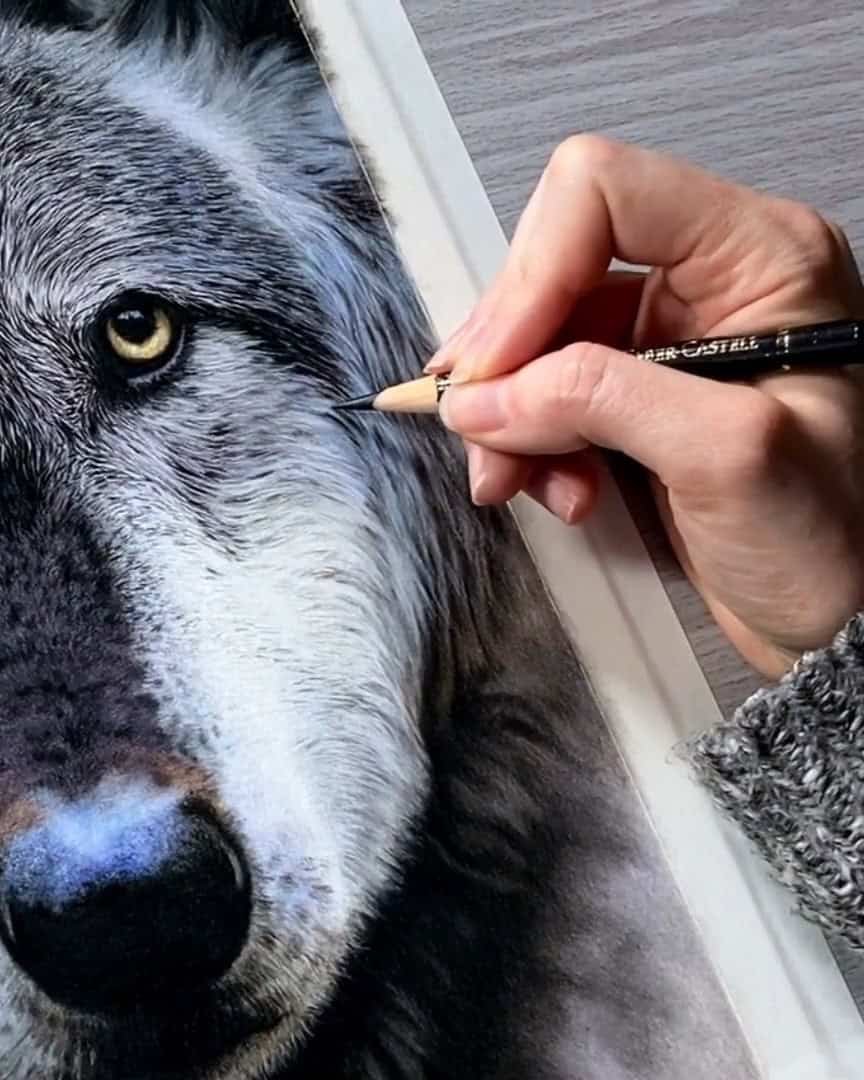
#5. How to Use Colored Pencils: Basic Techniques
Now that you’ve got all your supplies ready, let’s talk about how to use your colored pencils.
Every artist has their approach, but I want to share a few simple blending and layering techniques that work for me.
Burnish Blending
Let’s start with one of the most common methods: burnish blending. This is where you build up your layers and press down hard with your pencil to blend everything.
- I usually use a lighter color over my darker layers. This helps smooth everything out and pulls the colors together.
- You need to apply firm pressure to get that polished look.
Burnishing gives a rich and smooth result, but it takes some effort.
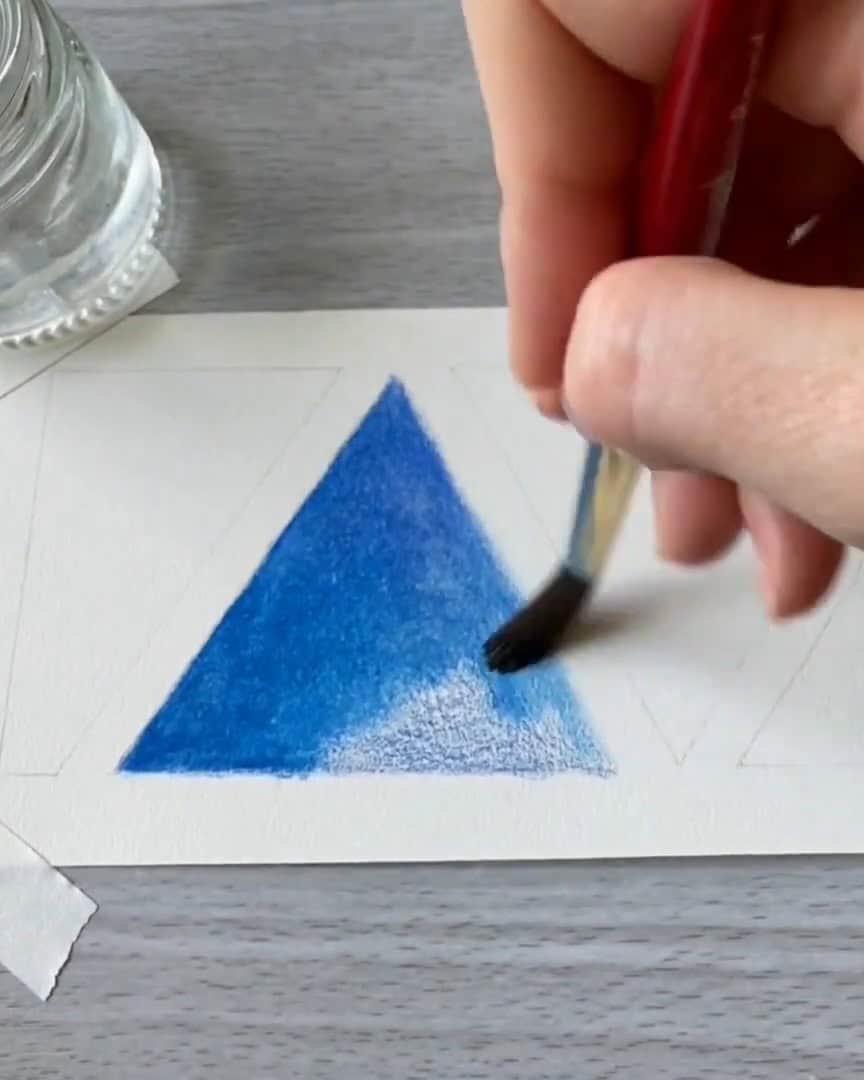
Blending with Solvent
My favorite way to blend is with solvent—more specifically, odorless mineral spirits.
- It’s like paint thinner but without the strong smell.
- It breaks down the binder in the pencil core and lets you move the pigment easily into the paper using a paintbrush.
- This gives a soft and smooth blend without the need to press hard.
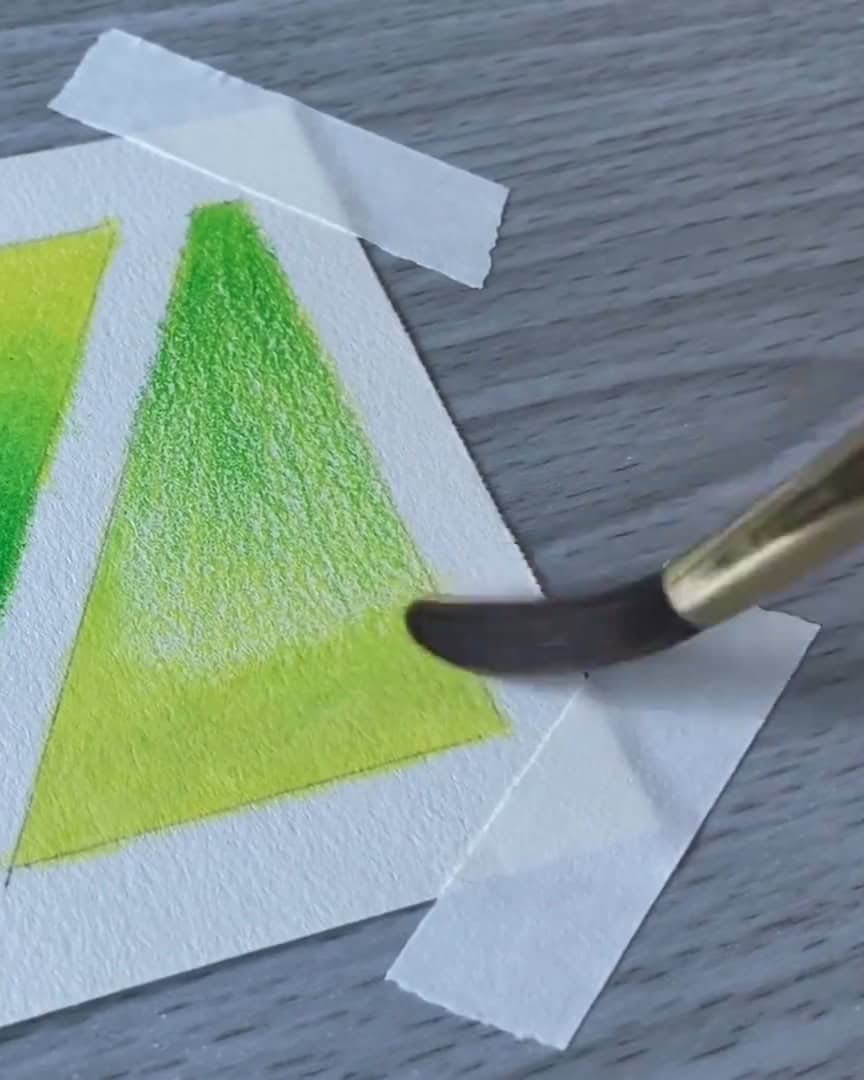
I find this method much easier and way more comfortable, especially for large areas.
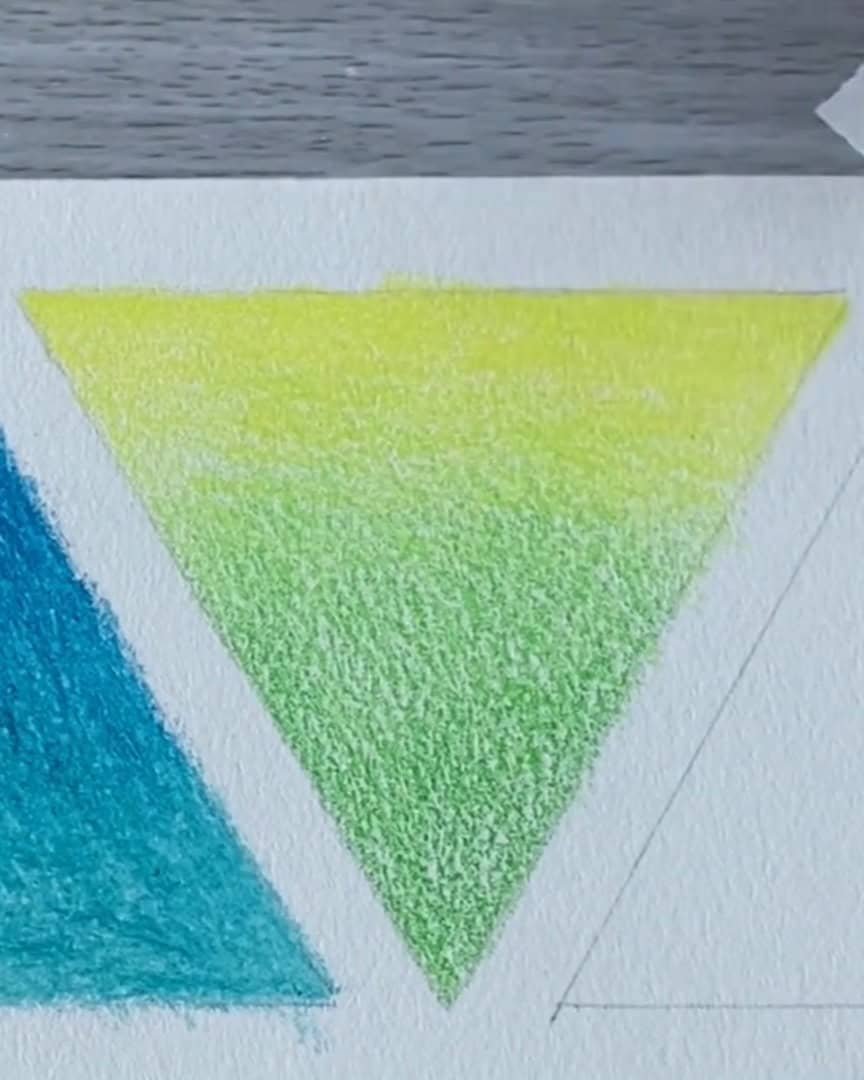
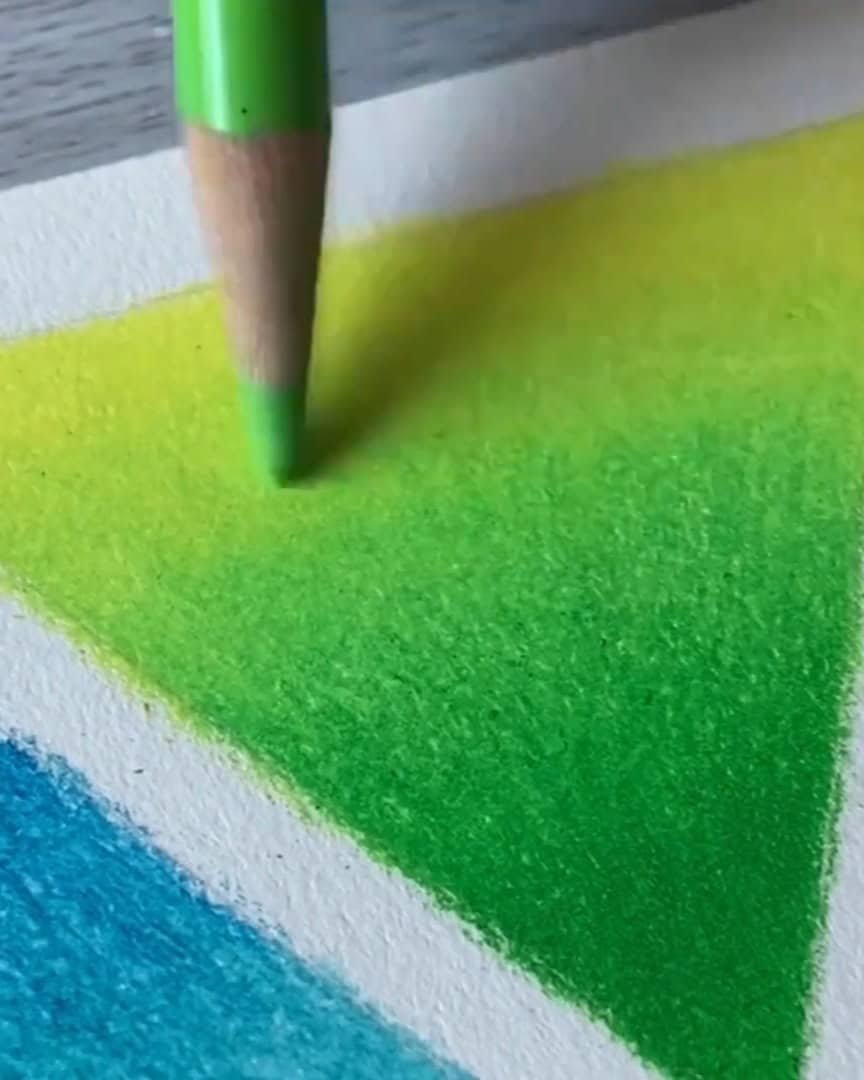
Layering Tips
Blending and layering go hand in hand. There are two ways I usually approach it:
- Add light layers, then blend each one as I go.
- Or build up lots of layers, then blend all of them at once.

I prefer adding small layers because:
- It’s easier to fix color mistakes.
- I can adjust the tone by adding more of one color to balance out any wrong ones.
If I blend too soon with heavy layers, I’d have to erase it all to fix a mistake. That’s why small layers give me more control.
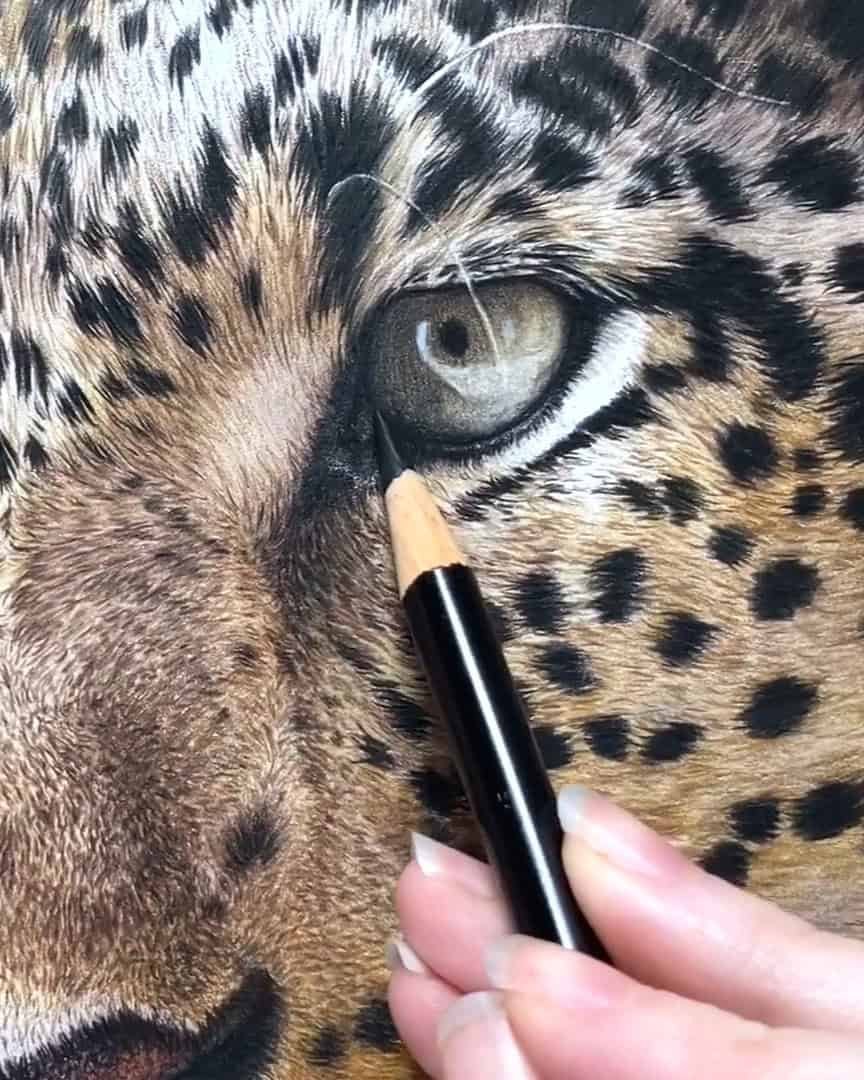
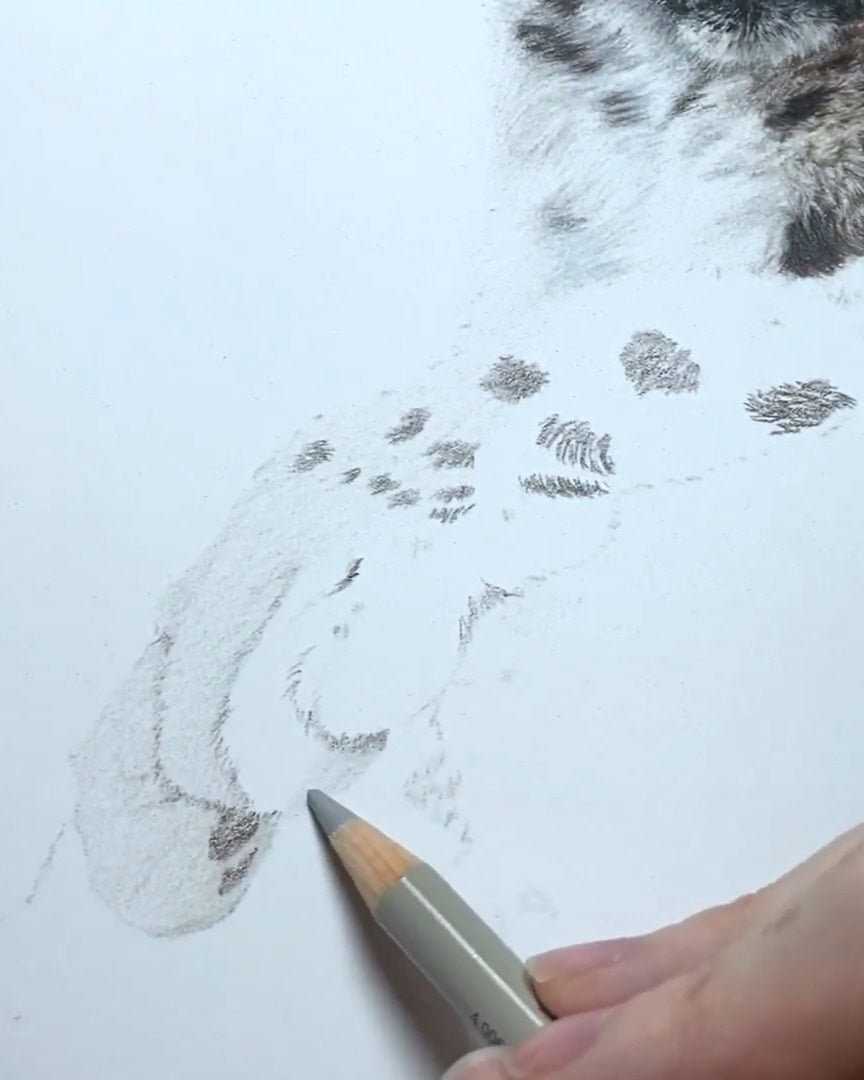
#6. What’s Next? Keep Practicing and Learning
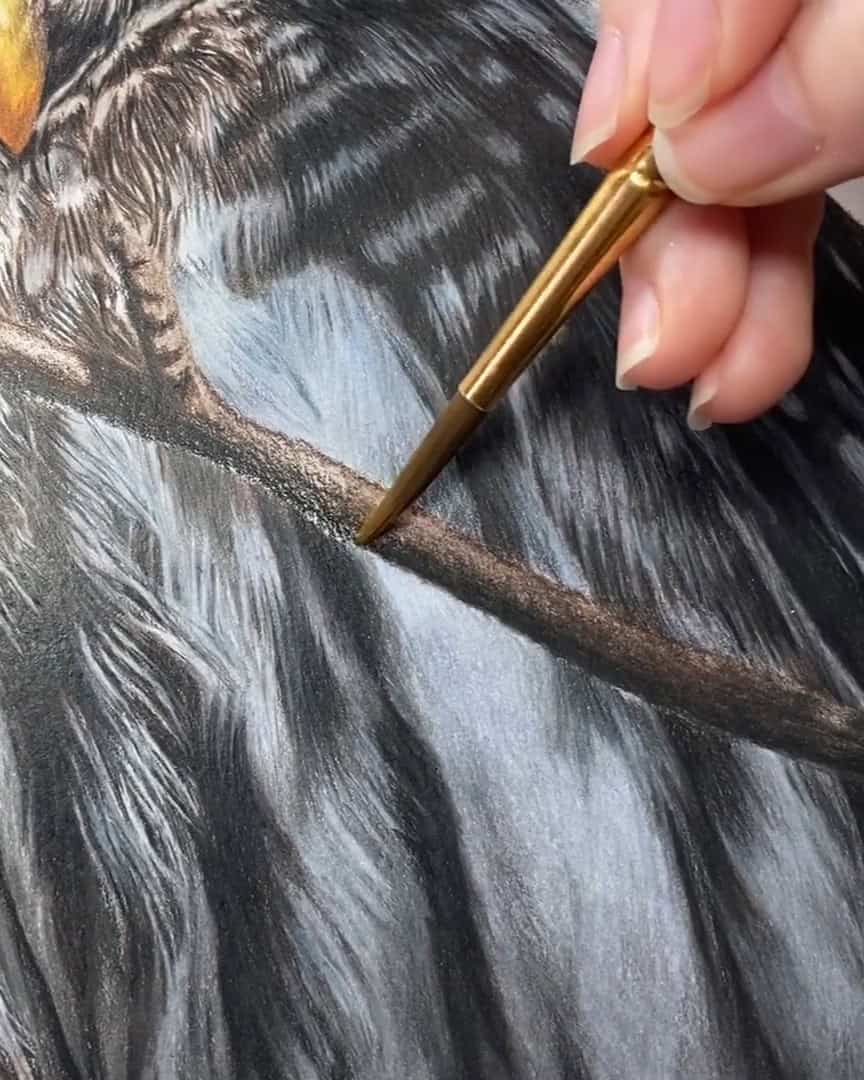
Now that you know the basics, the next step is to keep practicing. Learning how to pick colors and draw realistic animals takes time.
You can improve by following my real-time tutorials, where I guide you step-by-step with tips and explanations. Keep going!
Wrapping Up
Getting started with colored pencils is easier than you think. With the right pencils, paper, and tools, you’ll create beautiful art step by step.
Remember, practice is key—keep experimenting with techniques and supplies. Soon, you’ll see your skills grow, and your drawings come to life. Enjoy every part of your creative journey!