
Watercolor pencils are so fun and simple to use. They start like regular colored pencils, but with a little water, they turn into beautiful watercolor art.
I’ll guide you step by step!

Contents
Understanding Watercolor Pencils
These pencils dissolve in water, turning any drawing into a watercolor painting. They work like colored pencils but transform with a damp brush.
I can blend colors easily to create soft or bold effects.
Each pencil holds pigments bound by water-soluble material. Testing them dry and wet on swatch cards shows how the hues change.
Mixing colors expands possibilities, perfect for artistic experimentation!


Step-by-Step Guide to Watercolor Pencils
Start simple, grab your watercolor pencils and paper. Each step builds on another to bring your art to life with ease!
Designing a beach landscape
I sketch the ocean blue using ultramarine, letting it flow into turquoise water with green.
Sandy beach areas come alive with burnt ochre strokes.
Coastal colors like soft beige mix well for a realistic shoreline.

Applying water to the pencil lines
A soft brush works best to apply water. I use small strokes over the pencil sketching to blend the colors.
Too much water may wash out the shades, so I keep it light and controlled.
Layering brush strokes creates smoother blends. On watercolor paper, blending colors feels smooth while adding depth.
This step turns dry marks into rich tones using simple watercolor painting techniques!

Enhancing depth with color layers
I dry the first layer with a hairdryer before adding more color.
Then, I build depth by applying another layer of the same colors to boost saturation. This makes areas richer and deeper.
For shadows or darker parts, I lightly blend layers using softer strokes.
Each added layer makes the scene pop with dimension and life!


Detailing with textures and highlights
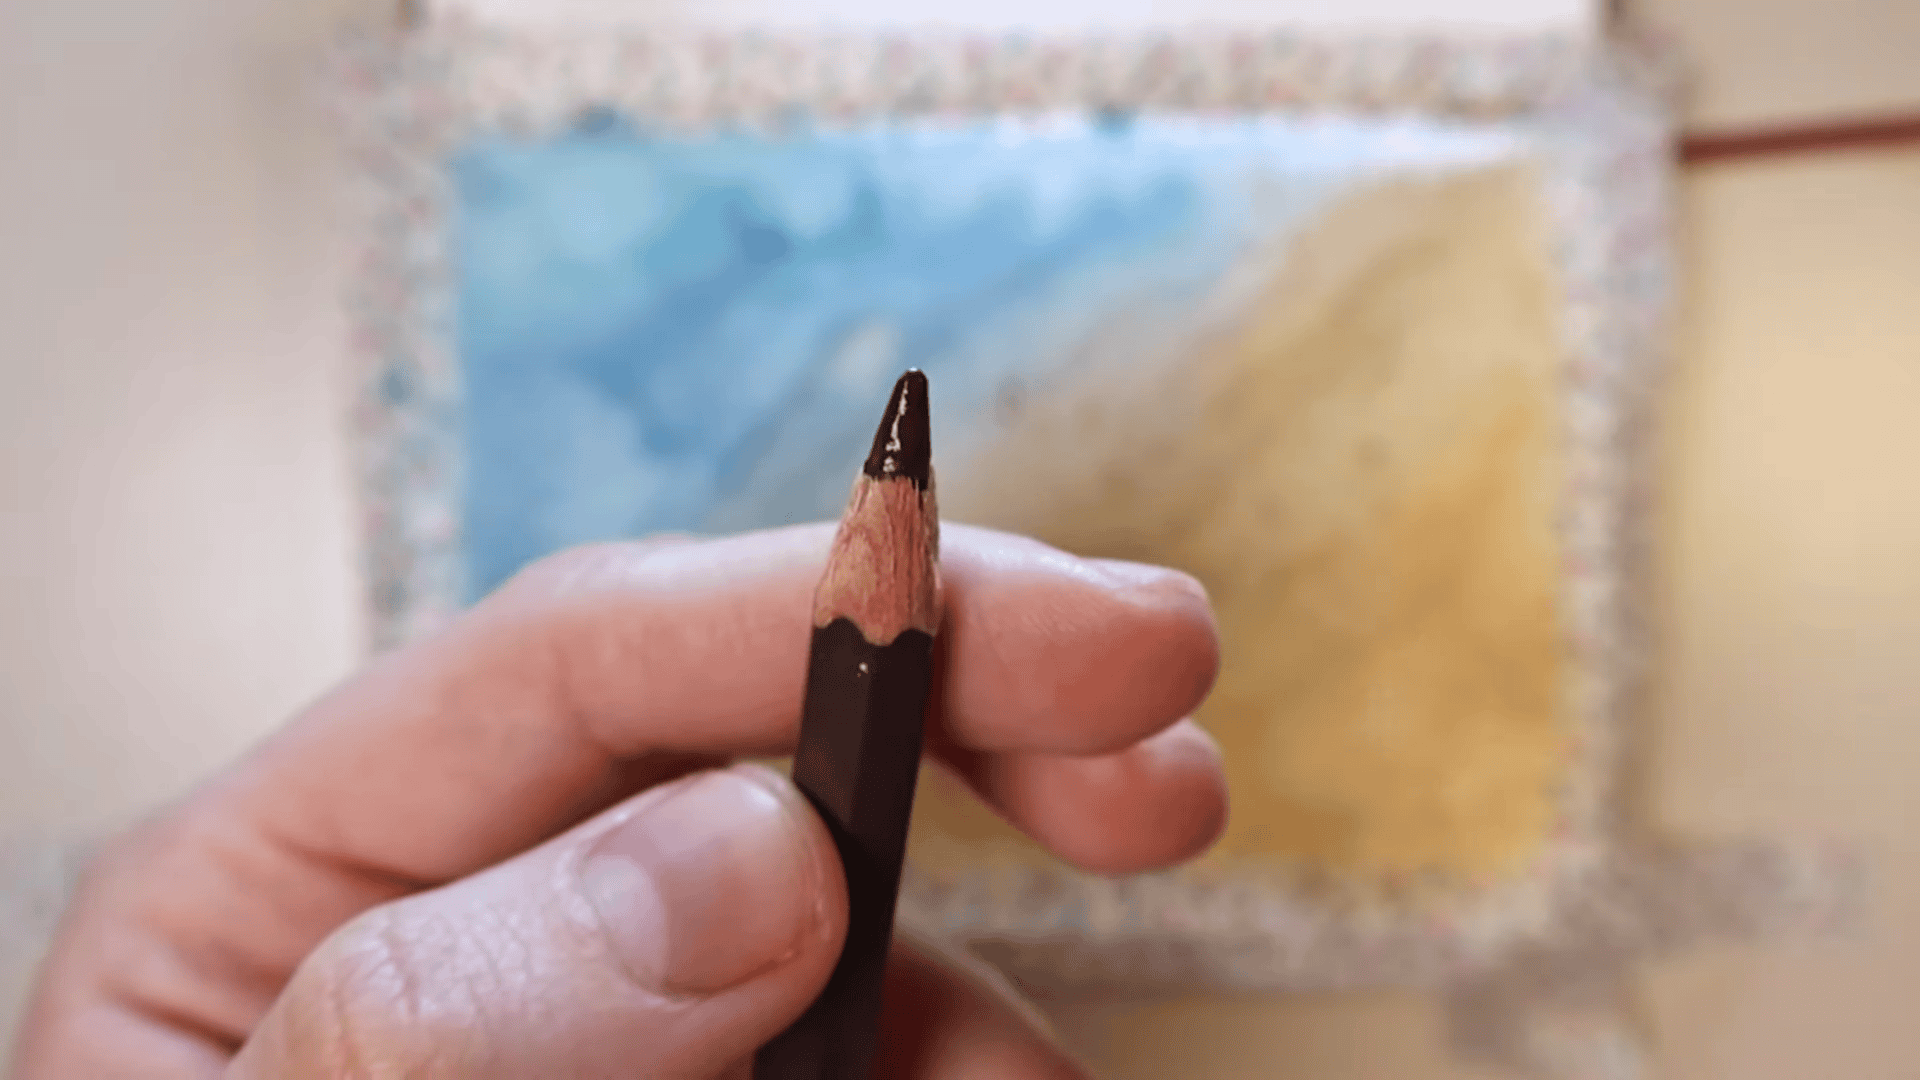
Scraping a brown pencil, like raw umber, over wet paper creates sandy textures.
Soft shading with dry pencils builds depth and makes elements pop.


Adding maritime elements like seashells and starfish
For sharp highlights, I add white gouache to mimic seafoam or light glints.
I sketch seashells with layered shades of brown to mimic their natural tones.
Blue shadows go in dry, giving a textured look like sand grains clinging to shells.
For starfish, I pick warm gray for soft shadows and detail the arms with fine lines.
Raw umber works well under seafoam areas, adding depth near the seabed in my coastal design.


Advanced Techniques for Watercolor Pencils
Try blending colors for smoother transitions, or layer shades for richer effects. These tricks can make your art pop and feel more alive!
Strategies for mixing colors
I blend colors dry before using water. Rubbing two shades together with light strokes creates smooth transitions.
Adding layers after each dries helps build richness and depth. For example, mixing yellow and blue makes vibrant green tones pop in my designs.
Each layer adds life to the final image!

Methods for creating layered effects
Building up color with watercolor pencils takes patience. I start with light strokes, letting each layer dry before adding more.
Too many layers too fast can create odd textures. Using less pressure for the first layers helps avoid this issue.
I compare colors as I go, adjusting tones to add depth. Mixing warm and cool shades brings life to my work.
For example, blending blue and orange creates a subtle shadow effect on objects like seashells or sand hills.

Conclusion
Watercolor pencils are simple and fun. Start small, test the colors, and play with water.
Each step gets easier as you practice. Keep creating, and soon you’ll see your art shine!
