Joining granny squares can feel intimidating, but it doesn’t have to be.
In this tutorial-inspired guide, Bella Coco walks crocheters through a simple, reliable way to connect squares using an invisible seam.
The method is neat, strong, and surprisingly easy once you see how it works. If sewing pieces together usually makes you sigh dramatically, this technique may change everything.

Contents
What Makes an Invisible Seam So Useful?
An invisible seam does exactly what the name promises—it joins crochet pieces together without leaving a visible ridge or bulky line. This makes it perfect for blankets, cushions, garments, and any project where you want the focus on the stitches, not the seams.
Bella Coco’s approach is especially friendly for beginners. It doesn’t require fancy tools or complicated steps—just a bit of patience and paying attention to matching stitches. Don’t ask why, but that one detail makes all the difference.
What You’ll Need Before You Start
To create an invisible seam, only a few basics are required:
- Granny squares ready to be joined
- A darning needle
- Yarn that matches your squares
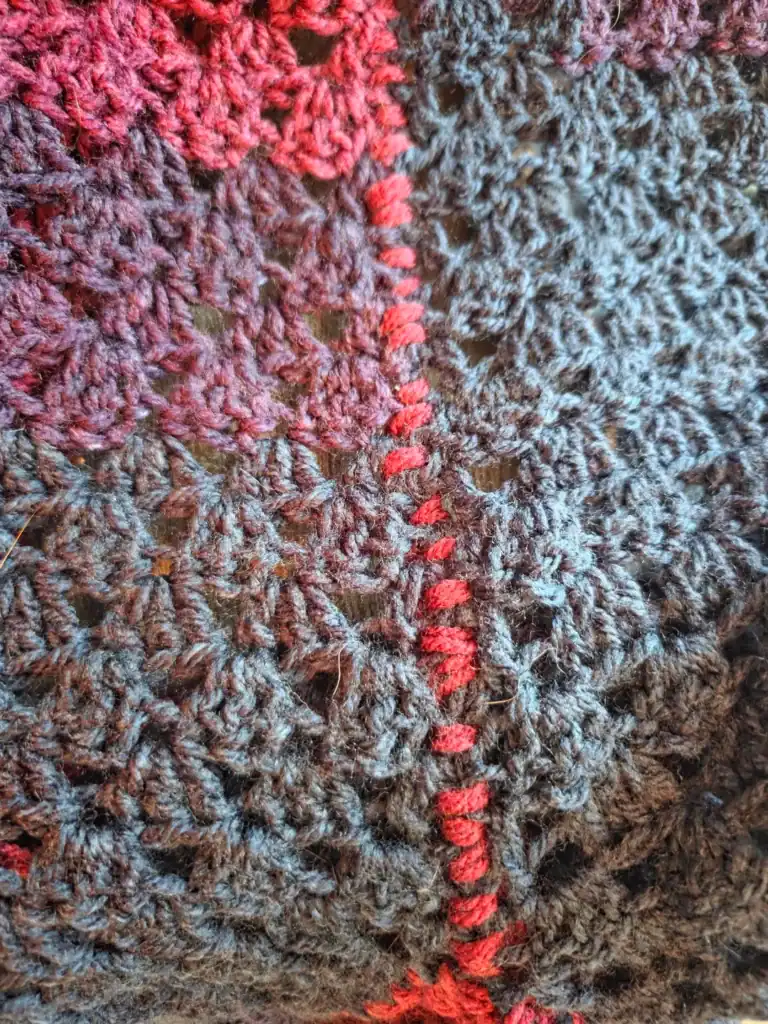
Bella Coco uses a contrasting yarn color in demonstrations so the steps are easier to see. At home, though, using a matching yarn will make the seam practically disappear. I’m just the messenger.
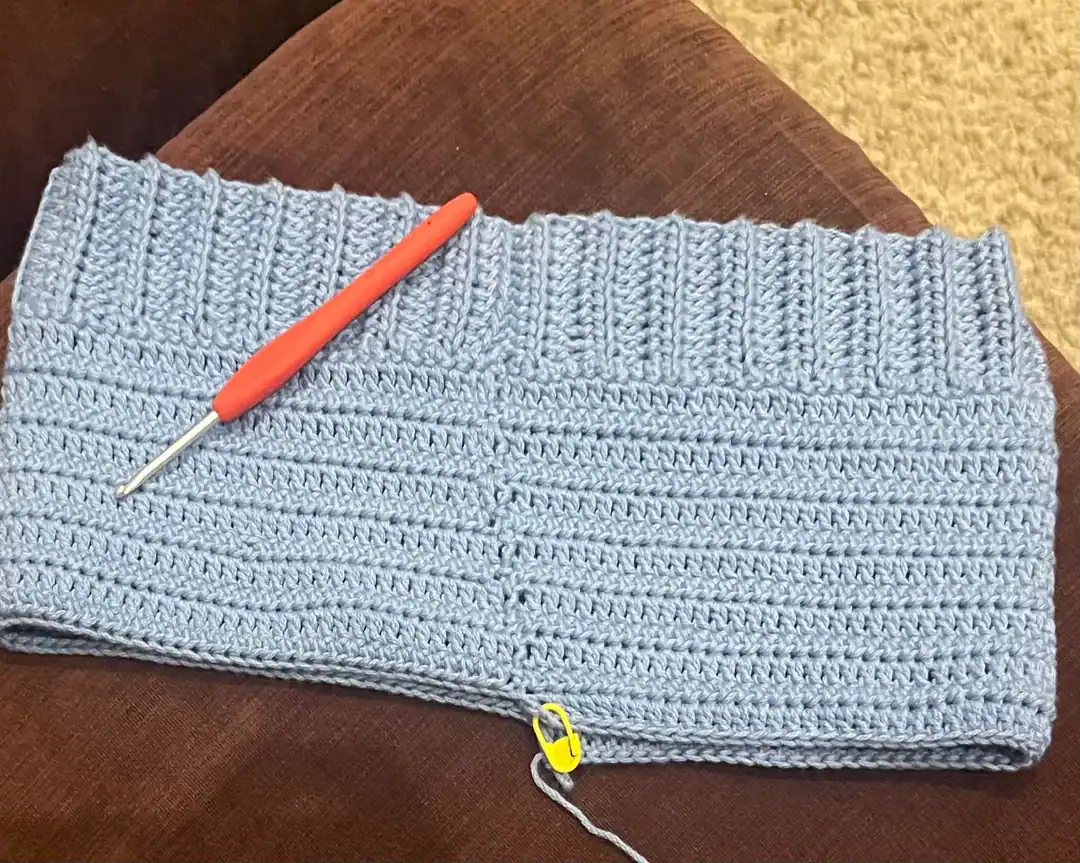
Setting Up Your Squares Correctly
Before stitching anything together, placement matters.
The squares should be laid with right sides facing up, then folded together so the right sides face each other. This means the wrong sides will be on the outside while sewing. The seam will be worked along the edge where the squares meet.
The key focus is on corresponding stitches—each stitch on one square must line up with its matching stitch on the other. This is what keeps everything neat and even.
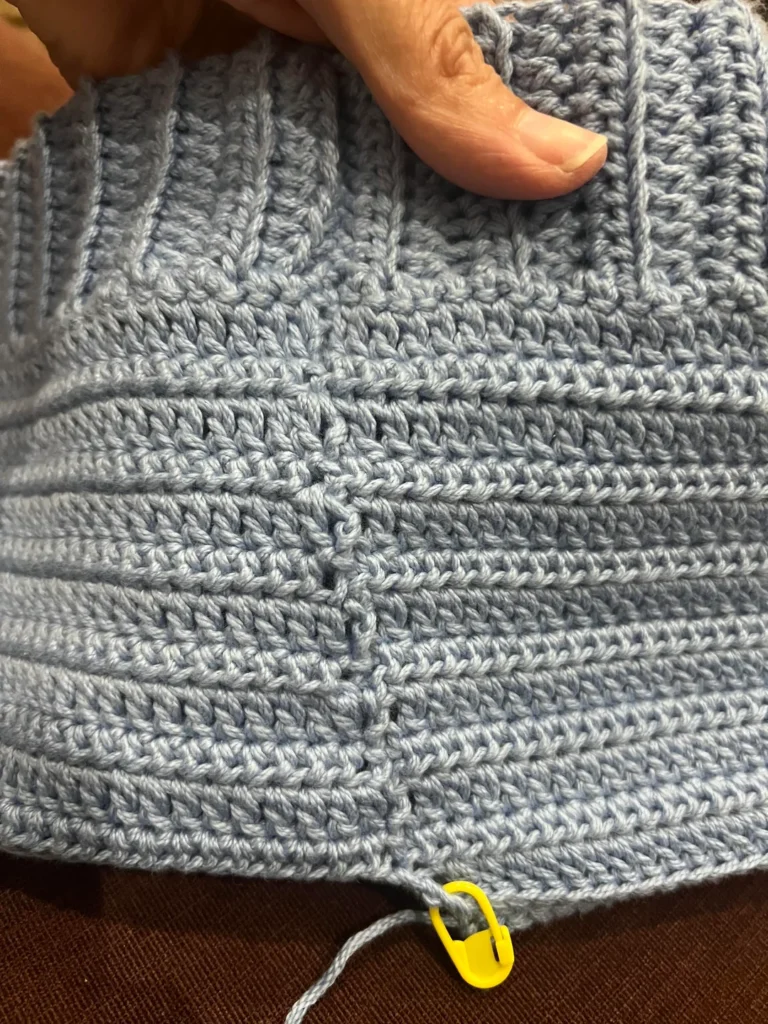
The Core Technique: Back Loops Only
Here’s where the magic happens.
Instead of sewing through entire stitches, the invisible seam is worked through the back loop only of each stitch. Because the squares are folded together, the back loop of one square faces you, while the back loop of the other faces away. Both are still accessible—and both matter.
Starting at the corner:
- Locate the central chain of the corner on both squares.
- Insert the needle through the back loop of the first square.
- Move directly into the corresponding back loop of the second square.
- Pull the yarn through gently.
From there, repeat this process stitch by stitch: back loop to back loop, always matching the same stitch on each square.
Keeping the Seam Neat and Even
As you work across, it helps to pause about halfway and gently pull the yarn snug. This evens out the tension and keeps the seam tidy. You don’t need to yank it tight—just enough to bring the squares together cleanly.
Clips or stitch markers can be useful if things start shifting, but they’re optional. Slow and steady wins here.
When approaching the corners, don’t forget to work into the center chain of the corner stitches. Skipping them can leave gaps, and nobody wants that.
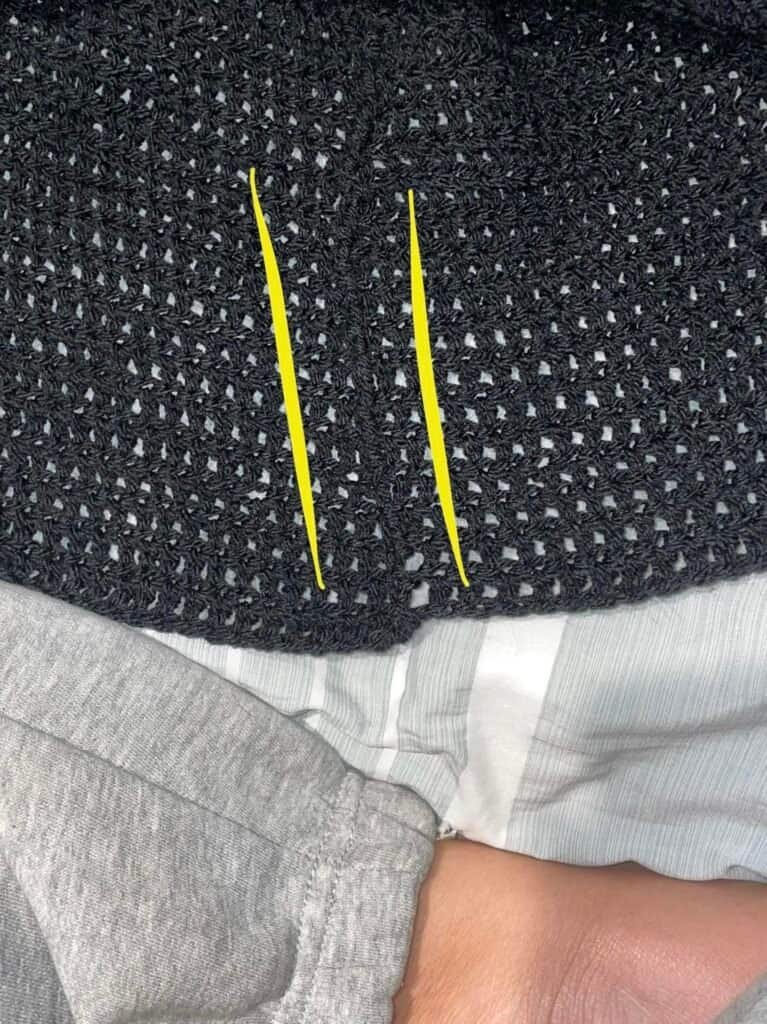
The Big Reveal
Once the seam is complete, opening the squares reveals the real payoff. With matching yarn, the seam nearly disappears into the fabric. The squares lie flat, the join looks polished, and the finished piece feels cohesive rather than pieced together.
Bella Coco recommends joining squares in rows first, then sewing the rows together. It keeps everything organized and much less overwhelming—solid advice, honestly.
Final Thoughts
The invisible seam is one of those techniques that looks impressive but is refreshingly simple. Bella Coco’s method proves that joining crochet pieces doesn’t have to be stressful or messy. With a little practice, this seam can quickly become a go-to finishing touch.
If sewing has been the part of crochet you avoid until the very last second, this technique might finally make peace with it. And that’s a win worth stitching for.