
Pencil marks can leave your watercolor painting looking unfinished. Many artists ask how to erase those lines after the paint dries without damaging the paper.
Harriet from deWintonPaperCo shares her personal method, which works every time. She reveals the tools she uses and the exact stage when erasing works best.
Follow her steps, and you can enjoy cleaner, sharper watercolor paintings. Let’s try it with your next artwork today!
Contents
- 1 Best Tools to Erase Pencil Lines in Watercolor
- 2 How to Prepare Pencil Sketches Before Painting
- 3 Painting Techniques That Make Erasing Easier
- 4 Step-by-Step: How to Erase Pencil Lines After Watercolor
- 5 Refining Watercolor After Erasing Pencil Lines
- 6 Mistakes to Avoid When Removing Pencil Lines in Watercolor
- 7 Final Thoughts
Best Tools to Erase Pencil Lines in Watercolor
Before you start painting, the tools you choose make a big difference. Harriet explains that the right pencil and erasers will help you later when it’s time to erase.
Choosing the Right Pencil for Watercolor Sketching
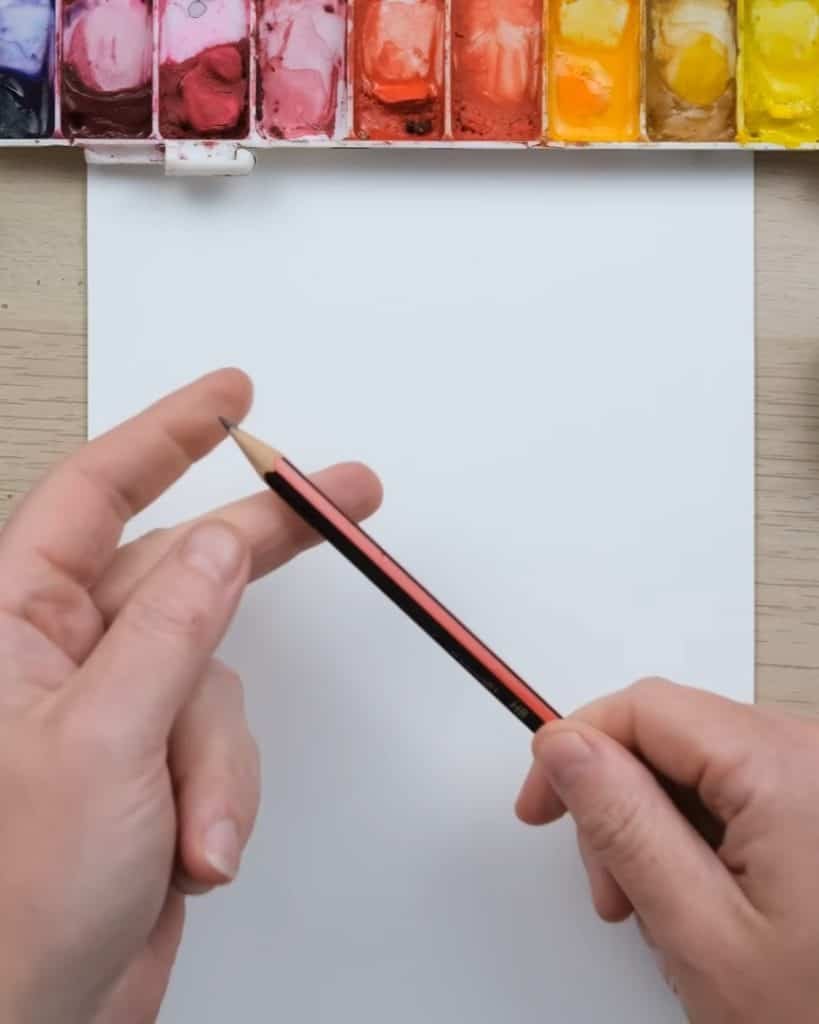
A regular HB pencil is the best choice. It is not too dark or too soft, which means the lines are easier to erase.
If you use a darker pencil, the marks may stay visible under your paint. Using HB helps you avoid those problems.
Best Erasers for Watercolor Paper
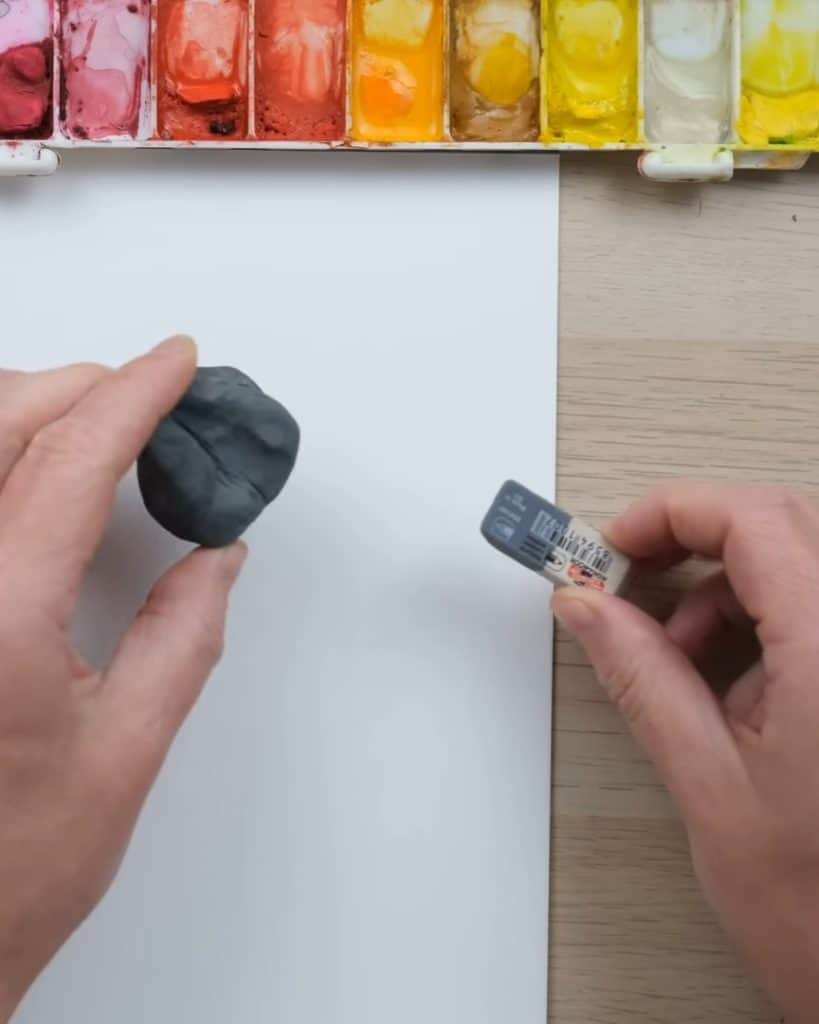
Harriet uses two erasers:
- A kneadable eraser (also called a putty rubber). This one is soft and flexible. It works well for gently lightening lines before painting.
- A hard eraser, the Koh-I-Noor natural rubber eraser. It has two sides: one for pencil, one for ink. Harriet says this eraser is amazingly effective, even though the ink side is not designed for pencils.
She believes using both types gives her more control. One eraser fades lines, and the other removes them completely.
How to Prepare Pencil Sketches Before Painting
Good preparation helps you avoid trouble later. Harriet always prepares her sketch before she picks up her brush.
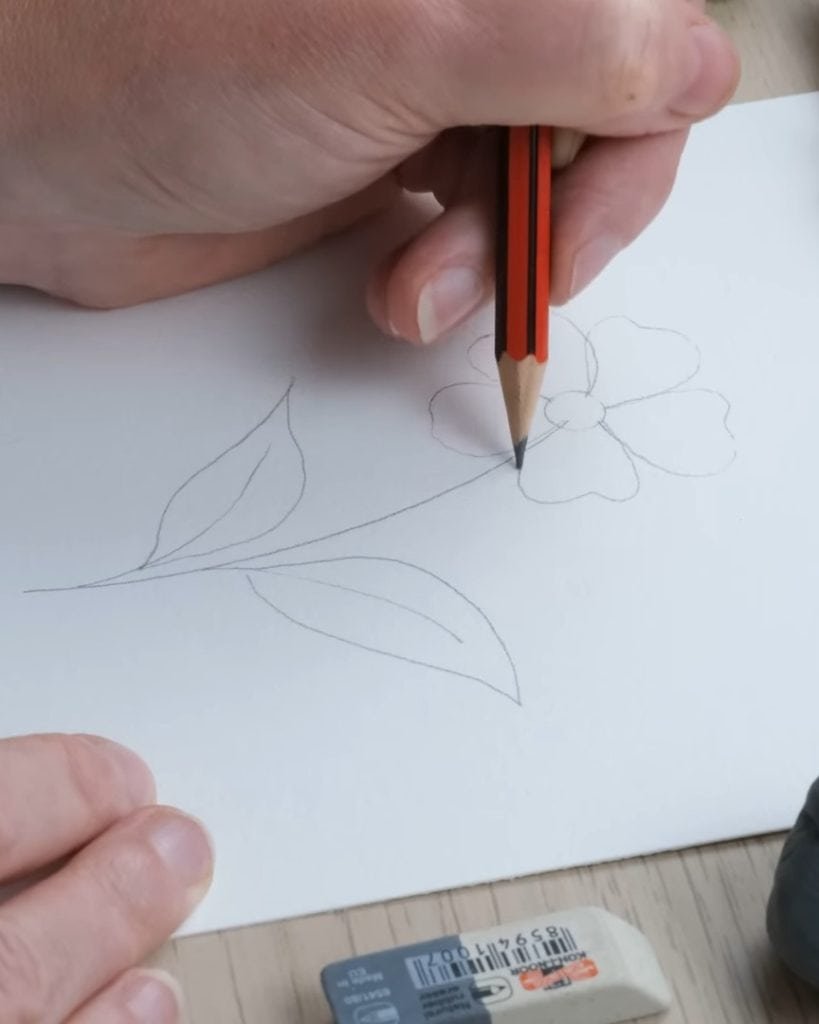
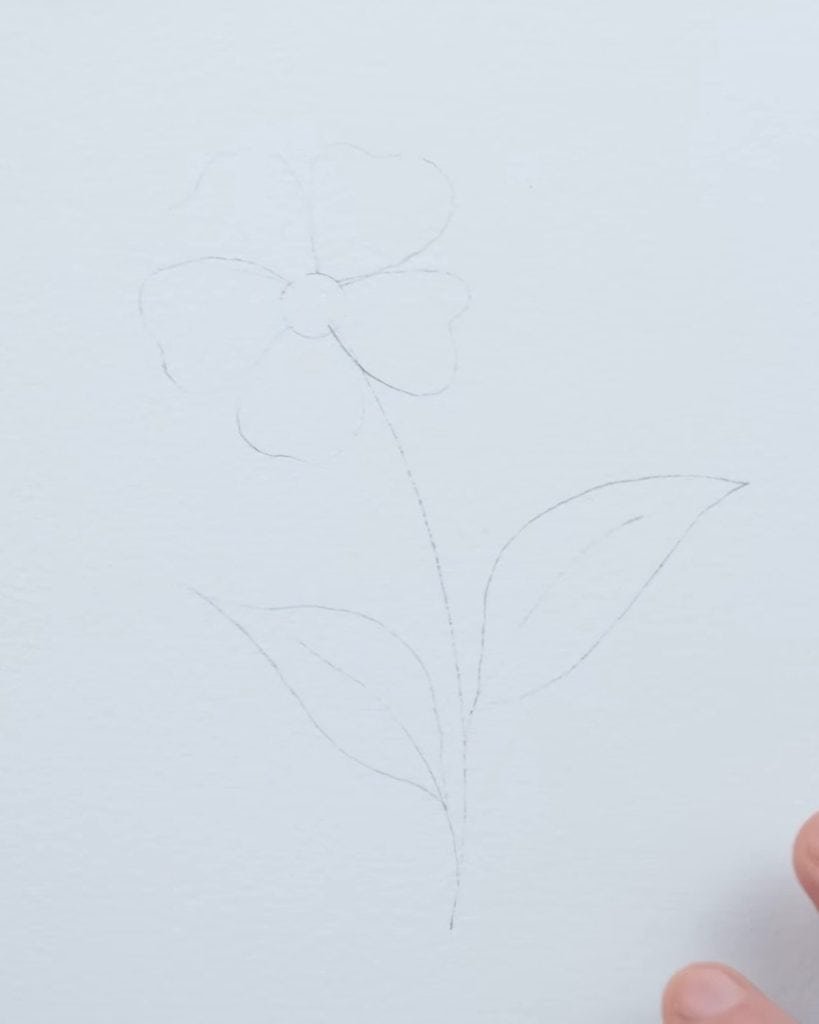
Draw Light Pencil Lines for Easier Erasing
She draws lightly when creating shapes such as flowers, stems, leaves, and petals. The lighter your lines, the easier they are to remove later.
Drawing faintly also prevents marks from showing through thin paint layers.
Lighten Pencil Marks Before Adding Watercolor
If the lines are too strong, Harriet gives her drawing a gentle rub with the kneadable eraser. This makes the marks much fainter but still visible enough to guide her painting.
She explains that this step makes her life easier later because only the minimum pencil remains on the paper.
Painting Techniques That Make Erasing Easier
Once the sketch is ready, Harriet begins painting. She suggests painting with erasing in mind.
Use Light Washes in Watercolor for Better Erasing
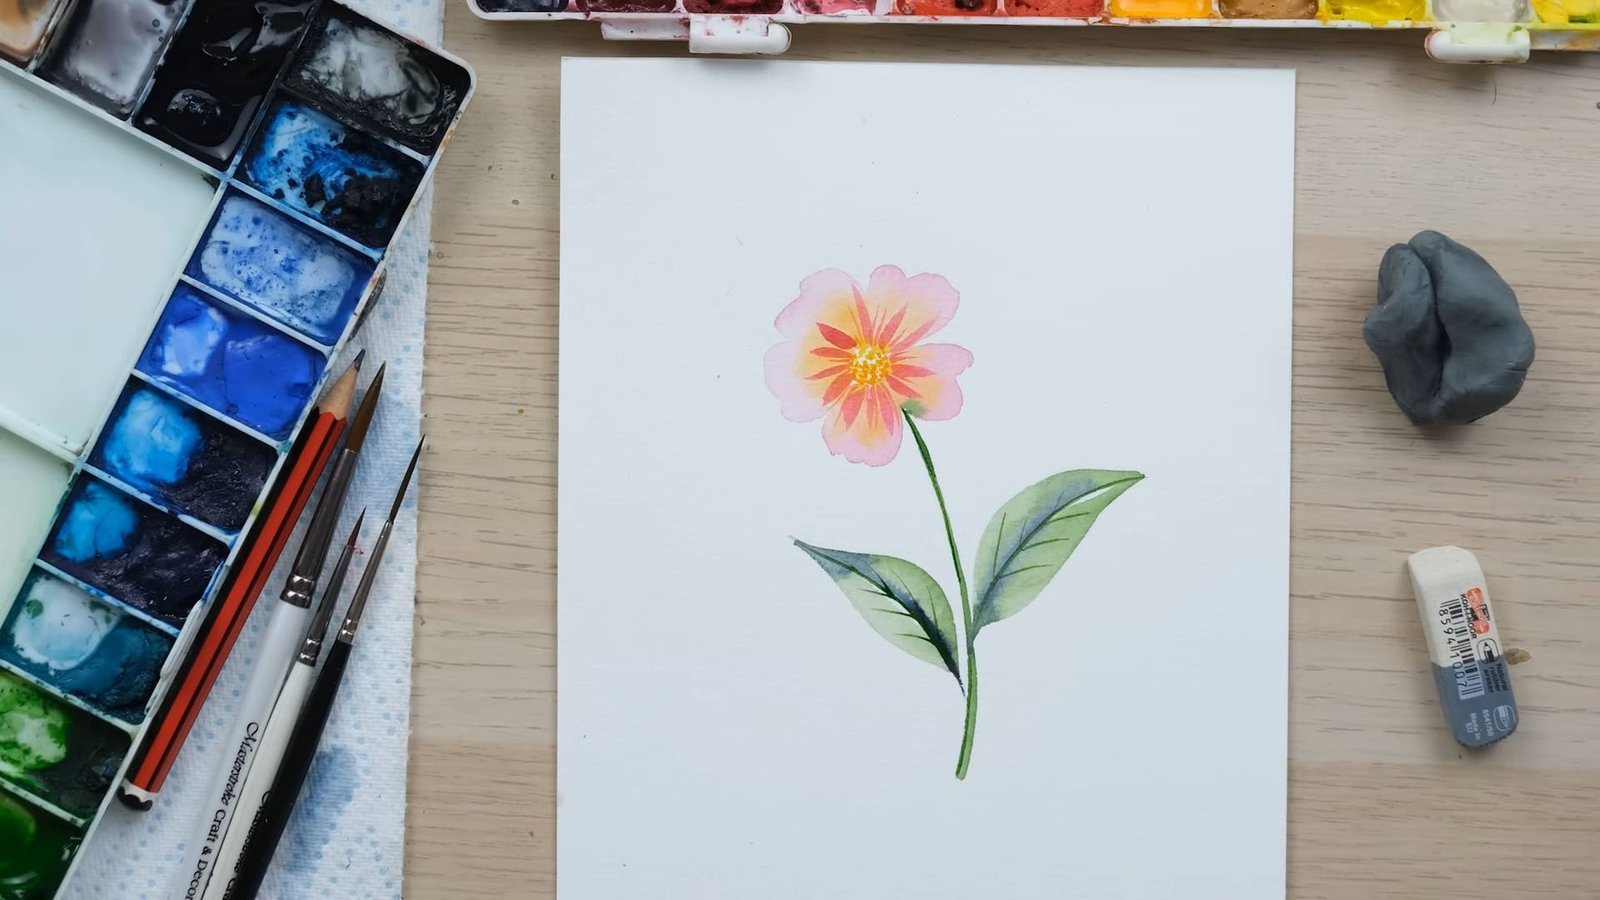
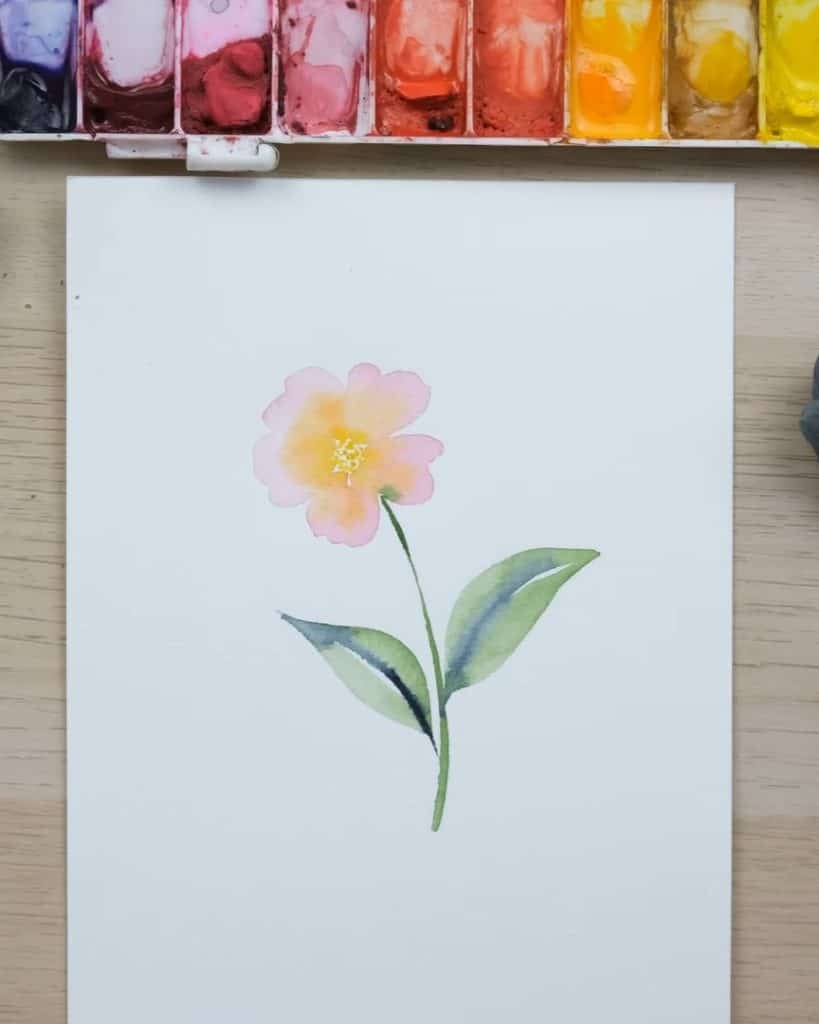
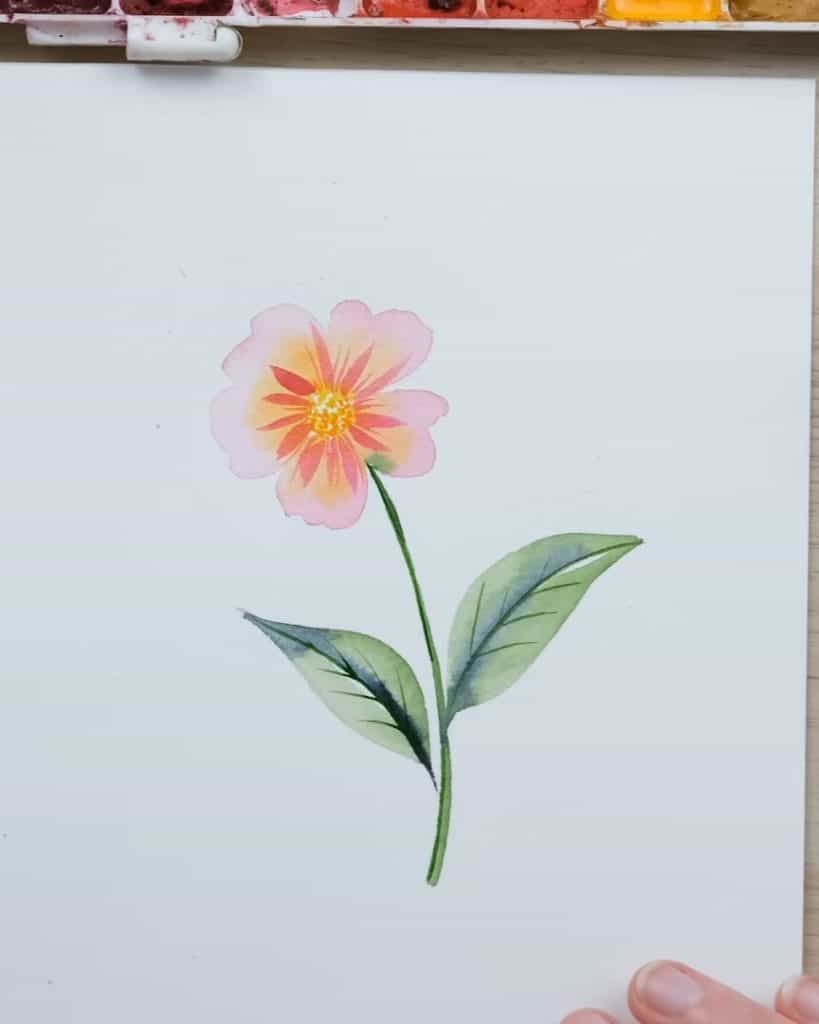
Harriet starts with a diluted wash of Permanent Rose for flower petals. She points out that using translucent washes makes it easier to see the pencil underneath.
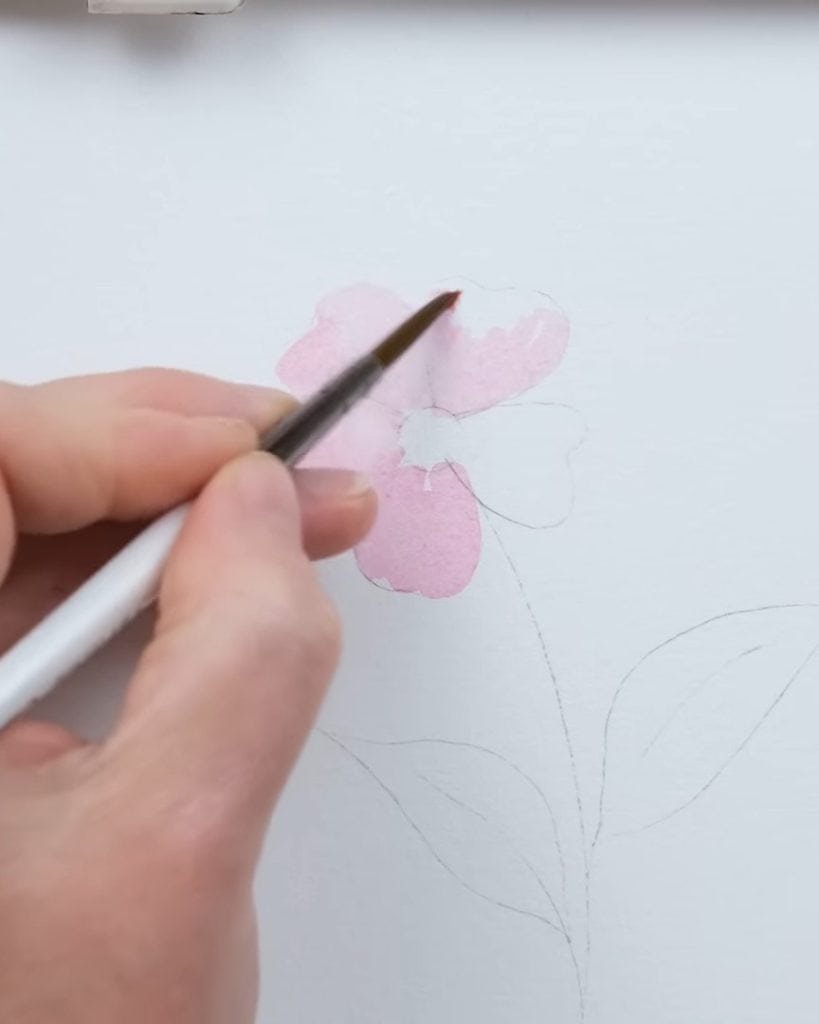
At the same time, light washes are easier to erase over later. Harriet reminds you that this does not mean you must always paint lightly. It just helps when you plan to erase lines at the right stage.
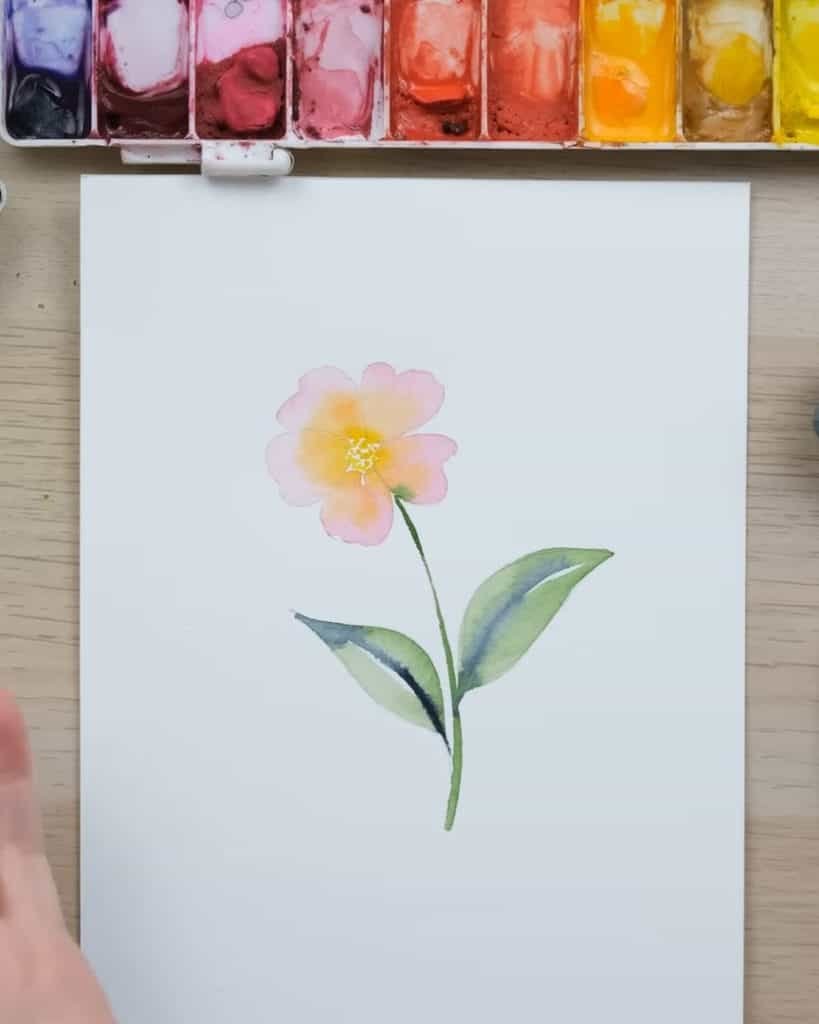
She then adds orange to the petals and greens for the leaves and stem. She keeps her paint translucent and builds her colors gradually.
Erase Pencil Marks at the Basic Wash Stage
Harriet explains the “basic wash stage.” This is the point when every shape in your painting has its first layer of color.
Everything is painted, but details are not added yet. Harriet says this is the best time to erase pencil marks.
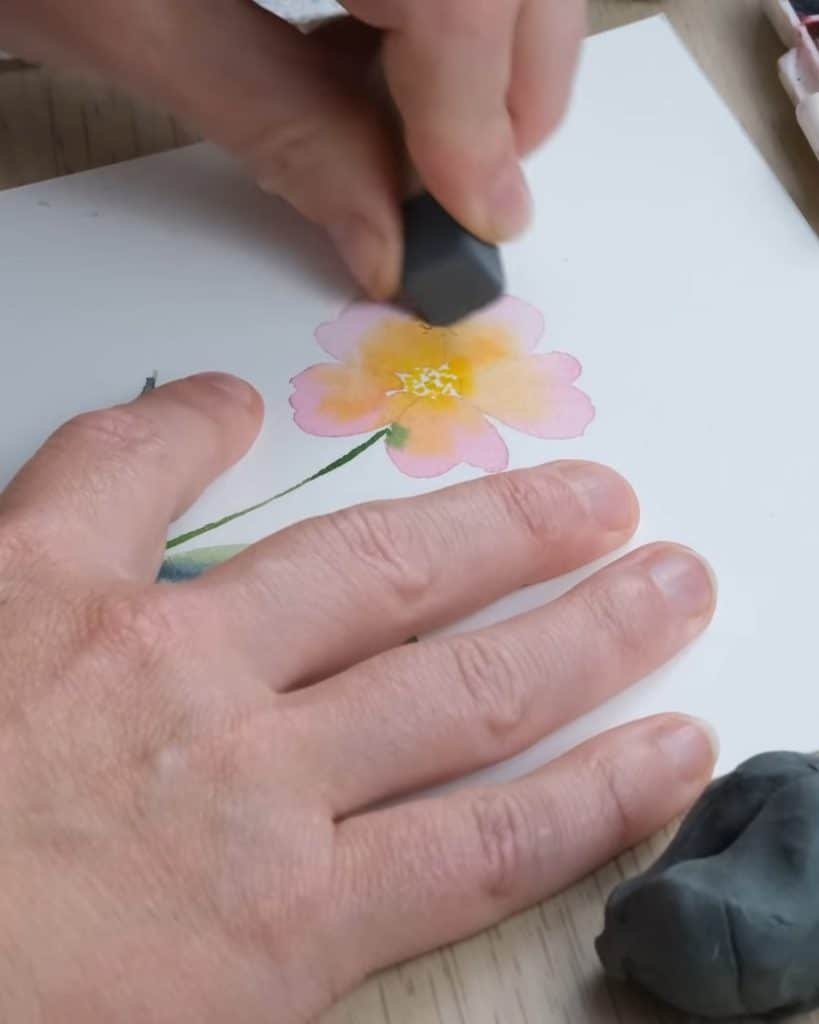
At this stage, the shapes are already defined, so you won’t lose your structure if you erase. But you must wait until the paint is 100% dry before using the eraser.
Step-by-Step: How to Erase Pencil Lines After Watercolor
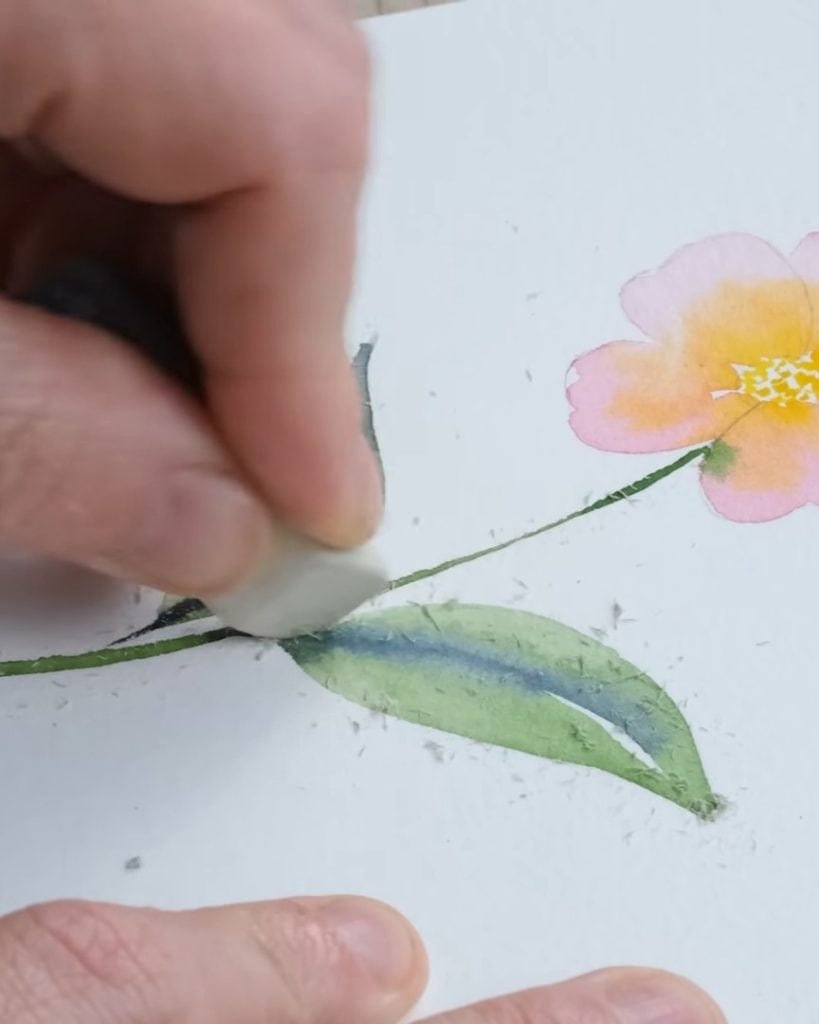
Now that the paint is dry, Harriet starts erasing. She shows her exact process step by step.
First Eraser Pass: Remove Pencil Marks Gently
Harriet starts with the pale side of the Koh-I-Noor eraser. She rubs gently, keeping her hand steady to avoid damage.
Most pencil marks lift off quickly at this stage. The key is patience: light rubbing works better than pressing hard.
Second Eraser Pass: Remove Stubborn Pencil Lines
Some lines may be harder to erase. Harriet switches to the ink side of the eraser for those stubborn marks. Even though this side is designed for ink, she finds it excellent for tough pencil traces.
Harriet believes this eraser works so well that she includes it in her watercolor kits. Her review shows confidence in the tool’s power to clean up a painting without harming it.
Refining Watercolor After Erasing Pencil Lines
With the pencil lines gone, you can move forward with confidence. Here’s how Harriet finishes her paintings after erasing.
Deepen Colors Without Pencil Marks Showing
Once the lines are erased, Harriet feels free to add stronger washes. She uses more concentrated colors to bring life and richness to her work.
Because she erased at the right stage, she doesn’t worry about dark pencil lines being trapped under layers of paint.
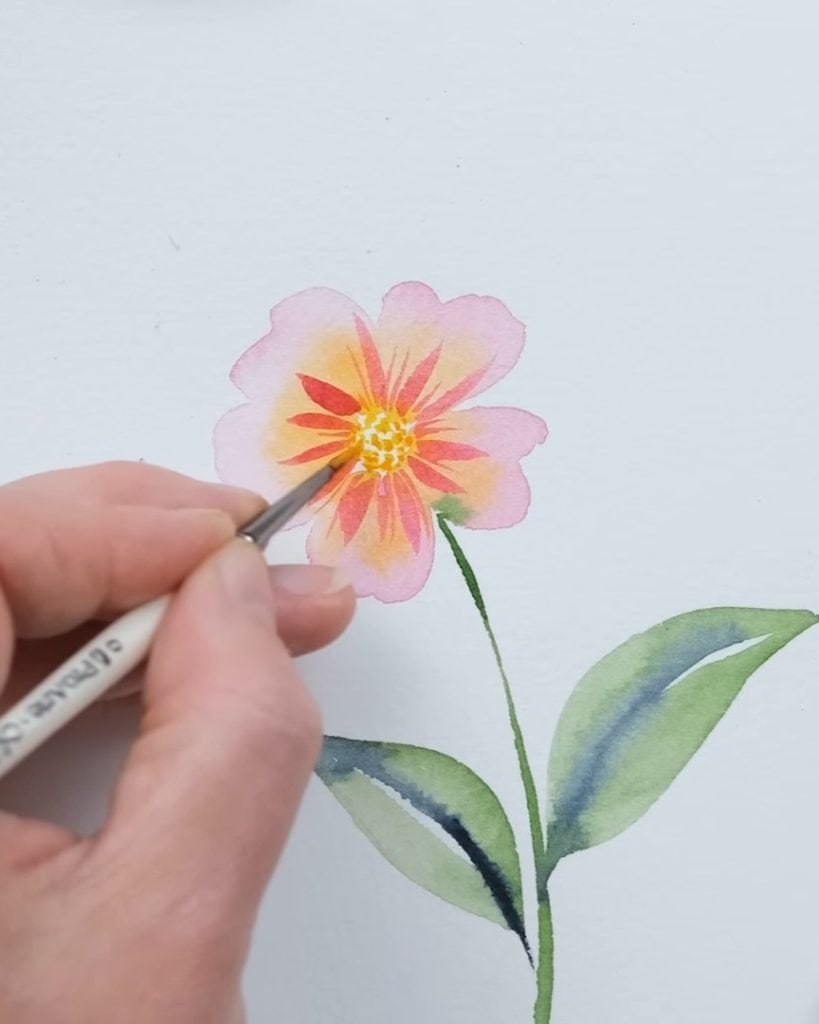
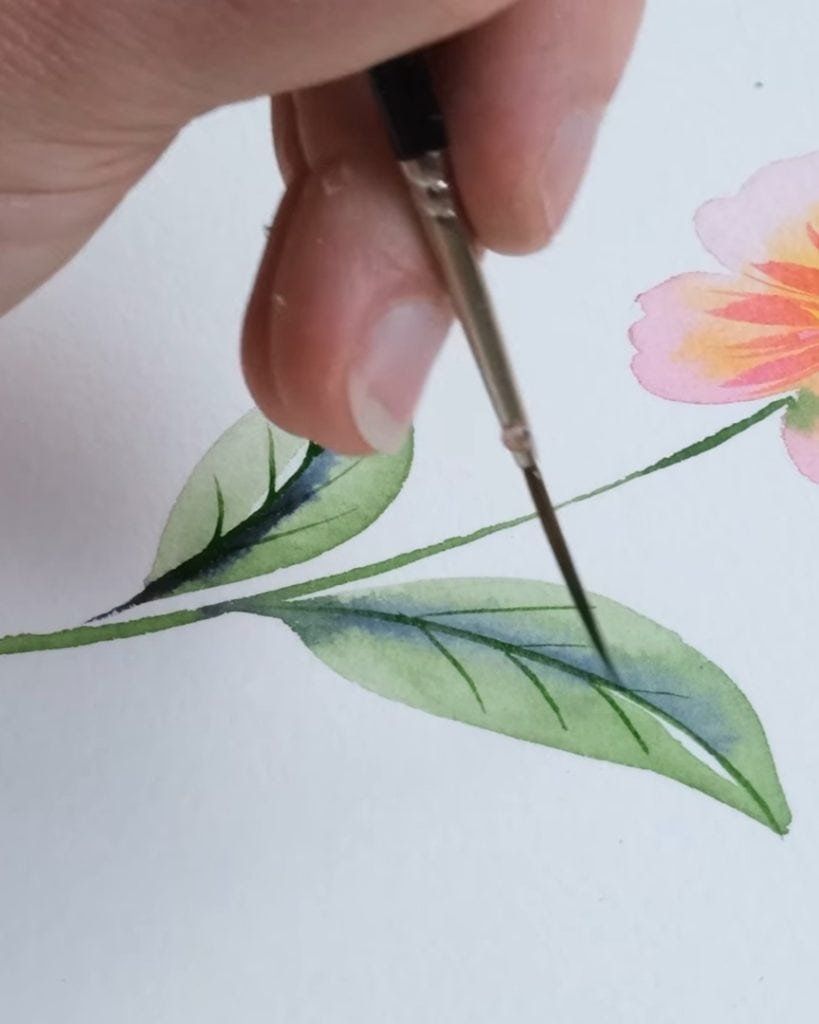
Add Watercolor Details Cleanly
This is also the moment for detail. Harriet adds shading, textures, and small features that complete the painting.
She enjoys this stage more because the surface is clean. The absence of pencil lines allows her final brushstrokes to shine without distraction.
Mistakes to Avoid When Removing Pencil Lines in Watercolor
It’s easy to make small mistakes that cause frustration. Harriet points out three common ones you should avoid:
- Drawing too heavily at the beginning, making erasing nearly impossible.
- Forgetting to erase at the basic wash stage, which leaves lines trapped under darker paint.
- Painting opaquely over pencil, which locks the marks in permanently.
By steering clear of these errors, you’ll save time and protect your artwork.
Final Thoughts
Removing pencil lines after watercolor painting is simple if you plan ahead. Use the right pencil, prepare your sketch, paint in translucent washes, and erase at the basic wash stage. Finish your painting with strong details, free from distracting lines.
According to Harriet, with the right tools and timing, you can achieve clean and professional watercolor results. Why not try her method in your next painting and see the difference?