
Are you looking to paint a beautiful poppy but don’t know where to start? Olga Koelsch is here to guide you step by step through her simple, beginner-friendly watercolor process.
From finding the flower’s center to adding delicate details with dry-brush strokes, Olga Koelsch will share easy techniques to help you bring your poppy to life with confidence and vibrant color.
Let’s get started and create a stunning poppy you’ll be proud of!
Contents
- 1 Step 1: Starting with the Center of the Poppy
- 2 Step 2: Painting the Middle Part of the Poppy
- 3 Step 3: Deepening the Color with Burnt Sienna and Neutral Tint
- 4 Step 4: Painting the Stem
- 5 Step 5: Adding Additional Petals Behind the Main Petal
- 6 Step 6: Painting the Last Petal with Dry Brush Technique
- 7 Step 7: Painting the Poppy Bud and Surrounding Bracts
- 8 Step 8: Final Details and Highlights with Dry Brush
- 9 Final Thoughts
Step 1: Starting with the Center of the Poppy
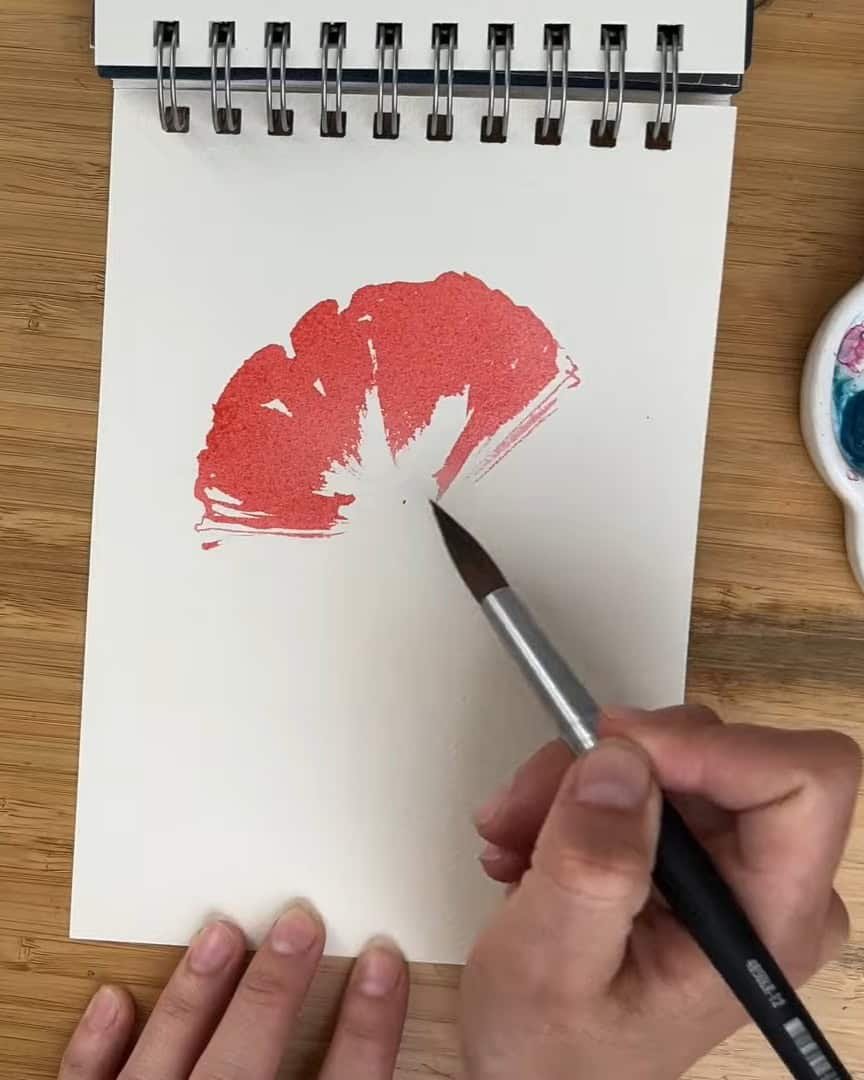
First, the artist finds the center of the flower where the bud meets the stem.

The artist uses a permanent red that’s very creamy and grabs a relatively big brush. The brush is soaked in the red mix and held parallel to the paper.
Then, the artist carefully sets the wavy edge of the front petal. After that, the colors are dragged downward with the brush to create natural gradients.
 Paint the first front petal
The artist aims to make the petal edge as interesting as possible. Here and there, small white spots are left to preserve the light. The strokes vary by switching between using the body of the brush and the tip.
Now that the center and front petal are in place, the artist is ready to add more layers of color and detail.
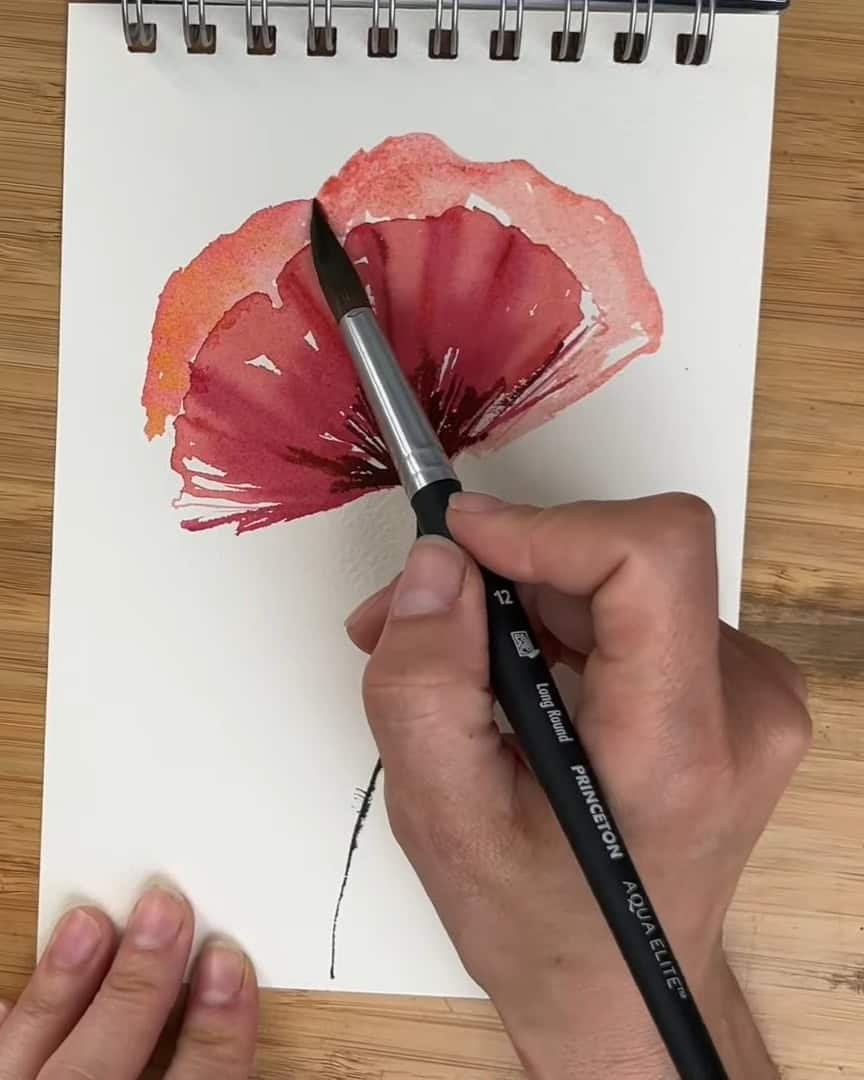
Step 2: Painting the Middle Part of the Poppy
Next, Quinacridone Rose is mixed in to begin painting the middle part of the poppy. Sometimes, this color overlaps the red areas painted earlier.
Other times, it is painted over the white spaces left intentionally, always preserving some white spots to let the light shine through.

Next, Quinacridone Rose is mixed in to begin painting the middle part of the poppy. Sometimes, this color overlaps the red areas painted earlier.
Other times, it is painted over the white spaces left intentionally, always preserving some white spots to let the light shine through.

With the middle part coming alive, the artist is ready to deepen the shadows next.
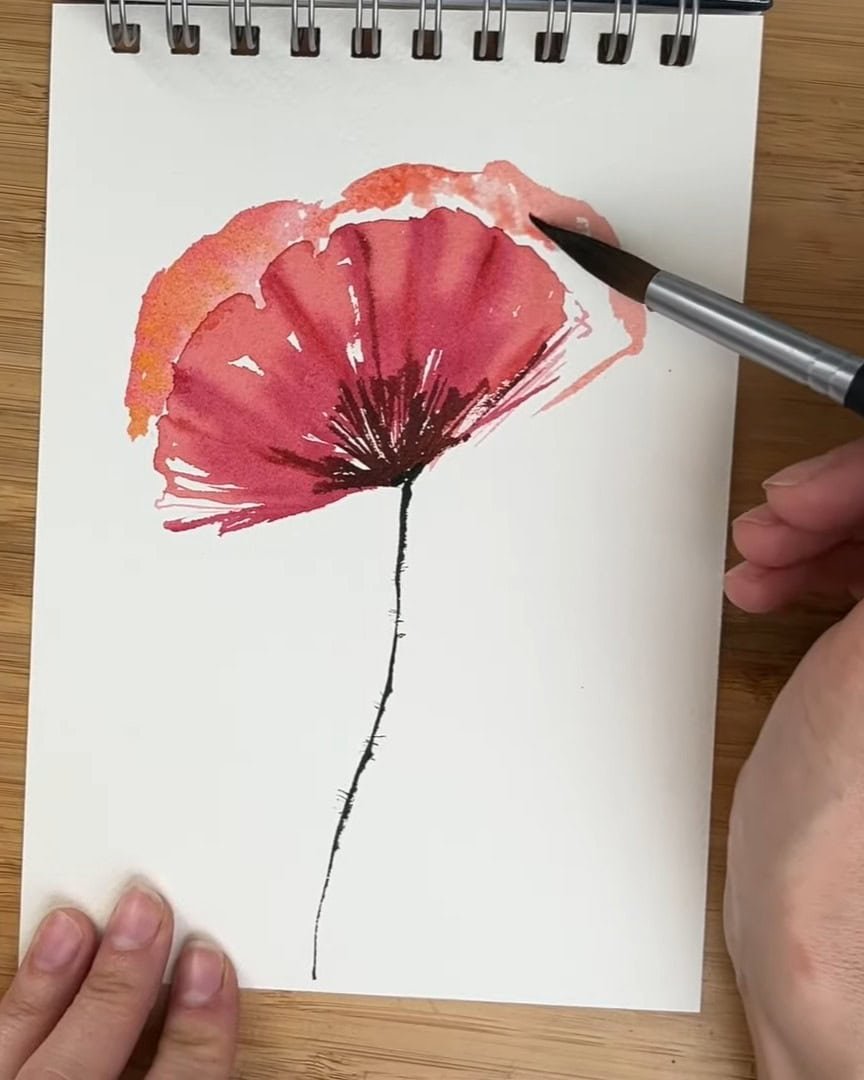
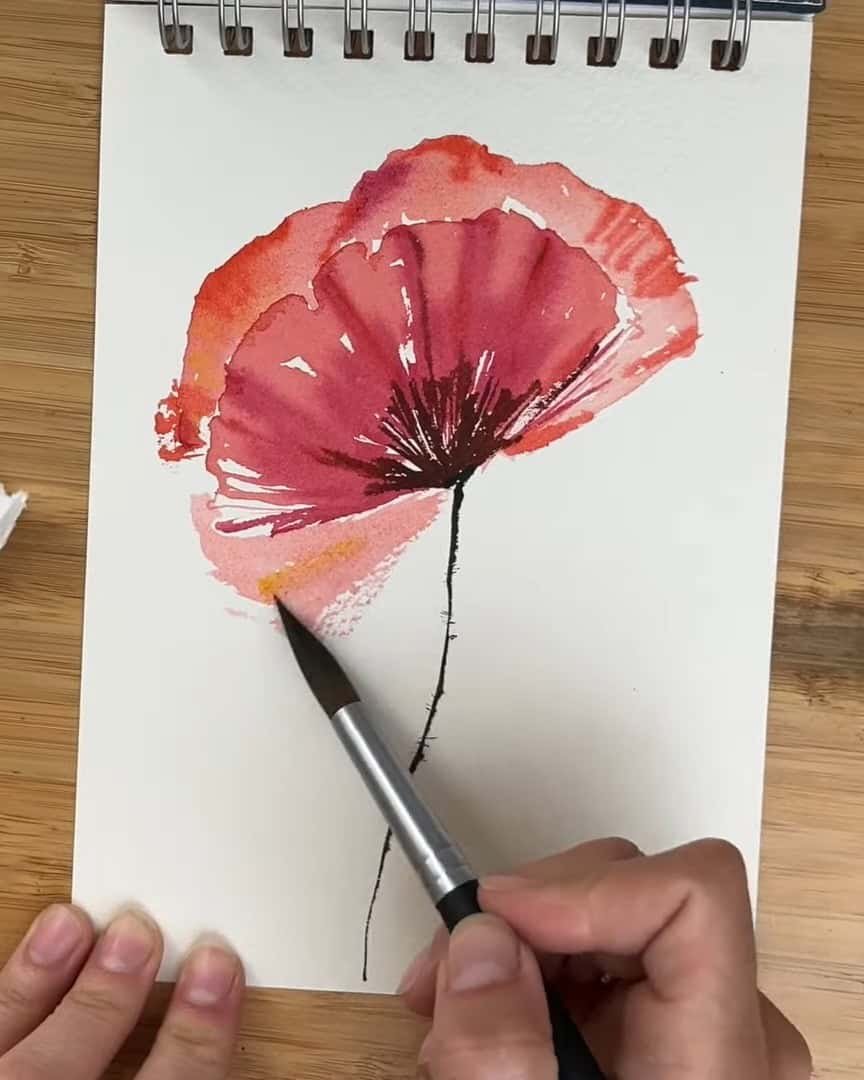
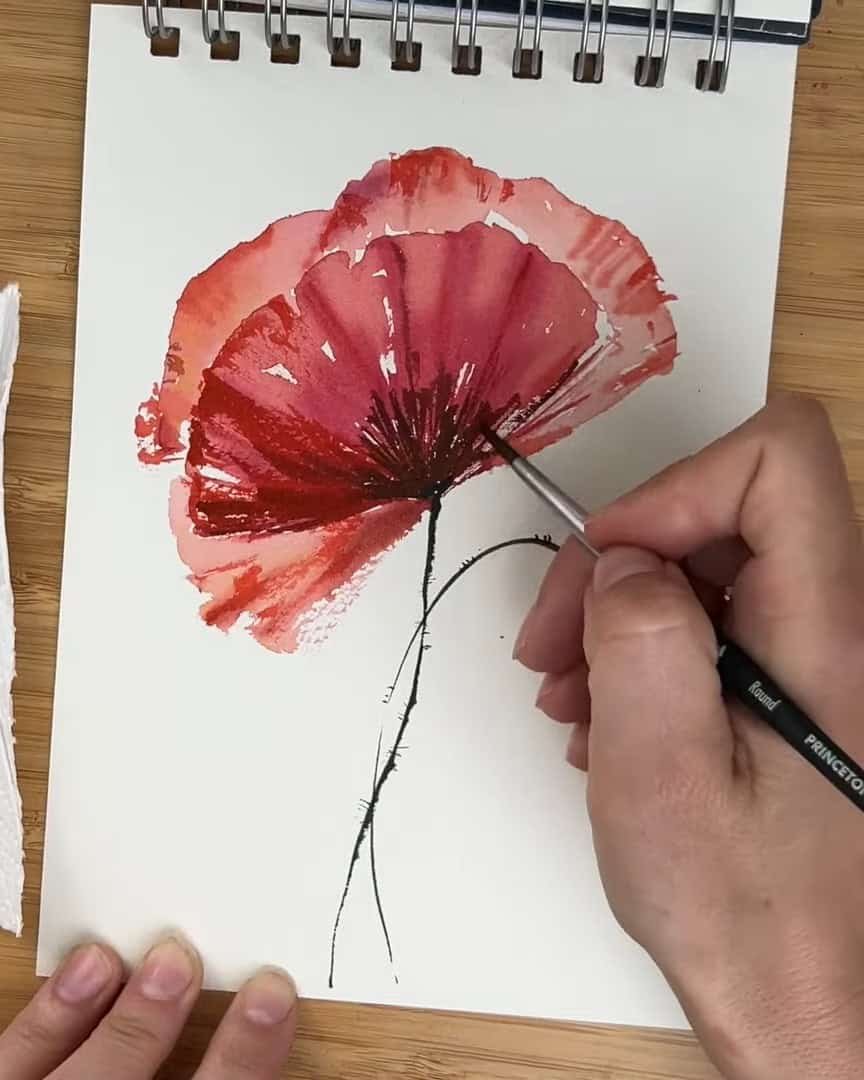
Step 3: Deepening the Color with Burnt Sienna and Neutral Tint
Red is mixed with Burnt Sienna to create a deep, rich color. A hint of neutral tint is sometimes added to make the tone even warmer.
Using the tip of the brush, the artist paints the bottom part of the poppy with this mix. The brush strokes are random but focused toward the middle to create a natural look.
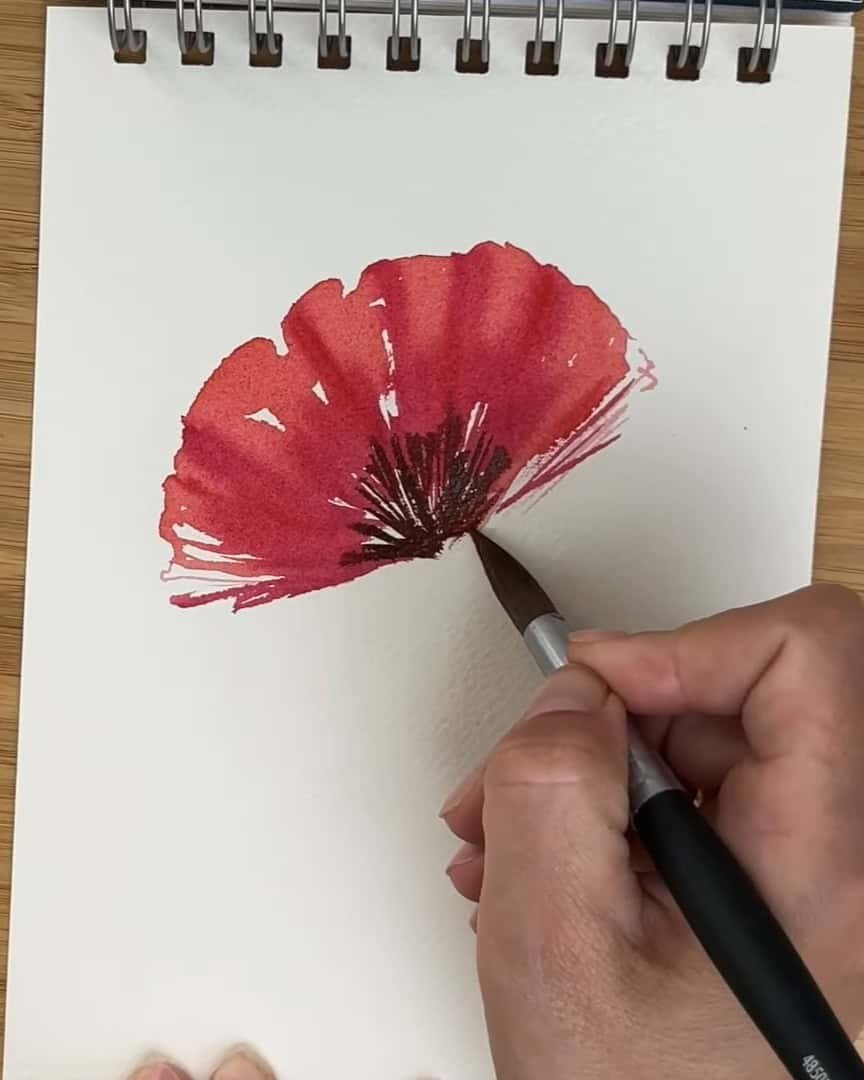
A few thinner brush strokes are scattered around the flower to enhance texture and detail.

With these colors added, the poppy feels fuller and more vibrant. Next, the stem and its texture are painted.
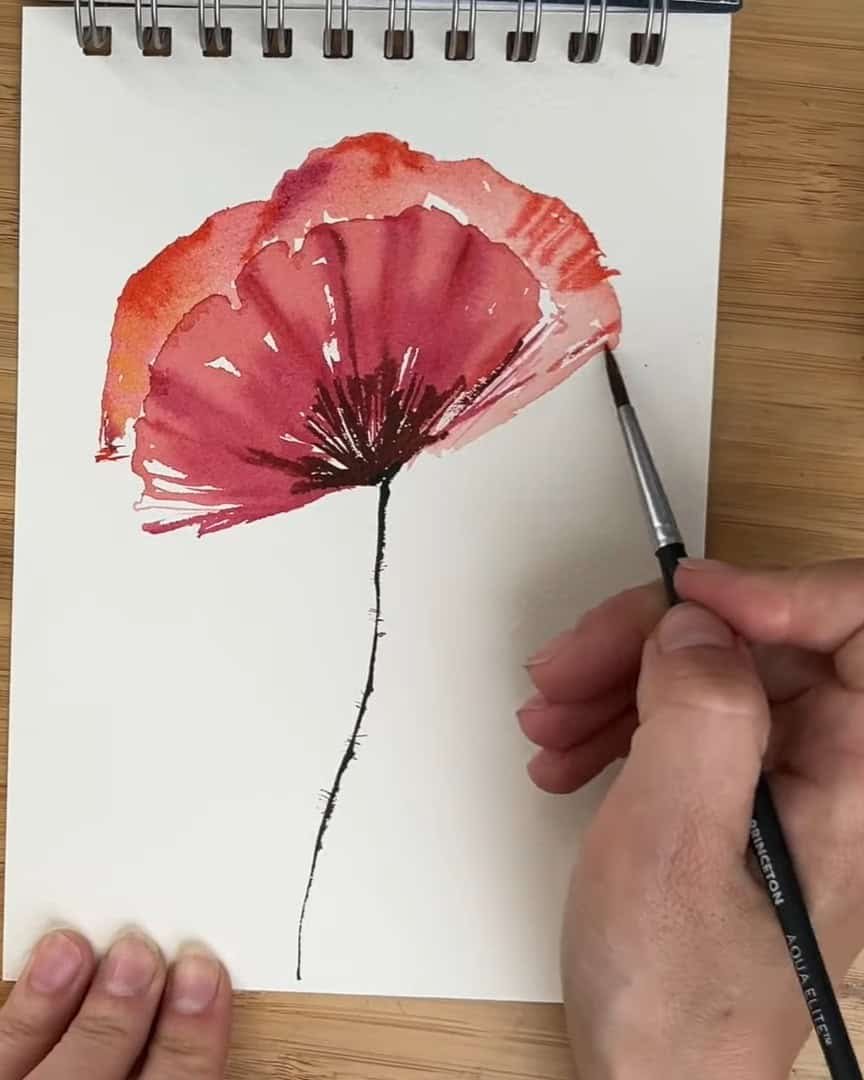
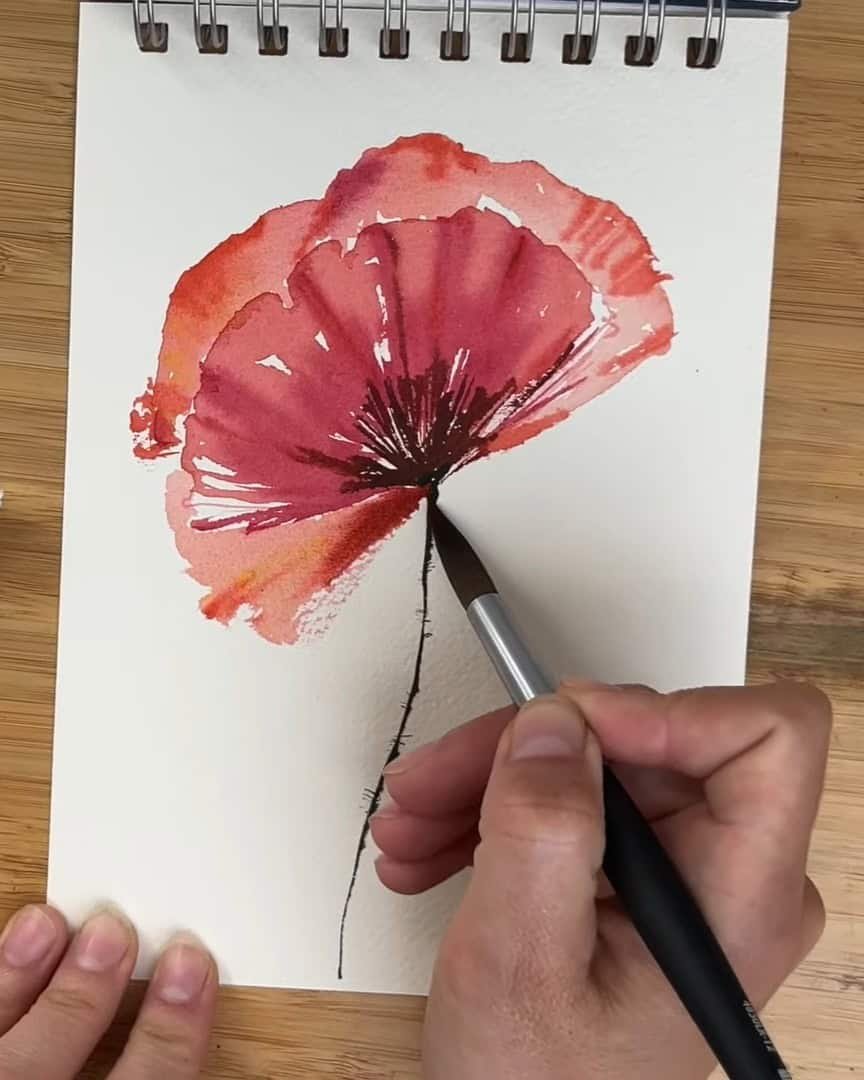
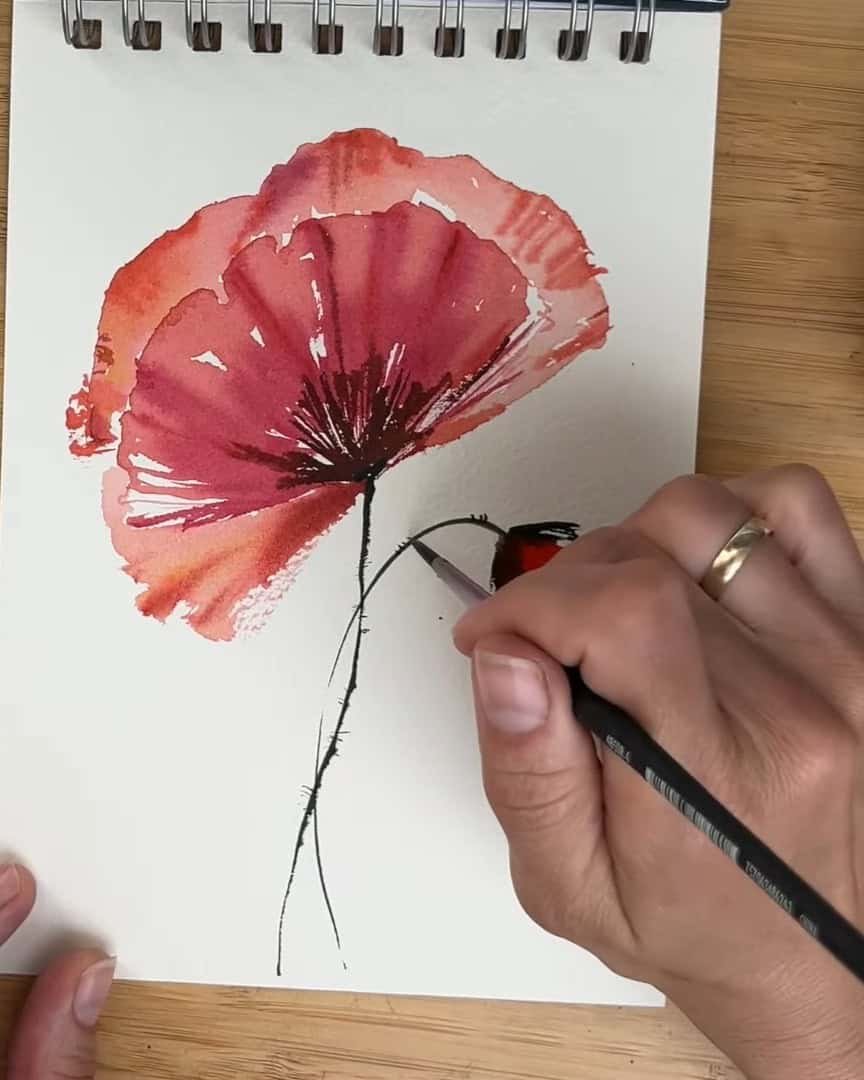
Step 4: Painting the Stem
Viridian green is mixed with the red used earlier for the stem. The artist starts by connecting the stem to the dark area at the flower’s base, slightly overlapping it.
The texture is creamy, and the brush leaves smooth, natural strokes.

Using the tip of the brush, tiny spikes are added around the stem to mimic the poppy’s natural texture.
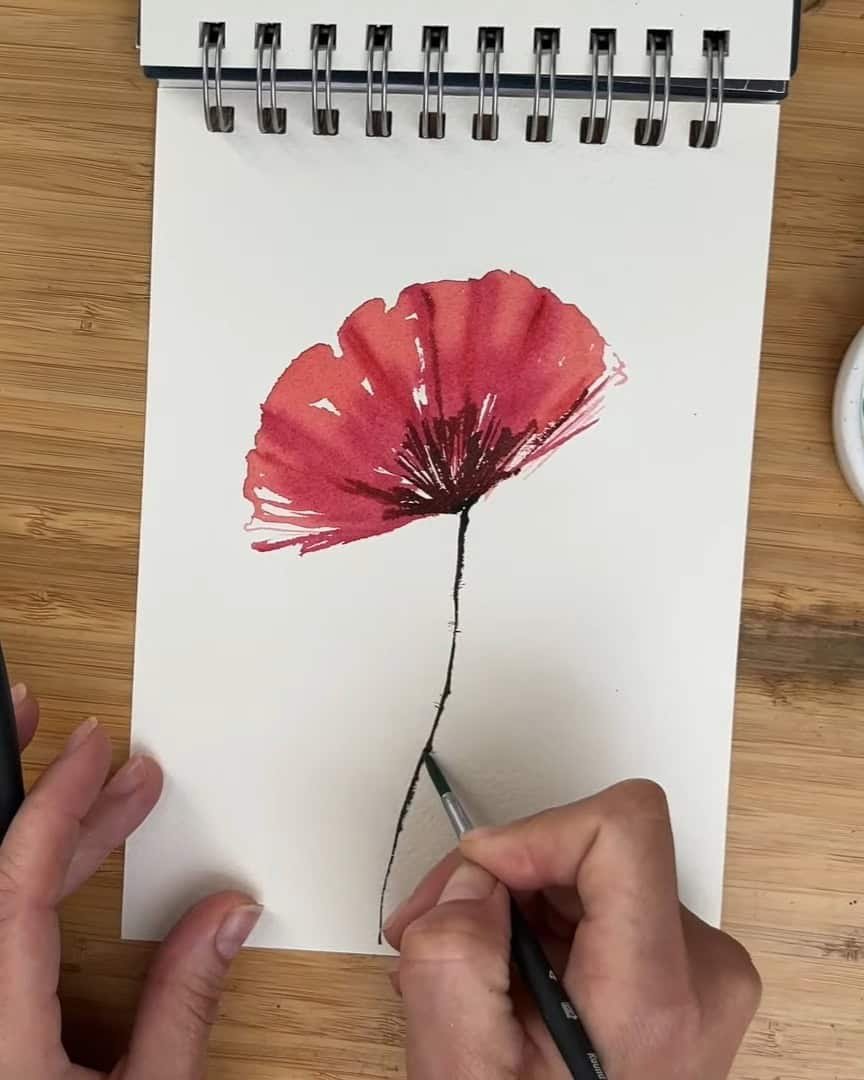
This completes the front petal, but there’s more to paint behind it. Next, additional petals are added behind the main one.
Step 5: Adding Additional Petals Behind the Main Petal
Now that the front petal is done, it’s time to build depth. More petals are added behind the main one to give the flower a fuller look.
The artist washes the brush and returns to the basic mix of Permanent Red. With a slightly diluted brush, the new petals are slid downward.
A paper towel is kept nearby to remove excess water. As before, the petal is outlined and then the color is slid downward toward the front petal.
To make one of the petals more fun and lively, the artist adds a playful shape at the top. This brings interest and keeps the flower from looking too even.
Next, a smaller brush is used along with a bit of pink. Sometimes, Permanent Red is added again in a bold, creamy consistency.
With the tip of the brush, the artist goes in randomly and paints longer strokes to imitate folds.
Dry brush strokes are included here and there. These leave small white spaces between petals, helping to separate them and add texture.
Step 6: Painting the Last Petal with Dry Brush Technique
The final petal is painted mainly with a dry brush technique. A few subtle touches of yellow are added for variation, kept light so they don’t steal attention from the beautifully painted front petal.
Too much detail is avoided; the focus stays on a slightly darker touch where the petal meets the center and the stem.
Small dry brush strokes are added to bring texture and depth without overpowering the composition.
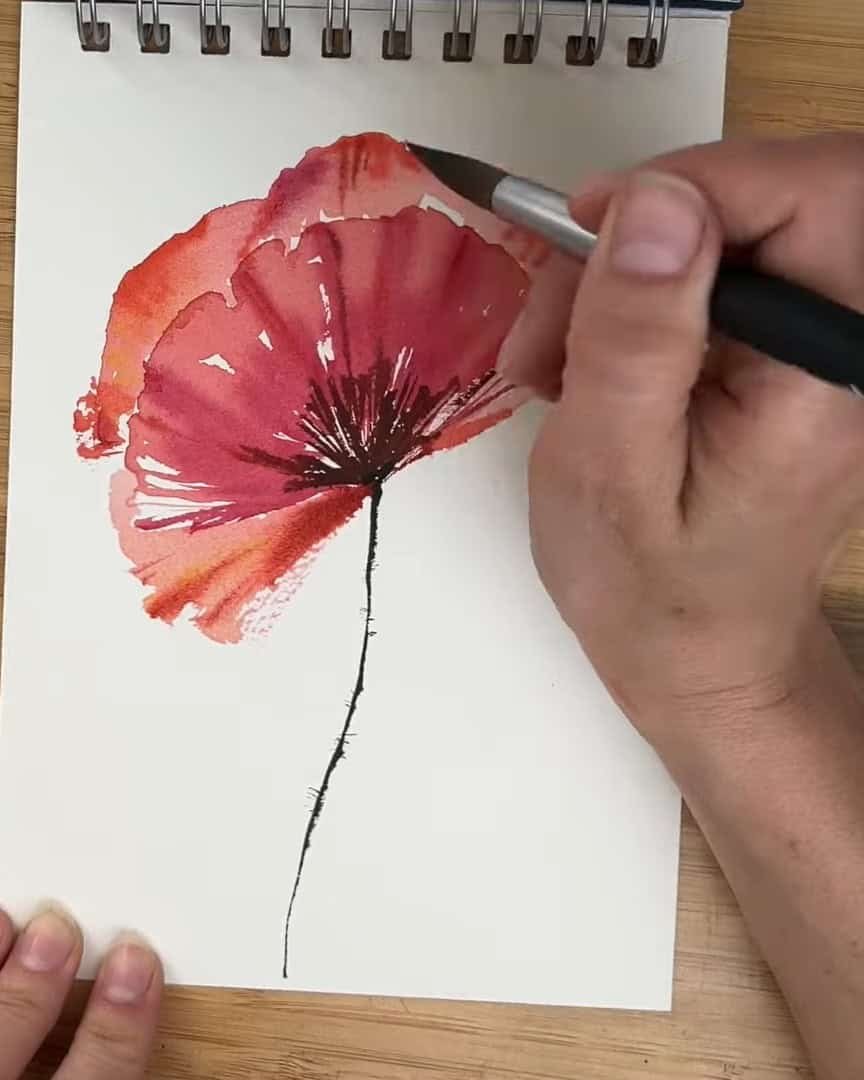
This gentle approach keeps the last petal soft and supports the overall balance of the flower.
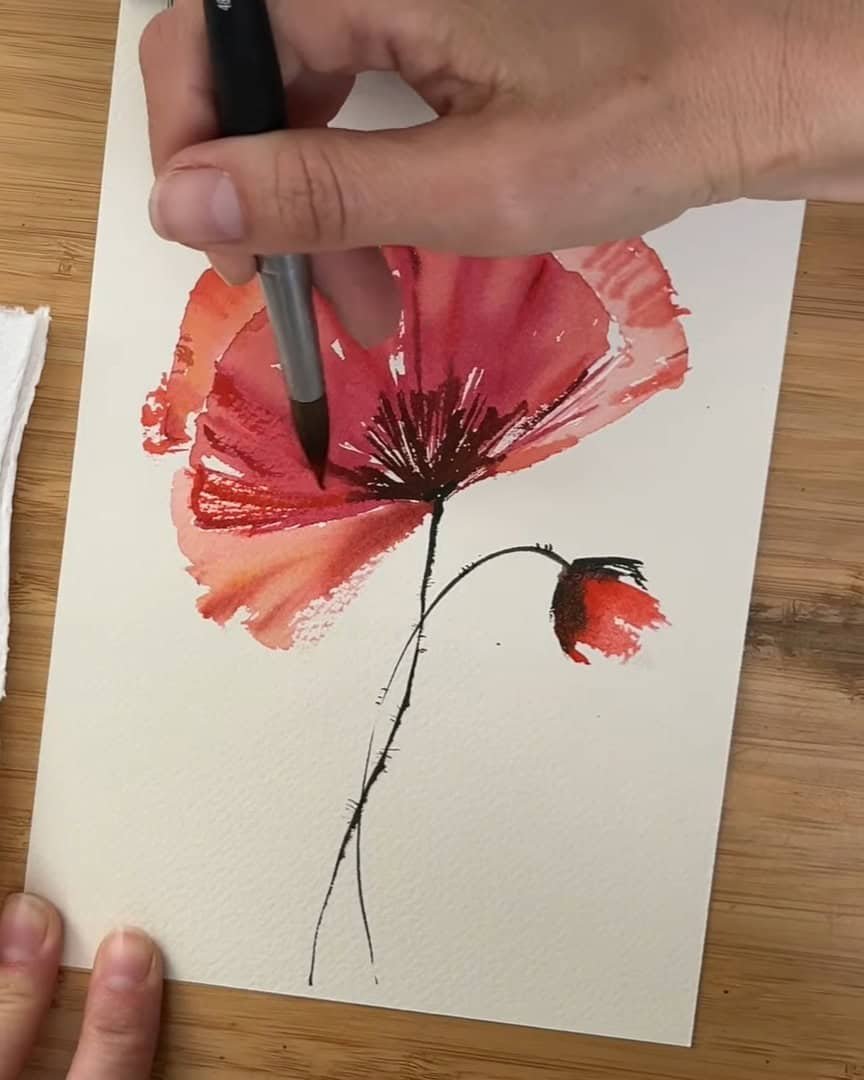
Step 7: Painting the Poppy Bud and Surrounding Bracts
While the petals dry, the artist mixes greens and adds a typical poppy bud with just a few simple brush strokes.
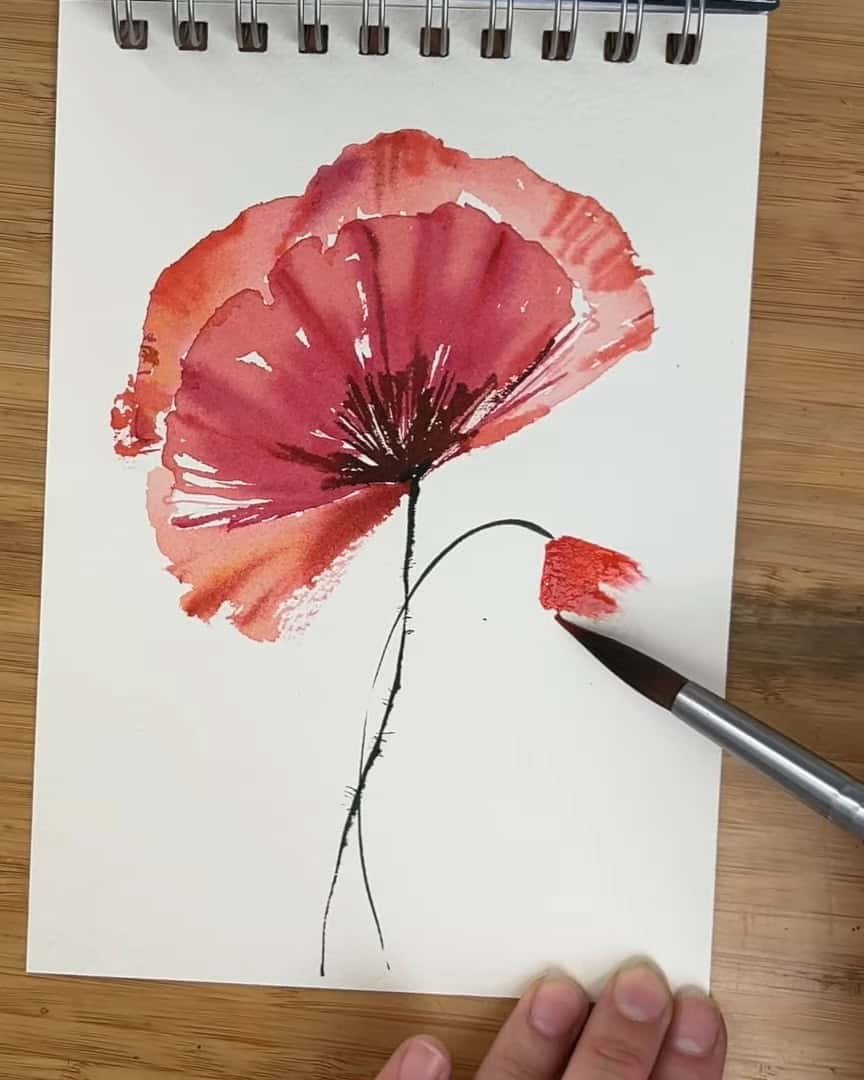
A couple of green bracts—those small leaves around the bud—are painted next. Sometimes these leaves overlap the petals.

Strokes are kept vivid and freehand to capture the natural, lively feel of the poppy plant.
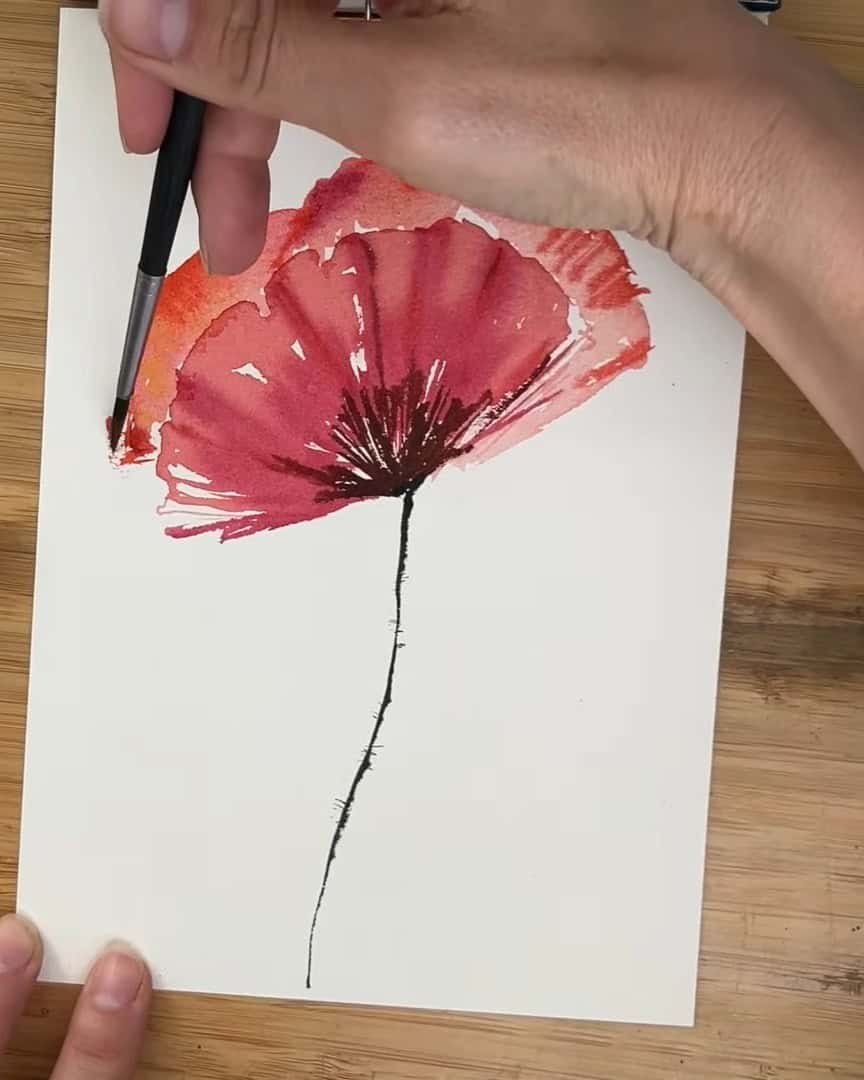
Step 8: Final Details and Highlights with Dry Brush
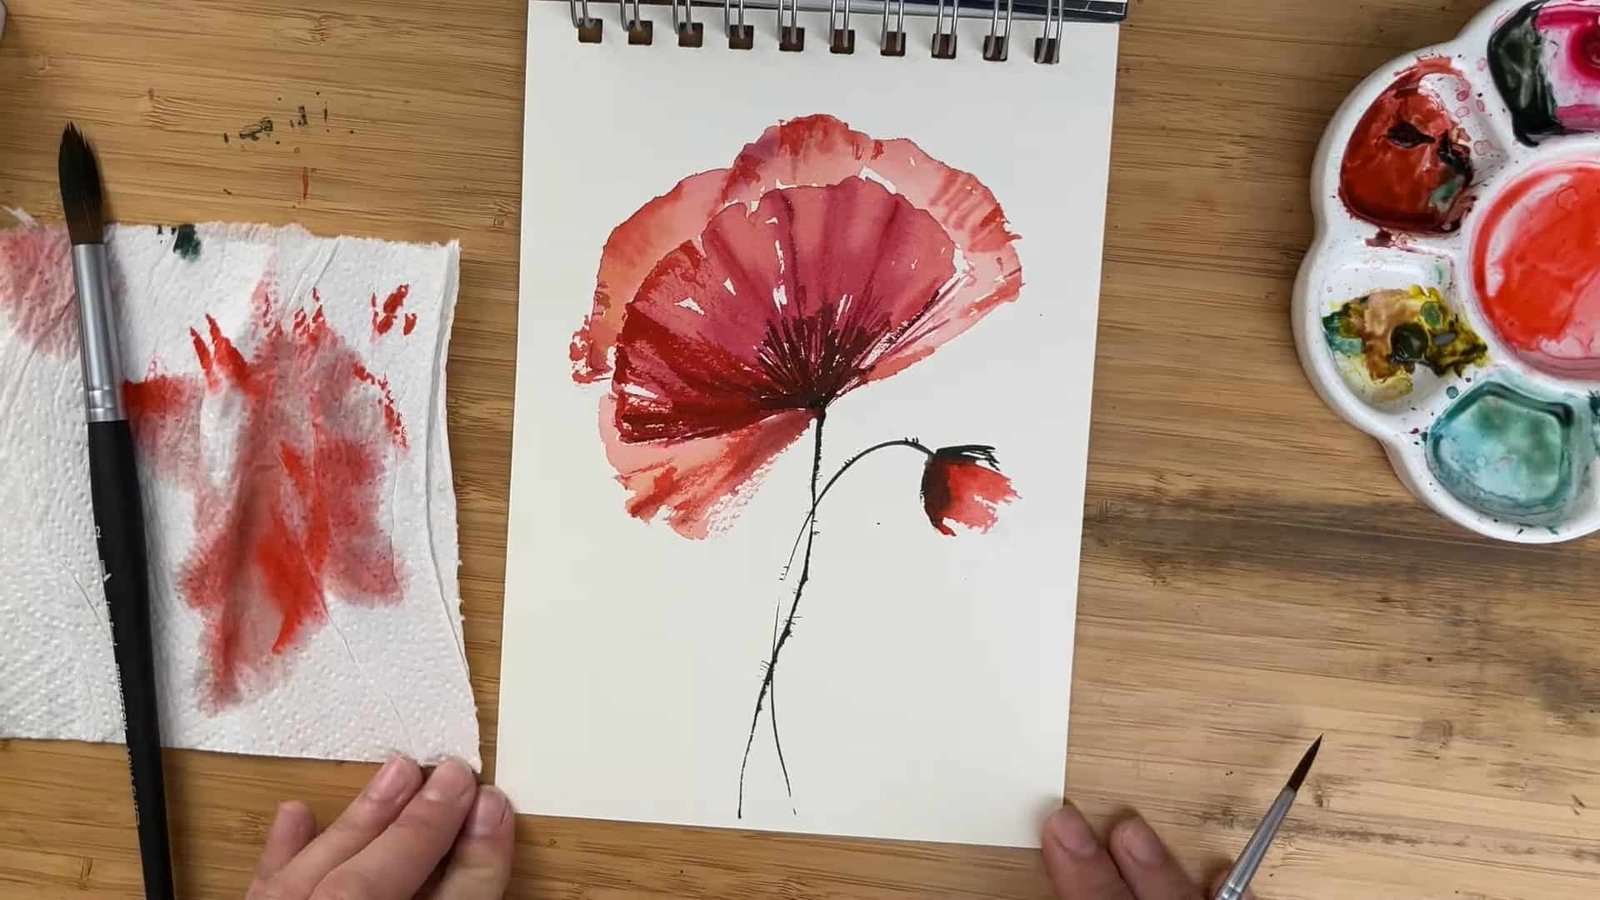
Once the flower is completely dry, a few final details are added using a dry brush. Red paint is taken, most of the water is removed with a paper towel, and the strokes are worked in from one angle.
With the imagined sunlight shining from the right, bolder strokes are added on the opposite side for balance.
Small bright strokes are added with a mix of burnt sienna and red near the bottom. With these final touches, the poppy becomes full of life and visual energy.
Now the painting stands finished, ready to be admired.

Final Thoughts
This step-by-step approach shows how a vibrant poppy can be built through simple techniques, layered colors, and expressive brushwork.
With these methods, any artist can create natural-looking petals, lively textures, and rich details that bring the flower to life.
Pick up the brushes, explore these techniques, and enjoy the rewarding process of painting a stunning poppy!