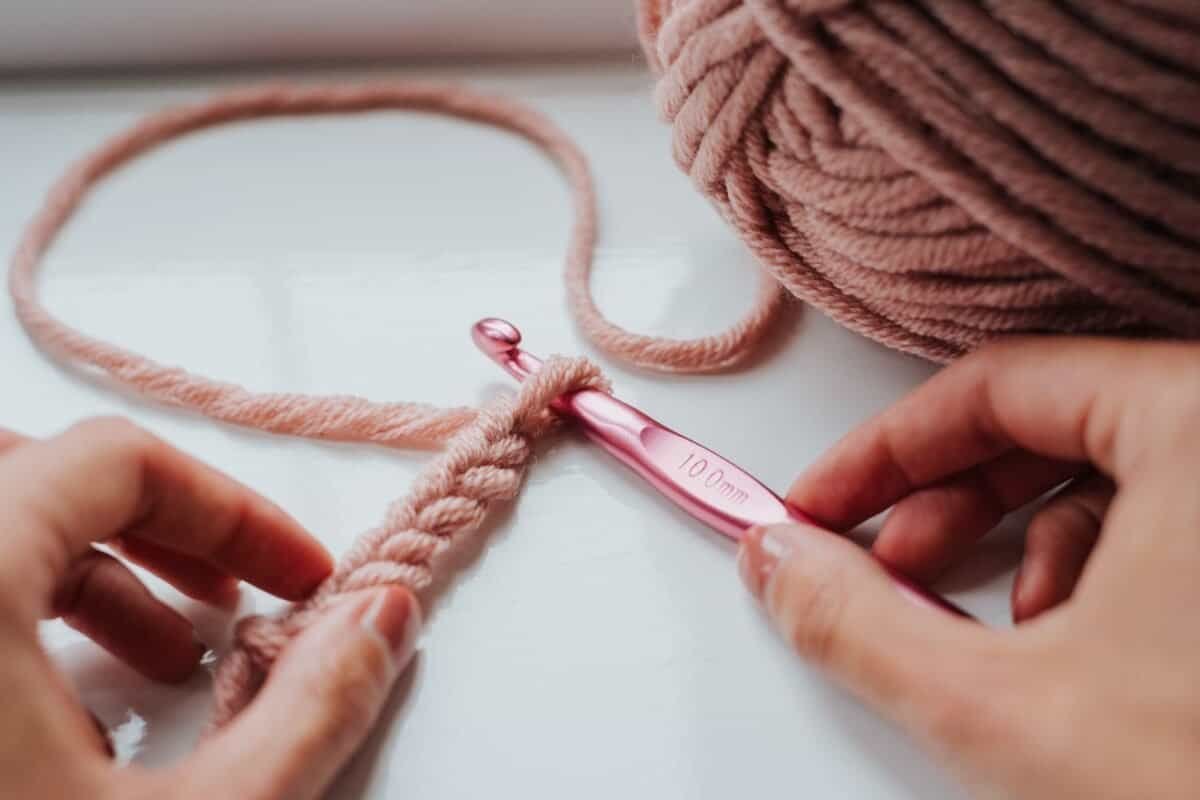
Few things derail the excitement of learning to crochet quite like splitting yarn. You line up your hook, push through the stitch, yarn over, and pull through—only to realize your hook caught three strands out of four. Suddenly, a stray thread is sticking out, your stitch tension is warped, and you have to pull the working loop out to start the stitch over again.
When this happens on every other stitch, crocheting stops feeling relaxing and starts feeling like a test of patience. The good news is that split and snagged yarn is rarely a sign that you lack the skill or coordination to crochet. Most of the time, yarn splitting comes down to a mismatch between your hook type, your yarn’s construction, and subtle mechanical habits that are easy to adjust once you know what to look for.
Why Yarn Splits in the First place
To fix yarn splitting, it helps to understand how yarn is manufactured. Most standard craft yarns are made by spinning raw fibers into individual strands called plies, which are then twisted together to form a single, cohesive strand. Depending on the fiber type and manufacturing process, that twist can be tight or relatively loose.
Crochet naturally puts rotational force on yarn. Depending on whether you yarn over or yarn under, and whether you pull from the inside or the outside of a skein, your hook movements can actually unwind the twist as you work. When the twist loosens, the individual plies separate, giving the sharp point of a crochet hook plenty of room to slip between the strands rather than gliding around the entire bunch.
Beginners also tend to hold their yarn with excessive tension. When you grip yarn too tightly, you compress the plies and pull them taut, making individual strands rigid and far more prone to catching on the lip of your hook.
Choose the Right Hook Style and Material
Many beginners do not realize that crochet hooks are not all shaped the same way. The shape and finish of your hook play an enormous role in how smoothly it moves through your loops.
Inline vs. Tapered Hooks
Hooks generally fall into two design categories: inline and tapered.
- Inline hooks: The throat of the hook is the exact same width as the shaft, and the hook’s cutting edge is aligned straight with the handle. Inline hooks feature a deeper, sharper groove. While great for uniform stitch sizing, that sharp hook nose can easily pierce through loose plies if your angle is slightly off.
- Tapered hooks: These feature a rounded head and a smoother transition from the shaft into a shallower throat. Because the nose of a tapered hook is soft and curved rather than chiseled, it naturally pushes plies aside instead of spearing between them.
If you find yourself constantly snagging plies, switching to a tapered hook with a smooth, rounded head is often the quickest fix. It is also worth looking at your tool’s handle design; if your hands fatigue, your hook angle shifts erratically, making it a great time to browse ergonomic crochet hooks with comfortable, contoured grips that help you maintain a consistent entry angle.
Hook Surface and Material
The material of your hook dictates friction. Inexpensive plastic hooks sometimes have rough seams left over from manufacturing molds that snag fibers. Rough wooden hooks can drag against wool or cotton. High-grade polished aluminum, smooth resin, or slick bamboo allow the yarn to glide effortlessly, keeping individual plies bound together as they slide over the throat.
Select Beginner-Friendly Yarn Construction
Not every yarn on the craft shelf behaves the same way in beginner hands. While soft, fluffy single-ply roving yarns and loosely spun roving-style wools look gorgeous in the skein, they have almost no twist holding them together. A beginner using an unfurled, loosely spun yarn is almost guaranteed to experience splitting.
When starting out, pay attention to these yarn characteristics:
- High Twist Count: Look for plied yarns with a visible, firm twist. The tighter the twist, the more resistant the yarn is to splitting.
- Smooth Fiber Surfaces: Ultra-fuzzy mohair, bouclé, or roving yarns have halo fibers that cling to each other and catch on the hook. Smooth fibers like mercerized cotton, bamboo blends, or well-spun acrylic glide cleanly.
- Worsted or Bulky Weight: Working with thread or fingering-weight yarn magnifies split-strand issues because the plies are minuscule. Medium weight (Category 4) yarns offer the best balance of visibility and structural integrity.
Before jumping into delicate, loosely spun textures, take time to explore smooth beginner yarns that feature a balanced multi-ply construction designed to keep strands unified while you build muscle memory.
Adjust Your Hook Angle and Hand Mechanics
Even with the best hook and yarn, minor mechanical habits can push your hook directly through the plies instead of around them. Here are three simple physical adjustments to stop yarn snags:
1. Rotate the Hook as You Pull Through
A common beginner mistake is keeping the hook’s beak pointed straight up or straight down through the entire movement. When pulling the hook back through a working loop, rotate the hook slightly so the open throat faces downward toward your work surface. This shields the tip inside the loop and prevents the point from catching on the top strands of the stitch you just entered.
2. Relax Your Grip and Working Tension
Tight tension makes the yarn stiff and leaves virtually no clearance inside your loops. When loops are choked around the hook shaft, you must force the head through the stitch with extra pressure, dramatically increasing the chance of spearing the yarn. Let the yarn feed gently across your index finger, and size your loops to match the circumference of the hook’s shaft, not the narrower throat.
3. Lead with the Rounded Nose, Not the Lip
When entering a stitch (under the two top loops of the row below), glide the rounded nose of the hook into the opening first. Do not scoop sideways with the sharp inner lip of the hook exposed, as this scrapes along the side of the yarn strand and peels individual plies backward.
Look for Resilient, Anti-Fraying Fibers
Sometimes splitting occurs because the fiber itself begins to break down or fray under the friction of being worked and re-worked. Beginners naturally pull out stitches (“frog” their work) to correct mistakes. Cheaper fibers can quickly turn into a fuzzy, tangled mess after being ripped out once or twice.
High-quality synthetic fibers engineered with specialized spinning processes resist this breakdown. If you are practicing stitches that require lots of hook manipulation—such as cables, puff stitches, or foundation rows—you may want to shop anti-pilling acrylic yarn. Anti-pilling fibers are spun from specialized acrylic filaments that stay tightly bound together, resisting fuzz, fuzz-halos, and strand separation even if you have to frog a section multiple times while learning.
What to Do When a Split Stitch Happens
Even seasoned crafters split a stitch occasionally. When it happens, avoid pulling the loop tight in hopes that it will disappear; this usually leaves an unsightly loop of loose thread dangling on the front of your fabric.
Instead, follow these quick recovery steps:
- Pause immediately: The moment you feel unusual resistance when pulling through a loop, stop pulling. Forcing the hook will tighten the split ply.
- Back up half a step: Push the hook forward slightly into the stitch to release tension on the throat, then gently pull the hook out.
- Smoothen the strand: Use your thumb and forefinger to twist the yarn in the direction of its natural plies to re-integrate the loose strand.
- Re-insert cleanly: Re-enter the stitch, ensuring all plies rest neatly together on the hook bed before pulling through.
Patience Builds Precision
Crochet is an art of rhythm and tactile feedback. As you continue practicing, your hands will learn to feel the difference between the clean, hollow space of a stitch and the dense resistance of split yarn plies before you even pull the loop through. By pairing a smooth, rounded hook with a firmly spun yarn and a relaxed grip, you will quickly leave snagged strands behind and enjoy smooth, uninterrupted crafting.
Disclosure: This post contains affiliate links. If you click through and make a purchase, we may earn a commission at no additional cost to you. We only recommend products or services we believe add value to our readers.