
There is nothing quite like the heartbreak of finishing a marathon session of two hundred chains only to realize they have twisted into a chaotic spiral. Many makers try to avoid long foundation chains whenever possible, but sometimes they are just a necessary part of the journey for a cozy cowl or a sprawling blanket.
In this guide, Hooked by Robin shares a nifty little secret to keeping those chains perfectly aligned. This “set it and forget it” technique takes the stress out of starting big projects so you can focus on the fun part: the actual stitching.
Contents
The Beginning of the End (of Twisting)
We have all been there—trying to manually untwist a chain while simultaneously holding our hook and tension. It is a recipe for a headache, but this method stops the problem before it even starts. The goal is to keep the “v-side” of the chain facing you from start to finish without having to constantly adjust your grip.
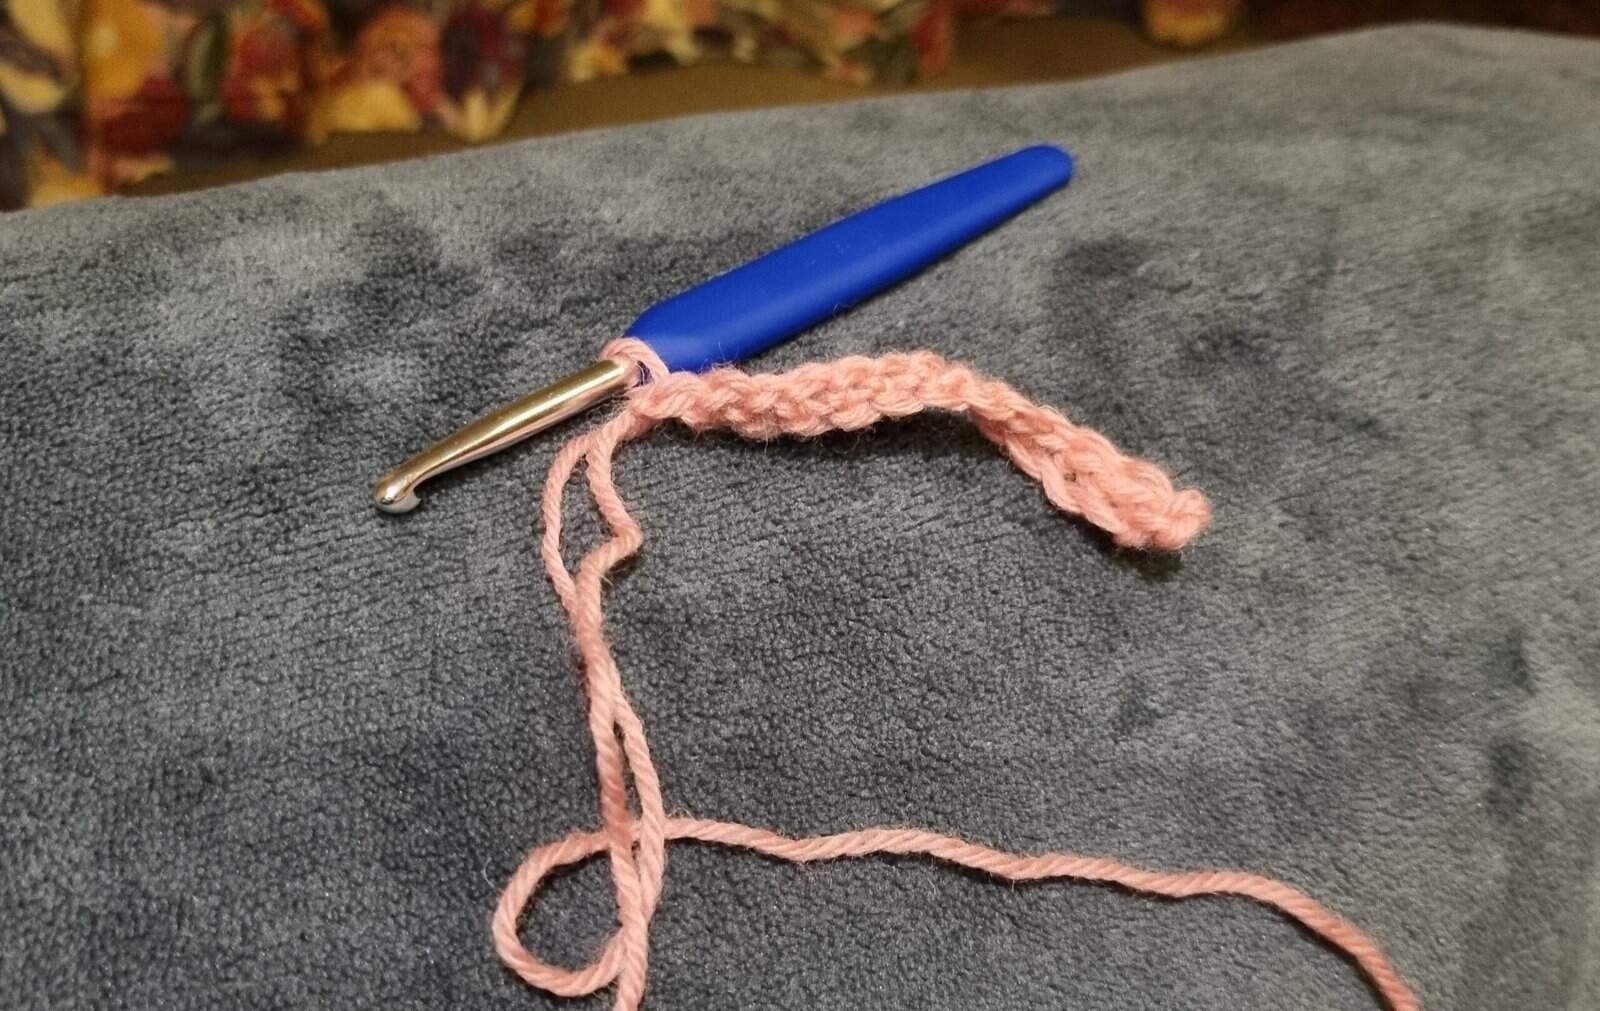
- Step One: Start by chaining just a few stitches—five is usually a great number to get you settled.
- Step Two: Carefully remove your hook from the working loop. Do not panic; just let that loop hang out for a second while you keep the chain facing the right direction in your hands.
- Step Three: Take your hook and insert it into that very first chain you made, right down by the slipknot.
- Step Four: Now, pop that working loop back onto your hook. You now have two loops on your hook: the very first chain and your active working loop.
The Magic of the Anchor
Once you have that first chain sitting comfortably on the shank of your hook, you are free to carry on with your business.
Just keep chaining as many as your pattern requires. Because that first stitch is permanently attached to your hook, it acts as an anchor. It keeps the entire length of the chain facing the same way.
Don’t ask me why this works so perfectly, it just does! As you work, you will notice the chain stays completely flat and doesn’t do that annoying “taquito roll” around your fingers.
Even if your tension is a bit loose while you are practicing this, the technique itself is foolproof for maintaining direction.
Joining Without the Jitters
This trick is a total lifesaver for projects like cowls or snoods that require you to join your chain in a ring.
Usually, you have to carefully run your thumb along the length to ensure there are no twists before slip stitching.
With this method, the work is already done for you. When you reach your target number of chains, you simply pull the working loop through the “anchor” loop that has been sitting on your hook the whole time. Just like that, you have a perfect, non-twisted circle ready for row one.
A Simple Win for Every Maker
If you aren’t joining in a round and just needed a long, straight foundation for a blanket, you can simply drop that anchor loop off your hook once you are finished. You will be left with a perfectly flat chain that is ready to be worked into. It is a simple, quick tip that makes the start of any project much more encouraging.
After all, crochet should be about relaxation, not wrestling with a piece of yarn that has a mind of its own.