
Clouds are one of the most beautiful and inspiring subjects for watercolor. They give you freedom to practice brush control, values, and soft edges.
Emily from Emily Olson Art shares a simple step-by-step cloud study using only one color. Her approach is perfect for beginners who want to improve without worrying about mixing paints.
Let’s follow the tutorial and try each study for yourself now!
Contents
Getting Started with Your Cloud Study
Before you begin, it helps to understand why Emily chooses one color for this exercise.
Why Use One Color?
Emily highlights that limiting your palette makes learning easier. You do not need to worry about mixing or balancing colors.
Instead, you can focus on values, how much paint or water you use, and the softness of your brush strokes.
By sticking with one shade, you also notice how water control changes the effect. It is a simple but powerful way to practice watercolor basics.
Supplies You’ll Need
Emily suggests preparing a few simple tools:
- Watercolor paper (she tapes it down with painter’s tape)
- A brush that works for both broad strokes and fine details
- A single blue watercolor paint
- A cup of clean water
- Paper towel for blotting

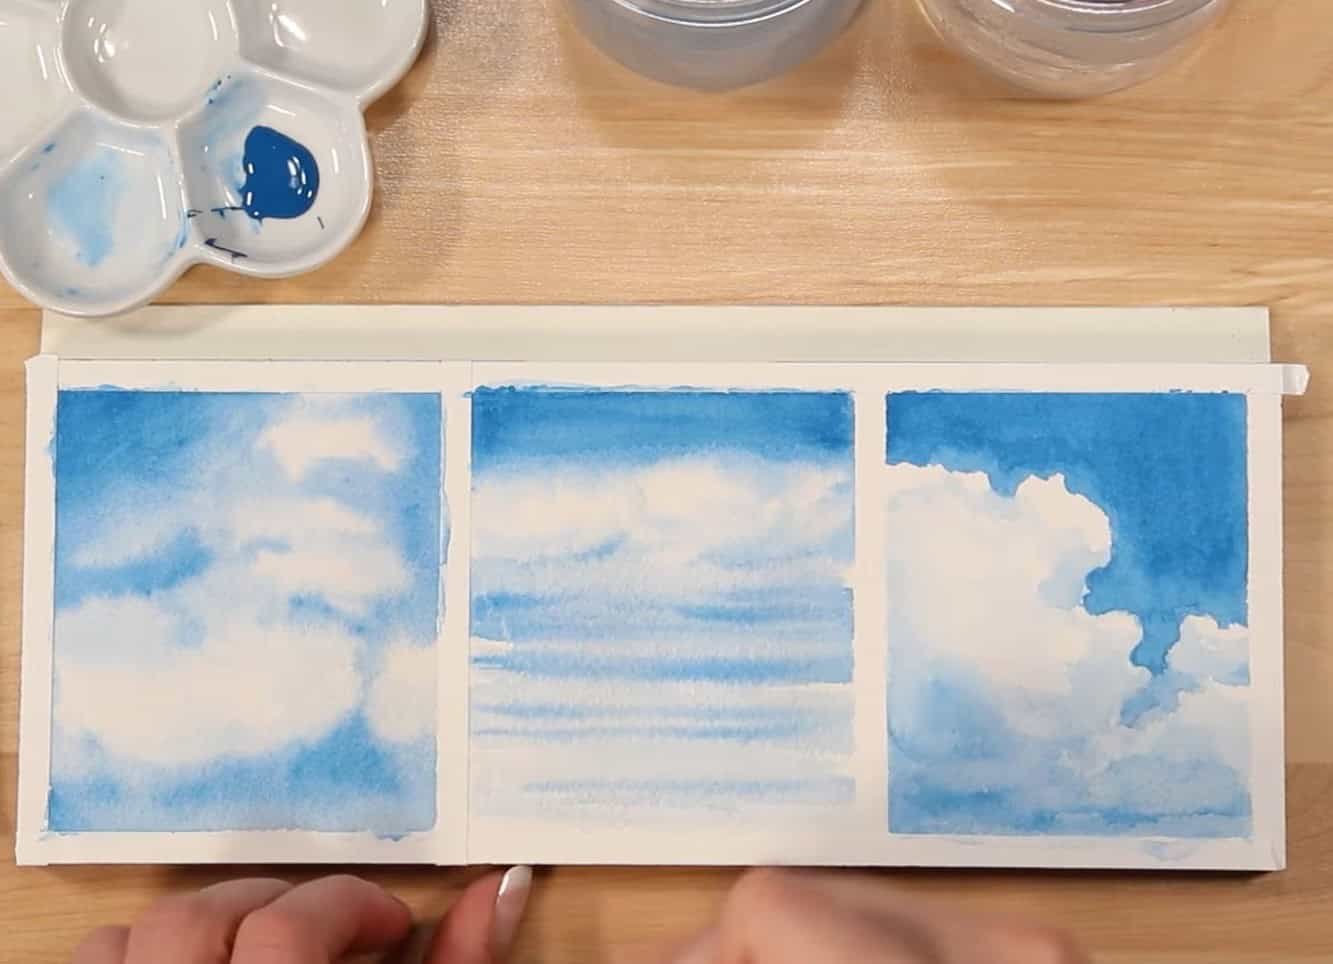
She tapes her sheet with a border around the edge and adds two vertical strips so the paper is divided into three panels. That way, you can do three separate cloud studies on one sheet.
She also provides reference photos if you want extra guidance.
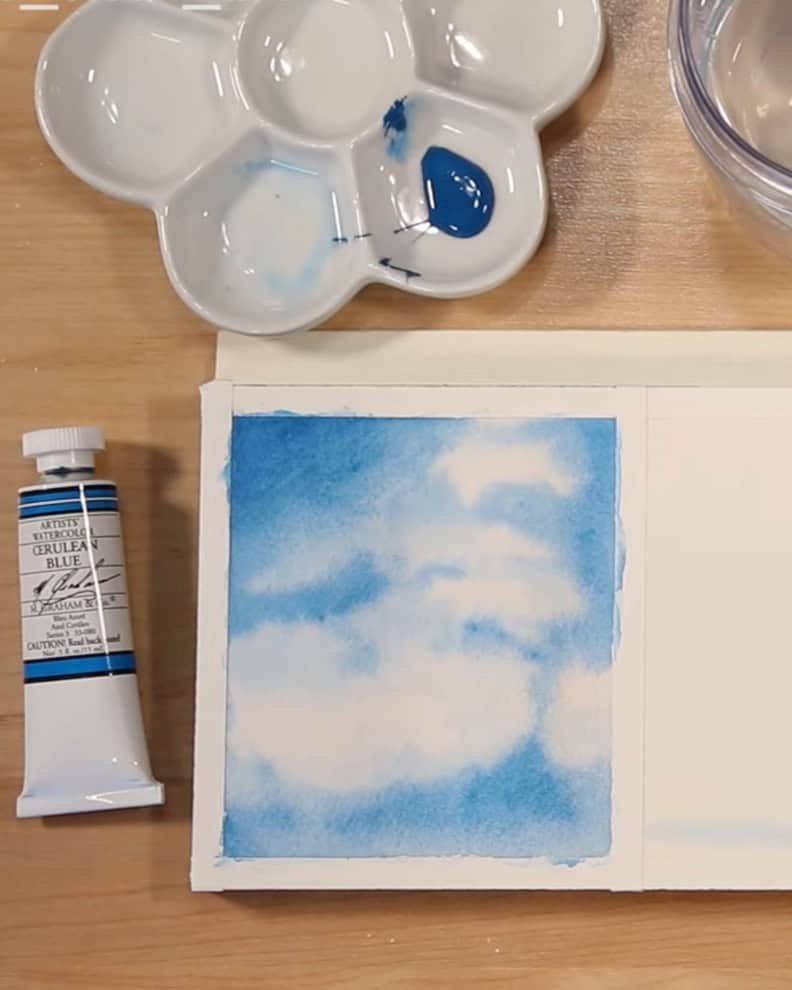
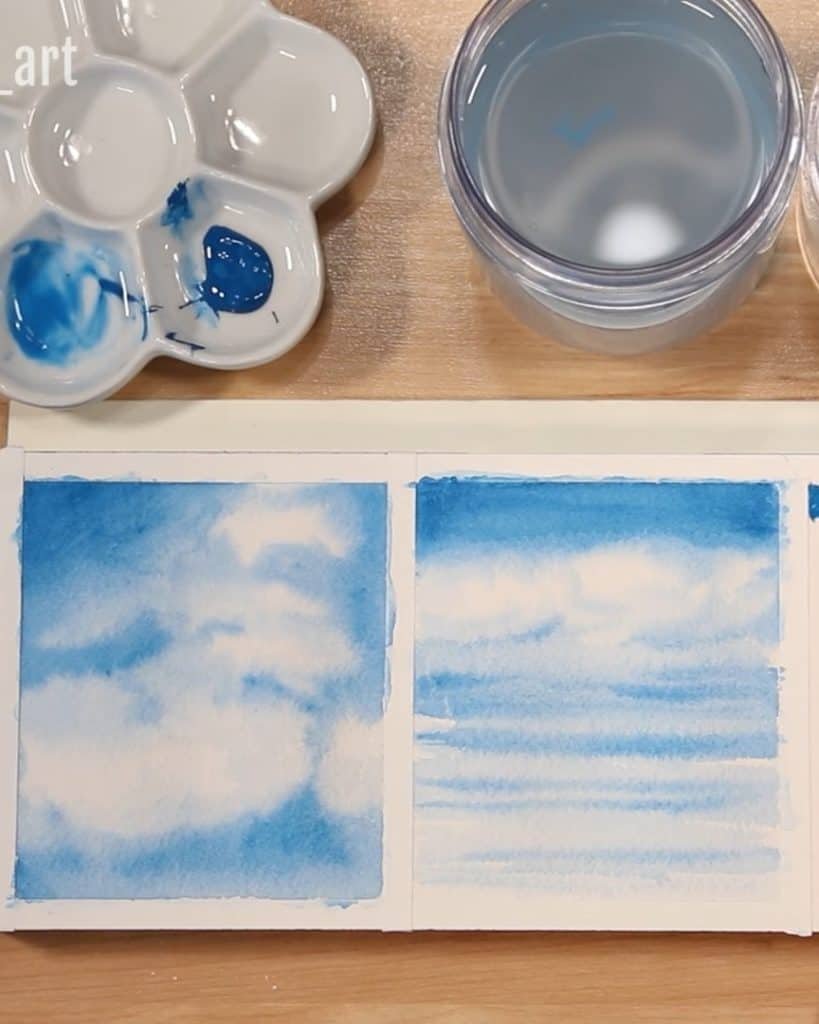
First Cloud Study: Soft Clouds with Wet-on-Wet
Now that you’re set up, it’s time to dive into the first panel. This one focuses on creating soft, fluffy clouds.
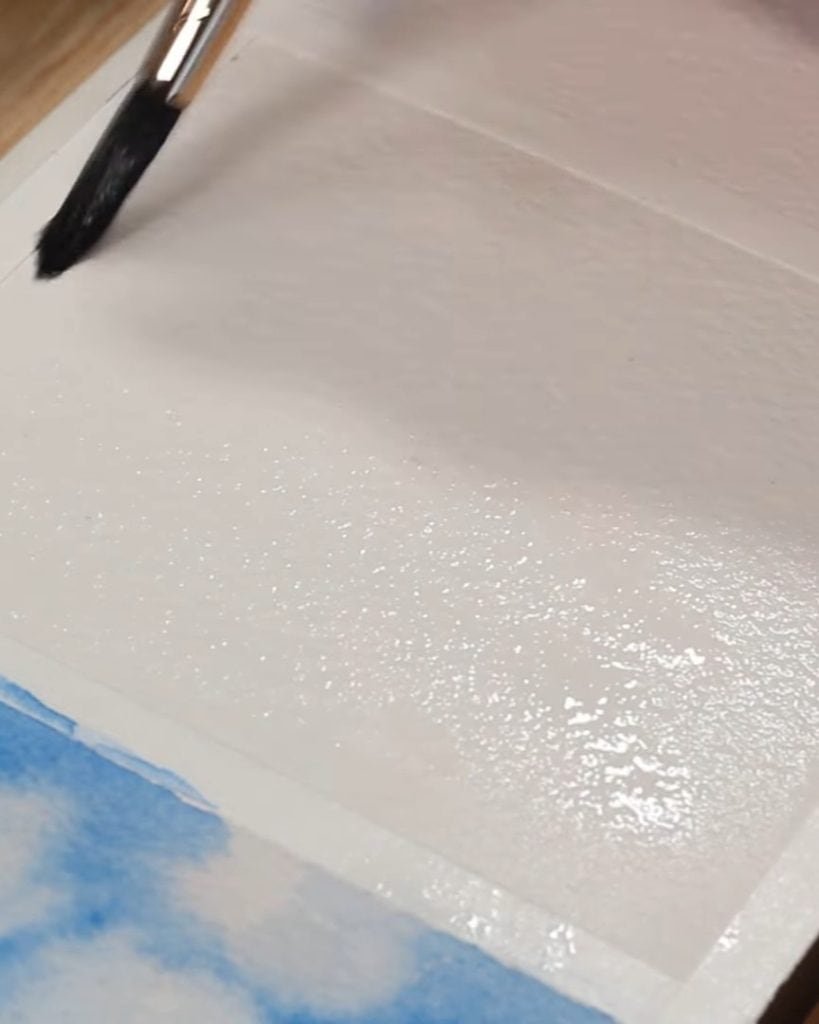
Preparing the Paper
Emily begins by wetting the entire surface with clean water. Her goal is to make the paper glisten, not drip.
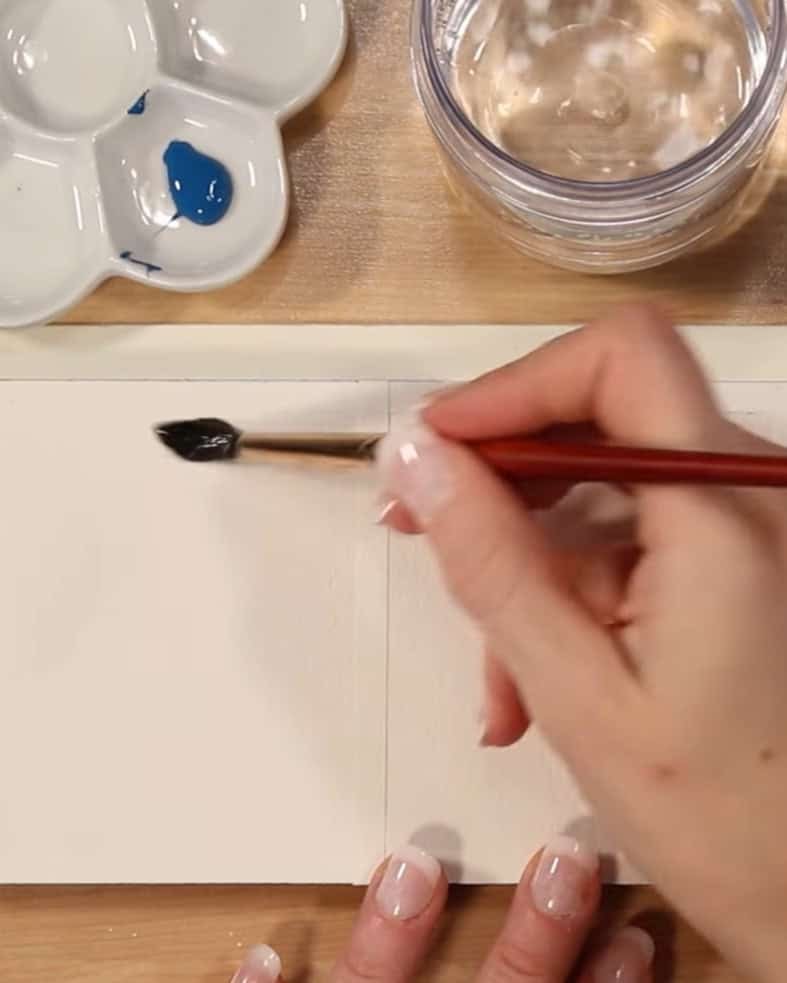
Then she mixes a bright blue by combining water and pigment.
Painting the Sky and Clouds
Once the surface is damp, she paints the sky around the cloud shapes. Because of the wet-on-wet technique, the edges stay soft and fuzzy.
Emily points out that this effect is intentional. It keeps your clouds looking airy instead of stiff.
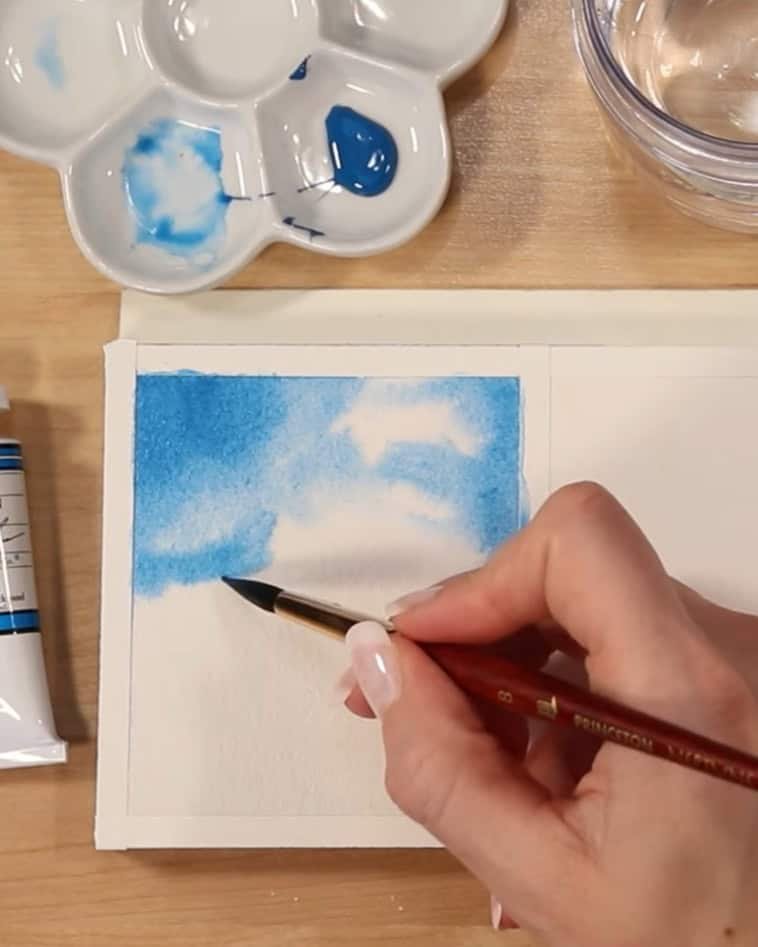
She blots her brush on a paper towel to control the moisture. The small habit prevents the brush from flooding the paper.
To build depth, she uses more paint with less water for darker areas of the sky. Using more water creates lighter tones.
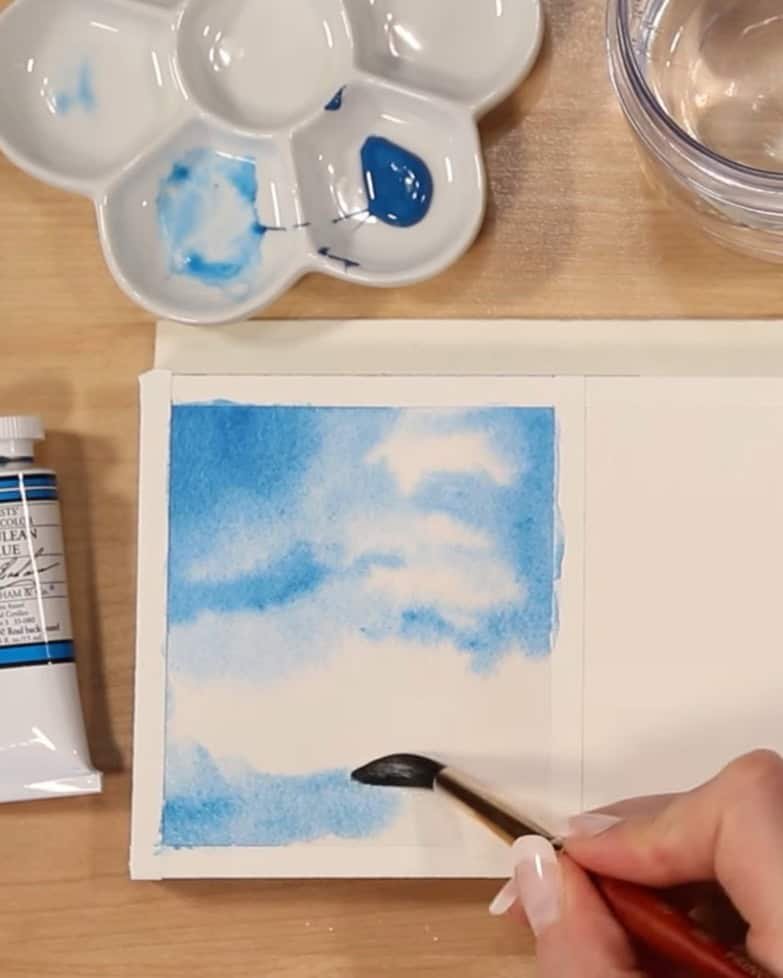
By sticking to one color, you practice controlling values simply and effectively.
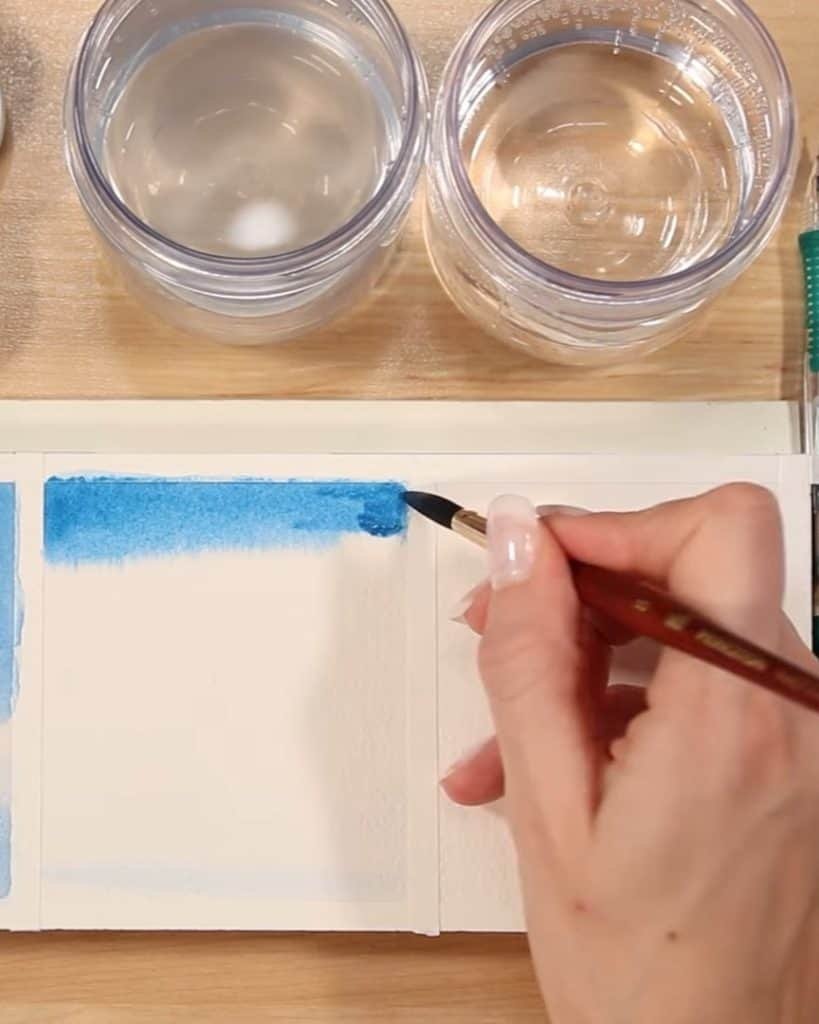
Second Cloud Study: Stratus Clouds with Wet-on-Wet
Once you’ve tried the first study, move on to the second panel. This one focuses on a different type of cloud: stratus clouds.
Setting Up the Painting
Emily again wets the entire surface with clean water.
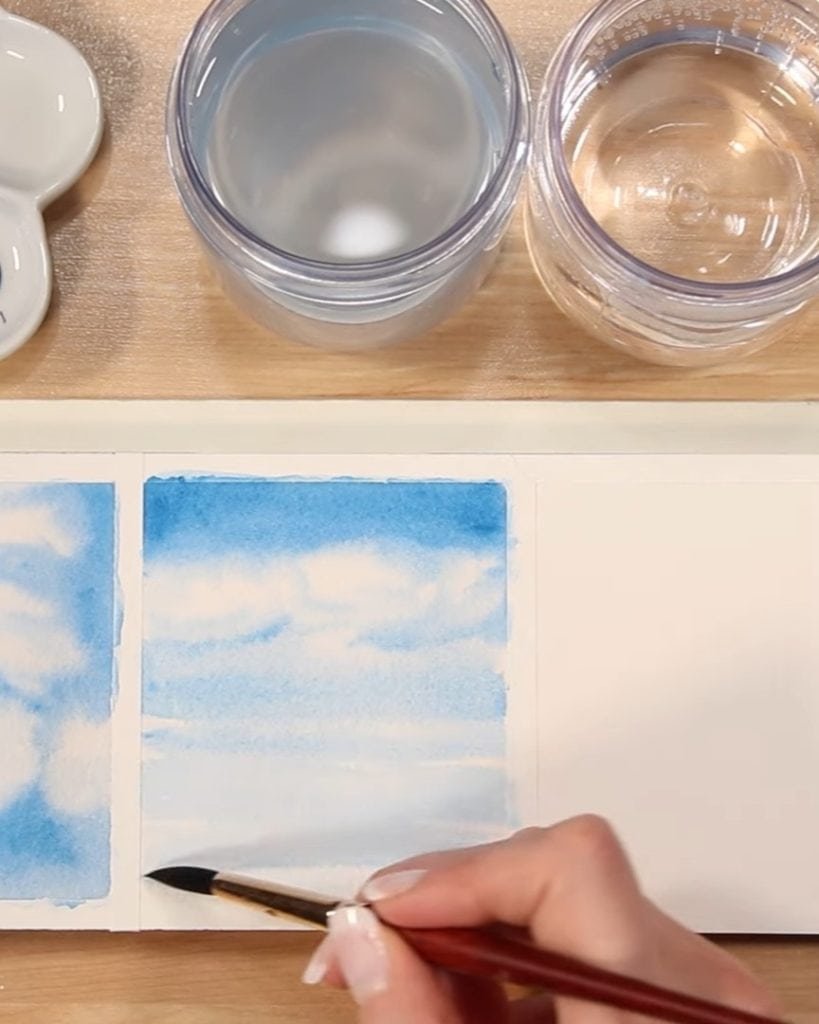
She prepares a diluted pigment and uses sideways brush strokes to begin forming the long, low-lying clouds.
You’ll immediately see the difference between these clouds and the fluffy ones from the first study.
Building Form and Texture
Emily explains that the sky at the top should be the darkest. As you move downward, let the pigment get lighter.
To add interest, she drops shapes at the base of the largest cloud. She then uses an upward swirling motion with her brush to suggest rolling and billowy forms.
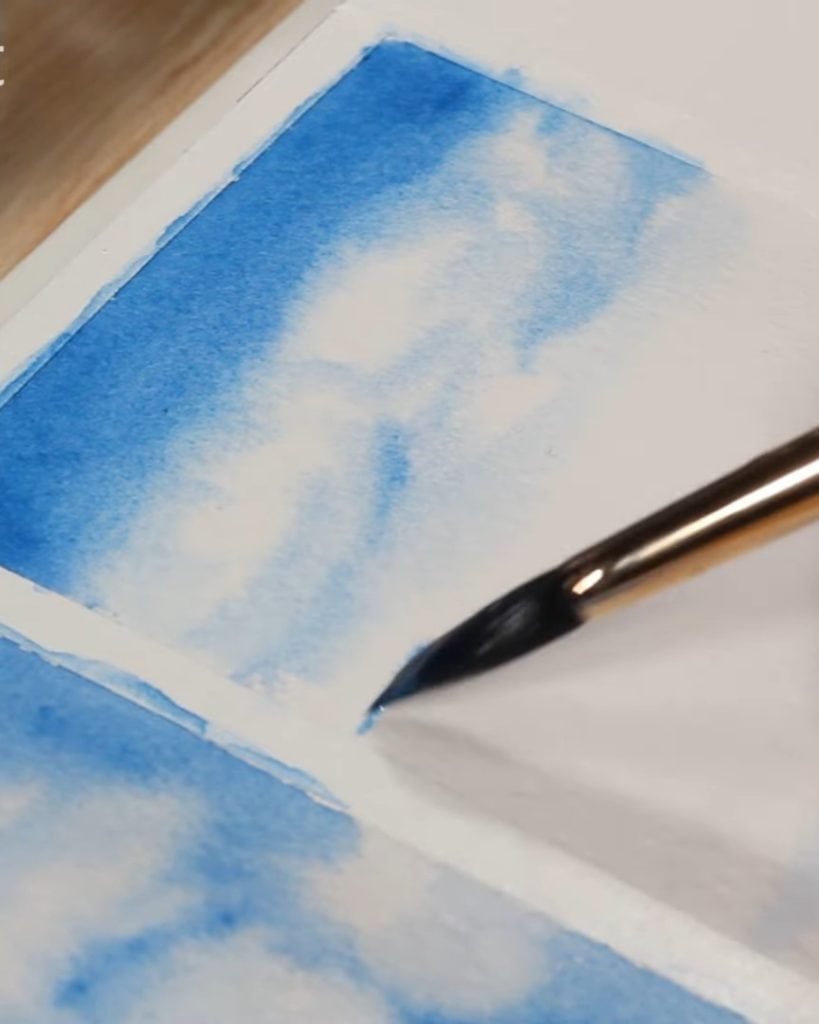
To keep the clouds soft, she swipes the brush sideways, letting the paint spread naturally across the damp paper. It makes the stratus clouds appear smoother and more subtle.
Paper Surface Considerations
At this point, Emily comments on how the texture of her paper affects the result. She finds herself fighting the grain of the cold-press paper. For smoother cloud types, she suggests that you might prefer hot-press paper.
Arches offers cold-press and hot-press blocks, so you can experiment and decide which works better for your clouds.
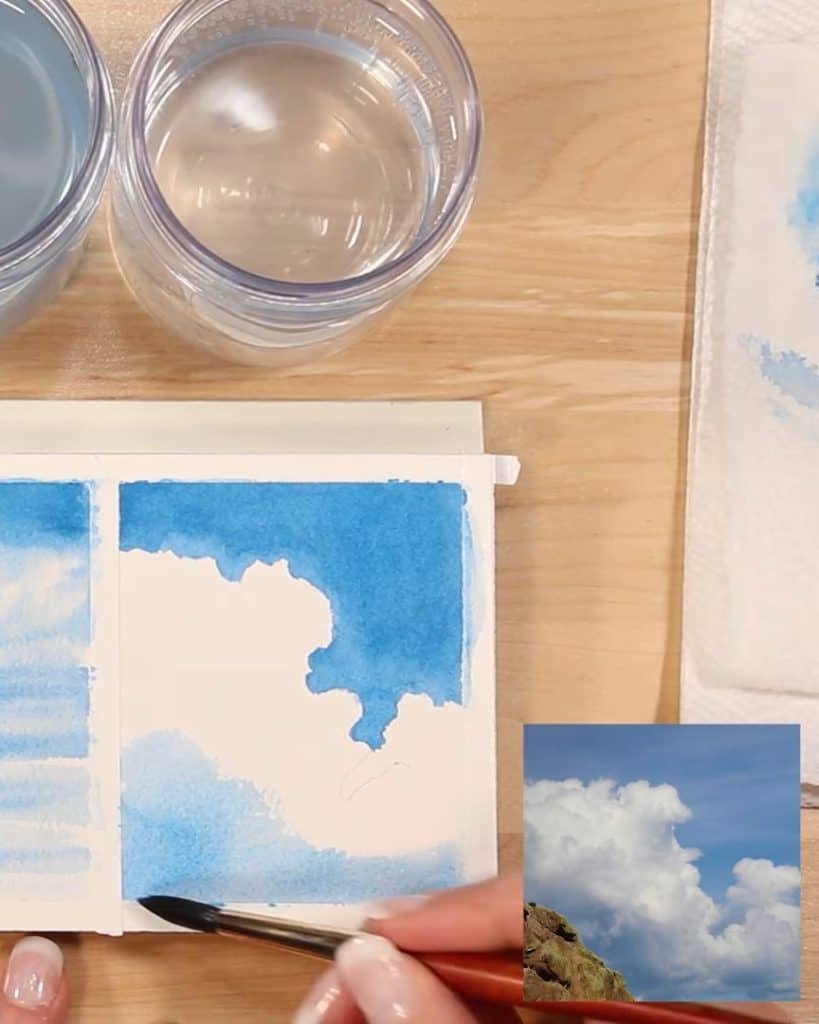
Third Cloud Study: Cumulonimbus Clouds with Wet-on-Dry
The final panel is about dramatic clouds: towering cumulonimbus. This time, Emily changes techniques to create a bold effect.
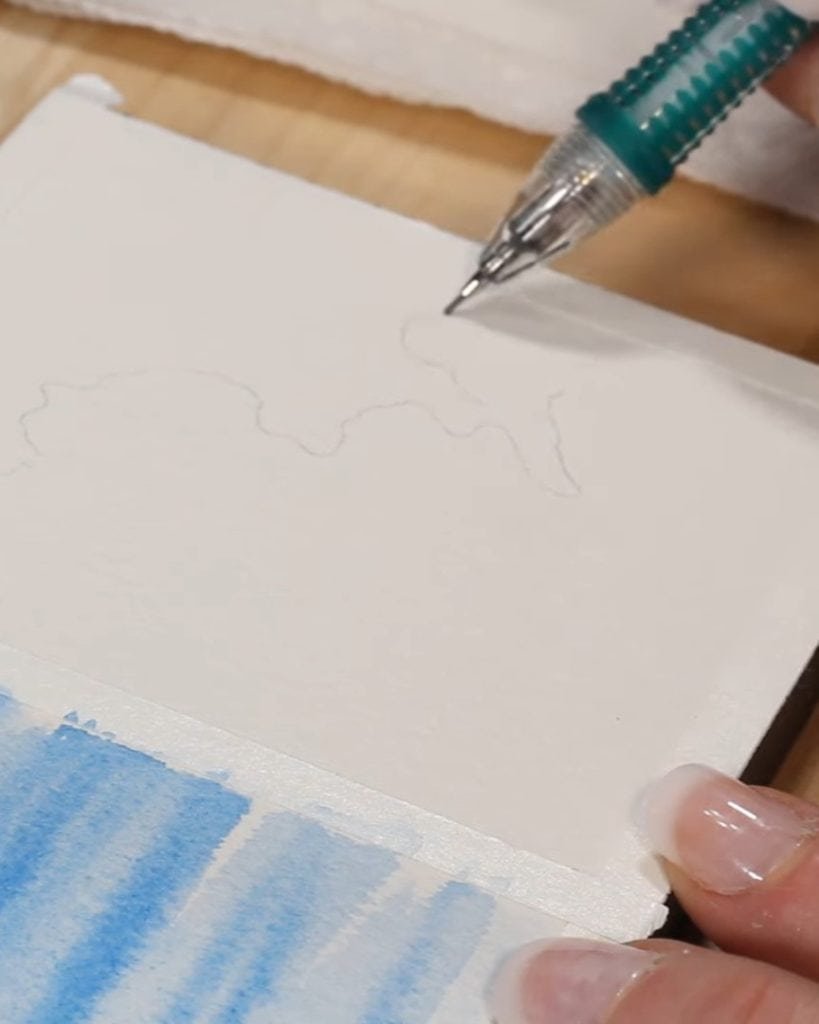
Drawing the Cloud Shape
She begins by lightly sketching the contour of the large cloud. This outline gives structure to the painting before adding color.
Painting the Sky
Instead of wetting the paper first, Emily mixes a deep, rich blue and paints the sky directly. This wet-on-dry technique requires speed, because hard edges form quickly.
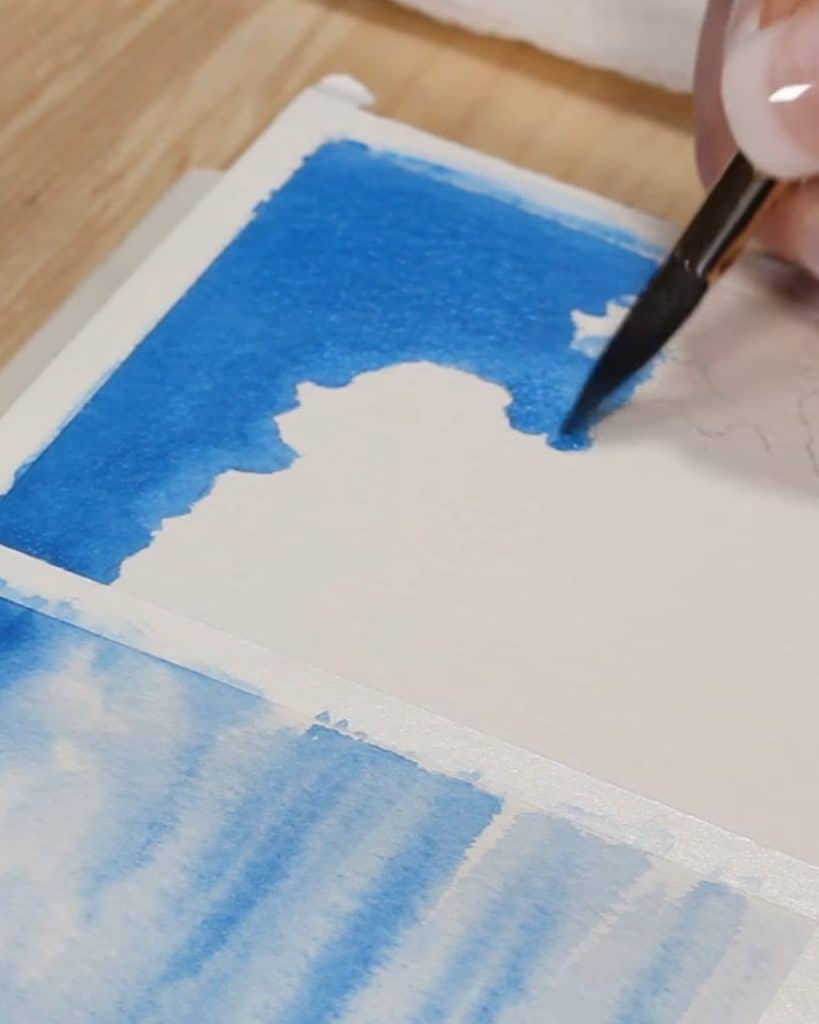
She compares the process to coloring in a coloring book, where you need to fill in the background neatly around the main shape.
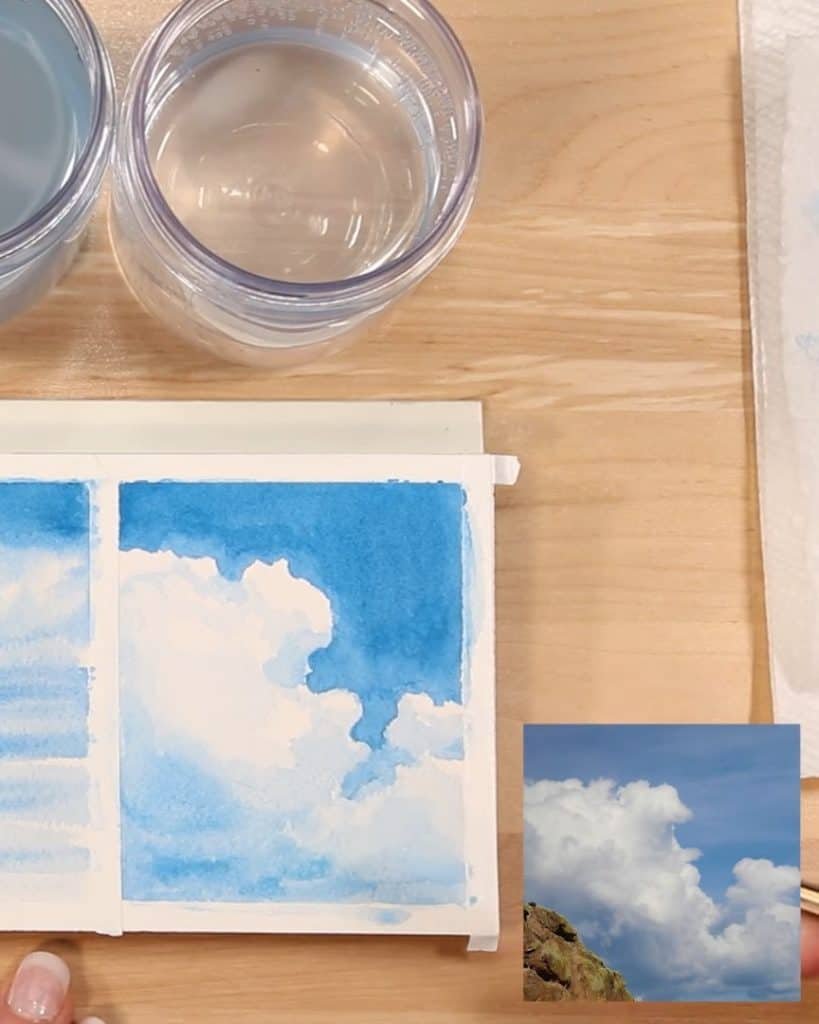
Adding Shadows and Depth
Next, Emily uses a slightly lighter value of blue to paint shadow areas within the cloud. She keeps plenty of water on her brush to soften the edges. This prevents the shadows from looking harsh.
She recommends squinting at your reference photo to judge whether your values are correct. Painting loosely and expressively works well here, but accuracy in light and dark is still essential.
Practice Tips and Inspiration
Once you finish the three studies, you can continue practicing and find ways to make the exercise your own.
Value over Color
Emily highlights that you can do these cloud studies in any color you like. The point is not the hue but the practice of values.
More paint equals darker tones, and more water equals lighter tones. This is the foundation of creating depth in watercolor.
Everyday Cloud Inspiration
For inspiration, Emily admits she is always gazing at the sky. She often snaps quick photos with her phone to use later in her paintings.
Since clouds are always changing, you’ll never run out of subjects. All you need to do is look up and notice the patterns above you.
Closing Words
Cloud studies are a wonderful way to strengthen your watercolor skills. Emily Olson’s tutorial shows you how to practice soft fluffy clouds, smooth stratus clouds, and dramatic cumulonimbus using simple techniques.
With just one color, you learn to control water, paint, and values without stress. Which cloud type will you paint first? Try these her studies today and keep practicing whenever the sky inspires you.