Knitting can be relaxing, creative, and deeply satisfying, but certain problems seem to frustrate knitters again and again. Uneven ribbing, awkward purl stitches, curling stockinette, mismatched edges, and loose sides can make an otherwise beautiful project feel less polished.
According to Norman from NimbleNeedles, many knitters struggle with the same handful of issues. Instead of trying to force knitting to behave in ways its structure does not naturally allow, he encourages knitters to understand why these problems happen and then use practical adjustments to improve the result.
Here are five of the most frustrating knitting problems Norman discusses—and the solutions he recommends.
1. Matching a Cast-On With the Right Bind-Off
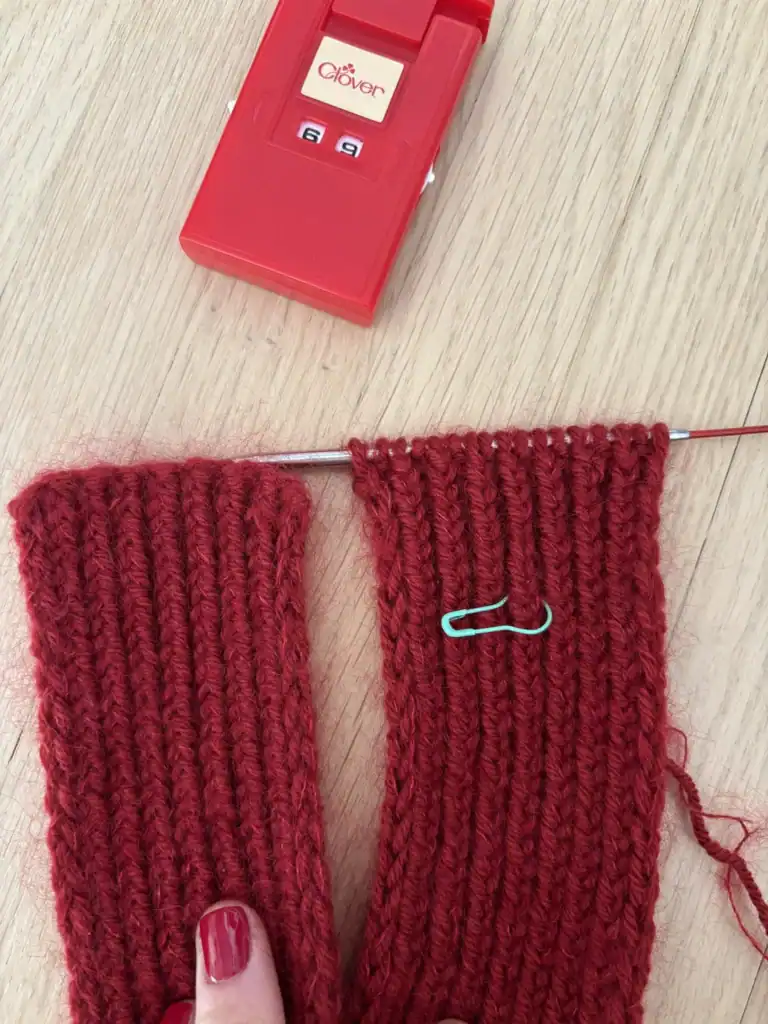
One of the most common questions Norman receives is how to create a bind-off that visually matches a cast-on.
Whether the project begins with a long-tail cast-on, German twisted cast-on, knitted cast-on, or another method, many knitters want both edges to look identical.
For a standard long-tail cast-on, Norman demonstrates a sewn bind-off that creates a closely matching edge.
How the Sewn Long-Tail Bind-Off Works
First, leave a sizable yarn tail and thread it onto a tapestry needle.
Insert the tapestry needle knitwise through the second stitch on the knitting needle and pull the yarn through. Then insert it purlwise through the first stitch while dropping that first stitch from the needle.
Repeat these two actions:
Go knitwise through the second stitch, then go purlwise through the first stitch and drop it.
Norman emphasizes that the yarn should not be pulled too tightly because excessive tension removes the stretchiness of the edge.
He notes that June Hemmons Hiatt calls this the half hitch bind-off, while the technique could also be described as a sewn long-tail bind-off.
Matching the Standard Bind-Off
For an edge that matches a standard bind-off, Norman uses a crochet hook.
He starts with a slip knot around the hook, positions the knitting needle between the work and the hook, and creates chain stitches while repeatedly moving the yarn to the back.
This produces the same chain-like appearance associated with a standard bind-off.
For other bind-offs, Norman offers another option: start the project with a provisional cast-on. After completing the project and binding off one edge, return the provisional stitches to a knitting needle and use the exact same bind-off method on the opposite side.
The result is two matching edges.
However, Norman also suggests accepting that many knitting projects are neither fully reversible nor truly bi-directional. In many cases, a slightly different cast-on and bind-off will not be noticeable in the finished piece.
2. Uneven and Messy Ribbing
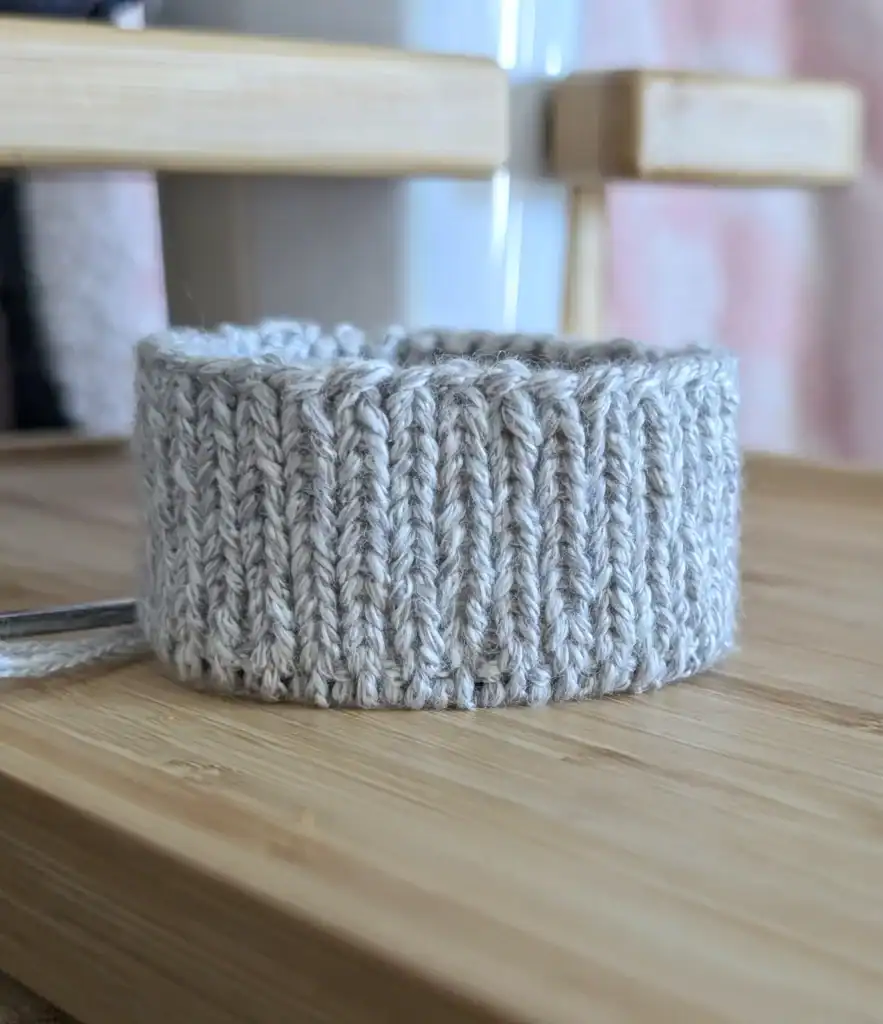
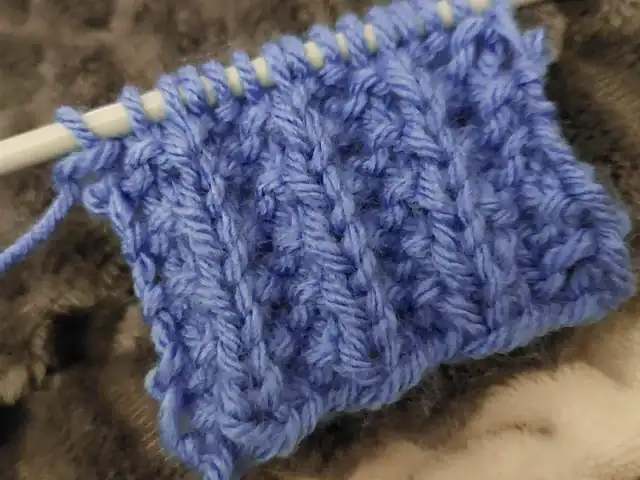
Ribbing is another major source of frustration.
In 1×1 ribbing, stitches can sometimes look uneven, while in 2×2 ribbing, Norman points out that the second knit column often appears wider than the neighboring stitches.
His first recommendation is simple: consider using smaller knitting needles for ribbing.
A smaller needle can create tighter, neater-looking ribs, especially when compared with the same yarn worked on larger needles.
Tighten the First Purl Stitch
Norman also recommends developing the habit of tightening the first purl stitch in every purl section while that stitch is still on the knitting needle.
The reason comes down to the path the yarn takes between knit and purl stitches.
When switching from a knit stitch to a purl stitch in continental knitting, the yarn travels from the back of the knit stitch toward the front of the purl stitch. This creates a longer strand between the two stitches.
When switching from purl to knit, the strand can travel diagonally along a shorter path.
That extra yarn between knit and purl stitches can feed into the neighboring knit stitch, making it appear looser. Tightening the first purl stitch reduces that extra slack.
Norman also discusses combination knitting, where the yarn is wrapped clockwise while purling, as well as purling stitches through the back loop. Both methods alter the yarn path and can produce tighter-looking ribbing.
Another option is changing the rib pattern itself. If 1×1 ribbing does not look neat, Norman may switch to 2×1 or 3×2 ribbing.
Yarn choice matters as well. A smooth, consistently spun yarn with moderate twist can make stitches easier to tighten evenly. A lofty or inconsistently spun wool with more friction may naturally create less regular ribbing.
Ultimately, Norman stresses consistency rather than perfection. Some differences in ribbing are simply part of how knitted stitches interact.
3. Why Purling Feels Harder Than Knitting
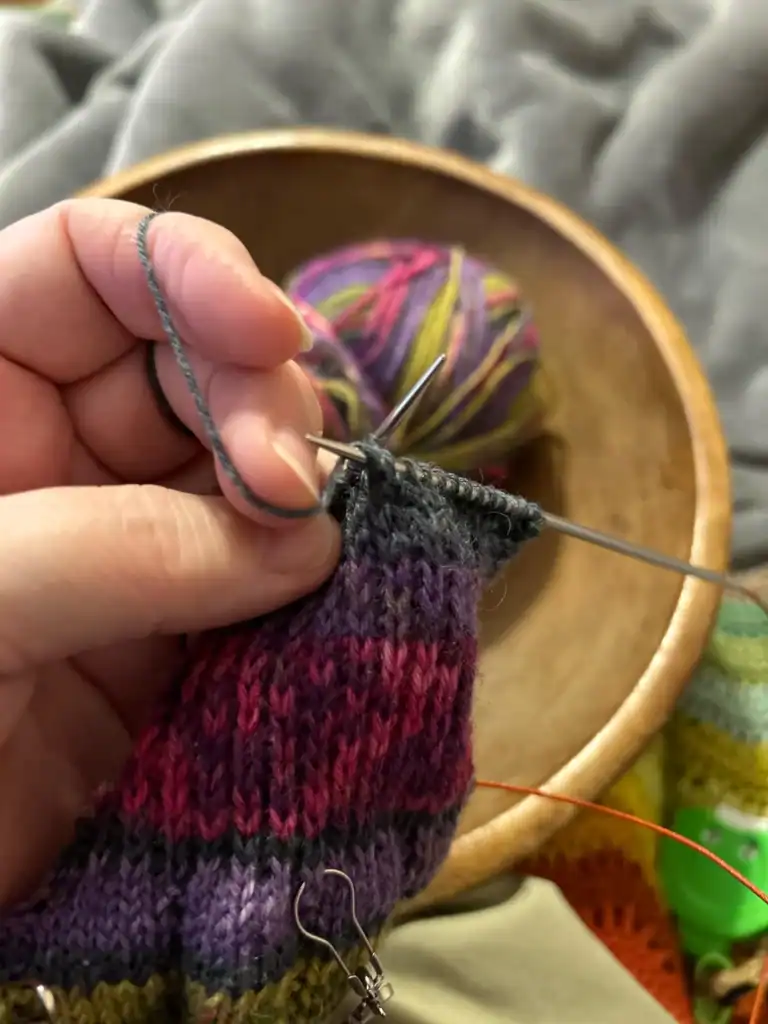
Many knitters dislike purling, and Norman explains that there is a structural reason why a purl stitch can feel more cumbersome than a knit stitch.
Knitting needles do not have hooks, so the tip needs to move fully behind the yarn before it can pull that yarn through a stitch.
With a continental knit stitch, the needle naturally enters from an angle that makes catching the yarn relatively easy.
Purling reverses that movement.
Adjusting Yarn Tension and Needle Movement
Norman explains that changing how the yarn is tensioned can make purling easier.
His own method involves using the middle finger to push or wrap the yarn forward as he enters the stitch. Some knitters may use the thumb instead, while others position the yarn around the index finger so they can change its angle more easily.
He also recommends moving both knitting needles rather than relying entirely on one needle to perform the maneuver.
Combination knitting provides another approach. Because the yarn is wrapped clockwise for the purl stitch, it can be easier to scoop through. The resulting stitch has a different mount, which combination knitters correct by knitting those stitches through the back loop on the next pass.
Norman also demonstrates a full-wrap method and discusses the Norwegian purl, both of which create a barrier that helps keep the yarn from slipping away.
Backward knitting can eliminate purling in some situations, such as entrelac or bobbles, but Norman cautions that it is less useful for patterns like ribbing.
His larger point is that purling naturally requires different movements than knitting. Improving the technique and practicing it is often more useful than trying to eliminate purl stitches entirely.
4. Stockinette Stitch Keeps Curling
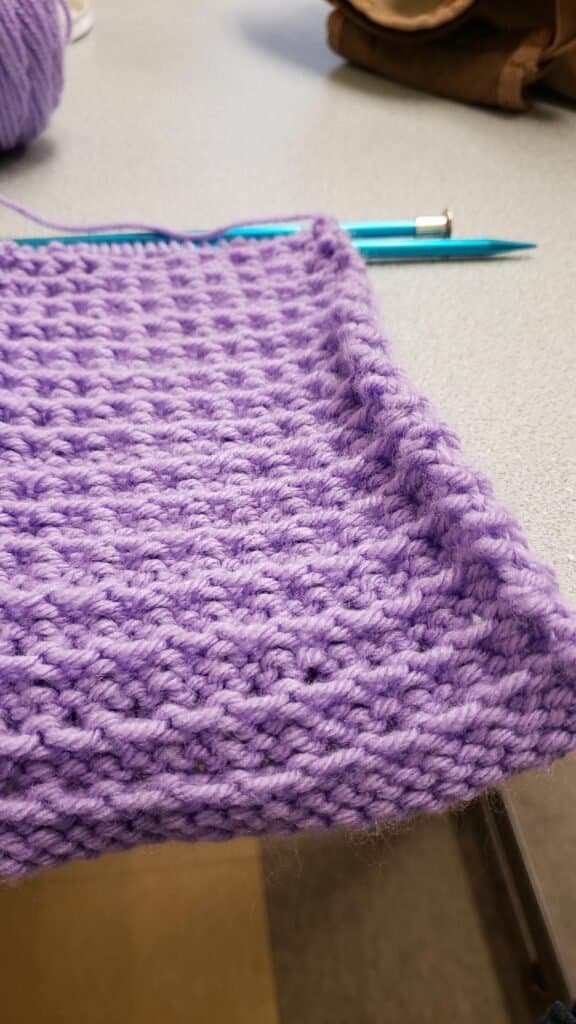
Stockinette stitch curling is especially frustrating for beginners.
Norman explains that curling comes from both the tension and the structure of the knitted fabric.
Purl bumps create what he describes as a kind of barrier, while the connections between stitches act like hinges. Because knitted fabric contains tension, it naturally moves toward the easiest relaxed position.
In flat stockinette stitch, that structure encourages the edges to curl.
Why a Border Does Not Truly Stop Curling
Using larger knitting needles can reduce curling because more space between the stitches means less tension in the fabric. However, Norman notes that this may create a much more open fabric than a knitter actually wants.
Borders such as ribbing are often added to stockinette, but he emphasizes that the border itself does not remove the structural tendency to curl.
Instead, a sufficiently long border acts as a counterweight.
If the border is too short, the stockinette fabric may still curl strongly enough to flip it over. A longer, heavier border can help pull the fabric downward.
Norman also recommends ribbing, seed stitch, moss stitch, and other knit-and-purl combinations for flat knitting, while stockinette works particularly well for circular projects such as socks, where there are no open side edges to curl.
5. One Edge Is Looser Than the Other
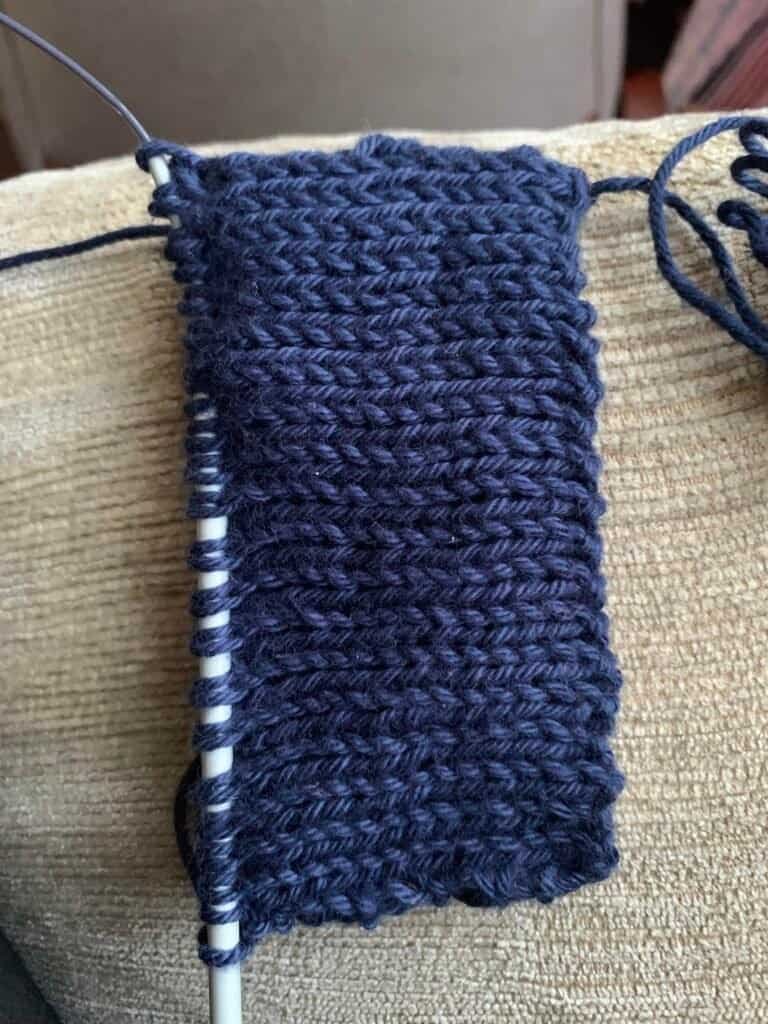
Another common problem appears when one side of a knitted piece looks noticeably looser than the other.
Norman explains that this happens because knitting each new stitch temporarily pulls extra yarn from the preceding stitch.
As the knitter continues across the row, that extra slack moves from stitch to stitch. At the final stitch, however, there is nowhere else for the slack to go, so it can accumulate at the edge.
Turning the work does not automatically fix it.
Balancing Edge Tension
The exact amount of looseness depends on the knitter’s technique.
Norman suggests paying close attention to the final three or four stitches of a row and trying not to stretch them excessively.
Depending on how the opposite edge behaves, a knitter may also intentionally extend stitches there slightly more to balance both sides.
For lace shawls, where stretchy edges may be desirable, Norman demonstrates working the first two stitches and then deliberately extending them before continuing. The friction created on the needle helps those edge stitches remain larger.
Even so, his message remains consistent: the two edges may never look completely identical.
Rather than dramatically changing an entire knitting style, Norman recommends focusing on consistent stitch definition and accepting small differences as part of an individual knitter’s technique.
Conclusion
The five knitting problems Norman from NimbleNeedles discusses have something important in common: not every imperfection needs to be completely eliminated.
Matching cast-ons and bind-offs can sometimes be achieved with specialized methods, ribbing can become neater through tension adjustments and yarn choice, and purling can become easier with better yarn positioning. Stockinette curling can be managed with suitable borders, while uneven edges can be balanced through more careful tension control.
At the same time, some characteristics are simply built into the structure of knitting.
Norman repeatedly encourages knitters to focus on consistency, stitch definition, and overall neatness rather than forcing every edge or stitch to behave identically. Understanding why a knitting problem occurs may ultimately be just as useful as knowing how to minimize it.
And sometimes, accepting a small difference is part of creating a better—and more enjoyable—finished project.