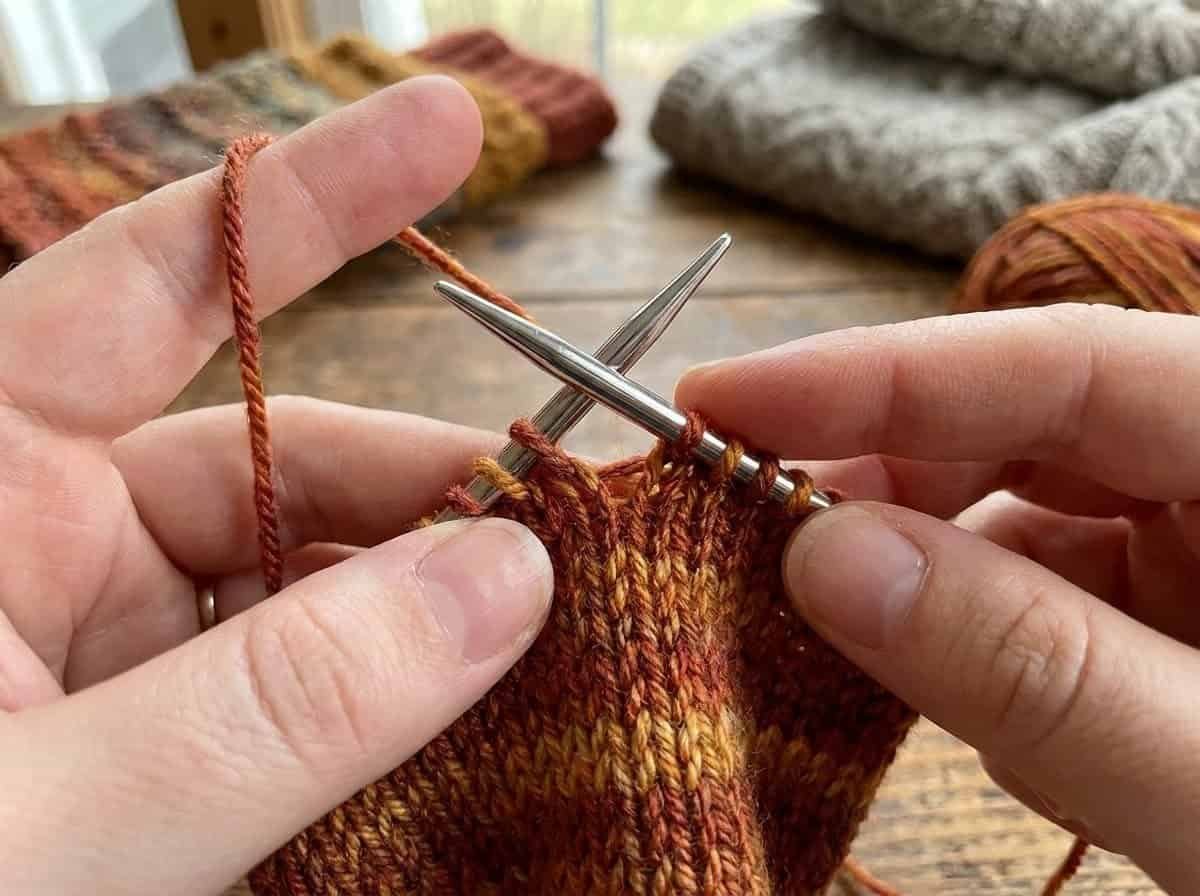
Knitting can look wonderfully simple—until a pattern asks for a stitch that seems determined to fight back. Some techniques require unusual needle movements, others create frustrating tension, and a few involve so many individual steps that even experienced knitters may find themselves slowing down.
In his guide to complicated knitting stitches and techniques, NimbleNeedles takes a closer look at methods that frequently frustrate knitters. His list ranges from purl decreases and unusual increases to reversible brioche, complicated cast-ons, cables, and Estonian nupps.

Interestingly, NimbleNeedles starts with a challenge that does not sound complicated at all: counting. He jokes that he can knit a triple brioche decrease in black mohair yarn in poor lighting, yet casting on 100 stitches without help is another matter entirely.
His solution is practical: use stitch markers liberally and count the cast-on stitches in manageable batches. He also recommends using two skeins—or both ends of the same skein—for a long-tail cast-on so the tail does not run out.
From there, things become considerably more technical.
1. Purl Two or Three Together Through the Back Loop
One technique frequently mentioned as particularly frustrating is purl two or purl three together through the back loop.
The conventional approach requires inserting the needle through the back loops of multiple stitches, wrapping the yarn counterclockwise, and pulling it through. NimbleNeedles acknowledges just how awkward squeezing a knitting needle through those stitches can become.
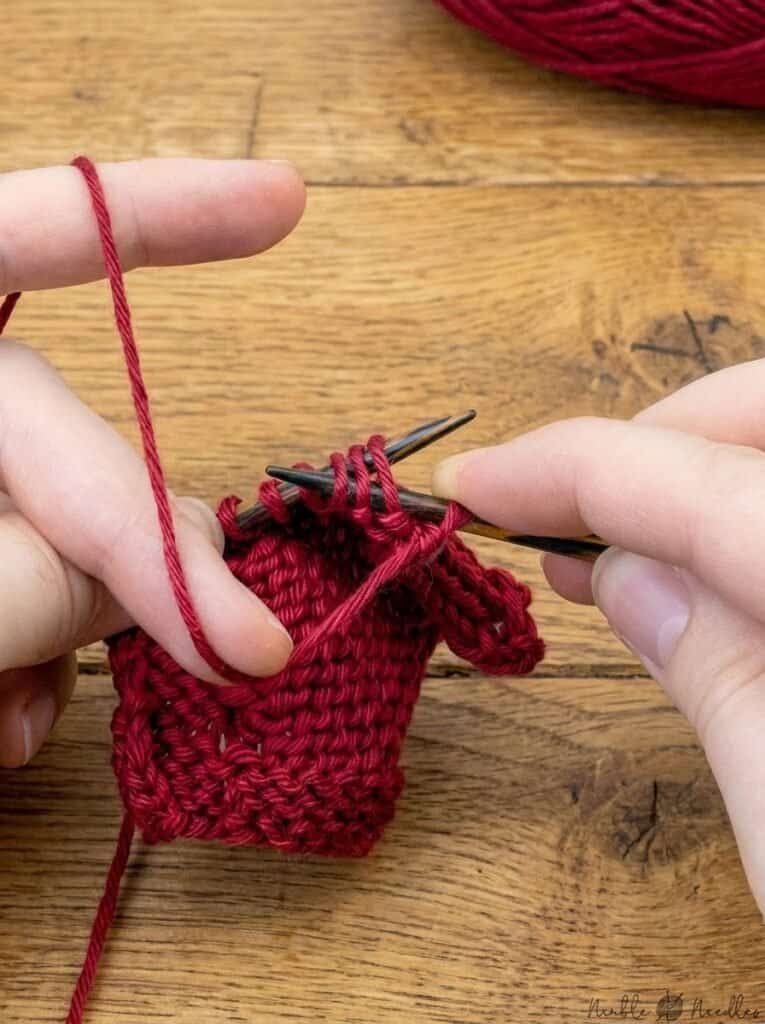
An Alternative Approach to the Decrease
Instead, he demonstrates an easier alternative for purl three together through the back loop.
He begins by purling one stitch through the back loop, slips that stitch back to the left needle, and then passes two stitches over it. The same principle can be used for purl two together by passing one stitch over.
He also extends the idea to knitting four together: knit one stitch, return it to the left needle, and pass three stitches over before slipping it back.
2. Twist and Weave for Joining a New Color
The twist and weave is one of NimbleNeedles’ favorite techniques and the method he says he uses to join a new color in about 90% of cases.
Although he describes it as extremely easy, its movements differ enough from familiar knitting techniques that many knitters may struggle with it initially.
The method involves picking up the new yarn, entering the next stitch knitwise, positioning the new tail between the needles, and crossing the old and new tails. The yarn is manipulated to form a small stitch before the knitter continues normally.
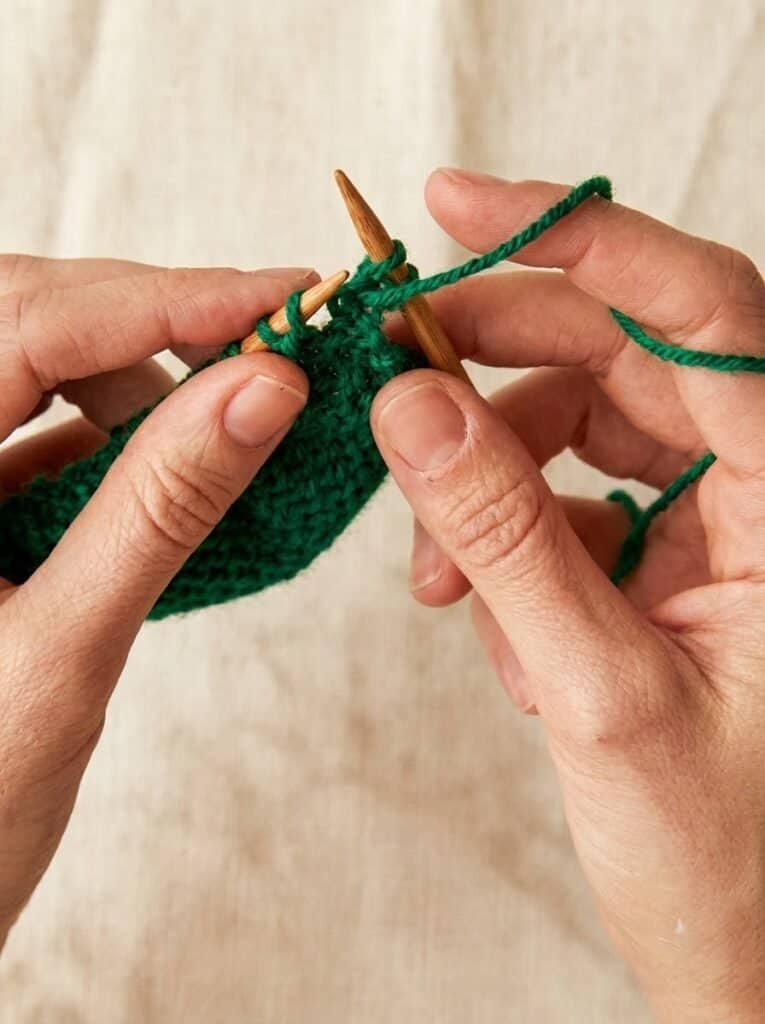
Twist and Weave on the Purl Side
The method can also be performed from the purl side.
NimbleNeedles enters the next stitch purlwise, places the new tail between the needles, crosses the yarns, twists the tail around the new yarn, and forms the new stitch.
The technique can also be combined with weaving in as you go. By wrapping the tails around the working yarn while forming new stitches, the tails become incorporated into the work.
3. The Hitch Knot Increase
The hitch knot increase is so rare, according to NimbleNeedles, that a knitter could browse thousands of patterns without encountering it.
To create it, he pulls down the next stitch as though forming a hitch knot around the needle. He then knits into its right leg and afterward into its left leg.
What makes the resulting increase interesting is its symmetry: it has no lean and remains centered.
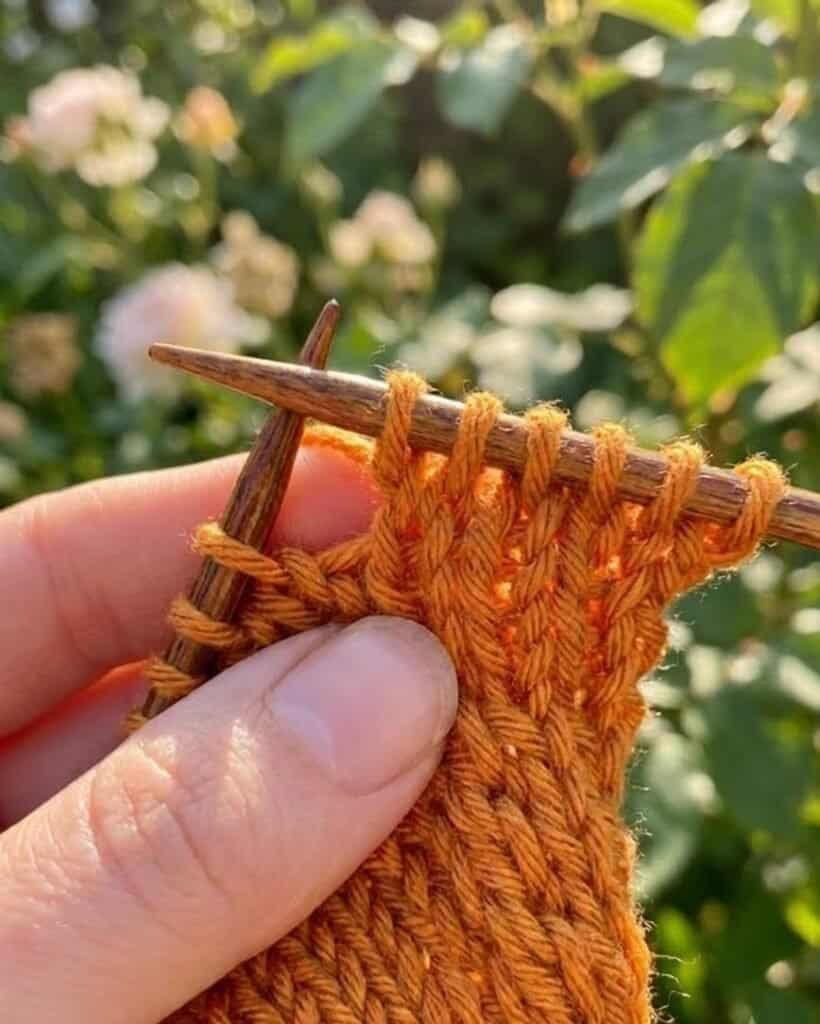
A Purlwise Hitch Knot Increase
NimbleNeedles also demonstrates his purlwise variation.
He starts by purling a stitch through the back loop without dropping it. He then uses the needle tip to catch the right leg of the stitch, twists it, and purls it.
While the result appears ornamental from one side, NimbleNeedles highlights how invisible the centered increase looks on the reverse-stockinette side.
4. A Neater Way to Knit Bobbles
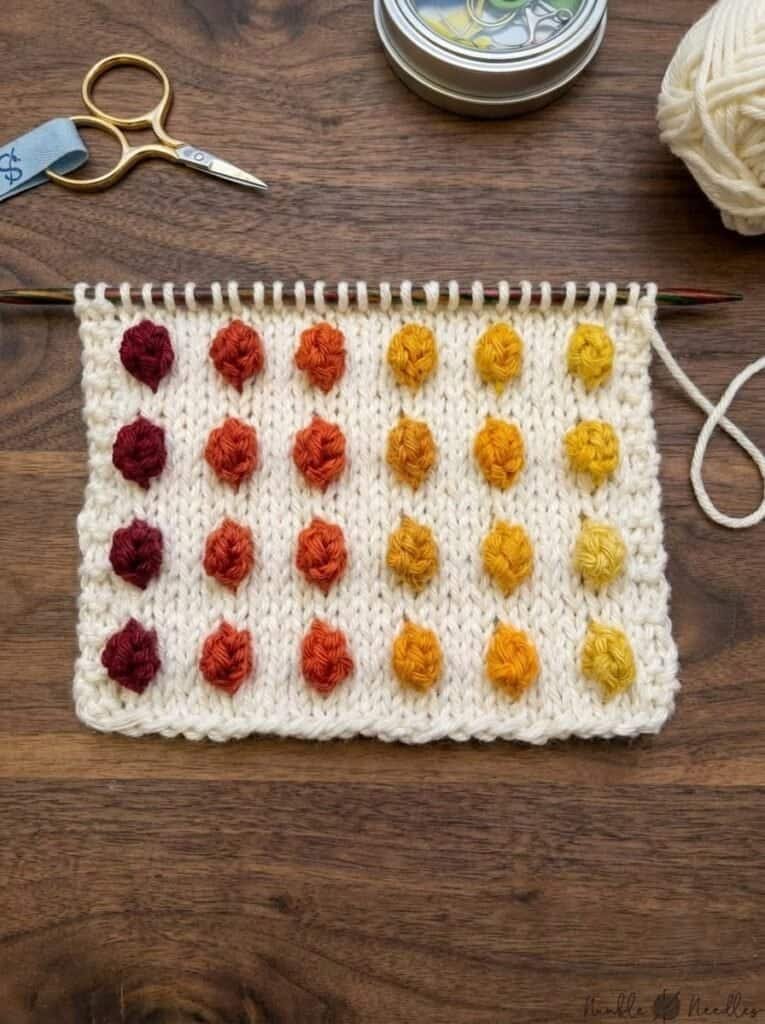
Bobbles earn a place among complicated knitting stitches because of the number of steps involved.
A traditional method shown in the video starts with a double increase—knit front, back, and front again—creating three stitches. The work is repeatedly turned while alternating purl and knit rows before the three stitches are eventually knitted together.
NimbleNeedles modifies this process.
For two-color bobbles, he works into the stitch one row below and performs knit, yarn over, knit. Rather than constantly turning the project, he uses backward knitting.
At the top, he replaces a basic knit-three-together decrease with a centered decrease: two stitches are slipped knitwise, one stitch is knitted, and the slipped stitches are passed over.
5. Stacked Increases
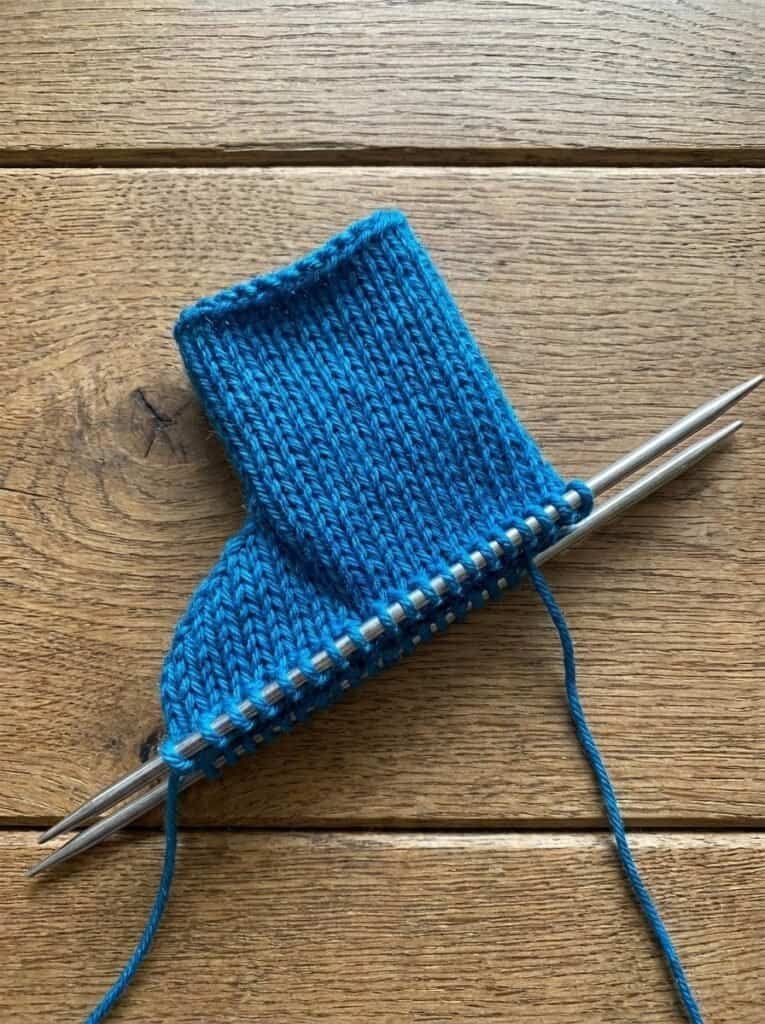
A single increase is familiar territory for many knitters, but NimbleNeedles demonstrates how increases can be stacked to create many stitches from one location.
He starts with knit, yarn over, knit, then slips two stitches back and repeats the sequence. The process can continue to build the desired stack.
However, he points out two challenges: high tension when knitting across the new stitches and large holes at the base.
Reducing the Holes
His alternative begins with a make one right, followed by knitting the center stitch and then a make one left. After this modified beginning, the rest of the stacked increase continues in the same way.
The resulting shape remains similar while avoiding the large holes at its base.
6. German Twisted Cast-On—Purlwise
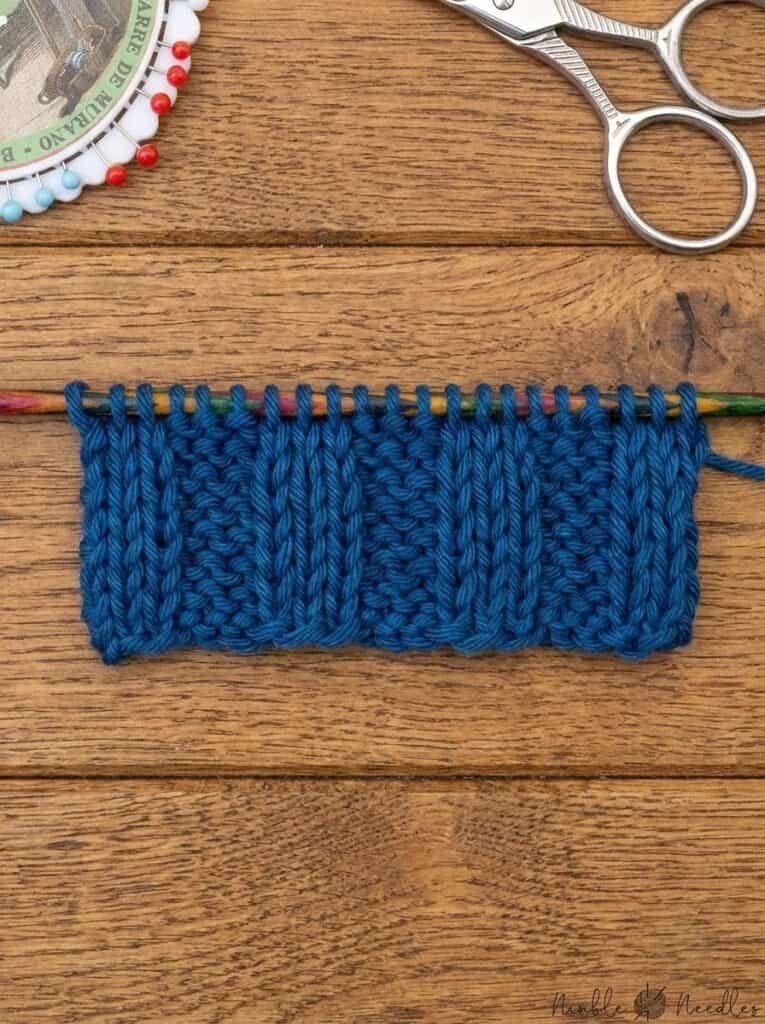
The German twisted cast-on, sometimes called the old Norwegian cast-on, begins in the familiar slingshot position used for a long-tail cast-on.
Instead of simply entering the loop, however, the needle travels all the way around it and enters from the top before the yarn is pulled through.
The purlwise version changes the movement to the loop around the index finger. The needle again travels around the loop, enters from the top, and catches the yarn as the index finger bends.
NimbleNeedles points out the visual difference between the resulting purl bumps and the twisted V-like appearance of the standard version.
7. The Pinhole Cast-On
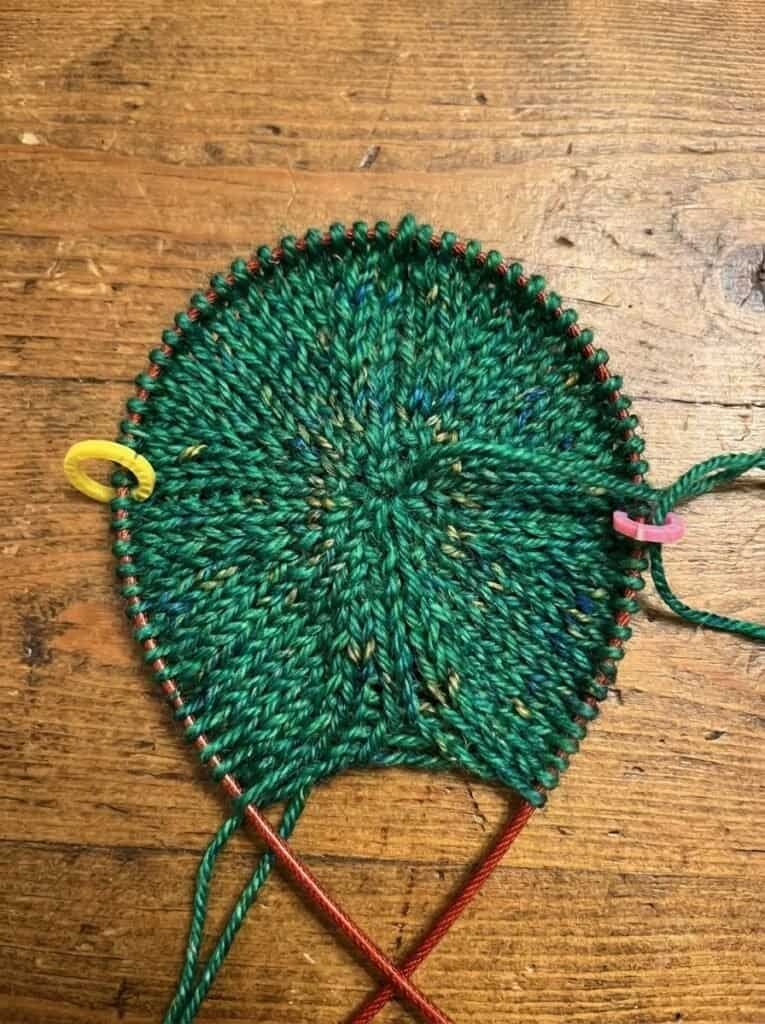
Another cast-on on the list is the pinhole cast-on.
NimbleNeedles begins with an overhand knot and repeatedly alternates a yarn over with knitting into the loop until eight stitches are on the needle.
The stitches are then distributed onto double-pointed needles and joined in the round. After a few rows, tightening the cast-on tail produces a tight, round, nearly invisible center.
He suggests the technique for projects such as top-down heads, round shawls, tablecloths, and doilies.
8. Reversible Brioche Increases and Decreases
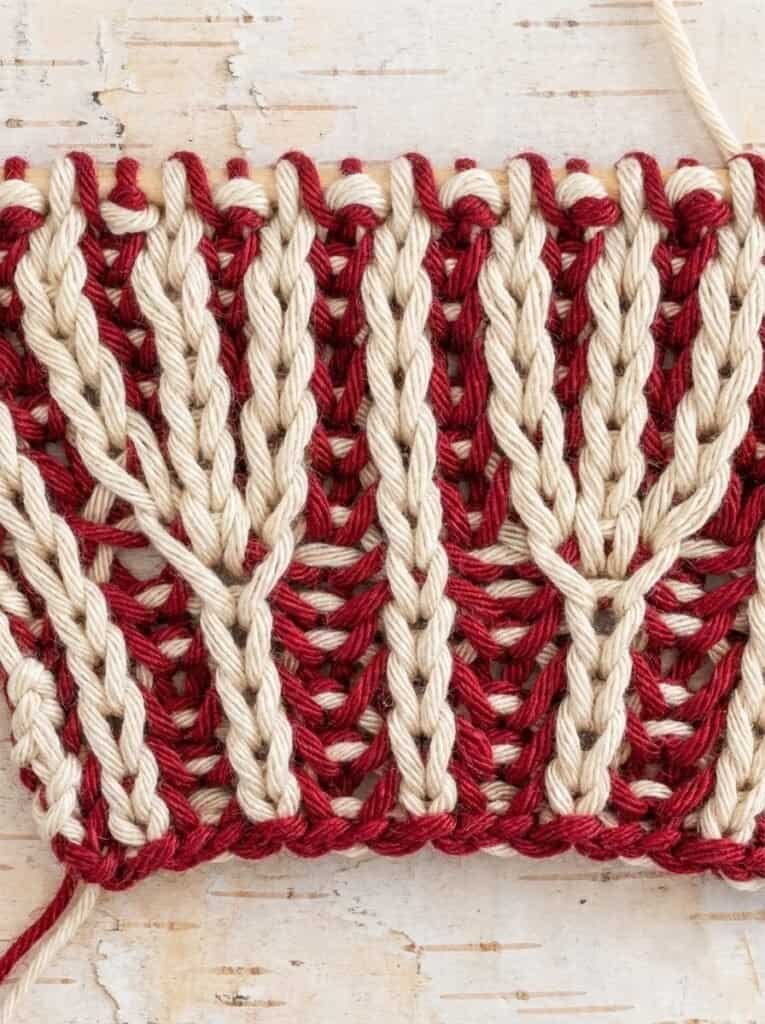
Brioche increases and decreases can be especially challenging because they may involve many steps and are not typically reversible.
NimbleNeedles demonstrates his approach to a reversible brioche double increase by creating increases around a central rib and working corresponding increases in the second color.
He then demonstrates a reversible brioche double decrease, working across seven stitches and using a cable needle to manage stitches around the center. A centered double decrease forms on one side, while mirrored left- and right-slanting decreases appear on the other.
The goal is a neat, symmetrical appearance on both sides.
9. Reversible and Double-Knit Cables
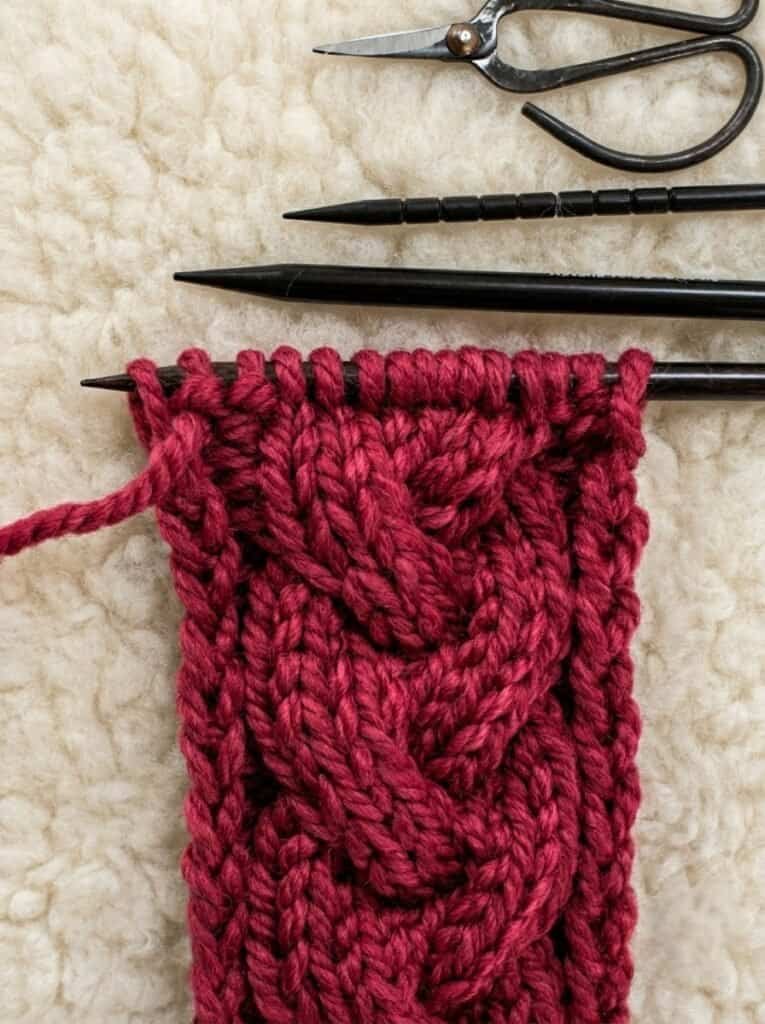
Classic cables may look complicated, but NimbleNeedles notes that the basic technique can actually be accessible even to beginners. The bigger problem is that traditional cables are not reversible.
His solution uses a reversible background such as seed stitch or garter stitch and creates the cable itself in ribbing. Although the cable appears four stitches wide, it actually contains eight stitches because of the ribbed construction.
For an even greater challenge, he demonstrates double-knit cables, which require carefully moving the cable needle and yarns between the front and back while alternating knit and purl stitches.
The result is a fully reversible corrugated cable.
10. Estonian Nupp Stitches
Finally, there is the nupp, a feature of Estonian lace that NimbleNeedles compares to French knots in embroidery.
The stitch begins by repeatedly knitting and adding elongated yarn overs into the same stitch until seven loops have been created.
The difficult part comes on the wrong side, where all seven loops traditionally need to be purled together.
Alternative Ways to Finish a Nupp
NimbleNeedles offers two alternatives.
The first is to slip five loops to the left needle, purl the remaining two together, and then pass the other loops over.
The second uses a relatively thin crochet hook—smaller than the knitting needle size—to pull the yarn through the seven loops.
Despite the different methods, he notes that the result on the right side remains the same nupp stitch.
Conclusion: Which Complicated Knitting Stitch Would You Try?
From purling multiple stitches through the back loop to reversible brioche decreases, double-knit cables, and delicate Estonian nupps, NimbleNeedles’ collection shows just how inventive advanced knitting can become.
Yet one of the strongest ideas running through his demonstrations is experimentation. When stacked increases created unwanted holes, he changed the beginning of the technique. When conventional bobbles felt cumbersome, he adapted the process. And when nupps became frustrating, he explored alternative ways to finish them.
Perhaps that is the real challenge behind complicated knitting stitches: not simply memorizing every movement, but learning how stitches behave and finding an approach that works.
And after all those advanced techniques, there is still the challenge NimbleNeedles mentioned at the very beginning—the deceptively difficult art of simply counting your stitches.